
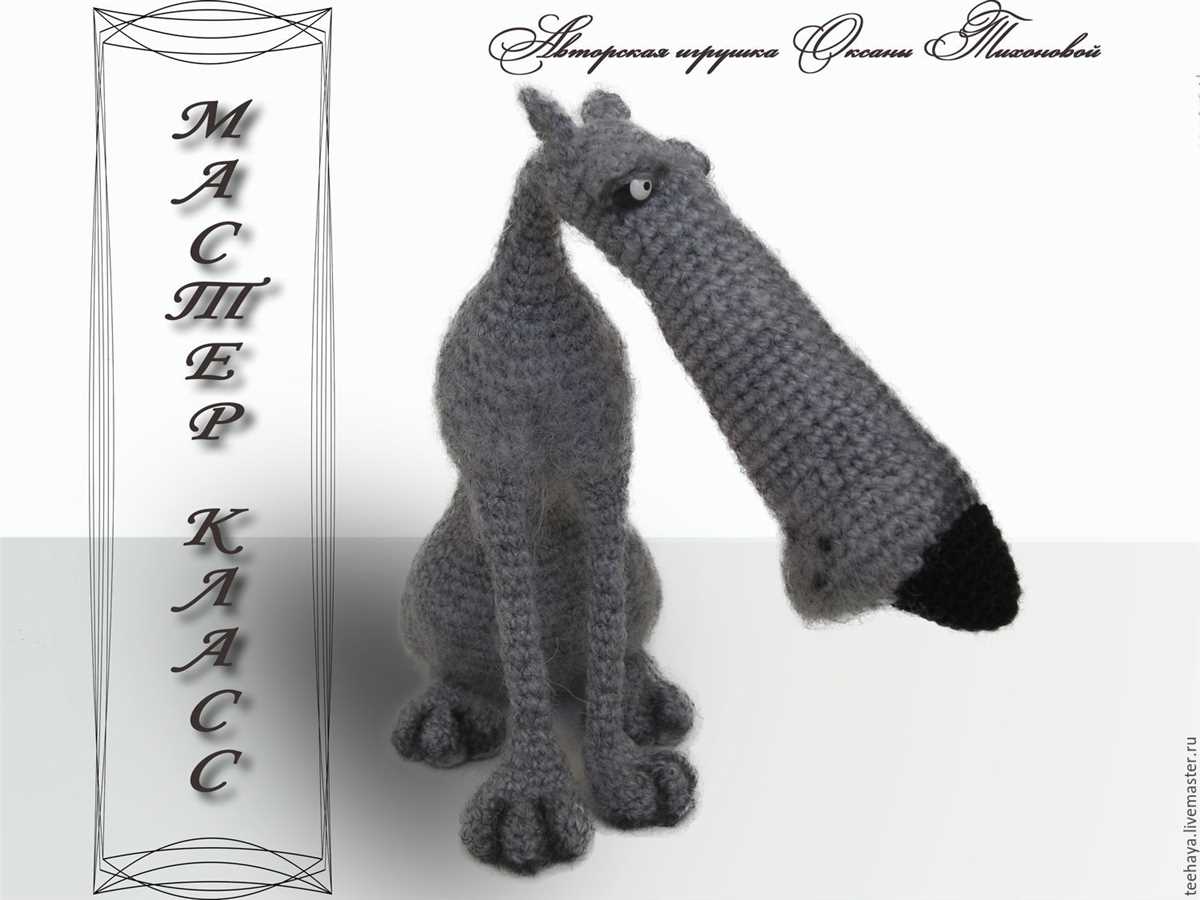
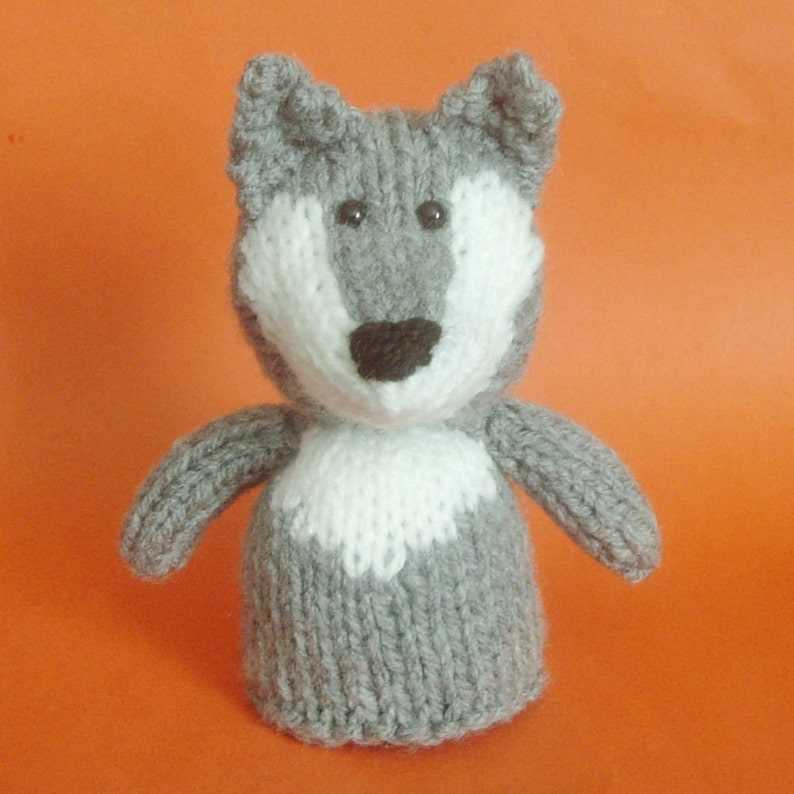
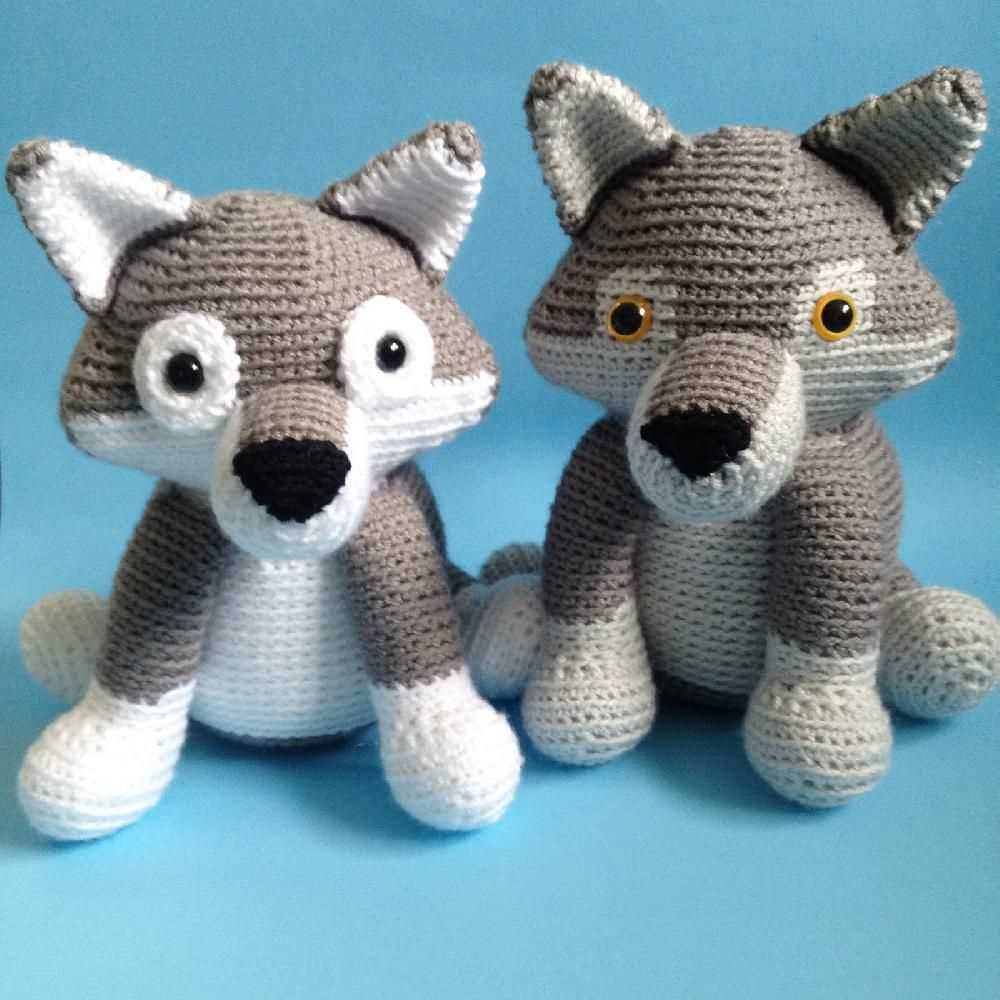
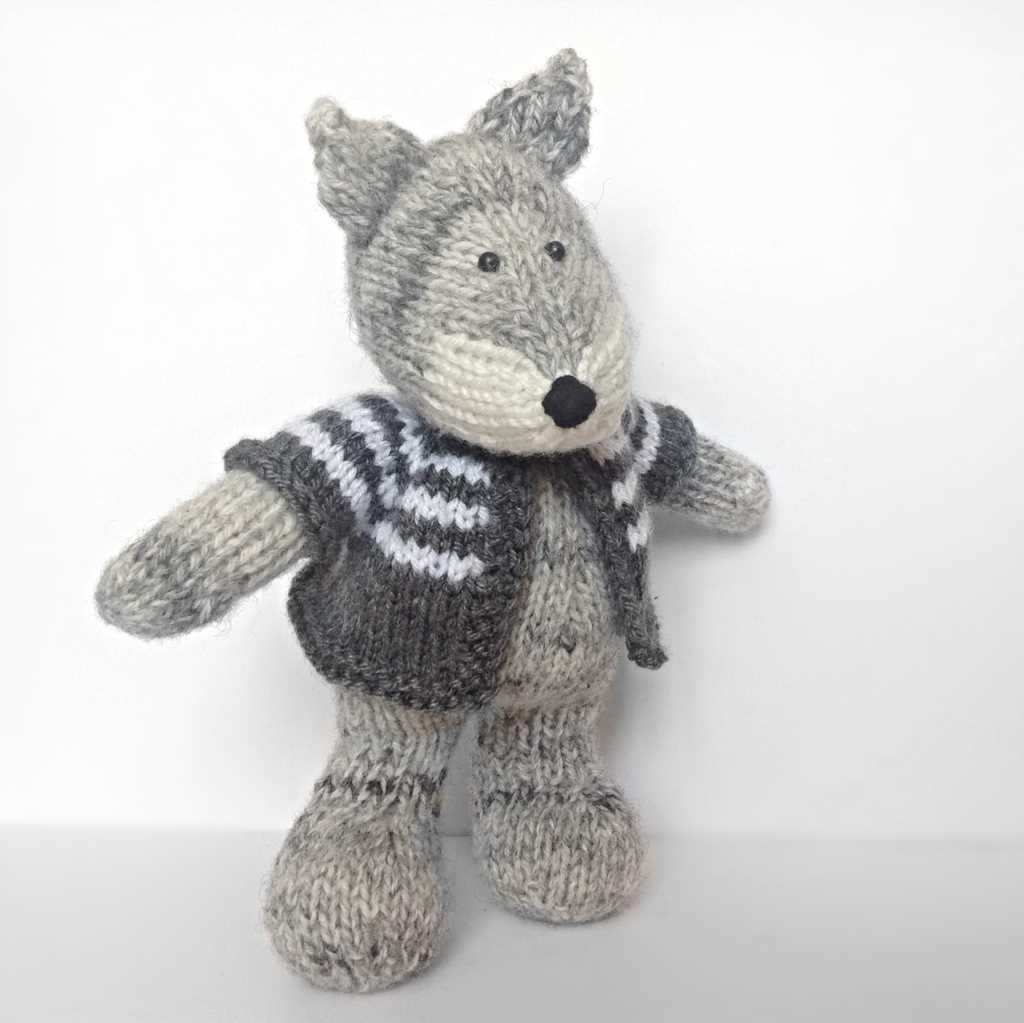
If you love knitting and are looking for a new project, we have the perfect pattern for you – a free wolf toy knitting pattern! This adorable wolf toy is a great gift for children or a fantastic addition to your own toy collection. With this pattern, you can create a cute and cuddly wolf that is sure to bring a smile to anyone’s face.
The pattern is suitable for knitters of all skill levels, so whether you’re a beginner or an experienced knitter, you can easily follow along and create your own wolf toy. The pattern includes step-by-step instructions and clear diagrams to guide you through the knitting process, making it a fun and relaxing project for anyone.
This free wolf toy knitting pattern also allows you to customize your toy to your own preferences. You can choose different colors of yarn to create a unique wolf toy, or even add small accessories like a scarf or a hat to give your toy a personal touch. The possibilities are endless!
So why wait? Grab your knitting needles and get ready to create your very own wolf toy with this free knitting pattern. Whether you’re knitting it for yourself or as a gift for someone special, this adorable wolf toy is sure to be cherished for years to come.
How to Knit a Free Wolf Toy: Step-by-Step Tutorial
If you’re a fan of knitting and love creating your own stuffed animals, why not try knitting a free wolf toy? These adorable toys can be made using a simple knitting pattern and some basic materials. In this step-by-step tutorial, we will guide you through the process of knitting your very own wolf toy.
Materials needed:
- Yarn (in colors of your choice)
- Knitting needles (appropriate size for your yarn)
- Tapestry needle
- Stuffing
- Scissors
Step 1: Begin by selecting the colors of yarn you want to use for your wolf toy. You can choose traditional gray and white colors or get creative with different shades. Make sure to have enough yarn to complete the project.
Step 2: Next, gather your knitting needles and start casting on stitches. Follow the knitting pattern instructions for the body of the wolf toy, which will typically involve knitting in the round to create a seamless tube-like shape. You may also need to switch between different stitch patterns to create the desired texture.
Step 3: Once you have completed the body of the wolf toy, it’s time to work on the other parts like the head, ears, and tail. These parts can be knitted separately and then attached to the body using a tapestry needle and yarn. Follow the knitting pattern instructions for each individual part.
Step 4: After knitting and attaching all the parts, it’s time to stuff your wolf toy. Use the tapestry needle to carefully insert stuffing into the body and other parts until your toy feels plush and firm. Make sure to stuff the toy evenly to avoid lumps or unevenness.
Step 5: Finally, finish off your wolf toy by securely sewing up any remaining openings and weaving in any loose yarn ends. Trim any excess yarn if necessary, and your wolf toy is ready to be enjoyed or gifted to someone special!
By following this step-by-step tutorial and using a free wolf toy knitting pattern, you can create your own adorable toy wolf. Have fun experimenting with different colors and personalizing your creation. Happy knitting!
Gather Your Materials
Before you begin knitting your free wolf toy, you’ll need to gather all the necessary materials. Here’s a list of what you’ll need:
- Yarn: Choose a suitable yarn for your toy. You’ll need a main color for the body of the wolf and small amounts of other colors for details.
- Knitting Needles: Select the appropriate size of knitting needles for your yarn. Check the yarn label for recommended needle size.
- Scissors: You’ll need scissors to cut the yarn and any other materials.
- Tapestry Needle: A tapestry needle will come in handy for sewing up seams and weaving in loose ends.
- Stuffing: You’ll need some stuffing material to fill the toy and give it shape and softness.
- Safety Eyes: If you want to add safety eyes to your wolf toy, make sure you have them on hand.
- Stitch Markers: Stitch markers can be useful for keeping track of rounds or specific stitches.
- Pattern Instructions: Finally, make sure you have a copy of the free wolf toy knitting pattern. You can either print it out or keep it accessible on your electronic device.
Once you have gathered all these materials, you’re ready to start knitting your free wolf toy. Make sure you have a comfortable and well-lit workspace where you can work on your project uninterrupted.
Download the Free Wolf Toy Knitting Pattern
If you are a fan of knitting and love making cute and cuddly toys, then you will definitely want to download our free wolf toy knitting pattern. This pattern will guide you step by step on how to make your very own adorable wolf toy.
The pattern is easy to follow, even for beginners, and includes all the necessary instructions and materials needed to create the toy. Whether you want to make it for yourself or as a gift for a friend or family member, this pattern is the perfect choice.
With the free wolf toy knitting pattern, you will be able to unleash your creativity and customize the toy to your liking. You can choose different colors and patterns for the wolf’s fur, add cute little details like a bow tie or a scarf, and even experiment with different knitting techniques to make the toy even more unique.
To download the pattern, simply click on the link below. Once downloaded, you can print it out and have it handy as you knit your wolf toy. So why wait? Start knitting today and bring this adorable wolf toy to life!
Choose Your Yarn and Needles
If you are planning to knit your own wolf toy, choosing the right yarn and needles is crucial. The type of yarn you use will determine the texture and appearance of your toy, while the size of the needles will affect the overall size and tension of your knitting.
Yarn: When selecting yarn for your wolf toy, consider its weight and fiber content. Opt for a soft and durable yarn that will withstand frequent handling and use. Wool and acrylic blends are popular choices as they are both soft and easy to care for. You may also want to consider using specialty yarns that have a textured or variegated appearance to add interest to your toy.
Needles: The size of your needles will determine the gauge of your knitting. For a tight and compact toy, use smaller needles, while larger needles will create a looser fabric. The recommended needle size for your project is usually stated in the pattern. Circular needles are great for toy knitting as they allow you to work in the round, making it easier to shape your toy. However, if you prefer using straight needles, make sure to have double-pointed needles on hand for knitting smaller sections such as the ears and tail.
As always, make sure to check the pattern for any specific yarn or needle recommendations. Experiment with different yarns and needles to achieve the desired result for your wolf toy. Remember, it’s all about finding the perfect combination that will bring your creation to life!
Cast On and Start Knitting the Body
In order to start knitting the body of the wolf toy, you will need to cast on the required number of stitches. The pattern will usually provide you with the necessary information on the number of stitches to cast on. Make sure to follow the instructions carefully to ensure that you have the correct number of stitches for the body.
Once you have cast on the required number of stitches, you can begin knitting the body of the wolf toy. The pattern may specify a particular type of stitch to use, such as garter stitch or stockinette stitch. Follow the instructions provided to knit the body using the specified stitch pattern.
For example:
- If the pattern calls for garter stitch, you will need to knit every row. This will create a textured pattern that is often used for the body of knitted toys.
- If the pattern calls for stockinette stitch, you will need to alternate between knitting one row and purling one row. This will create a smooth, flat fabric that is commonly used for the body of knitted items.
Continue knitting the body of the wolf toy according to the pattern instructions. Pay attention to any shaping or changes in stitch pattern that may be required. It is important to take your time and ensure that your stitching is even and consistent throughout the body of the toy.
Shape the Head and Ears
Once you have completed knitting the body and tail of the wolf toy, it is time to shape the head and ears. This will give the toy a more realistic and detailed look.
To shape the head, start by stuffing it firmly with polyester fiberfill. Make sure to push the stuffing into all the corners to ensure a smooth and even shape. You can use a knitting needle or pencil to help with this process. Once the head is fully stuffed, use a tapestry needle and matching yarn to sew the opening closed.
Adding Ears
To create the ears of the wolf toy, you will need two triangles of knitted fabric. These can be made by knitting two separate triangles, or by folding a square piece of fabric diagonally and sewing the edges together.
Once you have the ear shapes ready, position them on either side of the head, just above the halfway point. Use the tapestry needle and matching yarn to securely attach the ears to the head. Make sure to sew them in place tightly, so they do not come loose during play.
After shaping the head and attaching the ears, your wolf toy is starting to take shape! Next, you can move on to adding the facial features, such as the eyes, nose, and mouth, to give your toy even more personality.
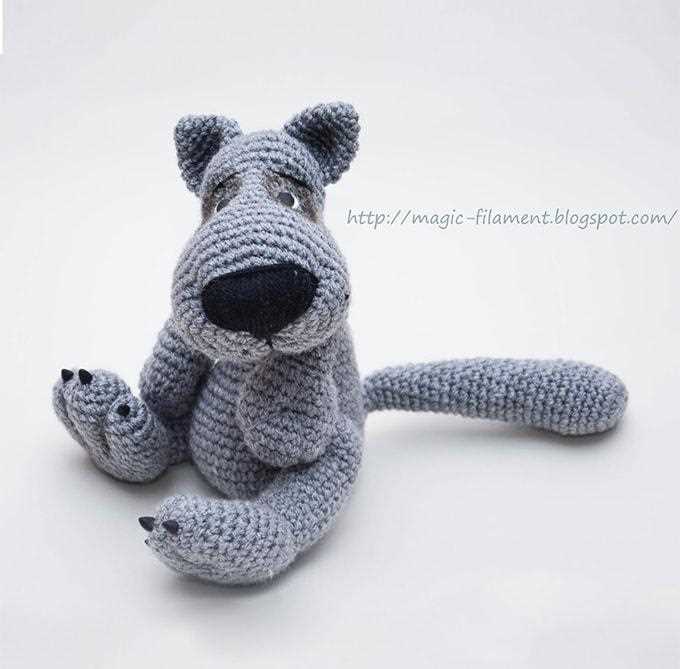
Knit the Legs and Tail
Once you have finished knitting the body of your wolf toy, it’s time to move on to the legs and tail. These parts will add the finishing touches to your wolf and give it that adorable, lifelike look.
Legs: To knit the legs, you will need to cast on a certain number of stitches, depending on the size of your toy. The instructions for the leg pattern will typically include the number of stitches to cast on, the type of stitch to use, and the length of each leg. Follow the pattern carefully, making sure to keep track of your stitches and rows.
Tail: Knitting the tail for your wolf toy is a simple process. You will generally start by casting on a small number of stitches, then knitting a specific number of rows to create the desired length. The pattern may include instructions for adding shaping or texture to the tail, such as increasing or decreasing stitches or using different stitch patterns. Pay close attention to the pattern to ensure your tail turns out just right.
Once you have completed knitting the legs and tail, you can sew them onto the body of your wolf toy using a tapestry needle and matching yarn. Make sure to position them correctly and securely attach them to ensure your toy is durable and can withstand playtime.
Remember to follow the pattern carefully and take your time while knitting the legs and tail. These details will make your wolf toy come to life and be a cherished companion for years to come.
Stuff and Assemble the Wolf Toy
Once you have finished knitting all the individual pieces of the wolf toy, it’s time to stuff and assemble them together. Before starting, make sure you have all the necessary materials nearby, including polyester fiberfill stuffing, a yarn needle, and some scrap yarn for sewing.
1. Stuffing the Body
Begin by stuffing the body of the wolf toy with polyester fiberfill. Take small amounts of stuffing and push it into the body using your fingers or the eraser end of a pencil. Make sure to distribute the stuffing evenly to create a plump and rounded shape for the body. Don’t overstuff the body, as it may cause the toy to lose its shape.
2. Attaching the Limbs
Next, attach the limbs of the wolf toy. Using a yarn needle and matching yarn, sew the legs and arms securely to the body. Start by positioning the limb in the desired location and use the yarn needle to stitch it in place. Make sure to sew through both the body and the limb, creating a sturdy connection between the two. Repeat this step for all the limbs, making sure they are evenly spaced and securely attached.
3. Embroidering the Facial Features
Now it’s time to embroider the facial features of the wolf toy. Use a yarn needle and contrasting yarn to create the eyes, mouth, and nose. You can follow the pattern’s instructions for the placement of these features or get creative and give the wolf toy a unique expression. Take your time with this step to ensure the features are embroidered neatly and securely.
4. Adding the Details
Finally, add any additional details to the wolf toy, such as ears, a tail, or decorative elements. Follow the pattern’s instructions for knitting and attaching these details, or come up with your own ideas to personalize the toy. Just make sure to sew them securely to the body using a yarn needle and matching yarn.
Once you have completed all the steps, take a moment to admire your finished wolf toy. Give it a gentle squeeze to make sure everything is secure and well-stuffed. Your adorable knitted wolf toy is now ready to be enjoyed by children or displayed as a cute decoration!
Add the Facial Features
Once you have finished knitting the body and limbs of your wolf toy, it’s time to add the facial features to give it a more realistic and adorable look. Start by embroidering the eyes using black yarn. You can choose between using a satin stitch for a more solid look or a backstitch for a simpler outline. Make sure to place the eyes evenly on the face, usually about one-third of the way down from the top of the head.
Next, embroider the nose using black or dark gray yarn. You can use a satin stitch or a backstitch, depending on the look you prefer. Place the nose in the center, just below the eyes. Make sure the stitches are tight and secure to give the nose a defined shape.
For the mouth, you can use red yarn and create a simple straight stitch or a small horizontal line for a closed mouth, or you can create a small V-shape to give the wolf toy a playful expression. The position of the mouth can vary depending on the look you want to achieve. It can be placed slightly below the nose or closer to the chin.
To add the finishing touch to the facial features, you can use white yarn to create small highlights in the eyes, giving them a sparkling effect. Simply create a few small stitches with white yarn on the black portion of the eyes. This will bring your wolf toy to life and make it even more appealing.
Once you have completed adding the facial features, take a step back and admire your adorable wolf toy. With the eyes, nose, and mouth in place, it will now have a charming personality that will bring joy to anyone who sees it. Now you can move on to assembling the different parts of the toy and adding any final details before your wolf toy is ready for play or display.
Finish and Secure the Toy
Once you have completed knitting the wolf toy, it’s time to finish and secure all the loose ends. This step is important to ensure that the toy is durable and safe for play.
Weaving in the Ends

Start by weaving in all the loose ends using a tapestry needle. Thread the needle with the yarn and carefully weave it through the back of the stitches, following the direction of the knitting. Make sure to weave in at least 2-3 inches of yarn to prevent it from unraveling.
For any areas where the color changes occurred, weave in the ends by following the stripe pattern. This will help hide the ends and give a clean finish to the toy. Once you have woven in all the ends, trim any excess yarn close to the toy to remove any visible tails.
Secure the Joints
If your wolf toy has movable limbs or separate body parts, it’s important to secure the joints to prevent them from coming apart during play. You can do this by threading a small piece of yarn through the joints and tying it tightly. Make sure to double-knot the yarn to ensure it’s secure. If desired, you can also add a dab of fabric glue or a few stitches to further reinforce the joints.
Checking for Safety
Before giving the wolf toy to a child, it’s essential to check for any loose parts or potential choking hazards. Make sure that all the stitches are secure and there are no loose yarns or small embellishments that could easily come off. Give the toy a gentle tug and shake to see if anything is loose. If you find any issues, fix them before giving the toy to a child.
With these finishing steps, your wolf toy is now complete and ready for play! Enjoy watching your little ones cuddle and play with their new handmade friend.
Optional: Customize Your Wolf Toy
Once you have completed knitting your wolf toy using the free pattern, you may want to add some personal touches to make it truly unique. Here are a few customization ideas to consider:
1. Embroidered Features
Instead of using buttons or plastic eyes, you can embroider the facial features of your wolf toy. This gives it a more handmade and personalized look. Use different colors of embroidery floss to create the eyes, nose, and mouth. You can also add details like eyelashes or rosy cheeks for a whimsical touch.
2. Clothing and Accessories
Dress up your wolf toy by knitting or sewing tiny clothing and accessories. You can make a cute hat, scarf, or sweater using leftover yarns from other knitting projects. Alternatively, you can repurpose old garments or fabric scraps to create unique outfits for your wolf toy. Adding a miniature backpack or bag can also make it even more adorable.
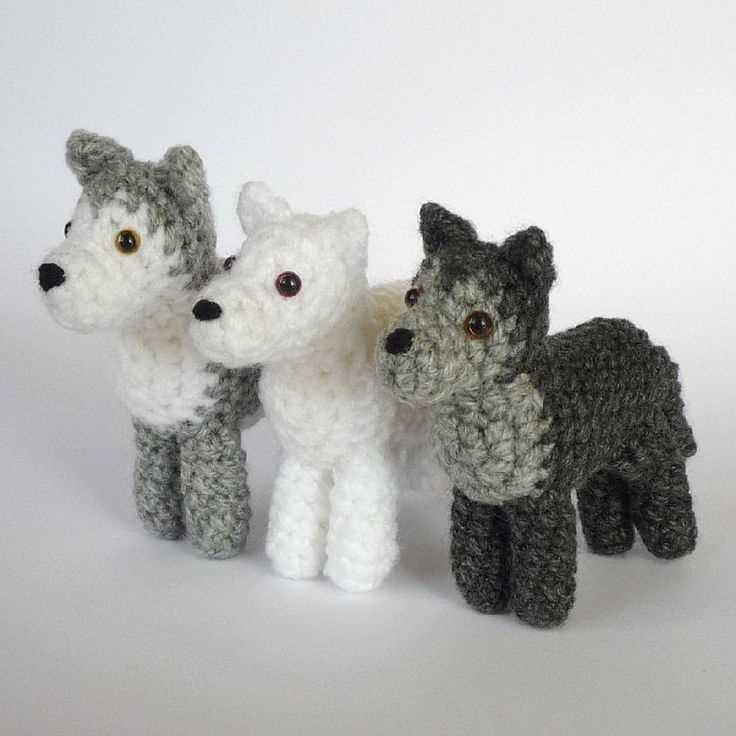
3. Multiple Wolves
If you enjoy knitting and want to expand your wolf toy collection, consider making multiple wolves in different colors or sizes. You can create a whole pack of wolves with different personalities by using various yarns and modifying the pattern slightly. This is a great option if you plan to give the toys as gifts or display them together as a charming home decor.
Remember, these are just some ideas to get you started. Feel free to get creative and add your own unique touches to make your wolf toy truly one-of-a-kind!
Share Your Finished Wolf Toy
Once you have completed knitting your wolf toy using the free pattern provided, we would love to see your finished creation! Sharing your finished project not only allows you to showcase your knitting skills, but also inspires and brings joy to other knitting enthusiasts.
How to Share:
- Take a photo of your finished wolf toy.
- Write a brief description of your knitting experience and any special details about your toy.
- Upload your photo and description to social media, such as Instagram or Facebook, using the hashtag #FreeWolfToyKnittingPattern.
We encourage you to join the online knitting community and connect with others who have also knitted the wolf toy. Share tips, experiences, and variations on the pattern. Your involvement can help create a supportive and inspiring environment for fellow knitters.
Note: By sharing your finished wolf toy, you give consent for others to use your photo for inspiration and educational purposes. Please respect the original pattern and credit the designer when sharing your work.
Summary
Knitting the wolf toy using the free pattern provided is a fun and rewarding project. This article has offered step-by-step instructions and tips to help you along the way. By following the pattern and adding your own personal touches, you can create a unique and adorable toy to enjoy or gift to someone special.
Remember to share your finished wolf toy on social media using the hashtag #FreeWolfToyKnittingPattern to inspire others and become part of the knitting community. Happy knitting!