
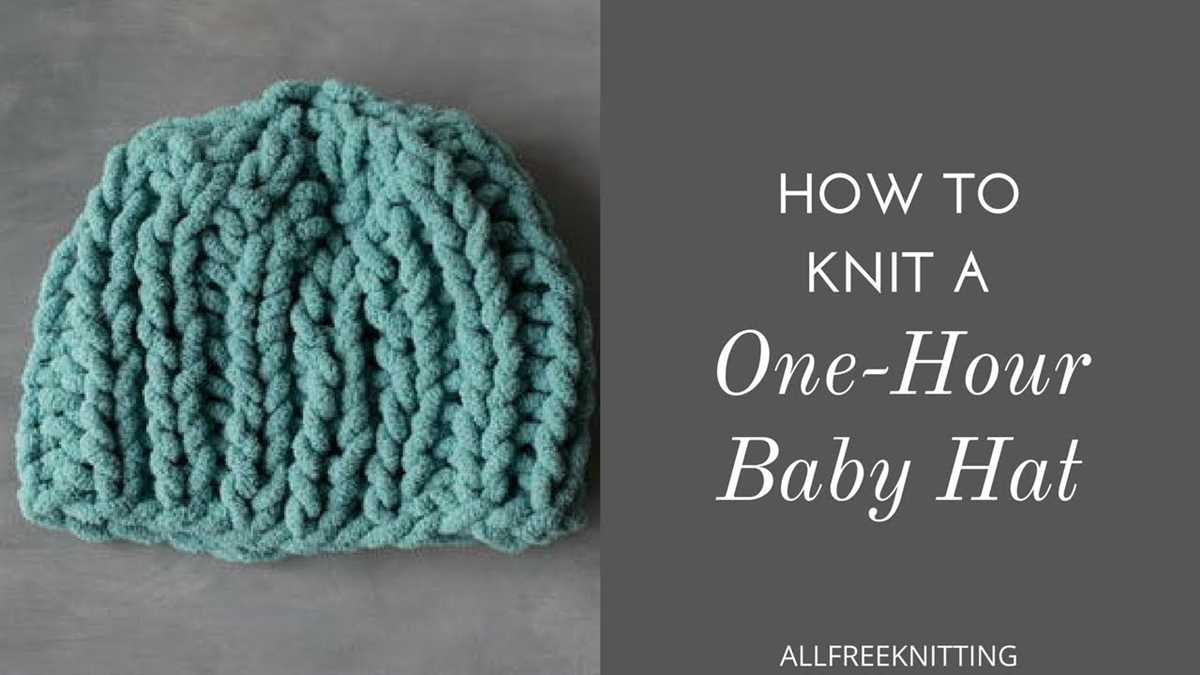
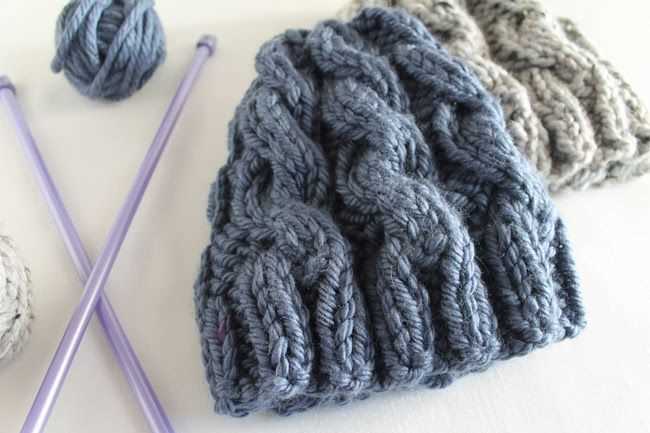
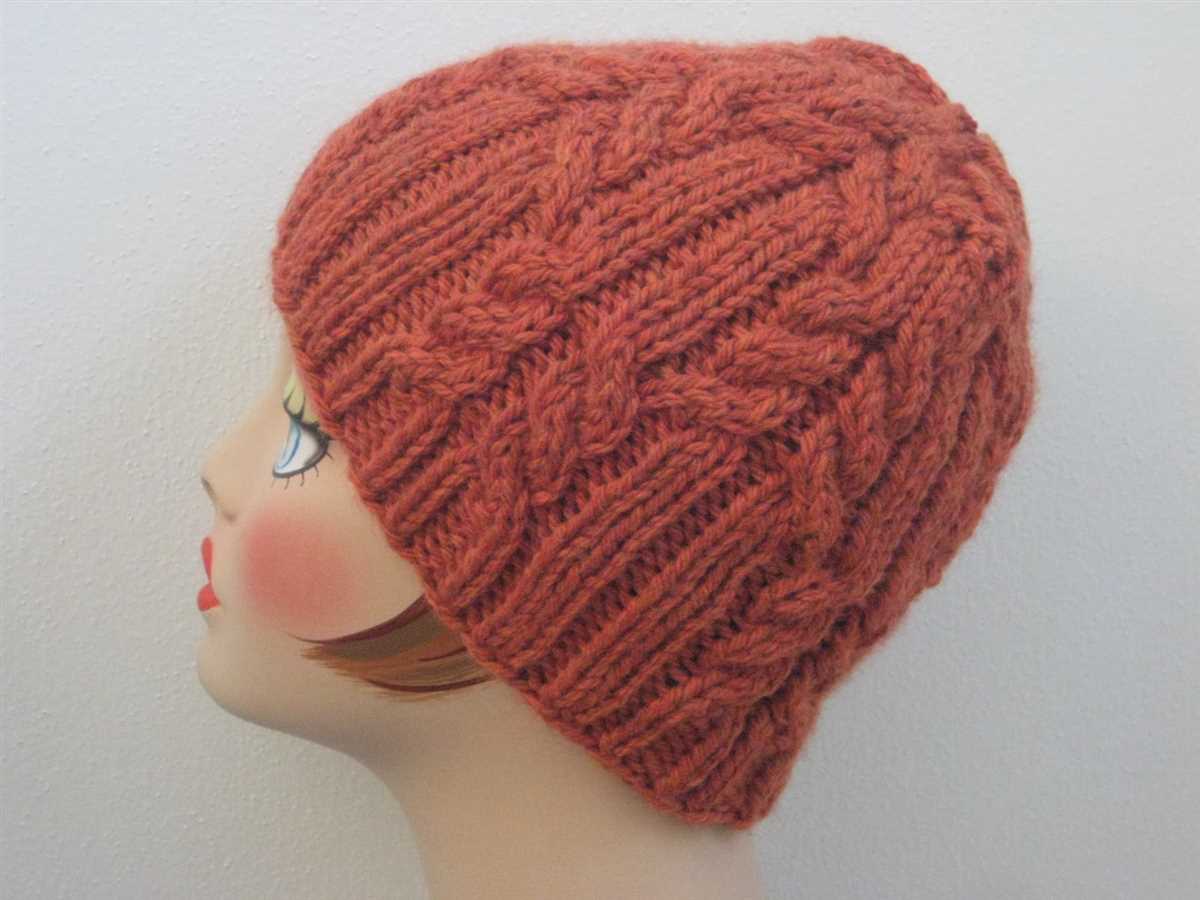
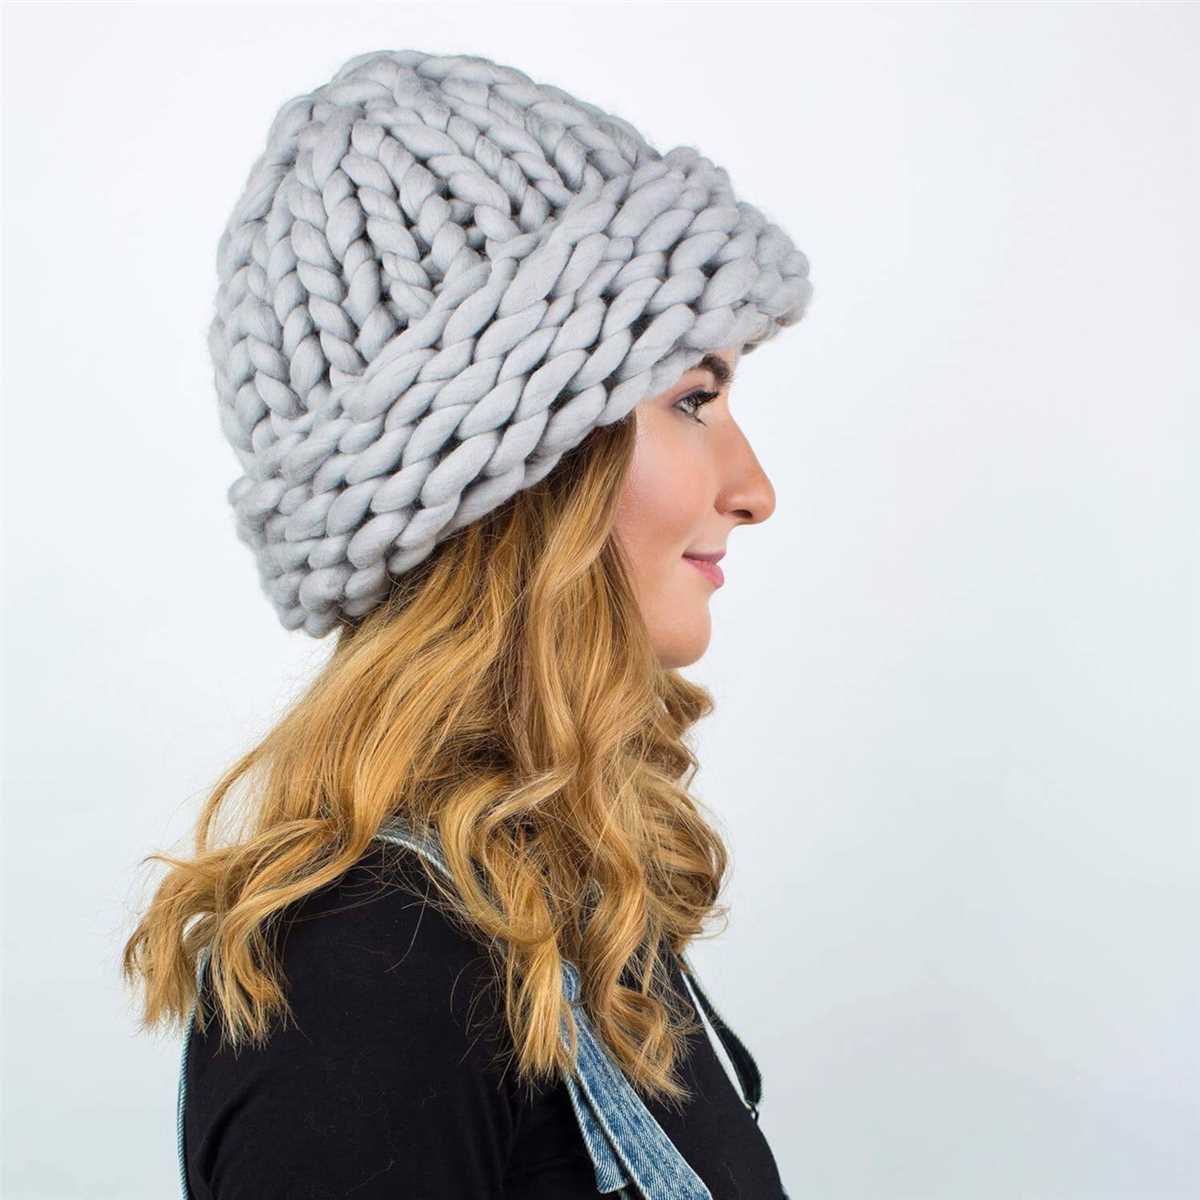
If you’re looking for a quick and easy knitting project, then a super bulky knit hat is just what you need! These hats are not only stylish, but they also knit up in no time thanks to the thicker yarn. Whether you’re a beginner knitter or an experienced one, this free super bulky knit hat pattern is perfect for anyone looking to make a cozy and warm hat.
This pattern calls for super bulky weight yarn and size 10.5 (6.5 mm) knitting needles, making it a great option for those who want instant gratification. The hat is worked in the round, which means there’s no seaming required. You can choose to knit it in one solid color or get creative with different color combinations. Either way, you’ll end up with a hat that will keep you warm during the chilly winter months.
So grab your yarn and needles and get ready to make your own super bulky knit hat. Whether you want to make one for yourself or as a gift for a loved one, this pattern is sure to be a hit. Follow the step-by-step instructions and soon you’ll have a stylish and cozy hat to wear all winter long.
Free Super Bulky Knit Hat Pattern
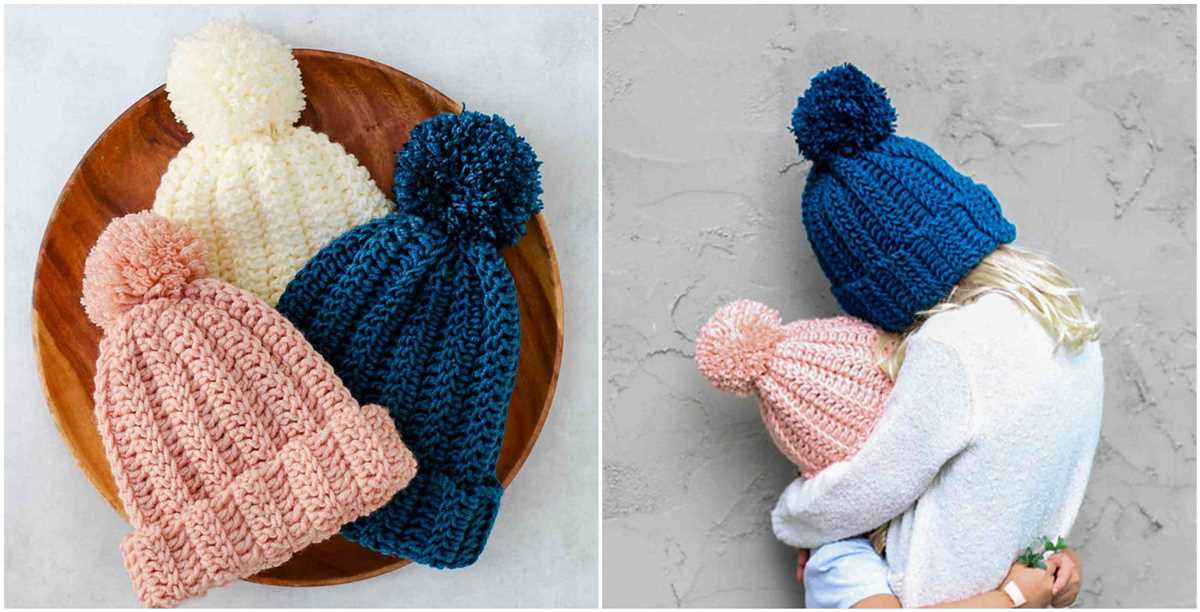
Are you looking for a cozy and stylish hat to keep you warm during the cold winter months? Look no further! We have a free super bulky knit hat pattern that is perfect for those chilly days. Whether you’re an experienced knitter or a beginner, this pattern is easy to follow and will result in a beautiful hat that you’ll love wearing.
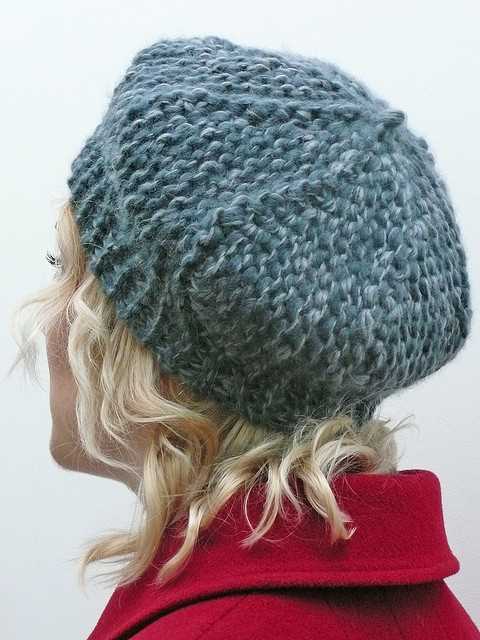
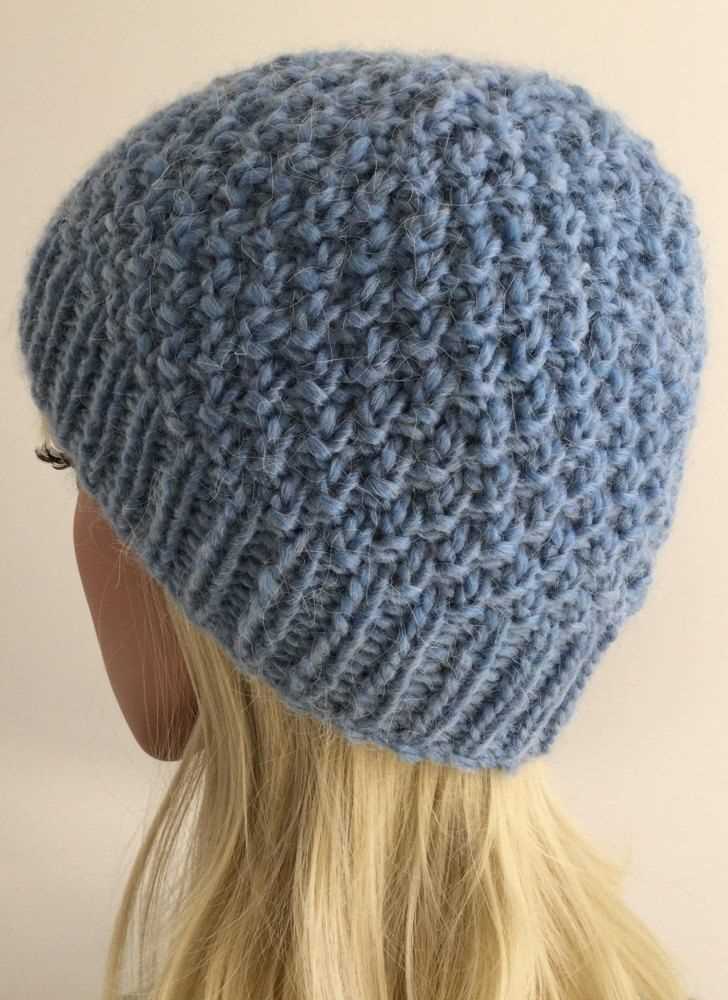
This pattern uses super bulky yarn, which means that it knits up quickly and creates a thick and warm fabric. The hat features a classic ribbed brim for a snug fit, and the body is knit in a simple and stylish seed stitch pattern. The finished hat has a slouchy, oversized look that is both trendy and comfortable.
Materials:
- Super bulky yarn
- Size US 15 (10 mm) circular needles
- Size US 15 (10 mm) double-pointed needles (DPNs)
- Tapestry needle
- Stitch marker
Instructions:
- Cast on 60 stitches using the circular needles.
- Place a stitch marker to mark the beginning of the round.
- Join in the round, being careful not to twist the stitches.
- Work in a *K1, P1* ribbing pattern for 2 inches.
- Switch to the seed stitch pattern: *K1, P1* for the first round, then *P1, K1* for the second round. Repeat these two rounds until the hat measures 10 inches from the cast-on edge.
- Decrease rounds: Switch to the double-pointed needles when necessary. Follow the pattern: *K2, P2* for the first round, then *P2, K2* for the second round. Repeat these two rounds, decreasing by 4 stitches evenly spaced throughout each decrease round, until 8 stitches remain.
- Cut the yarn, leaving a long tail. Thread the tail through the tapestry needle and slip the remaining stitches onto the needle. Pull tight to close the top of the hat.
- Weave in any loose ends and your super bulky knit hat is ready to wear!
This free super bulky knit hat pattern is perfect for beginners or advanced knitters who want a quick and satisfying project. The finished hat will keep you warm and stylish all winter long. So grab your needles and start knitting today!
Materials Needed
Before you get started on this super bulky knit hat pattern, make sure you have all the necessary materials. Here’s what you’ll need:
Yarn:
- Super Bulky Yarn: You’ll need approximately 100-120 yards of super bulky weight yarn. Choose a color that you love and that will keep you warm.
Needles:
- Size 10 (6mm) circular needles: These are used for the brim of the hat and can be either 16 inches or 24 inches long, depending on your preference.
- Size 11 (8mm) circular needles: These are used for the body of the hat and should be 24 inches long.
Notions:
- Tapestry needle: This is used for weaving in ends and sewing the top of the hat closed.
- Stitch marker: This will help you keep track of your rounds as you knit.
- Scissors: You’ll need a pair of scissors to cut your yarn.
Once you have gathered all of these materials, you’ll be ready to start knitting your super bulky hat. Happy knitting!
Gauge and Sizing
When it comes to knitting, understanding gauge is key. Gauge refers to the number of stitches and rows per inch, and it determines the size and fit of your finished project. To achieve the intended measurements and ensure a perfect fit, it’s important to match the gauge specified in the pattern.
To determine your gauge, you will need to knit a swatch using the recommended yarn and needle size. The pattern will usually provide a suggested gauge, such as “8 stitches and 12 rows = 4 inches in stockinette stitch.” Make sure to follow the pattern’s instructions on how to measure your swatch accurately.
The sizing for the free super bulky knit hat pattern typically includes options for different head circumferences, such as small, medium, and large. The pattern may also provide guidelines for customizing the fit by adjusting the length of the hat.
Before starting the project, be sure to measure the recipient’s head or refer to a standard sizing chart to determine the appropriate size. Keep in mind that the hat may stretch over time, so it’s usually better to err on the side of a slightly smaller size if in doubt.
Abbreviations
When working on a knitting project, it is important to understand and utilize the various abbreviations that are commonly used in knitting patterns. These abbreviations are used to make the patterns more concise and easier to follow. Here are some of the most common abbreviations you may come across:
- K: Knit.
- P: Purl.
- YO: Yarn over.
- K2tog: Knit two stitches together.
- P2tog: Purl two stitches together.
- SSK: Slip, slip, knit.
- PSSO: Pass slipped stitch over.
These abbreviations are often used to describe specific stitches or actions that need to be taken while knitting. For example, when a pattern instructs you to “K2tog,” it means that you should knit two stitches together as one. Similarly, when a pattern instructs you to “PSSO,” it means that you should pass the slipped stitch over the stitch just worked.
It is crucial to familiarize yourself with these abbreviations before starting a project as it will make it easier to understand and follow the instructions given in the pattern. You can find a comprehensive list of knitting abbreviations in most knitting books and online resources. And once you understand these abbreviations, you will be able to tackle a wide range of knitting patterns with ease.
Instructions
To create this super bulky knit hat, follow these step-by-step instructions:
Materials Needed:
- Super bulky weight yarn (approximately 100 yards)
- Size 15 (10 mm) knitting needles
- Yarn needle
- Scissors
Step 1: Cast On
Using the long tail cast on method, cast on 36 stitches onto your size 15 knitting needles.
Step 2: Knit Ribbing
Beginning with a knit stitch, work in a K1, P1 ribbing for 3 inches, or desired length, making sure to end on a wrong-side row.
Step 3: Work the Body
Switching to a stockinette stitch pattern (knit on right-side rows, purl on wrong-side rows), continue working until the hat measures approximately 8 inches from the cast on edge. You can adjust the length to fit your preference or head size.
Step 4: Decrease the Crown
Switch to double-pointed needles or a circular needle when necessary as the stitch count decreases. Begin decreasing by working the following rounds:
- Round 1: *K2, k2tog; repeat from * to the end of the round (27 stitches remain).
- Round 2: Knit all stitches.
- Round 3: *K1, k2tog; repeat from * to the end of the round (18 stitches remain).
- Round 4: Knit all stitches.
- Round 5: *K2tog; repeat from * to the end of the round (9 stitches remain).
Using the yarn needle, thread the yarn through the remaining stitches and pull tight to secure.
Step 5: Finishing
Weave in any loose ends with the yarn needle. Trim off any excess yarn. Give your hat a final gentle stretch to even out the stitches.
Now your cozy super bulky knit hat is ready to wear or gift to a loved one!
Casting On
When starting a knitting project, the first step is to cast on. This creates the foundation row of stitches that will be used to build the rest of the hat. There are several methods of casting on, but for this free super bulky knit hat pattern, we will be using the long-tail cast on method.
To begin, you will need to estimate the amount of yarn needed for the long tail. A good rule of thumb is to measure out a length of yarn that is approximately three times the width of the finished hat. Once you have determined the length, make a slip knot at the end of the yarn.
Next, hold the slip knot in your left hand and place the needle in your right hand. Insert the needle through the slip knot from front to back, making sure that the tail end of the yarn is on the left and the working yarn is on the right.
Now, using your thumb and index finger of your right hand, bring the working yarn over the needle, creating a loop. Insert the needle into the loop from back to front, and then pull the loop through the slip knot. This will create your first stitch.
Continue this process, creating stitches in the same manner, until you have cast on the required number of stitches for your pattern. It is important to keep an even tension as you work, ensuring that your stitches are not too tight or too loose.
Once you have cast on all of your stitches, you are ready to begin knitting the first row of your super bulky hat. The cast on edge will serve as the bottom of the hat, creating a nice finished edge. Now you can continue with the rest of the pattern and enjoy creating a cozy and stylish hat!
Knitting in Rounds
Knitting in rounds is a technique commonly used to create seamless and continuous projects, such as hats, cowls, and sweaters. It involves knitting in a circular motion instead of going back and forth. In this method, you can use double-pointed needles, circular needles, or even a technique called magic loop.
One major advantage of knitting in rounds is that you don’t have to sew or seam your finished project. Since there are no seams, the final result looks more professional and polished. It also makes the project more comfortable to wear since there are no bulky seams to irritate the skin.
When knitting in rounds, you have to be mindful of the number of stitches to cast on, as they will determine the size of your project. You might want to use a stitch marker to keep track of your rounds, especially if you’re working on a large project with many rows. Another useful tip is to periodically count your stitches to ensure you’re on track.
There are various patterns available for knitting in rounds, including the popular free super bulky knit hat pattern. This pattern is perfect for beginners as it uses chunky yarn and large needles, making it a quick and easy project. With just a few simple steps, you can create a cozy and stylish hat to keep you warm during the colder months.
To knit in rounds using this pattern, you’ll need to know basic knitting techniques such as casting on, knitting, and purling. It’s also helpful to know how to decrease stitches to shape the crown of the hat. The pattern will guide you through the process and provide you with the necessary instructions to complete the project.
Knitting in rounds can be a fun and rewarding technique to master. It allows you to create seamless and stylish projects, and with practice, you can tackle more complex patterns and designs. So grab your needles and yarn and give knitting in rounds a try!
Decreasing
Decreasing is an important technique in knitting that allows you to shape your project by reducing the number of stitches. It is commonly used to narrow the width of a garment or to create a more fitted look. In the context of the free super bulky knit hat pattern, decreasing is used to shape the crown of the hat and create a snugger fit around the head.
In the pattern, the decreasing technique is specified using certain instructions, such as “decrease” or “k2tog” (knit two stitches together). These instructions tell you how to manipulate the stitches to achieve the desired effect. For example, if the pattern instructs you to “decrease 2 stitches evenly across the round,” you would evenly distribute the decreases throughout the round by knitting two stitches together at regular intervals.
When decreasing, it is important to maintain the stitch pattern and tension of your knitting. This ensures that the decrease stitches blend seamlessly with the rest of the project. Pay attention to any specific instructions or stitch counts provided in the pattern to ensure that you are accurately decreasing the stitches as intended.
Overall, decreasing is a fundamental technique in knitting that allows you to create shape and structure in your projects. Whether you’re making a hat, sweater, or any other item, understanding how to decrease stitches is essential for achieving the desired fit and look. Practice this technique and experiment with different patterns to become more comfortable with decreasing in your knitting projects.
Finishing
Once you have completed knitting your super bulky hat, it’s time to finish it off and make it ready to wear. There are a few steps to take in order to give your hat a polished and professional look.
1. Bind off
The first step is to bind off your stitches to secure them and prevent any unravelling. To bind off, knit the first two stitches, then use the left needle to lift the first stitch over the second stitch and off the right needle. Continue this process until all stitches are bound off, and then cut the yarn, leaving a long tail.
2. Weave in ends
Next, use a tapestry needle to weave in the ends of your yarn. Start by threading the needle with the long tail you left when binding off. Then, insert the needle through the stitches on the wrong side of the hat, following the path of the yarn. Repeat this process for any remaining loose ends, being sure to weave in the ends securely to prevent them from coming undone.
3. Block the hat
To give your hat its final shape and ensure the stitches lay flat, it’s a good idea to block it. You can do this by wetting the hat with water or steam, gently shaping it to the desired size, and then allowing it to dry flat. This step will help to even out any uneven tension and give your hat a more professional finish.
4. Add embellishments (optional)
If you want to personalize your hat or add some extra flair, you can consider adding embellishments such as pom poms, buttons, or a decorative trim. This step is optional, but can be a fun way to customize your hat and make it unique.
Once you have finished all these steps, your super bulky hat is ready to be worn and enjoyed. Whether you keep it for yourself or give it as a gift, you can be proud of your finished project and the cozy accessory you have created.
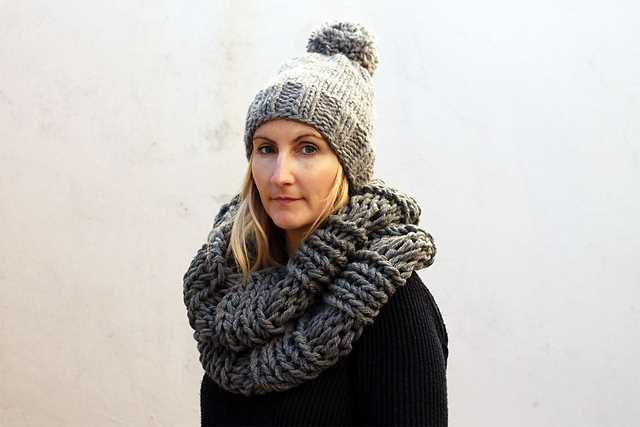
Variations
There are many ways to customize and personalize the free super bulky knit hat pattern. Here are a few ideas to help you get started:
1. Change the yarn
While the pattern calls for super bulky yarn, you can experiment with different yarn weights to achieve a different look and feel. Try using a chunky yarn for a slightly lighter and more airy hat, or go even chunkier with jumbo yarn for an extra cozy and oversized hat.
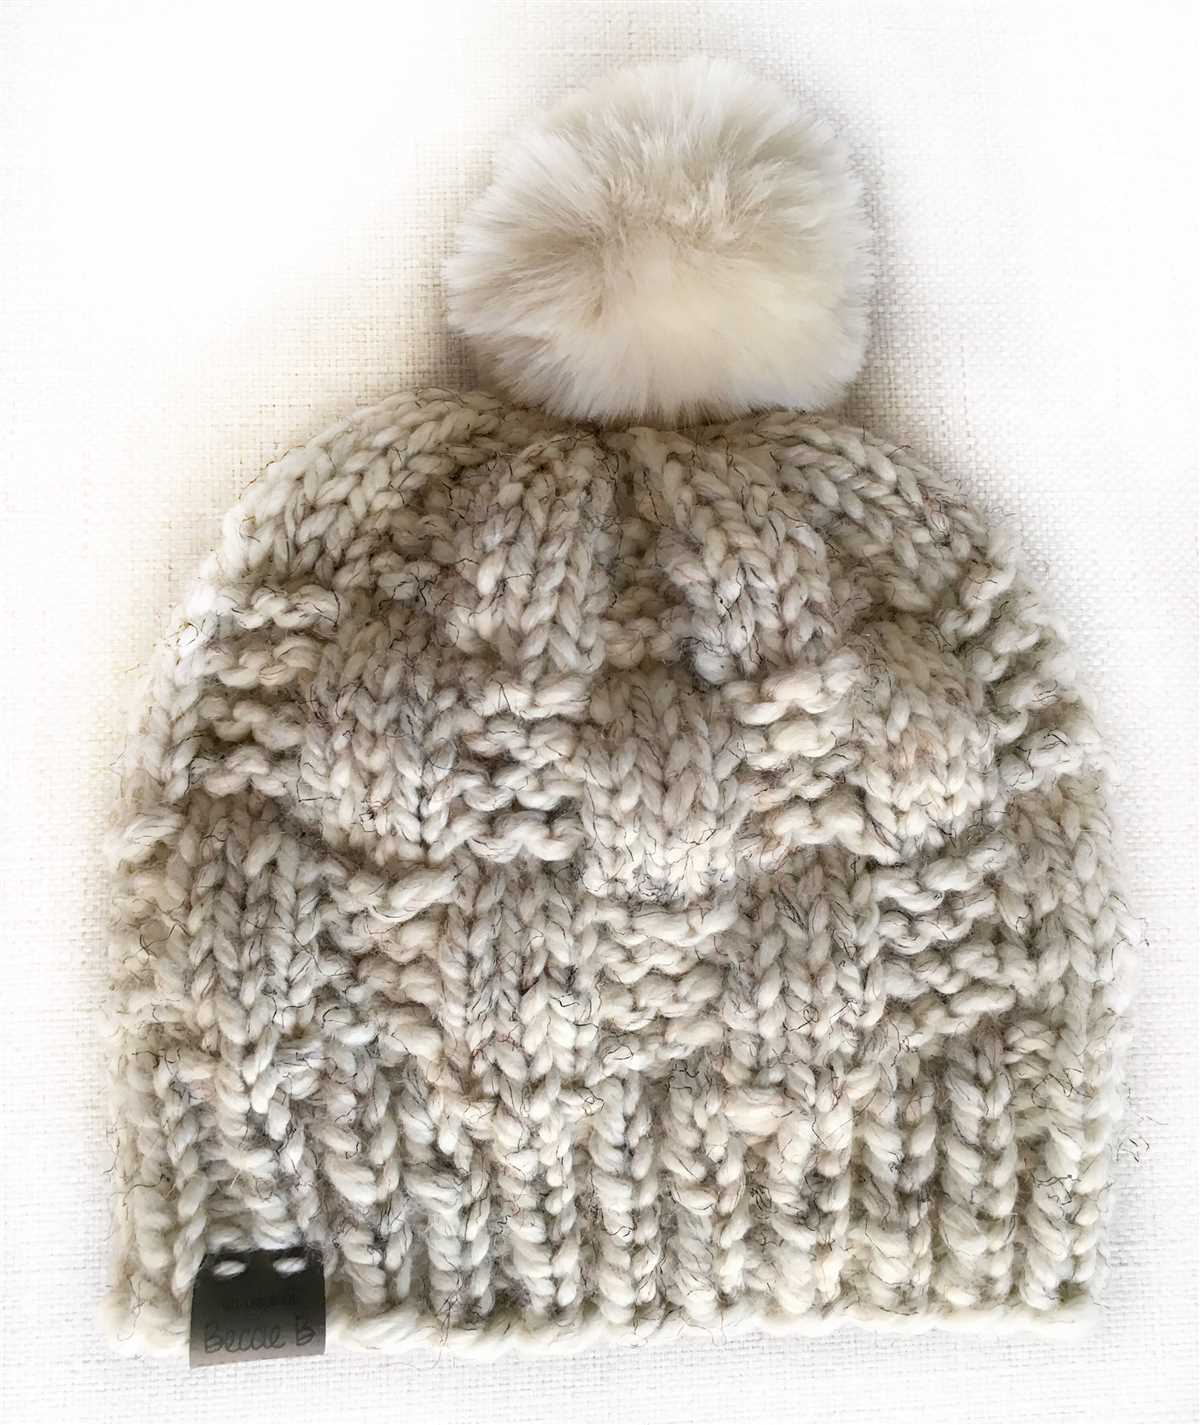
2. Add a pom-pom
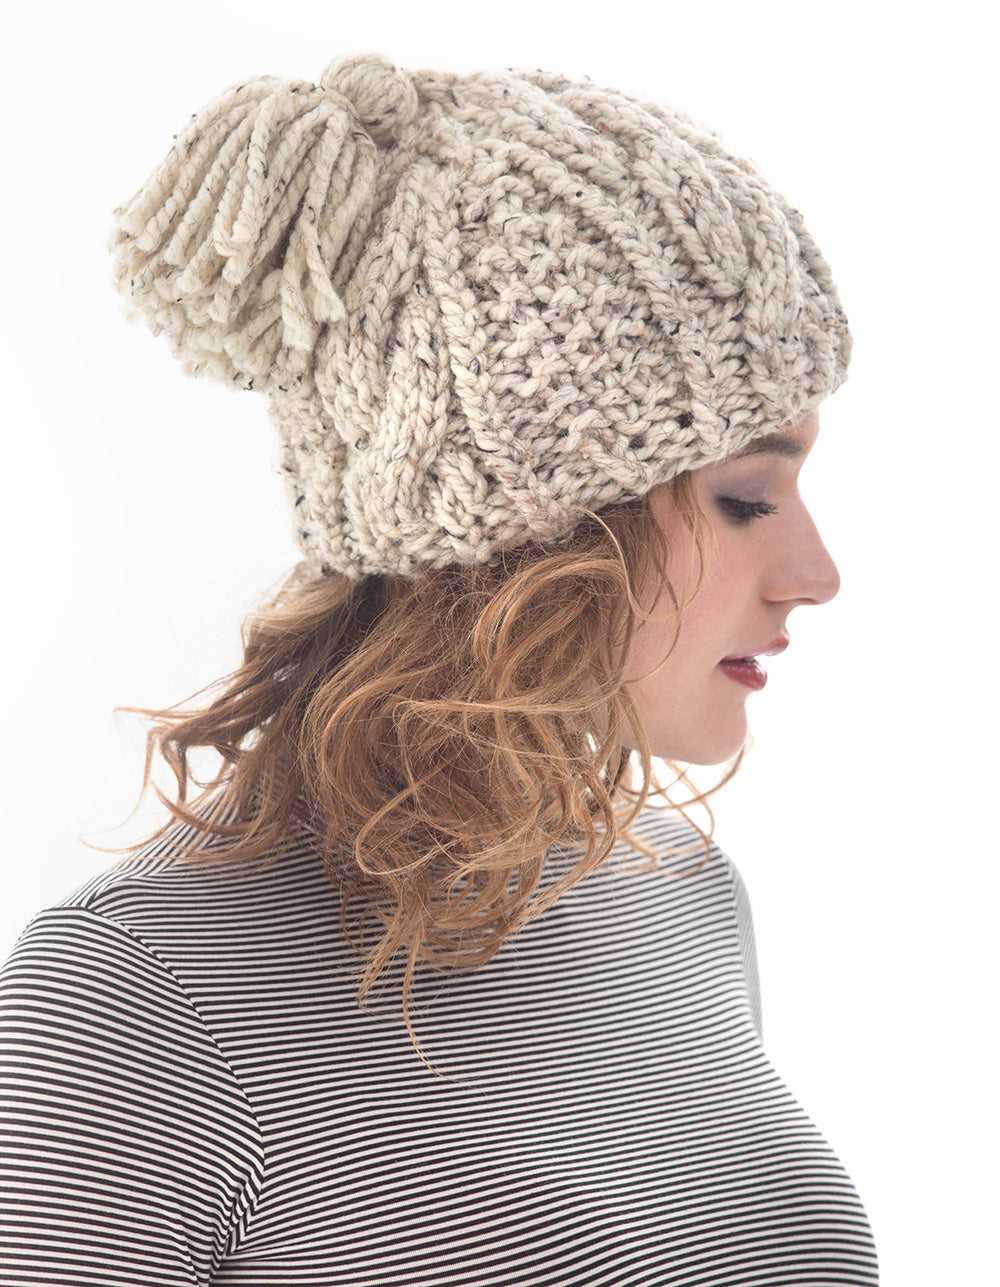
For an extra playful touch, consider adding a pom-pom to the top of your hat. You can make one using leftover yarn from your project or purchase a pre-made pom-pom in a complementary color. Attach it securely to the top of your hat using a yarn needle.
3. Try a different stitch pattern
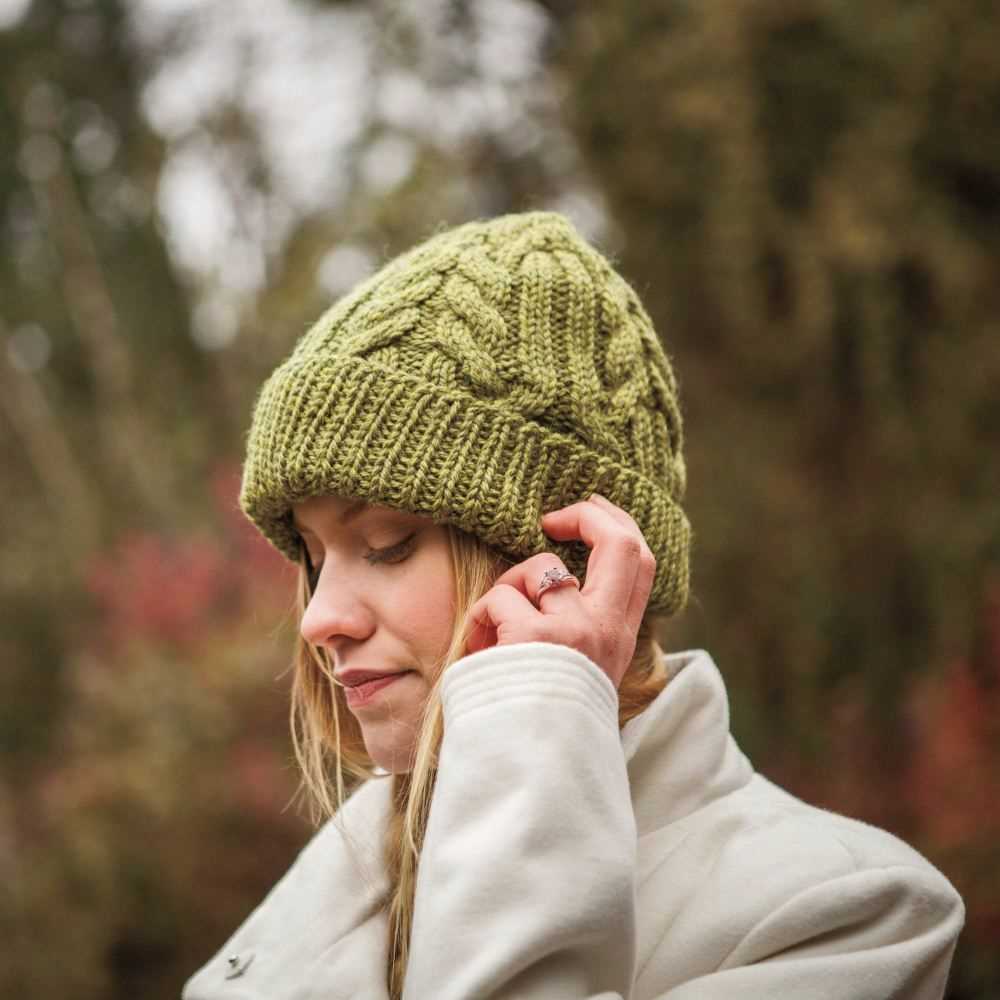
While the Super Bulky Knit Hat pattern uses a simple rib stitch, you can experiment with different stitch patterns to create a unique texture. Consider trying a seed stitch, cable stitch, or even a lace pattern. Just be sure to adjust your gauge and stitch count accordingly.
4. Add embellishments
To make your hat truly one-of-a-kind, consider adding embellishments such as buttons, patches, or embroidery. Sew on a cute button for a pop of color, or add a personalized patch or embroidery design that reflects your individual style. Get creative and have fun with it!
Remember, the free super bulky knit hat pattern is just a starting point. Feel free to unleash your creativity and make the hat uniquely yours. Whether you change the yarn, add a pom-pom, experiment with stitches, or add embellishments, the possibilities for customization are endless. Happy knitting!
Tips and Tricks
When knitting a super bulky hat, there are a few tips and tricks that can make the process easier and more enjoyable. Here are some helpful suggestions:
1. Choose the Right Yarn
When selecting yarn for your super bulky knit hat, make sure to choose a yarn that is suitable for this weight category. Look for yarns specifically labeled as super bulky or chunky. This will ensure that your hat turns out the right size and has the desired texture.
2. Use Thick Needles
To achieve the chunky look and feel of a super bulky hat, it’s important to use the appropriate needle size. Opt for thick needles, such as US size 13 or 15, to accommodate the bulky yarn. This will also help you knit more quickly, as larger needles cover more ground with each stitch.
3. Check Your Gauge
Before starting your super bulky hat, it’s a good idea to check your gauge. This will help ensure that your hat turns out the correct size. Use the recommended needle size and yarn weight to knit a gauge swatch. Measure the number of stitches and rows per inch to compare against the pattern’s gauge. Adjust your needle size if necessary to achieve the correct gauge.
4. Use Circular Needles
When knitting a super bulky hat, it can be challenging to fit the stitches onto straight needles. Consider using circular needles, even if you don’t plan on knitting in the round. Circular needles provide more space for the stitches and make it easier to maneuver the bulky yarn.
5. Take Breaks
Working with super bulky yarn can be physically demanding on your hands and wrists. Take regular breaks to rest and stretch your hands. This will help prevent fatigue and discomfort during the knitting process. Consider incorporating hand exercises or using ergonomic knitting tools to reduce strain.
6. Double Check Measurements
Before finishing your super bulky hat, double check the measurements. Compare the length and circumference of your hat to the pattern’s specifications. Make any necessary adjustments to ensure the hat fits properly. Keep in mind that super bulky yarn can be quite stretchy, so don’t be afraid to block and shape your hat as needed.
By following these tips and tricks, you’ll be well-equipped to knit a cozy and stylish super bulky hat. Enjoy the process and have fun with your knitting project!
Final Thoughts
Knitting is a wonderful craft that allows you to create beautiful and functional items with your own hands. With this free super bulky knit hat pattern, you can easily make a stylish and cozy hat to keep yourself or your loved ones warm during the colder months.
This pattern is perfect for knitters of all skill levels, from beginners to more advanced knitters. The super bulky yarn used in this pattern makes it quick and easy to complete, so you can have a finished hat in no time.
Whether you’re knitting this hat for yourself or as a gift, the texture and thickness of the super bulky yarn will provide extra warmth and comfort. You can even customize the pattern by adding pom poms, buttons, or other embellishments to make it unique.
So grab your knitting needles and some super bulky yarn, and start creating your own cozy hats with this free pattern. Whether you’re a seasoned knitter or just getting started, you’ll love the simplicity and versatility of this pattern. Happy knitting!
Q&A:
What is a super bulky knit hat?
A super bulky knit hat is a type of hat that is made using thick yarn and large knitting needles, resulting in a chunky and warm finished product.
Where can I find a free super bulky knit hat pattern?
You can find free super bulky knit hat patterns on various websites, such as knitting blogs, knitting pattern websites, and online knitting communities. Some popular websites for finding free knitting patterns include Ravelry, Lion Brand Yarn, and AllFreeKnitting.
How difficult is it to knit a super bulky knit hat?
Knitting a super bulky knit hat can be quite easy, especially for beginners. The thick yarn and large knitting needles make the stitches easier to see and manipulate. However, if you’re new to knitting, it’s always helpful to follow a pattern and practice with simpler projects before attempting a super bulky hat.
What materials do I need to knit a super bulky hat?
To knit a super bulky hat, you will need super bulky weight yarn, large knitting needles (usually size US 11 or larger), a yarn needle for weaving in ends, and any additional decorative elements or embellishments you may want to add to your hat.