
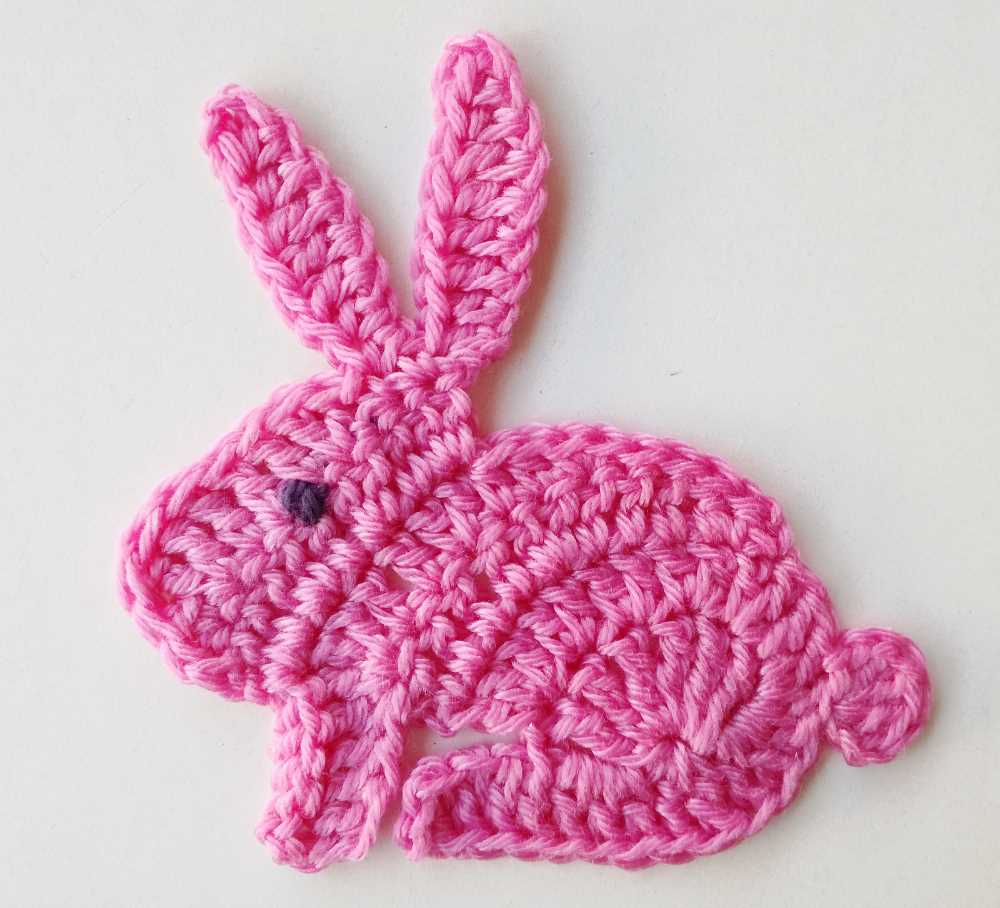
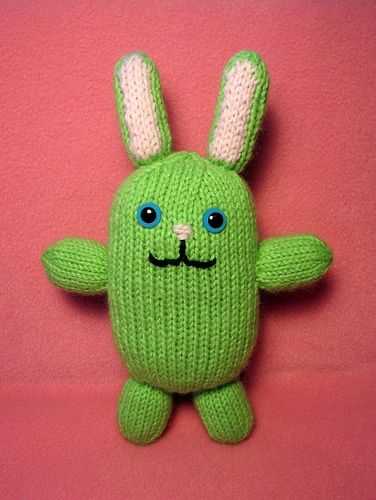
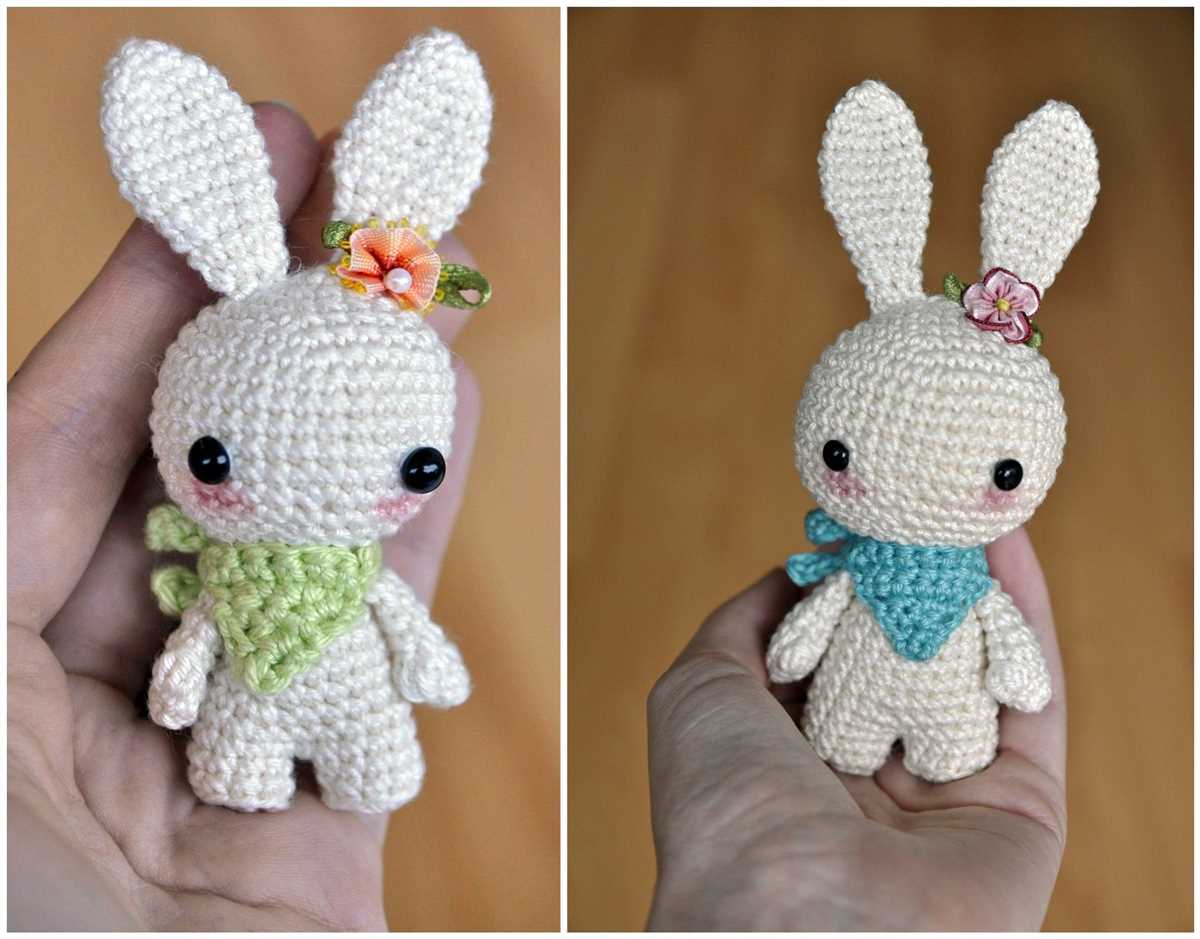
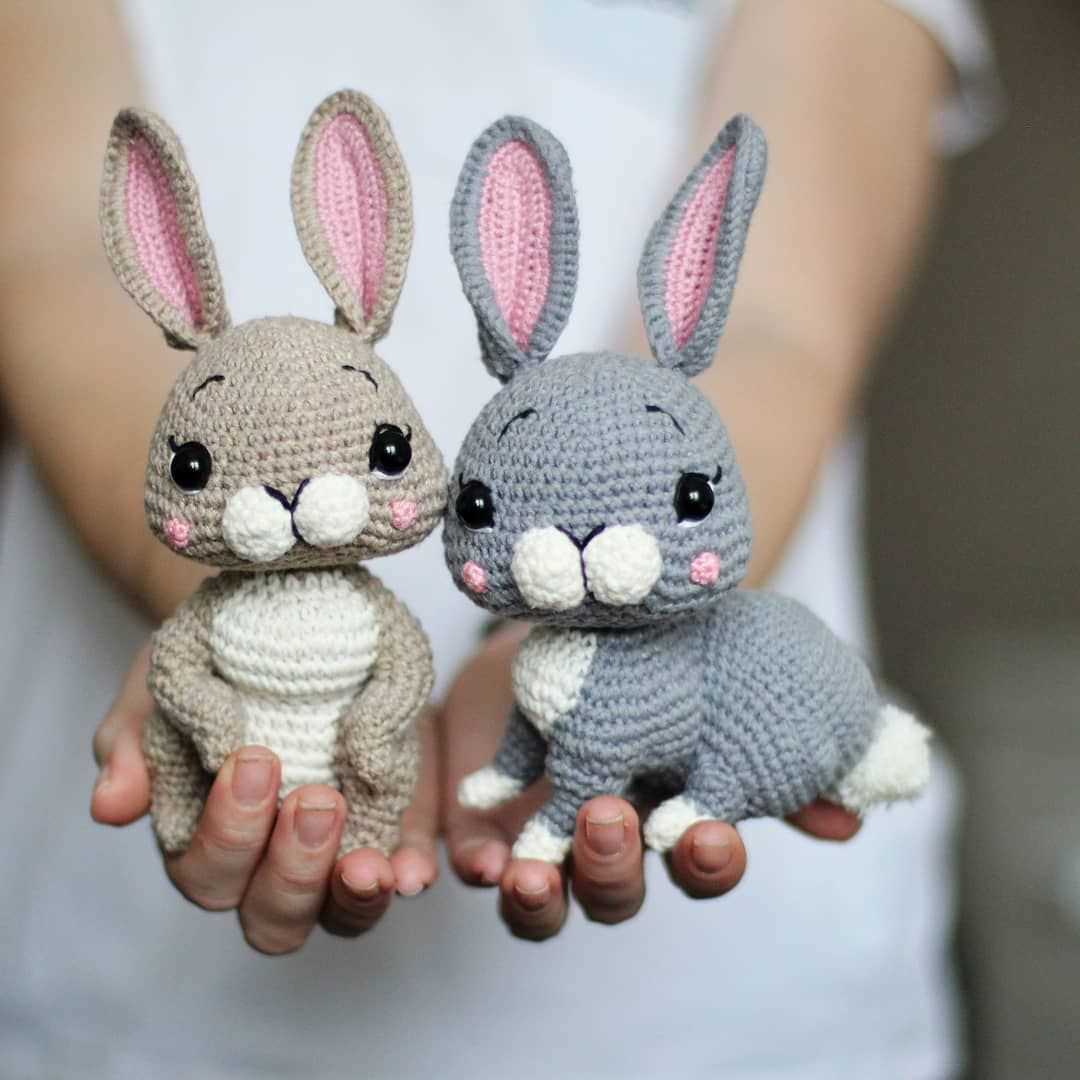
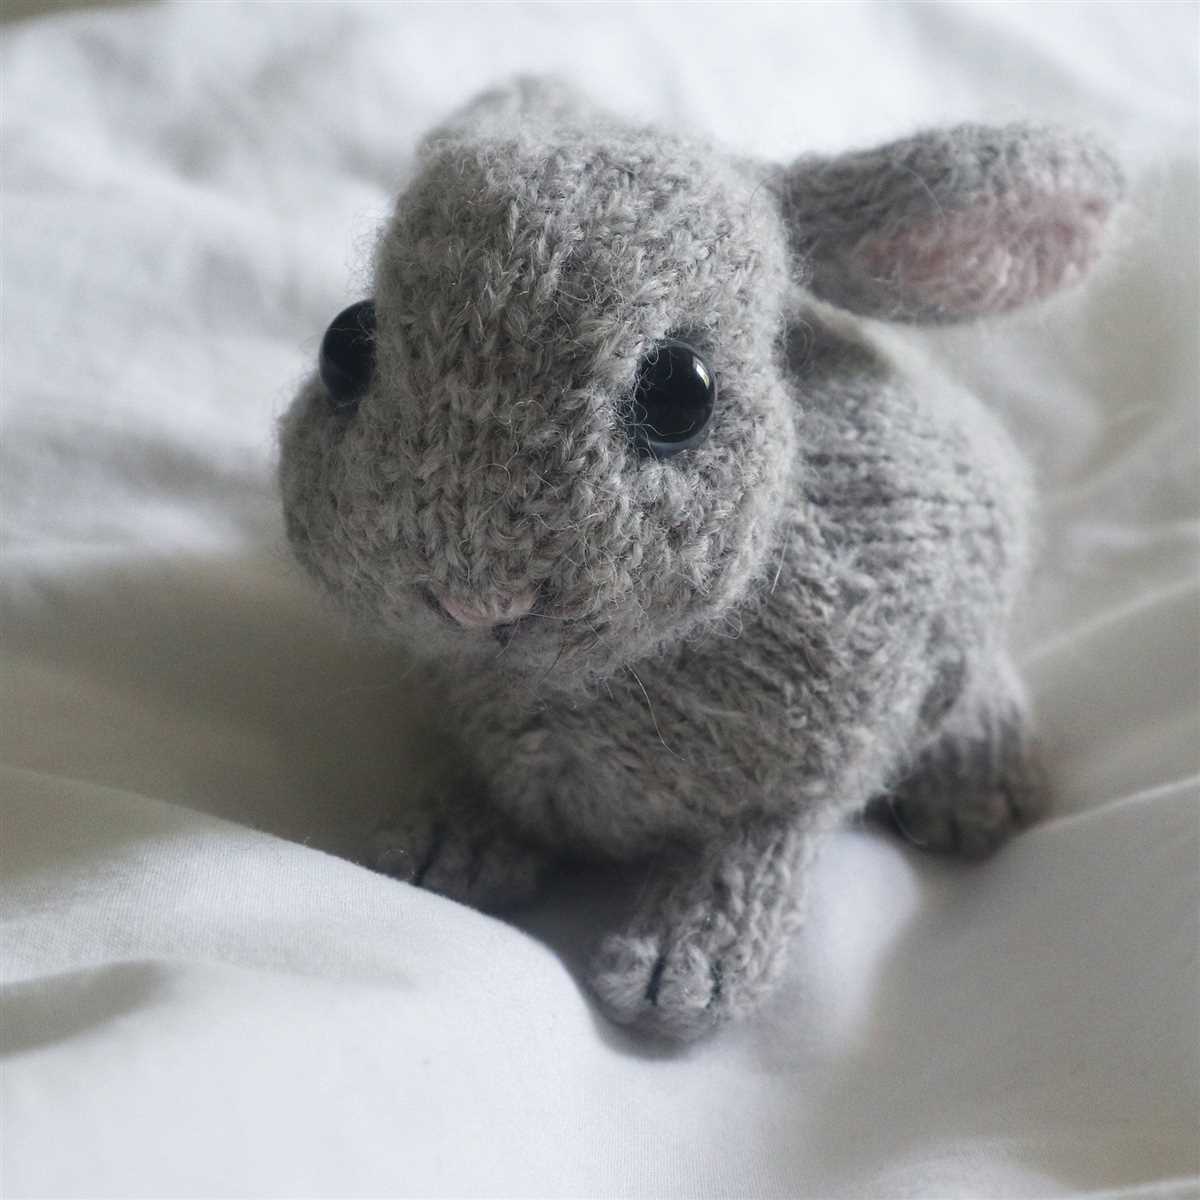
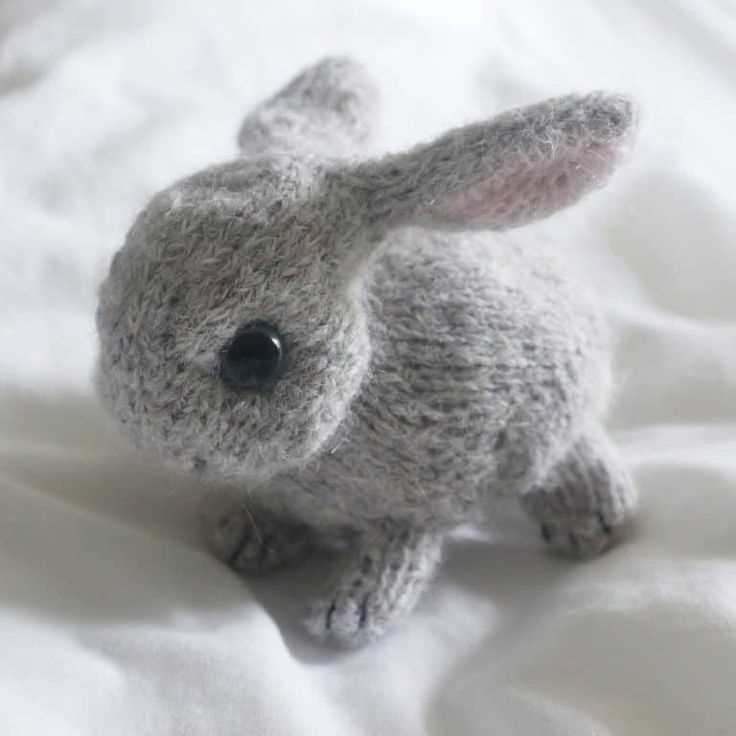
Welcome to our website, where you can find a free knitting pattern for a small bunny toy. This adorable bunny is a perfect project for all knitting enthusiasts, whether you’re a beginner or an experienced knitter. The pattern is easy to follow and includes step-by-step instructions, making it suitable for all skill levels.
Knitting toys can be a fun and rewarding hobby. Not only do you get to create something cute and cuddly, but you also get to practice and improve your knitting skills. This bunny pattern is a great way to try out new techniques, such as knitting in the round and sewing seams. It’s also a great project for using up leftover yarn, as it only requires small amounts of yarn in different colors.
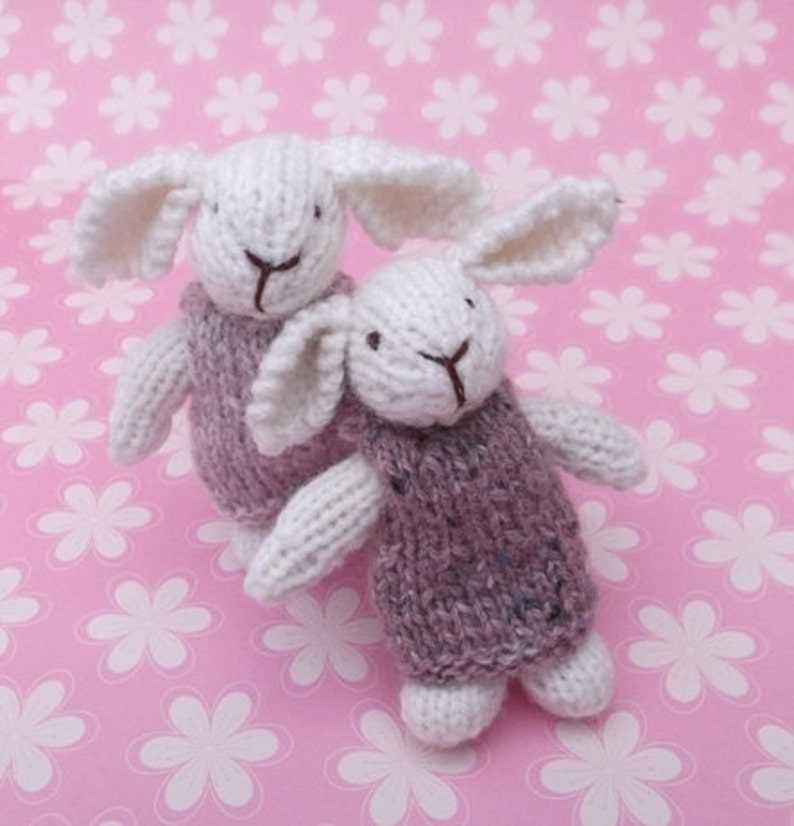
The finished bunny toy makes a perfect gift for children or a cute decoration for your home. You can customize your bunny by choosing your favorite colors and adding embellishments such as a bow or a ribbon. Whether you’re making it for yourself or for someone special, this small bunny knitting pattern is sure to bring joy and smiles.
Materials required for knitting a small bunny
To knit a small bunny, you will need a few essential materials. These materials will enable you to create a cute and cuddly bunny toy for yourself or your loved ones. Let’s take a look at what you’ll need:
- Yarn: Choose a soft and fluffy yarn in the color of your choice. It’s best to use a medium-weight yarn to create a small bunny with the desired texture and feel.
- Knitting Needles: You’ll need a pair of knitting needles in the appropriate size for the yarn you’ve chosen. Check the yarn label to determine the recommended needle size.
- Stuffing: To give your small bunny a huggable and plushy feel, you’ll need some stuffing material. Polyester fiberfill is commonly used and can be easily obtained from craft stores.
- Scissors: A sharp pair of scissors will be handy for cutting the yarn and trimming any excess.
- Tapestry Needle: A tapestry needle with a large eye is essential for weaving in loose ends and stitching the various parts of the bunny together.
- Black Embroidery Floss or Yarn: You’ll need some black embroidery floss or yarn to embroider the bunny’s eyes and nose, giving it a cute and animated expression.
These materials are easily accessible, and you can find them at local craft stores or online. Once you have gathered all the necessary materials, you’ll be ready to start knitting your small bunny and bring it to life!
Yarn
Yarn is an essential material for knitting and crocheting projects. It is made by spinning fibers into long strands. One of the most popular types of yarn is wool, which comes from sheep. Wool is known for its warmth and durability, making it perfect for cozy projects like sweaters and blankets. Other types of yarn include cotton, acrylic, and nylon, each with its own unique properties and uses.
When choosing yarn for a project, there are a few factors to consider. The weight or thickness of the yarn will determine the size of the stitches and the overall look of the finished piece. Thicker yarns create bulkier, faster projects, while thinner yarns create delicate and intricate designs. Yarn also comes in a wide range of colors and textures, allowing for endless creativity and customization.
Whether you’re a beginner or an experienced knitter, having a variety of yarn in your collection is essential. It allows you to experiment with different textures, colors, and techniques. Plus, there’s something incredibly satisfying about watching a ball of yarn transform into a beautiful finished project.
- Types of Yarn:
- Wool
- Cotton
- Acrylic
- Nylon
- Factors to Consider when Choosing Yarn:
- Weight or Thickness
- Color
- Texture
Having a variety of yarn in your stash allows you to start new projects whenever inspiration strikes. It’s always a good idea to have a mix of different weights and colors, so you can create everything from lightweight summer tops to cozy winter accessories. Happy knitting!
Knitting Needles
When it comes to knitting, one of the most essential tools is the knitting needles. These are long, slender rods with pointed ends that are used to create the intricate loops and stitches that make up a knitted fabric. Knitting needles come in various sizes and materials, each with their own unique qualities and advantages.
Size – Knitting needles are available in different sizes, typically ranging from 2mm to 15mm in diameter. The size of the needles determines the gauge or tension of the stitches, as well as the size of the final knitted piece. Thinner needles are used for fine, delicate projects, while thicker needles are better suited for chunky knits.
Material – Knitting needles can be made from various materials, including metal, wood, bamboo, and plastic. Each material offers different characteristics that can affect the knitting experience. Metal needles are durable and smooth, allowing for easy stitch glide. Wood and bamboo needles are lightweight and warm to the touch, making them comfortable to work with. Plastic needles are affordable and flexible, ideal for beginners.
Types – There are different types of knitting needles to accommodate different knitting techniques. Straight needles are the most common type, with a pointed end on one side and a stopper on the other. Double-pointed needles have points on both ends, allowing for the knitting of small circular projects like socks and mittens. Circular needles have a flexible cable connecting two needle tips, enabling the knitting of larger projects in the round.
Caring for Your Needles – To ensure the longevity and performance of your knitting needles, it’s important to take care of them properly. Always store your needles in a protective case or pouch to prevent damage or loss. Avoid exposing them to extreme temperatures or moisture, as this can cause warping or rust. Regularly clean your needles and remove any yarn or fiber residues by gently wiping them with a soft cloth or using a mild cleaner if needed.
Stuffing
When it comes to knitting a small bunny, choosing the right stuffing is crucial to ensure the soft and cuddly feel of the finished toy. Fiberfill stuffing is a popular choice among knitters and crafters. It is a synthetic material that is lightweight, fluffy, and hypoallergenic. Fiberfill stuffing provides excellent shape retention and bounce, making it perfect for creating plush and squeezable toys.
Wool stuffing is another option for those who prefer a more natural and eco-friendly choice. It is made from the fleece of sheep or other animals, and it provides a warm and soft feel to the toy. However, wool stuffing may compress over time and lose its bounce, so it may require occasional fluffing.
Before stuffing the bunny, ensure that the knitting is securely closed and there are no holes or gaps. This will prevent the stuffing from peeking through and give a neat and polished appearance to the toy. To stuff the bunny, start by using small amounts of stuffing at a time. This will help you achieve an even distribution and avoid overfilling the toy, which could result in a lumpy appearance.
When stuffing the bunny, pay attention to the desired firmness. Some knitters prefer a firmly stuffed toy, while others may prefer a softer and more squishy feel. Experiment with different amounts of stuffing to achieve the desired result. Additionally, consider using pellets or weighted stuffing in the bunny’s bottom to give it a weighted feel and help it sit upright.
Once the bunny is fully stuffed, use a blunt-end stuffing tool or the end of a knitting needle to push the stuffing into all the corners and crevices, ensuring a smooth and even distribution. Take care not to overstuff or stretch the knitting while doing this. Finally, firmly secure the opening with a sewing thread and needle, ensuring that the stuffing remains in place and the toy is well-closed. Now, your small bunny is ready for cuddles and playtime!
Step-by-step instructions for knitting a small bunny
Knitting a small bunny can be a fun and rewarding project for both beginners and experienced knitters. With these step-by-step instructions, you’ll be able to create a cute bunny toy in no time.
Materials:
- Knitting needles (size 7 or as per your preference)
- Yarn (choose a soft and colorful yarn that suits your taste)
- Scissors
- Yarn needle
- Toy stuffing
Instructions:
- Start by casting on 20 stitches using the long-tail cast-on method.
- Knit every row using the garter stitch pattern for the body of the bunny. Continue until the body measures about 5 inches in length.
- Next, shape the head by decreasing 2 stitches at the beginning and end of every row until you have 6 stitches left.
- Cut the yarn, leaving a long tail. Thread the tail through the last 6 stitches, pull tight to close the head, and secure the yarn.
- For the ears, pick up 8 stitches along the side of the head. Knit in stockinette stitch for 12 rows. Repeat for the second ear.
- To make the arms and legs, pick up 6 stitches along the side of the body. Knit in stockinette stitch for 8 rows. Repeat for the second arm and leg.
- For the tail, cast on 6 stitches. Knit every row for 8 rows. Cut the yarn, leaving a long tail, and thread it through the stitches. Pull tight to close the tail.
- Using the yarn needle, sew the ears, arms, legs, and tail onto the body of the bunny. Make sure to stuff the body lightly with toy stuffing before closing it up.
- Finally, embroider eyes and a nose on the bunny’s face using a contrasting color of yarn.
- Your small knitted bunny is complete! Enjoy your adorable creation or gift it to someone special.
Cast on stitches
When starting a knitting project, the first step is to cast on stitches. Casting on is the process of creating the initial row of stitches on the knitting needle, which serve as the foundation for the rest of the project. There are several different methods for casting on stitches, including the long-tail cast on, the backward loop cast on, and the cable cast on.
One popular method is the long-tail cast on, which is commonly used for most knitting projects. To begin, you will need a ball of yarn and a pair of knitting needles. Start by making a slipknot at the end of the yarn. Hold the slipknot in your left hand and place the needle through the loop.
Next, using your right hand, wrap the yarn around your thumb and hold it between your thumb and index finger. With your left hand, bring the needle underneath the yarn on your thumb, then over the yarn on your index finger. Pull the loop of yarn through the slipknot, creating a new stitch on the needle. Repeat this process until you have cast on the desired number of stitches.
Once you have successfully cast on your stitches, you are ready to begin knitting. Whether you are working on a small bunny or a larger project, casting on is an essential step in the knitting process. It sets the stage for the rest of the project and ensures that your stitches are secure and even.
Knit the body
Before starting to knit the body of the bunny, make sure you have all the necessary materials, including the chosen yarn and knitting needles. It is also helpful to have a tapestry needle and scissors handy.
Begin by casting on the required number of stitches for the body, as indicated in the knitting pattern. It is essential to maintain an even tension throughout the knitting process to ensure an even and neat result. Once the stitches are cast on, join them in the round and place a marker to indicate the beginning of the round.
Next, follow the knitting pattern instructions for the body, which may involve working a specific number of rounds or rows in a particular stitch pattern or combination of stitches. Pay attention to any shaping instructions, such as increasing or decreasing stitches, as these will give the body its desired shape.
As you knit, keep an eye on your stitch count and carefully follow any pattern repeats or stitch variations. This will help you achieve the desired shape and texture for your bunny’s body. It is always a good idea to periodically try the body on the intended recipient (if possible) to ensure it fits correctly.
Once you have completed the required number of rounds or rows for the body, it is time to bind off the stitches. Follow the pattern instructions for the bind off method, which may be a standard bind off or a more decorative one, depending on the desired finish. After binding off, be sure to weave in any loose ends using a tapestry needle to keep the finish tidy.
With the body complete, you are one step closer to finishing your adorable knitted bunny. Now you can move on to knitting the other parts, such as the head, arms, and legs, following the pattern instructions. As you progress, make sure to refer back to the body measurements to maintain proportion and consistency across all the bunny’s components.
Shape the ears
Once you have completed knitting the body of the bunny, it’s time to shape the ears. To begin, locate the stitches that will form the base of the ears. These stitches are typically found towards the top of the bunny’s head, just above the eyes.
Once you have identified the stitches, divide them evenly onto two double-pointed needles or stitch holders. This will allow you to work on each ear separately. Make sure that the stitches are securely held and will not come loose during the shaping process.
Next, you will want to shape the ears by decreasing the number of stitches. To do this, use a k2tog (knit two together) decrease at the beginning and end of each ear row. This will gradually taper the ear and give it a pointed shape. Continue decreasing until only a few stitches remain on each needle or holder.
Finally, bind off the remaining stitches, cut the yarn, and fasten off. Repeat the ear shaping process on the other set of stitches to create the second ear. Once both ears are shaped and secured, you can resume knitting the rest of the bunny’s body according to the pattern instructions.
Sew the bunny together
Once you have finished knitting all the pieces for your small bunny, it’s time to assemble them together. Sewing the bunny is an important step to give it its final shape and make it look adorable.
Start by placing the bunny body on a flat surface with the right side facing up. Take the bunny head and position it on top of the body, aligning the edges. Use a tapestry needle and matching yarn to sew the head to the body, making sure to catch both layers of fabric. You can use a whip stitch or backstitch for this step.
Next, sew the bunny ears in place. Fold each ear in half lengthwise and position them on top of the head, about an inch away from the center. Sew along the folded edge of each ear, securing them to the head. Trim any excess yarn.
Next, sew the bunny arms and legs to the body. Position them where you want, making sure they are symmetrical. Sew along the edges of each limb, attaching them to the body. Again, use a whip stitch or backstitch for this step.
Finally, sew the bunny tail to the back of the body. You can use a pom-pom or a small fabric circle as a tail. Secure it in place with a few stitches, making sure it is centered.
Once you have finished sewing all the pieces together, make sure to securely fasten off your yarn and weave in any loose ends. Your small bunny is now complete and ready to be cherished or gifted to someone special!
Tips and tricks for knitting a small bunny
Knitting a small bunny can be a fun and rewarding project. Whether you are a beginner or an experienced knitter, these tips and tricks will help you create a cute and cuddly toy.
Choose the right yarn: When selecting yarn for your bunny, it’s important to choose a soft and durable option. Acrylic yarns are great for toys, as they are easy to care for and machine-washable.
Use the correct needle size: To achieve the desired size and texture for your bunny, it’s essential to use the appropriate needle size. The pattern you are following will typically provide a recommended needle size, so make sure to follow it closely.
Pay attention to tension: The tension of your knitting can greatly affect the final product. Knitting too tightly can result in a stiff and rigid bunny, while knitting too loosely may lead to gaps in the fabric. Take your time and ensure your tension is consistent throughout the project.
Add details with embroidery: Embroidery can add the perfect finishing touch to your bunny. Use contrasting or coordinating embroidery thread to create eyes, a nose, and mouth. You can also add small details like whiskers or rosy cheeks for additional charm.
Don’t forget stuffing: Stuffing your bunny properly is crucial for achieving the right shape and cuddliness. Use a polyester fiberfill or other appropriate stuffing material, and make sure to distribute it evenly throughout the body and limbs.
Take your time with assembly: Assembling your knitted bunny requires patience and attention to detail. Follow the pattern instructions carefully and use stitch markers or pins to hold pieces in place before sewing. Take your time to ensure everything is aligned correctly before firmly sewing the pieces together.
Enjoy the process: Knitting a small bunny is a labor of love, so remember to enjoy the process. Take breaks when needed, and don’t be afraid to experiment with different techniques or customization options. The end result will be a unique and cherished toy for yourself or a loved one.
Frequently Asked Questions
Here are some frequently asked questions about knitting a small bunny:
Q: Do I need to have knitting experience to make the small bunny?
A: Some basic knitting skills are required to make the small bunny. It is recommended to have knowledge of basic knitting stitches such as knit and purl, as well as basic shaping techniques. However, if you are a beginner, you can still give it a try and use online tutorials or patterns to help you along the way.
Q: What type of yarn should I use to knit the small bunny?
A: You can use any type of yarn that is suitable for knitting toys. It is recommended to use a soft and washable yarn to ensure that the bunny is cuddly and easy to care for. Acrylic or cotton yarns are common choices for toy knitting.
Q: Can I make modifications to the small bunny pattern?
A: Yes, you can definitely make modifications to the small bunny pattern! Knitting is a creative craft, and you can customize the bunny to your liking. You can change the color of the yarn, adjust the size, or add any additional embellishments that you want. Just remember to adjust the gauge and keep track of your modifications to ensure that everything fits together properly.
Q: How long does it take to knit a small bunny?
A: The time it takes to knit a small bunny depends on various factors such as your knitting speed, experience level, and the complexity of the pattern. On average, it may take a few hours to a couple of days to complete the bunny. However, it’s important to remember that knitting is a relaxing and enjoyable hobby, so take your time and enjoy the process!
Q: Where can I find additional help or resources for knitting the small bunny?
A: If you need additional help or resources for knitting the small bunny, there are many online platforms and communities dedicated to knitting. You can join knitting forums or social media groups where fellow knitters can offer guidance and support. Additionally, there are numerous knitting websites, blogs, and YouTube channels that provide step-by-step tutorials and tips for knitting toys.
Q: Can I sell the small bunnies that I knit from this pattern?
A: The small bunny pattern provided is for personal use only. If you intend to sell the bunnies that you knit from this pattern, it is important to check the copyright and licensing terms of the pattern. Some patterns may allow for limited commercial use, while others may restrict it entirely. It is always best to respect the copyright holder’s terms and seek permission if necessary.
Q: Can I share the small bunny pattern with others?
A: Sharing the small bunny pattern with others is usually allowed for personal use. However, it is important to respect the copyright and licensing terms of the pattern. If the pattern specifies that it is for personal use only, it should not be shared or distributed without the permission of the copyright holder. If you are unsure, it’s best to contact the pattern designer for clarification.
Summary:
In summary, knitting a small bunny requires some basic knitting skills and the use of suitable yarn. The small bunny pattern can be customized and modified according to personal preferences. The time it takes to knit a small bunny can vary, and there are many online resources available for assistance. When selling or sharing the small bunny pattern, it’s important to respect copyright and licensing terms. Happy knitting!