
If you’re a fan of knitting, then you know how satisfying it can be to create your own accessories. One of the most popular items to knit is a beanie hat. Not only are they stylish and versatile, but they also make for a great winter accessory. If you’re looking for a free pattern to knit your own beanie, you’re in luck!
This article will provide you with a step-by-step guide on how to knit a beanie, complete with a free pattern. Whether you’re a beginner or an experienced knitter, this pattern is suitable for all skill levels. With just a few basic knitting techniques, you’ll be able to create a cozy and trendy beanie in no time.
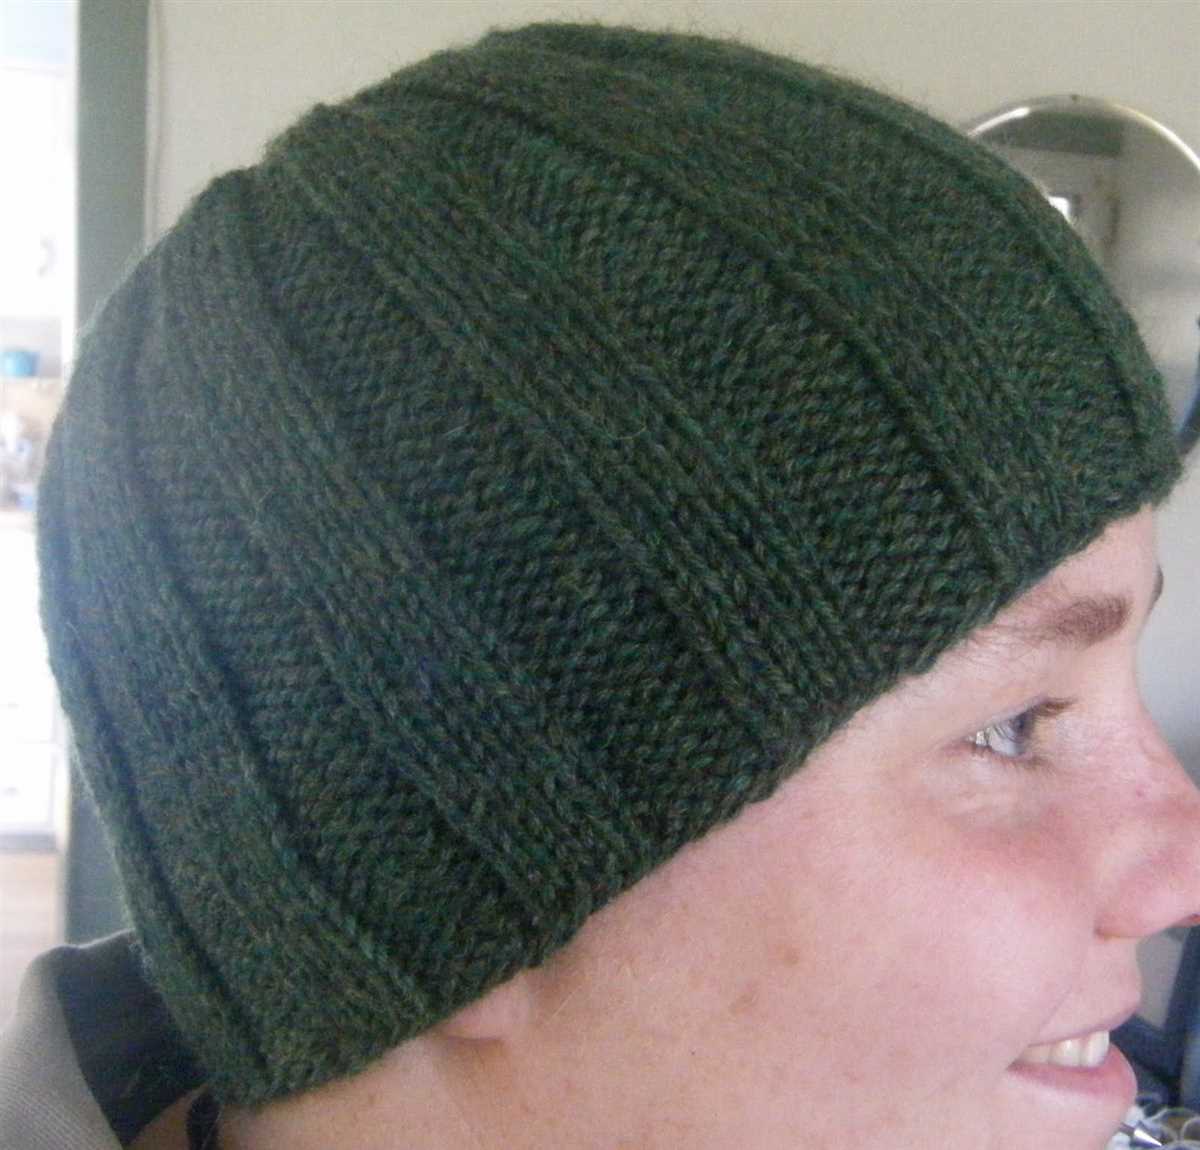
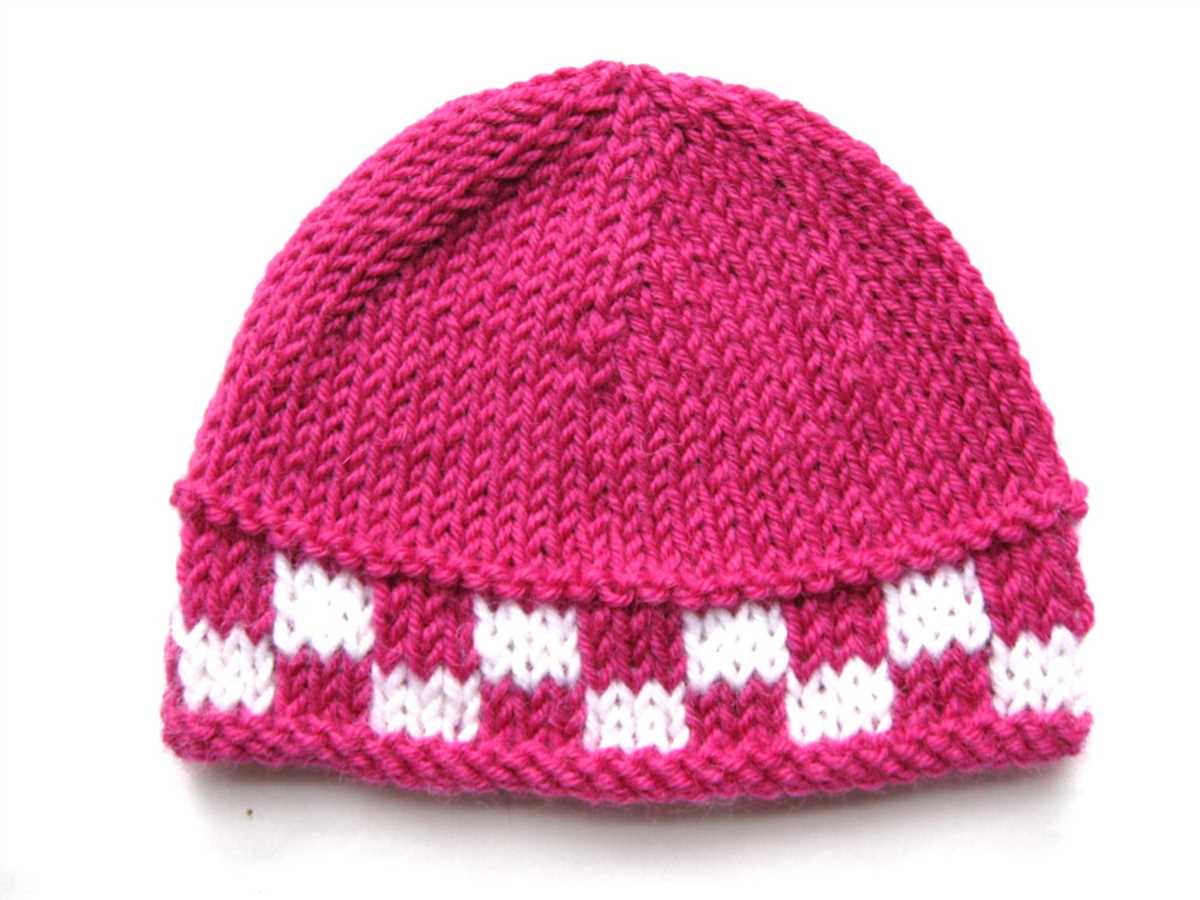
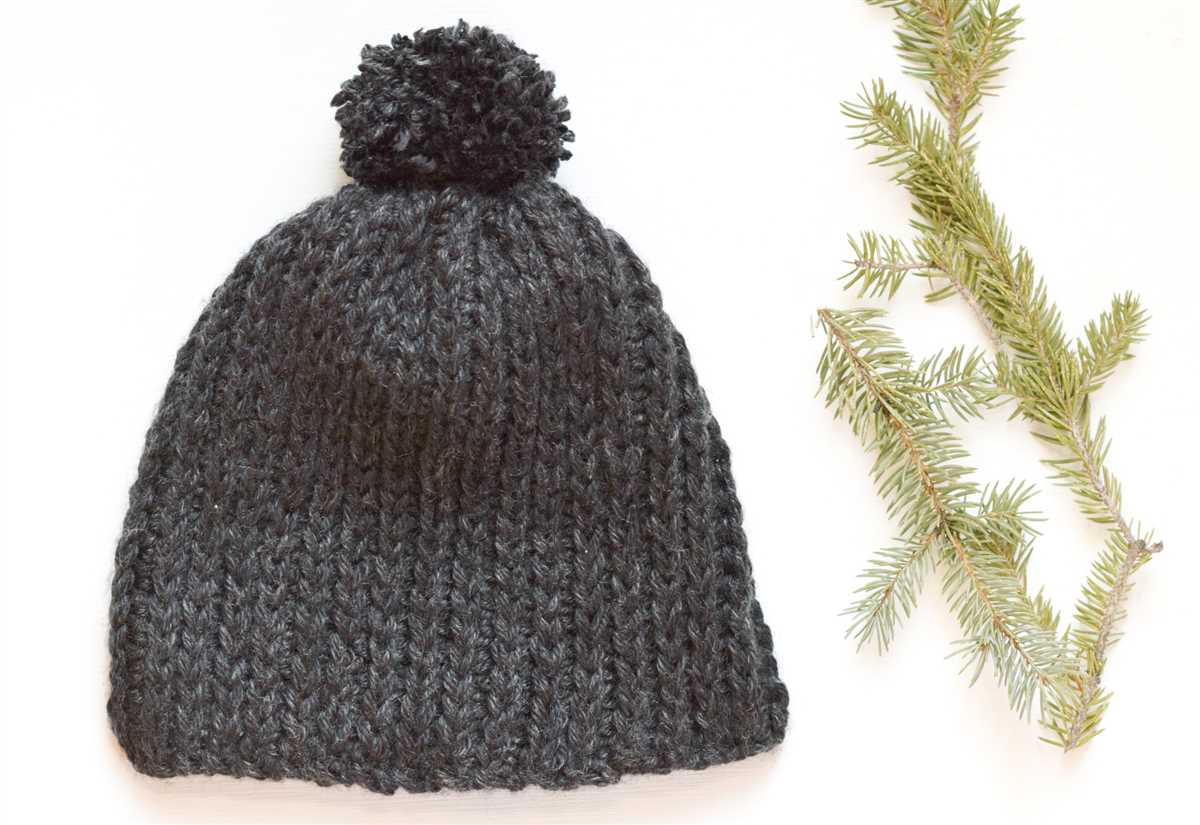
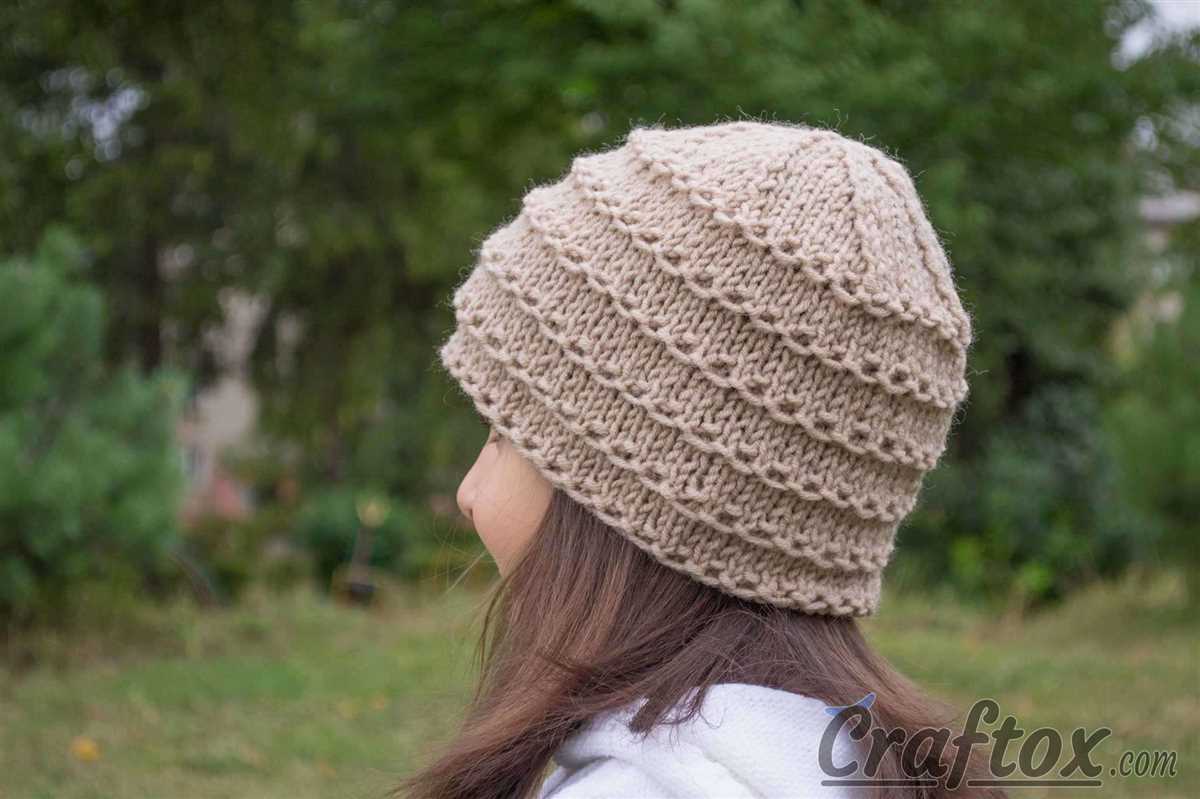
The free pattern provided in this article features a classic design that will never go out of style. It uses a simple ribbing pattern for the brim, followed by a stockinette stitch for the body of the hat. The pattern also includes instructions on how to shape the crown of the beanie, ensuring a perfect fit.
Why You Need a Free Pattern for Knitted Beanie
If you love knitting and want to create something stylish and practical, you need a free pattern for a knitted beanie. A beanie is a versatile accessory that can be worn in any season and is perfect for keeping your head warm in colder weather. With a free pattern, you can easily follow the instructions and create a beanie that fits your style and personality.
One of the main reasons why you need a free pattern for a knitted beanie is the cost. Buying a beanie from a store can be expensive, especially if you want a high-quality one. By using a free pattern, you can save money and still create a beanie that looks and feels great.
Another reason why a free pattern for a knitted beanie is essential is the customization options. With a pattern, you can choose the color and type of yarn you want to use. Additionally, you can adjust the size and fit of the beanie to suit your head perfectly. This level of customization allows you to create a beanie that is unique and tailored to your preferences.
A free pattern for a knitted beanie also provides you with an opportunity to improve your knitting skills. As you follow the instructions and work on the project, you can learn new techniques and stitches. This will not only enhance your knitting abilities but also give you a sense of accomplishment when you see the final result.
Overall, a free pattern for a knitted beanie is a valuable resource for any knitting enthusiast. It offers cost savings, customization options, and a chance to improve your skills. Whether you’re a beginner or an experienced knitter, using a free pattern can help you create a stylish and cozy beanie that you’ll love to wear.
Choosing the Right Yarn for Your Knitted Beanie
When it comes to knitting a beanie, one of the most important factors to consider is choosing the right yarn. The yarn you choose can greatly impact the look, feel, and overall quality of your finished project. The type of yarn you choose will depend on several factors, including the desired style, warmth, and durability of the beanie.
Firstly, consider the weight and thickness of the yarn. A thicker yarn will create a chunkier, more substantial beanie, while a thinner yarn will create a lighter, more delicate beanie. Think about the season or occasion for which you are knitting the beanie, as well as the texture and drape you desire. Experiment with different yarn weights to find the perfect balance for your project.
Natural fibers, such as wool and alpaca, are a popular choice for knitted beanies. These fibers are known for their warmth, softness, and breathability. Wool, in particular, has natural insulating properties that will keep you warm in colder weather. Alpaca yarn is also a great option, as it is incredibly soft and hypoallergenic. If you’re looking for a more sustainable option, consider using yarn made from organic or recycled materials.
It’s also important to consider the color and pattern of the yarn. Think about the overall look you want to achieve with your beanie. Variegated yarn can add a fun, colorful twist to your beanie, while solid colors create a more classic and versatile look. If you’re feeling adventurous, you can even experiment with different textures and fibers to create unique, one-of-a-kind beanies.
In conclusion, choosing the right yarn for your knitted beanie is crucial for creating a successful and enjoyable knitting project. Consider factors such as weight, fiber type, color, and pattern to find the perfect yarn that suits your style and meets your needs.
Understanding Yarn Weight and Fiber Content
When it comes to knitting, one important aspect to consider is the weight and fiber content of the yarn. Yarn weight refers to the thickness or thinness of the yarn, which can greatly impact the final outcome of your project. Understanding the different yarn weights and fiber content can help you choose the right yarn for your knitting pattern and achieve the desired results.
Yarn weight is categorized into several different categories, ranging from lace weight to super bulky. Each weight has its own recommended needle size and gauge, which determines the number of stitches and rows per inch. Understanding these guidelines can help you select the appropriate weight for your project and ensure that your finished item turns out just the way you want it.
Common yarn weight categories include:
- Lace weight
- Fingering weight
- Sport weight
- Dk weight
- Worsted weight
- Bulky weight
- Super bulky weight
The fiber content of the yarn is another important factor to consider. Yarn can be made from various types of fibers, including animal-based fibers like wool, alpaca, and mohair, as well as plant-based fibers like cotton, linen, and bamboo. Each type of fiber has its own unique characteristics, such as warmth, softness, and drape. By understanding the different fiber options, you can choose a yarn that suits your preferences and the specific needs of your project.
Common yarn fiber types include:
- Wool
- Alpaca
- Mohair
- Cotton
- Linen
- Bamboo
- Silk
When choosing a yarn for your knitting project, it’s important to consider both the weight and fiber content. By understanding the different yarn weights and fiber options available, you can make an informed decision and create knitted items that are not only beautiful but also suited to your specific needs and preferences.
Finding the Perfect Color and Texture
When it comes to knitting a beanie, one of the most exciting aspects is choosing the color and texture of the yarn. The right color can make a beanie stand out and complement the wearer’s complexion and style. Similarly, the texture of the yarn can add depth and interest to the finished product.
Color: With a wide range of yarn colors available, it’s important to consider the overall look and feel you want to achieve. If you’re making a beanie as a gift, think about the recipient’s favorite colors or their wardrobe to ensure the beanie will match their style. You might also want to think about the season or occasion the beanie will be worn for. For example, a bright and cheerful color might be perfect for a winter accessory, while a neutral color might be more suitable for everyday wear.
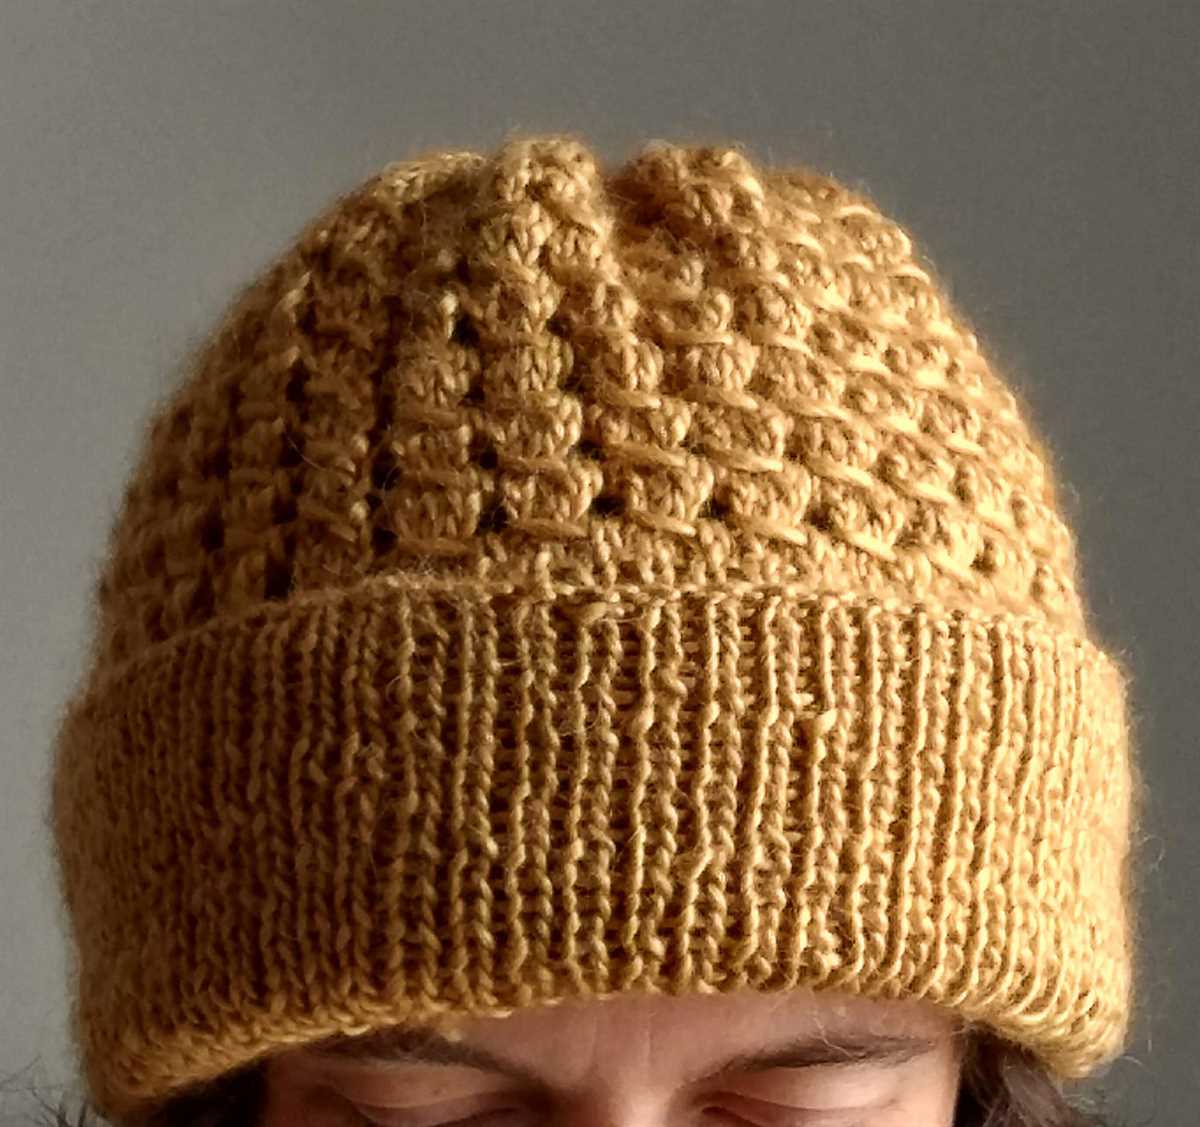
Texture: The texture of the yarn can greatly impact the look and feel of the beanie. Some yarns have a smooth and silky texture, while others are more textured and chunky. Consider the stitch pattern you plan to use for the beanie and how it will interact with the yarn’s texture. A simple stockinette stitch can really showcase a vibrant and smooth yarn, while a cable or rib pattern can highlight the texture of a chunky yarn.
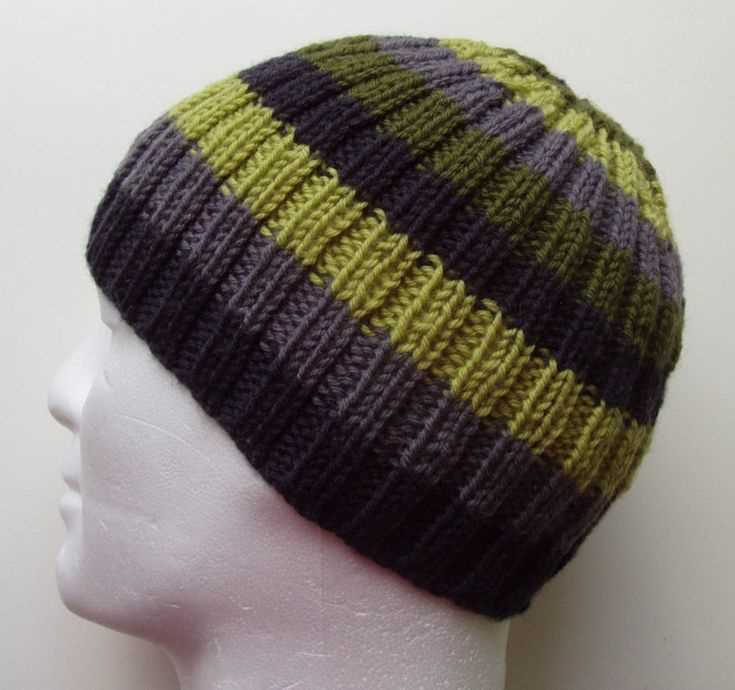
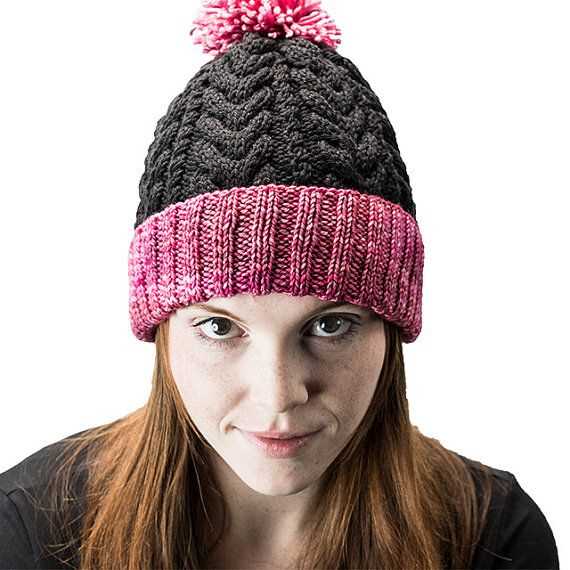
Combining colors and textures: Don’t be afraid to get creative and mix different colors and textures in your beanie. Combining a smooth yarn with a textured one can create a visually interesting and unique look. You can experiment with stripes, color blocks, or even incorporate different yarns throughout the beanie for added variety. Just make sure that the colors and textures you choose complement each other and work well together to achieve the desired effect.
In conclusion, finding the perfect color and texture for your knitted beanie is an important step in the knitting process. Take into consideration the recipient’s style, the intended use of the beanie, and how the colors and textures will work together to create a visually appealing and comfortable accessory. Remember to have fun and experiment with different combinations to create a beanie that is truly unique.
Essential Knitting Supplies for Your Beanie
When it comes to knitting a beanie, having the right supplies is essential. Whether you are a beginner knitter or an experienced one, having the necessary tools and materials will make the process easier and more enjoyable. Here are some of the essential knitting supplies you will need for your beanie project:
1. Yarn:
A high-quality yarn is the foundation of any knitting project, including beanies. Choose a yarn that is soft, warm, and suitable for the season in which you plan to wear the beanie. Worsted weight or DK weight yarn is usually a good choice for beanies, as they provide warmth without being too bulky.
2. Knitting Needles:
A set of knitting needles is necessary to create the fabric of the beanie. The size of the needles will depend on the weight of the yarn you choose and the desired gauge. Circular needles are often preferred for knitting beanies, as they allow for seamless construction and easy control of stitches.
3. Stitch Markers:
Stitch markers are small rings or clips that help you keep track of specific points in your knitting. They are especially useful when working on patterns that require shaping or color changes. By using stitch markers, you can easily count stitches and ensure accuracy in your knitting.
4. Tapestry Needle:
A tapestry needle is essential for weaving in loose ends and finishing touches. This needle has a blunt point and a large eye, making it easier to thread the yarn and weave it through the fabric. It is used to sew up seams, sew in any loose yarn tails, and add any decorative touches to your beanie.
5. Scissors:
A pair of sharp scissors is necessary for cutting yarn and trimming any excess. Make sure to choose small, lightweight scissors that are easy to handle and store with your knitting supplies. Having a designated pair of scissors for your knitting projects will ensure that they are always ready and within reach.
By having these essential knitting supplies, you will be well-equipped to start your beanie project with confidence. Remember to choose high-quality materials and tools that will make your knitting experience enjoyable and result in a beanie that you can be proud of.
Needles and Notions
When it comes to knitting a beanie, it’s important to have the right tools and materials. One of the most essential items you’ll need is a set of knitting needles. Needle size can vary depending on your desired gauge and the yarn you’re using. Typically, a pair of size 7 or 8 knitting needles will work well for a basic beanie pattern.
In addition to knitting needles, you’ll also need a few other notions to complete your beanie. These include stitch markers, a tapestry needle, and a pair of scissors. Stitch markers are helpful for keeping track of your stitches, especially if you’re working with a pattern that requires increases or decreases.
- Stitch markers: These small, plastic or metal rings are placed on your needles to mark a specific point in your pattern.
- Tapestry needle: This large-eyed needle is used to weave in the loose ends of yarn and seam your beanie.
- Scissors: A small pair of scissors is essential for cutting yarn and trimming any excess.
It’s important to have all of these notions on hand before you begin knitting your beanie. A well-prepared knitting bag will make the process much smoother and ensure that you have everything you need to complete your project. So gather your needles, stitch markers, tapestry needle, and scissors, and get ready to create a cozy and stylish beanie!
Measuring and Sizing Tools
When knitting a beanie, it is important to have the correct measurements to ensure a proper fit. There are several tools that can be used to accurately measure the wearer’s head size.
One of the most common tools is a flexible measuring tape. This tape can be wrapped around the head, just above the ears, to determine the circumference. It is essential to measure snugly, but not too tightly, to ensure an accurate measurement.
A ruler or a tape measure can also be used to measure the head size. This tool should be placed at the center of the forehead and then wrapped around to the back of the head, just above the ears. Taking this measurement will provide an accurate circumference, which is crucial for sizing the beanie.
Another helpful tool is a sizing chart or guide. These resources provide specific measurements for different head sizes, making it easier to choose the correct size for the beanie. Sizing charts often include information on both the circumference and the height of the head, ensuring a snug and comfortable fit.
It’s important to remember that different patterns may have their own sizing recommendations, so it’s always a good idea to check the pattern instructions for any additional measurements or sizing details. With the right measuring and sizing tools, you can create a perfectly fitting knitted beanie that will keep you warm and stylish.
How to Read and Follow a Knitting Pattern
Knitting patterns are like a roadmap for creating beautiful and unique knitted items. Whether you are an experienced knitter or a beginner, understanding how to read and follow a knitting pattern is essential. Here are some tips to help you navigate through a knitting pattern and successfully create your desired project.
Familiarize yourself with the abbreviations
Knitting patterns often use abbreviations to represent various stitches or techniques. It is important to familiarize yourself with these abbreviations before you begin. Common abbreviations include “k” for knit, “p” for purl, “yo” for yarn over, and “k2tog” for knit two stitches together. Keep a knitting abbreviation chart handy so you can easily refer to it while reading the pattern.
Read the pattern instructions thoroughly
Before you start knitting, take the time to read the entire pattern from start to finish. Pay close attention to any notes or special instructions provided by the designer. Make sure you understand the overall structure of the pattern, as well as any repeats or variations in stitches. This will help you avoid mistakes and confusion as you work through the pattern.
Break down the pattern into sections
Breaking down the pattern into smaller sections can make it easier to follow. Divide the pattern into manageable parts, such as the cast-on and setup rows, the main body or stitch pattern, any shaping or decreases, and the finishing instructions. Focus on one section at a time and check off each step as you go along.
Use stitch markers and highlighters
Stitch markers can be a useful tool when following a knitting pattern, especially when there are repeats or shaping involved. Place stitch markers at key points in your knitting, such as the beginning and end of a repeat, or where increases or decreases should occur. You can also use a highlighter to mark important sections or instructions in the pattern, making them easier to spot as you work.
Make note of your progress
Keeping track of your progress can help you stay organized and avoid mistakes. Use a row counter or a scrap piece of paper to keep track of which row or round you are on. You can also make notes directly on the pattern, such as marking off rows as you complete them or jotting down any modifications or adjustments you make along the way.
By following these tips and taking the time to understand the knitting pattern, you can confidently create beautiful and intricate knitted projects. Remember to take it one step at a time and enjoy the process of bringing the pattern to life with your own unique touch.
Understanding Knitting Abbreviations and Terms
Knitting patterns often use a variety of abbreviations and terms that can be confusing for beginners or even experienced knitters who are unfamiliar with certain patterns or techniques. However, understanding these abbreviations and terms is essential for successfully completing a knitted project. Here are some common knitting abbreviations and terms you need to know:
1. K (Knit)
The letter “K” stands for knit, which is one of the basic stitches in knitting. To knit, insert the right-hand needle into the front of the stitch on the left-hand needle and bring the yarn over the tip of the right-hand needle. This creates a new stitch.
2. P (Purl)
The letter “P” stands for purl, another basic stitch in knitting. To purl, insert the right-hand needle into the stitch on the left-hand needle from right to left and bring the yarn under the tip of the right-hand needle. This creates a new stitch.
3. RS (Right Side)
The term “RS” refers to the right side of the knitted fabric. This is the side that is meant to be visible when the project is finished.
4. WS (Wrong Side)
The term “WS” refers to the wrong side of the knitted fabric. This is the side that is not meant to be visible when the project is finished.
5. Stitch Marker
A stitch marker is a small, often plastic, circular or pin-shaped object that is used to mark a specific stitch or a certain point in the knitting. It helps to keep track of where you are in the pattern and is especially useful when knitting in the round or when shaping a garment.
6. Gauge

Gauge refers to the number of stitches and rows per inch or centimeter achieved when knitting with a specific yarn and needle size. It is important to match the gauge stated in the pattern in order to ensure that the finished project will have the correct size and proportions.
By familiarizing yourself with these abbreviations and terms, you will be well-equipped to tackle any knitting pattern that comes your way. Happy knitting!
Decoding Pattern Instructions
A knitting pattern for a beanie can look like a series of cryptic symbols and abbreviations to those who are new to knitting. However, with a little bit of practice and a basic understanding of knitting terminology, you can easily decode these pattern instructions and create a beautiful beanie.
Understanding the Abbreviations: When reading a knitting pattern, it is important to familiarize yourself with the abbreviations used. These abbreviations are often shorthand terms for specific knitting stitches or techniques. For example, “k” usually stands for a knit stitch, “p” stands for a purl stitch, and “yo” stands for yarn over. A key or glossary is usually provided at the beginning of the pattern to help you understand these abbreviations.
Following the Stitch Instructions: Once you have familiarized yourself with the abbreviations, the next step is to follow the stitch instructions. These instructions will tell you exactly what type of stitch to make and where to make it. For example, the pattern may instruct you to “k2tog” (knit two stitches together) or “p3” (purl three stitches). It is important to read these instructions carefully and follow them step by step to ensure the correct outcome.
- Break the instructions down into smaller steps to make them easier to understand.
- Use stitch markers to keep track of your progress and help you remember where to make certain stitches.
- Refer to the pattern’s stitch count at the end of each row or round to make sure you haven’t made any mistakes.
Checking for Pattern Repeats: Many knitting patterns include repeat sections, where a set of stitches is to be repeated a certain number of times. These repeats are often enclosed in brackets or indicated by a specific symbol. It is important to pay attention to these repeats and make sure you are repeating the correct number of stitches before moving on to the next section of the pattern.
Using a Row or Round Counter: To keep track of your progress and ensure accuracy, it can be helpful to use a row or round counter. This tool allows you to keep track of the number of rows or rounds you have completed, making it easier to follow the pattern instructions and avoid mistakes.
By taking the time to understand and decode the pattern instructions, you can confidently knit a beanie that matches the design specified in the pattern. With practice, you’ll become more comfortable reading knitting patterns and may even find yourself creating your own designs!
Step-by-Step Guide to Knitting Your Beanie
Knitting your own beanie can be a fun and rewarding project. Whether you’re a beginner or an experienced knitter, this step-by-step guide will help you create a cozy and stylish beanie to keep you warm during the colder months.
Materials:
- Yarn (choose a color and weight of your choice)
- Knitting needles (appropriate size for your yarn)
- Tapestry needle
- Scissors
- Stitch marker (optional)
Step 1: Cast on stitches
Start by casting on the desired number of stitches onto your knitting needles. A typical adult-sized beanie may require around 80-100 stitches, but you can adjust depending on your head size and desired fit. Use the long-tail cast-on method or your preferred cast-on method.
Step 2: Begin ribbing
To create a snug and stretchy brim for your beanie, you can start with a ribbing pattern. The most common ribbing patterns are knit 1, purl 1 (K1, P1) or knit 2, purl 2 (K2, P2). Repeat the ribbing pattern for a few inches or desired length.
Step 3: Switch to main stitch pattern
Once you’ve completed the ribbing, it’s time to switch to the main stitch pattern for the body of the beanie. You can choose a simple knit stitch for a basic beanie, or experiment with different stitch patterns to add texture and design. Continue knitting in the chosen stitch pattern until the desired length is reached.
Step 4: Decrease for crown shaping
To shape the crown of the beanie, you’ll need to decrease stitches gradually. The most common decrease method is the knit two together (K2tog) decrease. Follow a decreasing pattern that works best for your stitch count and desired shape. Decrease every few rounds until you have a few stitches left.
Step 5: Finishing
Once you have a few stitches remaining, cut the yarn, leaving a long tail. Thread the tail onto a tapestry needle and slip the needle through the remaining stitches, removing them from the knitting needle. Pull tight to cinch the top of the beanie closed. Secure the yarn and weave in any loose ends with the tapestry needle.
Congratulations! You’ve successfully knitted your own beanie. Give it a gentle stretch to ensure it fits comfortably on your head, and you’re ready to enjoy your new handmade accessory.
Casting On and Creating Ribbing
Before starting to knit the beanie, you need to cast on the stitches. This is the process of creating a foundation row of stitches on your knitting needle. There are different methods of casting on, but for this pattern, we will use the long-tail cast-on method. This method provides a stretchy edge, which is perfect for creating a comfortable beanie.
To cast on using the long-tail method, you will need to estimate the length of yarn you will need. Usually, you will need about three times the width of the finished item. Make a slipknot at the end of your yarn and place it on your knitting needle. Hold the needle with the slipknot in your right hand and the tail of the yarn in your left hand.
Step 1: With your right hand, hold the needle and the tail of the yarn together. Make sure to leave a long enough tail to work with later.
Step 2: Using your left hand, bring the working yarn (the yarn attached to the ball) over your thumb and behind the tail of the yarn.
Step 3: Bring the needle under the working yarn and over your thumb, then back under the tail of the yarn. This creates a loop of yarn around your thumb and needle.
Step 4: Release your thumb from the loop and tighten it gently. This creates your first cast-on stitch.
Step 5: Repeat steps 2 to 4 until you have cast on the desired number of stitches for your beanie. Keep the tension even and avoid pulling too tightly, as this can make it difficult to knit the first row.
Once you have cast on your stitches, you will create ribbing for the brim of the beanie. Ribbing is a technique that alternates knit and purl stitches to create a stretchy and textured fabric. For this pattern, we will use a 1×1 ribbing, which means that you will knit one stitch and purl one stitch alternately across the row.
Row 1: *Knit 1, purl 1; repeat from * to the end of the row.
Row 2: Repeat row 1.
Repeat rows 1 and 2: Continue working in the 1×1 ribbing pattern until the ribbing measures about 2 inches in length. This will create a snug and comfortable fit for the beanie.
Once you have finished the ribbing, you can continue knitting the body of the beanie according to the pattern instructions. Enjoy your knitting project!
Working the Body of the Beanie
In this section, we will show you how to work the body of the beanie after completing the ribbing. This is where you will start to see the beanie take shape.
To work the body of the beanie, you will continue knitting in the round using the main stitch pattern until the beanie reaches your desired length. This can vary depending on your personal preference and the intended recipient.
Instructions
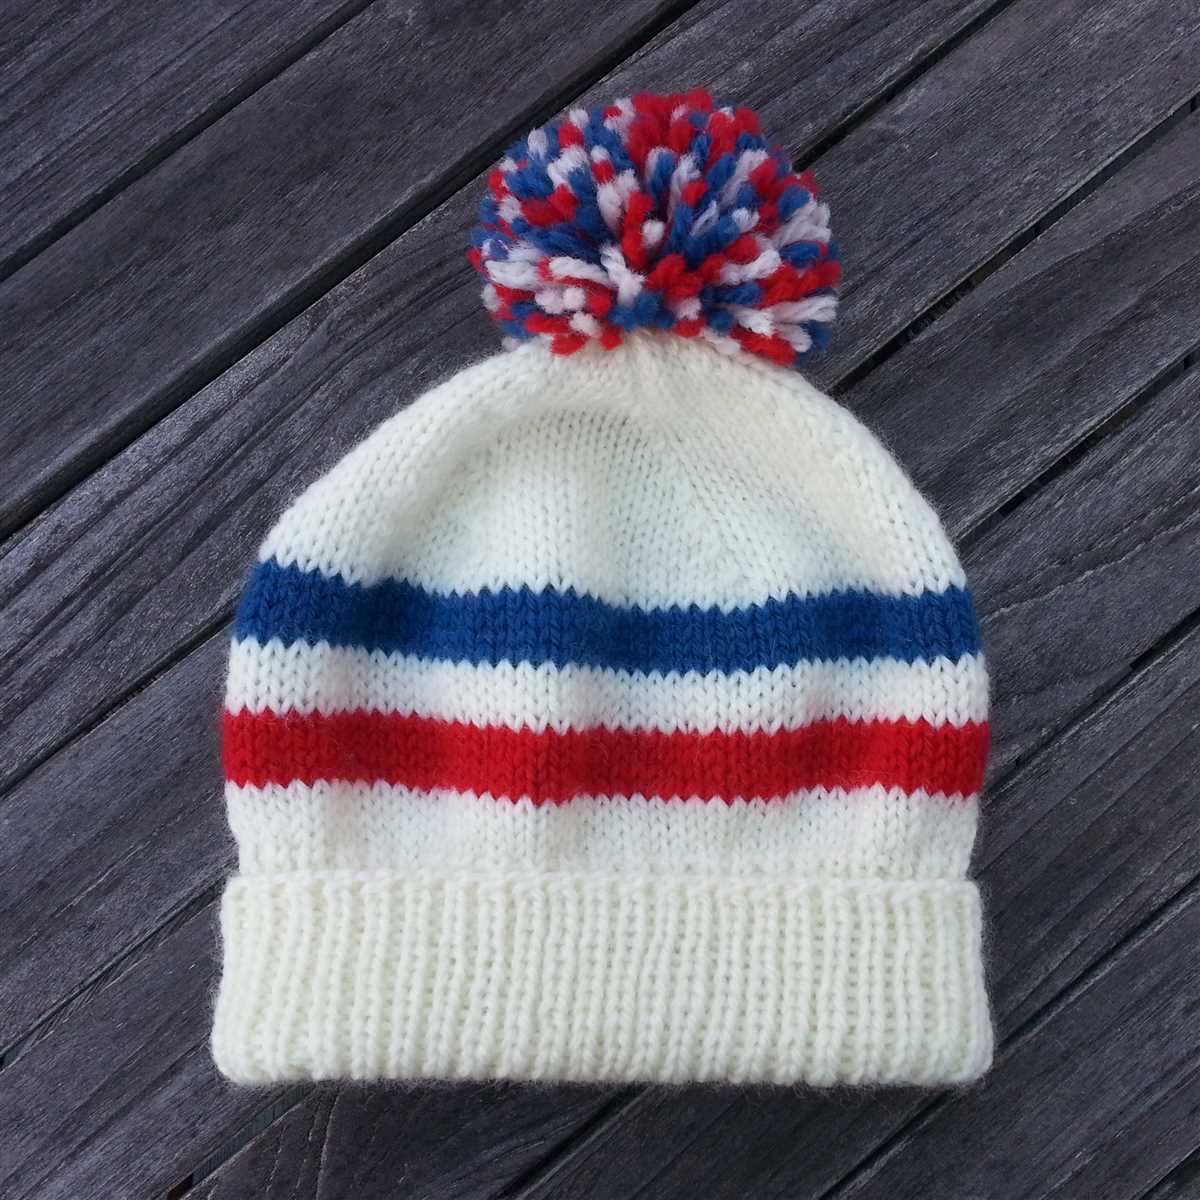
- After completing the ribbing, join the new color if desired and knit every round until the beanie measures approximately 4 inches from the cast-on edge.
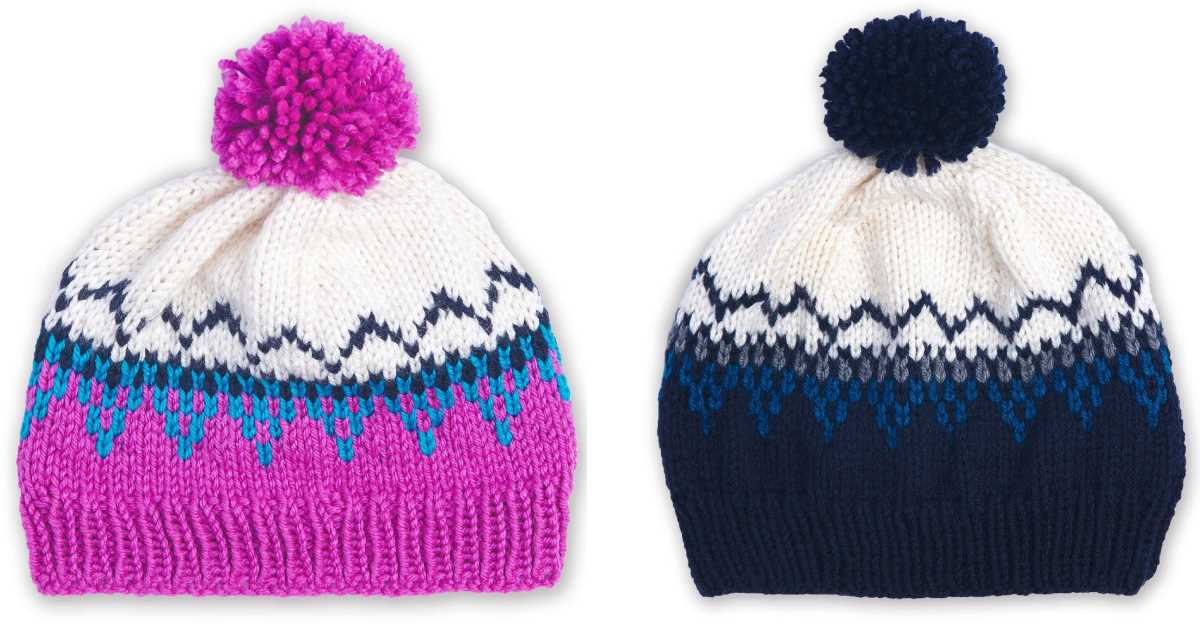
- At this point, you can choose to add any stitch patterns or colorwork motifs to customize your beanie. Keep in mind that some stitch patterns may require additional stitches or modifications to the original pattern.
- Continue knitting in the round until the beanie reaches your desired length. You can periodically try it on to ensure a proper fit.
- When you are satisfied with the length, cut the yarn, leaving a tail long enough to weave in later. Thread the tail through the remaining stitches and pull tight to close the top of the beanie.
- Weave in any remaining yarn tails and block the beanie if desired to give it a finished look.
Summary
The body of the beanie is where you can get creative and add your own personal touch. Whether it’s adding stitch patterns, colorwork, or keeping it simple and plain, the options are endless. Just make sure to carefully follow the instructions and try it on periodically to ensure a proper fit. Once you have reached your desired length, finish off the beanie by closing the top and weaving in any remaining yarn tails. Now you have a beautiful knitted beanie ready to keep you warm and stylish!
Q&A:
Is there a free pattern available for a knitted beanie?
Yes, there are many free patterns available for knitted beanies. You can find them on various websites and knitting blogs.
Where can I find a free pattern for a knitted beanie?
You can find free patterns for knitted beanies on websites such as Ravelry, Pinterest, and Knitting Pattern Central. You can also search for specific patterns using search engines like Google.
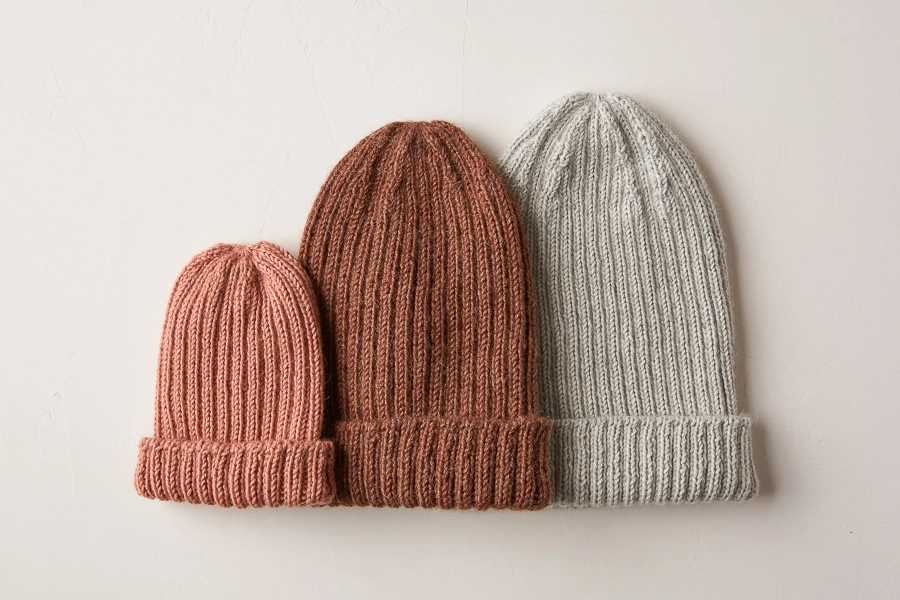
Are there patterns available for different sizes of knitted beanies?
Yes, many free patterns for knitted beanies include instructions for different sizes, such as adult, child, and baby sizes. Make sure to check the pattern details before starting your project.
Can I modify a free pattern for a knitted beanie?
Yes, you can modify a free pattern for a knitted beanie to suit your preferences. You can change the stitch pattern, add or remove embellishments, or adjust the size. Just make sure to keep track of your changes as you go along.
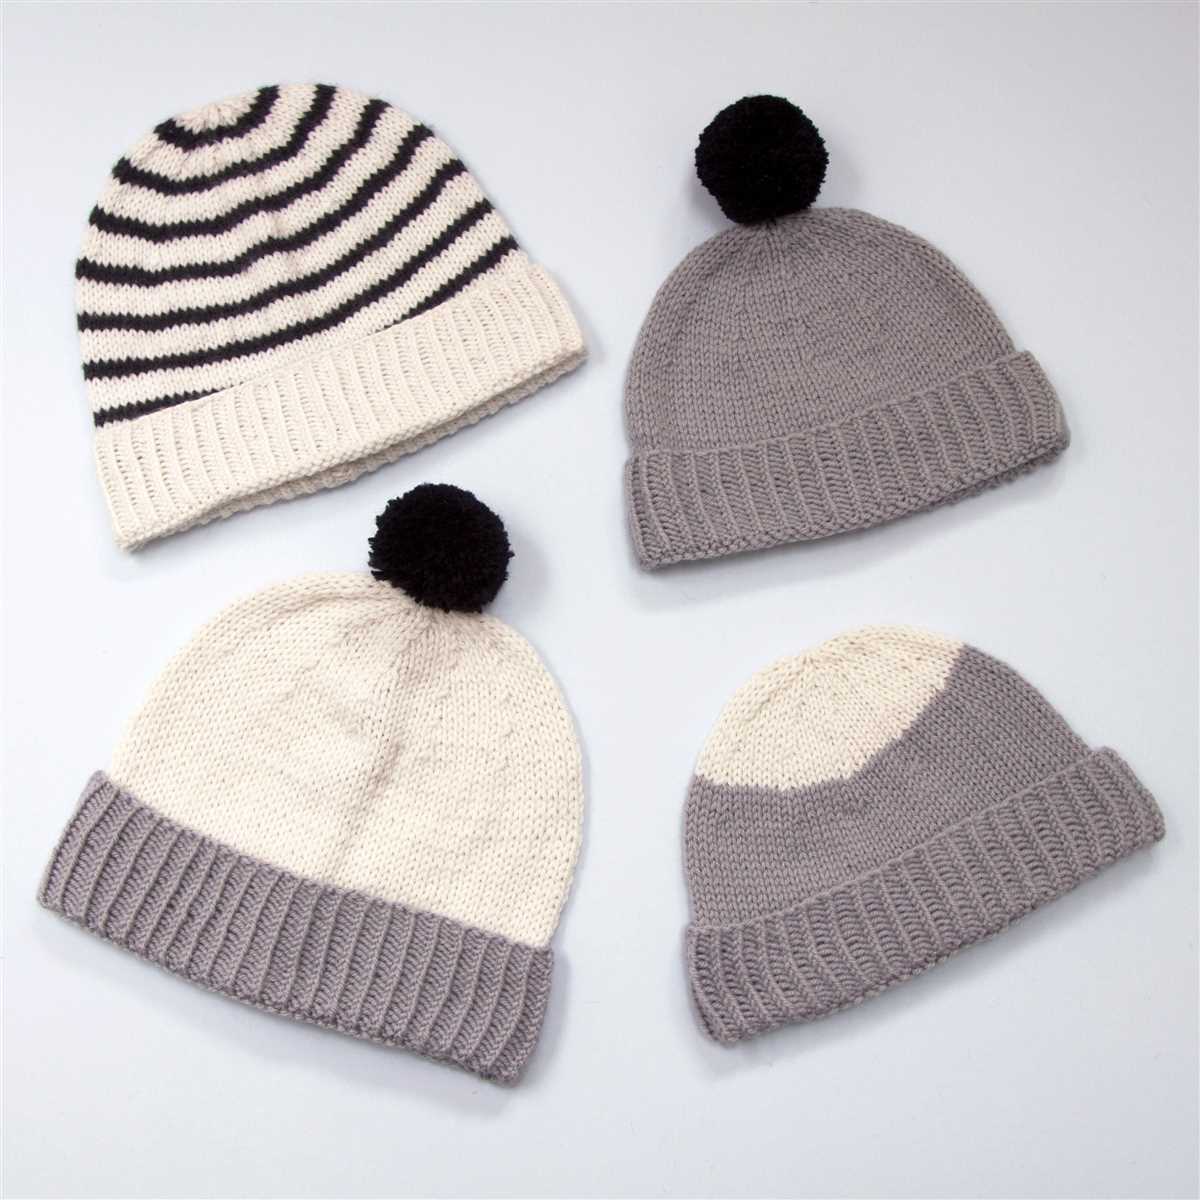
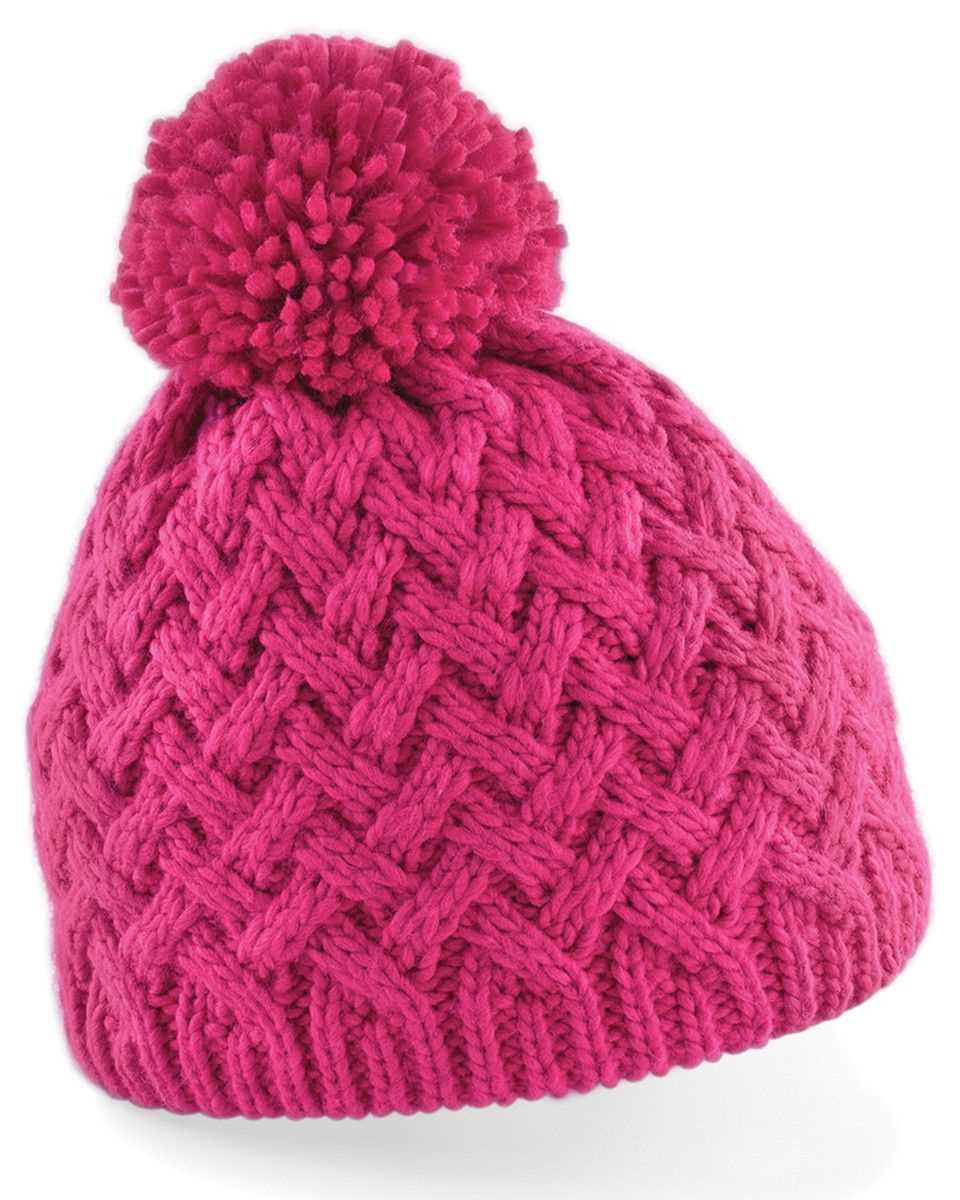
Are there patterns available for different styles of knitted beanies?
Yes, there are patterns available for different styles of knitted beanies. You can find patterns for basic plain beanies, slouchy beanies, cabled beanies, colorwork beanies, and more. Choose a pattern that matches your preferred style.