
Are you looking for a fun and festive knitting project to celebrate St. Patrick’s Day? Look no further! We have just the thing for you – a free leprechaun knitting pattern! Whether you’re an experienced knitter or just starting out, this pattern is perfect for you.
This leprechaun knitting pattern is not only adorable, but it’s also versatile. You can use it to create various St. Patrick’s Day decorations, such as stuffed toys, keychains, or even mini leprechaun dolls to display around your home. The possibilities are endless!
With this free leprechaun knitting pattern, you’ll be able to create your very own lucky leprechaun in no time. The pattern includes step-by-step instructions, along with helpful tips and tricks to ensure your project turns out just right. So gather your green yarn, knitting needles, and get ready to bring a touch of Irish charm to your knitting projects!
History and Symbolism of Leprechauns
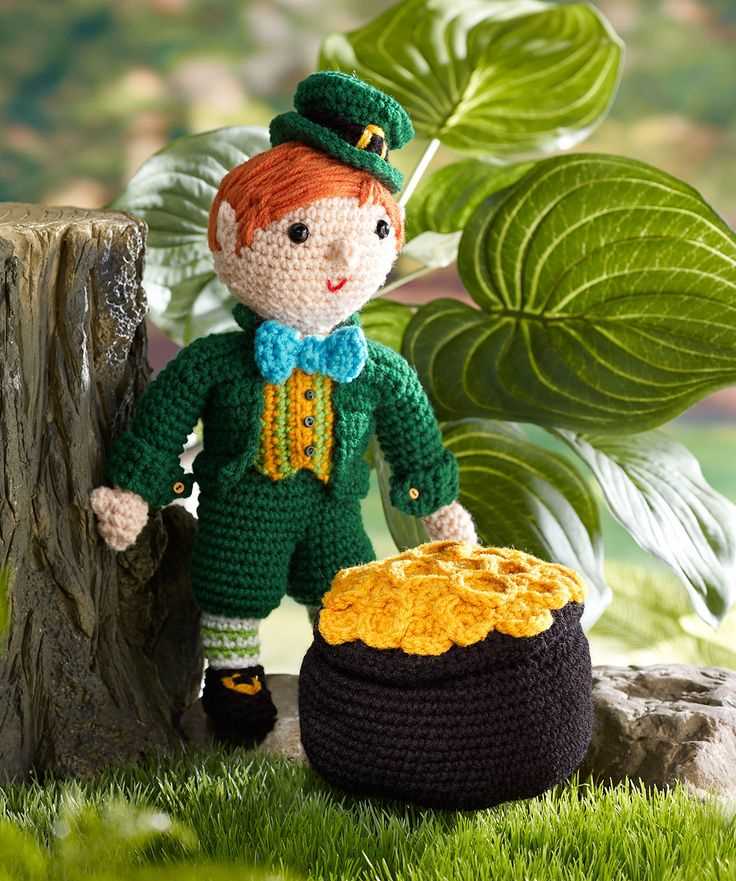
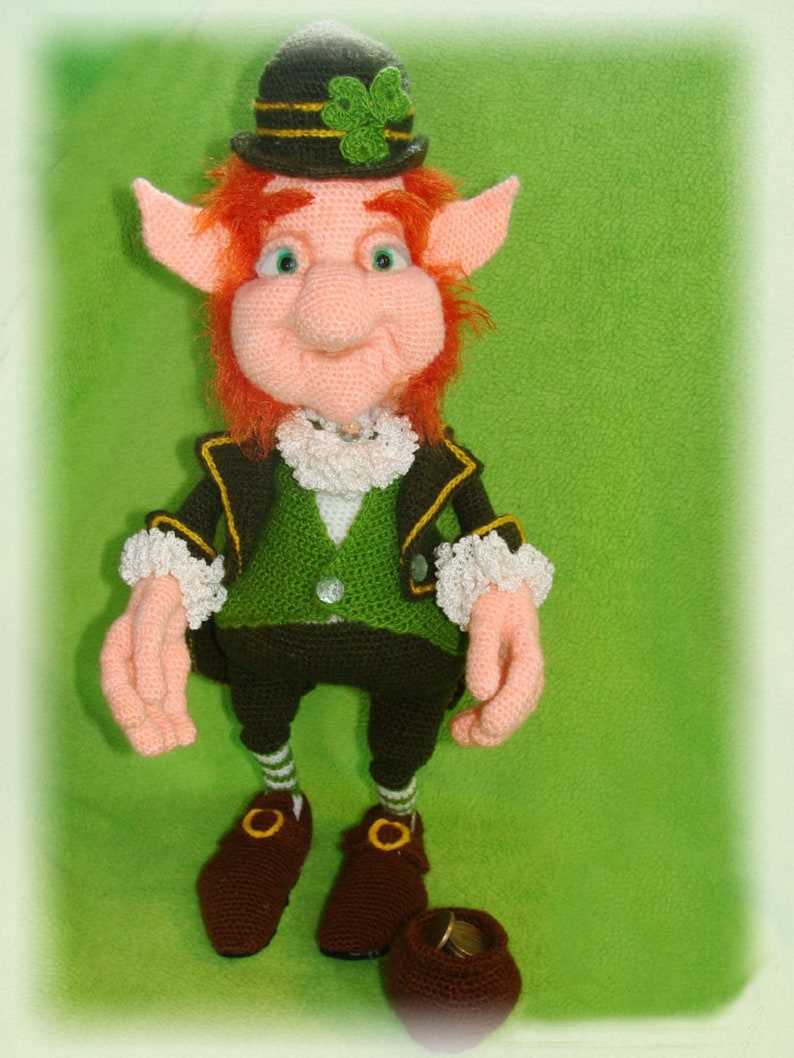
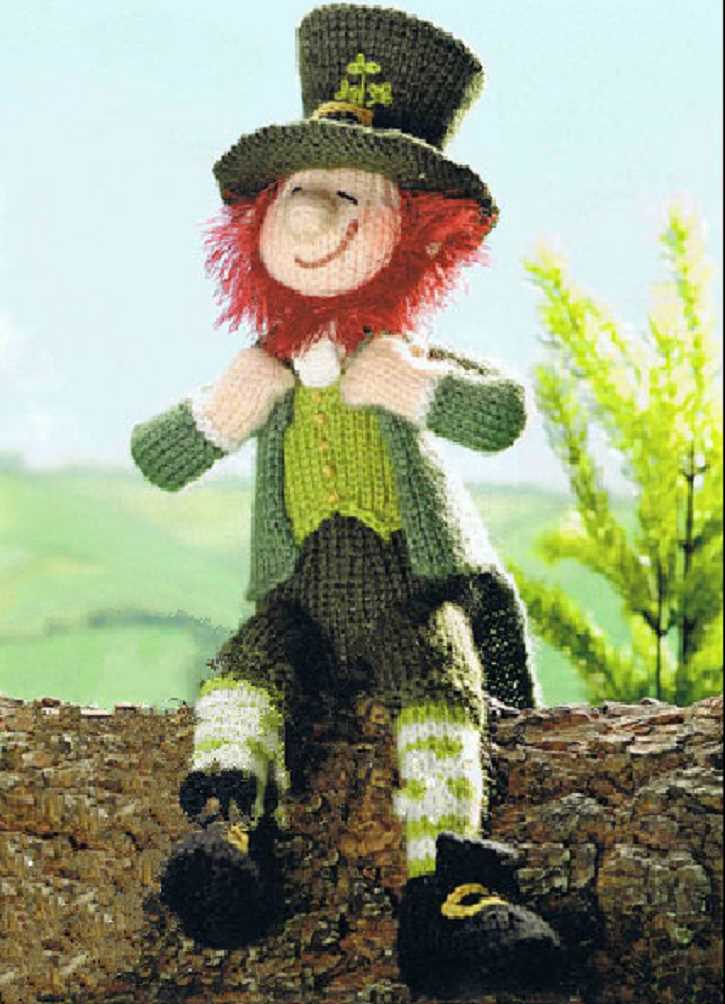
Leprechauns are iconic creatures in Irish folklore, known for their mischievous nature and association with luck and gold. These small, solitary beings are often depicted as old men wearing green clothes and hats, with a long beard and a pint of beer in hand. Legend has it that leprechauns are shoemakers by trade and can often be found mending shoes in secluded areas like forests or near rivers.
The origins of leprechauns can be traced back to ancient Celtic beliefs and mythology. In Celtic culture, they were considered to be one of the solitary fairy creatures known as “aos sÃ,” who inhabited the supernatural realm. Leprechauns were believed to be guardians of the treasuries of the otherworld, possessing great fortune and wisdom. They were known for their cunning nature and ability to grant wishes for those who could catch them.
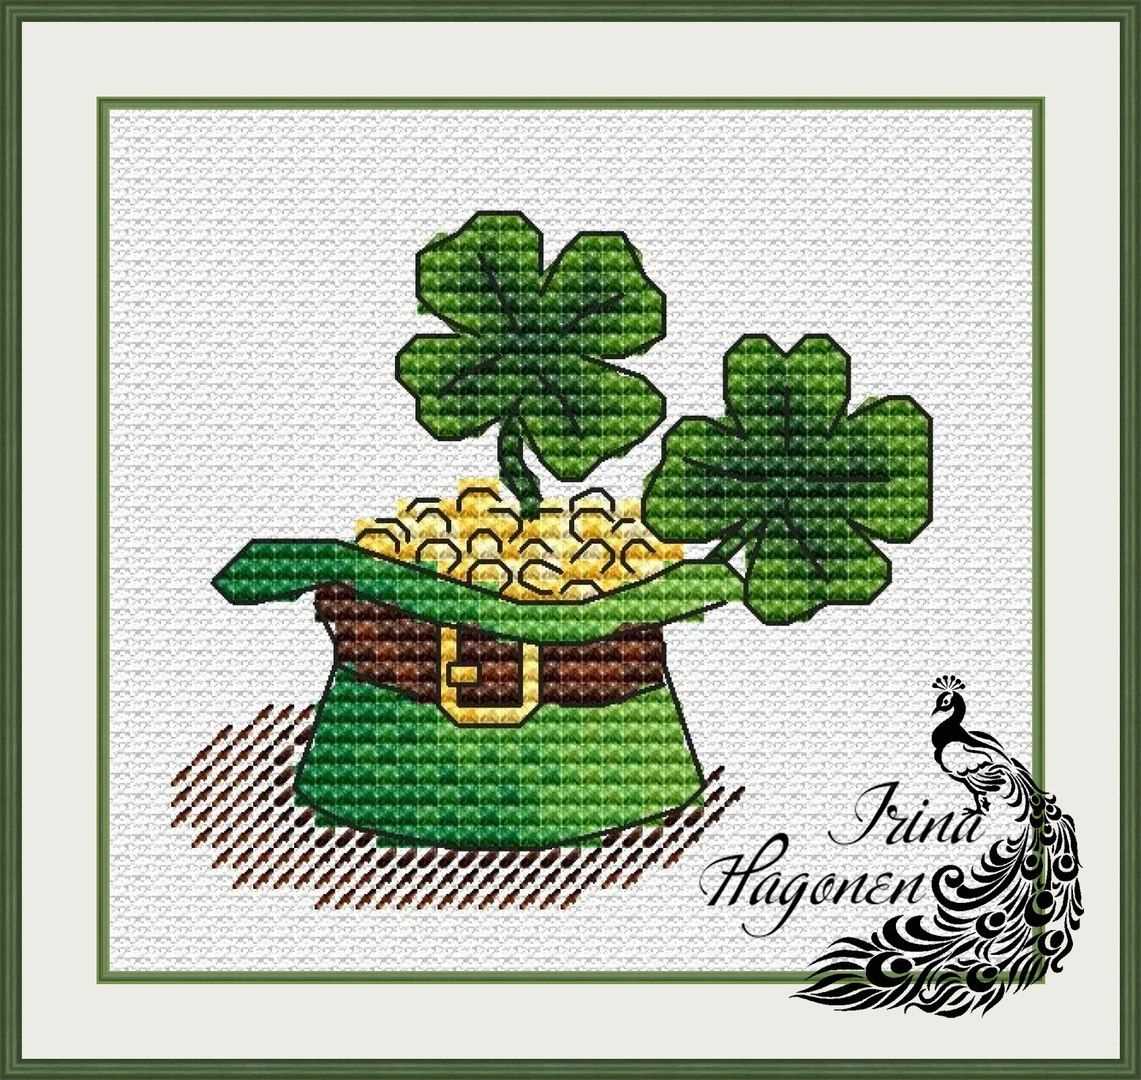
The symbolism of leprechauns goes beyond their association with luck and gold. They are seen as representations of Ireland itself, embodying the country’s folklore, traditions, and mythical past. Leprechauns have become a symbol of Irish identity and are often associated with St. Patrick’s Day, the cultural and religious holiday celebrated annually on March 17th.
In modern times, leprechauns have gained popularity worldwide, particularly in Western culture. They have become synonymous with Irish heritage and are often depicted in various forms of media, including movies, books, and art. Their playful and mischievous nature adds an element of enchantment to Irish folklore and continues to capture the imagination of people around the world.
Materials and Tools Required for Leprechaun Knitting
Before you get started on your leprechaun knitting project, it’s important to gather all the materials and tools you’ll need. Having everything prepared in advance will make the knitting process much smoother and more enjoyable. Here is a list of the essential items you’ll need:
- Yarn: Choose green, orange, and white yarn for the leprechaun’s hat, shirt, and pants respectively. Make sure the yarn is of good quality and suitable for knitting.
- Knitting Needles: Select the appropriate knitting needles for your chosen yarn. The size will depend on the gauge you want to achieve and your own knitting preferences.
- Scissors: A sharp and reliable pair of scissors is essential for cutting the yarn and trimming any excess.
- Tapestry Needle: This needle with a large eye is used for weaving in loose ends and sewing up any seams or attachments.
- Stitch Markers: These small circular markers are useful for keeping track of specific stitches or sections within your knitting pattern.
- Stuffing Material: If you plan to make your leprechaun doll or toy three-dimensional, you’ll need some stuffing material, such as fiberfill or cotton wool, to fill it out and give it shape.
- Buttons, Beads, or Pom Poms: These decorative items can add character and flair to your leprechaun’s attire. Choose small buttons, beads, or pom poms in colors that complement the yarn you’ve chosen.
Once you have gathered all these materials and tools, you’ll be well-equipped to start your leprechaun knitting project. Make sure you have a comfortable and well-lit space to work in, and remember to take breaks and stretch your hands and wrists to avoid any strain or fatigue. Happy knitting!
Choosing the Right Yarn for Your Leprechaun
When it comes to knitting a leprechaun, choosing the right yarn is crucial. The yarn you select will not only affect the overall look and feel of your finished project, but it will also determine how durable and long-lasting your leprechaun will be. Here are some considerations to keep in mind when choosing the yarn for your leprechaun knitting project:
1. Fiber Content
The first thing to consider is the fiber content of the yarn. Leprechauns are often associated with vivid greens, so you may want to choose a yarn that has a high percentage of wool or cotton in a vibrant green shade. These natural fibers will give your leprechaun a soft and luxurious feel while also providing durability. If you prefer a more playful look, you can also consider using yarns with sparkly or metallic accents to add a bit of magic to your leprechaun’s outfit.
2. Weight and Gauge
The weight and gauge of the yarn you choose will determine the size and proportions of your leprechaun. Be sure to check the recommended gauge on the pattern you are using and choose a yarn that matches it. Using a yarn that is too thick or too thin can result in a leprechaun that is either too large or too small. You can also experiment with different yarn weights to achieve different effects – a finer yarn will create a more delicate and detailed leprechaun, while a thicker yarn will result in a more cuddly and substantial toy.
3. Texture and Stitch Definition
The texture and stitch definition of the yarn will also play a role in the appearance of your leprechaun. Smooth and tightly spun yarns will give your leprechaun a polished and refined look, while more textured yarns will create a rustic and whimsical effect. Consider the stitch pattern used in the leprechaun pattern and choose a yarn that will showcase it beautifully. If you are using complex stitch patterns, a smooth and even yarn will help to highlight the intricacies of the design.
By considering the fiber content, weight and gauge, and texture and stitch definition of the yarn, you can ensure that your leprechaun knitting project turns out beautifully. Remember, the right yarn can make all the difference and bring your leprechaun to life with its unique personality and charm.
Basic Knitting Techniques for Leprechaun Pattern
In order to create a cute and playful leprechaun doll using the free knitting pattern, it is important to have a good understanding of some basic knitting techniques. These techniques will help you create the different components of the leprechaun’s body, such as the head, body, arms, and legs, and bring them together to form the final doll.
Casting on: To start your leprechaun knitting project, you will first need to cast on. This is done by creating a foundation row of stitches on your knitting needle. The amount of stitches you cast on will depend on the desired width of the body or limb you are creating. You can use the long tail cast on method, which involves creating a slip knot and then using the long tail to form the stitches, or any other cast on method you prefer.
Knit and purl stitches: The knit stitch and the purl stitch are the two basic stitches in knitting. The knit stitch creates a “V” shape, while the purl stitch creates a bump or loop. In the leprechaun pattern, you will need to use these stitches to create the stockinette stitch, which is a combination of knit and purl rows. The stockinette stitch creates a smooth, flat fabric on one side and a bumpy texture on the other.
Increasing and decreasing: To shape the leprechaun’s body and limbs, you will need to know how to increase and decrease stitches. Increasing involves adding extra stitches into your knitting, often by knitting into the front and back of a stitch. Decreasing, on the other hand, involves removing stitches, usually by knitting two stitches together. These techniques will help you create the curves and angles of the leprechaun’s body.
Seaming: Once you have finished knitting all the components of the leprechaun doll, you will need to seam them together. Seaming involves using a yarn needle to stitch the pieces together using a whipstitch or mattress stitch. This will give your leprechaun a neat and finished appearance.
In addition to these basic techniques, the leprechaun pattern may also require you to use other more advanced techniques, such as stranded colorwork for the leprechaun’s hat or advanced shaping techniques for details like the face or beard. Following the pattern and any accompanying instructions will help you learn and incorporate these techniques into your knitting for a successful leprechaun doll.
Step-by-Step Instructions for Knitting the Leprechaun Body
Knitting a leprechaun body is a fun and creative project that can be done with just a few simple steps. Follow these instructions to create your own adorable leprechaun:
Materials Needed:
- Green yarn (medium weight)
- Knitting needles (size 4mm)
- Scissors
- Tapestry needle
Step 1: Cast on
To begin, cast on 36 stitches using the long-tail cast on method. This will be the base of your leprechaun body.
Step 2: Knit the body
Using the knit stitch, continue knitting in rows until your piece measures approximately 8 inches in length. This will be the body of your leprechaun.
Step 3: Shape the shoulders
To shape the shoulders, decrease one stitch at the beginning and end of every second row. Continue this decrease pattern until you have 30 stitches remaining.
Step 4: Bind off
Once you have reached the desired shoulder width, bind off all stitches to secure your work. Cut the yarn, leaving a long tail for sewing.
Step 5: Finishing
Using a tapestry needle, sew the side edges of your leprechaun body together to create a tube shape. Leave the bottom open for stuffing.
And there you have it! You have successfully knitted the body of your leprechaun. Now you can move on to knitting the leprechaun’s head, arms, and other details to complete your adorable leprechaun doll.
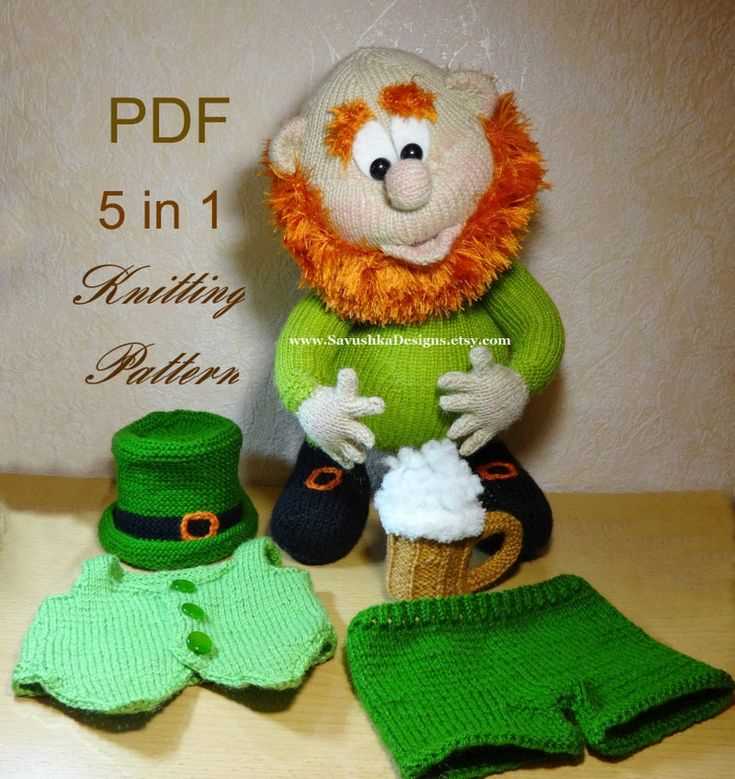
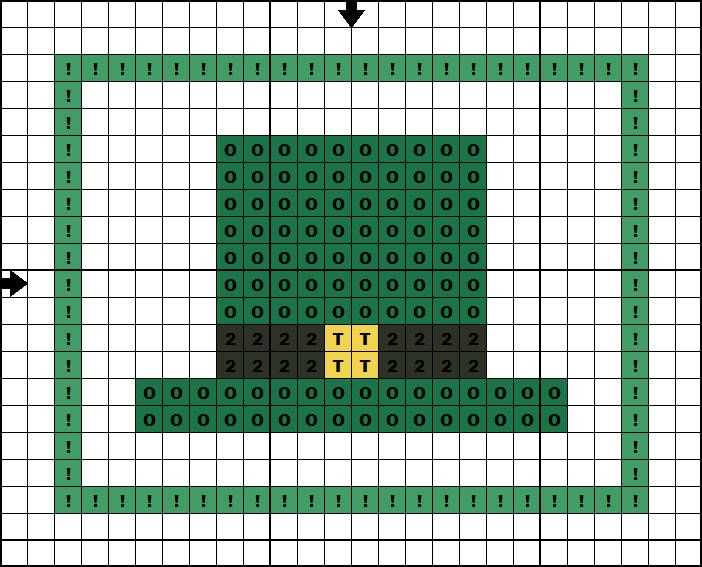
Creating the Leprechaun’s Hat and Shoes
The leprechaun is a beloved symbol of Irish culture and folklore, often associated with luck and mischief. If you’re looking to add some festive charm to your knitting repertoire, creating a leprechaun hat and shoes can be a fun and rewarding project. With this free leprechaun knitting pattern, you’ll be able to create whimsical accessories that capture the spirit of St. Patrick’s Day.
Leprechaun Hat: To start, gather the necessary materials, including green yarn, knitting needles, and a yarn needle. The pattern typically involves working in the round and using basic knitting stitches such as knit and purl. Begin by casting on the required number of stitches, and then follow the instructions to knit evenly in the round, increasing or decreasing stitches as necessary to create the desired shape. Finish off by binding off and carefully sewing up any seams. Embellishments, such as a decorative brim or a pom-pom, can be added to personalize the hat.
Leprechaun Shoes: For the shoes, you’ll need green and black yarn, as well as knitting needles and a yarn needle. The pattern may involve knitting in the round, as well as working short rows and using shaping techniques. Start by casting on the required number of stitches and then work your way through the pattern, following the instructions for each section. You may need to increase or decrease stitches to achieve the desired shape. Once the main pieces are complete, you can sew them together and add any additional embellishments like buckles or buttons. The finished leprechaun shoes will add an adorable touch to any St. Patrick’s Day celebration.
Whether you’re a seasoned knitter or just starting out, creating the leprechaun hat and shoes can be a fun and exciting project. With a little patience and creativity, you’ll be able to bring these whimsical accessories to life. So grab your knitting needles and dive into this free leprechaun knitting pattern – the perfect way to add a touch of Irish charm to your wardrobe or home decor.
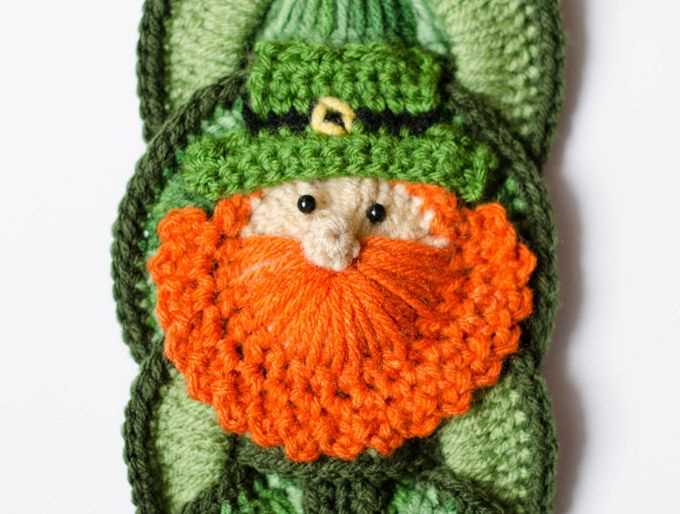
Adding Facial Features and Hair to your Leprechaun
Once the main body of your leprechaun is knitted, it’s time to give it some character by adding facial features and hair. These details will transform your knitted creation into a charming little leprechaun.
Facial Features:
- Using black yarn and a yarn needle, embroider two small eyes onto the face. You can use French knots or small straight stitches to create the eyes.
- Next, use the same black yarn to create the leprechaun’s eyebrows. You can make them straight or slightly curved, depending on the expression you want to give your leprechaun.
- For the nose, use a small amount of pink or peach yarn. Embroider a triangle shape at the center of the face to create a cute little leprechaun nose.
- Finally, use red or pink yarn to create a smiling mouth. You can embroider a simple curved line or get creative and add some teeth for an extra touch of charm.
Hair:
- To give your leprechaun some hair, you can either knit a separate piece and attach it to the head, or use yarn to create strands directly onto the head.
- If you choose to knit a separate piece, you can make a small rectangle or round shape with the desired hair color. Sew it onto the top of the head using a yarn needle.
- If you prefer to create strands directly onto the head, you can use a crochet hook to loop small strands of yarn through the stitches on top of the head. Trim the strands to the desired length for a neat finish.
- Remember to use complementary colors, such as green or red, for the leprechaun’s hair to match the overall theme.
Adding facial features and hair to your leprechaun will bring it to life and make it even more delightful. Don’t be afraid to get creative and experiment with different styles and colors to give your leprechaun a unique personality!
Finishing Touches: Embellishments and Details
When it comes to adding the finishing touches to your leprechaun knitting project, the possibilities for embellishments and details are endless. Whether you want to add some sparkle, create texture, or enhance the overall look of your leprechaun, there are plenty of options to choose from.
1. The Hat: The leprechaun’s hat is a key element of its look. Consider using a contrasting color of yarn and adding a bit of texture by incorporating a rib stitch or a cable pattern. Embellish the hat further by attaching a small buckle or creating a fun pom-pom to place on top.
2. The Face: The leprechaun’s face is where you can really add personality to your project. Embroider the eyes, nose, and mouth using colorful thread to bring your leprechaun to life. You can also experiment with different stitches to create eyebrows or a subtle smile.
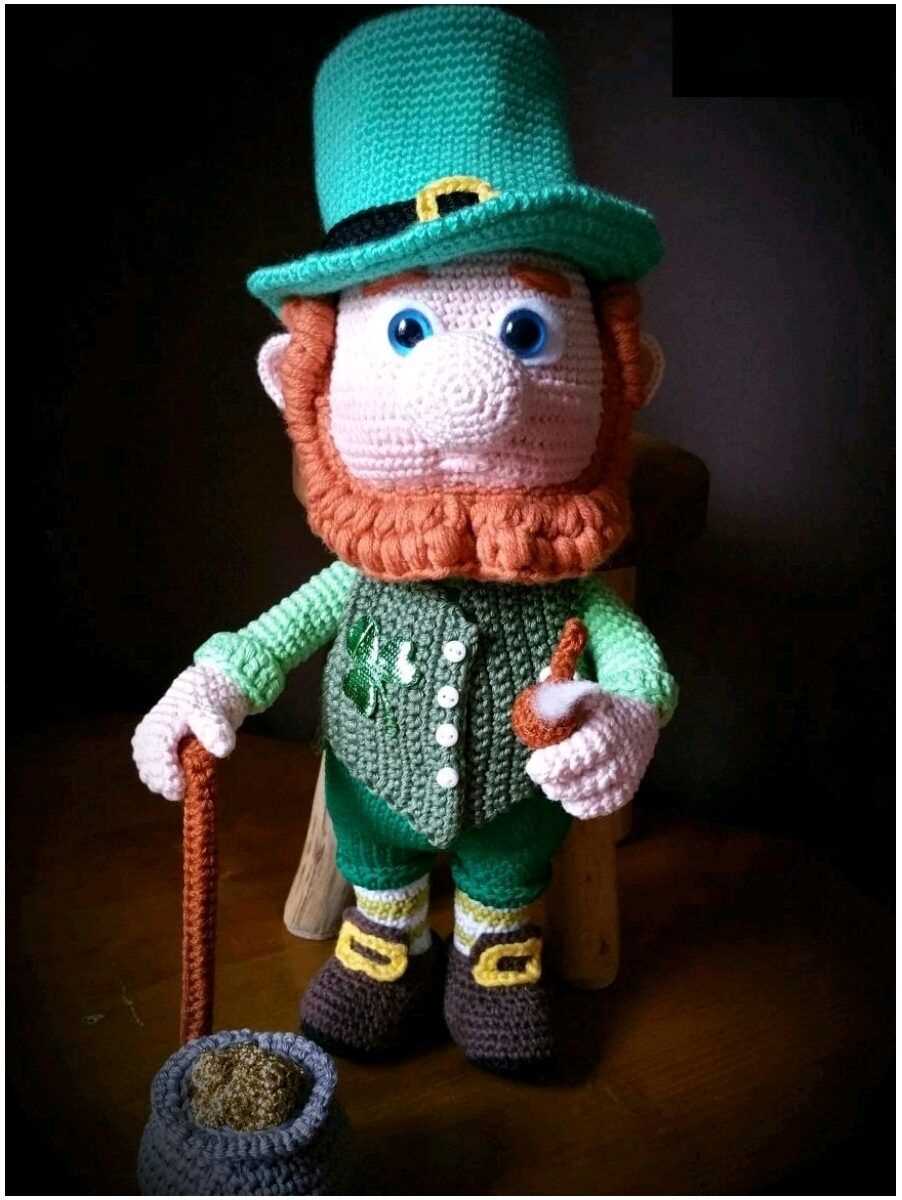
3. The Beard: The leprechaun’s beard is an iconic feature that can be made even more special with some additional details. Consider using a fuzzy or textured yarn to give the beard some dimension. You can also add small braids or twists to the beard to create a whimsical and playful look.
4. The Clothing: The leprechaun’s clothing can be enhanced with small details like buttons or patches. Use different colors of yarn to create stripes or patterns on the sleeves or legs. You can also add a belt or suspenders to complete the leprechaun’s outfit.
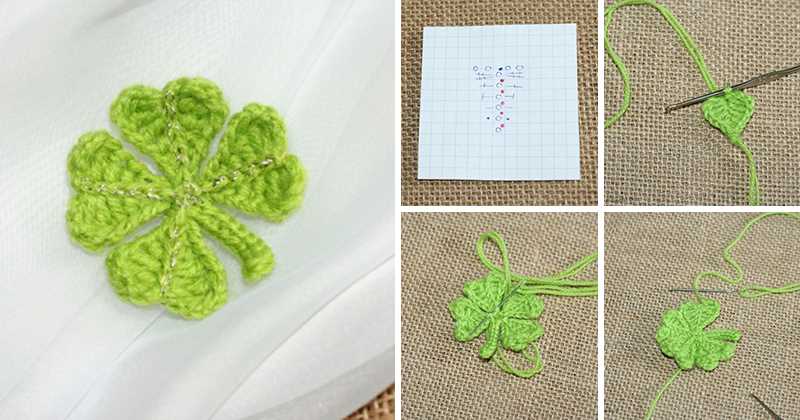
5. The Accessories: Don’t forget about the leprechaun’s accessories! Adding a tiny pot of gold, a shamrock, or a pipe can really elevate the overall design. Use small beads or sequins to add some sparkle to these accessories and make them stand out.
6. Finishing Touches: Once you have added all the desired embellishments and details, don’t forget to give your leprechaun a final touch. Use a bit of stuffing or a wire to shape the arms, legs, or hat. This will help your leprechaun maintain its shape and add a bit of charm.
Remember, these are just a few ideas to get you started. Feel free to get creative and add your own unique touches to make your leprechaun knitting project truly one-of-a-kind.
Tips and Tricks for Successfully Completing the Leprechaun Pattern
In order to successfully complete the leprechaun knitting pattern, it is important to keep a few tips and tricks in mind. These will help ensure that your finished project turns out just as you envisioned it. Here are some helpful pointers:
1. Gather All Necessary Supplies

Before starting the leprechaun pattern, gather all the necessary supplies mentioned in the instructions. This includes the specified yarn, knitting needles, stitch markers, and any other tools or materials required. Having everything on hand at the beginning will prevent any interruptions during the knitting process.
2. Read the Pattern Carefully
Take the time to read the leprechaun pattern carefully before starting. Familiarize yourself with the different stitches, abbreviations, and any special techniques that may be required. Make sure you understand the instructions and have a clear picture of the finished project in your mind.
3. Use Stitch Markers
Stitch markers are an essential tool for keeping track of your stitches and progress. They can indicate where increases or decreases need to be made, or where certain pattern repeats occur. Use stitch markers as instructed in the pattern to ensure accuracy and avoid mistakes.
4. Check Your Gauge

Make sure to check your gauge before starting the leprechaun pattern. This involves knitting a small swatch using the specified yarn and needles, and comparing it to the gauge information provided in the pattern. Adjust your needle size if necessary to achieve the correct gauge, as this will determine the size and fit of your finished project.
5. Take Breaks and Rest Your Hands
Knitting can be an intensive activity, especially when working on a complex pattern. Remember to take breaks and rest your hands, as excessive strain or tension can lead to discomfort or injury. Stretching exercises and hand massages can also help alleviate any stiffness or soreness.
6. Enjoy the Process
Above all, remember to enjoy the process of knitting the leprechaun pattern. Knitting is a wonderful and creative hobby, and completing a project can bring a great sense of accomplishment. Embrace any challenges along the way and celebrate your progress. Have fun and happy knitting!