
Are you a fan of knitting and adorable bumblebees? Look no further! We have compiled a collection of free knitting patterns that will enable you to create your very own buzzing bumblebees. Whether you are a beginner or an experienced knitter, these patterns are suitable for all skill levels.
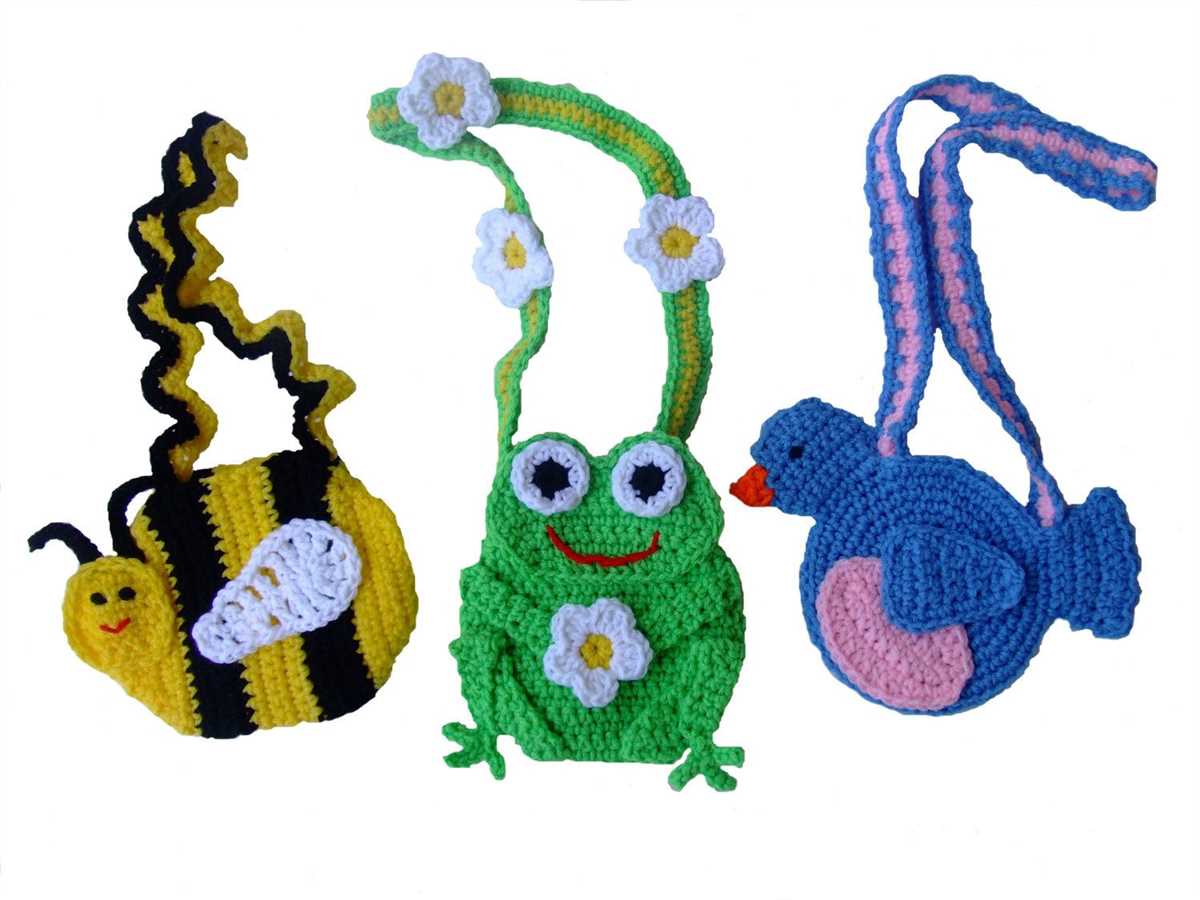
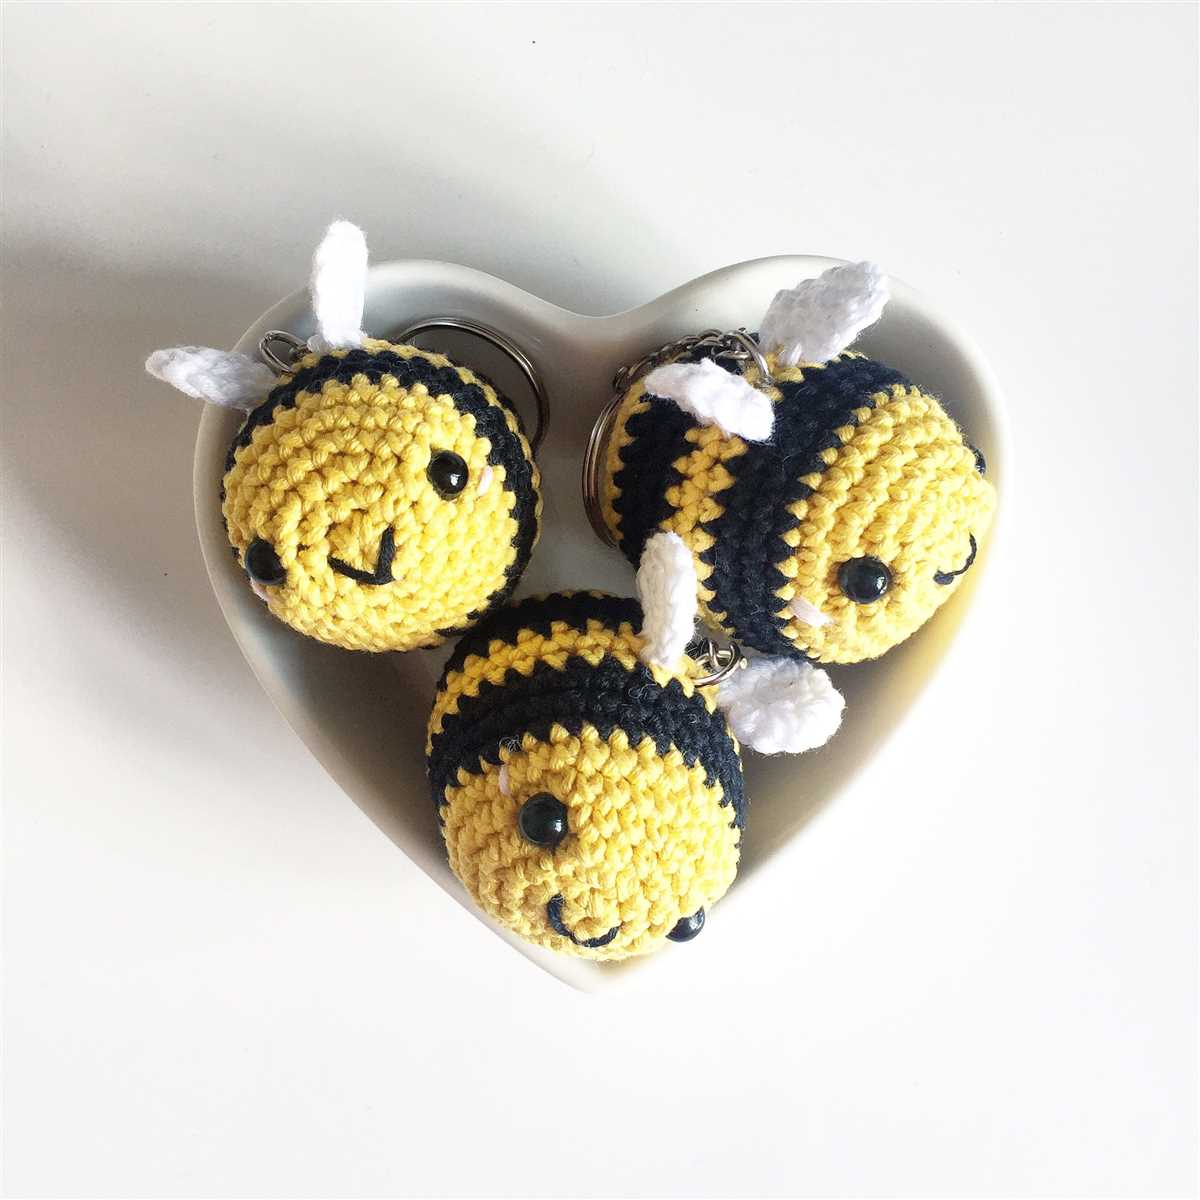
Knitting is not only a therapeutic hobby but also a creative outlet. Creating these cute bumblebees will bring joy to children and adults alike. Handmade toys are not only unique but also make thoughtful gifts. You can use these patterns to create toys, keychains, or decorative items, the possibilities are endless.
Our free knitting patterns feature step-by-step instructions and include materials and stitch suggestions. From the classic black and yellow stripes to the intricate details of the antennae and wings, you will be able to recreate the essence of these beloved insects. So grab your knitting needles and get ready to bring some bee-autiful creations to life!
Free Knitting Patterns for Bumblebees
Knitting is a popular hobby and an enjoyable way to create unique and personalized items. If you’re looking for a fun and adorable project, why not try knitting bumblebees? These cute little creatures can be a great addition to your home decor or even make a delightful gift for a loved one.
To get started, you’ll need some basic knitting skills and a few essential materials. You’ll need yarn in yellow and black, along with knitting needles that are suitable for your chosen yarn weight. Additionally, you may want to invest in some stuffing to give your bumblebee a plush finish.
Striped Bumblebee Pattern:
One popular knitting pattern for bumblebees is the striped design. To create this pattern, you’ll alternate between knitting rows with yellow and black yarn. You can start by knitting a rectangle for the body, and then sew up the sides to create a tube. Add some stuffing and shape the body to resemble a bumblebee. For the wings, you can knit a small rectangle in white or grey and attach it to the body. Finally, sew on some black yarn for the stripes and yellow yarn for the eyes and mouth.
Beehive Pattern:
Another fun knitting pattern to try is the beehive design. This pattern requires knitting a small beehive shape using yellow yarn. You can create texture by knitting some purl stitches or adding in some bobbles. Next, knit a small bee to attach to the top of the beehive. You can use the striped pattern described above to create the bee. Lastly, use black yarn to embroider some bees flying around the beehive.
Once you’ve finished knitting your bumblebee, you can get creative with how you use them. They can be used as cute decorations around your house, or you can attach them to keychains or bags. They also make adorable toys for children or even pets. Feel free to experiment with different yarn colors and patterns to make your bumblebee truly unique.
How to Knit a Bumblebee Toy
Knitting a bumblebee toy is a fun and creative project that can bring joy to both children and adults. Whether you are an experienced knitter or just starting out, this step-by-step guide will help you create your very own adorable bumblebee toy.
To begin, gather your materials. You will need yellow and black yarn, knitting needles, stuffing, safety eyes or buttons for the eyes, and a yarn needle. It’s important to choose yarn that is soft and durable, so your bumblebee toy will be snuggly and last for a long time.
Step 1: Start by casting on stitches with yellow yarn to create the body of the bumblebee. You can choose any number of stitches depending on the size you want your toy to be. Knit the desired number of rows in garter stitch, which means knitting every stitch on every row, to create a rectangular piece.
Step 2: Once you have completed the body, it’s time to add some stripes. Switch to black yarn and knit a few rows in stockinette stitch, alternating between knit and purl rows. This will create the distinct stripes on the bumblebee’s body.
- Tip: To make the stripes more prominent, consider using a smaller needle size for the black yarn.
Step 3: After you’ve finished the stripes, it’s time to shape the body. Decrease stitches gradually on both sides of the knitting to create a tapered shape. This will give the bumblebee toy a more realistic and three-dimensional look.
Step 4: To create the wings, use yellow yarn to knit two small rectangles. Then, sew the wings onto the body by attaching them to the back of your bumblebee. You can either sew them on using the same color yarn or use black yarn to create a contrasting effect.
Step 5: Finally, stuff your bumblebee toy with stuffing and sew the bottom of the body closed. Attach safety eyes or sew on buttons for the eyes, and embroider a smile using black yarn to give your bumblebee a friendly face.
Once you have completed all the steps, you will have your very own knitted bumblebee toy! It can be a wonderful gift for a loved one or a cute addition to your own collection. Enjoy the process of knitting and let your creativity soar as you customize your bumblebee toy with different colors or accessories.
Step-by-Step Instructions for Knitting a Bumblebee Hat
If you’re looking to add some fun and whimsy to your knitting projects, why not try making a bumblebee hat? This adorable hat is perfect for children and adults alike, and it’s a great way to showcase your knitting skills. Follow these step-by-step instructions to create your own bumblebee hat.
Materials:
- Worsted weight yarn in black and yellow
- Size 8 knitting needles
- Tapestry needle
- Pom-pom maker
Instructions:
- Start by casting on 80 stitches using the black yarn.
- Work in a K2, P2 rib stitch for 2 inches.
- Switch to the yellow yarn and knit every row for 4 inches.
- Switch back to the black yarn and continue knitting every row for another 4 inches.
- Continue alternating between the yellow and black yarn, knitting every row, for a total of 16 inches.
- Next, decrease 8 stitches evenly across the row by knitting 2 stitches together.
- Continue knitting every row with the black yarn for another 2 inches.
- Now, it’s time to shape the top of the hat. Decrease 4 stitches evenly across the row by knitting 2 stitches together. Repeat this decrease every other row until you have 8 stitches remaining.
- Cut the yarn, leaving a long tail. Thread the tail through the tapestry needle and slide the needle through the remaining 8 stitches. Pull tight to close the top of the hat.
- To finish off the hat, make a pom-pom using the yellow yarn and attach it to the top of the hat.
- Weave in any loose ends and your bumblebee hat is complete!
Now you have your very own bumblebee hat that is sure to be a hit with kids and adults alike. Whether you wear it for a costume, a fun photo shoot, or just for everyday wear, this hat is guaranteed to bring a smile to your face. Create several hats in different colors to match your mood or make them as gifts for your loved ones. Happy knitting!
Knitting a Bumblebee Blanket: Tips and Tricks
Knitting a bumblebee blanket can be a fun and rewarding project for knitters of all skill levels. Whether you’re a beginner or an experienced knitter, there are a few tips and tricks that can help you create a beautiful and cozy blanket that showcases the iconic bumblebee design.
Choose the Right Yarn
When knitting a bumblebee blanket, choosing the right yarn is essential. Opt for a soft and durable yarn that will be comfortable to snuggle up in, such as a blend of cotton and acrylic. Consider using yarn colors that closely resemble the natural colors of a bumblebee, such as black and yellow.
Find a Reliable Pattern
There are many free knitting patterns available online that feature bumblebee designs. Look for a pattern that provides clear instructions and includes a detailed chart for the bee motif. It’s also helpful to find a pattern that offers tips and tricks specific to knitting bumblebee designs, as this will make the process easier and more enjoyable.
Use the Right Needles and Gauge
The size of your needles and your gauge can have a significant impact on the final result of your bumblebee blanket. Be sure to use the correct size needles recommended in the pattern to achieve the desired tension. Additionally, check your gauge before starting the project to ensure your stitches align with the pattern’s specifications.
Pay Attention to Detail
When knitting a bumblebee blanket, attention to detail is key. Take the time to carefully follow the pattern instructions for each section of the blanket, ensuring that your stitches are neat and even. Pay special attention to the bumblebee motif, making sure each stitch is well-defined to give the blanket its distinctive look.
Add Personal Touches
While following a pattern is essential, don’t be afraid to add personal touches to make your bumblebee blanket unique. Consider adding additional bee motifs or incorporating other elements of nature, such as flowers or leaves, into the design. This will give your blanket a personalized touch and make it even more special.
With these tips and tricks in mind, you’ll be well-equipped to knit a beautiful bumblebee blanket. Get creative, have fun, and enjoy the process of bringing this adorable and iconic insect to life through your knitting skills!
A Beginner’s Guide to Knitting Bumblebee Socks
Knitting bumblebee socks is a fun and creative way to show off your knitting skills and add a touch of whimsy to your wardrobe. Whether you’re a beginner knitter or have some experience under your belt, these adorable socks are a great project to take on. In this guide, we’ll walk you through the process of knitting bumblebee socks step by step, from choosing the right yarn and needles to adding the finishing touches.
Materials Needed:
- Yellow and black yarn (worsted weight)
- Double-pointed needles (size US 8)
- Tapestry needle
- Scissors
Step 1: Choosing the Right Yarn and Needles
When it comes to knitting bumblebee socks, choosing the right yarn and needles is key. Opt for a soft and durable yarn in yellow and black colors that will mimic the vibrant stripes of a bumblebee. Worsted weight yarn is a good choice for socks as it provides warmth and durability. Double-pointed needles in size US 8 will give you the right gauge for your socks.
Step 2: Casting On and Starting the Cuff
Start by casting on the desired number of stitches for your sock cuff. This will depend on the size of your foot and the fit you prefer. A popular option is casting on 64 stitches for an average adult sock. Once you have cast on, join the stitches in the round and begin knitting in a 2×2 rib pattern (knit 2 stitches, purl 2 stitches) for the cuff. Continue knitting in the rib pattern for about 1 inch or until the cuff reaches your desired length.
Step 3: Knitting the Leg and Heel Flap
After completing the cuff, you can proceed to knit the leg of the sock. Knit all stitches in the round until the leg measures about 5 inches from the cuff or your desired length. Then, it’s time to knit the heel flap. Turn the sock inside out and start knitting back and forth on just half of the total stitches. This will create a sturdy and reinforced heel. Follow a simple slip stitch pattern, knitting one row and then purling the next row, for about 2 inches or until the heel flap is long enough.
Step 4: Turning the Heel and Knitting the Foot
Once the heel flap is finished, it’s time to turn the heel. This involves creating a series of short rows to shape the heel and create a comfortable fit. The exact instructions can vary depending on the pattern you’re using, but generally, you’ll be knitting some stitches and then turning the work without knitting all the way across. After turning the heel, you’ll continue knitting the foot of the sock in the round until it reaches your desired length.
Step 5: Shaping the Toe and Finishing Off
To shape the toe of your bumblebee socks, you’ll need to decrease the number of stitches gradually. This can be done using a series of toe decreases, such as the K2tog (knit two stitches together) or SSK (slip, slip, knit) decrease. Follow the pattern you’re using for specific instructions on how to shape the toe. Once you’ve completed the toe decreases, close off the sock by cinching the remaining stitches tightly and weaving in any loose ends.
With these step-by-step instructions, you’ll be well on your way to knitting your very own pair of bumblebee socks. Whether you choose to wear them or give them as a gift, these socks are sure to bring a smile to anyone’s face.
Knitting a Bumblebee Sweater: Patterns for All Ages
Are you looking for a fun and unique knitting project? Why not try knitting a bumblebee sweater? Whether you’re knitting for yourself or someone else, this adorable sweater is sure to bring a smile to everyone’s face. With its bold black and yellow stripes and cute bumblebee design, it’s the perfect addition to any wardrobe.
Pattern for Adults: If you’re an adult who loves to show off your playful side, this bumblebee sweater pattern is just for you. Knit with medium weight yarn, this pattern features a classic crew neck and raglan sleeves for a comfortable fit. The black and yellow stripes are easily achieved with simple colorwork techniques, making it a great project for knitters of all skill levels. With multiple sizes available, you can customize the pattern to fit your unique measurements.
Pattern for Kids: Kids will also love sporting a bumblebee sweater of their own. This pattern is designed specifically for children and features a cozy hoodie with a stylish front pocket. The black and yellow stripes are not only fun to wear, but they also help children learn about pattern and color recognition. Knit with soft, washable yarn, this sweater is perfect for active kids who love to play outside.
Pattern for Babies: Don’t forget about the littlest members of your family! This bumblebee sweater pattern is specially designed for babies and features easy-to-use button closures for quick and easy dressing. The soft, breathable yarn used in this pattern will keep your little one comfortable and cozy in any weather. And of course, the adorable bumblebee design will make your baby the cutest little bug on the block.
Conclusion: Knitting a bumblebee sweater is a fun and creative way to add some whimsy to your wardrobe or the wardrobe of someone you love. With patterns available for adults, kids, and babies, everyone can join in on the bumblebee fun. So gather your yarn and knitting needles, and get ready to create a buzz with your handmade bumblebee sweater!
Stylish Bumblebee Mittens: Knitting Patterns for the Fashionable
Are you ready to add a touch of fun and whimsy to your winter wardrobe? Look no further than these stylish bumblebee mittens! With their bold black and yellow stripes, these mittens are not only fashionable but also a playful way to stay warm during the colder months.
Designed with the fashion-forward individual in mind, these mittens are perfect for adding a pop of color to any outfit. With their sleek and modern design, they are sure to make a statement wherever you go. Whether you’re heading out for a day of shopping or attending a stylish winter event, these bumblebee mittens are the perfect accessory.
These knitting patterns are suitable for knitters of all skill levels. The detailed instructions and step-by-step photos make it easy for beginners to create their own pair of fashionable bumblebee mittens. For more experienced knitters, there are variations and additional design options to explore, allowing you to customize your mittens and make them truly unique.
Materials Needed:
- Worsted weight yarn in black and yellow
- Size 8 (5mm) double-pointed needles
- Tapestry needle for weaving in ends
- Stitch markers
Instructions:
- Cast on 40 stitches with black yarn.
- Knit 2, purl 2 ribbing for 2 inches.
- Switch to yellow yarn and knit every round for 3 inches.
- Begin thumb gusset:
- Knit 14, place marker, make 1 increase, knit 1, make 1 increase, place marker, knit to end.
- Knit every round for 1 inch.
- Repeat these two rows until you have 8 stitches between the markers.
Now you’re ready to showcase your fashionable bumblebee mittens! Pair them with a stylish coat or winter accessories for a complete look. Whether you’re walking down the street or sipping hot cocoa at a cozy café, these mittens are sure to turn heads and make you the envy of the fashion-savvy crowd.
Knitting a Bumblebee Scarf for Winter Warmth
Winter can be a chilly season, but there’s no reason why you can’t stay warm and stylish at the same time. One way to do so is by knitting yourself a bumblebee scarf. This fun and unique accessory not only adds a pop of color to your winter wardrobe, but it also showcases your knitting skills.
To get started, you’ll need a few basic knitting supplies. Gather some black and yellow yarn, along with a pair of knitting needles in an appropriate size for your yarn. You’ll also need a tapestry needle for finishing touches. Once you have everything ready, it’s time to cast on and get knitting!
Pattern:
- Cast on 30 stitches using the black yarn.
- Knit in a 2×2 rib pattern (knit 2 stitches, purl 2 stitches) for about 6 inches.
- Switch to yellow yarn and knit in stockinette stitch (knit one row, purl one row) for about 15 inches.
- Switch back to black yarn and knit in a 2×2 rib pattern for another 6 inches.
- Bind off all stitches.
Once you’ve finished knitting the scarf, use the tapestry needle to weave in any loose ends and give it a neat finish. The end result will be a cozy and stylish bumblebee scarf that is sure to keep you warm during the winter months.
If you’re feeling adventurous, you can even add some additional details to make your scarf even more bee-like. Consider adding black stripes using duplicate stitch or sewing on some felt wings. The possibilities are endless!
So, why settle for a plain scarf when you can stand out from the crowd with a bumblebee-inspired accessory? Start knitting your bumblebee scarf today and get ready to turn heads with your unique winter style!
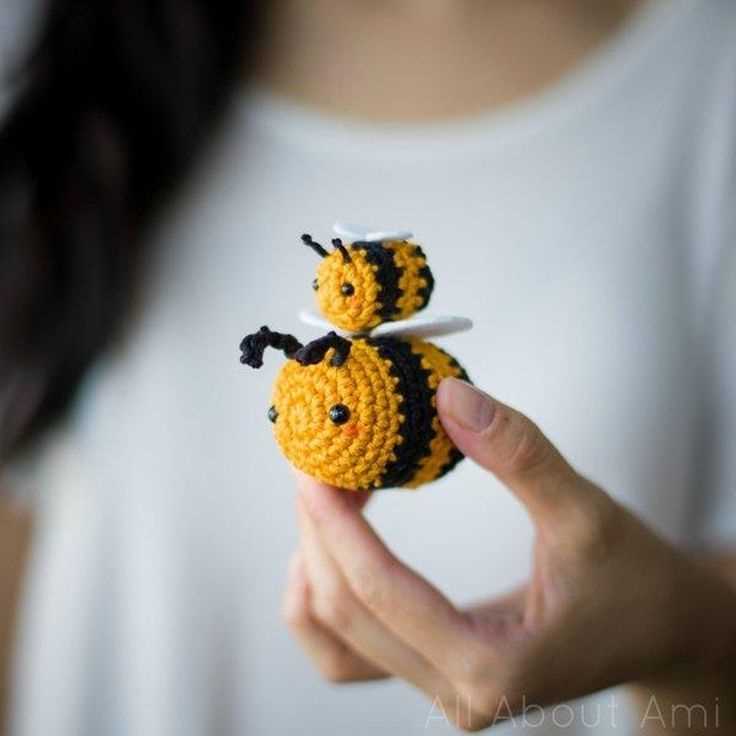
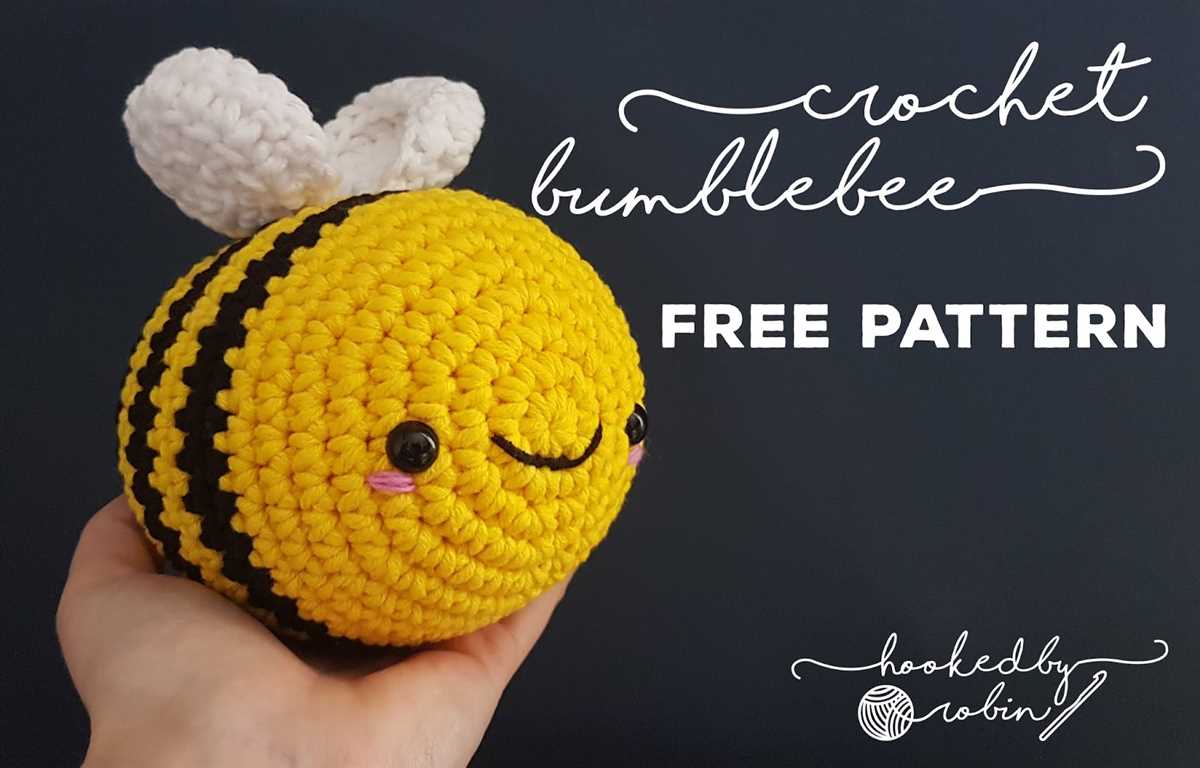
Cute and Cuddly: Free Bumblebee Amigurumi Patterns
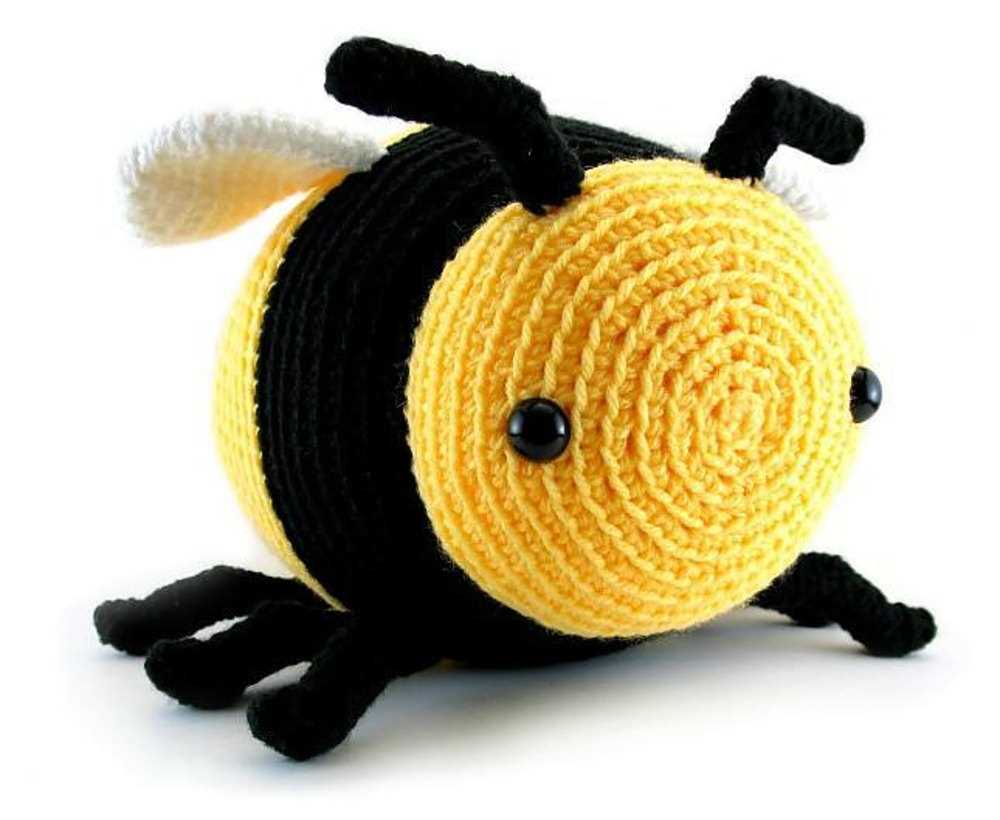
Bumblebees are adorable creatures that bring joy and beauty to gardens and meadows. Their vibrant yellow and black stripes make them an iconic insect, beloved by many. If you’re a fan of these fuzzy flyers and enjoy the art of amigurumi, then you’re in luck! We’ve gathered some free bumblebee amigurumi patterns that will allow you to create your own cute and cuddly bumblebees.
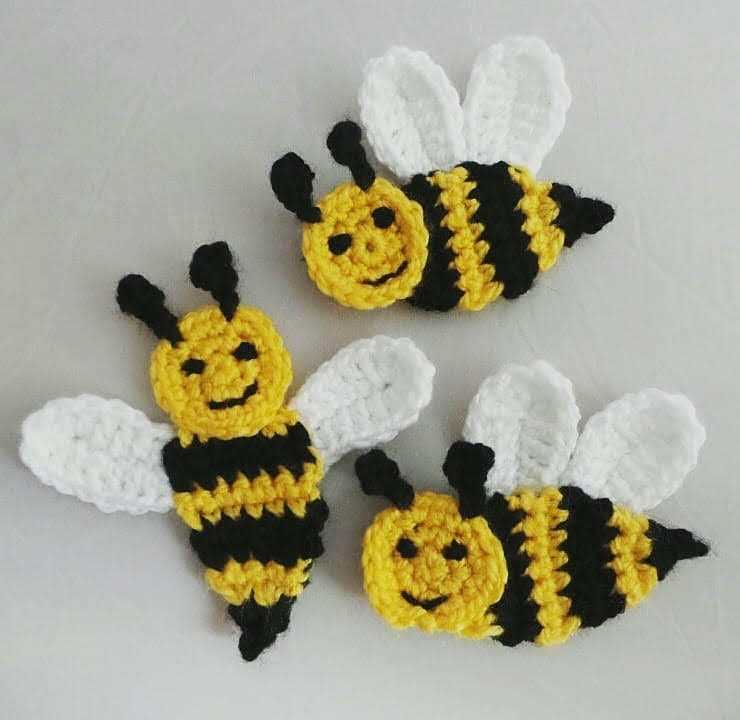
One popular bumblebee amigurumi pattern is the “Buzzy Bee” design. This pattern features a round, chubby bumblebee with a smiling face and tiny wings. The pattern includes step-by-step instructions and photos, making it easy to follow along. You can customize the colors of the stripes and wings to create a unique bumblebee that matches your personal style.
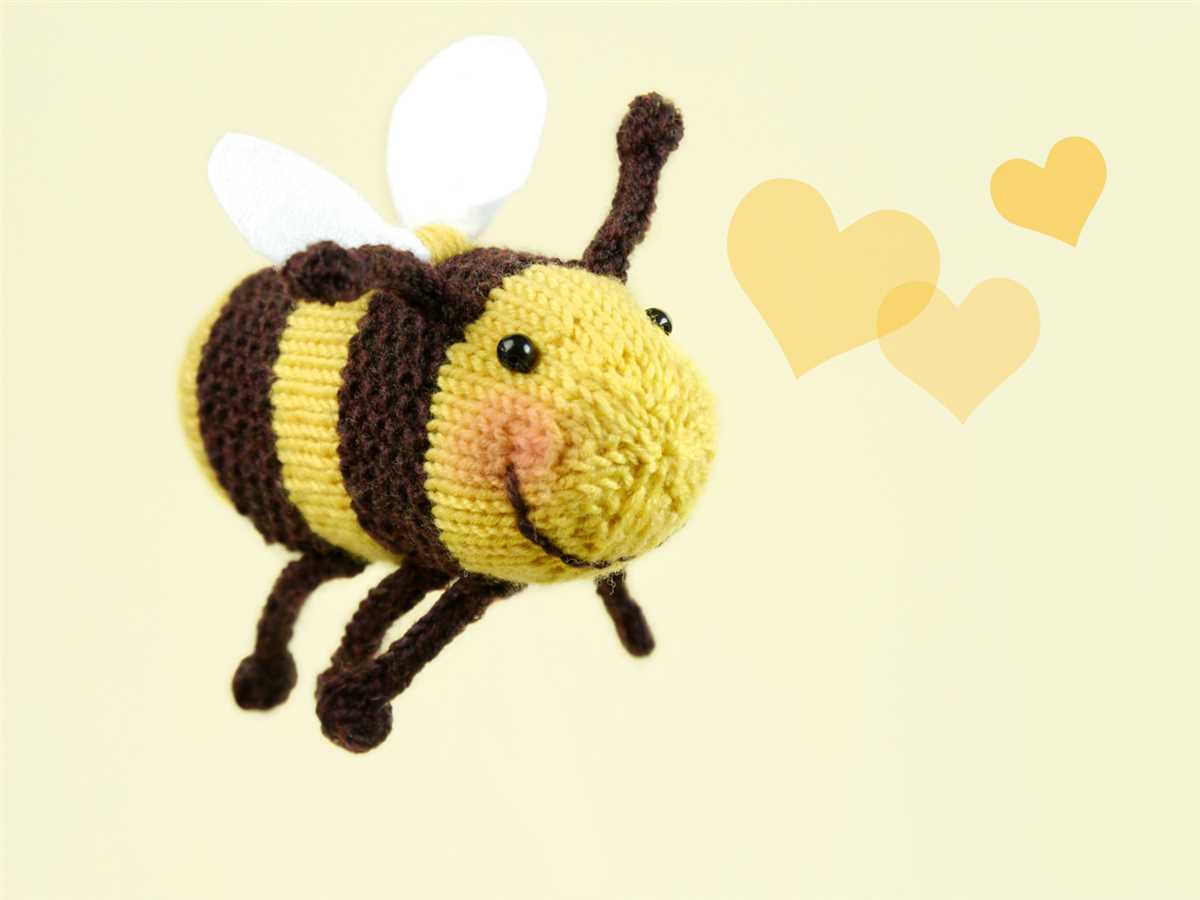
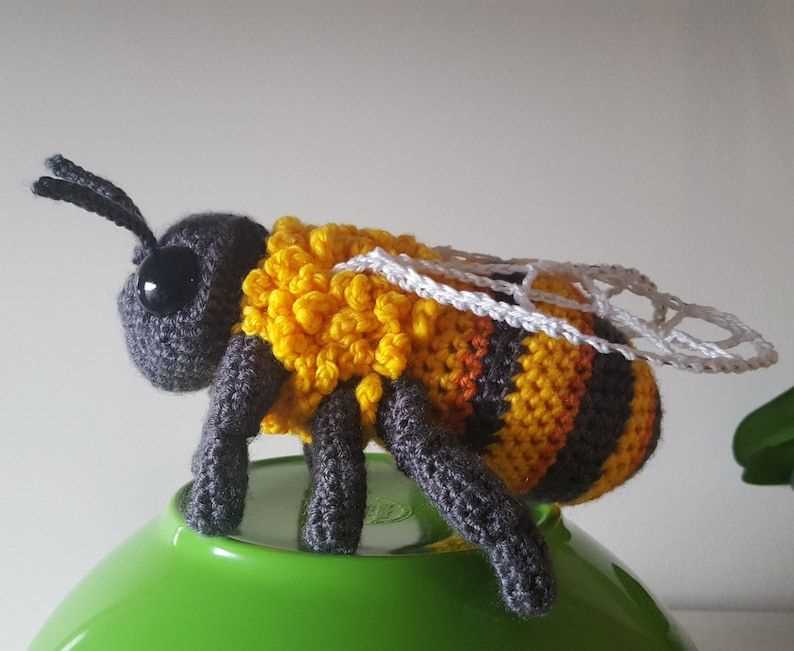
If you’re looking for a more realistic bumblebee amigurumi, the “Buzzworthy Bee” pattern might be perfect for you. This pattern includes details such as fuzzy yarn for the bee’s body, realistic wings, and even tiny antennae. The result is an incredibly lifelike bumblebee that will be a hit with both children and adults alike.
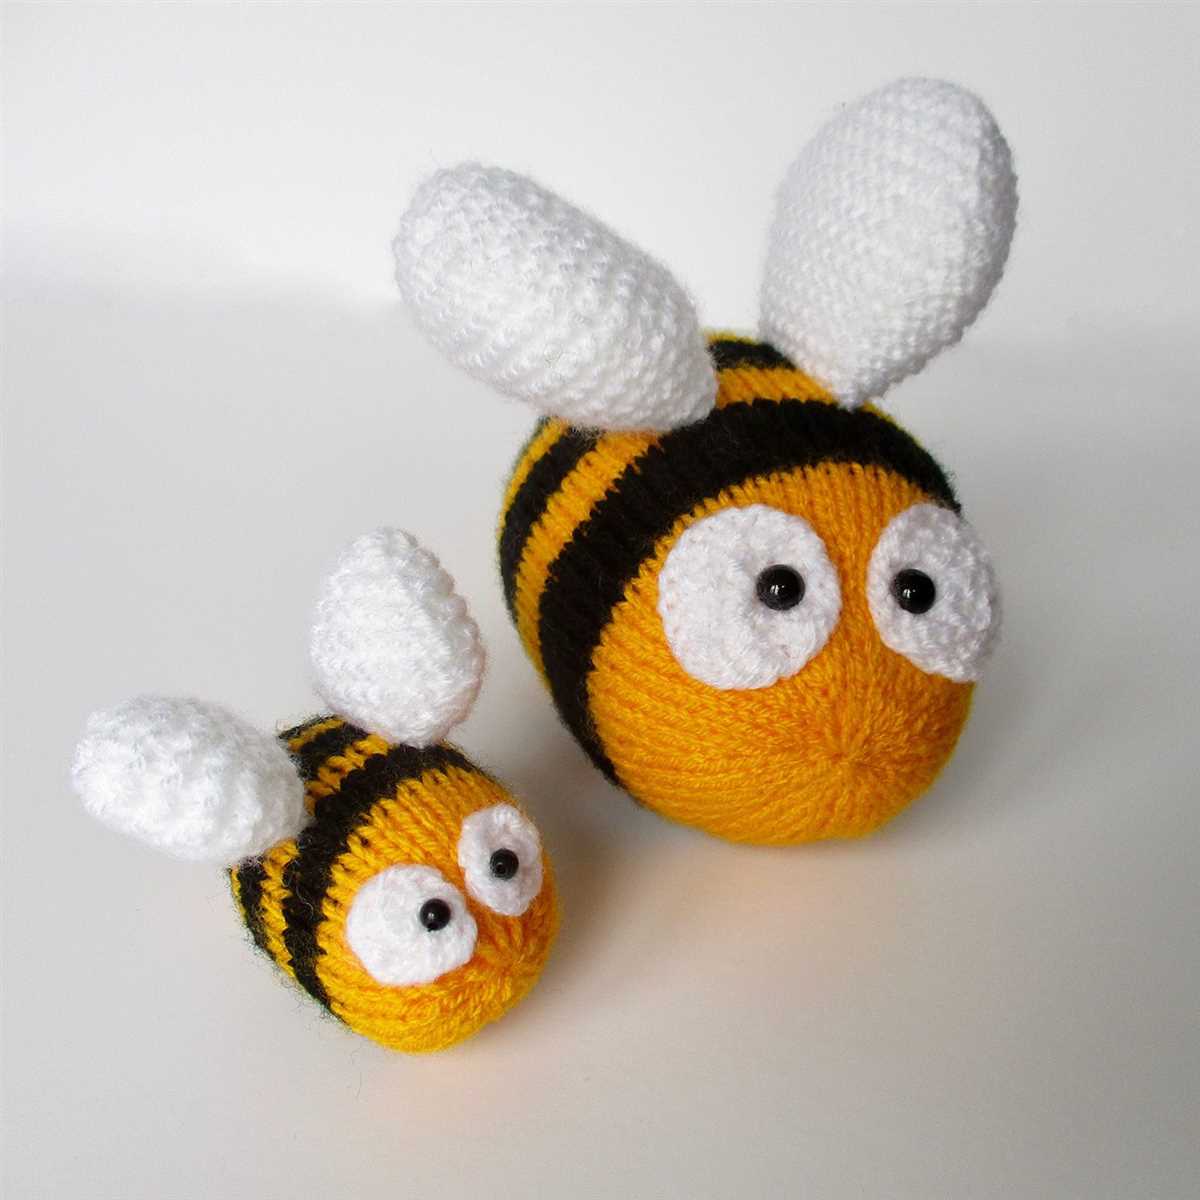
For those who prefer a more whimsical and quirky style, the “Bumblebee Buddy” pattern is a great choice. This pattern features a bumblebee with exaggerated features, such as big eyes and overly large wings. The pattern also includes options for adding accessories, such as a flower or a tiny bee-sized hat. It’s a fun and playful twist on the traditional bumblebee amigurumi.
Whether you’re a beginner or an experienced crocheter, these free bumblebee amigurumi patterns offer something for everyone. So grab your crochet hook and get ready to create your own cute and cuddly bumblebee friend!
Knitting a Bumblebee Baby Blanket for the Little Ones
Knitting a baby blanket is a wonderful way to express your creativity and provide comfort and warmth to the little ones in your life. If you’re looking for a unique and adorable design, consider making a bumblebee baby blanket. This pattern is not only charming but also easy to knit, making it a perfect project for knitters of all skill levels.
The bumblebee baby blanket pattern typically features alternating yellow and black stripes to mimic the distinctive colors of a bumblebee. The blanket can be made using soft and cozy yarns in a variety of weights, depending on your preference and the climate in which the baby will be using it. Cotton or acrylic yarns are often recommended for baby blankets as they are gentle on delicate skin and easy to care for.
Materials:
- Yellow yarn
- Black yarn
- Knitting needles (appropriate size for your chosen yarn)
- Tapestry needle
- Scissors
Instructions:
- Start by casting on the desired number of stitches, depending on the size of the blanket you want to create.
- Begin with the yellow yarn and knit the first row.
- Switch to the black yarn and knit the next row.
- Continue alternating between the yellow and black yarn, knitting each row, until the blanket reaches the desired length.
- Once you’ve reached the desired length, bind off all stitches and cut the yarn, leaving a long tail.
- Weave in any loose ends using the tapestry needle.
The bumblebee baby blanket is not only a functional item but also a cute and playful addition to any nursery. It can also make a thoughtful and personalized gift for baby showers or newborns. With its simple pattern and charming design, it’s sure to become a cherished keepsake for both the parents and the little ones who will snuggle up with it.
Knitting a Bumblebee Dishcloth: A Practical Project for the Kitchen
Knitting is a versatile craft that offers endless possibilities for creating unique and useful items. One such project that combines both functionality and charm is the bumblebee dishcloth. These dishcloths are an adorable addition to any kitchen and are perfect for adding a touch of whimsy to your daily chores. Whether you’re a seasoned knitter or just starting out, this project is a great way to practice essential knitting techniques while producing a practical item for everyday use.
To begin your bumblebee dishcloth, gather your materials: yellow and black cotton yarn, knitting needles in an appropriate size for your desired finished dishcloth, a tapestry needle, and scissors. The dishcloth can be worked in any size you prefer, but a square shape is easiest for beginners.
Start by casting on the desired number of stitches in yellow yarn. Knit a few rows in garter stitch to create a solid foundation for your dishcloth. Once you have the base, switch to black yarn and begin creating the bumblebee pattern. This can be achieved by using a combination of knit and purl stitches to create the iconic striped design of a bumblebee’s body. You can follow a written pattern or create your own design, alternating between yellow and black to mimic the appearance of a bumblebee.
Once you have completed the body of the bumblebee, it’s time to move on to the wings. Using white or cream-colored yarn, work short rows to create the distinctive shape of the bumblebee’s wings. This is a great opportunity to learn and practice short row techniques, which create a curved shape without the need for increasing or decreasing stitches. Finally, finish off your dishcloth with a few more rows of yellow or black yarn to create a border and bind off your stitches.
The end result is a charming and functional dishcloth that brings a touch of nature into your kitchen. The textured stitches provide excellent scrubbing power, making it perfect for cleaning dishes, countertops, and even delicate glassware. The bumblebee dishcloth also makes a great gift for friends and family who appreciate handmade items. So grab your knitting needles and get started on this fun and practical project today!
Bumblebee Coasters: Knitting Patterns for Home Decor
Knitting is not only a great way to create your own clothing and accessories, but also an opportunity to add a personal touch to your home decor. Bumblebee coasters are a fun and charming addition to any table or countertop. Here we have compiled a selection of free knitting patterns for bumblebee coasters to help you bring a touch of nature-inspired whimsy into your home.
Whether you’re a beginner or an experienced knitter, these patterns offer various levels of complexity, allowing you to choose a project that suits your skill level and time constraints. Each pattern comes with detailed instructions and materials lists, making it easy for you to get started.
When it comes to choosing yarn for your bumblebee coasters, you have the freedom to use any colors that you prefer. The classic yellow and black combination is a popular choice for capturing the iconic look of a bumblebee. However, you can also experiment with different color combinations to create unique and eye-catching coasters that match your home decor.
Once you have finished knitting your bumblebee coasters, you can use them to protect your surfaces from hot mugs, cold drinks, and condensation. They also make great gifts for friends and family, adding a touch of handmade charm to any occasion. So why not give these free knitting patterns for bumblebee coasters a try and bring a buzz of joy to your home?
Free Knitting Patterns for Bumblebee Coasters:
- Bumblebee Coaster Set – This pattern offers instructions for knitting a set of adorable bumblebee coasters. The pattern includes both written instructions and a helpful chart for the colorwork section.
- Buzzy Bee Coasters – These coasters feature a simple bumblebee motif and are perfect for beginners. The pattern provides step-by-step instructions and includes a photo tutorial for the colorwork.
- Beehive Coasters – If you’re looking for a versatile pattern that can be used as both coasters and decorative hanging ornaments, this pattern is for you. The bee and beehive motifs are stitched separately and attached to the coaster base.
There are plenty of options to choose from when it comes to knitting bumblebee coasters. Whether you prefer a simple design or a more intricate pattern, there is something for everyone. So grab your knitting needles and get ready to create a buzz with these charming home decor items!