
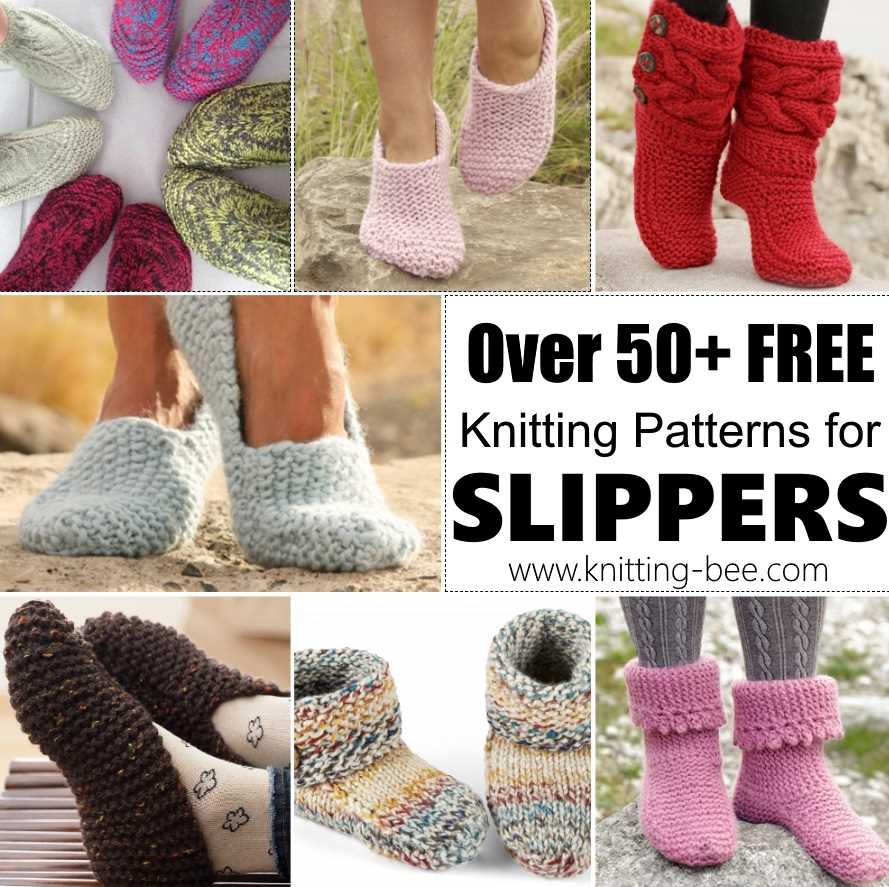
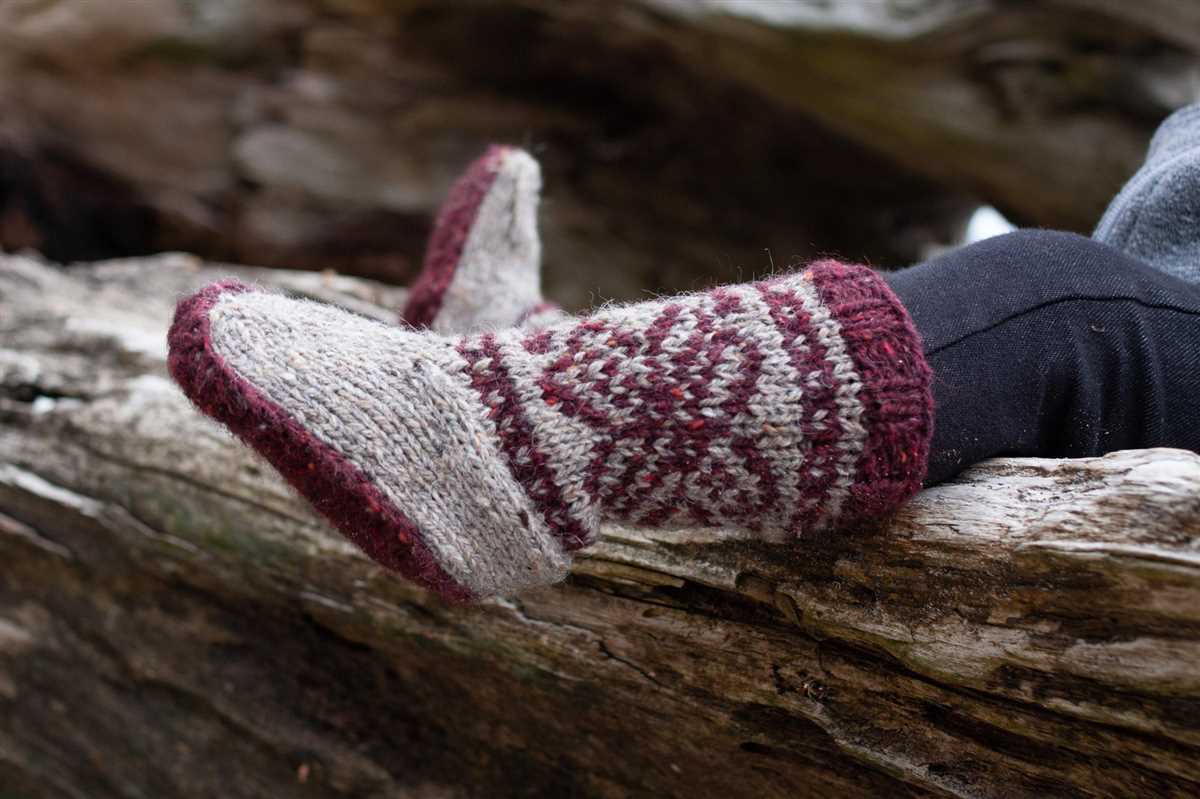
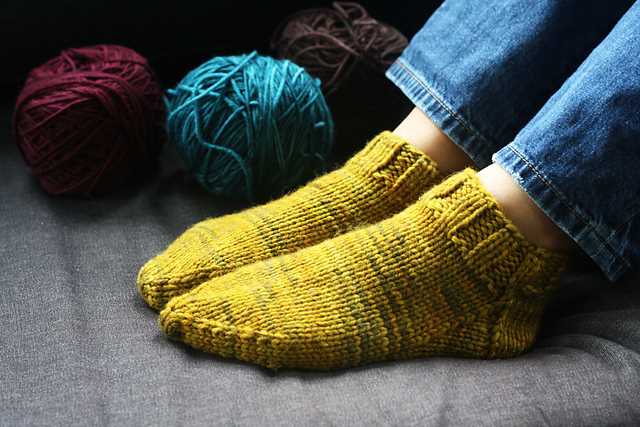
If you’re looking for a cozy and stylish pair of slippers to keep your feet warm during the colder months, look no further than the mukluk slippers. With their traditional Native American design and soft, chunky yarn, these slippers are not only practical but also a fashion statement.
What makes these slippers even better is that you can easily knit them yourself, thanks to this free knitting pattern. Whether you’re a beginner or an experienced knitter, this pattern will guide you through the process, step by step. So grab your knitting needles and get ready to create your own pair of comfy mukluk slippers!
The pattern calls for a super bulky yarn and larger needles to create a loose and fluffy texture. You’ll also need some basic knitting skills, such as knitting in the round and working with double-pointed needles. But don’t worry if you’re new to these techniques – the pattern includes detailed instructions and helpful tips to make the process as easy as possible.
How to Knit Mukluk Slippers: Free Knitting Pattern
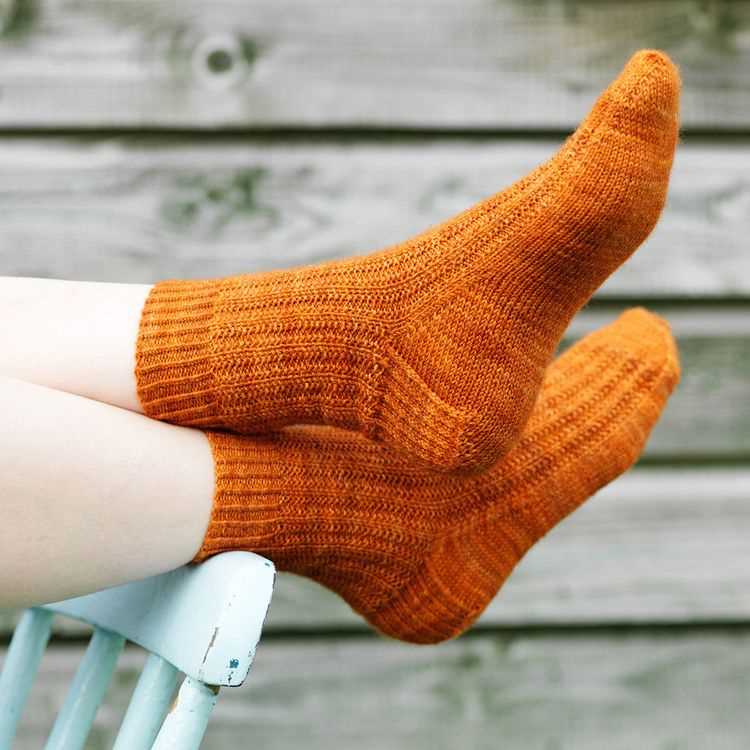
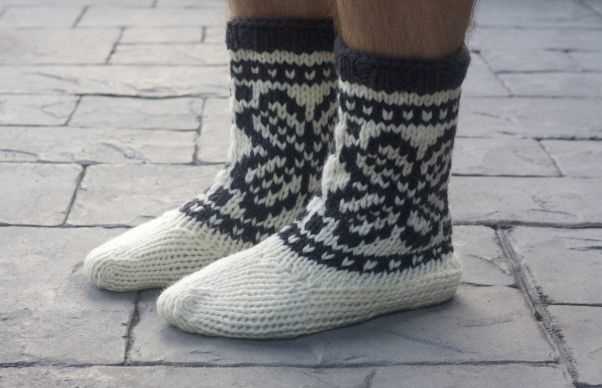
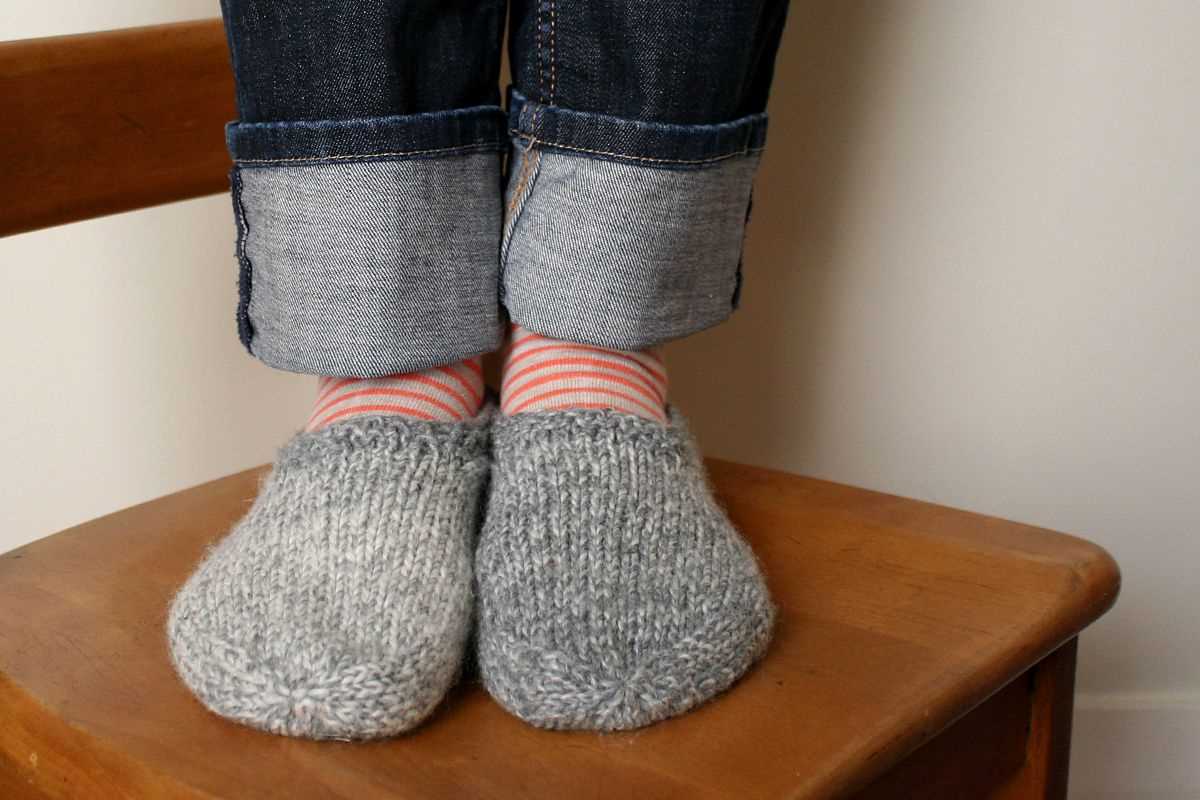
If you’re looking for a cozy and comfortable pair of slippers to keep your feet warm during the colder months, knitting a pair of mukluk slippers is the perfect project. Mukluks are traditional Inuit footwear, known for their warmth and durability.
To start knitting your own mukluk slippers, you’ll need the following materials:
- Size US 7 (4.5 mm) double-pointed needles
- Worsted-weight yarn
- Tapestry needle
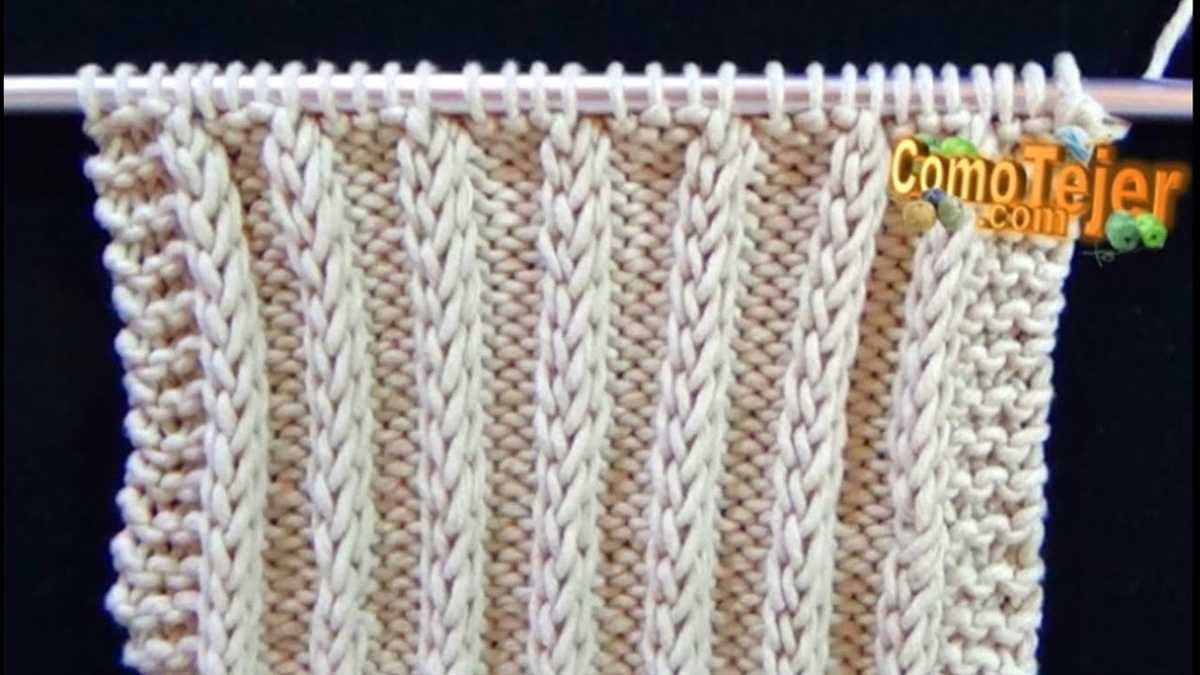
Begin by casting on the desired number of stitches onto your double-pointed needles. You can use a ribbed stitch pattern for the cuff of the mukluk slippers to provide a snug and comfortable fit.
Next, you’ll work in the round to create the body of the slipper. You can use a simple stockinette stitch pattern or experiment with different stitch patterns to add texture and interest to your slippers.
Once you’ve completed the body of the slipper, you can move on to creating the sole. This is typically done by knitting a flat piece and then sewing it onto the bottom of the slipper. You can also add a layer of felt or leather to provide extra durability.
To finish off your mukluk slippers, sew up any seams and weave in any loose ends. You can also add decorative elements, such as tassels or pom poms, for an extra touch of style.
With this free knitting pattern for mukluk slippers, you’ll be able to create a cozy and stylish pair of slippers that will keep your feet warm all winter long.
Materials Needed
Before you start knitting your mukluk slippers, make sure you have all the necessary materials on hand. Here’s a list of what you’ll need:
- Yarn: You’ll need a bulky weight yarn in your preferred color. Make sure you have enough to complete the project. Approximately 200-250 grams should be sufficient.
- Needles: You’ll need a set of size 10 (6mm) double-pointed needles or a circular needle if you prefer magic loop method.
- Tapestry Needle: You’ll need a tapestry needle with a large eye for weaving in the ends.
- Stitch Markers: You’ll need a few stitch markers to help keep track of your stitches.
- Scissors: You’ll need a pair of scissors to cut the yarn.
- Measuring Tape: You’ll need a measuring tape or ruler to check your gauge and measure foot size.
- Buttons or Toggles: You’ll need buttons or toggles for the closure of the slippers. Choose ones that complement your yarn color.
Once you have gathered all the necessary materials, you’ll be ready to start knitting your cozy mukluk slippers. Happy knitting!
Step 1: Casting on Stitches
Casting on stitches is the first step in knitting the mukluk slippers. This is the process of creating the foundation row of stitches onto the knitting needle. In this pattern, the long-tail cast-on method is used, which is a versatile way of casting on that creates a neat edge.
To cast on stitches:
- First, measure and leave a long tail of yarn, approximately three times the width of the finished slipper. This tail will be used later for seaming.
- Hold the knitting needle in your right hand and make a slipknot by making a loop with the yarn, leaving a tail.
- Slip the slipknot onto the needle and tighten it by pulling the yarn.
- Hold the needle with the slipknot in your right hand and the long tail in your left hand.
- With your left hand, bring the yarn over the top of the needle and grip it with your thumb and index finger.
- Using your right hand, insert the needle into the loop from left to right, going under the yarn.
- With your right hand, draw the yarn through the loop, creating a new loop on the needle.
- Repeat steps 5-7 until you have cast on the desired number of stitches.
Once you have cast on all the stitches, you are ready to start knitting the mukluk slippers! The cast-on stitches will serve as the foundation for the rest of the pattern.
Step 2: Knitting the Cuff
Once you have gathered all of your materials, it’s time to start knitting the cuff of your mukluk slippers. The cuff is the top portion of the slipper that will sit around your ankle and help hold the slipper in place. Follow these steps to knit the cuff:
- Start by casting on the required number of stitches using your preferred method. This will depend on the size of your foot and the pattern you are using.
- Next, begin knitting in your desired stitch pattern for the cuff. This could be a simple ribbed pattern, a textured stitch, or any other design you prefer. Make sure to follow the instructions provided in your chosen knitting pattern.
- Continue knitting in the designated stitch pattern for the specified number of rows. This will determine the height of your cuff. Once again, refer to your pattern for the exact number of rows to knit.
- After completing the desired number of rows, you can now bind off the stitches to secure the cuff. There are various methods for binding off, so choose the one that works best for you.
By following these steps, you will be able to knit the cuff of your mukluk slippers. The cuff not only adds a decorative touch to the slippers, but also provides a functional element by keeping the slippers securely in place on your feet. Once you have finished knitting the cuff, you can move on to the next steps in the pattern to complete your cozy mukluk slippers.
Step 3: Knitting the Body of the Slipper
Now that you have completed the ribbing, it’s time to move on to knitting the body of the slipper. This is where the slipper really starts to take shape!
To begin, continue knitting in the round with your main color yarn. You will be using a combination of knit and purl stitches to create the pattern for the body of the slipper. Follow the specific instructions provided in the free knitting pattern for the slipper to create the desired design.
Row 1: Knit all stitches.
Row 2: Purl all stitches.
Row 3: Knit 2, purl 2. Repeat this pattern until the end of the round.
- Repeat Rows 2 and 3 until the body of the slipper reaches the desired length mentioned in the pattern. This will typically involve knitting several rounds in the established pattern.
- As you knit, pay attention to your tension and make sure to keep it consistent throughout the body of the slipper. This will ensure that your slipper has an even and professional finish.
Once you have completed knitting the body of the slipper, you can move on to the next step in the pattern, which is usually shaping the toe. Following the pattern instructions carefully will ensure that your slipper turns out just as expected. Happy knitting!
Step 4: Shaping the Toe
Continue working in the established pattern until the mukluk slipper measures approximately 2 inches from the beginning. At this point, you will begin shaping the toe to create a more fitted and comfortable fit.
To shape the toe, you will start by decreasing stitches. Begin by knitting the first 5 stitches of the row, then knit 2 stitches together (k2tog), knit 1 stitch, and then repeat the k2tog and knit 1 stitch pattern until the end of the row. This will decrease the number of stitches on your needles, gradually creating a tapered shape.
Once you have completed the first decrease row, continue working in the established pattern for the next 5 rows. On the 6th row, you will perform another set of decreases. Begin by knitting the first 4 stitches, then k2tog, knit 1, and repeat this pattern until the end of the row.
Repeat this decrease pattern every 6th row until you have 7 stitches remaining on your needles. At this point, you can cut the yarn, leaving a long tail for seaming, and finish off the toe following the instructions in Step 5.
Step 5: Sewing the Seams
Once you have finished knitting all the pieces for your mukluk slippers, it’s time to sew the seams together. This step is essential to give your slippers their final shape and ensure they fit properly.
Start by laying out your knitted pieces, making sure they are all facing the right direction. Take the front and back pieces and align them along the sides. Use a tapestry needle and matching yarn to sew the edges together. The whip stitch is a common method used for sewing knitting seams. Thread the needle through the first stitch, then insert it through the corresponding stitch on the other piece. Continue stitching in this manner, making sure to keep the tension even and the stitches neat.
Next, sew the top edges of the front and back pieces together. Again, use the whip stitch technique to join the pieces. This will close the top part of the slipper, creating a cozy and snug fit.
Now it’s time to sew the soles to the main body of the slippers. Place the sole on a flat surface, with the wrong side facing up. Take the front piece of the slipper and align it with the sole, making sure the right side of the sole is facing up. Use your tapestry needle and yarn to sew the edges together, using the whip stitch technique. Repeat this process with the back piece and the other sole.
Finally, sew the side seams of the slipper, joining the front and back pieces. Use the whip stitch to sew the edges together, making sure to align them neatly. This will create a seamless and polished finish to your mukluk slippers.
Once all the seams are sewn, you can trim any loose ends and give your slippers a final press with an iron if desired. Your mukluk slippers are now complete and ready to be enjoyed! Put them on and feel the cozy comfort of your handmade creation.
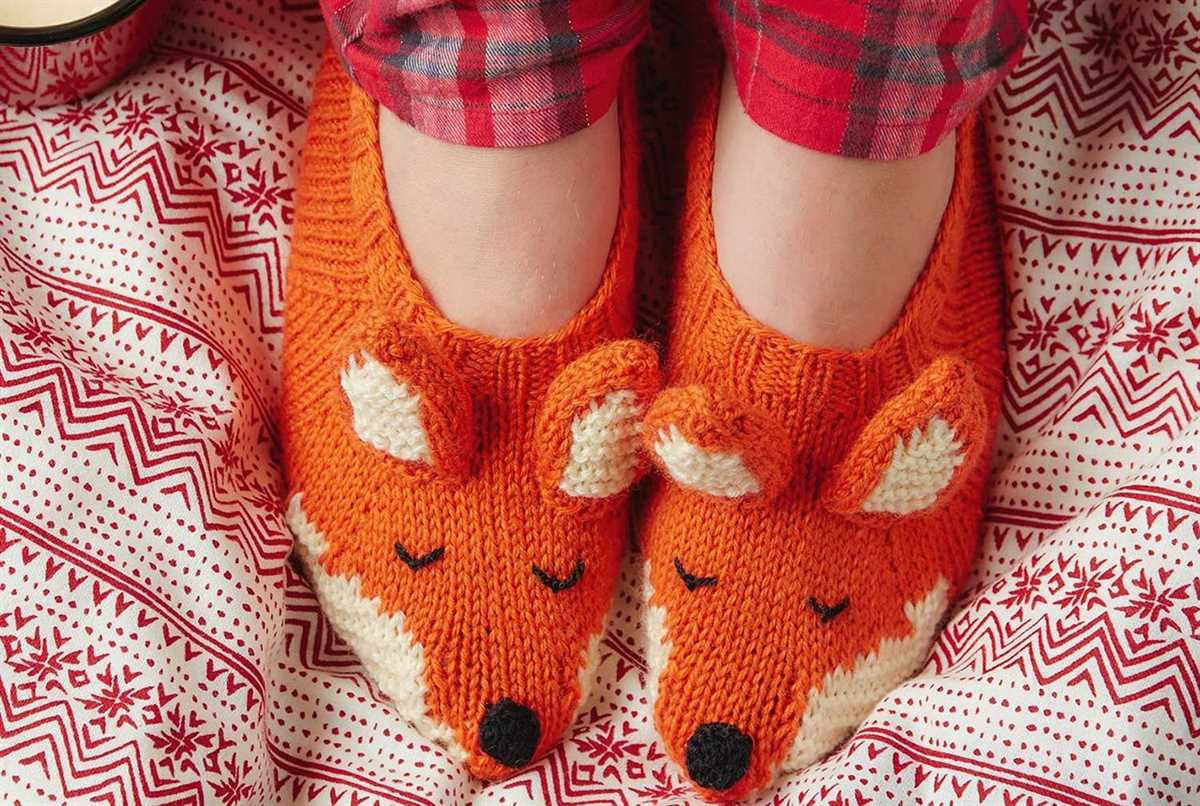
Step 6: Adding Buttons or Decorations
Once you have finished knitting the main body and sole of your mukluk slippers, you can add buttons or decorations to give them a personal touch. This step is optional, but it can be a fun way to further customize your slippers and make them unique.
Here are a few ideas for adding buttons or decorations to your mukluk slippers:
- Buttons: Sew on decorative buttons along the edge of the slippers. You can choose buttons that match the yarn color or opt for contrasting ones to create a bold look.
- Pom-poms: Attach small pom-poms to the front or sides of the slippers. You can make these yourself using yarn or purchase pre-made ones from a craft store.
- Embroidery: Use embroidery thread to add delicate designs or patterns to the surface of the slippers. Consider stitching on flowers, hearts, or other motifs to enhance their appearance.
- Rhinestones or beads: Add a touch of sparkle by gluing rhinestones or sewing beads onto the slippers. This can be a great option for those who want to make their slippers more glamorous or eye-catching.
Remember to secure any buttons or decorations tightly to ensure they stay in place during wear. Be creative and have fun with this step, as adding buttons or decorations is a great way to showcase your personal style and creativity!
Tips and Tricks
In order to successfully knit a pair of mukluk slippers, there are a few tips and tricks to keep in mind. First and foremost, it is important to choose the right size of knitting needles. This will vary depending on your specific yarn and tension, but a good starting point is to use a size 6 or 7.
Another helpful tip is to make use of stitch markers. These small, removable rings can be placed on your knitting needles to mark specific stitches or sections of your pattern. They can be especially useful when knitting the sole of the mukluk slippers, as it is important to keep track of your increases and decreases.
Use the Magic Loop Method for the Toe Shaping
- When knitting the toe shaping of the mukluk slippers, consider using the Magic Loop method. This technique allows you to knit in the round with a long circular needle instead of using double-pointed needles. It can make the process much easier and also eliminates the need to switch between needles.
- If you are new to the Magic Loop method, there are plenty of tutorials available online that can guide you through the process. Once you get the hang of it, you’ll likely find it to be a convenient and efficient way to knit.
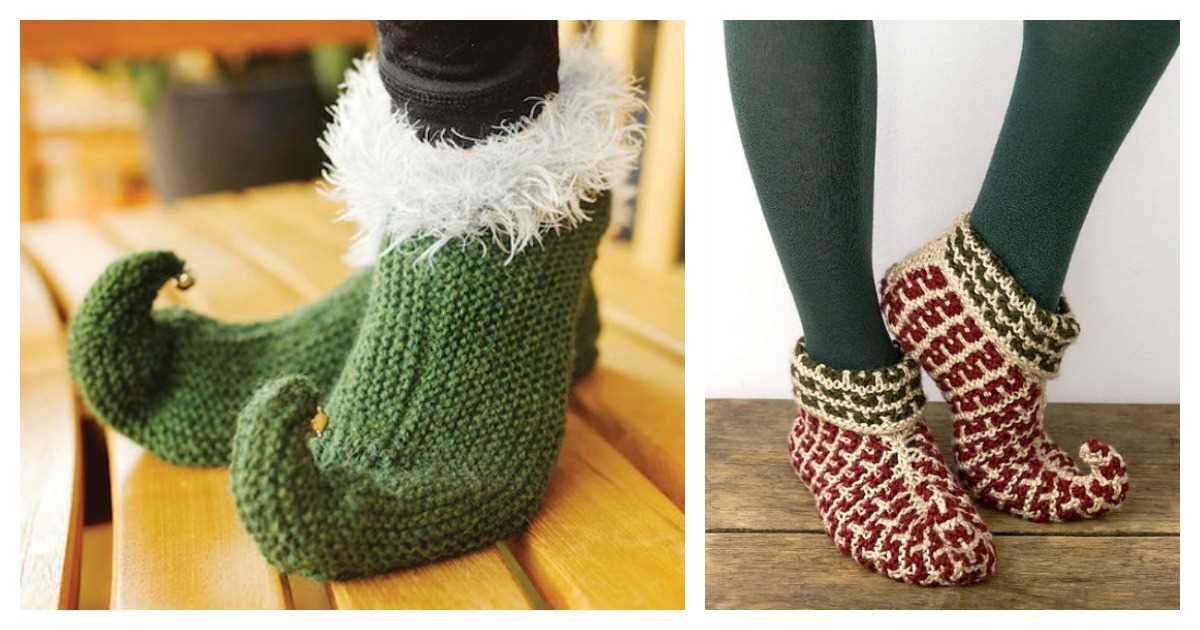
Add a Faux Fur Trim for Extra Coziness
To add an extra touch of coziness to your mukluk slippers, consider adding a faux fur trim. This can be done by sewing a strip of faux fur along the top edge of the slipper cuff. It not only adds a decorative element, but also provides an extra layer of warmth and comfort.
When attaching the faux fur trim, make sure to use a strong needle and thread that can withstand the weight of the fur. Additionally, hand stitching is recommended to ensure a clean and secure attachment.
Personalize Your Mukluk Slippers with Embroidery or Appliques
- If you want to customize your mukluk slippers, consider adding embroidery or appliques. You can embroider fun designs or patterns onto the slippers to make them uniquely yours. Alternatively, you can use appliques to add an extra element of style or personalization.
- Before adding any embroidery or appliques, it is recommended to block the slippers to ensure they maintain their shape. This can be done by wetting the slippers and gently reshaping them to the desired size before allowing them to dry completely.
By following these tips and tricks, you can create a pair of mukluk slippers that are not only cozy and warm, but also uniquely your own. Happy knitting!
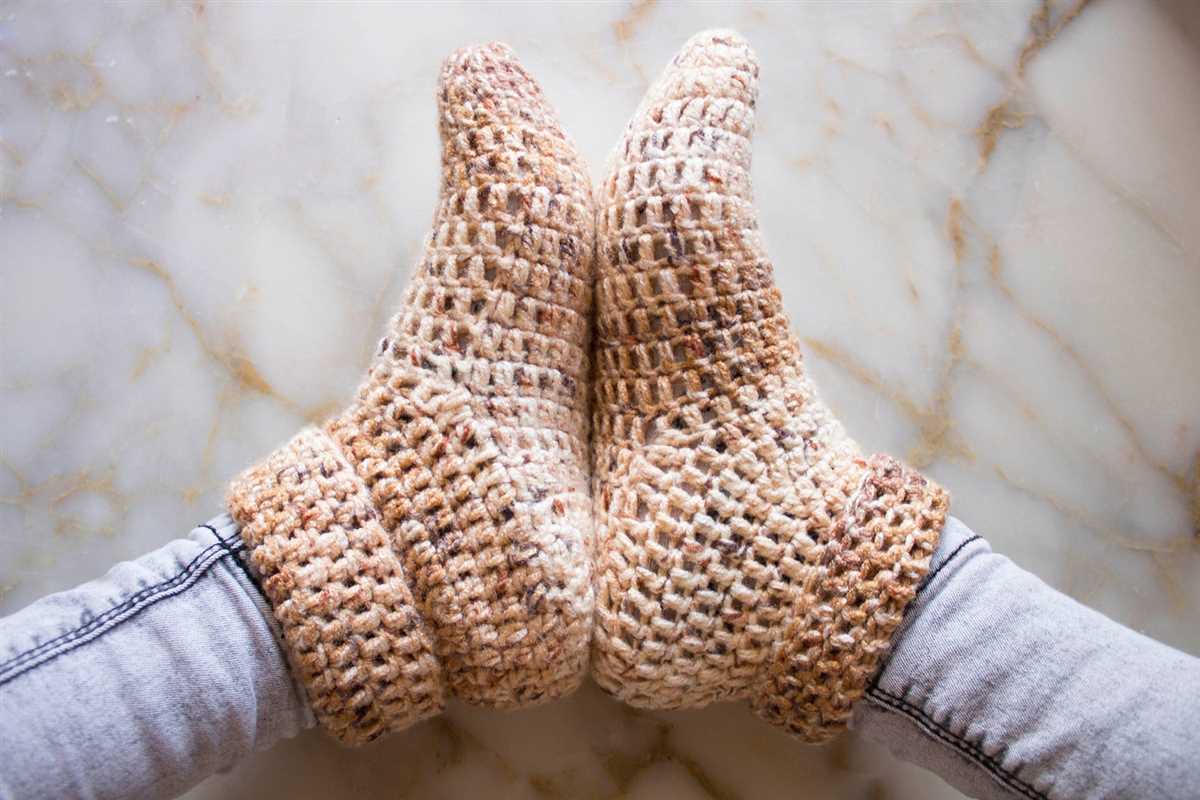
Free Knitting Pattern: Mukluk Slippers
If you are looking for a cozy and warm pair of slippers, mukluks are the perfect choice. These traditional Arctic footwear will keep your feet toasty even in the coldest of temperatures. With this free knitting pattern, you can create your own pair of mukluk slippers.
To get started, you will need the following materials:
- Two skeins of bulky weight yarn
- Size 8 knitting needles
- Cable needle
- Tapestry needle
- Scissors
Begin by casting on the desired number of stitches. The pattern suggests starting with 32 stitches, but you can adjust this to fit your foot. Knit in the round for the desired length, creating the body of the slipper.
Next, you will move on to the sole of the slipper. Using a different color of yarn, cast on the same number of stitches as the body. Knit in garter stitch for the desired length, then join the sole to the body of the slipper by knitting the two pieces together.
Continue knitting in the round, focusing on creating the foot and leg of the slipper. You can add cables or other decorative stitches to personalize your design. Once you reach the desired height, finish off by binding off the stitches and weaving in the loose ends.
These mukluk slippers are not only warm and comfortable, but they also make for a great gift. You can customize the pattern by using different colors or adding embellishments such as pom poms or tassels. With this free knitting pattern, you can make your own pair of cozy mukluk slippers to keep your feet warm during the winter months.
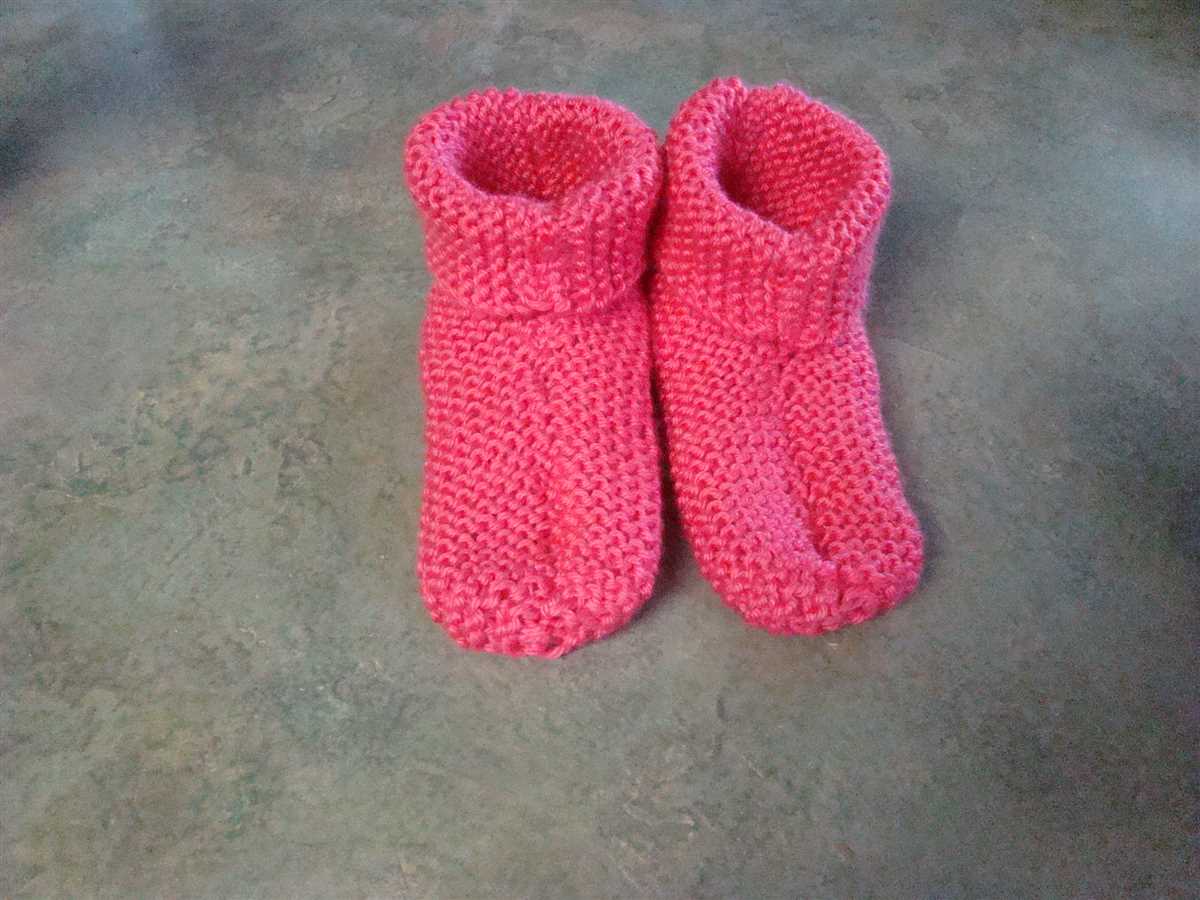
Variations and Customizations
If you want to add your own personal touch to these mukluk slippers, there are numerous ways you can customize them. Here are some ideas:
- Experiment with different colors of yarn to create a unique and vibrant pair of slippers.
- Add embellishments such as buttons, beads, or appliques to make your slippers more decorative.
- Try using different types of yarn, such as variegated or textured yarn, for a different look and feel.
- Play around with stitch patterns to create interesting textures or designs on the slippers.
- Adjust the size of the slippers to fit your feet perfectly by adding or reducing stitches.
- Extend the height of the slippers to create a taller boot-like style.
These are just a few ideas to get you started, but the possibilities are endless when it comes to customizing your mukluk slippers. Don’t be afraid to get creative and make them your own!
Summary

Whether you’re a beginner or an experienced knitter, these free knitting patterns for mukluk slippers offer a fun and cozy project to work on. With their warm and comfortable design, they make a perfect gift for yourself or a loved one. The step-by-step instructions and helpful tips ensure that you can successfully complete the project and enjoy your new pair of slippers.
Remember to take the time to choose the right yarn and needle size for your desired outcome, and don’t hesitate to make any customizations or variations to make the pattern truly your own. So grab your knitting needles and start creating a pair of mukluk slippers that will keep your feet warm and stylish!