
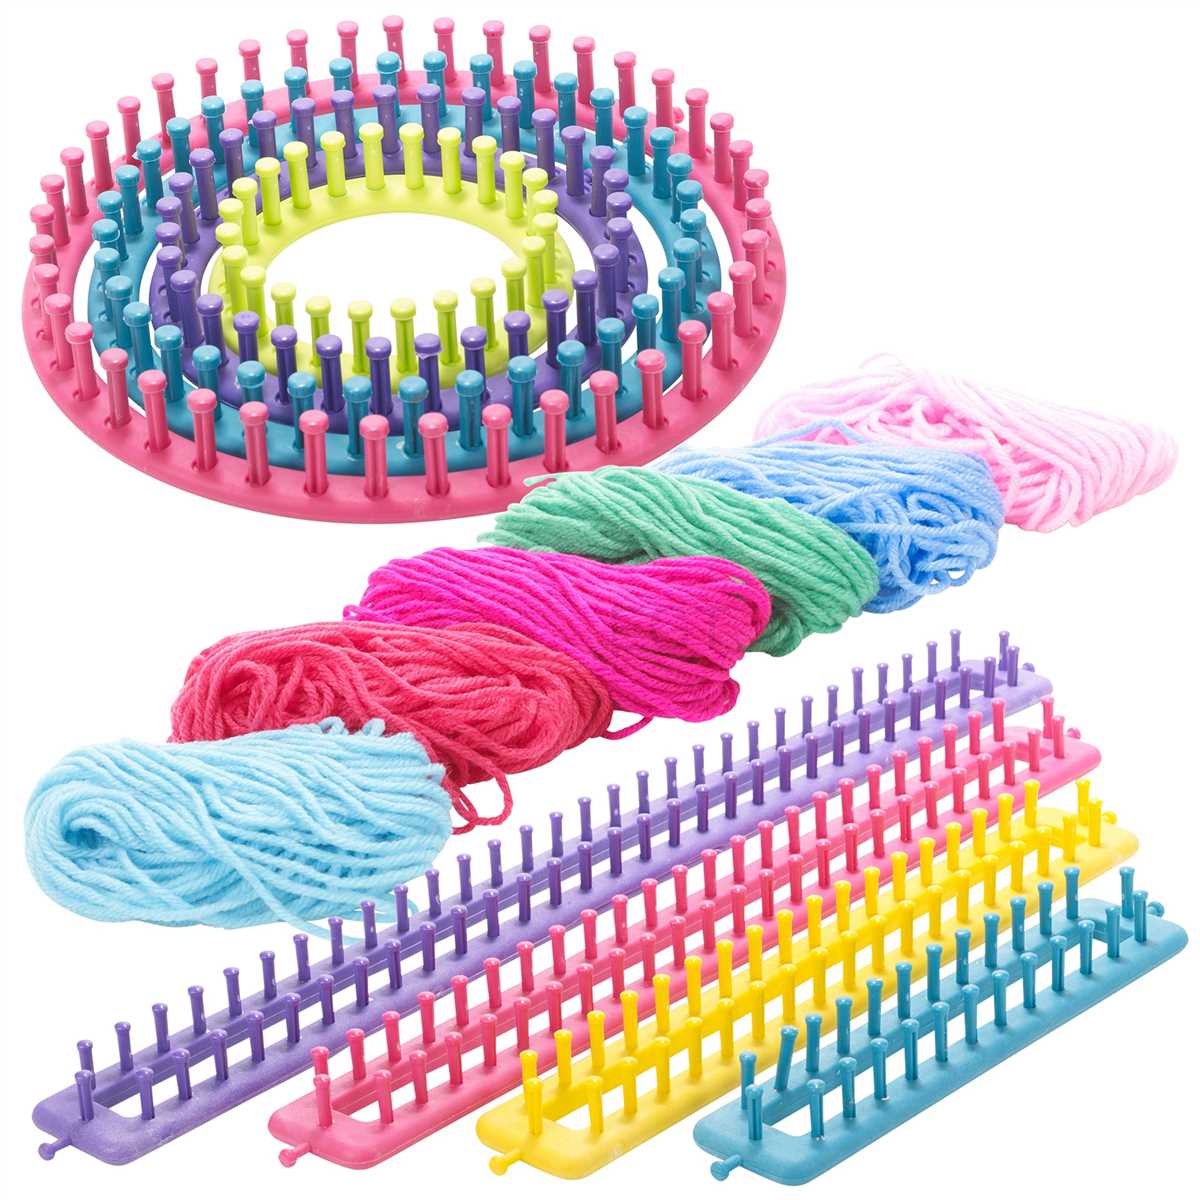
If you love knitting but find using needles a bit tricky, flat loom knitting patterns may be just what you need. Loom knitting is a fun and easy way to create beautiful projects using a circular or rectangular loom. Unlike traditional knitting, loom knitting doesn’t require the use of complicated stitches or techniques, making it perfect for beginners or those with limited dexterity.
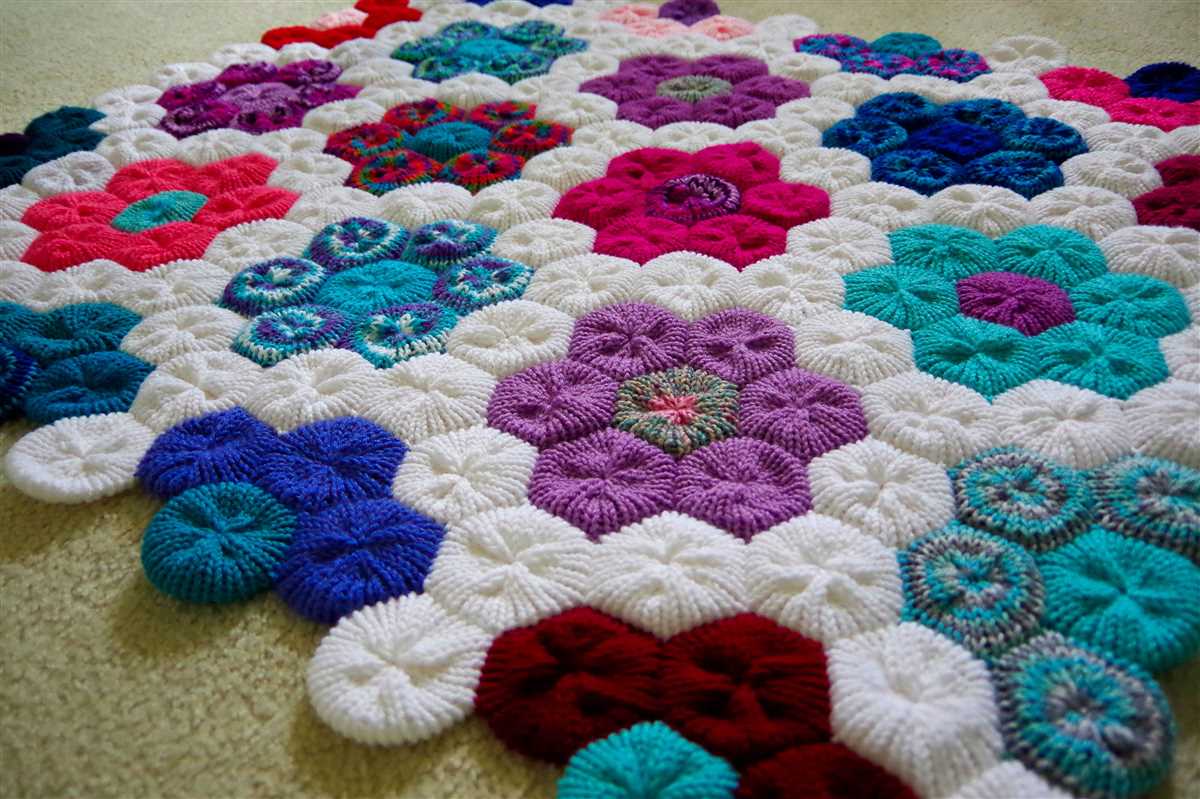
With flat loom knitting patterns, you can create a wide variety of items, from scarves and hats to blankets and even sweaters. The possibilities are endless! One of the great advantages of loom knitting is that it allows you to create large, flat pieces of fabric with ease. This means you can easily knit up a blanket or throw without having to sew multiple pieces together.
Whether you’re a seasoned loom knitter or just starting out, there are flat loom knitting patterns available for all skill levels. From simple garter stitch scarves to intricate lace designs, you’re sure to find a pattern that suits your style and abilities. So grab your loom, some yarn, and get ready to create beautiful, handmade items using flat loom knitting patterns!
Top 10 Flat Loom Knitting Patterns for Beginners
If you are new to loom knitting and are looking for some easy and beginner-friendly projects, here are the top 10 flat loom knitting patterns that you should try:
1. Scarf
A classic knitting project, a scarf is a great way to get started with flat loom knitting. With just a few basic stitches, you can create a cozy and stylish scarf to keep you warm during the cooler months.
2. Hat
A hat is another simple and fun project to try on a flat loom. You can experiment with different stitches and patterns to create a unique and personalized hat. Plus, it’s a practical item to wear during the winter season.
3. Baby Blanket
If you’re looking for a larger project, a baby blanket is a great option. Using a flat loom, you can knit a soft and adorable blanket for a newborn. Choose soft and baby-friendly yarn for the ultimate comfort.
4. Dishcloth
A dishcloth is a quick and easy project that is both useful and practical. With a flat loom, you can create a textured and absorbent dishcloth in no time. It’s a great project to practice different stitch patterns.
5. Headband
A headband is a stylish accessory that you can easily knit on a flat loom. Experiment with different colors and patterns to create a unique and trendy headband to match your outfit.
6. Coasters
Coasters are another practical item that you can knit on a flat loom. They make great gifts and can add a touch of style to your home. Play around with different stitch patterns to create interesting and textured coasters.
7. Cowl
A cowl is a versatile and fashionable accessory that you can knit on a flat loom. It’s a great project to experiment with different yarn weights and stitch patterns to create a cozy and stylish cowl.
8. Boot Cuffs
Boot cuffs are a fun and trendy accessory that you can easily knit on a flat loom. They can add a pop of color and style to your boots while also keeping your legs warm during the colder months.
9. Fingerless Gloves
Fingerless gloves are a practical and stylish project that you can knit on a flat loom. They keep your hands warm while allowing you to use your fingers freely. Experiment with different colors and patterns to make them unique.
10. Tote Bag
A tote bag is a larger project that you can knit on a flat loom. It’s a great way to showcase your knitting skills and create a practical and stylish bag for everyday use. Choose a sturdy yarn to ensure the bag’s durability.
These are just a few of the many flat loom knitting patterns available for beginners. Whether you’re looking for something small and quick or a larger project to challenge yourself, there’s a pattern out there for you. Have fun experimenting with different stitches, yarns, and patterns, and enjoy the process of creating something beautiful with your loom!
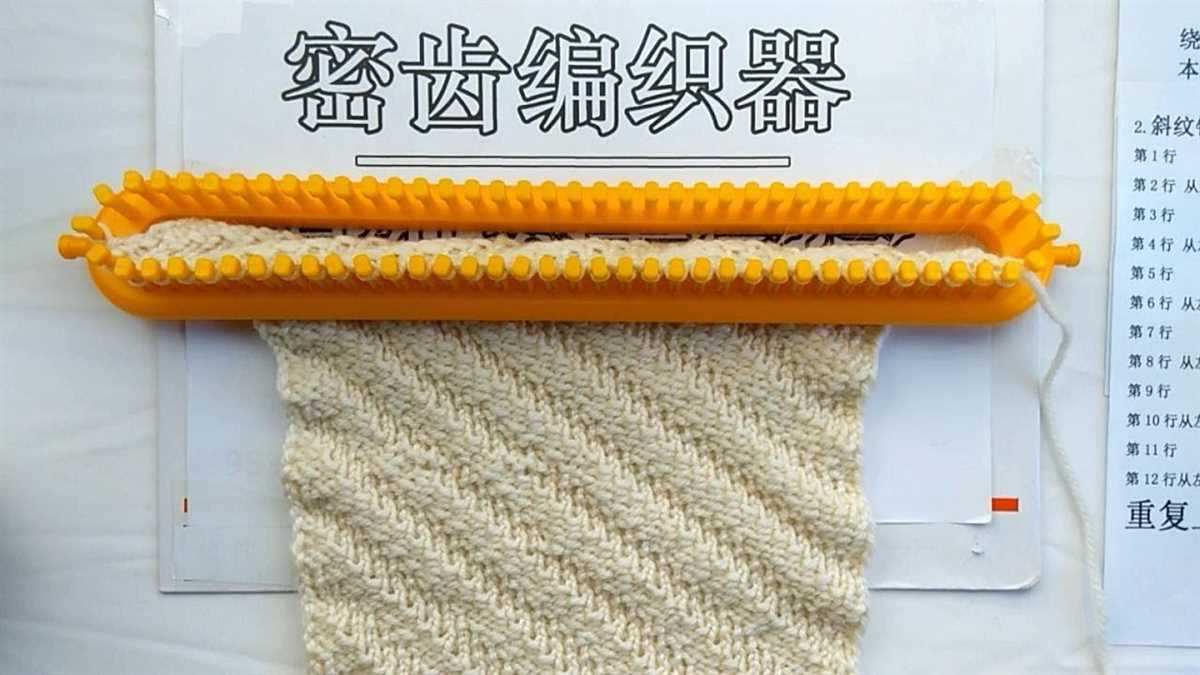
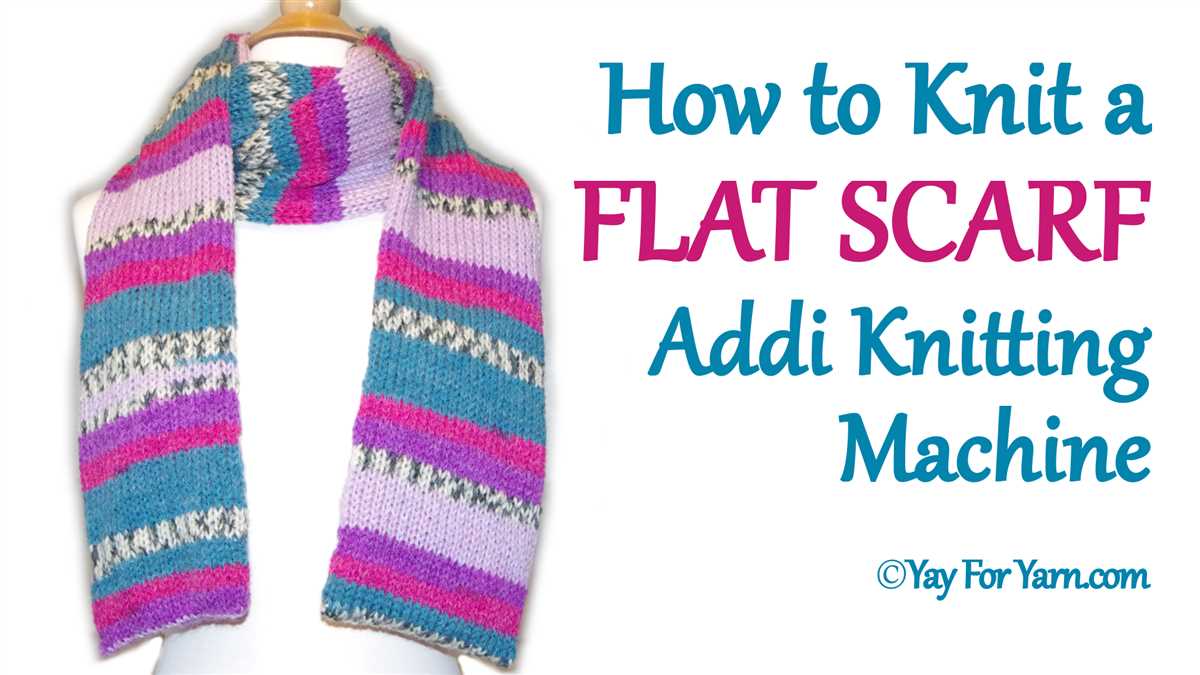
Easy Scarf Pattern for Flat Loom Knitting
Knitting a scarf on a flat loom is a fun and rewarding project for beginners and experienced knitters alike. With the right pattern, you can create a beautiful and cozy scarf in no time. This easy scarf pattern is perfect for those looking to try their hand at loom knitting or for those who want a quick and simple project.
To get started, you will need a flat knitting loom, yarn, a loom hook or knitting needle, and a pair of scissors. Choose a soft and chunky yarn for a warm and comfortable scarf. The pattern consists of basic knit and purl stitches, making it easy to follow along.
Materials:
- Flat knitting loom
- Chunky yarn
- Loom hook or knitting needle
- Scissors
Instructions:
- Cast on your desired number of stitches on the loom. For a standard scarf, you can start with about 20-30 stitches.
- Row 1: Knit all stitches.
- Row 2: Purl all stitches.
- Repeat rows 1 and 2 until your scarf reaches the desired length. You can continue knitting in this pattern or add variations like stripes or different stitch patterns.
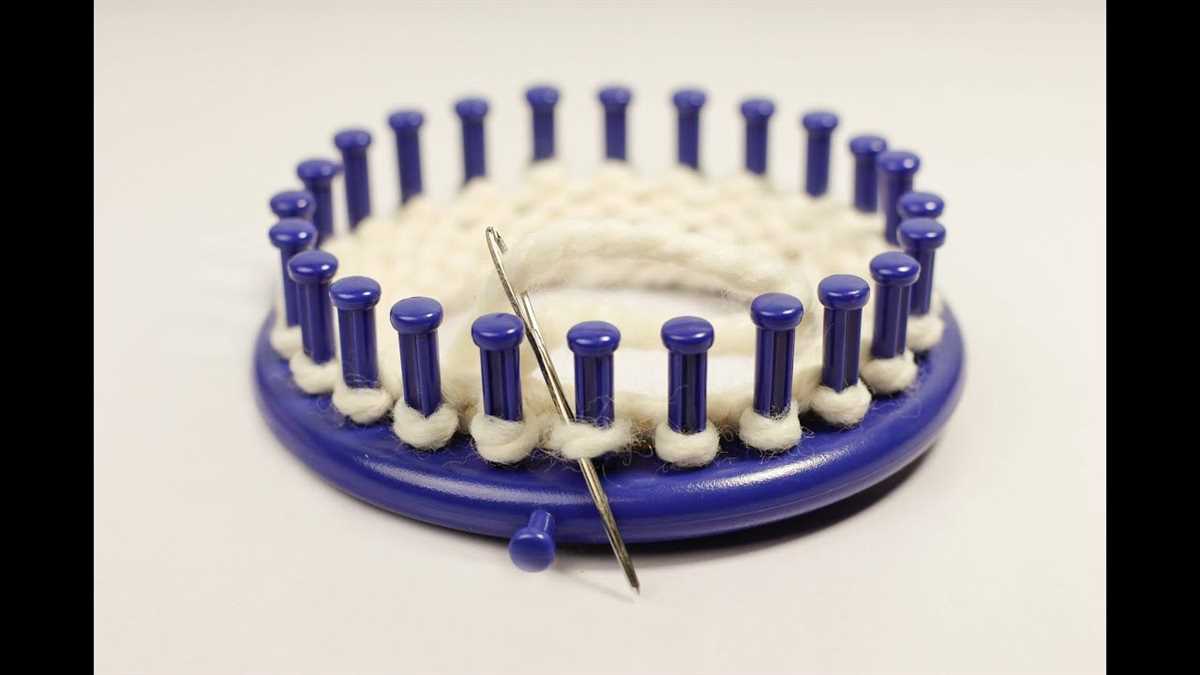
- When you’re ready to finish, bind off your stitches. Cut the yarn, leaving a long tail. Thread the tail through a yarn needle and weave it through the stitches to secure.
- Trim any excess yarn and your scarf is ready to wear!
This easy scarf pattern is a great way to practice your loom knitting skills and create a stylish accessory for yourself or as a gift. With its simple design, you can easily customize the scarf by adding different colors or stitch patterns. So grab your loom and yarn, and start knitting your cozy scarf today!
Knit Hat Pattern for Flat Loom Knitting
Knitting a hat on a flat loom is a great way to create a cozy accessory for colder weather. With the right pattern and some basic knitting skills, you can easily create a beautiful hat that is both stylish and warm.
To get started, you will need a flat knitting loom, yarn, a loom hook or knitting needle, and a pair of scissors. Choose a yarn that is suitable for the size of loom you are using and the desired thickness of your hat. You can also choose different colors or textures to create a unique design.
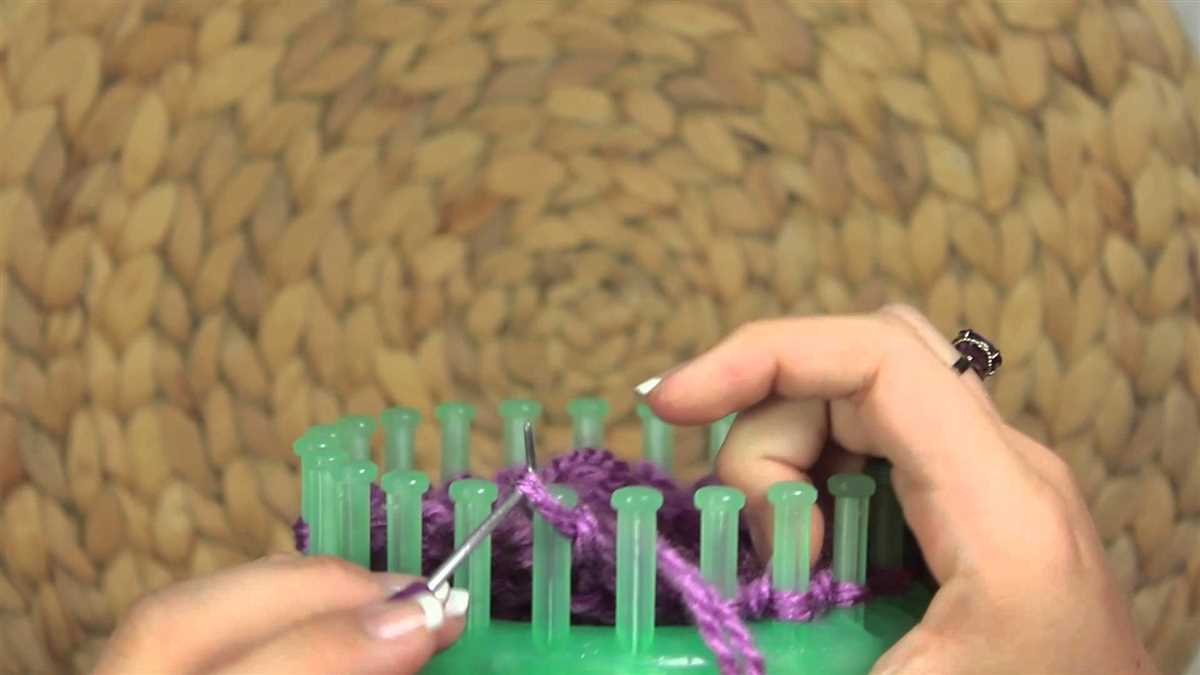
Start by casting on your stitches. This can be done by creating a slipknot and placing it on one of the pegs of the loom. Wrap the yarn around each peg in a clockwise direction, creating a loop on each peg. Once you have wrapped all the pegs, use your loom hook or knitting needle to pull the bottom loop over the top loop on each peg, creating a knit stitch. Continue this process until you have reached the desired length for your hat.
After you have finished knitting the body of the hat, it’s time to decrease the stitches to create the crown. To do this, you will need to work in a series of rows where you skip pegs and knit the stitches together. This will create a tapered shape and bring your hat to a close. Follow the specific pattern you are using for the exact instructions on how to decrease your stitches.
To finish off your hat, carefully remove the loops from the loom. Cut the yarn, leaving a long tail. Thread the tail through the loops on the loom and tighten, pulling the loops together to close the top of the hat. Knot the yarn to secure it, and weave in any loose ends with a yarn needle or crochet hook.
Once your hat is finished, you can add any additional embellishments or decorations that you like. This can include pom-poms, buttons, or even a crocheted flower. Get creative and make your hat unique to your own style.
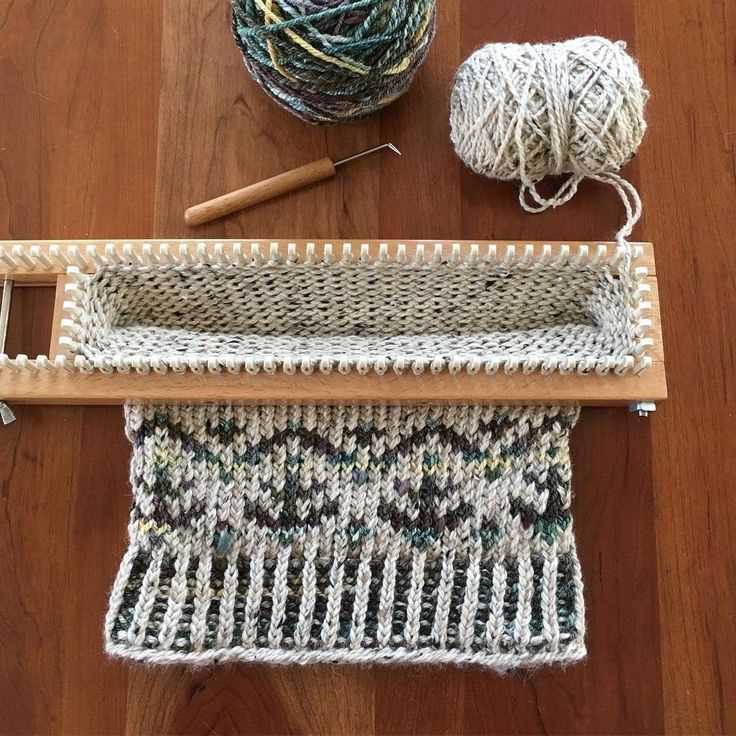
Cozy Blanket Pattern for Flat Loom Knitting
Are you looking to create a cozy blanket using a flat loom? Look no further! We have a simple and beautiful pattern that will help you create the perfect blanket to curl up with on a cold winter night.
For this project, you will need a flat loom, a loom hook, and a skein or two of your favorite yarn. You can choose any color or thickness of yarn to suit your personal preference and desired level of coziness. The pattern we will be using is a basic garter stitch, which creates a soft and textured fabric.
Step 1: Cast on your desired number of stitches onto the flat loom. If you prefer a smaller blanket, you can cast on fewer stitches. For a larger blanket, cast on more stitches. The choice is up to you!
Step 2: Once you have cast on your stitches, begin knitting back and forth across the loom using the loom hook. This will create the garter stitch pattern. Simply insert the hook into the loop, hook the yarn, and pull it through the loop. Repeat this process across the entire row.
Step 3: Continue knitting back and forth across the loom until your blanket reaches the desired length. You can create a lap blanket, a throw blanket, or even a full-sized bed blanket. The choice is yours!
Step 4: When you have reached the desired length, bind off your stitches. Cut the yarn, leaving a long tail, and use the loom hook to pull the tail through each stitch to secure them. Once all the stitches are secured, weave in any loose ends and trim off any excess yarn.
Step 5: Congratulations! You have completed your cozy blanket using a flat loom. Now you can enjoy snuggling up under your new creation and staying warm all winter long.
Whether you are a beginner or an experienced loom knitter, this cozy blanket pattern is perfect for anyone looking to create a warm and inviting blanket. Feel free to experiment with different colors and yarn types to make it your own. Happy knitting!
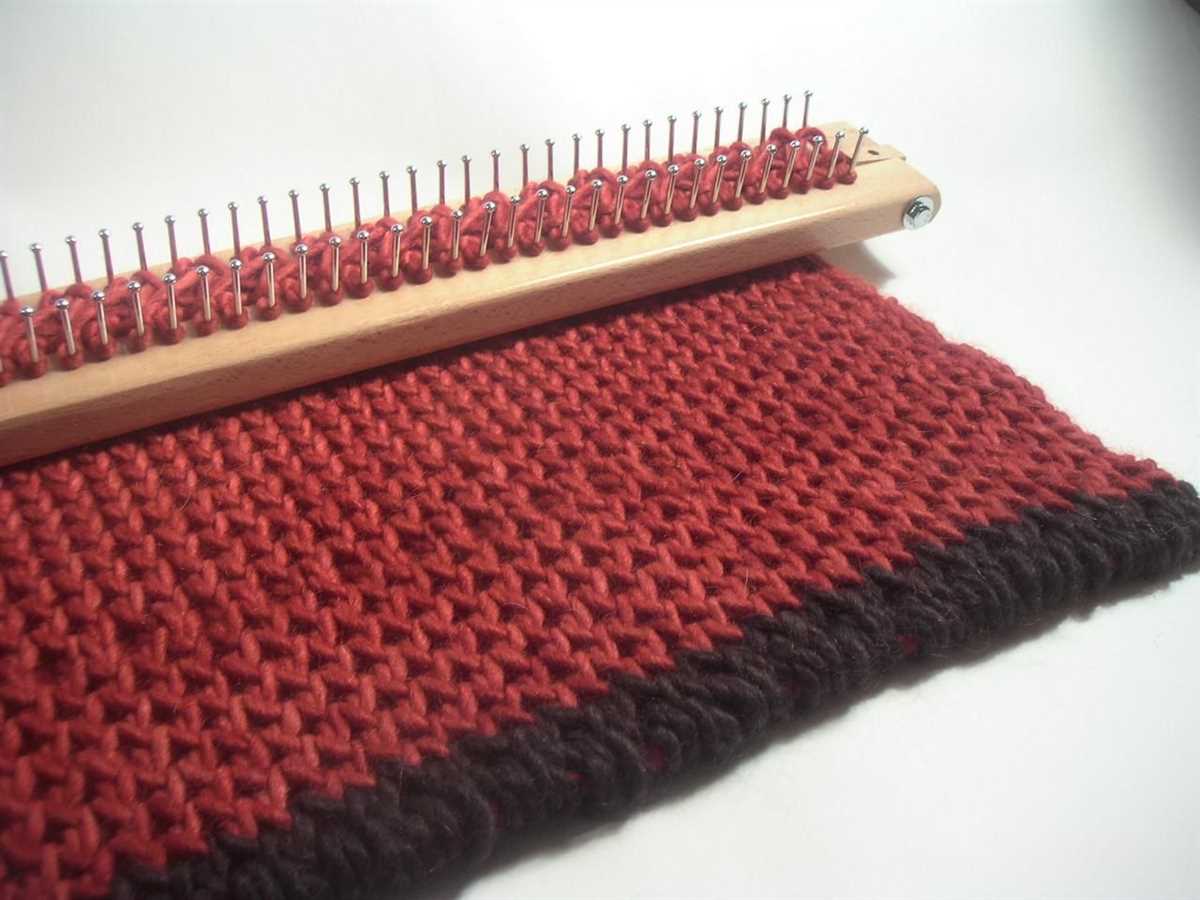
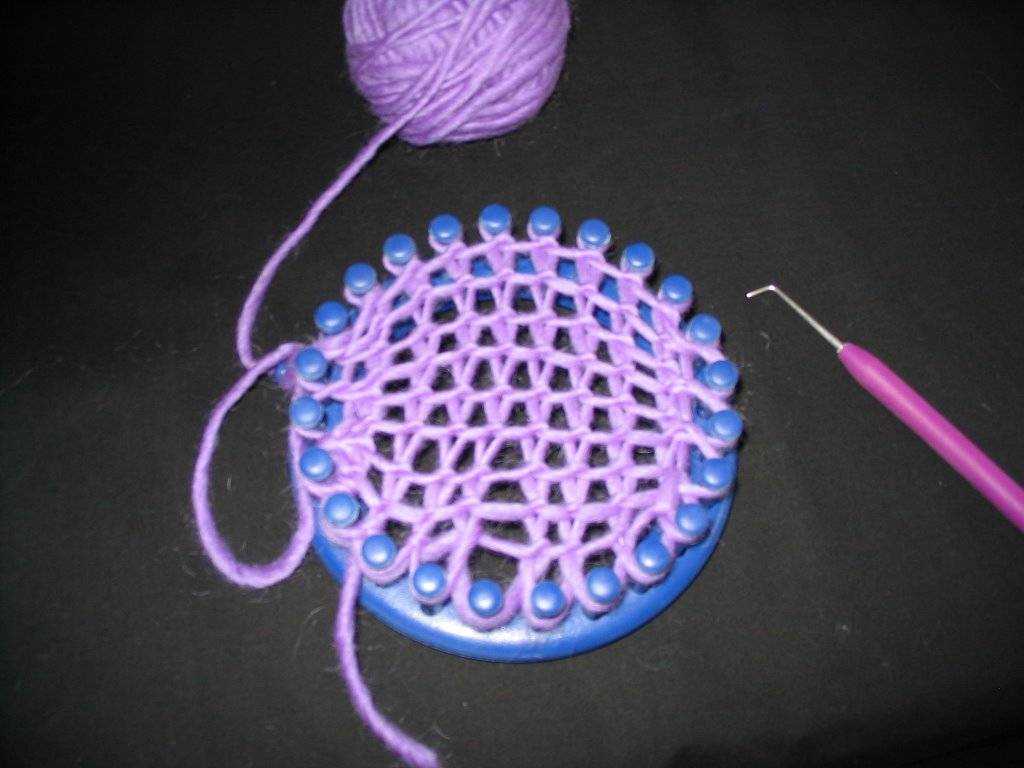
Beautiful Dishcloth Pattern for Flat Loom Knitting
If you’re looking for a fun and useful project to make on your flat loom, look no further than this beautiful dishcloth pattern. Dishcloths are not only practical for everyday use in the kitchen but can also make lovely gifts for friends and family.
To create this dishcloth, you will need a flat loom with at least 24 pegs and a medium-weight cotton yarn in your choice of colors. The pattern uses a combination of knit and purl stitches to create a textured design that is both visually appealing and functional for scrubbing dishes.
Materials:
- Flat loom with at least 24 pegs
- Medium-weight cotton yarn
- Loom tool
- Tapestry needle
Instructions:
- Cast on all pegs using the e-wrap method.
- Knit the first row.
- Purl the second row.
- Repeat steps 2 and 3 until the dishcloth reaches your desired length.
- Bind off all stitches using the gather removal method.
- Weave in any loose ends with a tapestry needle.
This dishcloth pattern is beginner-friendly and can be easily customized to suit your preferences. You can experiment with different yarn colors and stitch patterns to create unique designs. Additionally, dishcloths are a great way to practice your knitting skills and create useful items for your home.
Once you’ve completed your dishcloth, don’t forget to give it a gentle wash before using it. This will help to soften the yarn and ensure the dishcloth is clean and ready for use.
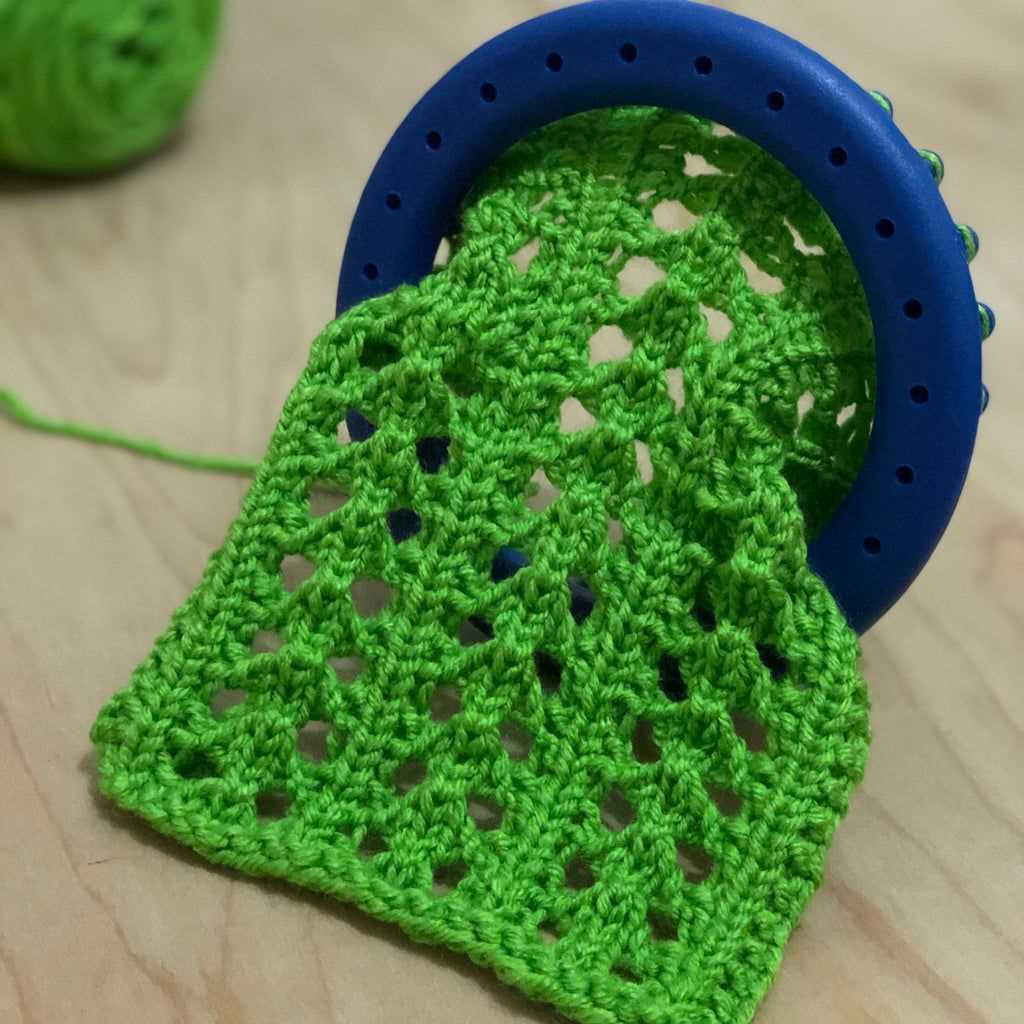
Stylish Headband Pattern for Flat Loom Knitting
Knitting on a flat loom can be a fun and easy way to create stylish accessories, such as headbands. With just a few simple steps, you can design a unique headband that adds a touch of warmth and fashion to any outfit.
To start, gather your materials: a flat loom with pegs, a loom hook, yarn in your desired color, and a tapestry needle. Choose a yarn that is soft and comfortable to wear, ensuring a cozy fit for your headband.
Step 1: Begin by casting on the desired number of pegs on your loom, depending on the width you want for your headband. Secure the end of the yarn on the first peg, then wrap the yarn around each peg in a clockwise direction. Repeat this process for each row until you have reached the desired length.
Step 2: Once you have completed the desired length, it’s time to bind off the stitches. Start by knitting the first two stitches. Using the loom hook, lift the bottom stitch over the top stitch and off the peg. Continue this process for each stitch until you reach the end of the row. Cut the yarn, leaving a long tail, and pull it through the last loop to secure.
Pro tip: If you want to add some extra flair to your headband, consider incorporating different stitch patterns or adding a decorative button or bow to the finished product.
With this stylish headband pattern for flat loom knitting, you can create a variety of headbands to match any style or occasion. Whether you’re looking for a cozy winter accessory or a trendy addition to your spring wardrobe, this pattern allows you to showcase your creativity and stay fashionable all year round.
Warm Mittens Pattern for Flat Loom Knitting
Knitting your own mittens on a flat loom is not only a fun and rewarding project, but it also allows you to create warm and cozy accessories that perfectly fit your hands. With this warm mittens pattern, you can easily make a pair of comfortable and stylish mittens for yourself or as a thoughtful gift for a loved one.
Materials Needed:
- A flat loom with at least 24 pegs
- Medium weight yarn in your preferred color
- Loom knitting hook
- Yarn needle
Instructions:
- Start by casting on all the pegs on your loom using the e-wrap method.
- Knit each row using the stockinette stitch until your work measures approximately 6 inches in length.
- Next, divide your work into two equal halves. You can do this by placing a stitch marker in the center of your loom.
- Continue knitting each half of your work separately using the stockinette stitch. This will create the thumbhole in the center of your mittens.
- Knit each half until it measures approximately 2 inches from the thumbhole.
- To shape the top of your mittens, begin decreasing stitches on each row. You can do this by knitting two stitches together at the beginning and end of each row.
- Continue decreasing stitches until you have 6 stitches left on each side of your loom.
- Finally, cut the yarn leaving a long tail, and use a yarn needle to thread the tail through the remaining stitches. Secure the end by weaving it in and trimming any excess.
Finishing:
To finish your mittens, fold them in half and sew the side seams using the mattress stitch or any preferred sewing method. Make sure to leave the thumbhole open. Once the seams are secured, turn the mittens right side out and gently stretch them to shape.
Congratulations, you have successfully knitted a pair of warm mittens on a flat loom! You can now enjoy the cozy comfort of your handmade accessories during the colder months or share the joy by giving them as a gift.
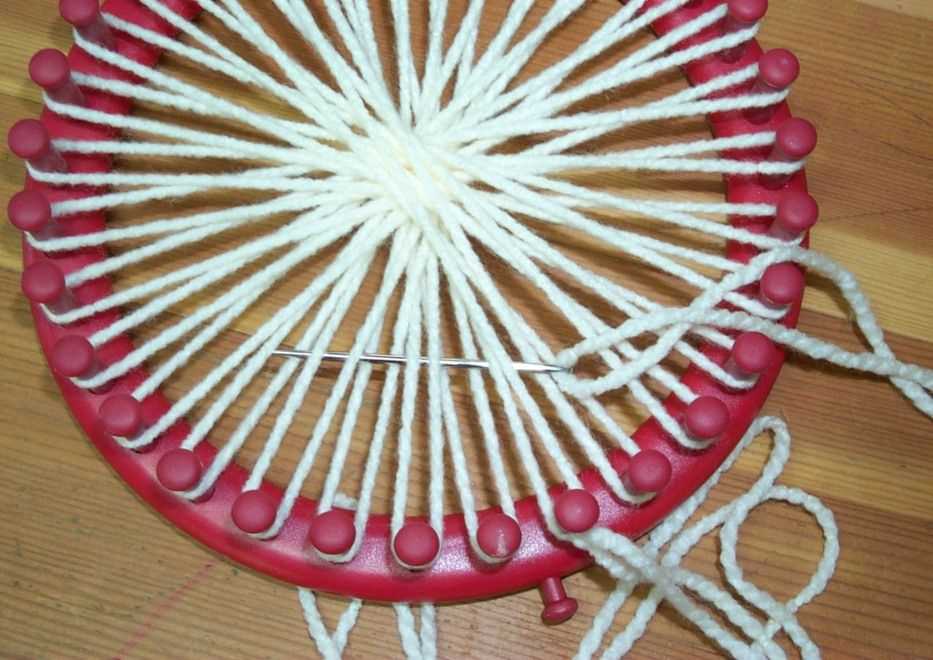
Cute Baby Booties Pattern for Flat Loom Knitting

Are you looking for a sweet and adorable project to make for a newborn? Look no further than this cute baby booties pattern for flat loom knitting. These booties are perfect for keeping tiny feet warm and stylish.
To create these baby booties, you will need a flat loom, a loom hook, and your choice of soft, baby-friendly yarn. The pattern is relatively simple and can be completed by knitters of all skill levels.
Materials:
- Flat loom
- Loom hook
- Baby-friendly yarn
Instructions:
- Begin by casting on the desired number of stitches onto the flat loom. The number of stitches will vary depending on the size of the booties and the thickness of your yarn.
- Once you have cast on the stitches, begin knitting in a circular pattern around the loom. You can use either the e-wrap or the flat knit stitch, depending on your preference.
- Continue knitting until the fabric measures the desired length for the booties. This will depend on the size you are making.
- Next, it’s time to shape the toe of the booties. To do this, you will need to decrease the number of stitches on the loom. Follow the instructions for your specific loom to accomplish this.
- After shaping the toe, continue knitting until the booties reach the desired height.
- Once you have completed the knitting, carefully remove the booties from the loom and weave in any loose ends.
- Finally, fold over the top of the booties to create a cuff and secure it in place with a few stitches or a small crochet border.
The end result will be a pair of adorable baby booties that are sure to be cherished by both parents and baby. Whether you choose to knit them in a classic pastel color or something more vibrant and fun, these booties are the perfect addition to any baby’s wardrobe.
Colorful Socks Pattern for Flat Loom Knitting
Loom knitting is a wonderful way to create beautiful and functional items, and one popular project is knitting socks. With a flat loom knitting technique, you can easily create colorful socks that are both comfortable and stylish.
To start, choose a flat loom with the appropriate number of pegs for the desired sock size. You’ll also need a loom hook, a tapestry needle, and a pair of scissors. Select your preferred yarn colors, making sure to choose yarns that are soft and suitable for socks.
Step 1: Cast On
Begin by casting on your stitches using the e-wrap method. This involves wrapping the yarn around each peg in a figure-eight shape. Continue wrapping until you have completed one full round, then wrap another round to create a double-layer cast on. Once you have cast on all the pegs, start the first row.
Step 2: Knit the Rows
Using the flat knitting method, knit each row by lifting the bottom loop over the top loop and off the peg. Repeat this process for each peg until you have completed all the rows required for your sock length. This will create a smooth and seamless texture for the sock.
Step 3: Heel and Toe Shaping
For the heel, you can use a technique such as short-row knitting to create a comfortable and snug fit. This involves working back and forth on a portion of the stitches, gradually decreasing and increasing the number of stitches to create a cup-shaped heel. Once the heel is complete, you can continue knitting the rest of the sock in the flat knitting method.
Step 4: Cuff and Finishing
After completing the main sock portion, you can add a cuff by knitting a few additional rows in a rib stitch pattern or any other desired pattern. This will give the socks a snug and stretchy fit around the ankle. Finally, finish off the sock by binding off the stitches and using a tapestry needle to weave in any loose yarn ends.
With this colorful socks pattern for flat loom knitting, you can create unique and vibrant socks to keep your feet warm and stylish. Experiment with different color combinations and patterns to make each pair of socks truly one-of-a-kind!
Trendy Infinity Scarf Pattern for Flat Loom Knitting
Infinity scarves are a fashionable and versatile accessory that can add a trendy touch to any outfit. With a flat loom and some basic knitting skills, you can create your own stylish infinity scarf in no time. This pattern is perfect for beginners or those looking for a quick and easy project.
To start, you will need a flat knitting loom, some yarn in your favorite color, and a loom hook. Begin by casting on your desired number of stitches onto the loom. For a chunkier scarf, use a larger loom and cast on more stitches. For a thinner scarf, use a smaller loom and cast on fewer stitches.
Once you have cast on your stitches, you will begin knitting in a basic stitch pattern. One popular stitch pattern for an infinity scarf is the garter stitch, which is created by knitting every row. This stitch pattern creates a textured fabric that is perfect for a cozy scarf.
Continue knitting in the garter stitch until your scarf reaches your desired length. You can make your scarf as long or as short as you like, depending on your personal preference. Once you are happy with the length, finish off your scarf by binding off all of the stitches.
To create the infinity shape, simply sew the two ends of your scarf together. You can use a simple whipstitch or a yarn needle to sew the ends together. Make sure to sew them securely so that your scarf will not come apart.
Now your trendy infinity scarf is ready to wear! You can style it in a variety of ways, such as wearing it long and loose, or wrapping it around your neck for a cozy look. This versatile accessory is perfect for adding a touch of style and warmth to any outfit.
Try experimenting with different yarn colors and textures to create unique and personalized infinity scarves. You can also add embellishments such as buttons, ribbons, or tassels to make your scarf even more unique. With this simple and stylish pattern, you’ll be knitting trendy infinity scarves in no time!
Conclusion
In conclusion, the adorable teddy bear pattern for flat loom knitting is a fun and rewarding project that is perfect for both beginners and experienced knitters. This pattern allows you to create a cute and cuddly teddy bear using a flat loom, making it easy to follow and complete.
With its step-by-step instructions and clear illustrations, this pattern provides a great opportunity to improve your knitting skills and create a handmade toy that will be cherished for years to come. Whether you are making it for yourself or as a gift, the teddy bear created from this pattern is sure to bring joy and comfort to its recipient.
So grab your flat loom and start knitting this adorable teddy bear pattern today. You’ll be amazed at how quickly and easily you can create a lovable companion that will be treasured forever!