
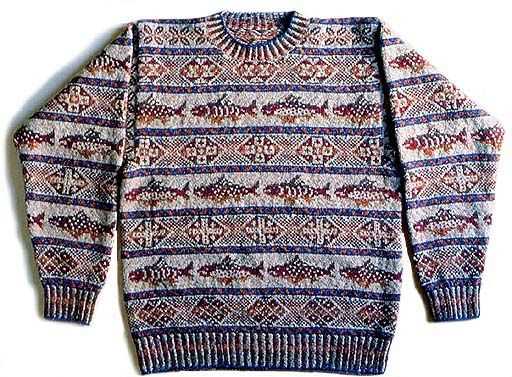
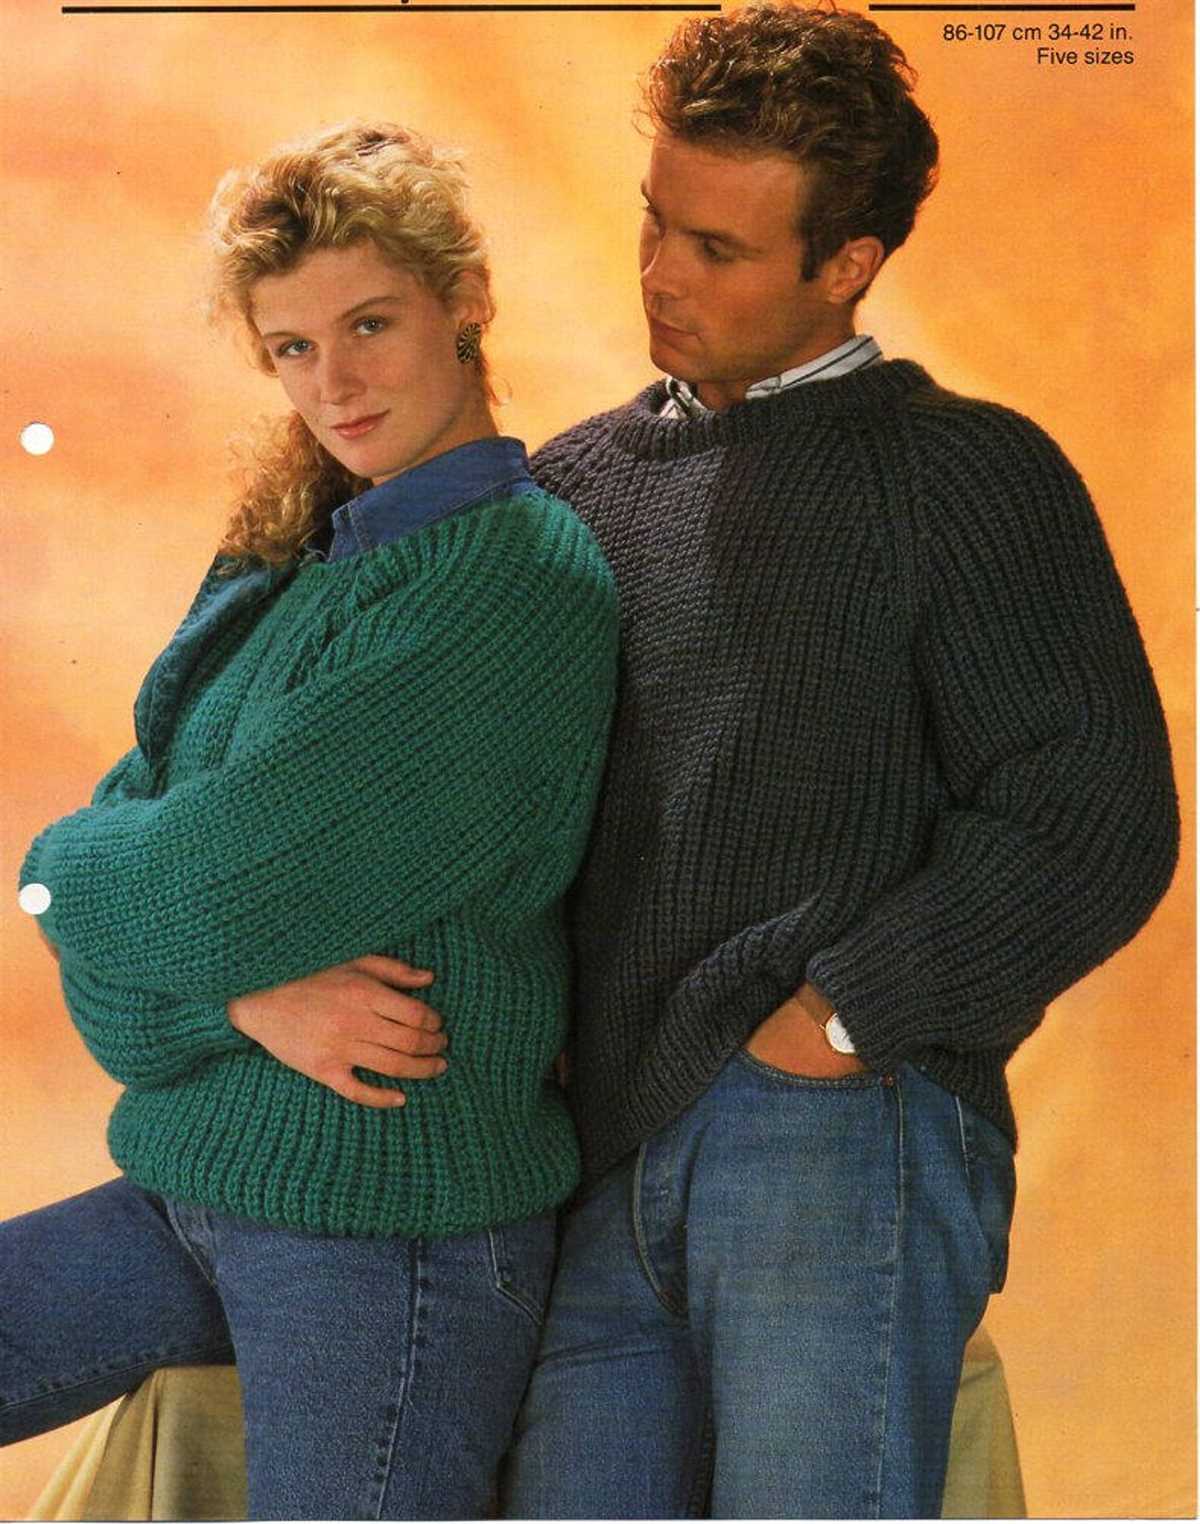
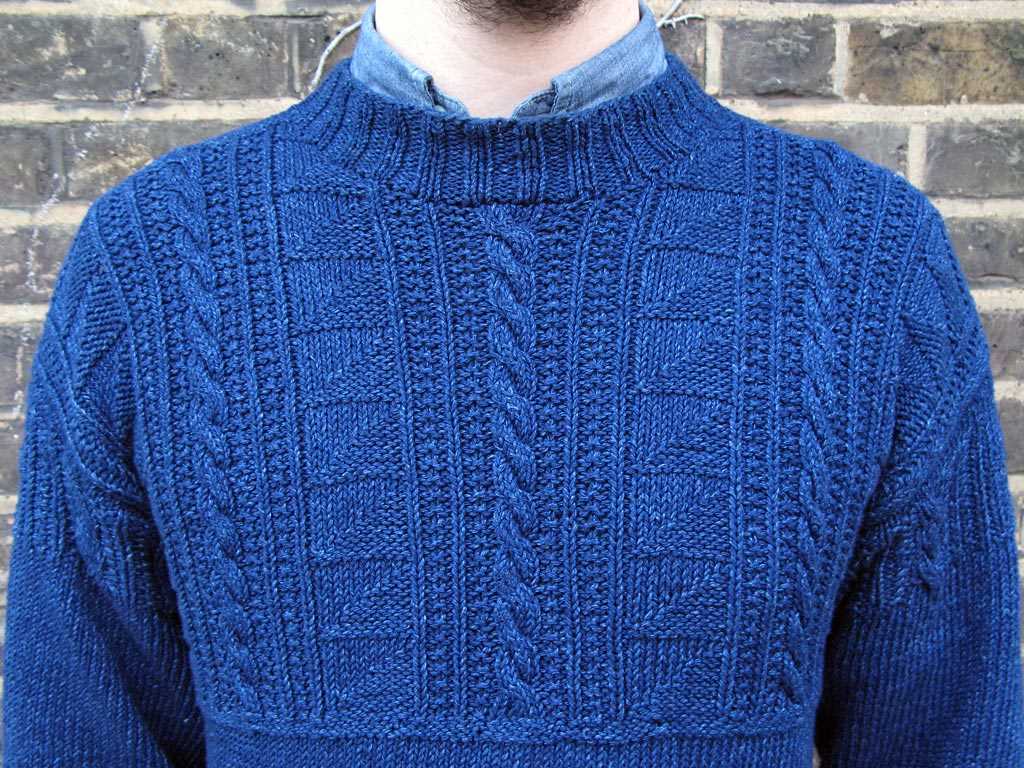
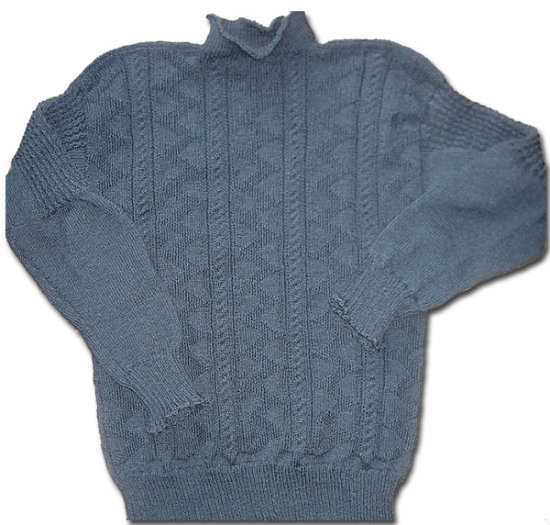
Winter is the perfect time to cozy up in a warm and stylish jumper, and what better choice than a classic fishermans jumper? With its timeless design and intricate cable patterns, the fishermans jumper is a favorite among knitters of all skill levels. Whether you’re a beginner or an experienced knitter, this knitting pattern will guide you through creating your own fishermans jumper.
The fishermans jumper, also known as an Aran sweater, originated in the Aran Islands off the coast of Ireland. The jumpers were traditionally handmade by the wives and daughters of fishermen, using thick wool to keep the men warm and dry while they were out at sea. The cables and patterns on the jumper were not just decorative, but also served a practical purpose of increasing the warmth and durability of the garment.
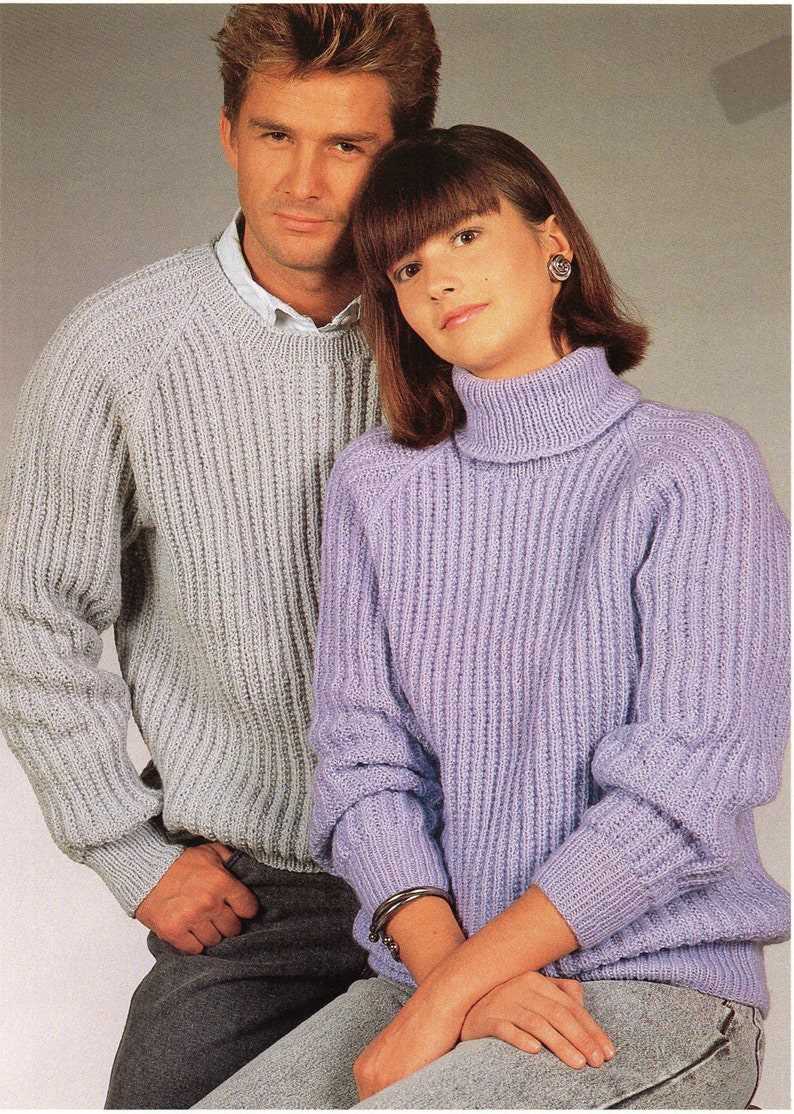
Today, the fishermans jumper remains a popular choice for both men and women. Its classic design effortlessly combines style and functionality, making it a staple in any winter wardrobe. Whether you choose to knit your fishermans jumper in a traditional cream color or experiment with bold shades, the intricate cables and patterns will add a touch of sophistication to your look.
So gather your knitting needles, choose your favorite yarn, and get ready to create your own fishermans jumper. This knitting pattern will provide you with step-by-step instructions, along with helpful tips and techniques to ensure your jumper turns out just as cozy and beautiful as you imagined. Whether you knit it for yourself or as a thoughtful gift for a loved one, the fishermans jumper is sure to become a cherished piece in your collection.
Fisherman’s Jumper Knitting Pattern
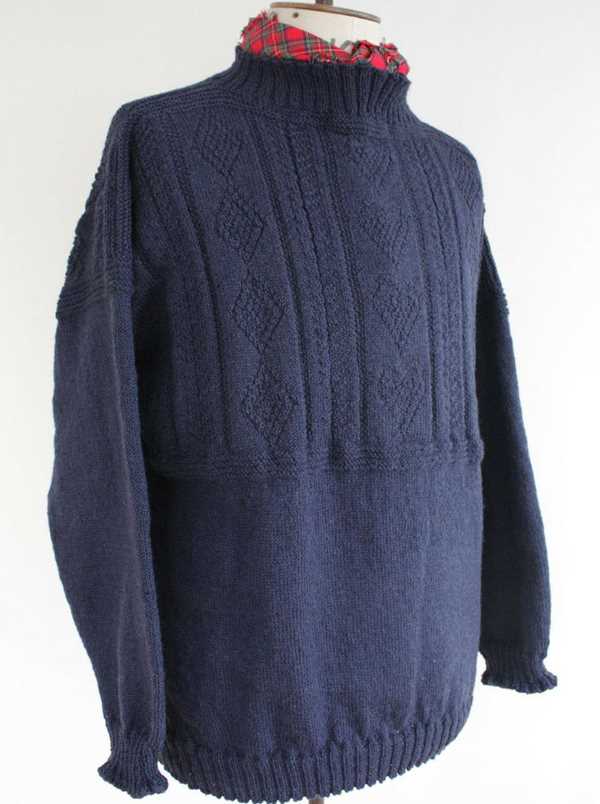
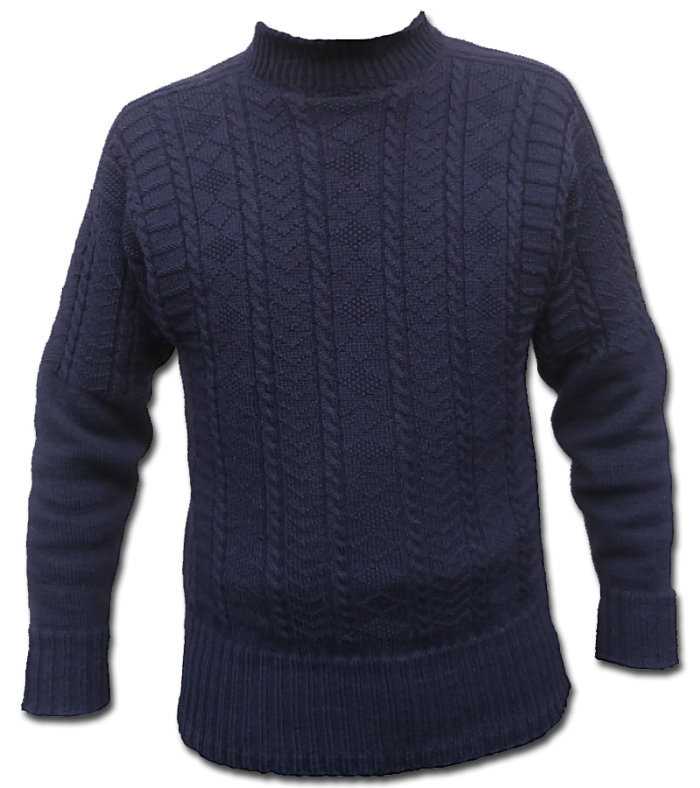
The Fisherman’s Jumper knitting pattern is a classic design that has been loved by generations. It is characterized by its textured, cable-knit pattern, which gives it a timeless and rugged appeal. This sweater is perfect for keeping warm during colder months, and its classic style makes it a versatile choice for both men and women.
To knit a Fisherman’s Jumper, you will need intermediate knitting skills, as the pattern involves more advanced techniques such as cabling. The pattern usually includes detailed instructions for the different cable stitches used, making it accessible to experienced knitters or those willing to learn new skills.
The Fisherman’s Jumper knitting pattern typically calls for a chunky or Aran-weight yarn, which adds to the sweater’s cozy and warm qualities. The pattern often includes instructions for different sizes, ensuring that you can create a jumper that fits you perfectly.
Materials:
- Chunky or Aran-weight yarn
- Knitting needles in the appropriate size
- Cable needle
- Darning needle
- Stitch markers
- Scissors
Instructions:
- Begin by casting on the required number of stitches for your size.
- Follow the pattern’s instructions for the cable stitch pattern, making sure to place markers at the appropriate points.
- Continue knitting in the cable stitch pattern until the desired length is reached.
- Finish the jumper by binding off the stitches and sewing any necessary seams.
Once completed, you’ll have a beautiful Fisherman’s Jumper that can be worn for years to come. Its classic design and cozy feel make it a wardrobe staple that will never go out of style.
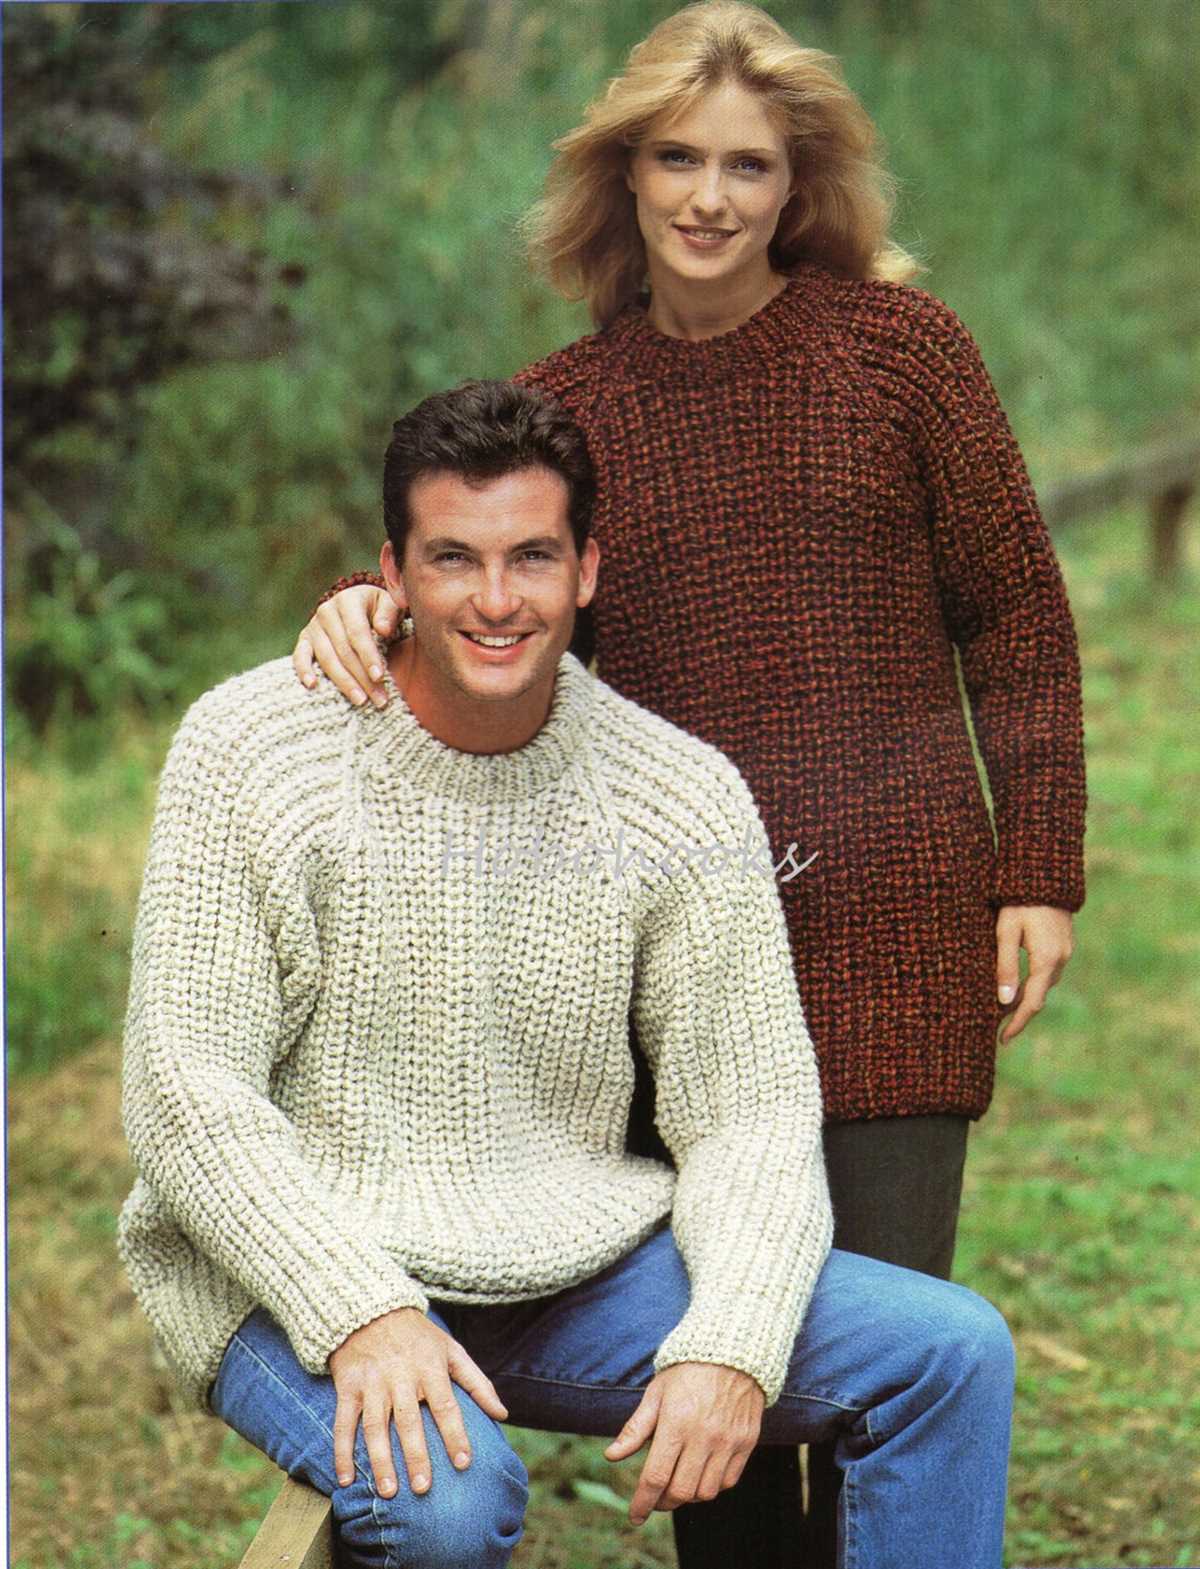
Choosing the Right Yarn
When it comes to knitting a fisherman’s jumper, choosing the right yarn is essential to achieve the desired look and feel of the final product. There are several factors to consider when selecting the yarn for this type of project.
1. Fiber Content
The first thing to consider is the fiber content of the yarn. Traditionally, fisherman’s jumpers are made from wool, as it provides warmth and durability. However, there are also other options available such as cotton or acrylic yarns, which can be suitable for different preferences and climates. It is important to choose a yarn that will ensure both comfort and longevity.
2. Weight
The weight of the yarn is another crucial factor to consider. Fisherman’s jumpers require a thicker yarn to create the classic chunky texture. Look for a yarn labeled as bulky or chunky, as it will provide the necessary thickness for the jumper. Using a thinner yarn would result in a less substantial garment that may not have the same cozy appeal.
3. Color and Pattern
The color and pattern of the yarn also play a role in the overall look of the fisherman’s jumper. Traditional jumpers often feature natural, earthy tones such as cream, gray, or navy blue. However, there is no hard and fast rule when it comes to color selection, and you can choose any shades that you prefer. If you want to add more interest to your jumper, consider using a yarn with a subtle variegation or a cable pattern.
4. Quality

Lastly, it is important to choose a high-quality yarn for your fisherman’s jumper. This will ensure that the garment is durable and will hold its shape over time. Look for yarns that have a good reputation for their quality and longevity. It may be worth spending a little extra money on a yarn that you know will produce an excellent result.
By considering these factors when choosing your yarn, you can ensure that your fisherman’s jumper is not only cozy but also visually appealing and long-lasting. Take your time to find the perfect yarn that meets your preferences and requirements, and enjoy the process of creating your own handmade masterpiece.
Selecting the Appropriate Needles
When choosing the right needles for knitting a fisherman’s jumper, it’s essential to consider factors such as the type of yarn being used and the desired gauge. The correct needle size will ensure that the finished jumper has the correct tension and fits properly.
1. Yarn weight: The weight of the yarn will determine the size of the needles needed. If using a bulky yarn, larger needles, such as US size 10 or above, may be suitable. For lighter weight yarns, smaller needles, such as US size 5 or 6, may be more appropriate. It’s important to check the yarn label for recommended needle sizes.
2. Gauge: The desired tension or gauge is another factor to consider when selecting needles. The gauge refers to the number of stitches and rows per inch. To achieve the correct gauge, it may be necessary to size up or down in needle size. Swatching with different needle sizes and measuring the resulting fabric can help determine the right needle size to achieve the desired gauge.
Additionally, it’s important to consider the material of the needles. Metal or plastic needles may be more slippery, making them suitable for certain yarn types, while wooden or bamboo needles can provide more grip for slippery yarns. The choice of needle material can also affect the overall feel and weight of the project.
Ultimately, the right needle size for a fisherman’s jumper will depend on the specific yarn and gauge desired. It’s always recommended to swatch and adjust needle sizes as needed to ensure a successful and well-fitting finished garment.
Understanding the Knitting Gauge
Before starting any knitting project, it is important to understand the concept of knitting gauge. The knitting gauge refers to the number of stitches and rows that can be achieved within a given measurement. This measurement is typically 4 inches or 10 centimeters square. By understanding and achieving the recommended gauge, you can ensure that your finished project will have the correct size and fit.
To determine the knitting gauge, you will need to use the recommended needles and yarn for your project. The pattern you are following should provide the specific needle size and yarn weight that will give you the desired gauge. It is important to use these exact materials, as using different ones can result in a different gauge and affect the size and fit of your finished piece.
To measure the gauge, you will need a ruler or tape measure. With your chosen needle size and yarn, cast on the required number of stitches according to the pattern. Then, work a swatch, which is a small sample of knitting, using the stitch pattern indicated in the pattern. Make sure to knit the swatch in a relaxed manner, without pulling or stretching the stitches. Once the swatch is complete, lay it flat and measure the number of stitches and rows within the specified measurement.
If your gauge matches the recommended gauge in the pattern, then you can proceed with confidence, knowing that your finished project will have the correct size and fit. However, if your gauge is different, you will need to make adjustments. If your gauge is too loose, meaning you have fewer stitches and rows than the recommended gauge, try using smaller needles. If your gauge is too tight, meaning you have more stitches and rows than the recommended gauge, try using larger needles.
It is important to note that achieving the correct gauge may require some trial and error. You may need to make several swatches and adjust your needle size until you achieve the recommended gauge. Additionally, different knitters may have slightly different gauges, even when using the same materials and following the same instructions. Therefore, it is always recommended to make a gauge swatch before starting a project, especially if size and fit are crucial.
In conclusion, understanding and achieving the knitting gauge is essential for ensuring that your finished project will have the correct size and fit. By following the recommended needle size and yarn weight, making a gauge swatch, and making any necessary adjustments, you can confidently knit your project and achieve beautiful results.
Casting on Stitches
The first step in knitting a fisherman’s jumper is to cast on the desired number of stitches. Casting on is the process of creating a row of loops on one of the knitting needles. This initial row of loops forms the foundation of the knitting project.
There are several different methods of casting on stitches, but the most common method for a fisherman’s jumper is the Long Tail Cast On. To begin, make a slipknot by leaving a long tail of yarn and crossing the yarn over itself to create a loop. Insert the knitting needle through the loop, and tighten the slipknot by pulling on the tail and the working yarn.
- Step 1: Hold the needle with the slipknot in your right hand, and the other knitting needle in your left hand. The slipknot should be close to the tip of the right needle.
- Step 2: With your left hand, hold the working yarn and the tail of the yarn together, making a “V” shape. The working yarn should be on top.
- Step 3: With your right hand, bring the right needle over the top of the working yarn and the tail, and then down between them.
- Step 4: Bring the right needle back up and towards you, catching the working yarn and pulling a loop through the previous loop on the left needle.
Repeat steps 3 and 4 until you have cast on the desired number of stitches. Once all the stitches are cast on, you are ready to begin knitting the fisherman’s jumper pattern.
Knitting the Body
Knitting the body of a fisherman’s jumper is an important part of the process. It sets the foundation for the overall shape and fit of the sweater. To begin, you will need to consult the knitting pattern to determine your stitch count and the desired length of the body. It’s important to take accurate measurements of your body or the intended wearer to ensure a proper fit.
Once you have the necessary measurements and stitch count, you will start by casting on the required number of stitches. This initial row will serve as the bottom edge of the sweater. You can use a basic cast on method, such as the long-tail cast on, or choose a more decorative option if desired.
Once the stitches are cast on, you will begin working in the chosen stitch pattern for the body. The pattern may specify a specific stitch pattern or allow for customization. Common choices for fisherman’s jumpers include cables, ribbing, or textured stitches.
As you work on the body, you will need to pay attention to your stitch count and any shaping instructions in the pattern. The pattern may instruct you to increase or decrease stitches at certain intervals to create a fitted or loose fit. It’s crucial to follow the pattern carefully to achieve the desired result.
When you reach the desired length for the body, you will then proceed to the next step, which is typically knitting the sleeves or the neckline. Ensure that you have enough yarn to complete these sections before moving forward. Once the body is complete, you can move on to the next stage of the knitting process and continue creating your beautiful fisherman’s jumper.
Creating the Sleeve Openings
One of the key features of a fisherman’s jumper is the distinctive sleeve openings. These openings not only add visual interest to the garment, but they also serve a practical purpose, allowing for ease of movement in the arms. To create the sleeve openings, follow the steps outlined below.
Step 1: Mark the Sleeve Opening Placement
Begin by marking the desired placement of the sleeve openings on the sweater. This is typically done by measuring a certain distance down from the shoulder seam and marking the spot with a stitch marker or piece of yarn. Repeat this process on both sleeves.
Step 2: Work the Sleeve Opening Rows
Next, with the garment placed flat, begin working the sleeve opening rows. This is typically done by knitting a specified number of stitches up to the marked spot, then binding off a certain number of stitches to create the opening. The exact number of stitches and rows will vary depending on the specific knitting pattern, so refer to the instructions provided for your particular project.
For example, the pattern may instruct you to knit 20 stitches, bind off 10 stitches, and then continue knitting the remaining stitches to the end of the row. This creates a gap in the knitting that will later be folded over and sewn down to create the opening.
Step 3: Create the Folded Edge
After completing the sleeve opening rows, you will need to create a folded edge along the opening. This is typically done by folding the knitted fabric along the bind-off edge and using a tapestry needle to sew it down securely. This not only gives the opening a neat and finished appearance, but it also reinforces the edge and helps prevent stretching.
When sewing the folded edge, be sure to use a matching yarn color and a strong, even stitch that will hold up to wear and tear. Take your time to ensure that the folded edge is even and lies flat against the body of the sweater.
By following these steps, you can successfully create the sleeve openings for your fisherman’s jumper. This unique detail adds a touch of authenticity to the garment and showcases your knitting skills. Whether you’re an experienced knitter or new to the craft, creating sleeve openings can be a fun and rewarding part of the knitting process.
Shaping the Neckline
When knitting a fisherman’s jumper, shaping the neckline is an important step to ensure a comfortable fit. The neckline can be shaped in different ways, depending on the desired style and design of the jumper. One common method is to use short rows to create a gentle curve along the top edge of the jumper.
To shape the neckline, begin by knitting across the front of the jumper until you reach the center front stitch. At this point, you can start working short rows by knitting partially across the row and then turning the work before reaching the end of the row.
When turning the work, it is important to wrap the yarn around the next stitch to prevent a gap from forming. This can be achieved by slipping the next stitch purlwise, bringing the yarn to the front of the work, and then slipping the stitch back onto the left needle. Continue knitting across the row, wrapping each stitch as necessary.
As you work the short rows, you will notice that the fabric starts to curve inward, creating a shaping effect. Repeat this process until the desired depth of the neckline is achieved. This can be determined by trying on the jumper and making adjustments as necessary.
Once the neckline shaping is complete, you can continue knitting the remainder of the jumper according to the pattern instructions. Remember to always follow the shaping instructions carefully to ensure a professional finish. With a well-shaped neckline, your fisherman’s jumper will not only look stylish but also provide a comfortable fit for the wearer.
Adding Ribbing and Cuffs
When knitting a fisherman’s jumper, adding ribbing and cuffs not only adds aesthetic appeal but also provides functional benefits. Ribbing is a stretchy pattern that is often used at the bottom of the jumper, the cuffs, and the neckline. It helps the jumper to fit snugly and retain its shape. The most common ribbing pattern used is the knit two, purl two (k2, p2) rib.
To add ribbing to your fisherman’s jumper, you can start by knitting a few rows in the k2, p2 rib pattern. This is done by knitting two stitches, then purling two stitches, and repeating this pattern across the row. You can continue knitting in this rib pattern for the desired length, or you can switch to a different ribbing pattern if you prefer.
For the cuffs of the jumper, you can use the same ribbing pattern as you did for the bottom ribbing. Begin by knitting a few rows in the k2, p2 rib, and then switch to stockinette stitch (knitting all stitches) for the main body of the cuff. This will create a nice contrast and add visual interest to the design.
Alternatively, you can also choose to knit the cuffs in a different ribbing pattern, such as the k1, p1 rib or the k3, p1 rib. Experiment with different ribbing patterns to find the one that suits your style and complements the fisherman’s jumper design.
- Start by knitting a few rows in the k2, p2 rib pattern.
- Continue knitting in the rib pattern for the desired length.
- For the cuffs, switch to stockinette stitch after the ribbing.
- Alternatively, try different ribbing patterns for the cuffs.
Finishing Touches: Blocking and Weaving in Ends
After completing the knitting of your fisherman’s jumper, there are a few important finishing touches that will give your garment a professional and polished look. These steps include blocking and weaving in ends.
Blocking: Blocking is the process of shaping and sizing a knitted item by wetting it and then allowing it to dry in the desired shape. It helps to even out the stitches, relax the fabric, and give the garment a more finished appearance. To block your fisherman’s jumper, follow these steps:
- Fill a sink or basin with lukewarm water and add a small amount of gentle wool wash.
- Place the jumper in the water, gently pressing it down to fully submerge it. Allow it to soak for about 15 minutes.
- Drain the water and gently press out any excess moisture. Do not wring or twist the jumper.
- Lay a clean towel on a flat surface and place the jumper on top, gently shaping it to the desired dimensions.
- Use rust-proof pins to secure the edges of the jumper to the towel, ensuring that it stays in the correct shape and size while drying.
- Leave the jumper to dry completely, which may take several days depending on the climate and thickness of the yarn.
- Once dry, remove the pins and admire your beautifully blocked fisherman’s jumper!
Weaving in Ends: The ends or tails of yarn that are left over from joining new yarn or finishing a project need to be woven in to ensure they do not unravel over time. Here is a simple method to weave in ends:
- Thread the tail onto a blunt-tipped yarn needle.
- Insert the needle under several stitches on the wrong side of the fabric, running it parallel to the stitch direction.
- Pull the needle through, leaving a small loop.
- Thread the needle through the loop to create a knot that will secure the tail.
- Repeat this process, weaving the tail in and out of the wrong side of the fabric for about an inch.
- Carefully trim any excess yarn, ensuring that the tail is securely woven in and will not come undone.
By blocking your fisherman’s jumper and weaving in the ends, you will not only enhance the appearance of your knitted garment but also ensure its longevity and durability. These finishing touches are worth the extra effort, resulting in a beautifully finished project!
Styling and Wearing Your Fisherman’s Jumper
Now that you have finished knitting your fisherman’s jumper, it’s time to think about how to style and wear it. The fisherman’s jumper is a versatile and timeless piece of clothing that can be incorporated into many different outfits and styles. Whether you prefer a casual, laid-back look or something more dressy, the fisherman’s jumper can be styled to suit your personal taste.
Here are some ideas on how to style and wear your fisherman’s jumper:
- Casual everyday look: Pair your fisherman’s jumper with jeans or trousers for a comfortable and effortless everyday outfit. Add a pair of boots or sneakers to complete the casual look.
- Layering: During colder months, layering your fisherman’s jumper over a shirt or turtleneck can add extra warmth and style. Play with different colors and textures to create interesting and eye-catching combinations.
- Dress it up: Don’t be afraid to dress up your fisherman’s jumper for more formal occasions. Pair it with tailored pants or a skirt, and accessorize with statement jewelry and heels for a sophisticated and chic look.
- Oversized and cozy: If you prefer a more relaxed and cozy look, opt for an oversized fisherman’s jumper. Pair it with leggings or skinny jeans for a comfortable and laid-back outfit.
In conclusion, the fisherman’s jumper is a versatile and classic piece of clothing that can be styled in many different ways. Whether you choose to dress it up or keep it casual, this jumper is a wardrobe staple that will never go out of style. Experiment with different outfits and accessories to create your own unique look, and enjoy the warmth and comfort that this timeless garment provides.