
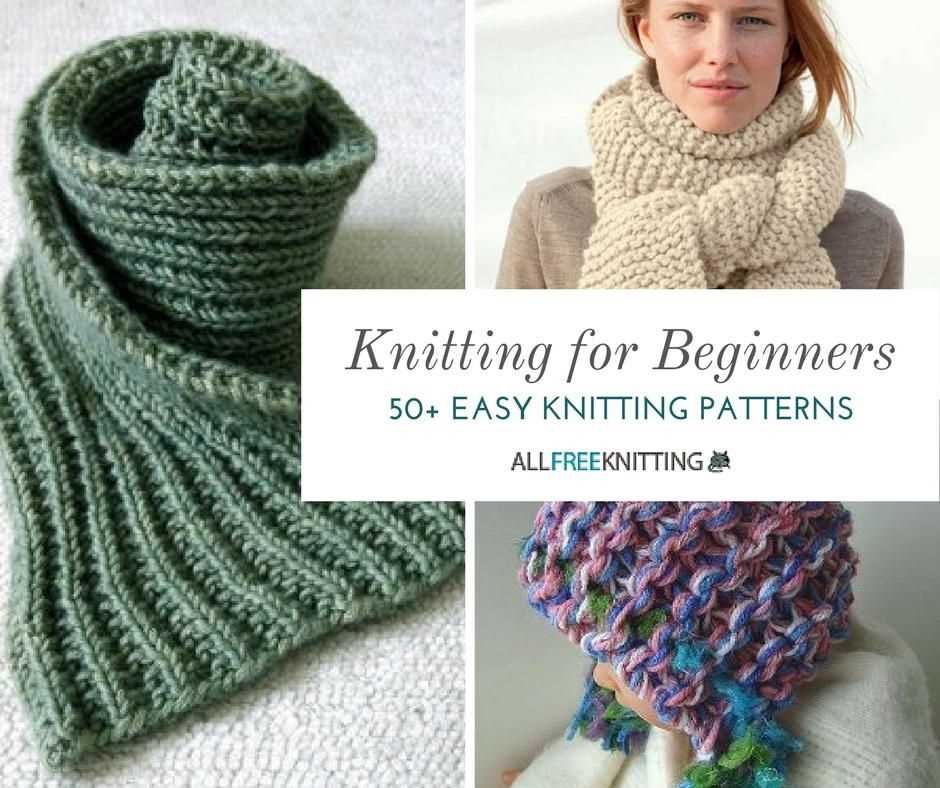
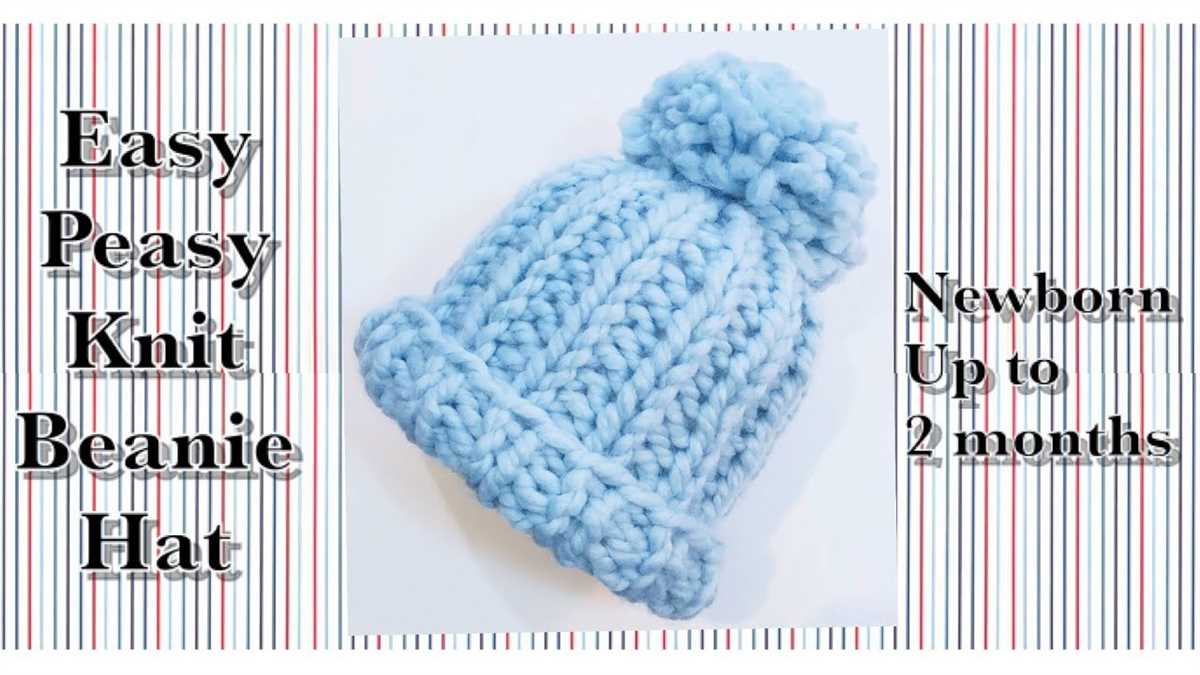
If you’re new to knitting and looking for a fun project to get started, a knitted hat is a perfect choice. Knitting a hat can be a great way to practice basic stitches and techniques while creating a stylish and functional accessory.
With this easy knitted hat pattern for beginners, you’ll learn the basics of knitting in the round and create a cozy hat that you’ll be proud to wear or gift to others.
Materials:
– Worsted weight yarn (approximately 200 yards)
– Size 8 (5 mm) circular needles (16-inch length)
– Set of size 8 (5 mm) double-pointed needles
– Stitch marker
– Yarn needle
Instructions:
1. Cast on 88 stitches using the circular needles.
2. Join in the round, placing a stitch marker to mark the beginning of the round.
Choose your materials
When starting a knitting project, it’s important to choose the right materials to ensure a successful outcome. For beginners, it’s recommended to start with simple and easy-to-use materials that will make the knitting process more enjoyable.
Yarn: The type of yarn you choose will greatly affect the final result of your knitted hat. For beginners, it’s best to use a medium-weight yarn, such as worsted weight, as it is easier to handle and produces a balanced fabric. Acrylic yarn is a popular choice for beginners as it is affordable, soft, and comes in a wide range of colors. However, you can also experiment with different types of yarn, such as wool or cotton, depending on the desired texture and warmth of your hat.
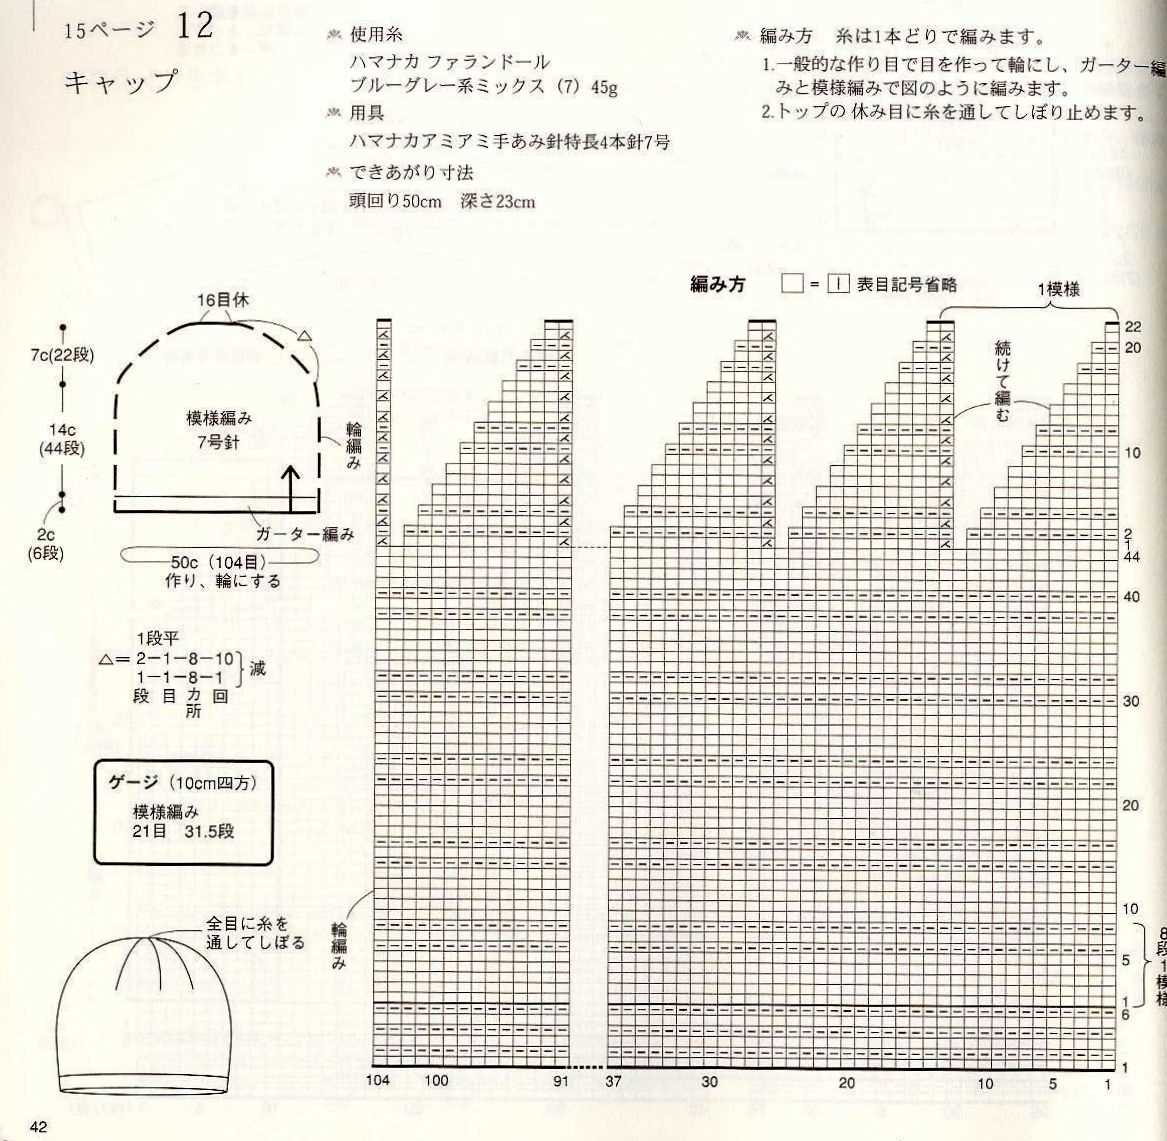
Needles: The size of needles you use will determine the gauge and size of your knitted hat. For this pattern, circular needles in size 7 (4.5 mm) are recommended. Circular needles are easier to manage for beginners as they distribute the weight of the project more evenly and allow you to knit in the round without the need for seams. However, if you prefer to use straight needles, you can certainly do so. Just make sure to adjust the pattern accordingly.
Other tools: In addition to yarn and needles, you will also need a few other tools to complete your knitted hat. These include a stitch marker (to mark the beginning of your round when working with circular needles), a yarn needle (for weaving in ends and seaming), and a pair of scissors. Optional tools include a row counter (to keep track of your rows) and a pom-pom maker (if you wish to add a pom-pom to your hat).
By carefully selecting the right materials, you can ensure a smooth and enjoyable knitting experience and create a beautiful knitted hat that you can be proud of.
Measure your head
Before you begin knitting your hat, it’s important to measure your head to ensure the hat will fit properly. You don’t want a hat that’s too tight or too loose, so taking accurate measurements is key to a successful project.
There are a few different methods you can use to measure your head. One option is to use a flexible measuring tape, which can easily be wrapped around your head. Start at the center of your forehead, just above your eyebrows, and wrap the tape around your head, making sure it’s level and snug but not too tight. Take note of the measurement in inches or centimeters.
Using a string and ruler
If you don’t have a flexible measuring tape, you can use a piece of string and a ruler instead. Wrap the string around your head, following the same process as with the measuring tape. Make sure the string is snug but not too tight, and then mark the spot where the string overlaps. Lay the string flat on a table and measure the length with a ruler. This measurement will give you the circumference of your head.
Once you have the circumference, you can also measure the width of your head by measuring from the center of your forehead to the back of your head. This will help you determine the height of the hat you want to knit.
With accurate measurements in hand, you can confidently start knitting your hat, knowing that it will fit perfectly once it’s finished.
Cast on Stitches
Before you can start knitting your hat, you need to cast on stitches. Casting on is the process of creating the first row of stitches on your knitting needle. In this easy hat pattern for beginners, we will use the long-tail cast on method.
To cast on stitches using the long-tail method, you will need both ends of the yarn. Make a slip knot by creating a loop with the yarn and pulling one end through. Place the slip knot on your knitting needle and hold the needle with the slip knot in your right hand.
Step 1:
Using your left hand, take the working end of the yarn (the end that’s connected to the skein) and drape it over your thumb. The tail end of the yarn (the end that’s attached to the slip knot) should be draped over your index finger.
Step 2:
Bring the needle under the yarn that’s draped over your thumb and insert it into the loop on your thumb from front to back. Using your thumb, push the needle through the loop, creating a new loop on the needle.
Step 3:
With your index finger, lift the yarn that’s draped over it up and over the needle. This will create a new loop on the needle.
Step 4:
Repeat steps 2 and 3 until you have cast on the desired number of stitches for your hat. Make sure to keep the tension of the yarn consistent as you cast on each stitch.
Once you have cast on all the stitches, you are ready to start knitting your hat! The cast on stitches will be the foundation for the rest of your project, so make sure they are even and not too tight or too loose.
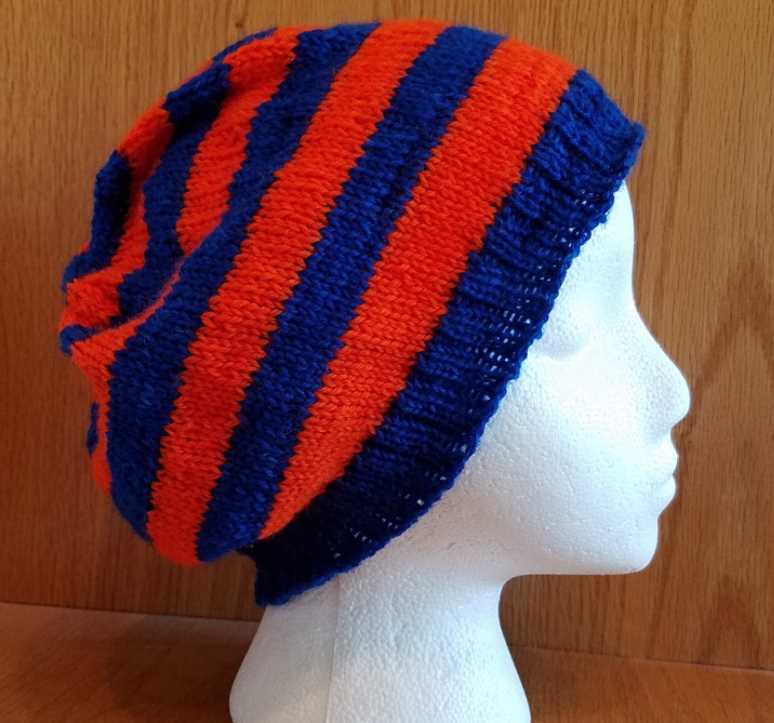
Work the brim
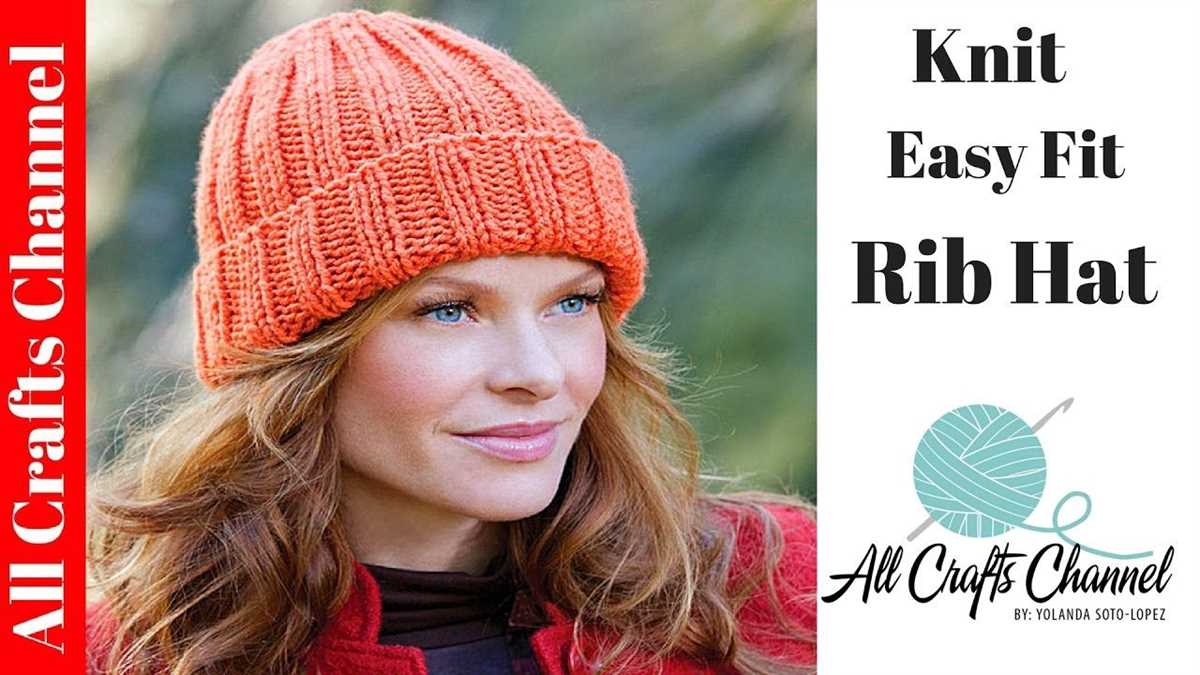
After casting on the appropriate number of stitches for your hat, it’s time to start working the brim. The brim is the part of the hat that sits at the bottom and covers your forehead and ears. It is usually made with a ribbed stitch pattern to give it stretch and keep it snug on your head.
To create the ribbed brim, you will alternate between knitting and purling stitches. This creates a stretchy fabric that is both comfortable and fits snugly. The most common rib stitch pattern for a hat is the 1×1 rib, which is simply alternating between knitting one stitch and purling one stitch. You can also experiment with different rib stitch patterns, such as the 2×2 rib, depending on your preference.
Step 1: To start the brim, knit the first stitch of your cast-on row. Insert the right needle into the first stitch from left to right, wrap the yarn around the right needle, and pull the yarn through the stitch to create a new stitch on the right needle. This is called a knit stitch.
Step 2: After knitting one stitch, bring the yarn to the front of the work. Insert the right needle into the next stitch from right to left, bring the yarn over the top of the right needle from back to front, and pull the yarn through the stitch to create a new stitch on the right needle. This is called a purl stitch.
Step 3: Repeat Steps 1 and 2 for the entire brim section of your hat, following your chosen rib stitch pattern. Make sure to maintain the correct stitch pattern by knitting the knitted stitches and purling the purled stitches as you go.
Continue working the rib stitch pattern for the desired length of your brim. This can vary depending on your preference and the style of hat you are making. Once the brim is complete, you can switch to a different stitch pattern or continue with the same stitch pattern for the body of the hat.
Knit the body of the hat
Once you have finished knitting the brim of the hat, it’s time to move on to knitting the body of the hat. This is where you will create the main part of the hat that will cover your head.
To knit the body of the hat, you will continue using the same stitch pattern that you used for the brim. This will create a cohesive look throughout the hat. If you are a beginner, it is recommended to stick with a basic stitch pattern, such as the knit stitch or the stockinette stitch.
Start by knitting the first row of the body of the hat. Repeat the stitch pattern for several rows, depending on how long you want the body of the hat to be. Remember to keep track of your rows by using stitch markers or counting your stitches.
Once you have reached the desired length for the body of the hat, you can start decreasing stitches to shape the top of the hat. This will create a snug and fitted look. Follow the instructions provided in the pattern to decrease stitches correctly.
Continue knitting the body of the hat until you have reached the final row. Make sure to bind off your stitches at the end to secure the hat and prevent unraveling. Congratulations! You have successfully knit the body of the hat. Now it’s time to move on to finishing touches, such as weaving in loose ends and adding any desired embellishments.
Decrease the Stitches

Once you have completed the desired length of your knitted hat, it’s time to decrease the stitches in order to shape the crown of the hat. Decreasing the stitches gradually narrows the opening of the hat and creates a tapered crown. Follow the steps below to decrease the stitches:
- Row 1: Knit 2 stitches together, then knit the next stitch. Repeat this pattern across the row.
- Row 2: Purl all stitches.
- Row 3: Knit 1 stitch, then knit 2 stitches together. Repeat this pattern across the row.
- Row 4: Purl all stitches.
- Row 5: Knit 2 stitches together across the entire row.
- Row 6: Purl all stitches.
Continue following this pattern, alternating between knit and purl rows, until you have decreased the stitches enough to close the top of the hat. At this point, you will have a few stitches left on your knitting needles. Cut the yarn, leaving a long tail, and thread it through a yarn needle. Pass the needle through the remaining stitches, removing them from the knitting needles.
With the remaining yarn, cinch the top of the hat by pulling the yarn tight. Secure the yarn by tying a knot or weaving it through the stitches. Finally, weave in any loose ends to finish off your knitted hat.
Shape the crown
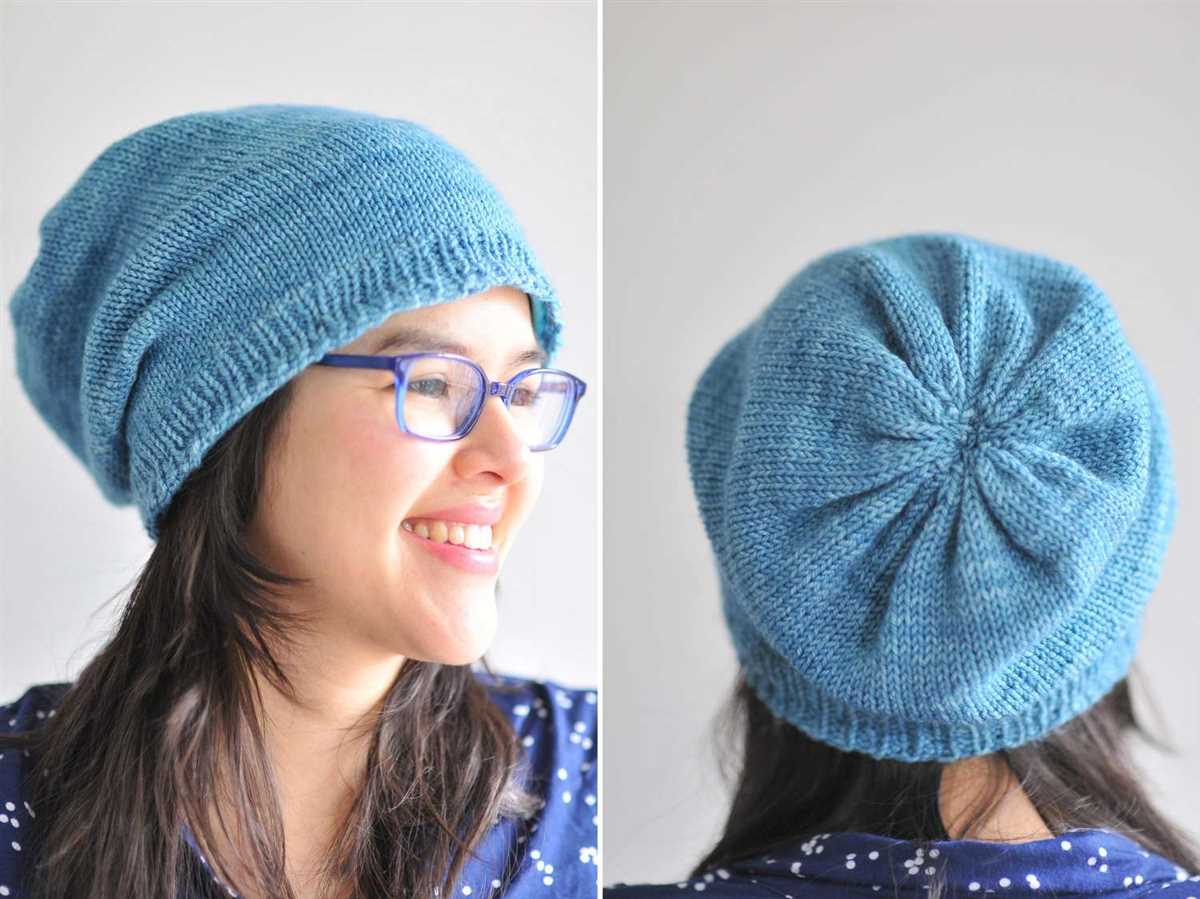
Once you have completed the ribbing and body of the hat, it’s time to shape the crown. This is where the hat starts to take on its final shape and become more fitted to the head.
To begin shaping the crown, you will need to decrease stitches gradually to create a tapered effect. This is often done by knitting two stitches together at regular intervals. The exact decrease pattern will depend on the specific hat pattern you are following, so be sure to consult the pattern instructions for guidance.
One commonly used decrease pattern is to knit two stitches together every other row until you have a certain number of stitches remaining. For example, you may knit two stitches together on rows 1, 3, 5, and so on, until you have 8 stitches remaining.
Alternatively, you may be instructed to decrease every row, or to use a different decrease pattern altogether. It’s important to follow the instructions provided in the pattern to achieve the desired shape for your hat.
Finish off the hat
Once you have completed knitting the hat, it’s time to finish it off. Here are the steps to complete your hat:
- First, weave in any loose ends. Use a tapestry needle to carefully thread the yarn tails through the stitches on the inside of the hat. Make sure to weave the ends in securely to prevent them from coming undone.
- Next, block your hat if necessary. Blocking is the process of reshaping your knitted item to give it a more polished look. To block your hat, soak it in lukewarm water for a few minutes, then gently squeeze out the excess water. Lay the hat flat on a towel or blocking mat and shape it to the desired size and shape. Allow it to air dry completely before wearing or storing.
- If desired, you can add embellishments to your hat. This could include a pom-pom, a decorative button, or even embroidery. Use your creativity to make your hat unique and personalized.
- Finally, give your hat a final inspection to make sure everything is in order. Look for any missed stitches or loose threads and fix them if necessary. Once you’re satisfied with the final product, your hat is ready to be worn or gifted.
Congratulations on completing your first knitted hat! Now you can enjoy the warmth and satisfaction of wearing something you made with your own hands.
Add any desired embellishments
Once you have completed knitting your hat, it’s time to add some personal touches and embellishments to make it unique and special. There are many options to choose from depending on your style and preferences. Whether you prefer simple and elegant or fun and quirky, there is something for everyone.
1. Pom-poms: Pom-poms are a popular embellishment for hats and can be easily made using yarn. You can choose to make a large pom-pom or multiple smaller ones and attach them to the top of your hat. They add a playful and whimsical touch to the overall look.
2. Buttons: Buttons can be used to add a decorative element to your hat. You can sew on one large button as a focal point or scatter several smaller ones around the brim. Be creative with your button choices and consider using unique or vintage buttons for added charm.
- 3. Ribbons and bows: Adding a ribbon or bow to your hat can give it a feminine and elegant touch. You can tie a ribbon around the base of the hat or attach a small bow to the side. Choose a ribbon color that complements your hat and personal style.
- 4. Embroidery: If you have some basic embroidery skills, you can add intricate or simple designs to your hat. Embroidered flowers, initials, or patterns can make your hat truly one-of-a-kind. Use contrasting colors of yarn to create eye-catching designs.
- 5. Appliques: Appliques, such as small knitted or crocheted motifs, can be stitched onto the front or sides of your hat. These can be anything from flowers and hearts to animal shapes or even your favorite cartoon character. Have fun and let your imagination run wild!
Remember to assess the weight and size of the embellishments you choose to ensure they do not overpower the hat or make it uncomfortable to wear. Take your time and experiment with different options until you find the perfect embellishments that reflect your personal style and make your knitted hat truly unique.
Try different yarns and stitch patterns
If you’re a beginner knitter looking to expand your skills and create unique hats, trying different yarns and stitch patterns is a great way to add variety to your projects. By experimenting with different types of yarn, you can achieve different textures, thicknesses, and colors in your hats, resulting in truly one-of-a-kind creations.
One way to start exploring different yarns is by choosing different fibers. For example, you could try knitting a hat with a soft and luxurious merino wool yarn, which will give your hat a cozy and warm feel. Alternatively, you could opt for a cotton yarn, which is breathable and lightweight, perfect for warmer seasons. You can also experiment with blends, such as wool and acrylic, to achieve the properties of both fibers.
Another way to add variety to your hats is by trying different stitch patterns. While a basic stockinette stitch may be your go-to pattern, there are endless options to explore. You could try a ribbing pattern, such as a 2×2 rib, for a more textured and stretchy hat. Alternatively, you could experiment with cable stitches, which can create intricate and eye-catching designs. And if you’re feeling adventurous, you can even try out lace stitches, which can give your hat a delicate and feminine look.
In addition to trying different yarns and stitch patterns, don’t be afraid to mix and match them to create your own unique combinations. For example, you could use a chunky yarn with a simple garter stitch for a quick and cozy winter hat, or you could combine a variegated yarn with a simple stockinette stitch for a hat with a splash of color. The possibilities are endless, and by trying different yarns and stitch patterns, you’ll be able to create hats that are truly your own.
Share Your Finished Hat
Now that you’ve completed your knitted hat, it’s time to show it off! Share your finished creation with your friends, family, and fellow knitters. You can showcase your hat on social media platforms like Instagram, Facebook, or Pinterest. Be sure to use the hashtag #MyKnittedHat to join the community of knitters and inspire others with your talent.
If you have a blog or a website, you can also write a post about your knitting journey and include pictures of your finished hat. Don’t forget to share the pattern you used and any modifications you made to make your hat unique!
Additionally, consider donating your knitted hats to local charities or organizations that support those in need during the colder months. It’s a great way to give back to the community and make a difference in someone’s life.
Remember, making a knitted hat is not just about the final product, but also about the joy and fulfillment you experience throughout the knitting process. So be proud of your accomplishment and share it with the world!
Happy knitting!