
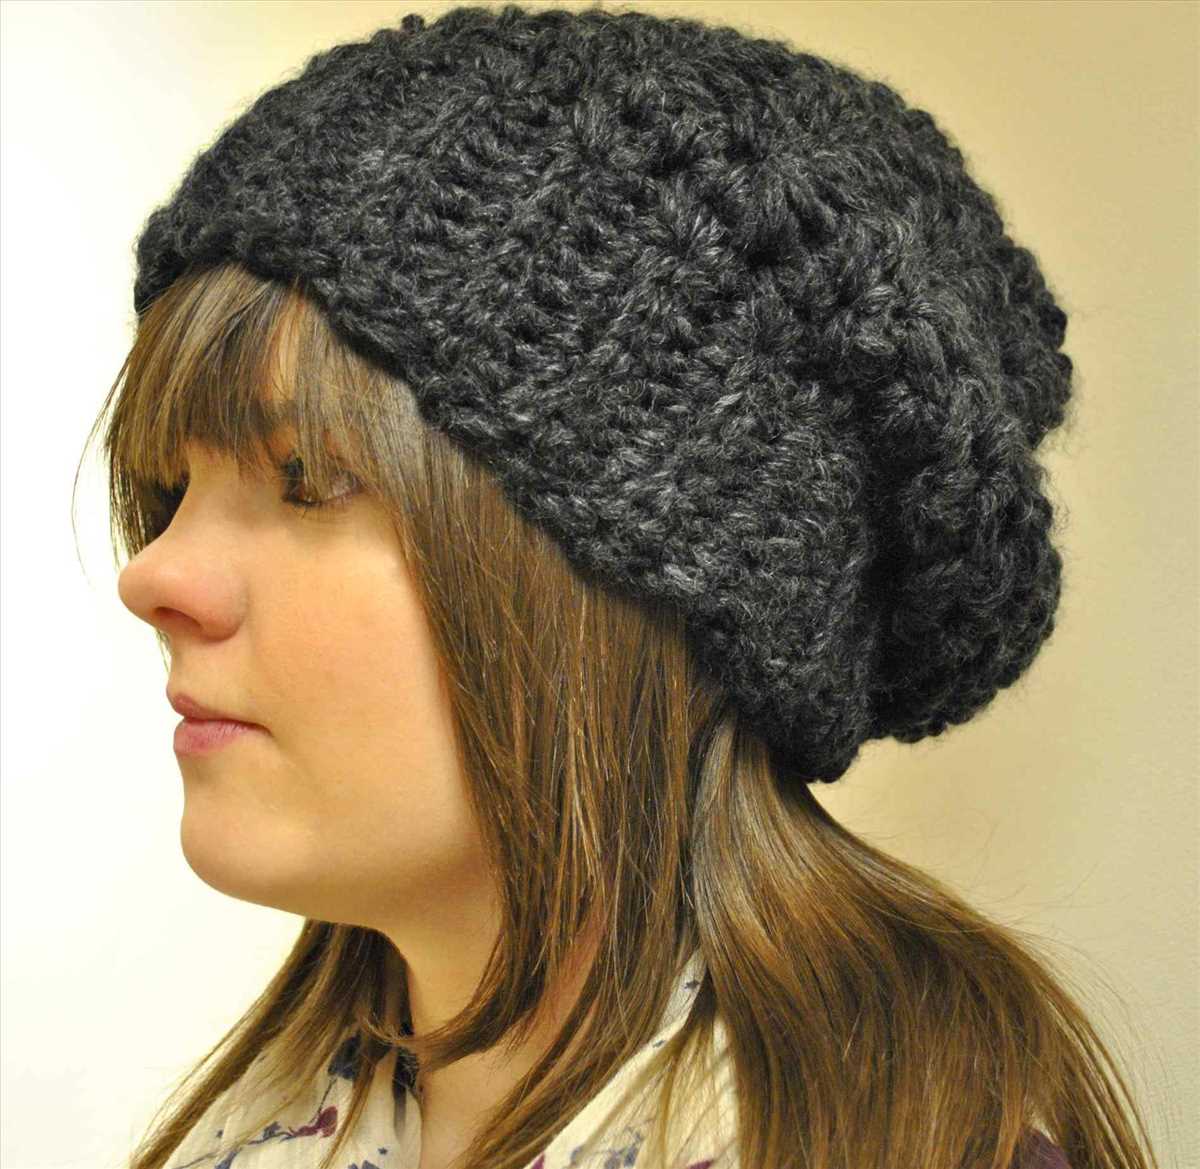
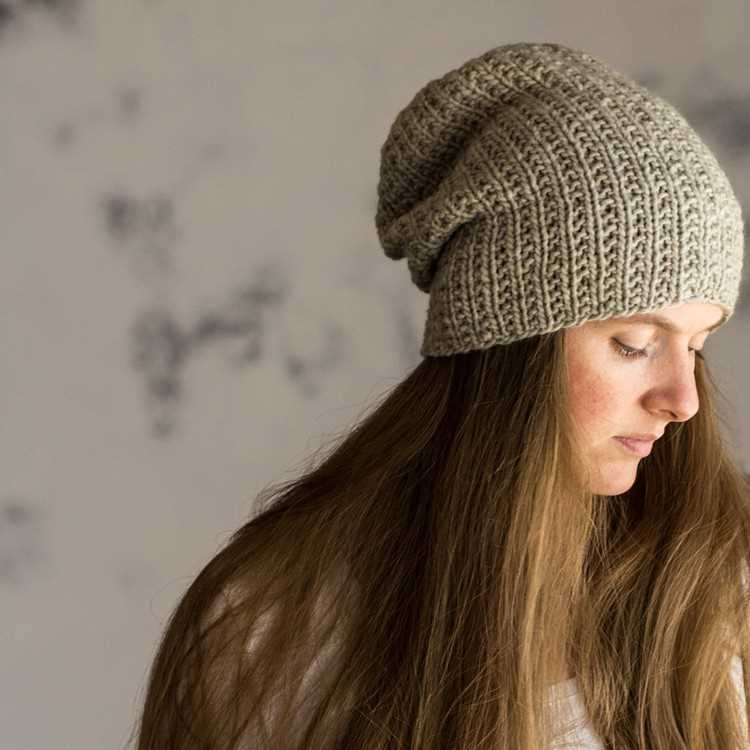
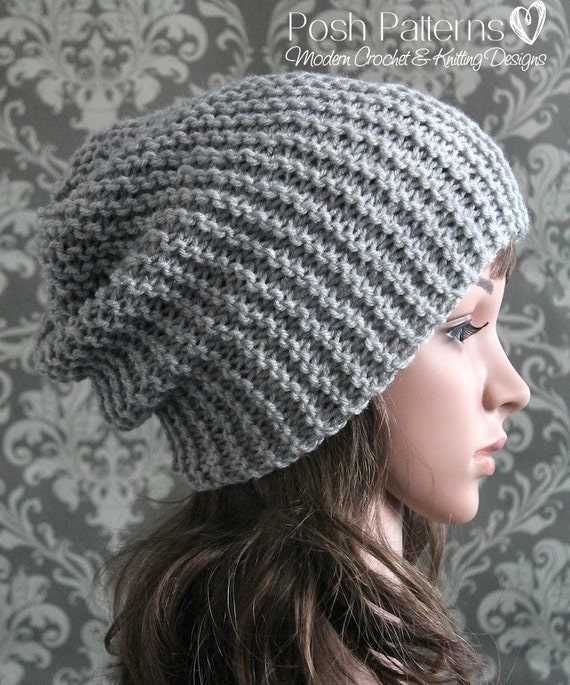
If you’re looking for a quick and stylish knitting project, look no further than the easy knit slouchy hat pattern. This pattern is perfect for beginners who are just starting to explore the world of knitting, as it only requires basic knitting stitches. With this pattern, you can create a trendy and cozy slouchy hat that is perfect for winter or for adding a fashionable touch to any outfit.
To get started, all you need is some yarn in your favorite color and a pair of knitting needles. The pattern uses a simple combination of knit and purl stitches to create a ribbed texture, giving the hat a stretchy and comfortable fit. The slouchy style adds a relaxed and casual look to the hat, making it suitable for both men and women of all ages.
Whether you’re a seasoned knitter looking for a quick and satisfying project, or a beginner looking to improve your knitting skills, this easy knit slouchy hat pattern is perfect for you. It’s a versatile and stylish accessory that will keep you warm and fashionable all winter long. So grab your needles and get knitting!
Easy Knit Slouchy Hat Pattern
Looking for a quick and easy knitting project? Look no further than this easy knit slouchy hat pattern! Whether you’re a beginner or an experienced knitter, this pattern is perfect for anyone looking to create a stylish and cozy hat.
This pattern uses basic knitting techniques and stitches, making it a great project for those who are new to knitting. The pattern calls for bulky weight yarn and size 10.5 knitting needles, providing a quick and satisfying project that can be completed in just a few hours.
To begin, cast on 72 stitches using the long tail cast on method. Then, work in a rib stitch pattern (knit one, purl one) for the first two inches. After the rib stitch, switch to a stockinette stitch, knitting every row, until the hat measures approximately 8 inches from the cast on edge.
Once the hat has reached the desired length, it’s time to shape the crown. Begin decreasing by knitting two stitches together at the beginning and end of each row until there are 12 stitches remaining. Cut the yarn, leaving a long tail, and thread it through the remaining stitches. Pull tight to close the top of the hat.
- Materials needed:
- 1 skein of bulky weight yarn
- Size 10.5 knitting needles
- Tapestry needle
- Finished dimensions:
- Approximately 10 inches tall
- Fits head circumference of 20-22 inches
- This pattern can easily be customized to fit larger or smaller head sizes by adjusting the number of cast on stitches and the length of the hat.
With its simple yet stylish design, this easy knit slouchy hat pattern is perfect for keeping you warm and fashionable during the colder months. Whether you’re knitting for yourself or making a gift for a loved one, this pattern is sure to be a hit!
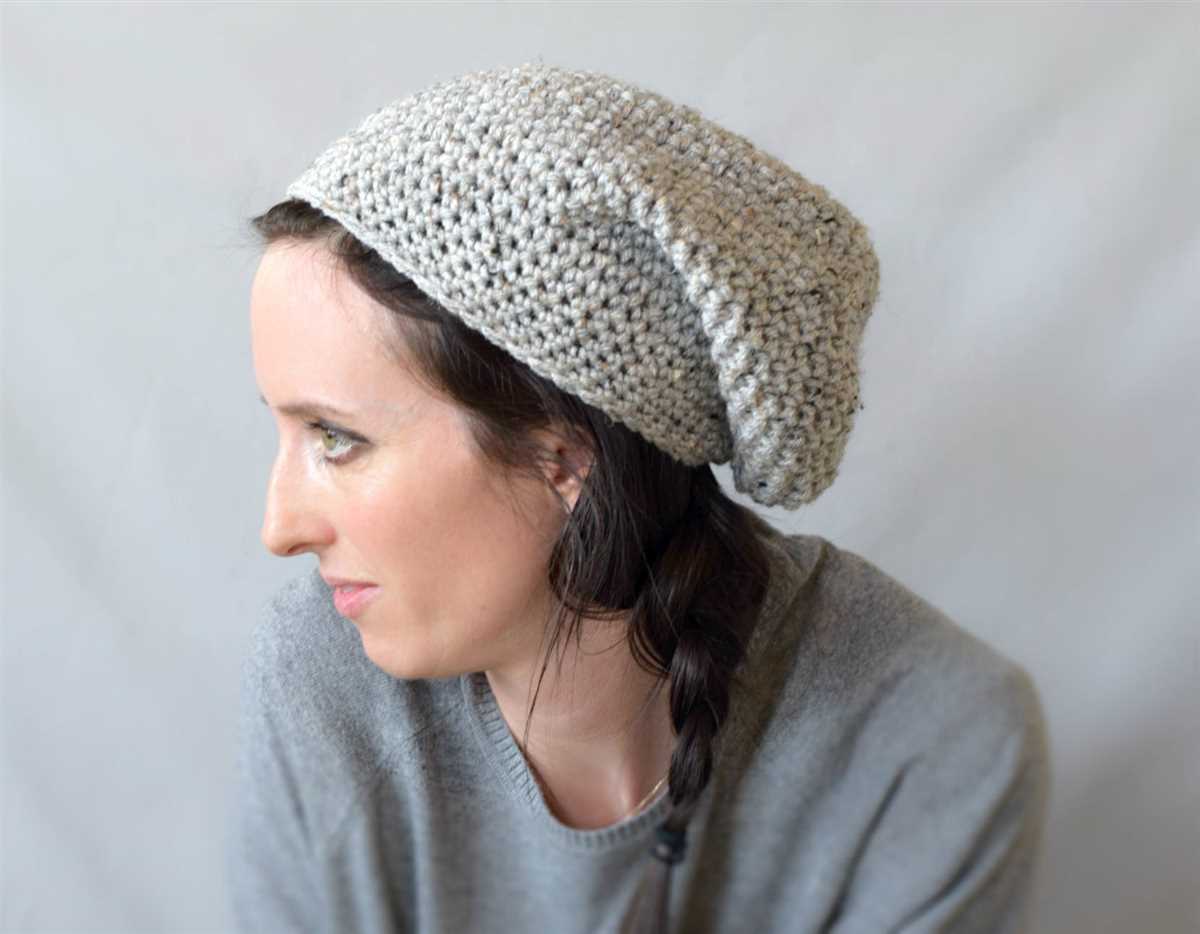
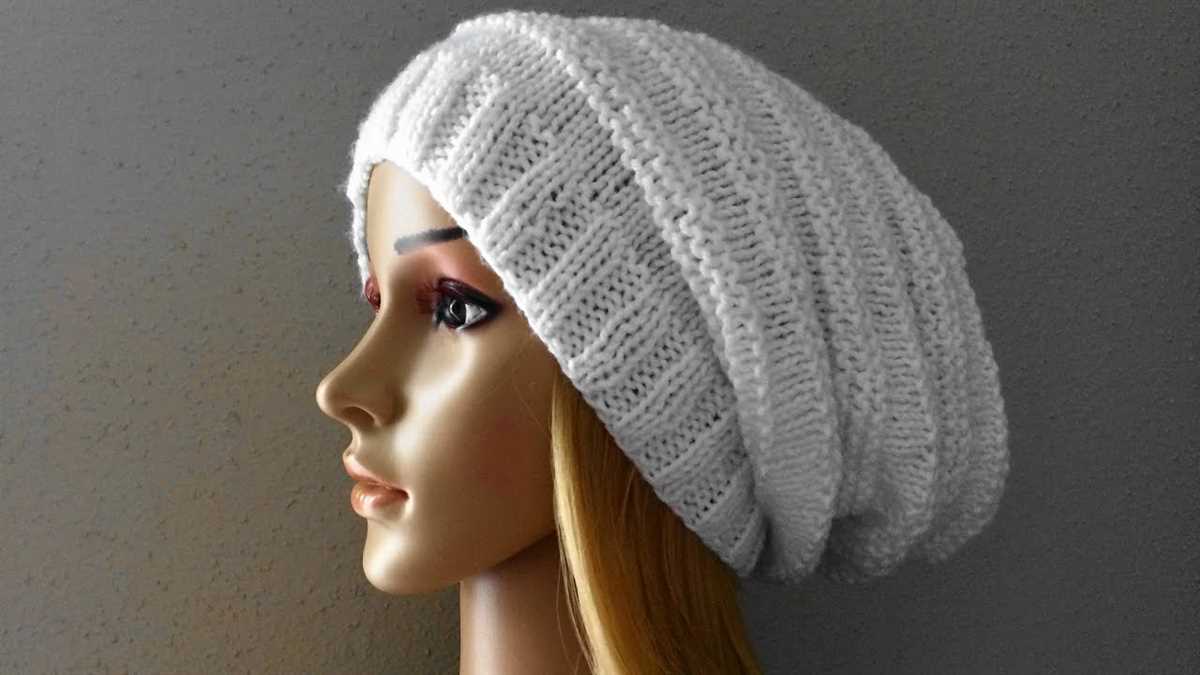
Why Choose a Slouchy Hat
Slouchy hats are a popular choice for many reasons. They offer a unique and stylish look that can add a touch of personality to any outfit. Whether you’re dressing up for a special occasion or just running errands, a slouchy hat is a versatile accessory that can easily elevate your look.
One of the main advantages of a slouchy hat is its versatility. Unlike fitted hats or beanies, slouchy hats have a relaxed and loose fit that can accommodate different hairstyles and head sizes. This makes them a great option for those with long or thick hair, as they provide enough room to tuck in your locks without compromising on style or comfort.
A slouchy hat also offers added warmth and protection during colder months. The loose fit allows for more air circulation, helping to regulate body temperature and prevent overheating. Additionally, the extra fabric can cover the ears and neck, providing extra insulation and shielding them from the cold winds.
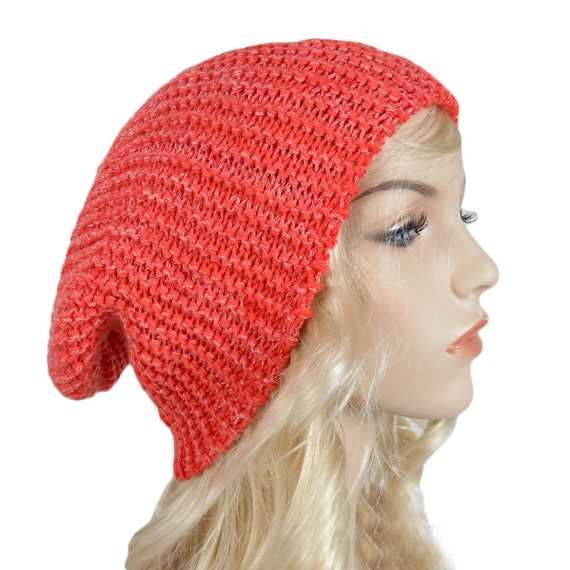
- Style: Slouchy hats are trendy and fashionable, adding an effortlessly cool vibe to any outfit.
- Versatility: The loose fit allows for different hairstyles and head sizes, making it suitable for various individuals.
- Warmth: The extra fabric provides added insulation and protection during colder months.
- Comfort: Slouchy hats offer a relaxed and comfortable fit, allowing for all-day wear without discomfort.
In conclusion, choosing a slouchy hat not only adds style and versatility to your look but also offers practical benefits such as warmth and comfort. So why not give it a try and see how this trendy accessory can elevate your outfit and keep you cozy during the colder seasons?
Materials Needed for the Project

Before beginning the Easy Knit Slouchy Hat pattern, gather the following materials:
1. Yarn
Type: Worsted weight yarn
Quantity: 1 skein (approximately 200 yards)
Color: Choose your favorite color or a color that matches your winter wardrobe.
2. Knitting Needles
Size: 8mm (US 11)
Type: Straight or circular knitting needles, depending on your preference for knitting in the round or flat.
3. Stitch Markers
Quantity: 1 marker for marking the beginning of the round
Optional: Additional markers for marking stitch patterns or decreases, if desired.
4. Yarn Needle
A yarn needle will be used for weaving in ends and seaming the hat.
5. Scissors
A pair of scissors will be needed for cutting yarn.
With these materials on hand, you’ll be ready to start knitting your own cozy slouchy hat!
Getting Started with the Pattern
Before you begin knitting the easy slouchy hat pattern, gather all necessary materials and familiarize yourself with the instructions. This pattern is perfect for knitters of all skill levels, and the end result is a trendy and comfortable hat that can be worn all year round.
Materials:
- Size 8 (5mm) knitting needles
- Worsted weight yarn (approximately 200 yards)
- Tapestry needle
- Stitch marker
Instructions:
- Cast on 80 stitches using the long tail cast on method.
- Place a stitch marker to indicate the beginning of the round.
- Work in a 2×2 rib stitch pattern (knit 2, purl 2) for 2 inches.
- Switch to stockinette stitch (knit all stitches) and continue until the hat measures 8 inches from the cast on edge.
- Begin decreasing: *Knit 8, knit 2 together. Repeat from * to end of round.
- Switch to double-pointed needles when necessary.
- Continue decreasing in this manner until there are 10 stitches remaining.
- Break the yarn, leaving a long tail.
- Thread the tail through a tapestry needle and slip it through the remaining stitches, removing them from the knitting needles.
- Pull tight to close the top of the hat and weave in any loose ends.
- Steam block the hat if desired.
This easy slouchy hat pattern is versatile and can be customized to fit any size or style preference. Feel free to experiment with different color yarns, stitch patterns, and embellishments to make each hat unique. Happy knitting!
Cast On Stitches

When starting a knitting project, the first step is to cast on stitches onto the needle. The cast on stitches create the foundation row of the project and determine the size and stretchiness of the finished piece.
There are several different methods for casting on stitches, but one of the most common methods is the long tail cast on. To do this, you will need to estimate the amount of yarn needed for the cast on, leaving a long tail. Hold the yarn with the tail in your right hand and the working yarn in your left hand. Make a slipknot with both strands of yarn, placing it onto the left needle.
To cast on the first stitch, insert the right needle into the slipknot from left to right, under the left needle. With your right hand, bring the working yarn over the right needle, forming a loop. Pull the loop through the slipknot, creating a new stitch. This stitch is now on the right needle, and the slipknot can be removed.
Continue this process of inserting the right needle into the previous stitch from left to right, bringing the working yarn over the right needle, and pulling the loop through to create a new stitch. Repeat until you have cast on the desired number of stitches.
The cast on stitches should be even and not too tight or too loose. If the cast on is too tight, it will be difficult to knit the first row. If it is too loose, the edge of the project may be floppy and not hold its shape well. Practice and experience will help to achieve the right tension for your cast on stitches.
Knit the First Rows
Before you begin knitting the Easy Knit Slouchy Hat, make sure you have all the necessary materials at hand. You will need a set of knitting needles, a skein of soft yarn in your desired color, and a pair of scissors. Once you have gathered all the materials, you are ready to start knitting.
The first step is to cast on the required number of stitches. This pattern recommends starting with 80 stitches. To cast on, create a slipknot and place it on one of the knitting needles. Hold the needle with the slipknot in your right hand, and insert the left needle into the slipknot from back to front. Loop the yarn around the left needle, and pull it through the slipknot. Repeat this process until you have the desired number of stitches on your needle.
Next, you will begin knitting the first row. Hold the needle with the cast-on stitches in your right hand, and insert the left needle into the first stitch from left to right. Take the yarn in your right hand and loop it around the right needle, pulling it through the first stitch. Slide the stitch off the left needle and onto the right needle. Continue this process for each stitch until you have completed the first row of knitting.
Repeat this process for the next few rows until your hat starts to take shape. Remember to always knit the right side and purl the wrong side, following the pattern instructions. Take your time and enjoy the process of creating your own cozy slouchy hat.
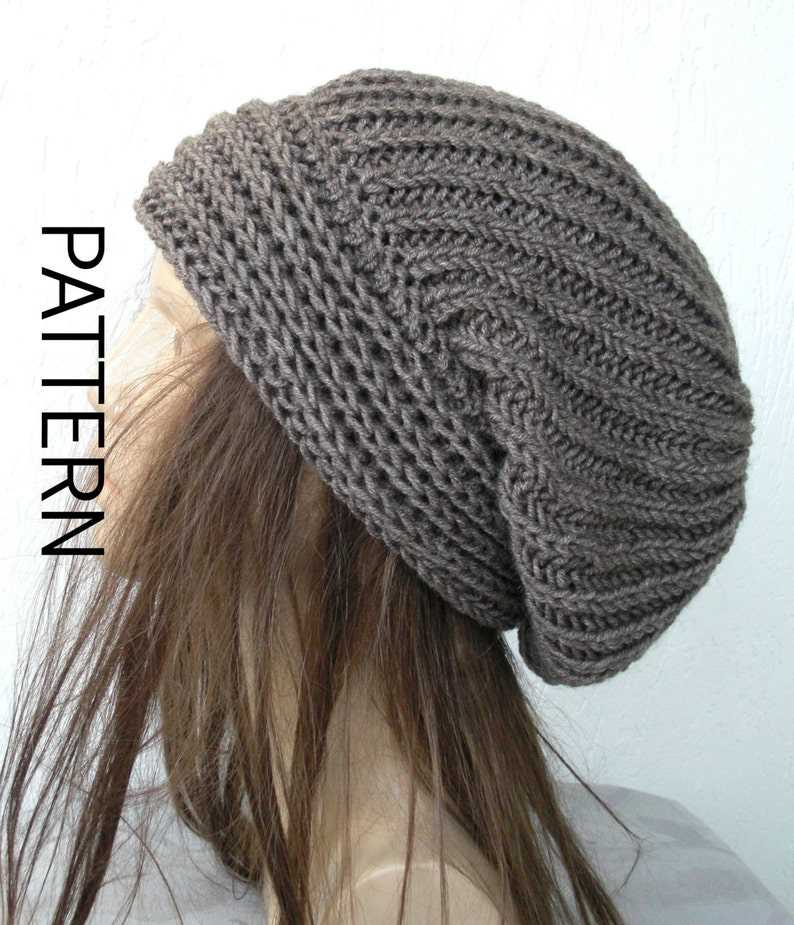
Creating the Slouchy Effect
The slouchy effect in a knit hat is achieved through certain techniques and design elements. By incorporating these elements into your pattern, you can create a trendy and stylish slouchy hat that is both comfortable and fashionable.
Choose the Right Yarn
Selecting the right type of yarn is crucial in achieving the slouchy effect. Opt for a yarn that is lightweight and has good drape. Yarns with a high amount of natural fibers, such as wool or alpaca, tend to have better drape. Avoid using bulky or stiff yarns, as they will not produce the desired slouchy effect.
Large Needle Size
Using larger needle sizes can help create a looser and more relaxed fabric, which is key in achieving the slouchy effect. Choose a needle size that is larger than what is recommended for the yarn you are using. This will result in larger stitches and a more open fabric, giving the hat a slouchy appearance.
Knit with Negative Ease
When knitting the hat, it is important to knit with negative ease. This means knitting the hat slightly smaller than the intended head circumference. The negative ease will cause the hat to stretch when worn, creating the slouchy effect. Be sure to consider the stretchiness of the yarn when calculating the negative ease.
Knit in a Loose Gauge
To further enhance the slouchy effect, knit the hat at a looser gauge than what is typically recommended for the yarn. This will result in larger stitches and a more relaxed fabric. It’s important to maintain an even tension while knitting to ensure an even slouchiness throughout the hat.
Adding Ribbing and Shaping
Adding ribbing to the brim of the hat can help create a snug fit around the head while still allowing for the slouchy effect. Incorporate ribbing by knitting a few inches in a rib stitch pattern, such as k1, p1 rib. Additionally, shaping the crown of the hat with decreases can help create a more pronounced slouchy look.
By using these techniques and design elements, you can create a beautiful slouchy hat that is both comfortable and fashionable. Experiment with different yarns, needle sizes, and stitch patterns to achieve the desired slouchy effect.
Shaping the Hat
Once you have completed the ribbing section of the hat, it’s time to start shaping the crown. This is where the hat begins to take its slouchy shape.
To shape the crown, you will need to decrease stitches evenly across the rounds. This will create the gathered effect at the top of the hat.
Step 1: Begin by knitting 2 stitches together. This is done by inserting your needle into the next two stitches as if to knit, and then knitting them together as one stitch. Repeat this decrease across the round until you have reached the desired number of stitches.
Step 2: After you have decreased the desired number of stitches, continue working in the round without further decreases until the hat measures the desired length. This is the slouchy part of the hat, so you can choose how long or short you want it to be.
By decreasing stitches evenly and continuing to knit in the round, you will create a slouchy hat with a gathered crown. This pattern is great for beginners and is a quick and easy project. Have fun knitting your own slouchy hat!
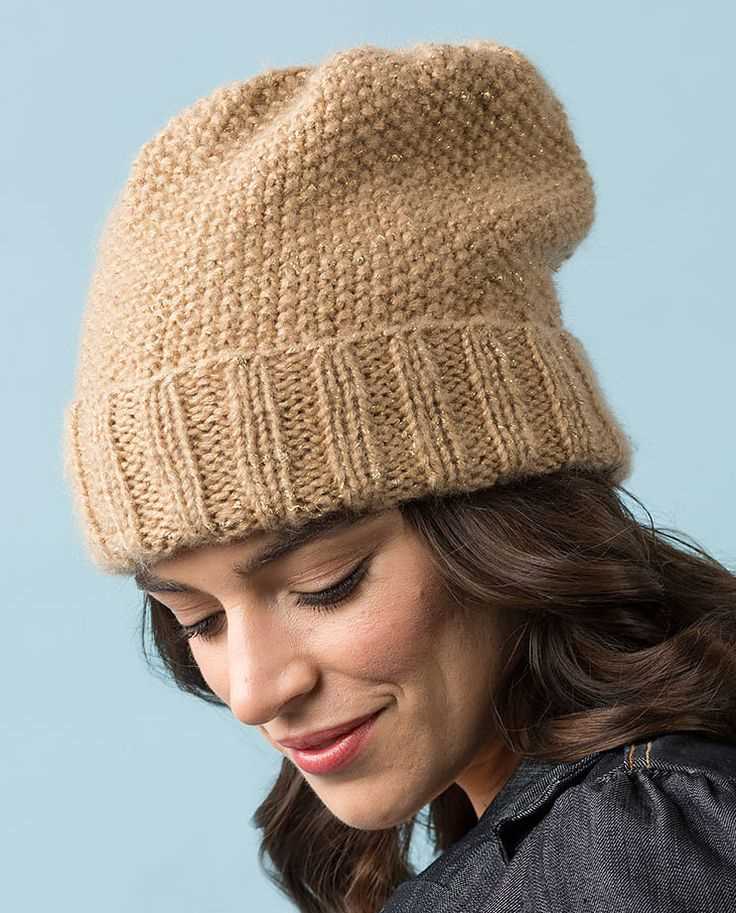
Adding a Ribbed Edge

Adding a ribbed edge to your slouchy hat can give it a more finished and polished look. It also helps to ensure that the hat stays securely on your head without slipping. Here are the steps to add a ribbed edge to your hat:
1. Choose your ribbing stitch: There are several options for ribbing stitches, but the most common ones are 1×1 ribbing and 2×2 ribbing. 1×1 ribbing alternates between knit and purl stitches, while 2×2 ribbing alternates between two knit stitches and two purl stitches. Choose the ribbing stitch that you prefer and will complement your overall hat design.
2. Determine the number of cast-on stitches: To add the ribbed edge, you will need to start with a specific number of cast-on stitches. This number will depend on the ribbing stitch you have chosen. For example, if you are doing a 1×1 ribbing, you will need to cast on an odd number of stitches. If you are doing a 2×2 ribbing, you will need to cast on a multiple of 4 stitches plus 2. Make sure to check a knitting chart or pattern that specifies the cast-on stitches for the ribbing stitch you have chosen.
3. Work the ribbing stitch for the desired length: Once you have cast on the appropriate number of stitches, you will begin working the ribbing stitch for the desired length of your slouchy hat’s edge. This length can vary depending on your personal preference, but a typical ribbing length is around 1 to 2 inches. Remember to keep the ribbing stitch pattern consistent as you work.
4. Transition to the main hat pattern: After you have completed the ribbing stitch for the desired length, you can transition to the main hat pattern. This usually involves switching to a different stitch pattern or increasing the number of stitches to create the slouchy effect. Follow the instructions for your specific hat pattern to continue knitting the body of the hat.
By adding a ribbed edge to your slouchy hat, you can elevate its style and add a professional touch. Experiment with different ribbing stitches and lengths to create a unique and customized hat design. Enjoy the process of knitting and showcasing your finished slouchy hat!
Finishing Touches
Once you have completed knitting your slouchy hat, it’s time to add the finishing touches to make it even more stylish and unique. Here are a few suggestions to consider:
1. Pom-pom:
Add a playful touch to your hat by attaching a colorful pom-pom on top. You can easily make one using yarn of your choice and a pom-pom maker. Simply attach it securely to the crown of the hat using a needle and thread.
2. Ribbed edge:
Enhance the overall look of your slouchy hat by adding a ribbed edge. This can be achieved by switching to a smaller needle size and knitting a few rows in a rib stitch pattern, such as k2, p2. This will give your hat a polished and structured finish.
3. Decorative buttons:
Add a touch of elegance to your slouchy hat by sewing on decorative buttons. Choose buttons that complement the color and style of your hat. You can sew them along the brim or create a decorative pattern on the body of the hat.
4. Embroidery:
Create a personalized design on your slouchy hat by adding embroidery. Use colorful yarn or embroidery floss to stitch your initials, a small motif, or a simple pattern. This will add a unique and artistic flair to your hat.
5. Hat band:
Add a trendy touch to your slouchy hat by attaching a hat band around the base. This can be done using a contrasting color of yarn, a strip of fabric, or a patterned ribbon. Secure it in place with a few stitches or by tying a small bow.
These finishing touches will elevate your slouchy hat from a basic knitted accessory to a stylish and personalized fashion statement. Get creative and have fun customizing your hat to reflect your unique sense of style.
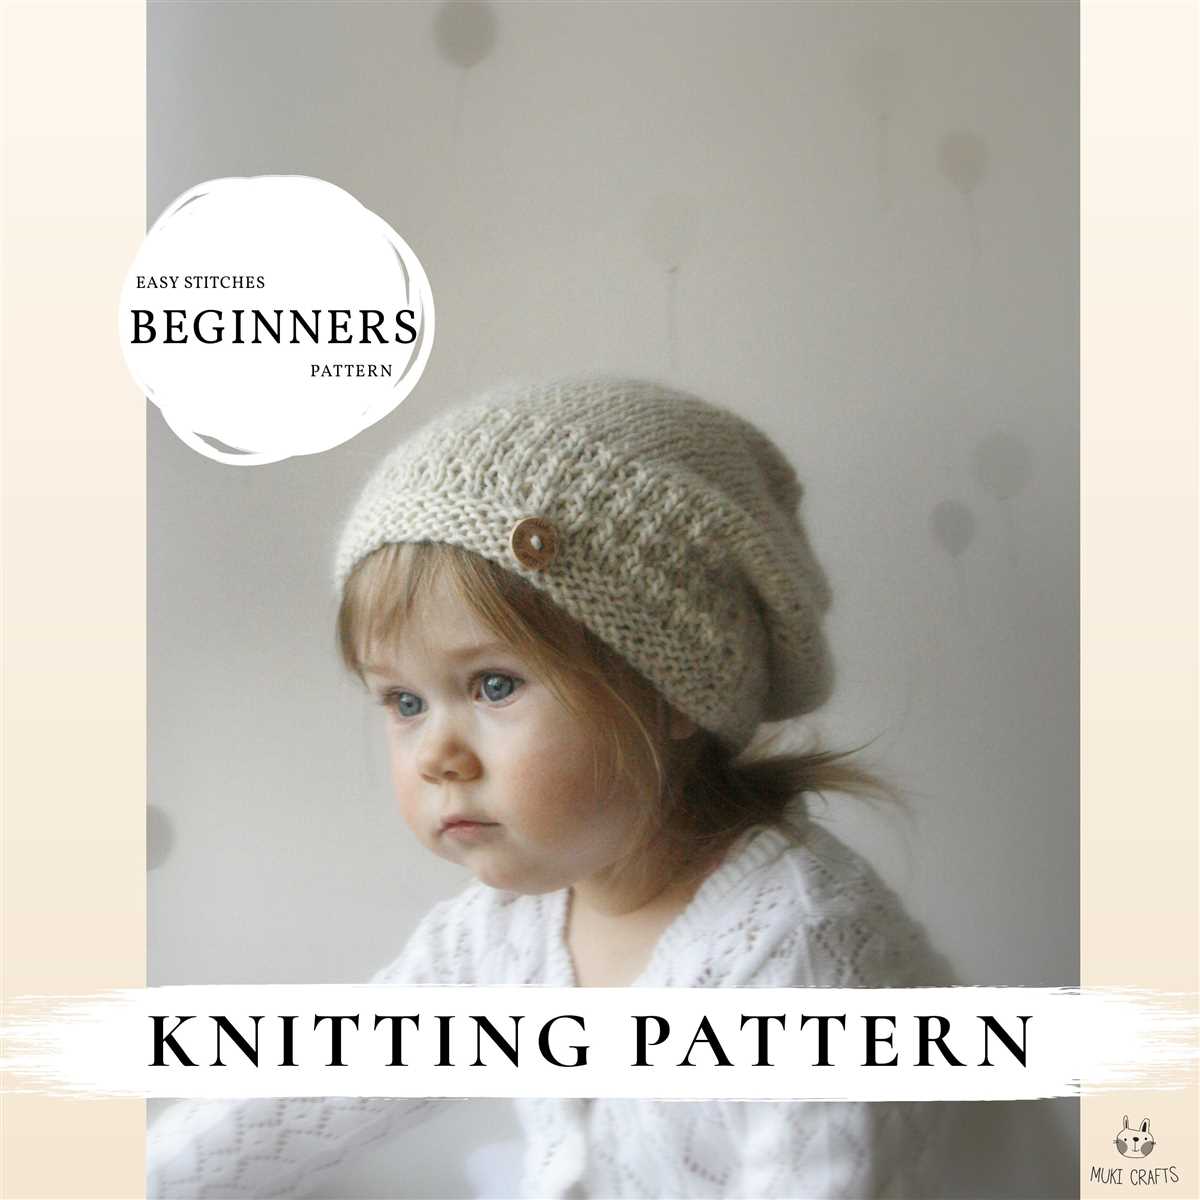
Tips and Variations
Knitting a slouchy hat can be a fun and creative project. Here are some tips and variations to help you customize your hat:
Tips:
- When choosing yarn, opt for a soft and cozy material like acrylic or wool blend for extra warmth.
- Always check your gauge before starting the project to ensure that the hat will fit properly.
- Use circular needles instead of straight needles to easily knit in the round and eliminate the need for sewing seams.
- Consider adding a ribbed band at the bottom of the hat for a snug fit and added stretch.
- If you want a slouchier look, knit the hat longer than instructed in the pattern.
- Experiment with different stitch patterns or color combinations to create unique designs.
Variations:
If you want to customize your slouchy hat, here are a few ideas:
- Add a pom-pom to the top of the hat for a playful and stylish touch.
- Incorporate stripes or color blocks in the hat by alternating different colors of yarn.
- Create a cozy and textured hat by using a chunky or bulky weight yarn.
- Add a decorative pattern such as cables, lace, or a fair isle design.
- Personalize your hat by sewing on buttons, beads, or patches for a unique embellishment.
With these tips and variations, you can create a knitted slouchy hat that is not only stylish but also fits your personal taste and style. Enjoy the process of knitting and have fun experimenting with different techniques and designs!
Q&A:
What is a slouchy hat?
A slouchy hat is a type of hat that is designed to be worn loosely on the head, creating a relaxed and casual look. It usually has a more relaxed fit than a traditional beanie or beret and has excess fabric that slouches at the back.
How do I make a slouchy hat?
To make a slouchy hat, you will need a set of knitting needles and some yarn. Start by casting on the desired number of stitches, usually about 80-100 stitches for an adult-sized hat. Then, knit in the round using a basic stitch pattern, such as stockinette or ribbing, until the hat reaches the desired length. Finally, bind off the stitches and weave in any loose ends. Add a pom-pom or other embellishments if desired.
What kind of yarn should I use for a slouchy hat?
You can use any type of yarn for a slouchy hat, depending on the look and feel you want to achieve. For a more relaxed and drapey hat, choose a lightweight yarn with good drape, such as cotton or bamboo. For a warmer and cozier hat, choose a thicker yarn, such as wool or acrylic. You can also experiment with different textures and colors to add variety to your slouchy hat collection.
Can I customize the slouchy hat pattern?
Yes, you can customize the slouchy hat pattern to suit your preferences. You can adjust the size by casting on more or fewer stitches, or by using different needle sizes. You can also modify the stitch pattern, add stripes or colorwork, or incorporate different types of decreases to create unique designs. Feel free to get creative and make the pattern your own!
Are slouchy hats suitable for beginners?
Yes, slouchy hats can be suitable for beginners, especially if you choose a simple stitch pattern and use basic knitting techniques. The basic construction of a slouchy hat is similar to that of a beanie or a cowl, and there are many beginner-friendly patterns available online. However, it’s always a good idea to practice basic knitting skills before attempting larger projects like hats.