
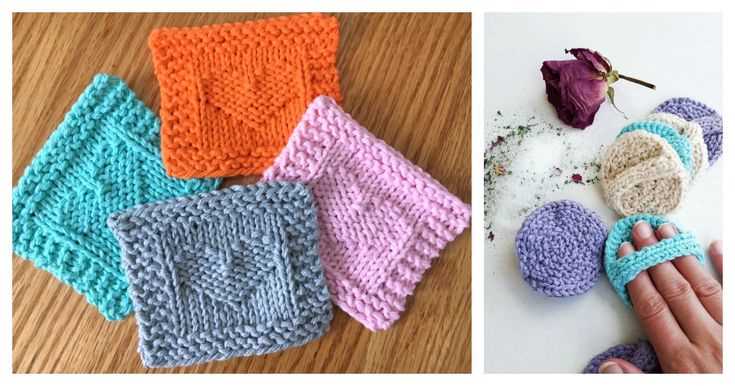
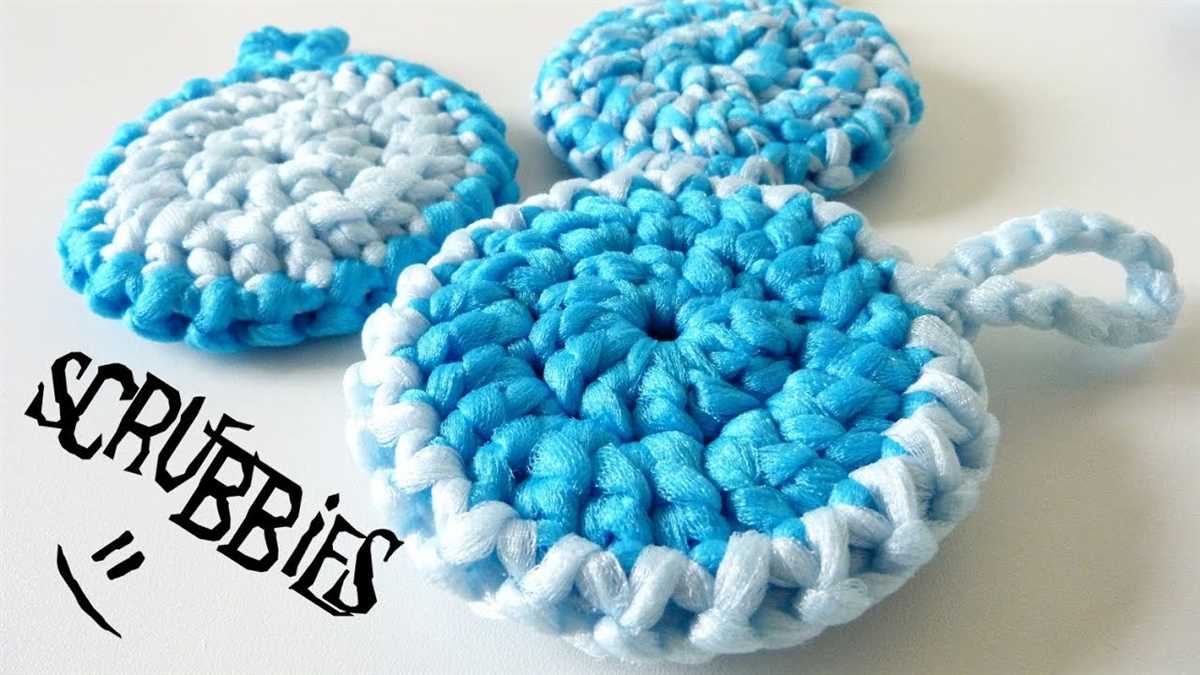
If you are looking for a quick and easy knitting project, look no further than this easy knit scrubby pattern. Scrubbies are a must-have for any kitchen, as they are perfect for scrubbing dishes, pots, and pans. They are also great for exfoliating your skin in the shower. Plus, they make great gifts!
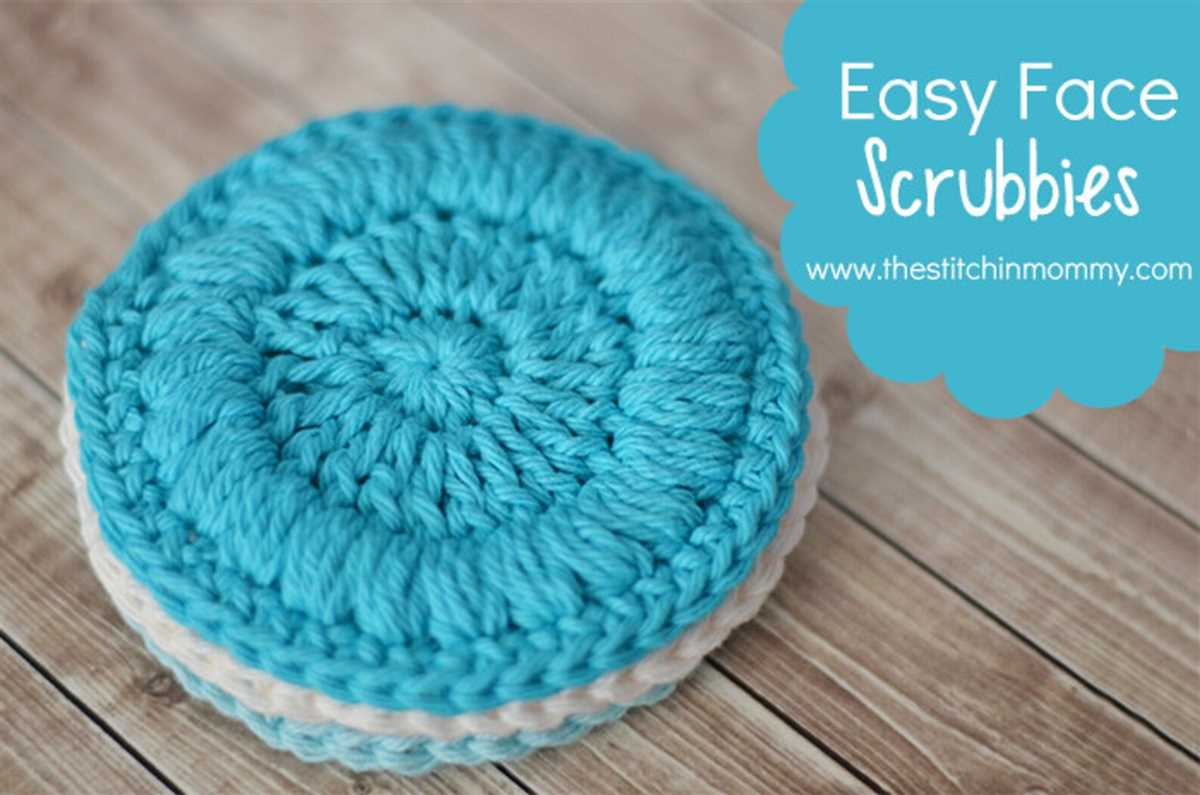
This pattern is perfect for beginners, as it only requires basic knitting skills. All you need is some cotton yarn and a pair of knitting needles. The finished scrubby will measure approximately 4 inches in diameter, making it the ideal size for most hands.
To get started, simply cast on 36 stitches. Then, knit every row until your work measures 2 inches. Next, knit 2 stitches together across the row. Repeat this process until you have just 3 stitches left on your needle. Finally, knit these 3 stitches together and bind off.
Once you have finished knitting, simply weave in any loose ends and your scrubby is ready to use! If you want to get creative, you can experiment with different colors and patterns. You can also add a hanging loop by sewing a small piece of ribbon or yarn to the edge of your scrubby.
This easy knit scrubby pattern is a great way to improve your knitting skills while creating a practical and useful item. Plus, it’s a quick project that can be completed in just a few hours. So, grab your knitting needles and get started on your first scrubby today!
Overview
The easy knit scrubby pattern is a simple and practical knitting project that is perfect for beginners. With just a few basic knitting skills, you can create your own set of scrubby dishcloths that are great for cleaning dishes, countertops, and other surfaces.
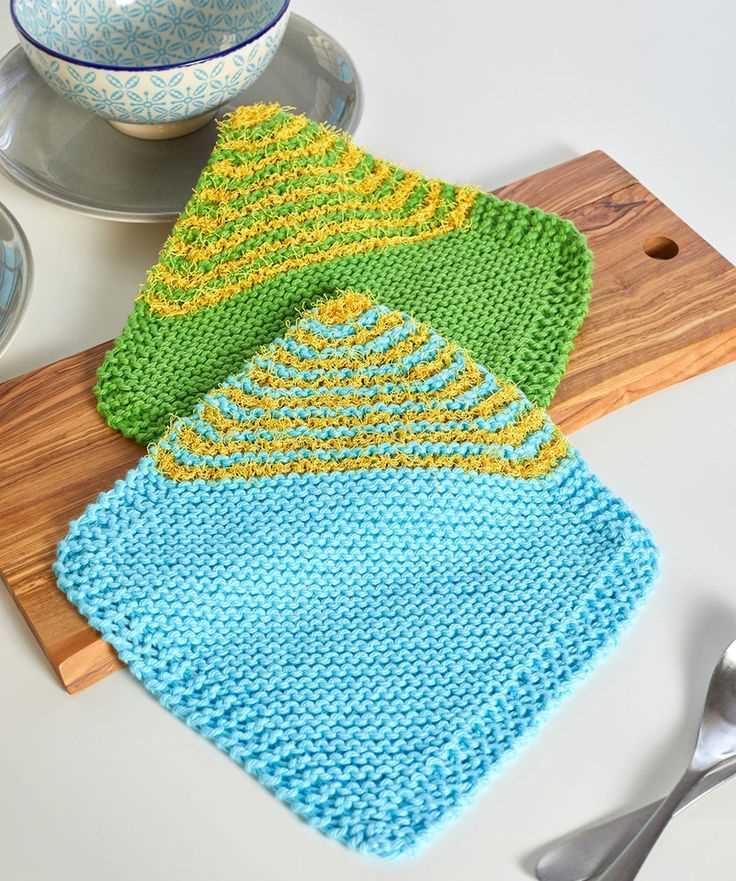
This pattern uses a combination of knit and purl stitches to create a textured fabric that is both effective at scrubbing and gentle on dishes. The scrubby dishcloths are made from 100% cotton yarn, which is not only durable but also absorbent.
To get started, you will need a pair of knitting needles, size 7, and some worsted weight cotton yarn. The pattern consists of casting on a specific number of stitches, knitting and purling in a specific pattern, and binding off at the end. The finished size of the scrubby dishcloth is approximately 7 inches by 7 inches.
This pattern is perfect for beginners because it is easy to follow and requires only basic knitting skills. Even if you have never picked up knitting needles before, you can quickly learn the necessary techniques and create a set of useful and beautiful scrubby dishcloths.
Materials:
- Size 7 knitting needles
- Worsted weight cotton yarn
Instructions:
- Cast on 36 stitches.
- Row 1: *Knit 1, purl 1; repeat from * to end of row.
- Row 2: *Purl 1, knit 1; repeat from * to end of row.
- Repeat rows 1 and 2 until the dishcloth measures approximately 7 inches in length.
- Bind off all stitches.
- Weave in any loose ends.
- Congratulations on completing your easy knit scrubby dishcloth!
These scrubby dishcloths not only make great additions to your kitchen cleaning routine but also make wonderful homemade gifts. You can customize them by using different colors of yarn or adding a decorative border. So grab your knitting needles and start creating your very own set of easy knit scrubby dishcloths today!
Materials
In order to make the easy knit scrubby pattern, you will need a few materials. Here is a list of the necessary items:
- Knitting needles: You will need a pair of knitting needles. The size will depend on your personal preference and the type of yarn you are using. It is recommended to use a size US 7 or 8 knitting needle for this project.
- Cotton yarn: You will need cotton yarn in order to create the scrubby. Cotton yarn is a great choice as it is durable and can be easily washed. Choose a yarn in a color of your choice.
- Tapestry needle: A tapestry needle is needed for weaving in the ends of the yarn and finishing the project.
- Scissors: A pair of scissors will be necessary for cutting the yarn.
With these materials on hand, you will be ready to start knitting your scrubby. Make sure to gather everything before you begin, so that you have everything you need to complete the project smoothly.
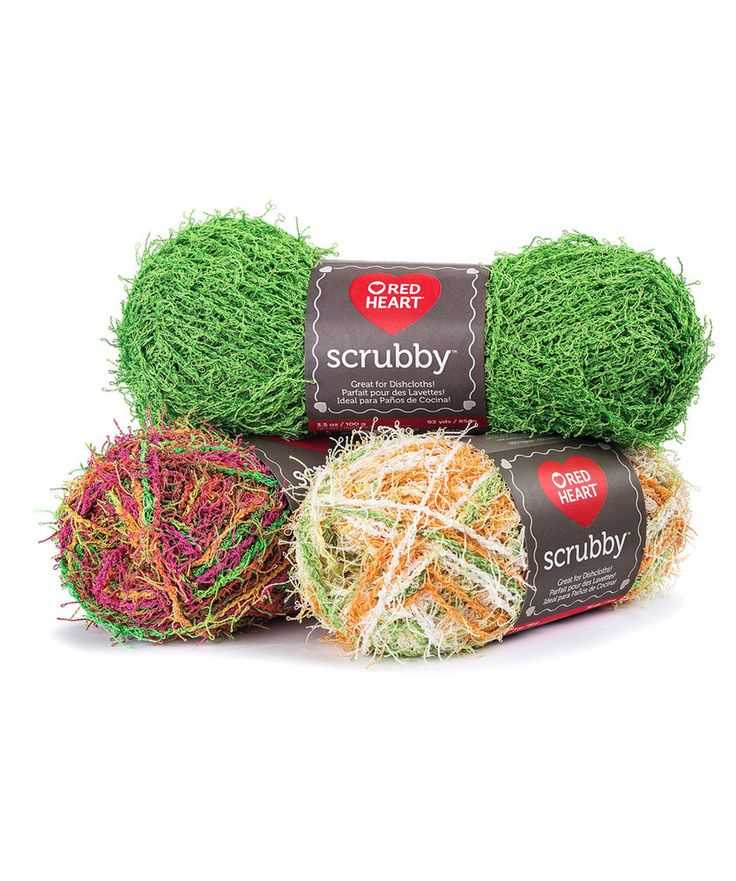
Choosing your yarn
When it comes to choosing the right yarn for your easy knit scrubby project, there are a few factors to consider. The type of yarn you choose will affect the texture, durability, and ease of use of your scrubby.
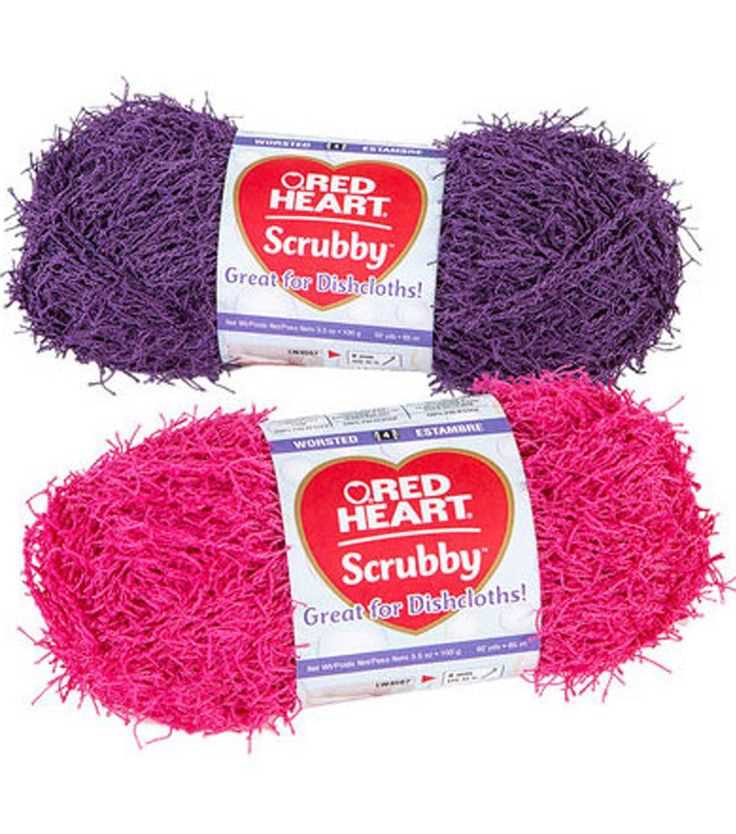
Fiber content: The most common types of yarn for scrubby projects are cotton and acrylic. Cotton is a natural fiber that is absorbent and soft, making it great for scrubbing. Acrylic yarn is durable and easy to care for.
Texture: The texture of the yarn is also an important consideration. Scrubbies need to have enough texture to effectively clean, so look for yarns with a slightly rough or textured feel. Variegated or self-striping yarns can add visual interest to your scrubby.
Weight: The weight of the yarn will determine the thickness of your scrubby. Worsted weight yarn is a popular choice for scrubbies as it is versatile and easy to work with. However, you can also experiment with different weights to achieve the desired texture and thickness.
Color: While color may not affect the functionality of your scrubby, it can add a touch of personalization. Bright colors or multi-colored yarns can make your scrubby more visually appealing.
Washability: Lastly, consider the washability of the yarn. Scrubbies will need to be cleaned regularly, so choose a yarn that can withstand frequent washing and drying without losing its shape or texture.
- Consider the fiber content, texture, weight, color, and washability when choosing your yarn for an easy knit scrubby project.
- Cotton and acrylic are popular choices for their absorbency and durability.
- Look for yarns with a slightly rough or textured feel for effective scrubbing.
- Worsted weight yarn is commonly used, but you can experiment with different weights for desired thickness.
- Choose a color that adds visual appeal to your scrubby.
- Make sure the yarn is washable for easy maintenance.
Getting Started
If you’re new to knitting or looking for a quick and easy project, this easy knit scrubby pattern is perfect for you. With just a few basic supplies, you’ll be able to create your own practical and functional scrubby in no time.
To get started, you’ll need the following materials:
- Yarn: Choose a 100% cotton yarn in your preferred color. This type of yarn is ideal for making scrubby as it is durable and easy to clean.
- Knitting Needles: Use a pair of size 8 (5mm) knitting needles. These are a versatile size and will work well for this project.
- Scissors: You’ll need a pair of sharp scissors to cut the yarn.
- Tapestry Needle: This needle will be used to weave in the loose ends of the yarn and finish off your scrubby.
Once you have gathered all your supplies, you can begin to cast on your stitches. The pattern suggests casting on 30 stitches, but you can adjust the number to make a larger or smaller scrubby if desired.
Continue with the pattern instructions, which include basic knit and purl stitches, until you have reached the desired length for your scrubby. The pattern is easy to follow and is suitable for beginners.
Once you have finished knitting your scrubby, bind off your stitches and then weave in the loose ends using a tapestry needle. Trim any excess yarn with scissors.
Now you have your very own easy knit scrubby that can be used in the kitchen, bathroom, or for any other cleaning needs. These scrubbies also make great gifts and can be easily customized with different colors or patterns.
Row 1: Knitting the base
In this easy knit scrubby pattern, the first row is all about creating the base for your scrubby. To start, you will need to cast on a specific number of stitches, which will depend on the size of scrubby you want to make. The pattern will usually provide you with the exact number of stitches to cast on.
Once you have cast on, you will start knitting each stitch across the row. This means inserting your knitting needle into the first stitch on your left-hand needle, then wrapping the yarn around the needle and pulling it through to create a new stitch on your right-hand needle. Repeat this process for each stitch until you reach the end of the row.
As you knit each stitch, make sure to keep your tension even to ensure that the base of your scrubby is flat and doesn’t have any uneven areas. This will give your scrubby a uniform appearance and make it easier to use.
After finishing the first row, you can continue with the remaining rows of the pattern to create the entire scrubby. The base you have just knitted will serve as the foundation for the rest of the scrubby and will provide the structure and stability needed for effective cleaning.
If you’re new to knitting, this pattern is a great way to practice your basic knitting skills and create a useful and practical item at the same time. And if you’re an experienced knitter, this pattern offers a quick and satisfying project that you can easily complete in no time.
Adding Texture
Once you have completed the first row of your easy knit scrubby pattern, it’s time to start adding texture to your project. This will enhance the scrubbing power and make it more effective for cleaning.
To add texture, you will need to repeat rows 2-5 of the pattern. These rows utilize different knitting techniques and stitches to create a raised, textured surface. It’s a simple but effective way to make your scrubby more versatile and practical.
Row 2:
In row 2, you will purl all stitches. Purling is the reverse of knitting and creates a bumpy texture. This will add grip to your scrubby, making it easier to hold onto and use.
Row 3:
For row 3, you will knit 2 stitches together, then yarn over. This combination creates an eyelet pattern, which adds visual interest and allows water to flow through the scrubby more easily. This helps with rinsing and cleaning.
Row 4:
Row 4 is a repeat of row 2. By purling all stitches again, you are building on the bumpy texture created in row 2. This will further enhance the scrubbing power of your finished product.
Row 5:
In row 5, you will knit 1 stitch, then yarn over and knit 2 stitches together. This stitch combination creates a raised pattern that adds even more texture and grip to your scrubby. It’s perfect for tackling tough messes and getting a deep clean.
By repeating these rows, you are creating a scrubby that not only looks great but also performs excellently. The added texture will make cleaning easier and more effective, making this easy knit scrubby pattern a practical choice for all your cleaning needs.
Rows 6-10: Shaping the scrubby
In rows 6-10 of this easy knit scrubby pattern, you will be shaping the scrubby to create a rounded, textured surface that is perfect for scrubbing and exfoliating. This shaping process involves increasing and decreasing stitches to create a unique pattern and texture.
To begin shaping the scrubby, you will start by increasing stitches. This is done by knitting or purling into the front and back of certain stitches, effectively doubling the number of stitches on your needle. This increase in stitches will create the rounded shape of the scrubby.
After the initial increase rows, you will then begin decreasing stitches to further shape the scrubby. Decreasing is done by knitting or purling two stitches together, effectively reducing the number of stitches on your needle. This decrease in stitches will create more texture and help to define the shape of the scrubby.
Throughout this shaping process, it’s important to keep track of your stitch count and follow the pattern instructions carefully. Pay attention to any specific stitch combinations or repeats that may be required. This will ensure that your scrubby turns out correctly and maintains its shape.
By the end of rows 6-10, you should start to see your scrubby taking shape. The textured surface created by the increases and decreases will provide the perfect amount of scrubbing power for all of your cleaning needs. So keep knitting and enjoy the process of shaping your very own handmade scrubby!
Finishing touches

Once you have completed knitting your scrubby, it’s time to add some finishing touches to make it extra special. Here are a few ideas to consider:
1. Block your scrubby: Blocking is a process that helps to shape and even out your knitted piece. It involves gently stretching the fabric and pinning it in place to dry. Blocking can give your scrubby a more professional and polished look.
2. Add a decorative edge: To give your scrubby a decorative touch, you can knit a contrasting border along the edges. This can be done by picking up stitches along the sides and knitting a few rows in a different color or pattern.
3. Embellish with buttons or beads: If you want to add a bit of flair to your scrubby, consider sewing on some buttons or beads. These small embellishments can add a pop of color and texture to your finished piece.
4. Personalize with embroidery: If you’re feeling crafty, you can personalize your scrubby with embroidery. You can stitch your initials, a simple design, or even a cute phrase onto the fabric. This adds a personalized touch and makes your scrubby unique.
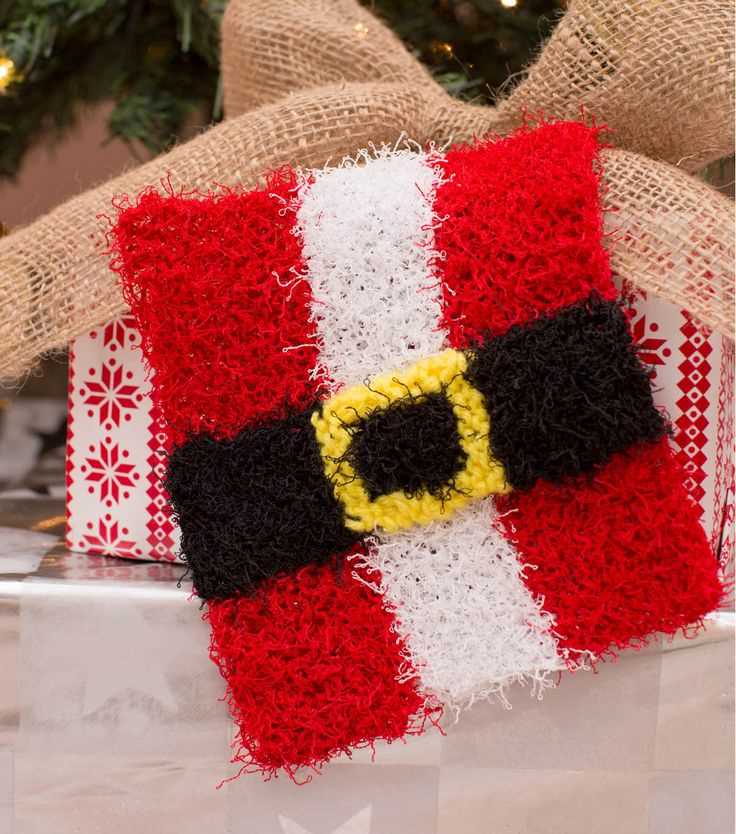
5. Package it with care: If you plan on giving your scrubby as a gift, consider packaging it in a thoughtful way. You can wrap it in tissue paper and tie it with a ribbon, or place it in a small gift bag. Adding a handwritten note or tag can also make the recipient feel extra special.
Tips and Tricks
When making easy knit scrubbies, there are a few tips and tricks that can help you achieve the best results. Here are some helpful pointers to keep in mind:
- Choose the right yarn: Select a sturdy yarn that is suitable for exfoliating and cleaning. Cotton yarn or scrubby yarn works best for this project.
- Use the right needle size: Depending on the thickness of your yarn, use a needle size that will create a tight, dense fabric. This will help the scrubby last longer and maintain its shape.
- Hold the yarn tightly: When knitting, make sure to hold the yarn tightly to create a sturdy fabric. This will prevent the scrubby from unraveling or falling apart during use.
- Consider adding a loop: To make the scrubby more functional, you can add a loop at one end. This will allow you to hang the scrubby to dry or store it easily.
- Pay attention to gauge: Check your gauge before starting the project to ensure that your scrubby will be the right size. Adjust your needle size if necessary.
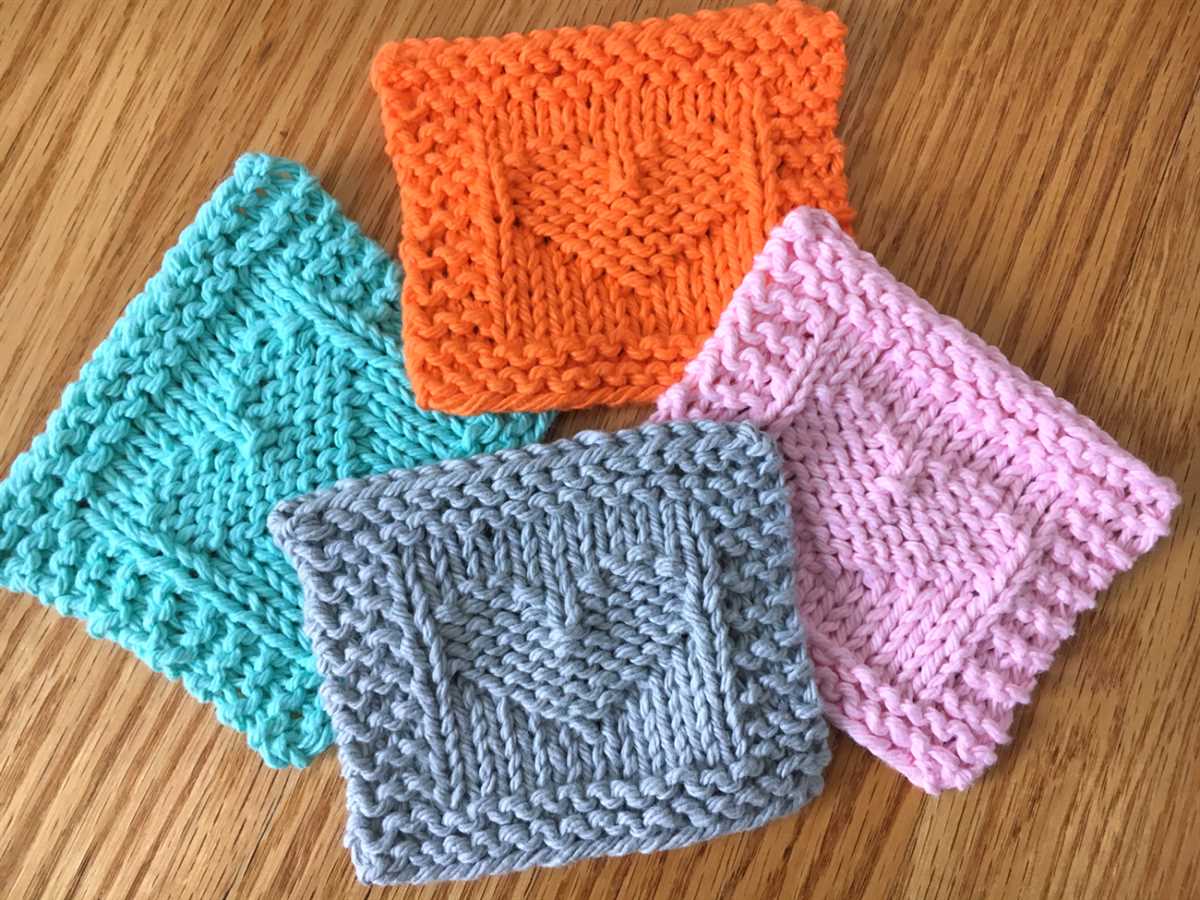
- Experiment with stitch patterns: While the basic pattern is simple, you can add interest to your scrubby by experimenting with different stitch patterns. Try adding stripes, texture, or lace motifs for a unique look.
- Wash and dry properly: After using your scrubby, make sure to wash it thoroughly to remove any residue. Dry it in a well-ventilated area to prevent mildew or odors.
By following these tips and tricks, you can create beautiful and functional easy knit scrubbies that will make cleaning a breeze. Whether you’re making them for yourself or as gifts, these scrubbies are sure to be a hit!