
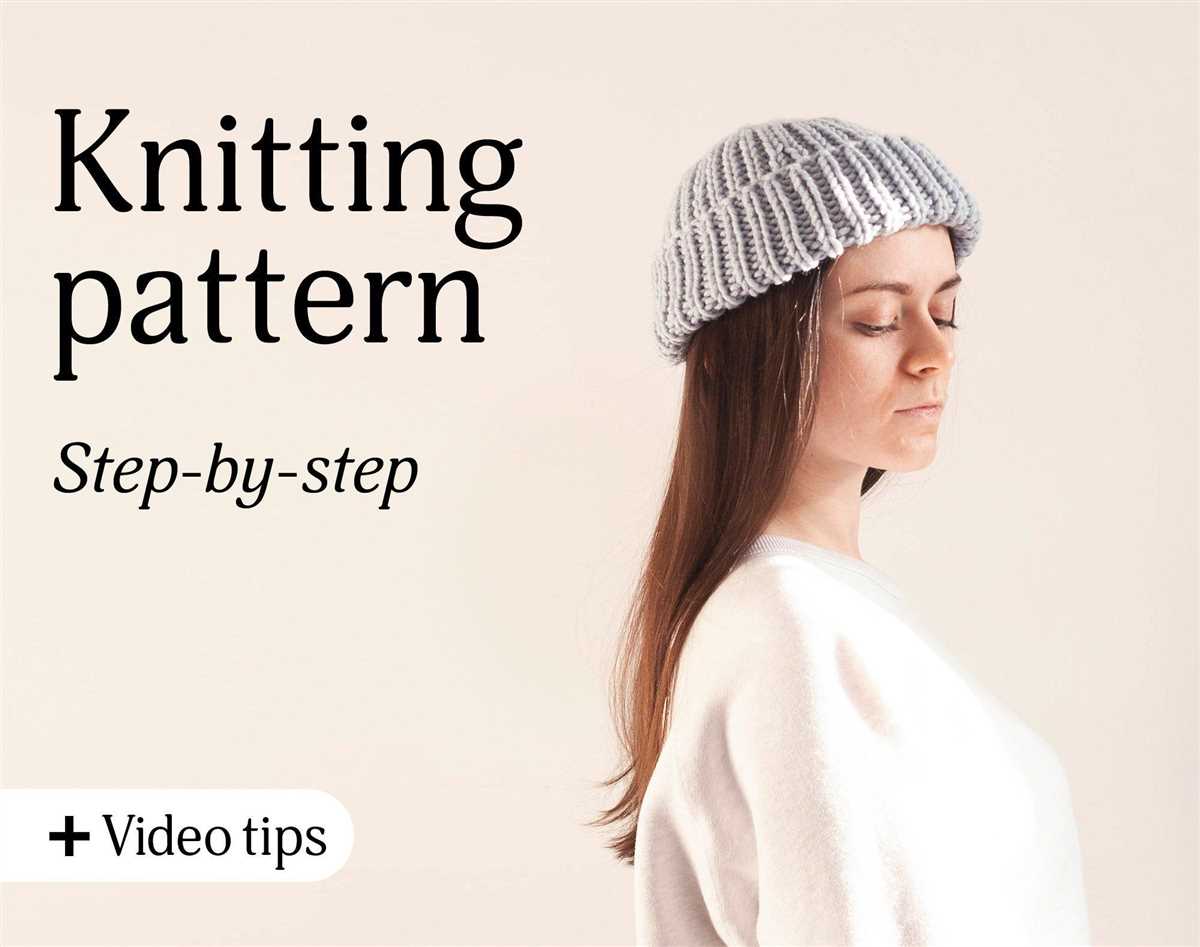
Are you looking to add some warmth and style to your winter wardrobe? Look no further than this easy knit beanie pattern. Whether you’re a beginner or an experienced knitter, this pattern is perfect for anyone looking to create a cozy and fashionable accessory.
This pattern is designed with simplicity in mind, making it a great project for those who are new to knitting. The basic knit stitch is used throughout, and the pattern includes detailed instructions and helpful tips to guide you every step of the way. With just a few hours of work, you’ll have a stylish beanie that’s ready to wear or gift to a loved one.
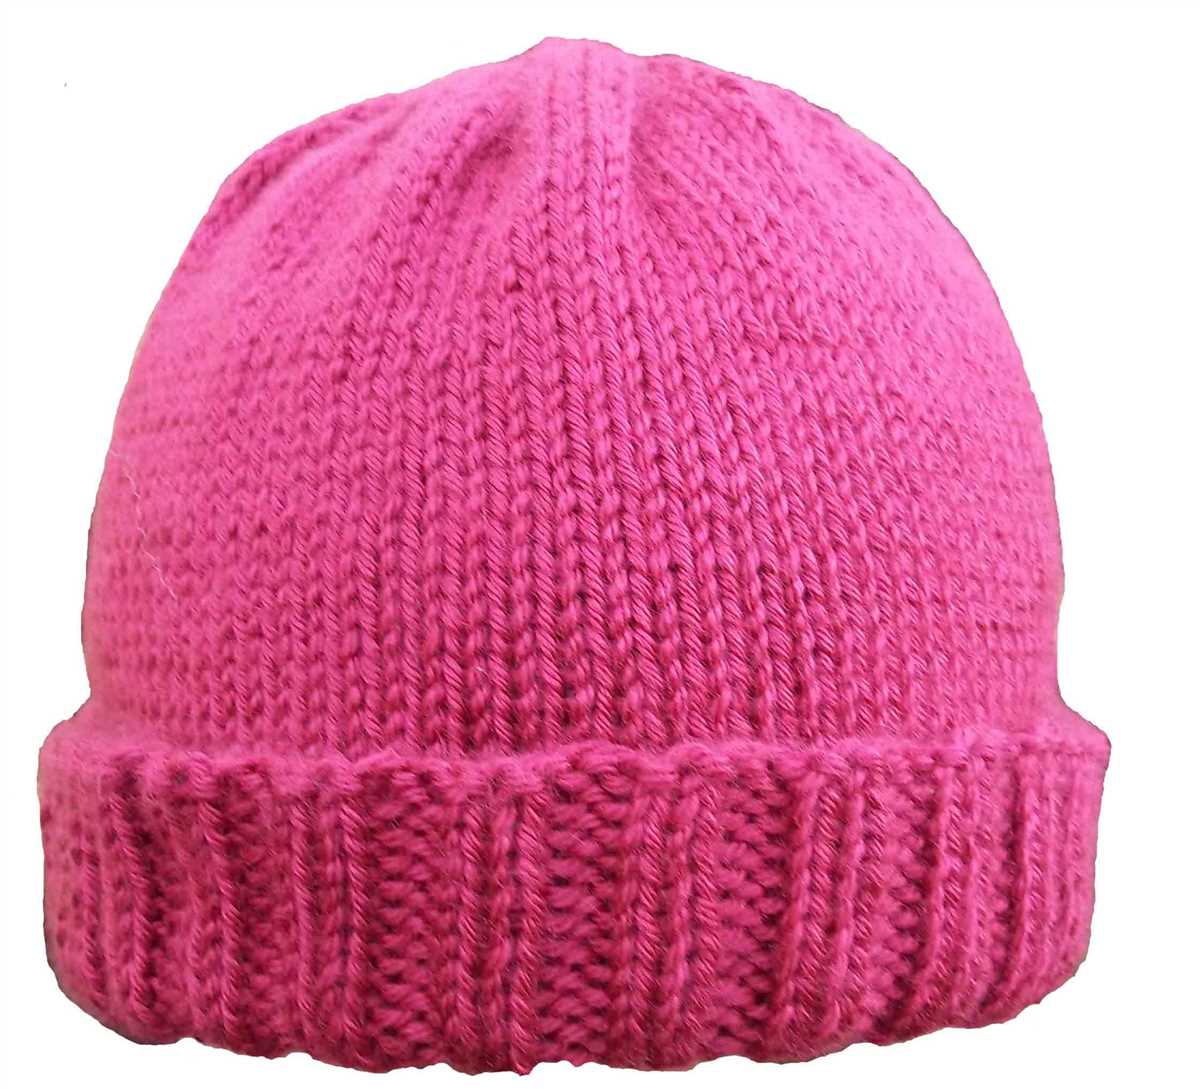
The best part about this pattern is the versatility it offers. By choosing different yarn colors and embellishments, you can customize your beanie to match your personal style and wardrobe. From soft pastels to bold and bright hues, the options are endless. So grab your needles, pick your favorite yarn, and let’s get started on creating a cozy and fashionable knit beanie!
The Perfect Easy Knit Beanie Pattern
If you’re new to knitting or just looking for a quick and easy project, look no further than the perfect easy knit beanie pattern. With just a few basic stitches and some yarn, you can create a cozy and stylish hat that is perfect for colder weather.
This pattern is ideal for beginners because it uses basic knit and purl stitches, making it easy to follow along even if you’re new to knitting. The pattern also includes detailed instructions and helpful tips to ensure that you can create a beautifully finished hat.
Materials:
- Worsted weight yarn in the color of your choice
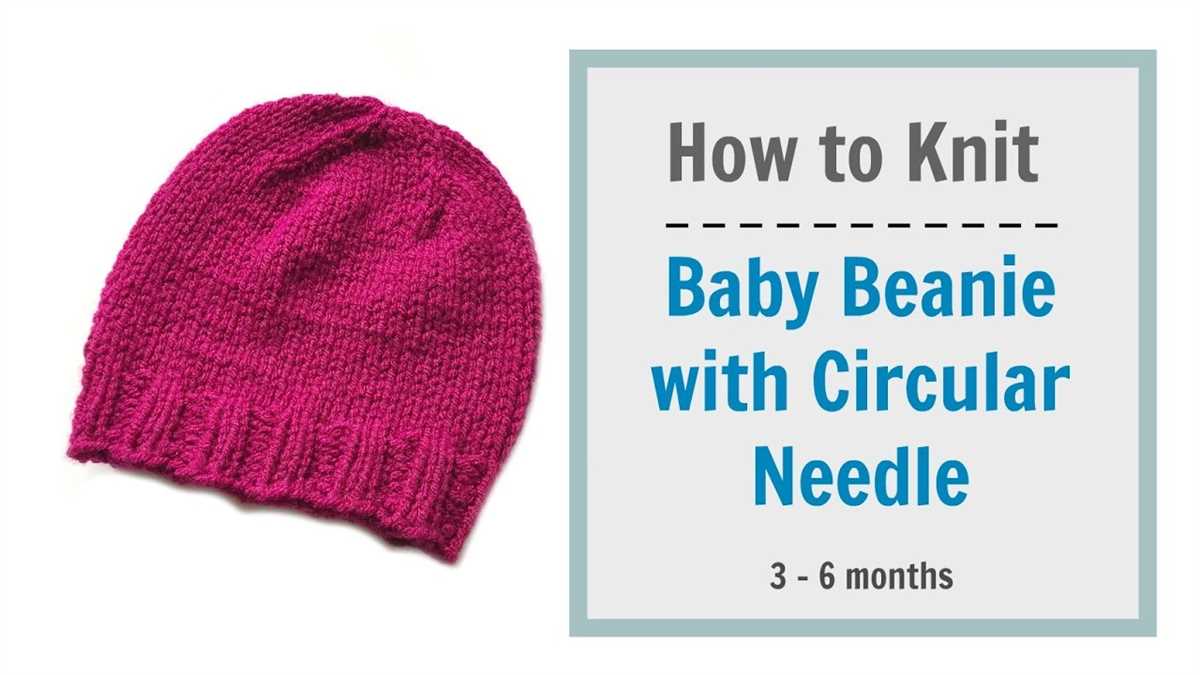
- Circular knitting needles in size 8 (5mm)
- Double-pointed knitting needles in size 8 (5mm)
- Tapestry needle for weaving in ends
Instructions:
- Cast on 80 stitches using the circular knitting needles.
- Join the round and place a stitch marker to mark the beginning of the round.
- Knit 2, purl 2 in a rib stitch pattern for 2 inches.
- Switch to stockinette stitch (knit every round) and continue knitting until the hat measures 8 inches from the cast-on edge.
- Begin decreases: Knit 8, knit 2 together, repeat to end of round.
- Knit every round for the next 2 rounds.
- Knit 7, knit 2 together, repeat to end of round.
- Knit every round for the next round.
- Continue in this pattern, decreasing 1 stitch before the knit 2 together section each time, until you have 8 stitches left.
- Break yarn, leaving a long tail. Thread the tail through the tapestry needle, and slip the needle through the remaining stitches, removing them from the knitting needle.
- Pull the tail tight to close the top of the hat and secure with a knot.
- Weave in any remaining ends.
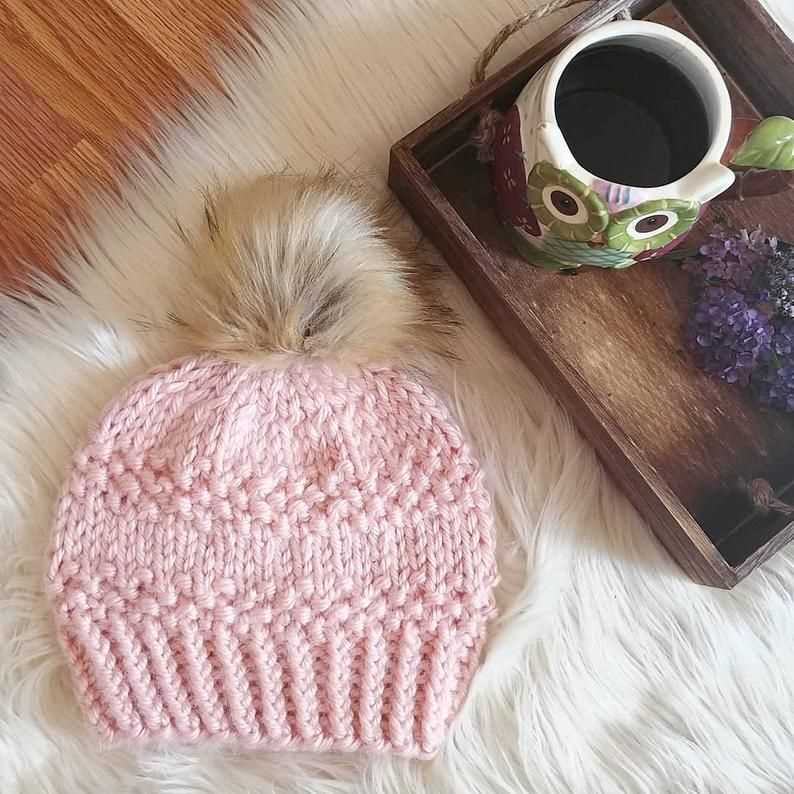
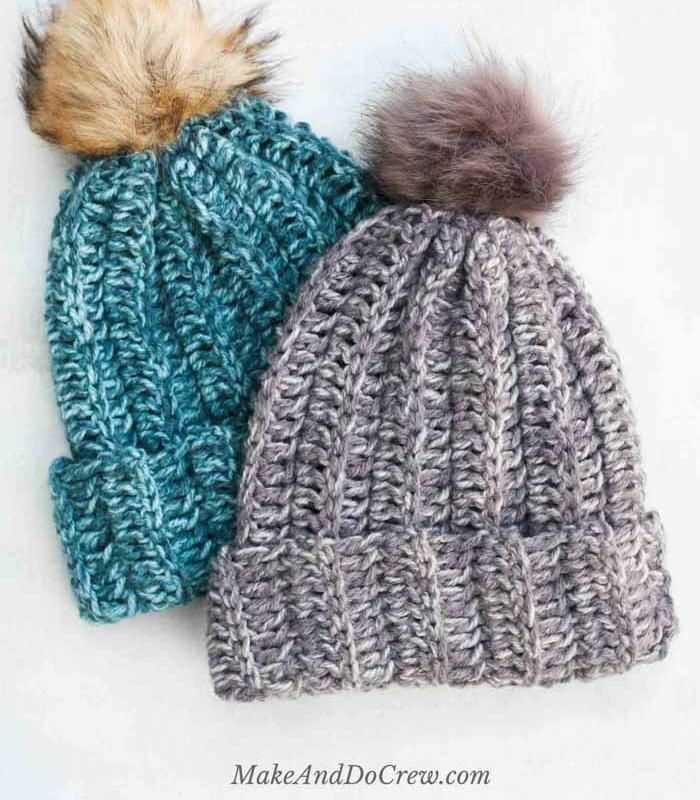
Once you’ve finished knitting your beanie, you can customize it by adding a pom-pom on top or by choosing a contrasting color for the ribbing. This versatile pattern allows you to create a hat that matches your personal style and keeps you warm all winter long.
Materials You’ll Need
Before you start knitting your own beanie, make sure you have all the necessary materials. Here is a list of items you’ll need:
- Yarn: Choose a soft and warm yarn in the color of your choice. Worsted weight or chunky yarns are recommended for this project.
- Knitting Needles: You’ll need a pair of knitting needles in the appropriate size for your chosen yarn. Circular or double-pointed needles can be used, depending on your personal preference.
- Tape Measure: A tape measure or ruler will be helpful for measuring your knitting gauge and determining the correct size for your beanie.
- Stitch Markers: These small plastic or metal rings will help you keep track of your stitches and rounds as you knit.
- Yarn Needle: A yarn needle with a large eye will be used for sewing in loose ends and finishing your beanie.
- Scissors: A pair of sharp scissors is essential for cutting the yarn and trimming any excess.
Once you have gathered all of these materials, you’ll be ready to start knitting your cozy and stylish beanie!
Choosing the Right Yarn
When it comes to knitting a beanie, choosing the right yarn is crucial for the success of your project. The yarn you choose will affect the overall look and feel of the beanie, as well as its warmth and durability. There are a few factors to consider when selecting yarn for your project.
Yarn Weight
Yarn comes in different weights, ranging from lace to super bulky. The weight of the yarn will determine the thickness and drape of the finished beanie. For a chunky and warm beanie, opt for a bulky or super bulky yarn. If you prefer a more lightweight and delicate beanie, lace or fingering weight yarn would be a better choice. Consider the desired look and feel of your beanie when deciding on the yarn weight.
Fiber Content
The fiber content of the yarn will also affect the final product. Wool yarn is a popular choice for beanies as it is warm, breathable, and provides good insulation. Alpaca yarn is another option that offers warmth and softness. If you prefer a vegan or animal-free option, you can choose from a variety of synthetic or plant-based yarns, such as acrylic or cotton. Consider the properties and benefits of different fiber types when selecting your yarn.
Color and Texture
The color and texture of the yarn can contribute to the overall look and style of the beanie. Solid-colored yarns are versatile and can highlight the stitch pattern or design of the beanie. Variegated or self-striping yarns can add visual interest and create unique patterns. Additionally, the texture of the yarn, such as smooth, fuzzy, or textured, can enhance the beanie’s appearance. Consider the color and texture that will complement your style and preferred aesthetic.
Budget and Availability
Lastly, consider your budget and the availability of the yarn. Yarn can range in price, depending on the brand, fiber content, and quality. It’s important to find a balance between your desired yarn and your budget. Additionally, check the availability of the yarn at your local yarn store or online. Some yarns may be harder to find or may require ordering in advance. Consider your budget and accessibility when selecting the yarn for your beanie project.
By considering these factors, you can choose the right yarn for your easy knit beanie pattern. Whether you prioritize warmth, style, or budget, finding the perfect yarn will ensure a successful and enjoyable knitting project.
Selecting the Right Needles

When it comes to knitting a beanie, selecting the right needles can make a big difference in your project’s outcome. The size and material of the needles can affect the overall fit and texture of your finished hat. It’s important to consider these factors before you start your knitting journey.
Size:
The size of the needles determines the gauge of your knitting. For a beanie, you’ll typically want to use smaller needles for a tighter knit. The recommended needle size can usually be found on the yarn label or in the pattern you’re using. If you’re unsure, it’s always best to do a gauge swatch to ensure you’re getting the correct size.
Material:
The material of the needles can also impact the final result. Metal needles are popular for their durability and smoothness, which can make knitting easier and faster. However, they can also be slippery, so if you’re a beginner or prefer a more controlled knitting experience, you may want to opt for bamboo or wooden needles. These materials provide a bit more grip and can help prevent stitches from slipping off the needles.
Ultimately, the right needle choice will depend on your personal preference and the desired outcome of your beanie. Experiment with different sizes and materials to find what works best for you and the project at hand. Happy knitting!
Casting On
When starting your easy knit beanie, the first step is to cast on. Casting on is the process of creating the stitches on your knitting needle that will form the foundation of your beanie. To cast on, you will need a pair of knitting needles and your chosen yarn.
One common method of casting on is the long-tail cast on. To do this, first, you will need to estimate the amount of yarn you will need for your cast on. Start by making a slipknot about 8 inches from the end of the yarn. Then, place the slipknot on one of the knitting needles and hold the needle in your right hand. Take the tail end of the yarn and hold it in your left hand, then wrap the yarn around your left thumb and hold it there.
With the yarn held on your left thumb, insert the knitting needle into the loop of the slipknot on your right hand needle. With your right hand needle, go under the strand of yarn that is hanging down from your left thumb, and bring it up and over the tip of the right-hand needle. At this point, the loop on your thumb will have formed a new stitch on the right-hand needle. Repeat this process until you have cast on the desired number of stitches.
Knitting the Body of the Beanie
Once you have completed the ribbing for the brim of your beanie, it’s time to start knitting the body. With your chosen knitting needles, continue working in the round. You can use a circular needle or double-pointed needles, depending on your personal preference.
The body of the beanie is where you can get creative with different stitch patterns or keep it simple with a basic stockinette stitch. For beginners, I recommend sticking with the stockinette stitch as it is easy to knit and gives a smooth, classic look.
To knit the body in a stockinette stitch, simply knit every round. This will create a fabric that has a smooth, flat right side and a bumpy wrong side. Make sure to keep track of your rounds by using a stitch marker or a piece of scrap yarn. This will help you count your rounds and ensure that your beanie has the desired length.
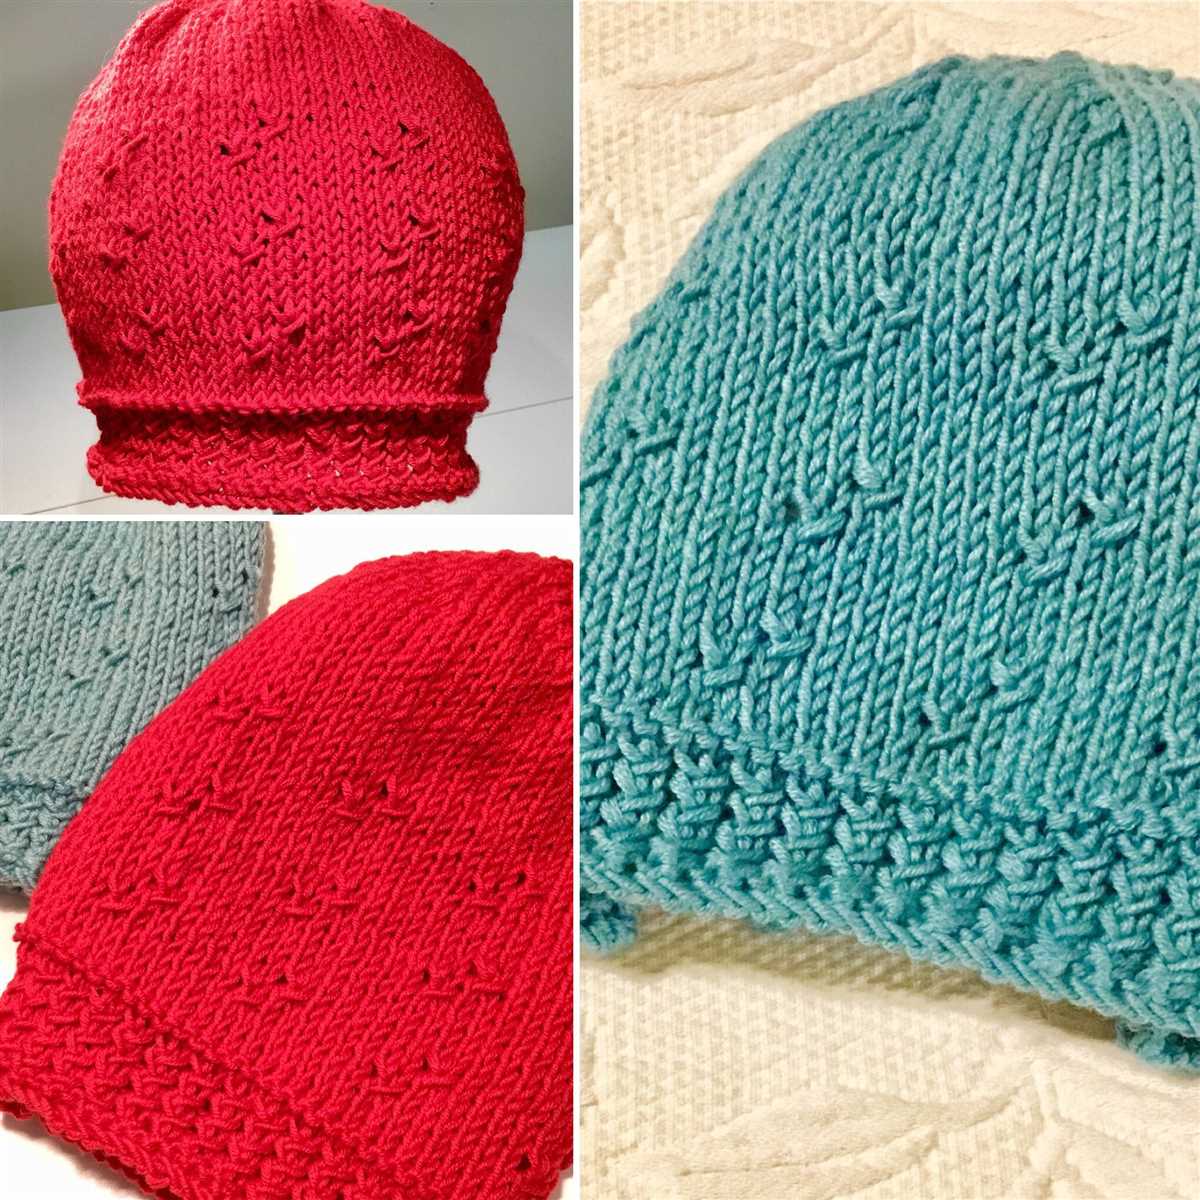
If you want to add some texture to your beanie, you can try out different stitch patterns like ribbing, cables, or lace. There are endless possibilities, and you can find various stitch pattern resources online or in knitting books. Just make sure to check the pattern instructions and adjust the stitch count accordingly if needed.
Continue knitting the body of your beanie until you reach the desired length. Remember to periodically try it on to check the fit and ensure that it’s not too loose or too tight. Once you are satisfied with the length, you are ready to move on to shaping the crown of the beanie.
Creating the Ribbing
The ribbing is an important part of a knit beanie as it helps create a snug and stretchy fit. To achieve the ribbing, you will need to alternate between knit stitches and purl stitches. This creates a textured pattern that not only adds visual interest but also allows the beanie to stretch and fit comfortably on the head.
To begin creating the ribbing, cast on the desired number of stitches using your chosen yarn and needle size. It is recommended to use a smaller needle size for the ribbing to ensure that it is tight and elastic. You can refer to the pattern for the specific stitch count.
Step 1: Start by knitting the first stitch. Insert the right needle into the first stitch from left to right, then wrap the yarn around the right needle counterclockwise.
Step 2: Pull the right needle through the stitch, sliding the stitch off the left needle. Make sure to hold the yarn tail firmly to prevent any loose stitches.
Step 3: Now, it’s time to purl the next stitch. Insert the right needle into the next stitch from right to left, bringing it in front of the left needle. Wrap the yarn counterclockwise around the right needle.
Step 4: Pull the right needle through the stitch, sliding the stitch off the left needle. This creates a purl stitch.
Continue alternating between knitting and purling stitches until you reach the desired length for your ribbing. Remember to keep your tension consistent to maintain an even and neat ribbing. Once you have completed the ribbing, you can proceed with the main body of the beanie pattern.
Shaping the Crown

When it comes to knitting a beanie, shaping the crown is an important step that gives the hat its distinctive shape. The crown is the top part of the beanie where it tapers off to a point or rounds off smoothly, depending on the desired style.
To shape the crown, there are several different methods that can be used. One common method is to decrease stitches as you work your way towards the top of the hat. This can be done by knitting two stitches together, also known as a knit two together (k2tog) decrease, or by purling two stitches together (p2tog) decrease. These decreases are typically done evenly around the hat to create a symmetrical shape.
In addition to decreasing stitches, another technique commonly used for shaping the crown is to work in a specific pattern or stitch design. This can create interesting textures or patterns on the crown of the beanie, adding visual interest to the finished hat. Examples of stitch patterns that can be used for crown shaping include ribbing, cables, and lace.
As you shape the crown of your beanie, it’s important to keep track of your stitches and decreases to ensure an even and balanced shaping. This can be done by using stitch markers to mark the beginning and end of each round or by counting your stitches as you go. Taking the time to shape the crown properly will result in a well-fitting and stylish beanie that you’ll be proud to wear or gift to others.
Bind Off
The bind off is the final step in completing your easy knit beanie. It is a technique used to securely finish the edge of your knitting project and prevent any further unraveling. When binding off, you will be removing the stitches from the needles and creating a neat and tidy finished edge.
To bind off, start by knitting the first two stitches as usual. Then, using your left needle, lift the first stitch over the second stitch and off the right needle. Continue this process, knitting the next stitch and lifting the previous stitch over until you have bound off all the stitches. Make sure to keep your tension consistent throughout to ensure an even edge.
Tip: If you want a stretchier edge on your beanie, you can use a larger needle size for binding off. This will create a looser bind off and give the finished edge more flexibility.
Once you have bound off all the stitches, cut your yarn, leaving a long tail. Thread the tail through the last stitch and pull tight to secure. You can then weave in any remaining ends using a yarn needle to finish off your easy knit beanie.
Finishing Touches: Weaving in Ends
After completing your easy knit beanie pattern, you may find yourself with a few loose ends of yarn that need to be neatly secured. Weaving in ends is the final step in finishing your project and ensuring that it looks polished and professional. It involves neatly hiding and securing the loose yarn tails so that they don’t unravel or peek out of your finished beanie.
To weave in ends, start by threading the yarn tail onto a tapestry needle. Insert the needle through the wrong side of the knitted fabric, following the path of the stitches. You can then weave the needle back and forth, going through several stitches, to secure the yarn tail. Make sure to pull the yarn gently but firmly to ensure that the end is fully hidden within the fabric.
It’s important to weave in all the ends of the yarn to maintain the integrity of your beanie. Not only does it prevent any loose threads from unraveling, but it also gives your project a clean and finished look. Take the time to carefully weave in each end, making sure that they are securely hidden and won’t come loose with wear or washing.
Quick tips for weaving in ends:
- Choose a tapestry needle that is small enough to fit easily through the stitches.
- Weave the yarn tail in different directions to distribute the tension and make it less likely to come loose.
- Always weave in ends on the wrong side of the fabric to keep the right side looking smooth and clean.
- If you want to be extra cautious, you can also knot the yarn tail before weaving it in for added security.
By carefully weaving in the ends of your easy knit beanie, you’ll ensure that your finished project looks polished and professional. Taking this extra step will make a big difference in the overall appearance and durability of your beanie, giving you a result that you can be proud to wear or gift to others.
Styling and Wearing Your Knit Beanie
Now that you have finished knitting your beanie, it’s time to style and wear it with confidence. Here are some tips to help you make the most out of your new accessory:
1. Experiment with different hairstyles: Play around with different hairstyles to find the one that complements your beanie the best. You can wear your hair down, in a messy bun, or even in a side braid. Don’t be afraid to get creative!
Styling Tips:
- For a casual and cozy look, wear your beanie slightly slouched to one side.
- If you prefer a more polished look, pull your beanie tightly over your forehead and ears.
- Accessorize your beanie with a matching scarf or gloves for a coordinated winter ensemble.
- For a trendy touch, pair your beanie with a leather jacket or denim jacket.
Ways to Wear Your Beanie:
- Pull the beanie all the way down, covering your forehead and ears, for maximum warmth and snugness.
- Push the beanie slightly back, leaving some hair visible at the front, for a laid-back and effortless look.
- Wear the beanie pushed back and low on the back of your head, allowing your hair to flow freely for a boho-chic vibe.
Remember, confidence is key when wearing your knit beanie. Own your style and embrace the cozy and fashionable accessory that you’ve created.
Q&A:
What is an easy knit beanie pattern?
An easy knit beanie pattern is a knitting pattern that is simple and suitable for beginners. It usually involves basic knitting stitches and techniques, making it easy to follow and complete.
What materials do I need to knit a beanie?
To knit a beanie, you will need yarn in your chosen color, knitting needles in the appropriate size, a yarn needle for sewing, and scissors. Some patterns may also require additional materials, such as stitch markers or a cable needle.
Are there different sizes for knit beanies?
Yes, there are typically different sizes for knit beanies. The size will depend on the pattern you are using and can vary based on head circumference or age group. It’s important to choose a pattern that provides instructions for the desired size.
How long does it take to knit a beanie?
The time it takes to knit a beanie can vary depending on your knitting speed and the complexity of the pattern. Generally, a simple beanie can be completed in a few evenings or over the course of a weekend. More intricate patterns or larger sizes may take longer.