
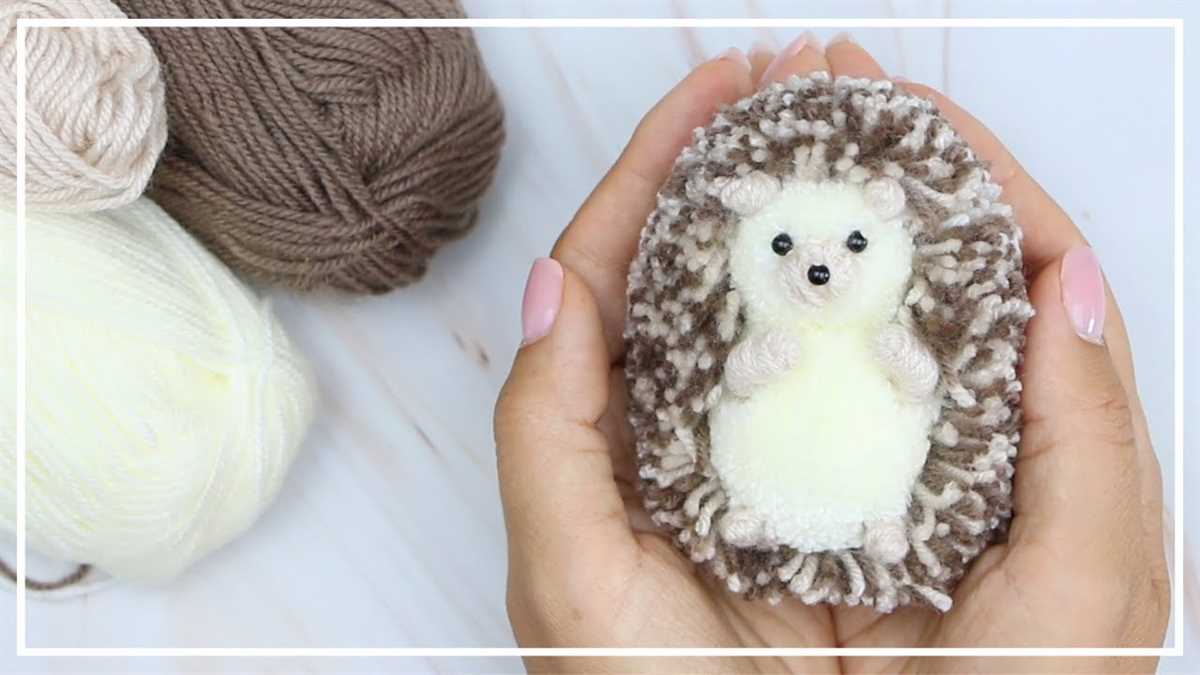
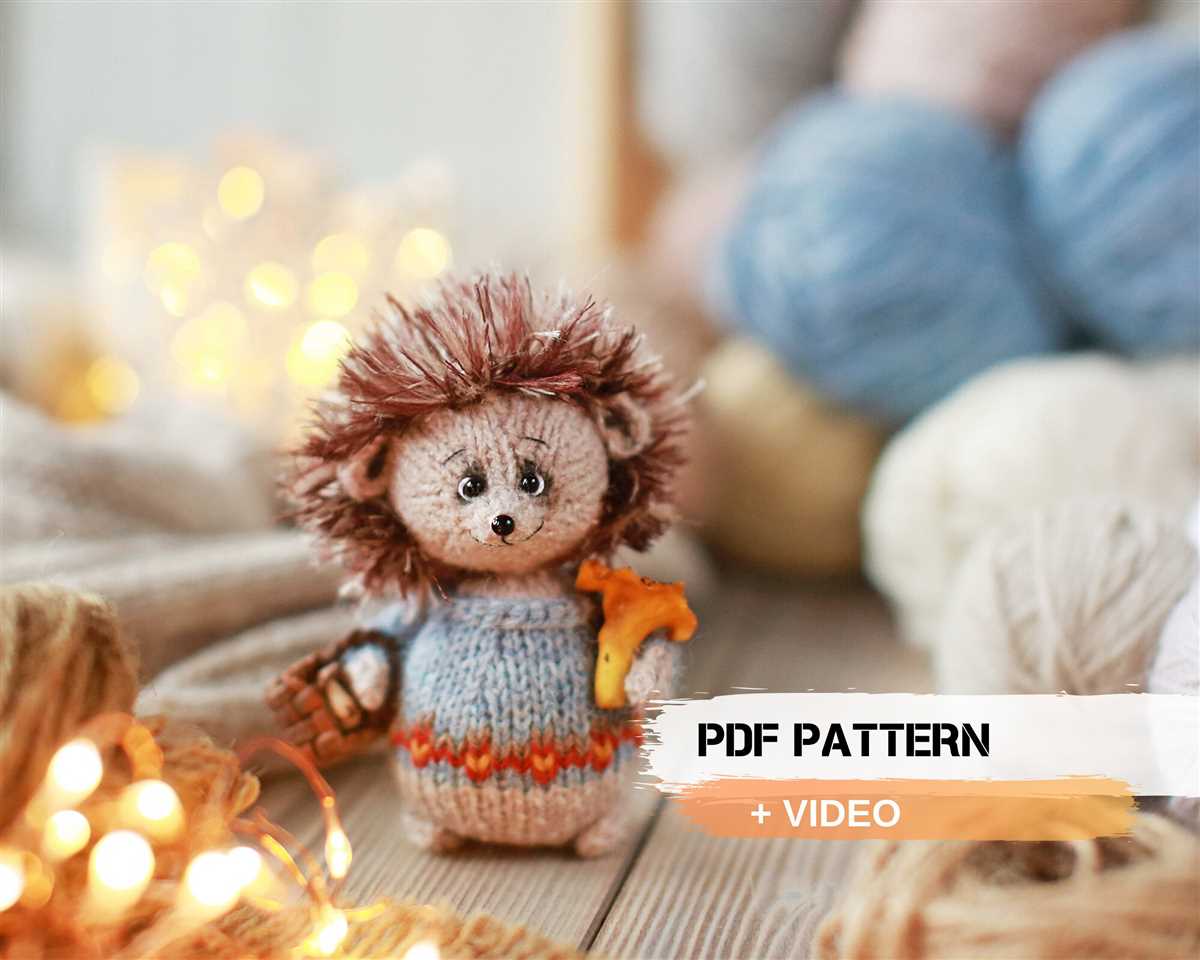
Knitting is a wonderful hobby that allows you to create beautiful and unique creations. If you’re a beginner looking to try your hand at knitting, or even an experienced knitter looking for a quick and fun project, this easy hedgehog knitting pattern is perfect for you!
This pattern is quick and simple, making it an ideal choice for beginners. With just a few basic stitches, you can create an adorable little hedgehog that will make a great gift or a cute addition to your own home decor.
To get started, all you need is some yarn, knitting needles, and a few basic knitting supplies. You can choose any color of yarn you like, so feel free to get creative and make your hedgehog in your favorite color. Once you have your supplies ready, you’ll be ready to begin knitting your hedgehog!
This pattern includes step-by-step instructions and helpful tips to guide you through the process, making it easy to follow along even if you’re new to knitting. So grab your knitting needles and get ready to create a cute and cuddly hedgehog with this easy knitting pattern!
How to Knit an Easy Hedgehog: A Step-by-Step Guide
Knitting is a wonderful hobby that allows you to create adorable and unique items, and one of the cutest projects you can embark on is knitting a hedgehog. This step-by-step guide will walk you through the process of creating your very own knitted hedgehog.
Materials You’ll Need
Before getting started, gather all the necessary materials:
- A pair of knitting needles (size 4mm)
- Yarn in two colors: one for the hedgehog’s body and one for the details
- A tapestry needle
- A small amount of polyester fiberfill
- Two small black beads for the eyes
Step 1: Cast On
To begin, cast on 30 stitches using the main color yarn. This will form the base of the hedgehog’s body. Make sure to leave a long tail of yarn for sewing later on.
Step 2: Knit the Body
Once you have cast on, begin knitting in stockinette stitch (knit one row, purl one row) for approximately 12 rows. This will create the body of the hedgehog.
Step 3: Shape the Head

Next, it’s time to shape the hedgehog’s head. Begin by knitting two stitches together at the start of the next row. Knit across the row until the last two stitches, and then knit those two together as well. Continue this decrease row every other row until only six stitches remain on your needles.
Step 4: Finish the Head and Sew
Once you have six stitches remaining, knit them together and cut the yarn, leaving a tail for sewing. Thread your tapestry needle with the yarn and sew the head seam closed. Don’t forget to stuff the head firmly with polyester fiberfill before closing it completely.
Step 5: Add Details
Now it’s time to add some cute details to your hedgehog. Use the contrasting color yarn to embroider little stitches for the nose and mouth. Sew the black beads on for the eyes, and use the same yarn to create short straight stitches for the hedgehog’s spikes.
And voila, you have successfully knitted a cute hedgehog! This easy-to-follow guide will allow you to create a delightful companion or a charming gift for someone special.
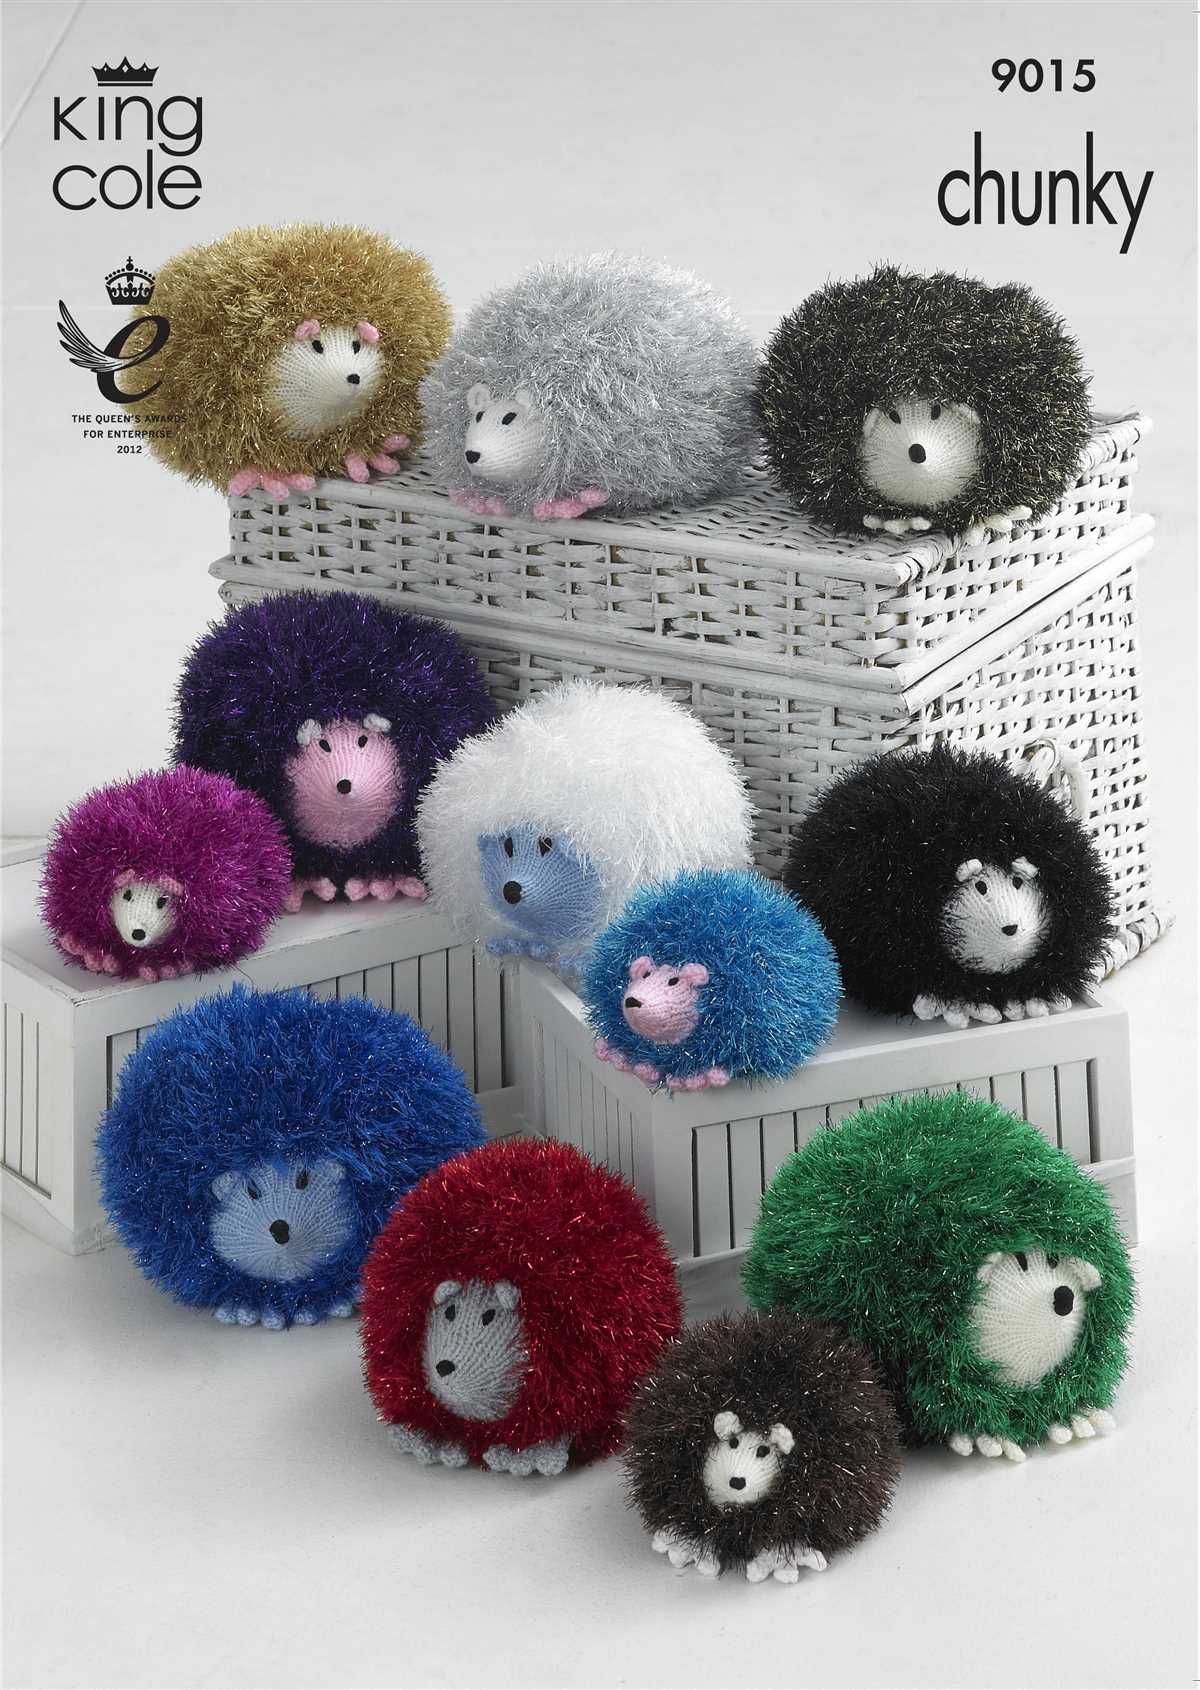
Choosing the Right Yarn and Needles
When it comes to knitting a hedgehog, choosing the right yarn and needles is crucial for achieving the desired result. The type of yarn and the size of needles can affect the overall look and feel of the finished hedgehog, so it’s important to consider these factors before starting your project.
Yarn: There are various types of yarn available, and each type has its own unique characteristics that can impact the final outcome of your knitting. It’s essential to choose a yarn that is suitable for the hedgehog design and provides the desired texture and appearance. A soft and lightweight yarn can give the hedgehog a fluffy and cuddly look, while a thicker and more textured yarn can create a more realistic and sturdy appearance.
Needles: The size of the needles you choose also plays a significant role in the final result. Typically, smaller needles are used for projects that require finer details and a tighter stitch, while larger needles are suitable for creating a looser and more textured appearance. It’s important to follow the pattern instructions and choose the recommended needle size to ensure that the stitches are evenly spaced and the hedgehog maintains its desired shape.
Additionally, consider the type of needles you prefer to work with. Some knitters prefer using straight needles, while others find circular or double-pointed needles more comfortable and convenient. Explore different needle options and choose the ones that work best for you and your knitting technique.
Overall, selecting the right yarn and needles for your hedgehog knitting project can significantly impact the final outcome. Take your time to explore different options, consider the desired texture and appearance, and choose the materials that best align with your vision for the finished hedgehog. With the right yarn and needles, you can create a beautiful and cuddly knit hedgehog that will bring joy to yourself or the recipient of your handmade creation.
Casting On: Getting Started with your Hedgehog
Before you start knitting your adorable hedgehog, it’s important to understand how to cast on and get started with your project. Casting on is the process of creating the first stitches on your knitting needle, and it sets the foundation for your entire project. Follow these steps to get started:
Step 1: Gather your materials
Before you begin, make sure you have all the necessary materials. You will need a set of knitting needles suitable for your chosen yarn, a ball of yarn in the color of your choice, and a pair of scissors.
Step 2: Make a slip knot

To start casting on, make a slip knot at the end of your yarn. Hold the end of the yarn in your hand, leaving a tail that is about 6 inches long. Cross the working end of the yarn over the tail to form a loop. Insert your knitting needle through the loop and tighten the knot by pulling on the working end of the yarn.
Step 3: Cast on stitches
With the slip knot on your needle, it’s time to start casting on stitches. Hold the needle in your right hand and the yarn in your left hand. Insert the tip of the needle into the slip knot from left to right and scoop the working yarn over the right-hand needle, creating a new loop. Slip this new loop onto the right-hand needle and tighten the stitch slightly. Repeat this process until you have cast on the desired number of stitches for your hedgehog.
Now that you have successfully cast on your stitches, you are ready to start knitting your hedgehog! Follow the pattern instructions for each row to create the body, head, and limbs of your cute little hedgehog. Enjoy the process and have fun with your knitting project!
Knitting the Body: Creating the Round Shape
Knitting the body of the hedgehog is where the real fun begins! To create the round shape of the body, you will work in the round using double-pointed needles or circular needles. This allows you to seamlessly knit in a continuous spiral, avoiding any visible seams.
Start by casting on the required number of stitches onto your needles. Be sure to use a stitch marker to mark the beginning of the round. This makes it easier to keep track of your progress. As you knit each round, move the stitch marker up to the new beginning of the round.
When knitting the body, it’s important to maintain an even tension to ensure that the stitches are not too tight or too loose. You want the fabric to be firm enough to hold its shape, but also soft and flexible. If you find that your stitches are too tight, try using a larger needle size. If they are too loose, try using a smaller needle size.
As you continue knitting, you will gradually see the round shape of the hedgehog’s body start to take form. Make sure to periodically check your work by gently stuffing the body with fiberfill or yarn scraps. This will help you get an idea of how the shape is developing and allows you to make any necessary adjustments along the way.
Continue knitting in the round until you have reached the desired length for the body. Remember to keep track of your rounds, especially if you’re following a pattern that requires specific measurements. Once you’re satisfied with the body length, you can move on to shaping the head and adding the facial features to complete your adorable hedgehog!
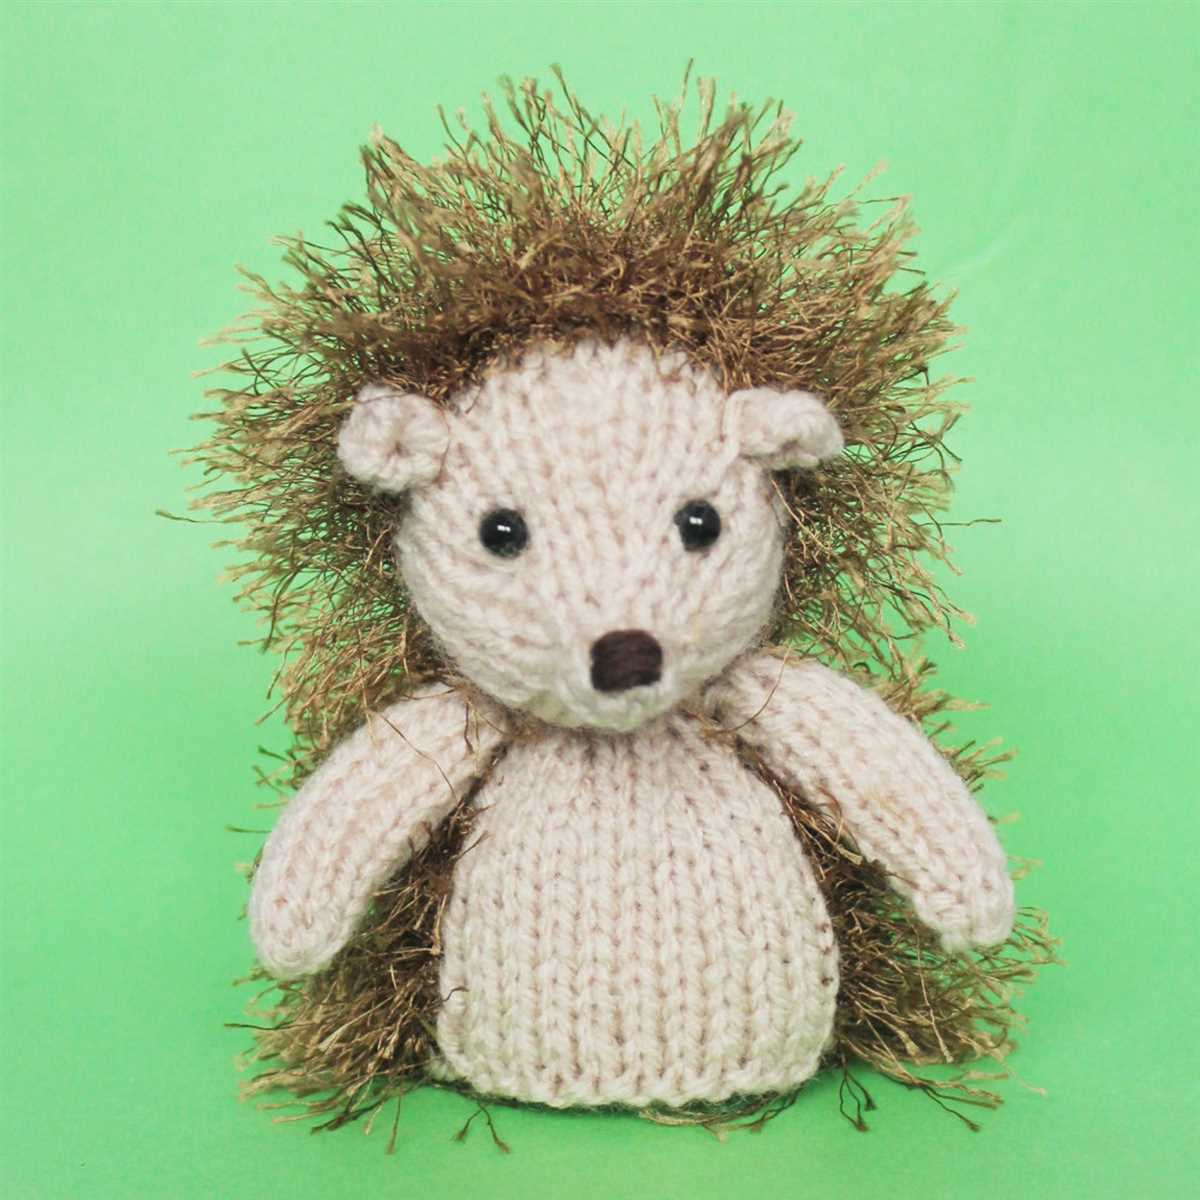
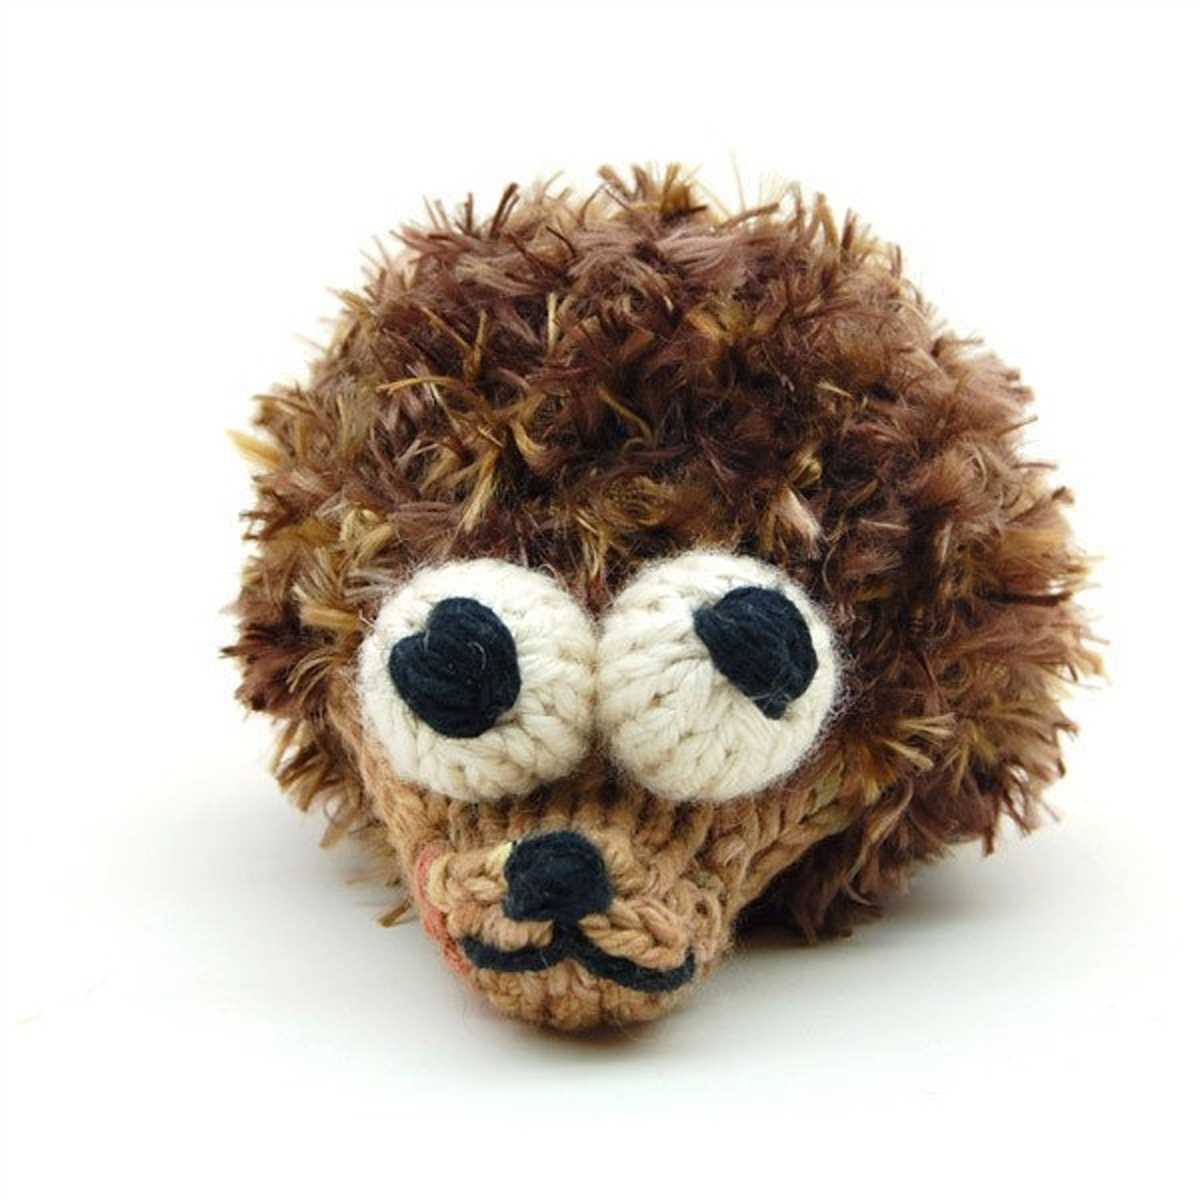
Creating the Face: Knitting the Muzzle and Eyes
When knitting a hedgehog, the face is an important part that brings the creation to life. To start, we will focus on knitting the muzzle and eyes. The muzzle is the snout or the nose area of the hedgehog, and the eyes are the focal point that gives it character.
To begin, choose a contrasting color of yarn for the muzzle. Using double-pointed needles, cast on the required number of stitches, typically between 8-12 stitches depending on the desired size. Knit in the round for a few rows to create the circular shape of the muzzle.
For the eyes, choose another color of yarn that will stand out against the hedgehog’s fur. Using double-pointed needles, cast on the required number of stitches for each eye, usually around 6-8 stitches. Knit in the round for a few rows to form a small circular shape for each eye.
For added dimension, consider using a smaller needle size for the eyes compared to the muzzle. This will create a slight indentation and make the eyes appear more realistic. You can also experiment with embroidery or black yarn to create pupils for the eyes.
Once the muzzle and eyes are knitted, you can attach them to the face of the hedgehog. Use a tapestry needle and matching yarn color to sew the muzzle onto the body, positioning it slightly below the center. For the eyes, sew them above the muzzle, evenly spaced apart.
Adding the Ears: Knitting and Attaching
Once you have completed knitting the body of the hedgehog, it’s time to add the ears. The ears add a cute and playful touch to the finished hedgehog toy. To knit the ears, you will need a pair of knitting needles and a contrasting color yarn.
To start knitting the ears, cast on the required number of stitches onto your knitting needles. The exact number of stitches will depend on the size of the hedgehog and the desired size of the ears. Once you have cast on, you can begin knitting in your chosen stitch pattern. You could use garter stitch for a simple, textured look, or try a ribbing pattern for a more defined shape. Knit the desired length for the ears, making sure to keep track of your rows if you want them to match.
Next, it’s time to attach the ears to the hedgehog. Use a yarn needle to thread the loose ends of the ear onto the hedgehog’s body. Position the ears where you want them to be, usually towards the top of the head. To secure the ears in place, you can either sew them on or use a crochet hook to slip stitch them. Be sure to pull the thread tight enough to keep the ears in place, but not so tight that it distorts the shape of the head. Repeat the process for the second ear, making sure to align it symmetrically with the first ear.
If desired, you can add some extra embellishments to the ears. This could include sewing on small buttons, embroidery stitches, or even attaching small pieces of fabric for a patchwork effect. Get creative and experiment with different ideas to make your hedgehog unique!
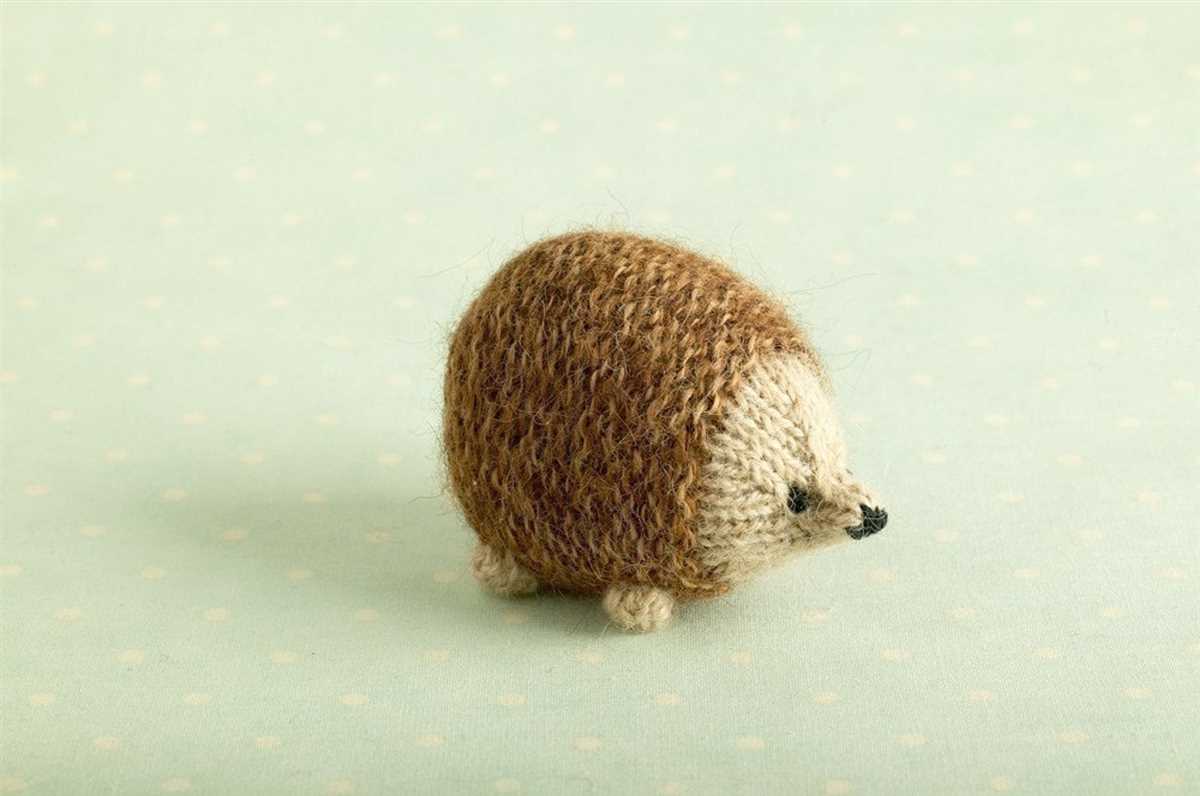
Stuffing and Shaping the Hedgehog
Once you have finished knitting all the pieces for your hedgehog, it’s time to stuff and shape it to bring it to life. This step is crucial to achieve the adorable chubby look of a hedgehog.
Start by using a soft filling material such as polyester fiberfill or cotton stuffing. Begin by stuffing the head of the hedgehog, making sure to distribute the filling evenly. Use small amounts of stuffing at a time and push it into the corners to create a rounded shape. You can also use a knitting needle or crochet hook to help push the filling into small areas.
Next, move on to the body of the hedgehog, inserting the stuffing through the opening at the bottom. Again, be sure to stuff evenly and use small amounts at a time to avoid overstuffing and distorting the shape.
As you continue to stuff, pay attention to the shape and size of the hedgehog. If you want a plumper hedgehog, add more stuffing. If you prefer a slimmer look, use less stuffing. The amount of stuffing you use will depend on your personal preference.
Once you’re happy with the overall shape, sew up the opening at the bottom of the hedgehog using a whip stitch or any other suitable technique. Make sure the stitches are secure to prevent the filling from escaping.
After stuffing and shaping, your hedgehog is now ready to be enjoyed or gifted to a loved one!
Knitting the Limbs: Making Arms and Legs
When knitting a hedgehog, one of the most important steps is creating the arms and legs. These limbs give the hedgehog its adorable and playful appearance, making them essential for bringing your knitted creation to life.
Arms: To knit the arms, start by casting on the required number of stitches. The size of the arms will vary depending on the pattern you are following, but typically it will be around 10 stitches. Once you have cast on, begin knitting in the round using double-pointed needles or a small circular needle. This will create a seamless and tidy finish for the arms.
Legs: Similar to the arms, the legs are knitted using the same technique. Start by casting on the designated number of stitches, usually around 12 stitches. As you knit in the round, ensure that you are keeping track of the stitches and rows to create a consistent size for all the legs.
When knitting the arms and legs, it is important to pay attention to the tension of your stitches. Since these are smaller pieces, it is easy to unintentionally tighten the stitches, resulting in limbs that are too small or stiff. Be mindful of your tension and adjust your stitches accordingly to ensure that the arms and legs have the desired flexibility and size.
Once the arms and legs are complete, you can attach them to the body of the hedgehog using a yarn needle. Make sure to securely sew them in place, ensuring they are evenly positioned on the body. This will give your hedgehog a sturdy structure and allow it to stand or sit on its own.
With the arms and legs successfully knitted and attached, your hedgehog is one step closer to being completed. Now, it’s time to move on to other important details such as the face, ears, and spines to make your hedgehog truly come to life!
Adding Details: Embroidering the Nose and Mouth
Once you have finished knitting your adorable hedgehog, it’s time to add the finishing touches by embroidering the nose and mouth. This step will give your hedgehog a cute and lively expression, bringing it to life!
Materials you will need:
- Embroidery floss in black or a color that complements your hedgehog
- Tapestry needle
- Scissors
To begin, thread your needle with the embroidery floss, making sure to use a single strand for a more delicate look. Start by embroidering the nose, which is usually a small triangle shape located right in the center of the hedgehog’s face. Use small, straight stitches to fill in the shape, making sure to keep your stitches even and neat.
Next, move on to embroidering the mouth. You can create a simple smile or a more detailed expression depending on your preference. Use a backstitch or a straight stitch to outline the shape of the mouth, and then fill it in with smaller stitches. Experiment with different stitch lengths to achieve the desired effect.
Tips:
- Practice on a scrap piece of fabric before embroidering the details on your hedgehog to get a feel for the stitches and the look you want to achieve.
- Take your time and be gentle with your stitches to avoid pulling the knitting or creating uneven tension.
- Remember that the placement and size of the nose and mouth can vary depending on the size and style of your hedgehog.
Once you are satisfied with the embroidery, trim any loose threads and give your hedgehog a final inspection. Your adorable knit hedgehog is now complete and ready to be displayed or given as a lovely handmade gift!
Assembling the Hedgehog: Attaching the Limbs
Once you have finished knitting all the necessary parts for your hedgehog, it’s time to assemble them together. Attaching the limbs requires some careful stitching and placement to ensure the hedgehog is well-balanced and secure.
To begin, lay out the body of the hedgehog and position the limbs in the desired spots. Use pins or stitch markers to hold the limbs in place temporarily, making any necessary adjustments before continuing. This will help you visualize how the final hedgehog will look and allow you to ensure the limbs are evenly spaced.
Start by attaching one of the back legs. Thread a tapestry needle with a length of yarn that matches the hedgehog’s body, and insert the needle through the body and the leg at the desired attachment point. Make sure to go through both pieces of knitting to ensure a strong connection. Repeat this process for the other back leg.
Next, move on to the front legs. Attach them in a similar manner, using the same matching yarn and careful stitching. Just like with the back legs, make sure to secure the front legs tightly to ensure they won’t come loose during playtime.
Once all the legs are attached, you can move on to stitching the head onto the body. Place the head where you like it, using pins or stitch markers to hold it in place temporarily. Then, using the same yarn as before, sew the head onto the body, ensuring it is securely attached and sits level with the body.
Finally, finish off by attaching any additional features such as eyes, nose, and ears. You can sew these on using a tapestry needle and matching yarn, or use small buttons or beads for added charm. Make sure to secure them tightly so they won’t pose a choking hazard.
Once all the limbs and features are securely attached, your hedgehog knitting project is complete! Now you can enjoy your adorable hedgehog toy, knowing that it was carefully assembled with love and attention to detail.
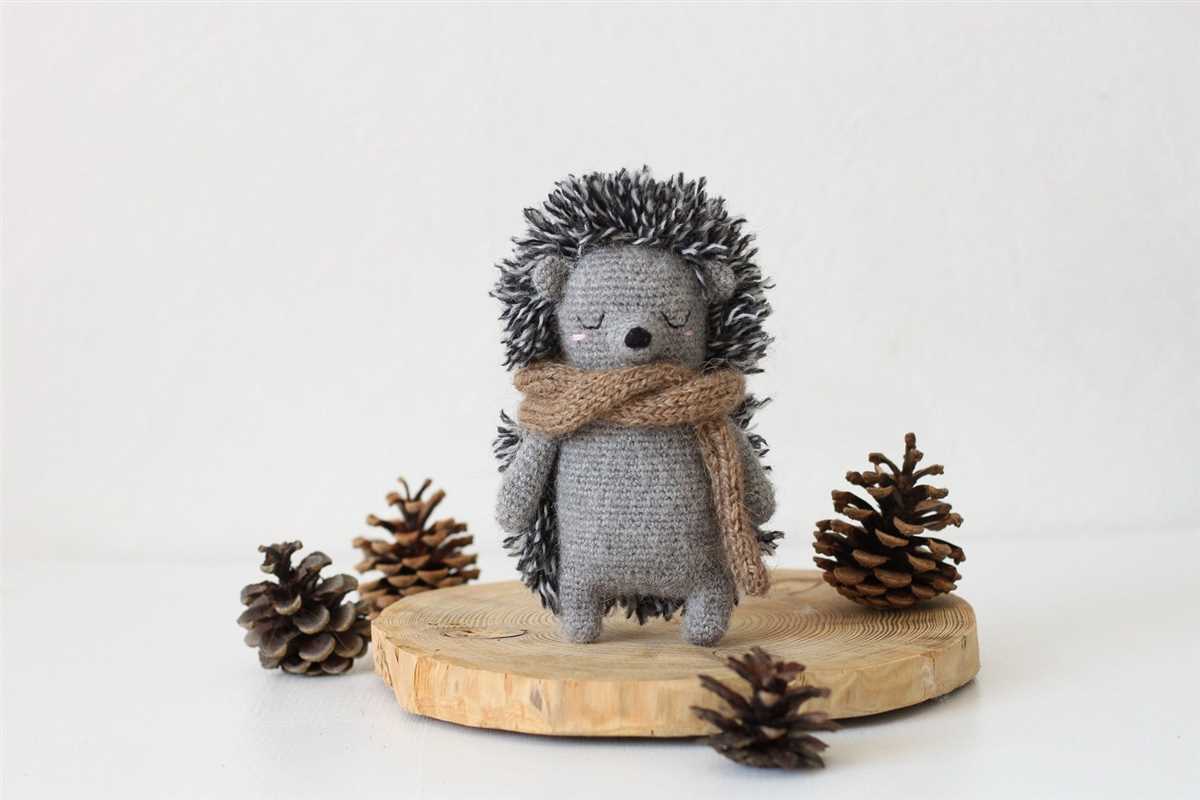
Finishing Touches: Adding a Scarf or Accessories
Completing your knitted hedgehog is an exciting step, and adding a scarf or other accessories can really bring your creation to life. A simple scarf can add an extra touch of warmth and style to your hedgehog, and there are endless possibilities for creative embellishments.
Scarf
Adding a scarf is a popular choice for dressing up a knitted hedgehog. You can use any yarn color or type that you prefer, and experiment with different stitch patterns to create a unique look. A simple garter stitch scarf or a ribbed pattern can be a great place to start. You can make the scarf as long or as short as you like, and even add some fringe for added texture.
Hats and Headbands
If you want to take your hedgehog’s fashion game to the next level, consider knitting a tiny hat or headband. You can use a basic beanie pattern and adjust it to fit your hedgehog’s head size. Adding a pom-pom or a cute bow can add an extra touch of cuteness to the hat. Alternatively, a headband can be a stylish accessory, and you can experiment with different stitch patterns and colors to match your hedgehog’s personality.
Accessories
In addition to scarves and hats, there are plenty of other accessories you can knit to personalize your hedgehog. You might consider knitting tiny mittens or booties to keep their paws warm in colder climates. Another fun idea is to knit a mini backpack or a tote bag for your hedgehog to carry their belongings. You can also knit little bows or bowties to attach to their fur for special occasions.
Overall, adding a scarf or other accessories to your knitted hedgehog can be a fun and creative way to make your creation unique. Whether you opt for a scarf, hat, or other accessory, the possibilities are endless, and you can let your imagination run wild with different colors, patterns, and embellishments. Have fun experimenting and showcasing your knitting skills!
Celebrate your Knitted Hedgehog: Display and Share
Now that you have finished knitting your adorable hedgehog, it’s time to proudly display your creation and share it with others. Whether you keep it for yourself or give it as a gift, your knitted hedgehog will surely bring joy and charm to any space. Here are some ideas on how to celebrate and showcase your knitted hedgehog:
1. Decorate your home with your knitted hedgehog
Your knitted hedgehog can be a delightful addition to your home decor. Place it on a bookshelf, table, or mantelpiece to add a touch of whimsy to any room. You can also incorporate it into a seasonal display by pairing it with other knitted or natural elements.
2. Create a display shelf for your knitted hedgehog family
If you have made multiple hedgehogs, consider creating a dedicated display shelf to showcase your knitted hedgehog family. Arrange them in different poses and positions to create an engaging and playful scene. Use small props or accessories to enhance the display and add a personal touch.
3. Share your knitted hedgehog on social media
Take a photo of your knitted hedgehog and share it on your favorite social media platforms. Use relevant hashtags to connect with other knitting enthusiasts and inspire them with your creativity. You can also join knitting groups or communities and participate in hedgehog-themed challenges or exchanges.
4. Gift your knitted hedgehog to a loved one
If you’ve enjoyed knitting your hedgehog and believe it will bring joy to someone else, consider gifting it to a loved one. Whether it’s for a birthday, holiday, or just because, your handmade hedgehog will be a heartfelt and unique present that will be cherished for years to come.
In conclusion
Knitting a hedgehog can be a fun and rewarding project, and displaying and sharing your finished creation adds an extra layer of enjoyment. Whether you choose to keep it for yourself or share it with others, your knitted hedgehog is sure to bring smiles and warmth wherever it goes. So go ahead and celebrate your knitting accomplishment by showcasing and spreading the hedgehog love!