
Knitting is a craft that brings joy and warmth to many people’s lives. Whether you’re a beginner or an experienced knitter, finding a simple and free knitting pattern is always a delight. If you’re looking for a project that’s both fun and quick to make, look no further than the easy heart knitting pattern.
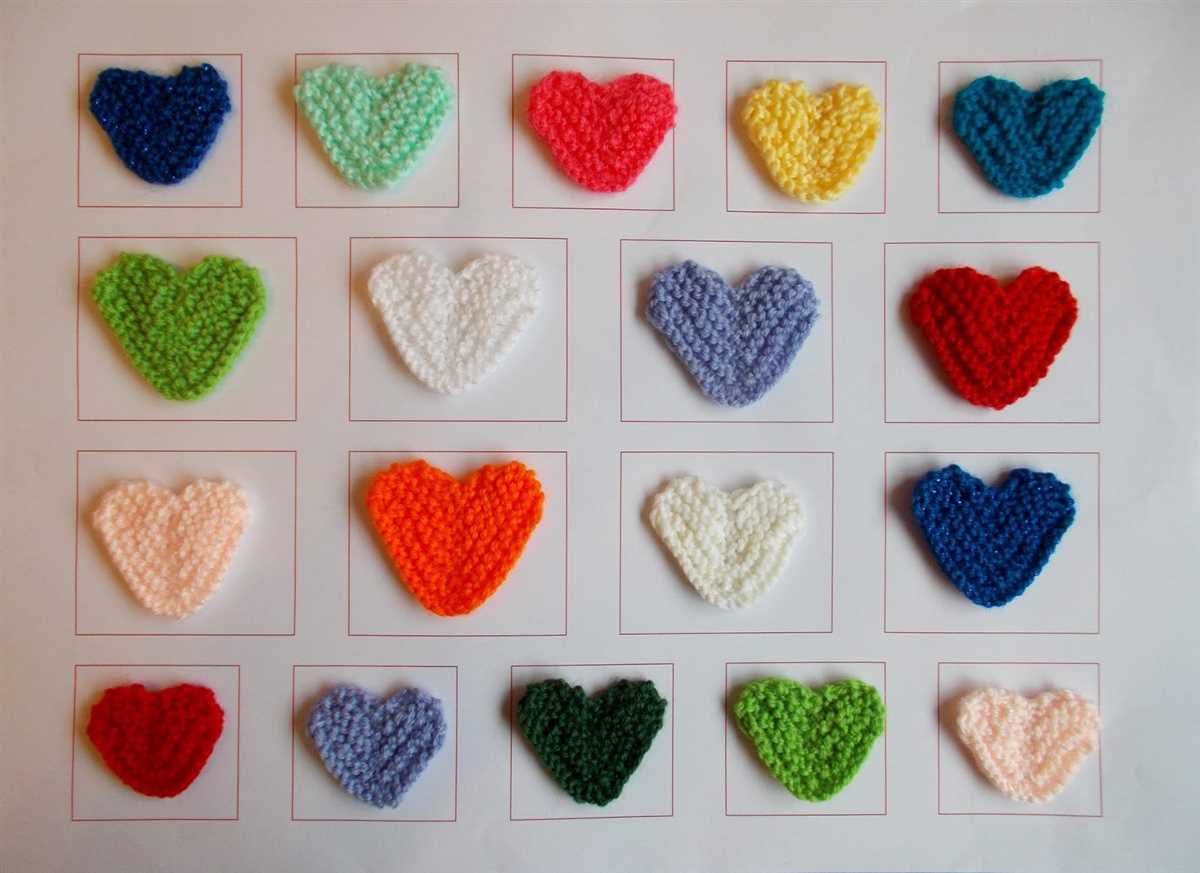
This free pattern is perfect for adding a personal touch to your knitting projects. Whether you want to create a heart-shaped patch to embellish a scarf or a hat, or you want to make a set of adorable heart-shaped coasters, this pattern is versatile and easy to customize. With just a few basic knitting skills, you’ll be able to create charming heart shapes in no time.
Not only is the easy heart knitting pattern beginner-friendly, but it also serves as a great way to practice and refine your knitting skills. From learning how to cast on stitches to mastering basic increases and decreases, this pattern will help you develop your knitting techniques. Plus, the small size of the heart shape makes it a portable project that you can take with you wherever you go.
So, why not give the easy heart knitting pattern a try? Grab your needles and yarn, and get ready to create lovely heart-shaped creations that will spread love and warmth to all who behold them.
Easy Heart Knitting Pattern Free
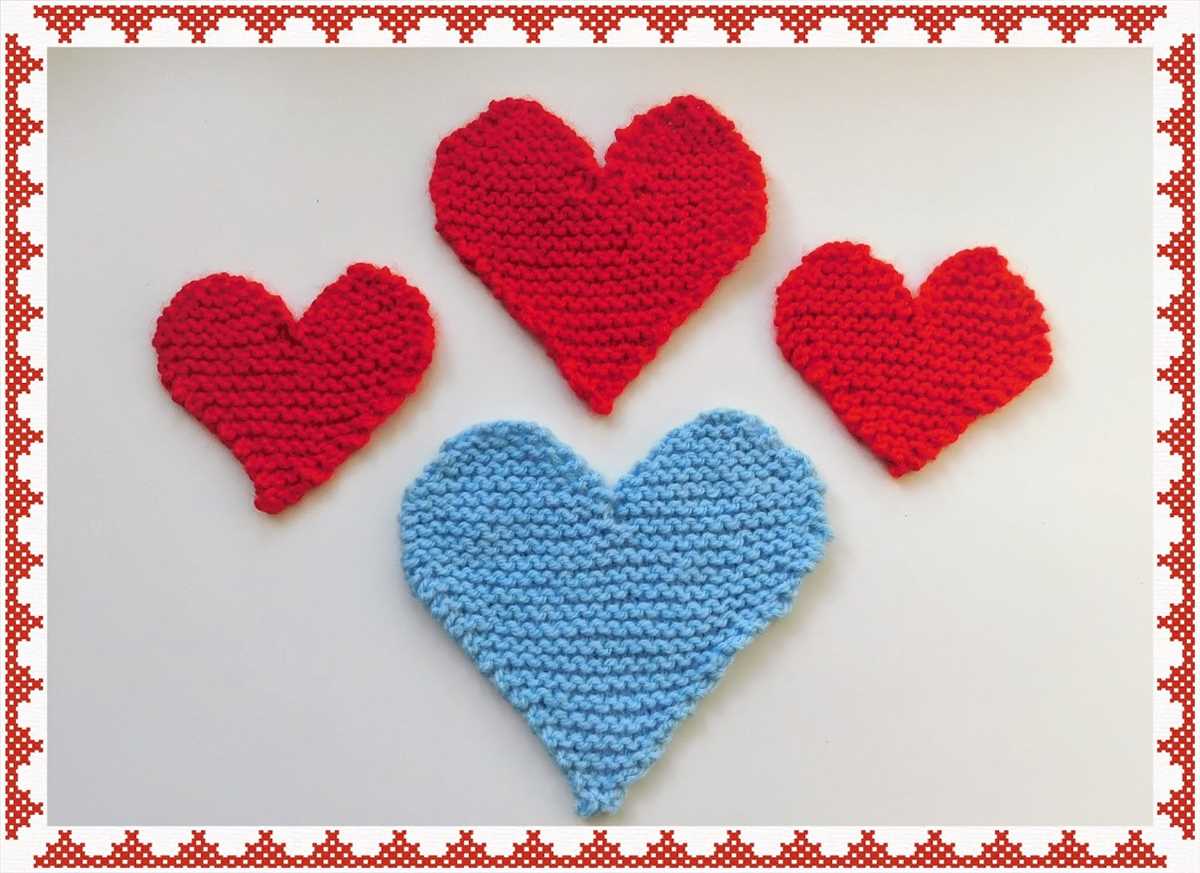
Knitting is a wonderful craft that allows you to create beautiful, handmade garments and accessories. One popular knitting pattern that is perfect for beginners is the easy heart pattern. This pattern is simple to follow and can be used to create various heart designs.
To start knitting the easy heart pattern, you will need basic knitting skills and some yarn in your chosen color. Begin by casting on the required number of stitches, which will vary depending on the size and style of the heart you want to create. Once your stitches are cast on, you can start working the pattern.
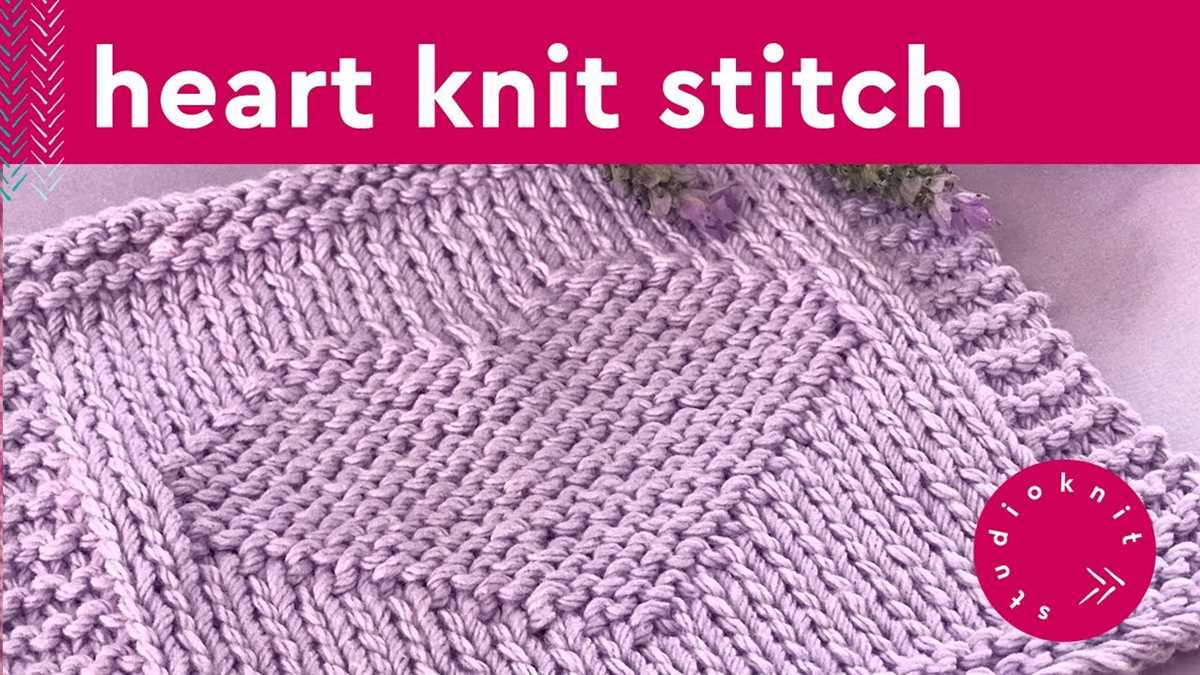
To create the easy heart pattern, you will need to knit and purl stitches, and follow a specific pattern of increases and decreases. The pattern will guide you through each step, ensuring that you create the desired heart shape. You can customize the pattern by adding different colors or changing the size of the heart.
With the easy heart knitting pattern, you can create a variety of projects, such as scarves, blankets, or even sweaters. The heart design adds a touch of charm and can be a lovely gift for someone special. Whether you are an experienced knitter or just starting out, this pattern is a great way to practice your skills and create something beautiful.
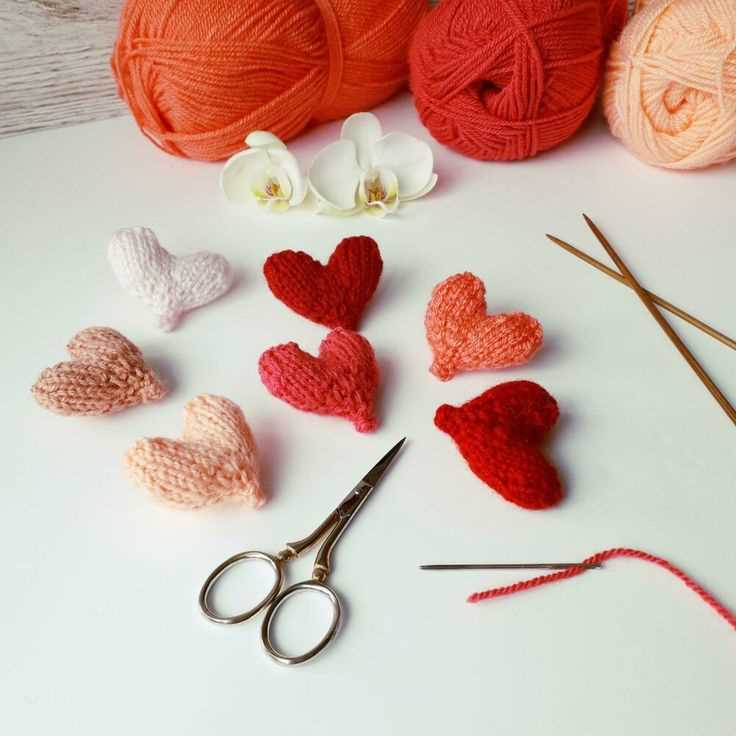
Materials Needed
In order to create an easy heart knitting pattern, you will need a few essential materials. These materials include:
- Yarn: Choose a soft and colorful yarn in the color of your choice. It is best to use a medium weight yarn that is easy to work with.
- Knitting Needles: You will need a pair of knitting needles that are appropriate for your chosen yarn. Generally, a size US 7 (4.5 mm) or US 8 (5.0 mm) needle works well.
- Tapestry Needle: A tapestry needle is necessary for weaving in loose ends and finishing touches on your knitted heart.
- Scissors: A pair of sharp scissors will be needed to cut the yarn and trim any excess.
- Stitch Markers: Stitch markers are optional but can be helpful for keeping track of specific stitches or sections in your knitting.
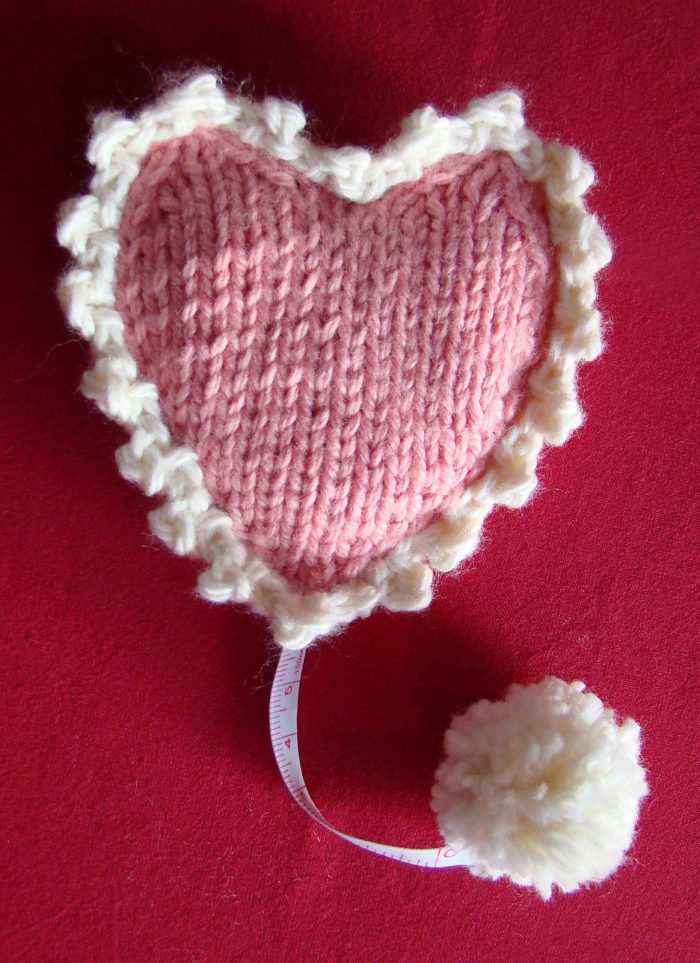
- Measuring Tape: A measuring tape is useful for checking gauge and measuring the size of your finished heart.
With these basic materials, you will have everything you need to get started on your easy heart knitting pattern. Don’t forget to choose your favorite yarn color and gather all the necessary tools before beginning your project.
Getting Started with the Pattern
Knitting a heart pattern can be a fun and rewarding project. Whether you are a beginner or an experienced knitter, this easy heart knitting pattern is perfect for creating lovely handmade gifts or decorations. To get started, you will need a few essential tools and supplies.
Materials
- Yarn – Choose a soft and cozy yarn in your preferred color. You can opt for a variegated yarn for a more unique look.
- Knitting Needles – Use a pair of knitting needles that are suitable for the chosen yarn. The size of the needles will depend on the yarn weight and your preferred tension.
- Tapestry Needle – A tapestry needle will be needed for weaving in the loose ends and any finishing touches.
Instructions
- Cast On – Start by casting on an appropriate number of stitches. The pattern will specify the exact number based on the desired size of the heart.
- Knit Rows – Follow the pattern instructions to knit the required number of rows. The pattern will specify the type of stitches, such as knit and purl, to create the heart shape.
- Shape the Heart – The pattern will guide you through decreasing and increasing stitches to shape the heart. Pay close attention to the instructions to ensure you achieve the desired heart shape.
- Bind Off – Once the heart shape is complete, bind off the stitches following the pattern instructions. This will secure the edges of the heart and give it a finished look.
- Finishing Touches – Use a tapestry needle to weave in any loose ends of yarn and tidy up the heart. You can also add any additional embellishments, such as buttons or ribbons, to personalize your creation.
With these simple instructions and the right tools, you’ll be on your way to creating beautiful heart-shaped knitted pieces. Whether you’re knitting for yourself or someone special, this pattern is sure to bring joy and warmth to your knitting projects.
Casting on Stitches
When starting a knitting project, it is important to cast on stitches to create the foundation for your work. There are several methods to cast on stitches, but one of the most common techniques is the long-tail cast on. This method creates a neat and stretchy edge, making it perfect for many knitting projects.
To begin the long-tail cast on, first, measure a length of yarn that is approximately three times the width of your finished project. This extra length is needed to ensure you have enough yarn to cast on all your stitches. Hold one end of the yarn in your right hand, and create a slip knot, leaving a long tail of yarn. Insert the needle through the slip knot and tighten the loop around the needle.
Next, hold the needle in your right hand and the tail of the yarn in your left hand. Insert the needle into the slip knot, bringing the point of the needle under the yarn strand. With your thumb and index finger, pinch the yarn strand, creating a loop around the needle. Pull the loop through the slip knot, creating your first cast-on stitch.
Repeat this process for each stitch, inserting the needle into the loop created by the previous stitch and pulling a new loop through. Continue until you have cast on the desired number of stitches for your project.
By mastering the long-tail cast on, you can easily start your knitting projects with a professional-looking edge. Practice this technique and explore other casting-on methods to expand your knitting skills and create beautiful handmade pieces.
Knitting the Base of the Heart
When knitting the base of the heart, you will begin by casting on the required number of stitches. The pattern usually calls for a multiple of three stitches, so make sure to cast on a number that is divisible evenly by three. This will ensure that the heart shape is symmetrical.
Once you have cast on the stitches, you will begin working in rows to create the base of the heart. The pattern will typically instruct you to knit or purl each row, depending on the desired texture and stitch pattern. Make sure to follow the pattern carefully, as it will guide you through the steps to create the heart shape.
If the pattern calls for increases or decreases, make sure to execute them correctly to shape the heart. Increases will add stitches to make the heart wider, while decreases will decrease the number of stitches to create the point of the heart. Pay attention to the instructions and use the specified increase or decrease method, such as knit in the front and back (kfb) or knit two together (k2tog).
As you knit the base of the heart, you may notice that it begins to take shape. The bottom portion of the heart will start to curve upwards, creating the rounded bottom. If you are working with a chart or written instructions, make sure to refer to them regularly to ensure accuracy and maintain the correct stitch count.
Overall, knitting the base of the heart requires attention to detail and following the pattern closely. With practice and patience, you will be able to create a beautiful heart shape that can be used in various knitting projects.
Shaping the Top of the Heart
A heart knitting pattern typically starts with the bottom point and gradually works its way up to the top. In order to shape the top of the heart, you will need to decrease the number of stitches in each row. This creates the rounded shape of the top half of the heart.
To decrease stitches, you can use a variety of techniques such as knitting two stitches together (k2tog) or slipping stitches. The specific decreases used will depend on the pattern you are following.
One common method is to start each row by knitting a few stitches, then decreasing one stitch at the beginning and end of the row. This gradually narrows the width of the heart shape. Another option is to alternate rows of knitting and decreasing, gradually reducing the number of stitches in each row.
Once you have reached the desired number of stitches for the top of the heart, you can finish off the knitting by binding off all the stitches. This will create a clean edge and complete the shaping of the heart.
Remember to follow the pattern instructions carefully and keep track of your stitch count as you shape the top of the heart. With practice and patience, you’ll be able to create beautiful hearts using different knitting patterns.
Creating the Left Side of the Heart
After casting on the required number of stitches for the left side of the heart, begin by working in the knit stitch for the first row. This will create the foundational base of the heart shape. Continue to knit each stitch until the end of the row.
On the second row, purl each stitch to create the purl bumps that will give the heart texture. This will also help to define the shape of the heart. Repeat this row until the desired length for the left side of the heart is reached.
Next, it is time to start shaping the top of the heart. Begin by decreasing stitches at the beginning and end of each row. This can be done by knitting or purling two stitches together. Continue decreasing in this manner until there are only a few stitches remaining.
At this point, switch to using a yarn needle and draw the remaining stitches through the needle, removing them from the knitting needles. This will create the pointed top of the heart.
To finish off the left side of the heart, weave in any loose ends of yarn and trim them off. The left side of the heart is now complete and ready to be assembled with the right side of the heart to create a charming knitted heart motif.
Knitting the Center Point of the Heart

When knitting a heart pattern, the center point is an important element that brings together the two halves of the heart shape. It creates the distinctive V shape that is characteristic of a heart, and gives the pattern its unique charm. To knit the center point of the heart, there are a few key steps to follow.
To begin, cast on the required number of stitches for your heart pattern. This will depend on the size and design of the heart you are knitting. Once the stitches are cast on, create a slip knot and place it on your right-hand needle. This will be the starting point for your center point.
Next, work the first row according to the instructions of your heart pattern. This may involve knitting or purling stitches, or perhaps even using different stitches like yarn overs or decreases. The first row is crucial in establishing the shape of the heart, so it is important to follow the instructions carefully.
Once the first row is complete, you will start shaping the center point of the heart. This is typically done by decreasing stitches in a specific pattern. The decrease stitches may be worked on both sides of the center point, or just on one side depending on the design. The decrease stitches are what create the V shape and bring the two halves of the heart together.
Continue working the center point of the heart according to the instructions of your pattern. This may involve decreasing stitches gradually to form a more rounded shape, or it may involve decreasing more rapidly to create a sharper point. The number of rows and stitches decreased will depend on the desired shape and size of the heart.
Once the center point is complete, you can continue knitting the rest of the heart pattern, whether it involves working the sides of the heart or adding embellishments like cables or lace. The center point is an essential part of the heart pattern, and mastering this technique will allow you to create beautiful and intricate heart designs in your knitting projects.
Working on the Right Side of the Heart
When knitting the heart pattern, it is important to work on the right side of the fabric to create the desired look. This means that the side of the fabric that will be seen when the project is finished should be facing you as you knit. The right side is the side that will show the heart shape and any other design elements, while the wrong side will typically be plain or show the back of the stitches.
To determine which side is the right side, you can look at the pattern or use visual cues. If there are specific instructions for working certain stitches or patterns on the right side, that can be a clue. Additionally, if there is a clear difference in the appearance of the stitches on each side, such as the heart shape only showing on one side, that can also indicate which side is the right side.
Once you have identified the right side, you can start knitting the heart pattern. Follow the instructions provided, making sure to work each stitch and pattern element on the right side. Pay close attention to any shaping or color changes, as these can add depth and dimension to the heart design.
As you work on the right side, be mindful of your tension and gauge to ensure an even and consistent fabric. Take breaks to check your progress and make any necessary adjustments. It can also be helpful to use stitch markers or highlighters to keep track of your place in the pattern.
Working on the right side of the heart allows you to create a beautiful and intricate design that will be showcased when the project is complete. Enjoy the process and take pride in your knitting skills as you bring the heart pattern to life!
Finishing the Heart Shape
Once you have completed knitting the heart shape, it’s time to finish off your project and add any final touches. Here are a few steps to take to ensure your heart looks its best:
1. Bind off:
To secure your stitches and prevent any unraveling, you will need to bind off your knitting. Start by knitting two stitches, then insert the left needle into the first stitch on the right needle and lift it over the second stitch. Continue this process until you have bound off all your stitches, leaving one final stitch on the right needle. Cut the yarn, leaving a tail, and pull the tail through the last stitch to secure it.
2. Weave in ends:
Next, you will need to weave in any loose ends of yarn from your knitting. Thread the tail of yarn onto a tapestry needle and carefully stitch it into the back of your knitting, running the needle through several stitches to secure it. Trim off any excess yarn once the end is secured.
3. Block your heart:
If you want to shape your heart more precisely, you can wet block your knitting. Soak your knitted heart in lukewarm water for about 15 minutes, then gently squeeze out any excess water. Lay the heart on a towel and shape it into a heart shape, pinning it in place if necessary. Allow it to dry completely before removing the pins.
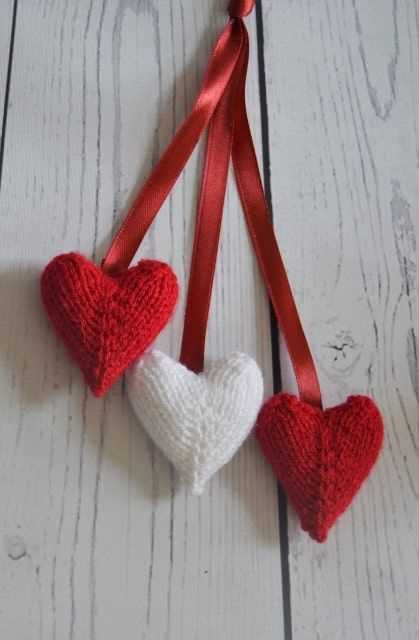
With these final steps, your heart knitting project is complete! You can use your finished heart shape as a decorative element on a garment or accessory, or simply as a small heartfelt gift for someone special.
Binding off Stitches
Binding off stitches is an essential step in knitting as it gives your project a finished look and prevents it from unraveling. It is the process of removing stitches from your knitting needles and securing the edge of your work. Here are a few methods to bind off stitches.
Basic Bind Off
The basic bind off is the most common method used in knitting. To bind off, work the first two stitches as normal, then insert the left-hand needle into the first stitch on the right-hand needle. Lift this stitch over the second stitch and completely off the needle. Repeat this process for the remaining stitches until one stitch remains. Cut the yarn, leaving a long tail, and pull it through the last stitch to secure it.
Stretchy Bind Off
If you want a more stretchy edge, you can use a stretchy bind off method. One popular stretchy bind off technique is the “Jeny’s Surprisingly Stretchy Bind Off.” This method involves adding yarn overs to create more give in the bind off. Another option is the “Russian Bind Off,” which involves working yarn overs and knitting two stitches together through the back loop. These methods are great for items such as socks or sweater cuffs that need more elasticity.
I-Cord Bind Off
The I-cord bind off is a decorative edge that adds a professional touch to your knitting project. It creates a small tube-like border that is good for items like shawls or scarves. To work an I-cord bind off, you will need a few stitches on a double-pointed needle. You will then knit these stitches, slip them back to the left-hand needle, and repeat until all the stitches are bound off. The result is a neat and tidy cord-like edge.
Remember to choose the appropriate bind off method for your project based on the desired finished look and stretchiness. Take your time and practice these techniques to master the art of binding off stitches. Happy knitting!
Adding Final Touches
Once you have finished knitting the heart pattern, it’s time to add the final touches to complete your project. These finishing steps will help to enhance the overall look and make your heart stand out.
Blocking: Start by blocking your knitted heart. This process involves wetting the heart and then shaping it while it dries. Blocking helps to even out the stitches and give the heart a more polished appearance.
Embroidery:
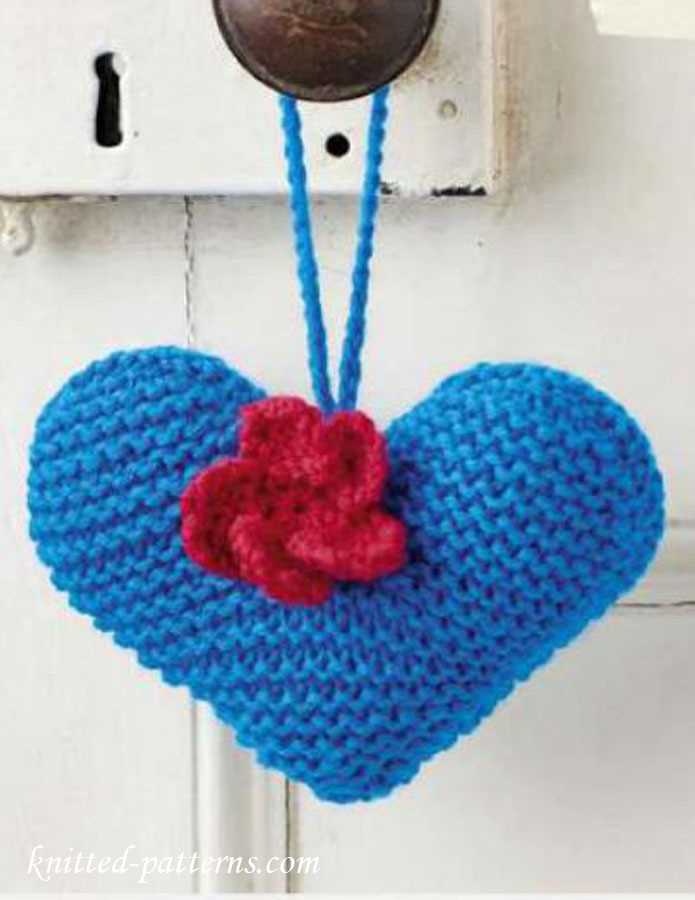
Add some extra flair to your heart by using embroidery techniques. You can add small flowers, initials, or other designs to personalize your heart. Use a contrasting color of yarn or embroidery floss to make the embroidery pop.
Seaming:

If you are knitting two separate pieces to create the heart shape, you will need to seam them together. Use a tapestry needle and the same yarn to stitch the pieces together. Take care to make the seam as invisible as possible, so that it doesn’t detract from the beauty of the heart.
Finishing touches:
Don’t forget the small details that can make a big difference. Weave in any loose ends of yarn to give the heart a clean and professional look. Trim any excess yarn to maintain a neat appearance.
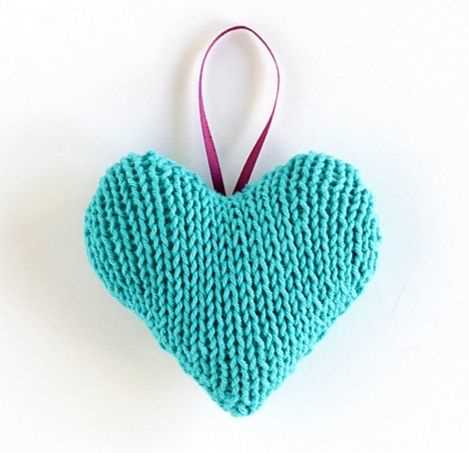
Optional: You can also attach a loop of yarn or ribbon to the top of the heart to create a hanging ornament. This way, you can display your knitted heart and enjoy it year-round.
By following these final touches, your knitted heart will be ready to be displayed or gifted to a loved one. Enjoy the satisfaction of completing a beautiful and heartfelt knitting project!
Tips and Troubleshooting
Knitting a heart pattern can be a fun and rewarding project, but it can also present some challenges. Here are some tips and troubleshooting suggestions to help you along the way:
1. Choose the right yarn and needle size
When knitting a heart pattern, it’s important to select the right yarn and needle size to achieve the desired gauge. A lightweight yarn with smaller needles will result in a smaller heart, while a bulkier yarn with larger needles will create a larger heart. Experiment with different yarn and needle combinations to find the perfect size for your project.
2. Pay attention to tension
Consistent tension is crucial when knitting a heart pattern, especially if you want the heart to have a symmetrical shape. Make sure to knit each stitch with the same tension to achieve an even and polished finished product. If you notice that your tension varies, try using a different knitting technique or practice knitting more slowly and deliberately.
3. Read the pattern carefully
Before you begin knitting, take the time to read through the pattern thoroughly. Make sure you understand each instruction and are familiar with any special stitches or techniques required. It can be helpful to highlight or mark important sections of the pattern to refer back to as you work.
4. Use stitch markers
Stitch markers can be helpful when knitting a heart pattern, especially if the pattern has shaping or increases and decreases. Place a stitch marker after a specific number of stitches or before a shaping section to help you keep track of your progress and ensure accuracy in your knitting.
5. Fixing mistakes
If you make a mistake in your knitting, such as dropping a stitch or knitting the wrong stitch, it’s important not to panic. Take a deep breath and carefully examine your work to identify the mistake. You can use a crochet hook or a smaller knitting needle to fix any dropped stitches or incorrect stitches by carefully working them back into place. If the mistake is more complicated, you may need to unravel a few rows and re-knit them correctly.
Summary
Knitting a heart pattern can be a fun and enjoyable project, and with these tips and troubleshooting suggestions, you’ll be well-equipped to tackle any challenges that may arise. Remember to choose the right yarn and needle size, pay attention to tension, read the pattern carefully, use stitch markers, and be confident in fixing mistakes. Happy knitting!