
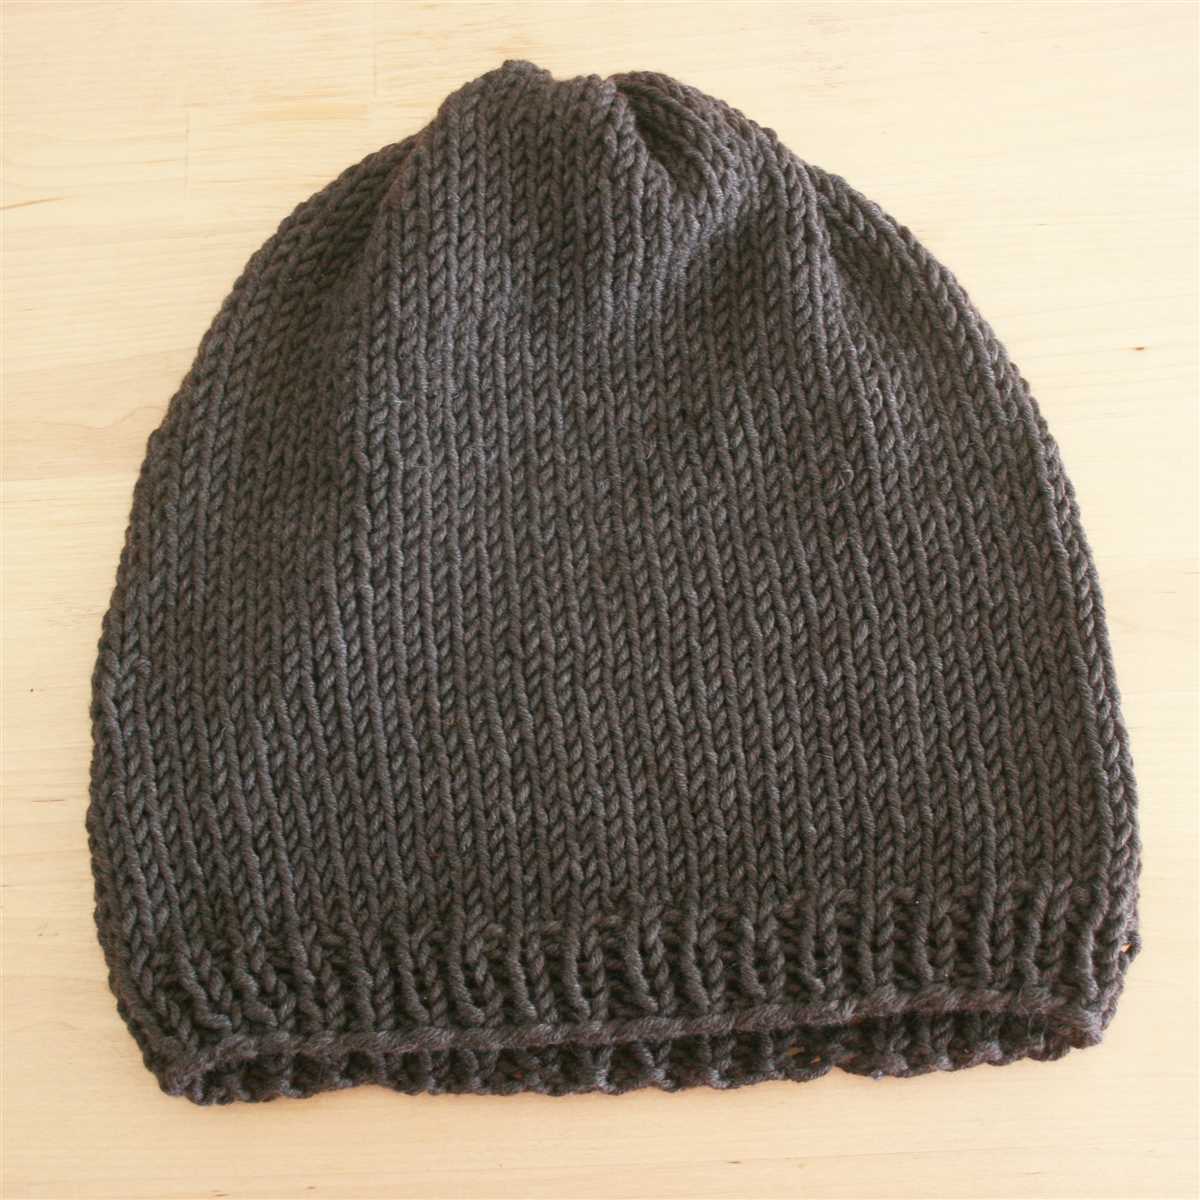
A flat knit hat is a simple and satisfying project for knitters of all skill levels. Whether you’re a beginner looking for a quick and easy project or an experienced knitter looking to add a new hat to your collection, this pattern is perfect for you. With just a few basic stitches, you can create a warm and cozy hat that is both stylish and functional.
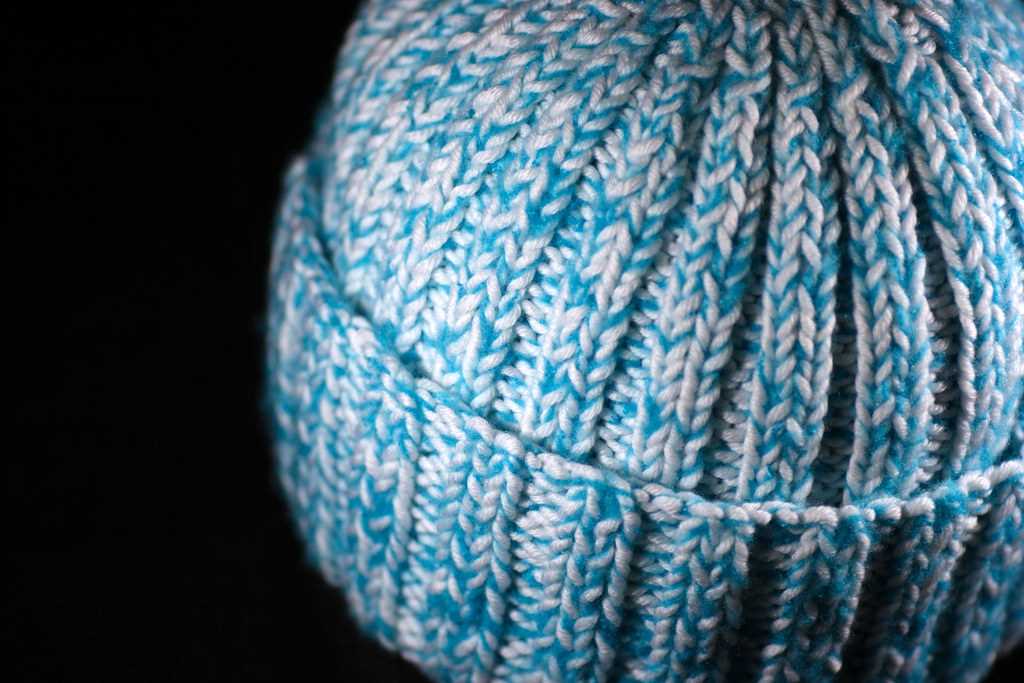
This easy flat knit hat pattern uses a combination of knit and purl stitches to create a textured ribbed design. The ribbed pattern not only adds visual interest but also helps the hat to comfortably fit a variety of head sizes. The pattern is worked in the round, so there is no need to seam the hat at the end. This makes it a great project for knitters who don’t enjoy sewing or for those who prefer a seamless finish.
To create this hat, you’ll need a set of circular knitting needles and some soft and warm yarn of your choice. The pattern is written for a standard adult head size, but it can easily be adjusted for smaller or larger sizes by changing the number of cast on stitches. The pattern is also easily customizable, so feel free to experiment with different colors or even add some decorative touches like a pom-pom or a brim.
So grab your knitting needles and get ready to create your own cozy flat knit hat. This pattern is the perfect project for cold winter days or as a thoughtful and handmade gift for a loved one. Once you’ve finished one hat, you’ll want to make more and more to keep everyone you know warm and stylish.
Easy Flat Knit Hat Pattern
Looking for a simple and quick knitting project? This easy flat knit hat pattern is perfect for beginners or anyone looking to make a cozy and stylish hat. With just two basic stitches and minimal shaping, you’ll have a finished hat in no time!
To get started, you’ll need a pair of knitting needles and some worsted weight yarn. Choose a color that you love and gather your supplies. You’ll also need a tapestry needle for sewing up the seam at the end.
Once you have your materials ready, cast on the desired number of stitches. A good starting point is usually around 80-100 stitches, depending on how snug or loose you want your hat to fit. Make sure to leave a long tail for sewing up the seam later.
Now it’s time to start knitting! The pattern uses a combination of knit and purl stitches to create a ribbed edge and a smooth stockinette stitch body. Simply follow the pattern instructions row by row, repeating the same sequence until the hat reaches the desired length. Don’t forget to knit a few rows of ribbing at the end to finish off the hat.
- Cast on desired number of stitches
- Row 1: *K1, P1* repeat to end
- Row 2: *P1, K1* repeat to end
- Repeat rows 1 and 2 until hat measures desired length
- Knit 2 rows of ribbing
- Bind off all stitches
Once you’ve finished knitting, it’s time to sew up the seam. Fold the hat in half, with the wrong sides facing each other. Use the long tail left from the cast on to sew up the seam using a tapestry needle. Make sure to pull the yarn tight as you stitch to create a neat and secure seam.
And that’s it! You now have a cozy and stylish flat knit hat to keep you warm during the colder months. Feel free to customize your hat by adding embellishments like pom-poms or buttons, or by experimenting with different yarn colors and textures. Happy knitting!
Selecting your yarn and needles
Choosing the right yarn and needles for your easy flat knit hat pattern is an important step in ensuring the success of your project. There are many factors to consider when making your selection, including the fiber content, weight, and gauge of the yarn, as well as the size of the needles.
Fiber content: The fiber content of the yarn will determine the feel, drape, and warmth of your hat. Common yarn fibers include wool, acrylic, cotton, and blends of these. Wool yarns provide warmth and elasticity, while acrylic yarns are often more affordable and easy to care for. Cotton yarns are lightweight and breathable, making them a good choice for spring or summer hats.
Weight: The weight of the yarn refers to its thickness or heaviness. Yarns are generally classified into categories such as lace, fingering, sport, worsted, and bulky. The weight of the yarn you choose will affect the size and look of your hat. For a light and airy hat, you may opt for a lace or fingering weight yarn. For a chunky and cozy hat, a bulky weight yarn would be suitable.
Gauge: The gauge is the number of stitches and rows per inch achieved with a particular yarn and needle size. It is important to match the gauge specified in the pattern to ensure that your hat turns out the correct size. If your stitches are too loose, try using smaller needles. If your stitches are too tight, try using larger needles.
Needle size: The size of the needles you use will also affect the size and drape of your hat. Thinner needles will result in smaller and denser stitches, while larger needles will create larger and looser stitches. The needle size recommended in the pattern will depend on the gauge desired, so be sure to check the pattern for this information.
By taking the time to carefully consider your yarn and needle choices, you can ensure that your easy flat knit hat turns out just the way you envision it.
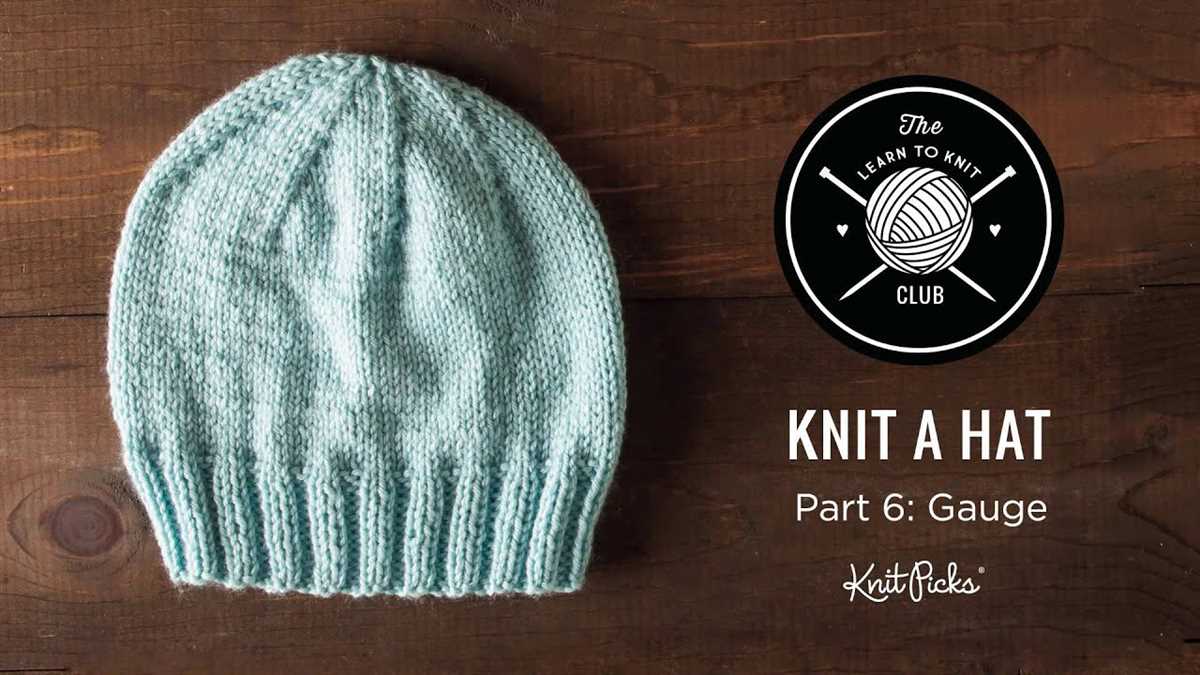
Gauge swatch
A gauge swatch is a small, test piece of knitting that is made to determine how many stitches and rows are in a certain measurement of fabric. It is an essential step in knitting projects because it helps to ensure that the finished item will be the correct size and fit properly.
Before starting any project, it is important to make a gauge swatch to check that the size and tension of the knitting needles and yarn are correct. The gauge swatch is worked in the same stitch pattern that will be used for the project, and the number of stitches and rows per inch is measured and compared to the pattern gauge.
Why is a gauge swatch important?
A gauge swatch is important because it helps to ensure that the finished piece will be the correct size and fit properly. If the gauge of the swatch does not match the gauge specified in the pattern, the finished item may end up being too small or too large. This can be especially problematic when making items like hats, where an incorrect gauge can result in a hat that is too tight or too loose.
How to make a gauge swatch
To make a gauge swatch, start by casting on a sufficient number of stitches according to the pattern instructions. Then, work in the specified stitch pattern for the desired number of rows. After completing the swatch, gently wash and block it to ensure that the stitches relax and the fabric behaves properly.
Once the swatch is dry, measure the number of stitches and rows per inch using a ruler or a gauge tool. Compare the measurements to the pattern gauge, and if necessary, adjust the needle size or yarn thickness to achieve the correct gauge.
In summary, making a gauge swatch is an important step in knitting projects to ensure that the finished item will be the correct size and fit properly. By taking the time to make a gauge swatch and adjust the materials as needed, knitters can avoid the disappointment of a poorly fitting or incorrectly sized project.
Calculating your stitch count
When knitting a hat, it’s important to calculate your stitch count correctly to ensure that the hat fits properly. The stitch count determines the circumference of the hat and can also affect the height and overall shape of the hat.
To calculate your stitch count, you will need to know the gauge of your knitting. Gauge refers to the number of stitches and rows per inch in your knitting. This can vary depending on the yarn and needle size you are using.
To calculate the stitch count, you will first need to measure the circumference of the head you are knitting for. This can be done using a soft measuring tape or by wrapping a string around the head and then measuring the length of the string. Once you have the head circumference measurement, you will multiply it by the gauge for your knitting to determine the total number of stitches needed.
If you are using a rib stitch pattern or any other stitch pattern that requires a specific number of stitches, you will need to adjust the stitch count accordingly. This may involve adding or subtracting stitches to ensure that the pattern works evenly across the hat.
It’s always a good idea to make a gauge swatch before starting your hat to ensure that your stitch count is accurate. The gauge swatch will help you determine the correct needle size and yarn tension to achieve the desired stitch count.
Here is a general formula to calculate stitch count:
- Measure the head circumference in inches.
- Multiply the head circumference by the gauge for your knitting.
- Adjust the stitch count if necessary for any stitch pattern.
- Round the stitch count to the nearest whole number.
By following these steps and calculating your stitch count accurately, you can ensure that your flat knit hat will fit perfectly and be a cozy and comfortable accessory for the colder months.
Cast On
When starting a flat knit hat, the first step is to cast on the required number of stitches. The cast on is the foundation of the project and determines the width of the hat. There are different methods of casting on, but for this pattern, we will be using the long tail cast on method.
Long Tail Cast On
The long tail cast on is a popular method that creates a neat and stretchy edge. To begin, measure a length of yarn that is approximately three times the width you want your hat to be. Make a slip knot on your needle and hold the needle with the slip knot in your right hand, and the tail of yarn in your left hand.
Insert the needle under the tail of yarn, from right to left, and then over the top of the working yarn, creating a loop on the needle. This is the first cast on stitch. Repeat this process for the desired number of stitches, making sure to maintain an even tension on the yarn. It is important to count your stitches as you go to ensure you have the correct number.
Once all the stitches have been cast on, you are ready to proceed with the rest of the pattern. The long tail cast on provides a sturdy but flexible edge that will hold up well throughout the hat knitting process. It is a versatile cast on method that can be used for a variety of knitting projects, not just hats.
Knitting the brim
When it comes to knitting the brim of a hat, there are a few different techniques you can use. One popular option is the rib stitch, which creates a stretchy fabric that hugs the head comfortably. To knit the brim in rib stitch, you will alternate between knitting and purling stitches in a specific pattern. This creates raised columns of knit stitches and recessed columns of purl stitches, giving the brim its characteristic ribbed texture.
Another option for the brim is the garter stitch. With this technique, you simply knit every row, creating a fabric with ridges. The garter stitch is a great choice for beginners, as it is easy to master and adds a simple, clean look to the hat. This stitch is also quite stretchy, making it a comfortable option for the brim.
If you prefer a more decorative brim, you can try adding a few rows of a different stitch pattern, such as seed stitch or moss stitch. Both of these stitches involve alternating between knit and purl stitches in a specific pattern, creating a textured fabric. These stitches can add visual interest to the hat and allow you to customize the brim to your liking.
It’s important to keep in mind that the size of the brim will depend on the length of the knitting needles you are using and the gauge of your yarn. You can adjust the length of the brim by adding or subtracting rows of knitting. If you prefer a longer brim that can be folded up, you can knit more rows. Alternatively, if you prefer a shorter brim, you can knit fewer rows.
To ensure a snug fit, it’s a good idea to measure the circumference of the wearer’s head and use that measurement to determine the number of stitches to cast on for the brim. You can refer to a knitting size chart to help you determine the appropriate number of stitches based on the wearer’s head circumference.
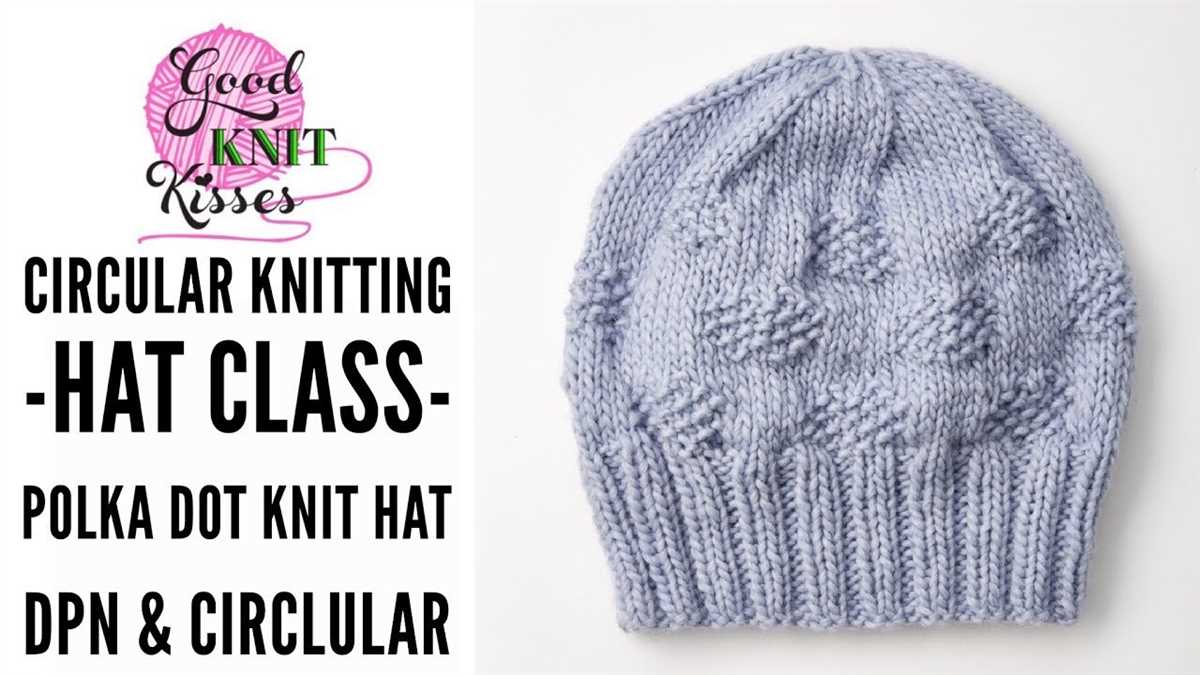
Switching to main stitch pattern
Now that you have finished the ribbing section, it’s time to switch to the main stitch pattern for your flat knit hat. This pattern will create the body of the hat and give it a nice textured look.
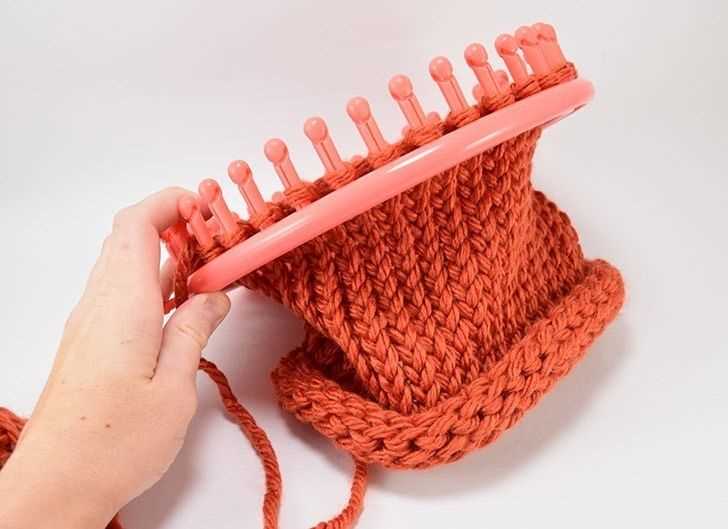
To switch to the main stitch pattern, you will start working in the round. This means that you will no longer be turning your work at the end of each row. Instead, you will continue knitting in a continuous spiral, which will create a seamless and more polished finish for your hat.
For the main stitch pattern, you can choose from a variety of options, such as a basic stockinette stitch, a seed stitch, or a rib pattern. The choice of stitch pattern is up to you and depends on the look you want to achieve for your hat.
Once you have decided on the stitch pattern, you can begin knitting in the round. Make sure to keep track of your stitches, especially if you are using a pattern that requires a certain stitch count. You can use stitch markers to help you keep track of important points in your pattern, such as the beginning of a round or any stitch pattern repeats.
Continue knitting in the main stitch pattern until the hat reaches the desired length, making sure to periodically try it on to check the fit. Remember to take into account any decrease rounds that you may need to add at the top of the hat to shape it properly.
Switching to the main stitch pattern allows you to create the body of your flat knit hat and gives you the opportunity to customize its look. Experiment with different stitch patterns and have fun making your hat unique and stylish!
Working the body of the hat
After you have completed the ribbing section, it’s time to start working on the body of the hat. This is where you will be using the main stitch pattern to create the bulk of the hat.
To begin, you will need to switch to the larger circular needles. Thread the working yarn onto the needles and join in the round, being careful not to twist the stitches. You can use a stitch marker to mark the beginning of the round, if desired.
Now, you can start working the main stitch pattern. The pattern may vary depending on the specific hat pattern you are using, but generally it will involve knitting or purling each round until the hat reaches the desired length.
If your pattern calls for a specific stitch pattern, such as a cable or a lace pattern, make sure to follow the instructions exactly as written. It’s important to keep track of your stitch count and pattern repeats, as any mistakes can affect the final shape and look of the hat.
As you work the body of the hat, it’s important to periodically try it on to check the fit. You want the hat to be snug enough to stay on your head, but not too tight that it becomes uncomfortable. If necessary, you can adjust the length of the hat by adding or removing rows of the main stitch pattern.
Continue working the body of the hat until it reaches the desired length, typically around 6-8 inches from the cast on edge. Once you’ve reached the desired length, you can move on to the next step, which is usually shaping the crown of the hat.
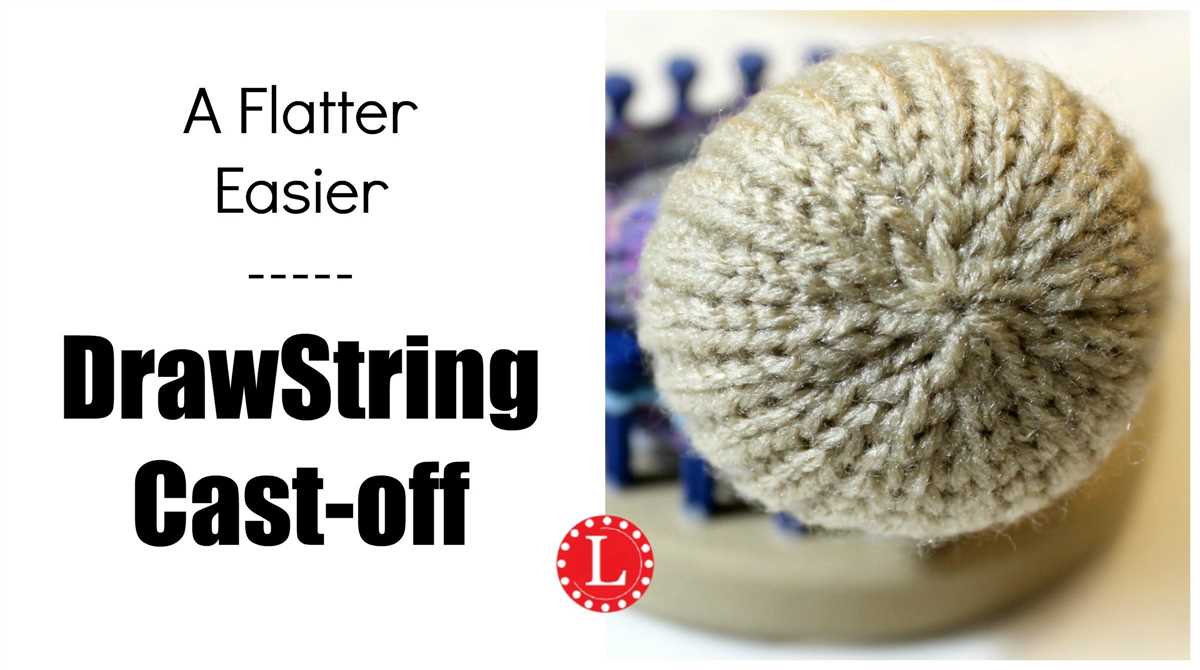
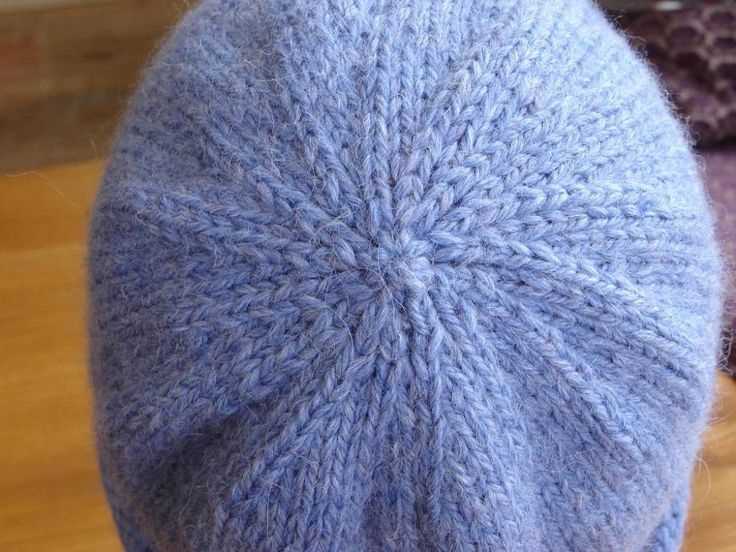
Decreasing for the crown

When you reach the desired length for your hat, it’s time to start decreasing for the crown. This is done to create a rounded shape and a snug fit on the head.
To start decreasing, you will need to divide your stitches evenly onto double-pointed needles or use the magic loop technique if you prefer. The number of stitches you have will determine how many decrease rounds you will need. For example, if you have 60 stitches, you could decrease by 6 stitches every other round until you have about 12 stitches remaining.
The most common decrease stitch used for hats is the knit two together (k2tog) stitch. This stitch involves inserting your right needle through two stitches on your left needle and knitting them together as if they were one stitch. This decreases the stitch count by one. Other decrease stitches you can use include the slip, slip, knit (ssk) stitch and the centered double decrease (cdd) stitch, depending on the design and pattern you are using.
Once you have completed all the decrease rounds, you can finish off your hat by cutting the yarn, leaving a long tail, and pulling it through the remaining stitches to secure them. Weave in any loose ends and give your hat a gentle blocking if desired. Congratulations, you have now completed your easy flat knit hat!
Finishing off the hat
After completing the last row of your easy flat knit hat pattern, it’s time to finish off the hat and make it wearable. Follow these steps to give your hat a polished look:
Weave in loose ends
Using a yarn needle, weave in any loose ends from your knitting. Take care to neatly stitch the yarn ends into the fabric of the hat, ensuring they are secure and will not unravel with wear. Trim any excess yarn once the ends are secured.
Block the hat (optional)
If you want your hat to have a more defined shape, you can choose to block it. Blocking is the process of wetting the knit fabric and shaping it to the desired size while it dries. To block your hat:
- Fill a basin or sink with lukewarm water and a small amount of mild detergent.
- Gently submerge the hat in the water, making sure it is fully saturated.
- Remove the hat from the water and squeeze out excess moisture, taking care not to wring or twist the fabric.
- Pat the hat into shape, stretching it slightly if desired.
- Place the hat on a clean towel and roll it up to remove additional moisture.
- Unroll the towel and reshape the hat if needed.
- Allow the hat to air dry completely before wearing.
Add any desired embellishments
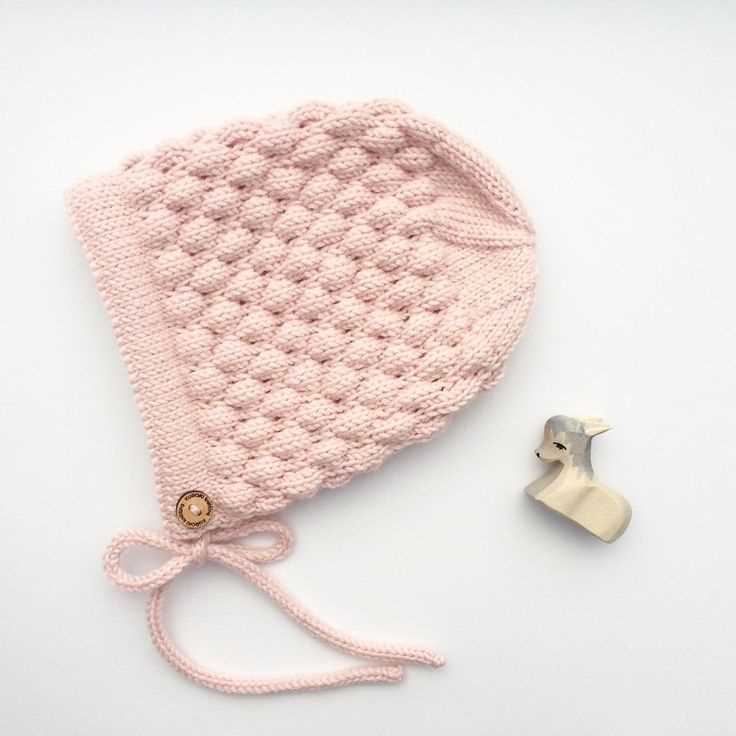
Once your hat is dry, you can add any desired embellishments to personalize it further. This could include attaching a pom-pom, sewing on buttons, or adding a decorative crochet edging. Get creative and have fun customizing your hat to your liking!
Blocking the hat
Blocking is an important step in knitting to give your finished project a professional and polished look. Blocking helps to shape and set the stitches, smooth out any uneven areas, and allows the hat to fit and drape properly when worn. Here are some steps to follow when blocking your easy flat knit hat.
1. Soaking the hat
Start by filling a sink or basin with lukewarm water and adding a gentle wool wash or mild detergent. Gently place the hat in the water and press it down to fully submerge. Allow the hat to soak for about 15-20 minutes, ensuring that the fibers are fully saturated.
2. Removing the excess water
After soaking, carefully lift the hat out of the water and gently squeeze out the excess water. Avoid twisting or wringing the hat, as this can damage the fibers and distort the shape. Lay the hat flat on a clean towel and roll it up, pressing down to absorb more water.
3. Shaping the hat
To shape the hat, you can use blocking mats or a foam board with rustproof T-pins. Place the hat on the blocking surface and gently stretch it to the desired size and shape. Smooth out any wrinkles or uneven areas, making sure the ribbing is straight and the crown is rounded.
4. Allow the hat to dry
Once the hat is shaped, leave it to air dry in a well-ventilated area away from direct sunlight. Depending on the temperature and humidity, it may take anywhere from 24 to 48 hours for the hat to fully dry. Do not rush the drying process by using a heater or hairdryer, as this can cause the fibers to become brittle and lose their shape.
Following these steps will ensure that your easy flat knit hat looks its best and maintains its shape for years to come. Remember to always read and follow the care instructions for the specific yarn you are using to ensure the best results.
Adding Embellishments (Optional)
If you want to add a personal touch to your knitted hat, you can consider adding embellishments. There are many options to choose from, and you can get creative with your choices.
1. Pom Pom:
Add a playful touch to your hat with a pom pom. You can make one yourself using yarn or purchase pre-made pom poms. Attach it to the top of your hat using a needle and thread.
2. Buttons:
Buttons can add a decorative element to your hat. Sew them onto the brim or use them to accentuate a specific design or pattern. Choose buttons that complement the color and style of your hat.
3. Appliques:
If you want to add a unique design to your hat, consider using appliques. These can be in the form of small knitted or crocheted motifs, patches, or even fabric cutouts. Sew the appliques onto your hat to create a personalized look.
4. Ribbons:
Ribbons can be tied around the base or brim of your hat to add a feminine touch. You can choose a ribbon that matches the color or pattern of your hat or opt for a contrasting color to create a striking effect.
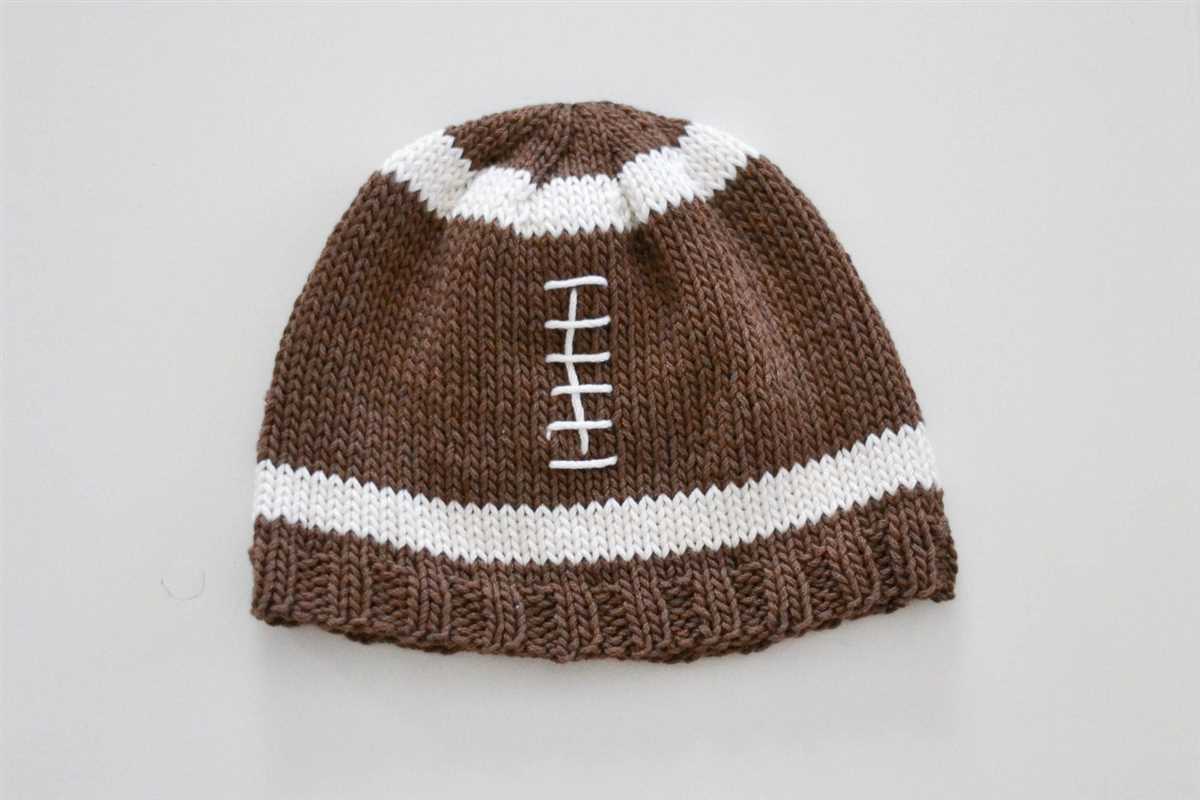
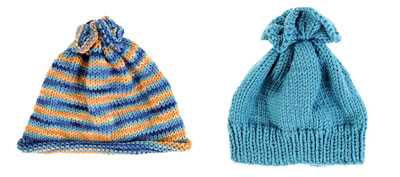
- For a more textured look, you can use different yarn colors or types to create stripes or patterns.
- You can add beading or sequins to your hat for a touch of glamour.
- Consider using fabric paint to add unique designs or patterns directly onto the knitted fabric.
Adding embellishments to your flat knit hat can make it even more special and personalized. Choose embellishments that reflect your personal style and have fun experimenting with different options.
Final thoughts
Making your own flat knit hat can be a fun and rewarding project. With this easy pattern, even beginners can create a stylish and cozy hat in no time. Whether you’re knitting for yourself or making a gift for a loved one, this pattern is versatile and can be customized to fit any head size or personal style.
By following the step-by-step instructions provided, you’ll be able to create a hat that is not only fashionable but also warm and comfortable. The flat knit design adds a unique touch and allows for easy customization with different stitches or color combinations.
Remember to take your time and have patience as you work through each row. Knitting can be a relaxing and mindful activity, so enjoy the process and embrace any mistakes or imperfections as part of the handmade charm.
Overall, this easy flat knit hat pattern is a great project for knitters looking to expand their skills and create a practical accessory. Whether you’re a beginner or an experienced knitter, this pattern is accessible to all skill levels and can be easily adjusted to suit your preferences.
- Get creative with different yarns and colors to make each hat unique.
- Experiment with different stitches and patterns to add texture and visual interest.
- Consider adding embellishments, such as buttons or pom poms, to personalize your hat even more.
So grab your knitting needles and get started on your own flat knit hat today. With this pattern, you’ll be able to create a stylish and cozy accessory that will keep you warm throughout the colder months.