
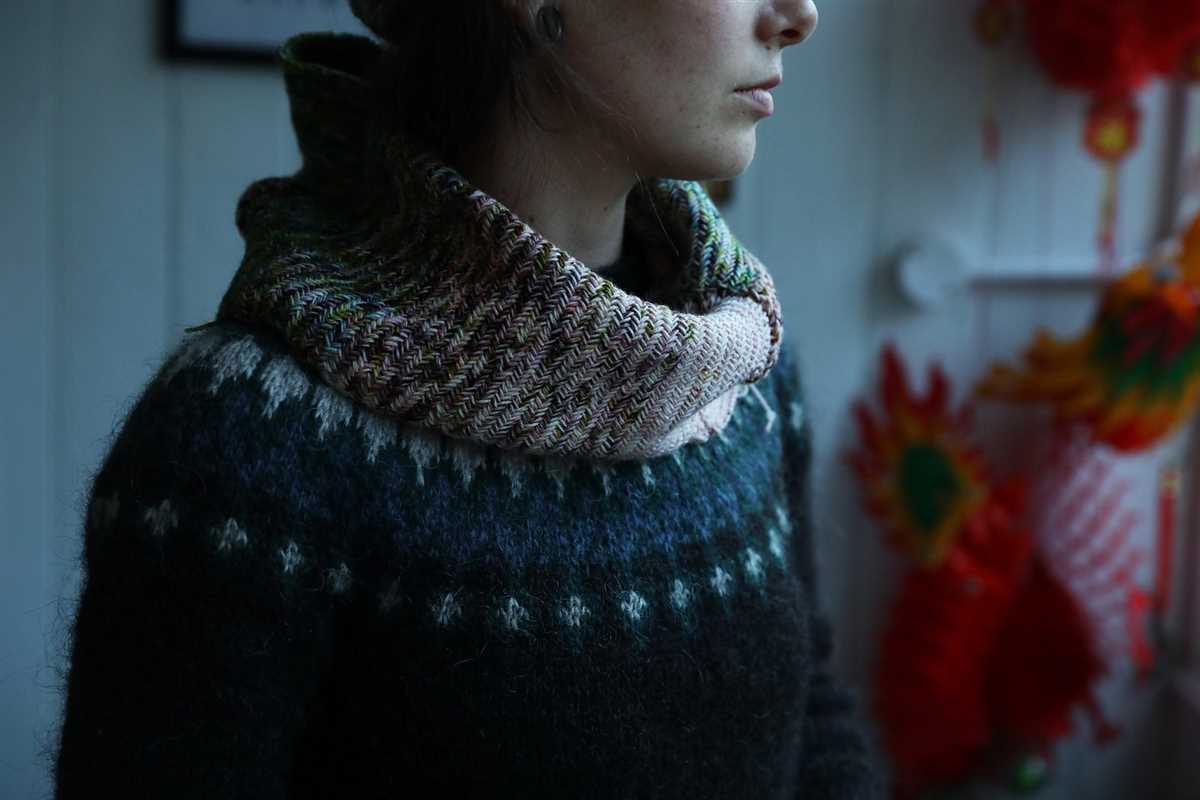
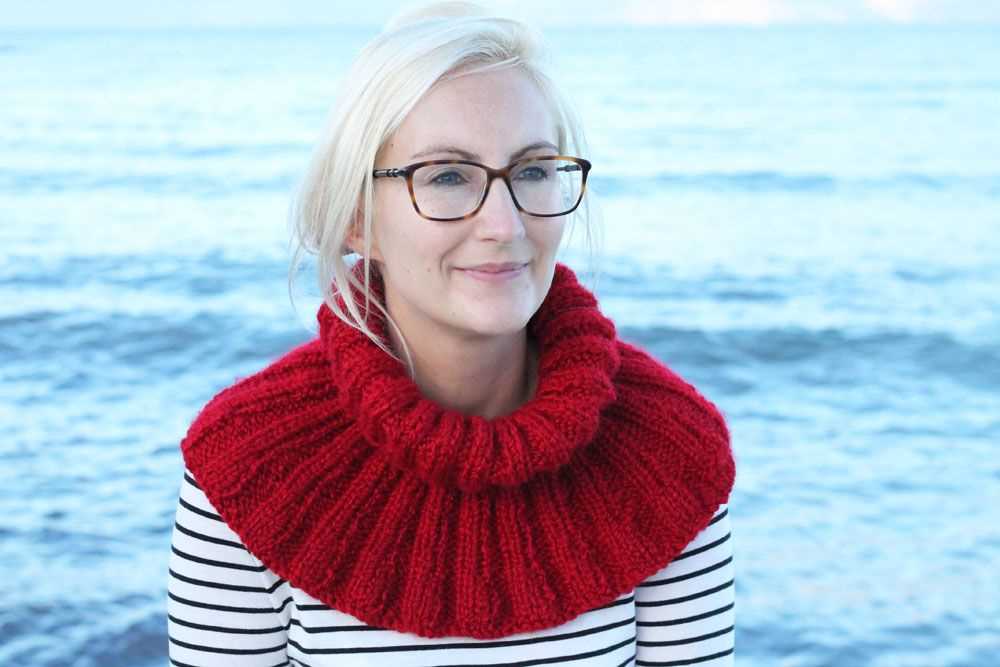
When it comes to staying warm during the colder months, a cowl is a must-have accessory. Not only does it add an extra layer of warmth to your outfit, but it also adds a touch of style and sophistication. And what’s better than a free knitting pattern that’s easy to follow?
Whether you’re a beginner knitter or an experienced pro, these easy cowl knitting patterns are perfect for anyone looking to create a cozy accessory. With just a few basic stitches and simple techniques, you can create a beautiful cowl that will keep you warm and fashionable all winter long.
One of the great things about knitting cowls is that they are quick and satisfying projects. You can easily finish one in a weekend or even an evening, making them a great option for last-minute gifts or when you’re in need of a new accessory for yourself. Plus, with the wide range of yarns available, you can customize your cowl to fit your personal style and preferences.
In this article, we’ll explore a variety of easy cowl knitting patterns that are free to download and use. From basic ribbed patterns to more intricate lace designs, there’s something for everyone. So grab your favorite knitting needles and let’s get started on your next knitting project!
Easy Cowl Knitting Pattern Free
If you’re looking for an easy and quick knitting project, an easy cowl knitting pattern is a great choice. Cowls are versatile accessories that can be worn in many different ways, and they make for great gifts as well. Luckily, there are plenty of free cowl knitting patterns available online that are perfect for beginners.
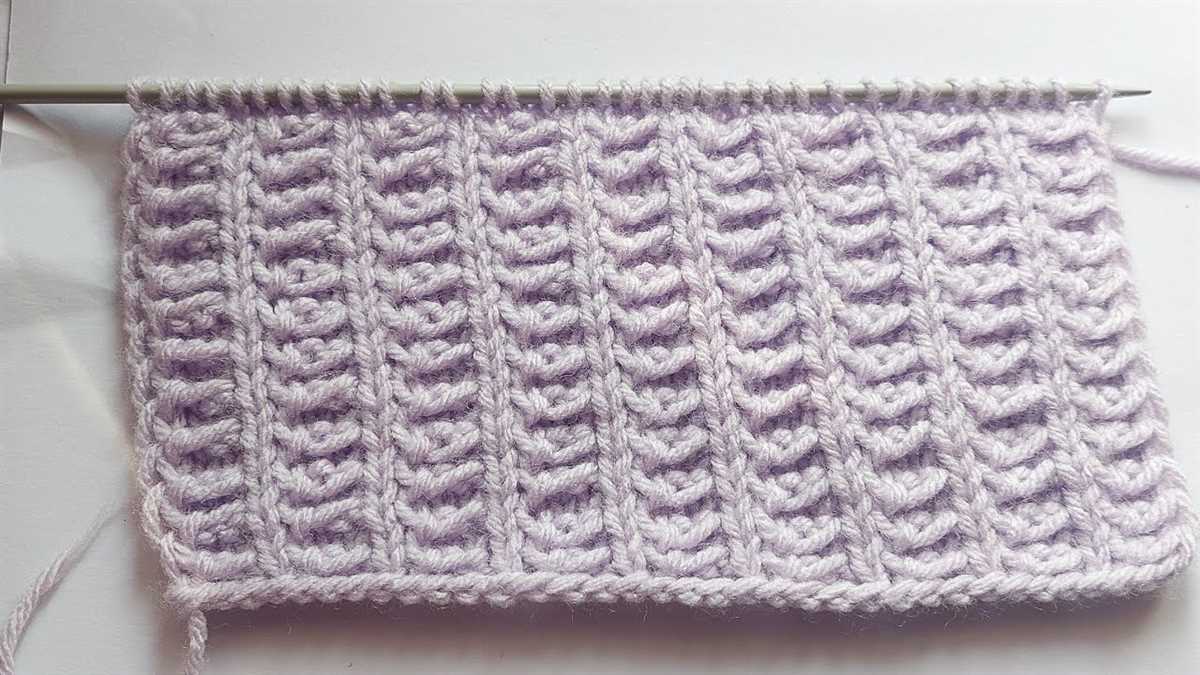
One of the easiest cowl knitting patterns is a simple ribbed cowl. This pattern typically involves using a basic ribbing stitch, such as knit 2, purl 2, to create a stretchy and textured fabric. The best part is that you can customize the length and width of the cowl to fit your preferences. This makes it a great project for beginners who want to practice their knitting skills.
To knit this easy cowl pattern, you’ll need some bulky weight yarn and a pair of knitting needles in the appropriate size. Start by casting on an even number of stitches, such as 60 or 80. Then, simply alternate between knitting 2 stitches and purling 2 stitches until you reach your desired length. Finally, bind off your stitches and sew the ends together to create a seamless cowl.
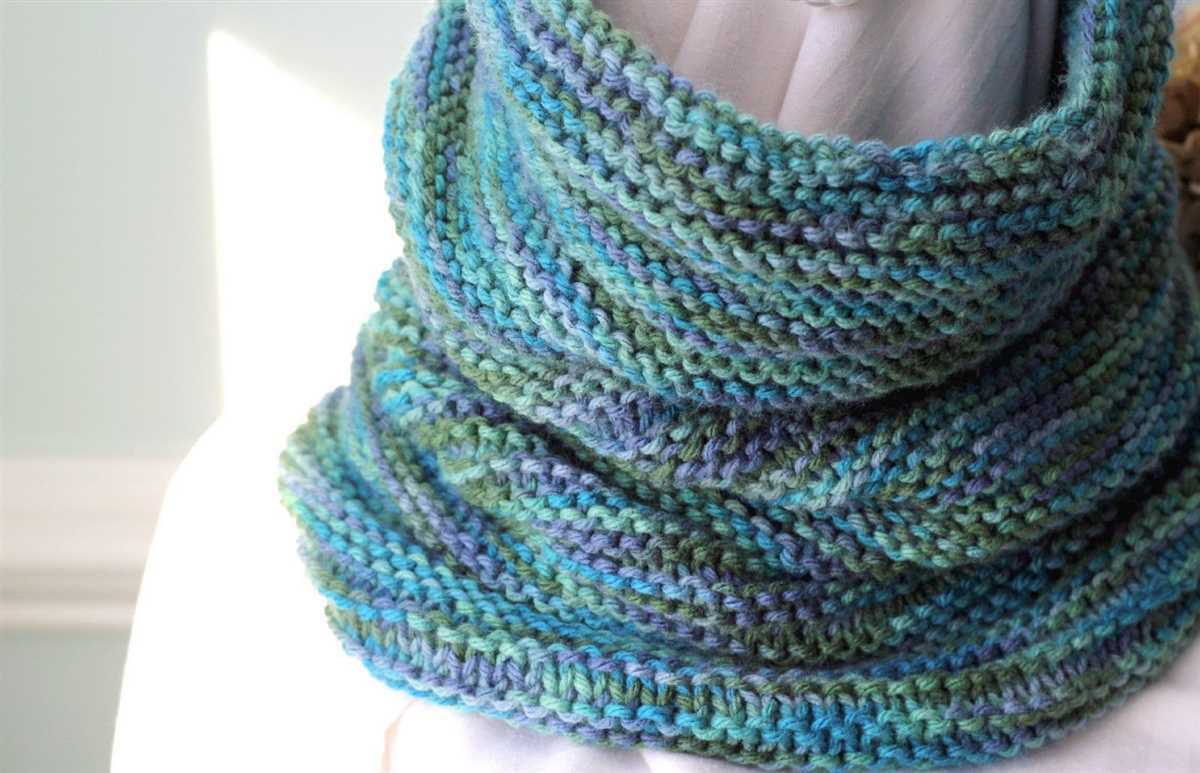
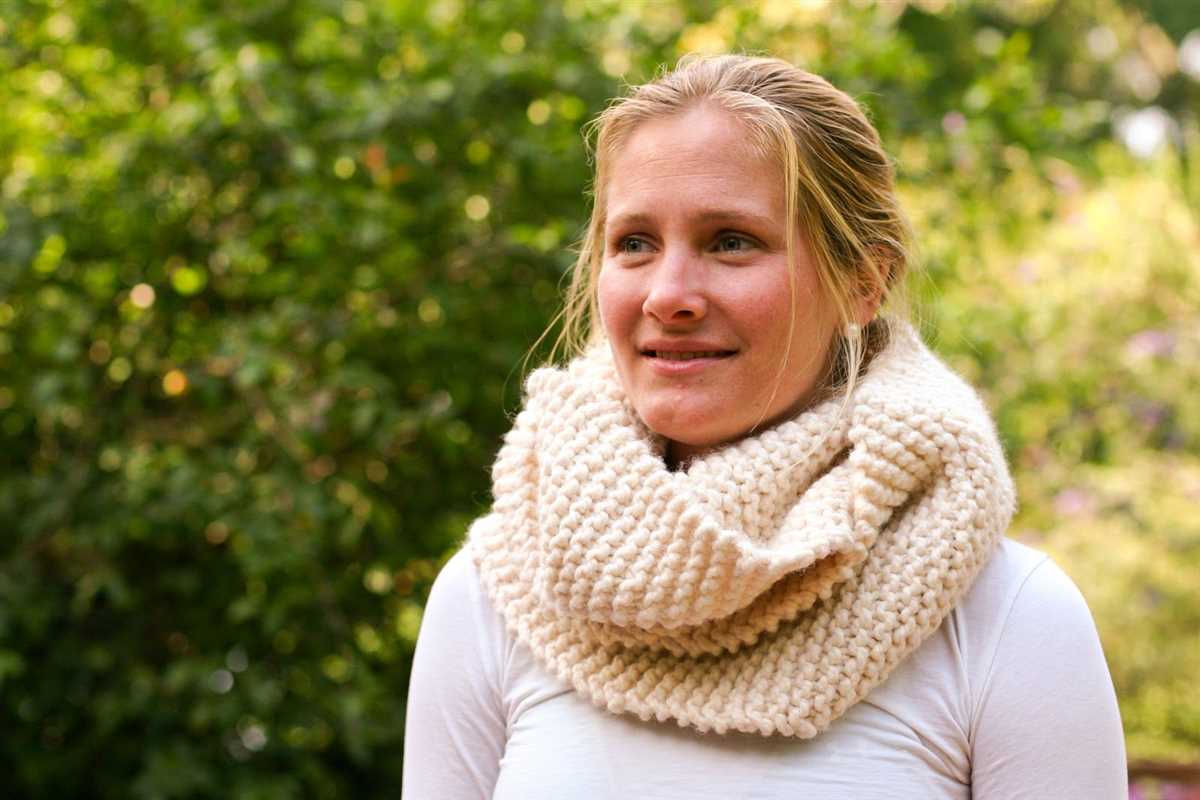
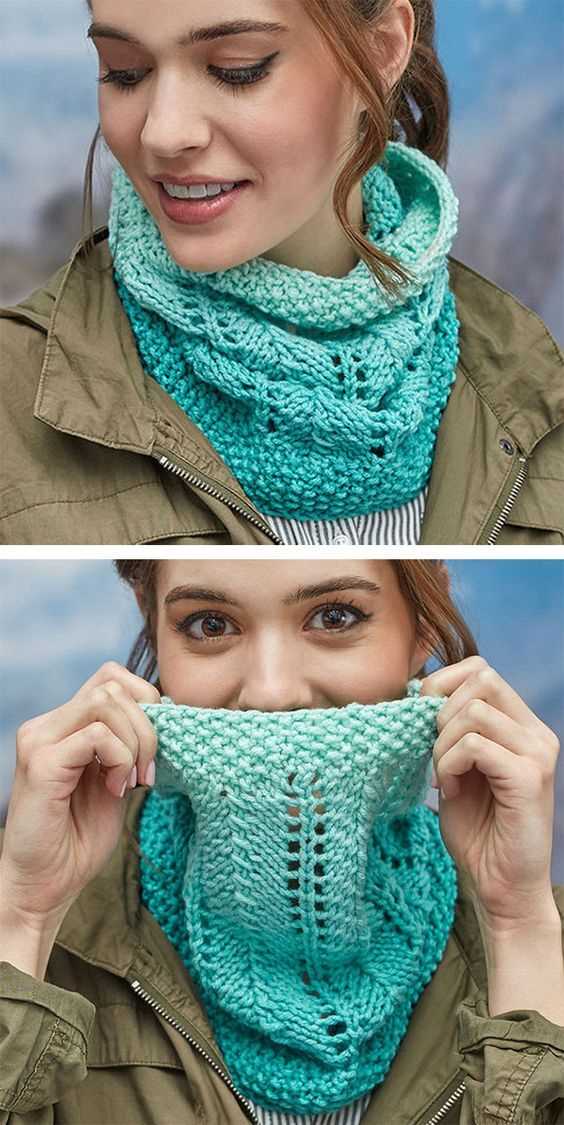
Another easy cowl pattern is a seed stitch cowl. The seed stitch involves alternating knit and purl stitches within the same row, creating a textured pattern that looks like scattered seeds. This pattern is great for beginners because it only requires knowledge of two basic stitches: knit and purl.
To knit a seed stitch cowl, start by casting on an even number of stitches. Then, knit 1 stitch, purl 1 stitch, and repeat this pattern until the end of the row. On the next row, purl 1 stitch, knit 1 stitch, and repeat this pattern until the end of the row. Continue alternating between these two rows until you reach your desired length. Finally, bind off your stitches and sew the ends together to create a cozy seed stitch cowl.
With these easy cowl knitting patterns, you’ll be able to create beautiful and functional accessories in no time. Whether you’re a beginner or an experienced knitter, these patterns are perfect for practicing your skills and creating stylish cowls. Plus, they’re free, so you can knit as many as you want without breaking the bank. So grab your yarn and needles and get started on your next knitting project today!
Materials Needed
In order to complete this easy cowl knitting pattern, you will need the following materials:
Yarn
- About 200 yards of bulky weight yarn
- You can choose any color that you like
- Make sure that the yarn is soft and cozy
Knitting Needles
- A pair of US size 13 (9 mm) circular knitting needles
- Note that the length of the needles should be at least 24 inches in order to accommodate a large number of stitches
Tapestry Needle
For weaving in ends and finishing touches
Stitch Marker
Optional, but helpful for keeping track of your rounds
Scissors
For cutting yarn
Once you have gathered all the necessary materials, you’ll be ready to start knitting your easy cowl!
Getting Started
In order to get started with knitting an easy cowl pattern, you will need a few basic supplies. These include:
- Knitting needles: Choose the appropriate size needles for your chosen yarn.
- Yarn: Select a soft and chunky yarn in a color of your choice.
- Tapestry needle: This will be used for weaving in ends and finishing your project.
- Scissors: A pair of sharp scissors will be handy for cutting your yarn.
Once you have gathered all your supplies, it’s time to choose your knitting pattern. For beginners, it’s recommended to start with a simple cowl pattern that uses basic knitting stitches and techniques. Look for patterns that are labeled as “easy” or “beginner-friendly”. These patterns often include detailed instructions and are designed to be easy to follow.
Before you start knitting, it’s a good idea to practice your basic knitting stitches. This will help you feel more comfortable and confident when working on your cowl. Familiarize yourself with how to cast on, knit, purl, and bind off. These are the fundamental stitches that you will be using in most knitting projects.
Casting On Stitches
When starting a knitting project, one of the first steps is casting on stitches. This is the process of creating the foundational row of stitches on the needle, which will eventually be turned into the fabric of the project.
There are different methods of casting on stitches, and the choice of method will depend on the desired outcome and personal preference. One common method is the long-tail cast-on, where a long tail of yarn is used to create the stitches. This method is versatile and creates a neat edge.
To cast on using the long-tail method:
- Make a slipknot by forming a loop with the yarn and passing the end through the loop.
- Hold the slipknot on the left needle and position the right needle behind the slipknot, with the yarn tail over the thumb and the working yarn over the index finger.
- Insert the right needle into the slipknot from front to back, under the left-hand needle.
- With the right index finger, bring the yarn under the right needle from front to back.
- With the right needle, bring the yarn over the left needle, forming a loop.
- Pull the right needle through the loop, keeping the loop on the left needle.
- Repeat steps 4-6 until the desired number of stitches is cast on.
Once the stitches are cast on, they are ready to be worked on in the chosen stitch pattern. Casting on stitches is an important step in knitting, as it sets the foundation for the entire project.
Knitting the Pattern

The easy cowl knitting pattern is a great project for beginners and experienced knitters alike. With its simple yet charming design, it can be completed in just a few hours. The pattern requires basic knitting skills and uses only knit and purl stitches, making it accessible to knitters of all levels.
To begin, gather your materials: a pair of knitting needles and a skein of your preferred yarn. The pattern recommends using a soft and bulky yarn for maximum coziness. Start by casting on the desired number of stitches, keeping in mind that a larger number of stitches will create a wider cowl while a smaller number will create a narrower one.
Once you have cast on, begin knitting in a simple rib stitch pattern. This means alternating between knit and purl stitches in each row. The rib stitch creates a stretchy and textured fabric that adds visual interest to the cowl. Continue knitting in this pattern until the cowl reaches your desired length.
Once you have finished knitting, bind off your stitches to secure your work. Use a tapestry needle to weave in any loose ends of yarn and give your cowl a final blocking. Blocking helps to even out the stitches and give the cowl a more polished look.
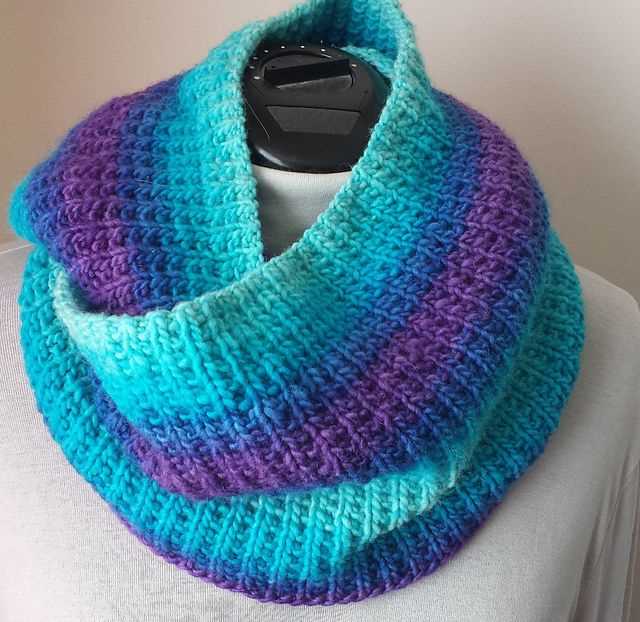
The finished easy cowl is perfect for staying warm and stylish during the colder months. It can be worn wrapped around the neck multiple times or draped loosely for a more relaxed look. With its versatility and simplicity, this cowl knitting pattern is sure to become a favorite in your knitting repertoire.
Changing Colors
Changing colors in your knitting project can add visual interest and create beautiful designs. Whether you’re knitting a cowl or any other piece, learning how to switch colors correctly can make a big difference in the final result. Here are a few techniques and tips for changing colors in your knitting:
1. Carry the yarn
When changing colors, you can carry the yarn along the back of your work. This is a common technique used in fair isle knitting or when working with multiple colors in one row. Simply drop the current color and pick up the next color, making sure to catch the new color with the old one on the wrong side of your work. This will prevent gaps or holes between color changes.
2. Knot or weave in the ends
Alternatively, you can knot or weave in the ends of the yarn when changing colors. This is often done when working with stripes or color blocks. To knot the ends, simply tie a secure knot between the old and new yarn. To weave in the ends, knit a few stitches with both strands of yarn held together, then drop the old color and continue knitting with the new color. After completing your project, you can trim any excess yarn and hide the knots or woven ends.
3. Plan your color changes
Before starting your knitting project, it’s always a good idea to plan your color changes. Create a color chart or map out the pattern to determine where and how often you want to switch colors. This will help ensure a consistent and balanced design. You can also experiment with different color combinations to create unique effects or gradients.
By using these techniques and planning your color changes, you can easily create stunning and eye-catching knitting projects. Whether you’re a beginner or an experienced knitter, changing colors can add a new level of creativity and excitement to your work.
Creating the Cowl Shape
When knitting a cowl, it is important to start with the correct shape in order to achieve the desired result. The cowl can be knit in a variety of shapes, including cylindrical, rectangular, or triangular. Depending on the style you want to create, you will need to choose the appropriate shape for your project.
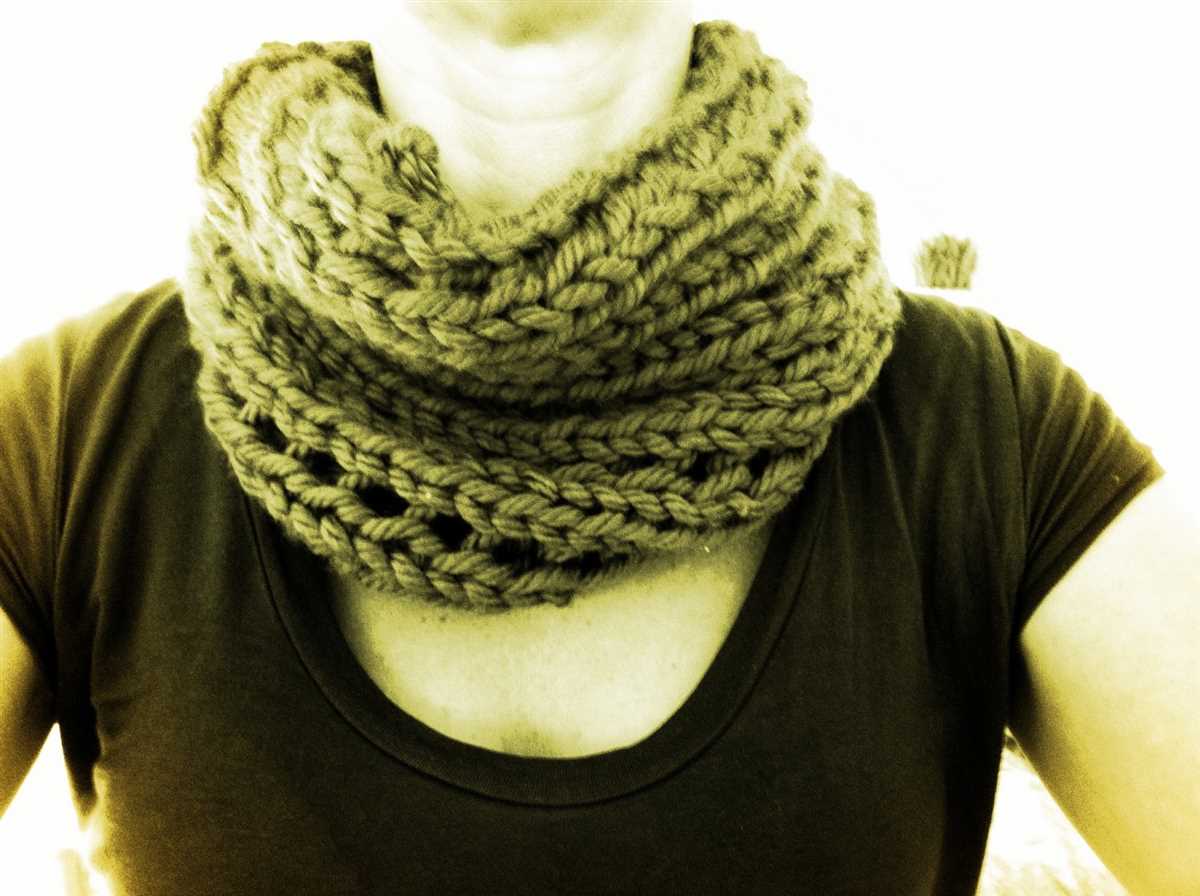
One of the easiest and most versatile cowl shapes to knit is the cylindrical shape. To create this shape, simply cast on the desired number of stitches and join in the round. Knit every round until the cowl reaches your desired length. The resulting cowl will be a tube that can be worn around the neck or pulled up over the head for added warmth.
If you prefer a more structured look, you can opt for a rectangular shape. To create a rectangular cowl, cast on the desired number of stitches and knit in rows back and forth instead of joining in the round. This will create a flat panel that can be sewn together at the ends to form a loop. The rectangular shape is great for draping over the shoulders or wearing as a wrap.
For a unique and eye-catching cowl, you may want to try knitting a triangular shape. This can be done by starting with just a few stitches and increasing on each side every few rows. As you continue to knit, the cowl will take on a triangular shape with a wide base and pointed ends. This style can be worn in various ways, such as a traditional cowl or a shawl-like accessory.
Ultimately, the choice of cowl shape will depend on your personal style preferences and the look you want to achieve. Experiment with different shapes and see which one works best for your knitting project. Whether you choose a cylindrical, rectangular, or triangular shape, you are sure to create a beautiful and cozy cowl that will keep you warm all winter.
Binding Off Stitches
Binding off stitches is an essential skill in knitting, as it allows you to secure your finished work and prevent it from unraveling. The binding off process involves removing stitches from the left-hand needle and creating a finished edge. There are various ways to bind off stitches, each with its own unique look and purpose.
Standard Bind Off: The standard bind off is the most commonly used method and creates a firm and stable edge. To bind off stitches using this method, you knit the first two stitches. Then, using the left-hand needle, lift the first stitch on the right-hand needle over the second stitch and off the needle. Continue knitting the next stitch and repeating the process of lifting the previous stitch over until you have bound off all of the stitches.
Stretchy Bind Off: The stretchy bind off is ideal for projects that require a little more flexibility, such as socks or hats. To create a stretchy bind off, you can use a larger needle or knit the stitches more loosely. Additionally, you can use a modified version of the standard bind off by knitting the first two stitches together, then lifting the resulting stitch over the remaining stitch and off the needle. Repeat this process until all stitches are bound off.
Elastic Bind Off: The elastic bind off is similar to the stretchy bind off but provides even more elasticity. This method is great for projects that need a lot of stretch, such as cuffs or collars. To bind off stitches using the elastic bind off, you can use a larger needle size, knit the stitches more loosely, and add a yarnover before each stitch. This extra yarnover adds extra stretch to the bind off edge.
Overall, knowing how to bind off stitches is a crucial skill for knitters. The method you choose will depend on the desired finish and purpose of your project. Experiment with different bind off techniques to find the one that works best for your knitting style and project needs.
Keywords: binding off stitches, knitting, standard bind off, stretchy bind off, elastic bind off, finishing technique
Final Touches
Once you have completed knitting your cowl, it’s time to add some final touches to make it extra special. Here are a few ideas:
1. Blocking: Blocking is a technique that helps to even out your stitches and give your cowl a more polished look. To block your cowl, simply soak it in lukewarm water, gently squeeze out the excess moisture, and lay it flat to dry. You can use blocking mats or a towel to help shape your cowl as it dries.
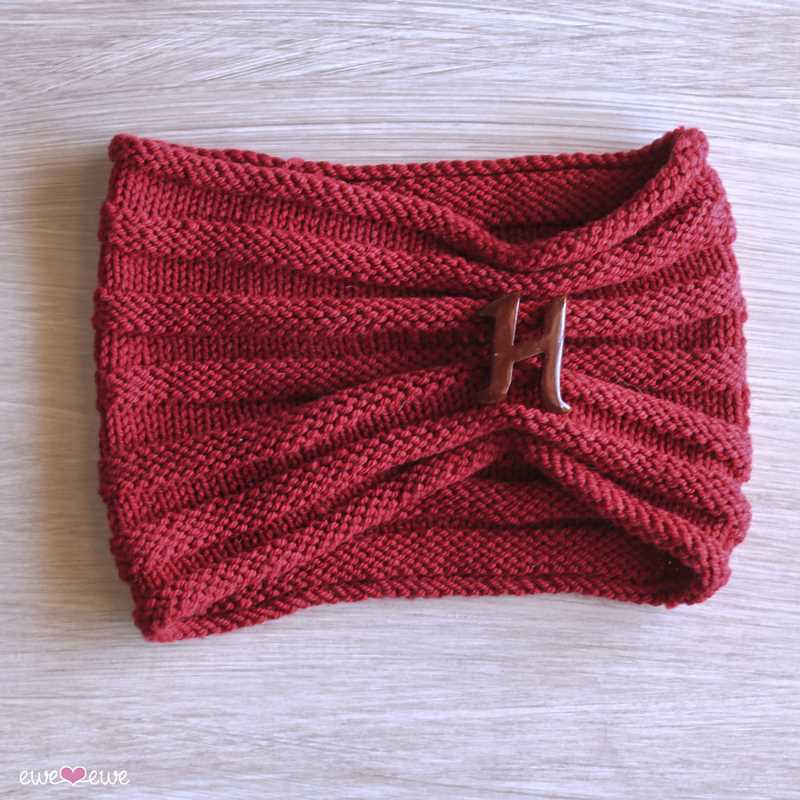
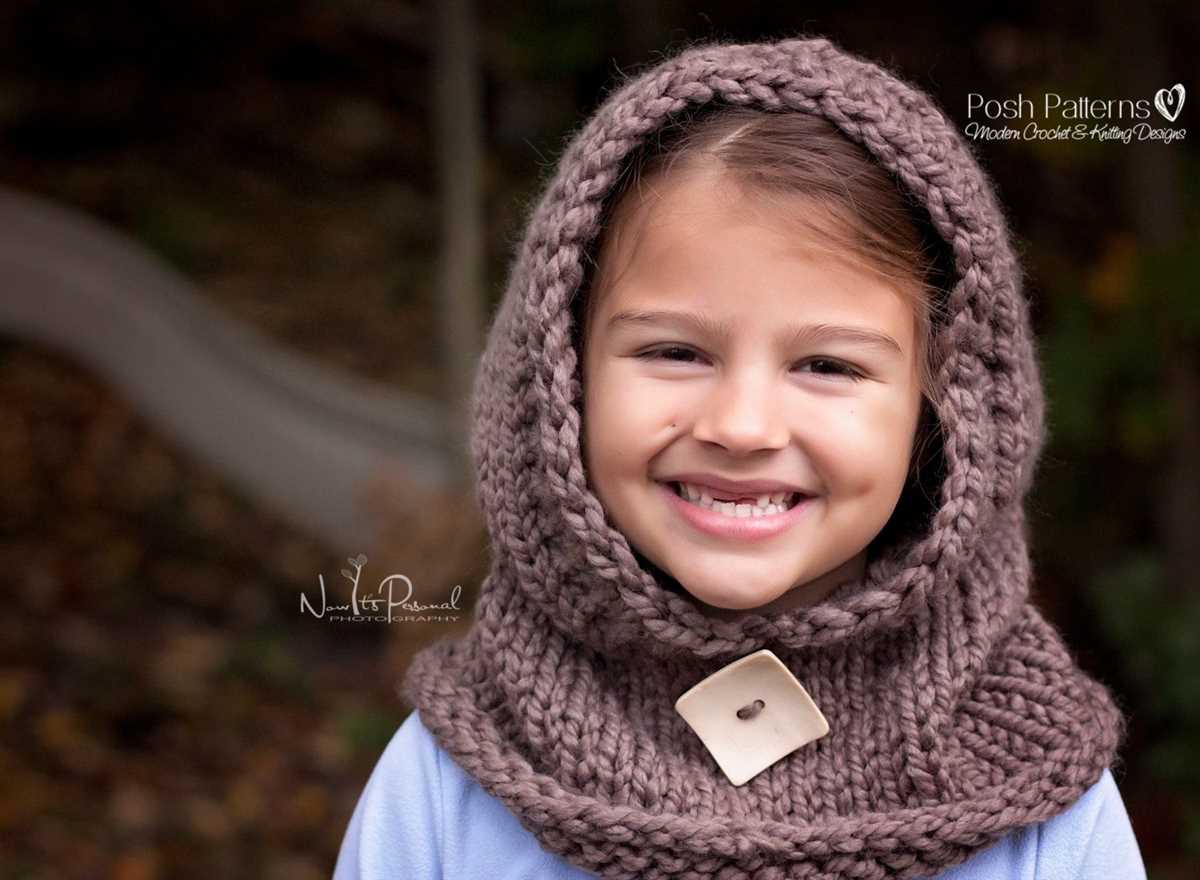
2. Add a Button: If you want to add some versatility to your cowl, you can sew on a button or two. This will allow you to button your cowl in different ways, creating different looks. Choose a button that complements the yarn and color of your cowl.
3. Embellish: You can add some fun embellishments to your cowl to make it stand out. Consider adding a crochet flower, pom-poms, or even some beads. Get creative and experiment with different materials and designs.
4. Label: If you are making the cowl as a gift or for sale, consider adding a label with your name or logo. This adds a personal touch and makes it clear that the cowl was handmade with love.
By adding these final touches, you can take your cowl from simple to stylish. Have fun experimenting and making your cowl unique!