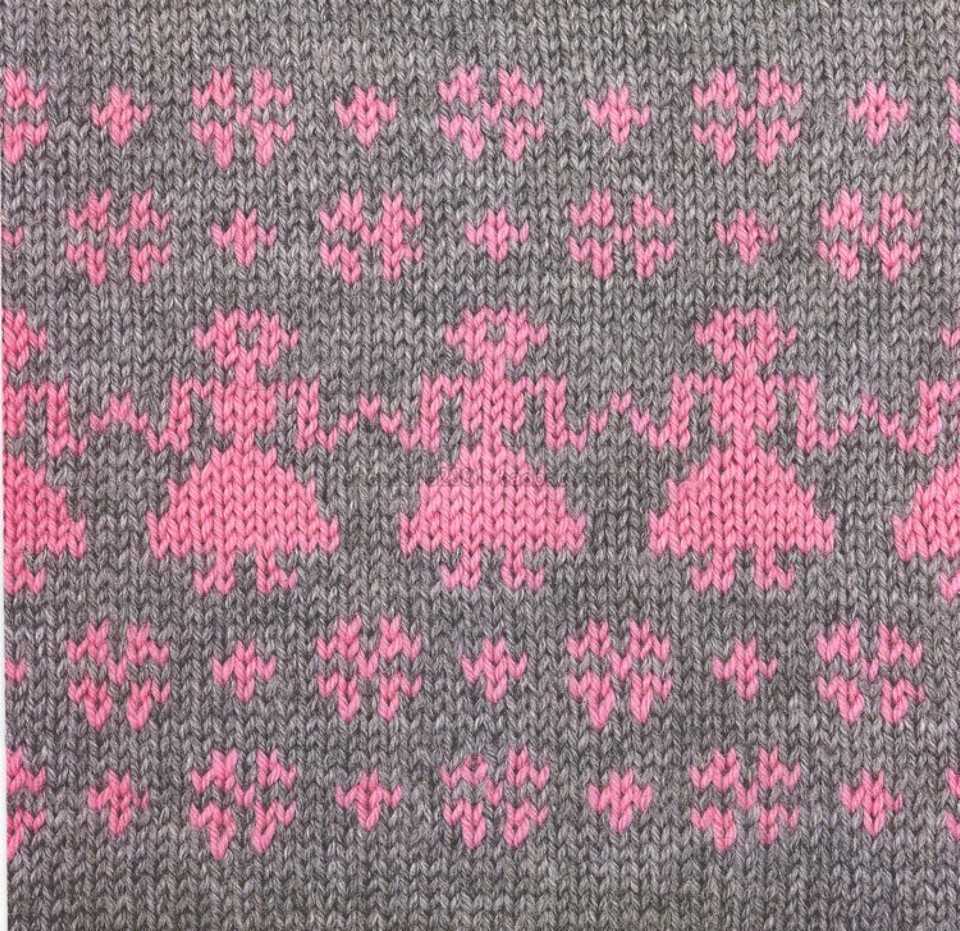
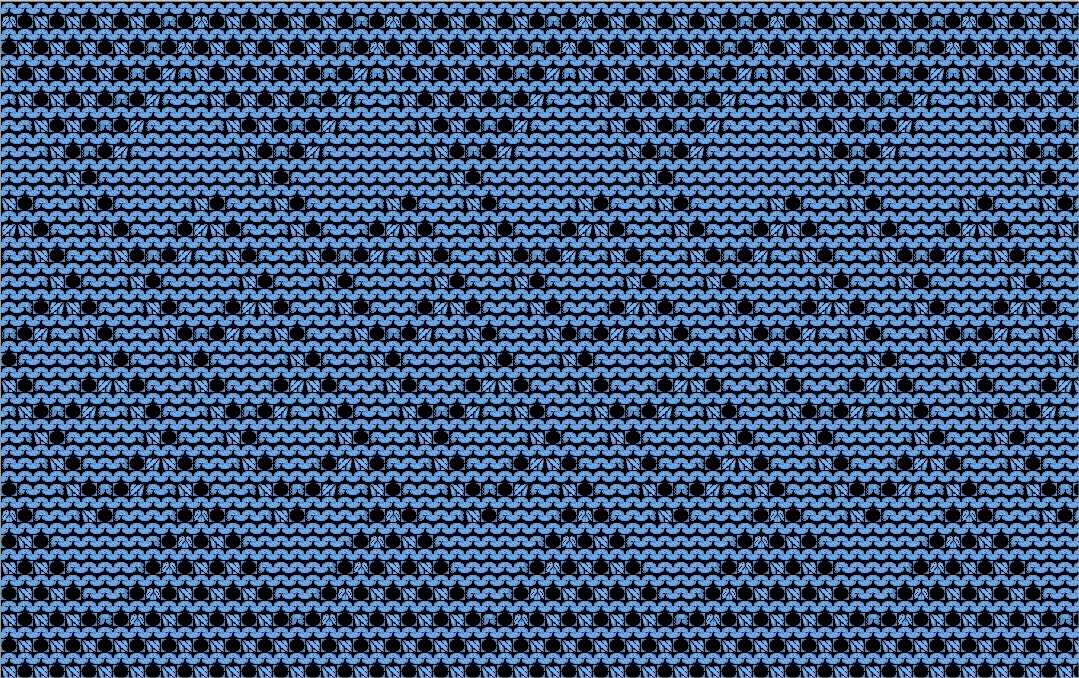
The dots knitting pattern is a popular choice for creating texture and visual interest in your knitting projects. This pattern uses a series of small dots or circles to create a unique design on your fabric. It can be used to embellish a variety of items, including scarves, hats, and sweaters.
One of the great things about the dots knitting pattern is that it is relatively simple to create, making it a perfect choice for beginners or those looking for a quick and easy project. The pattern is created by knitting or purling a series of stitches in a specific order to create the dots. The size and shape of the dots can be easily customized to suit your desired look.
In addition to adding texture and visual interest, the dots knitting pattern can also be used to create a more structured fabric. By strategically placing the dots in a specific pattern, you can create a fabric that has more stretch or rigidity in certain areas. This can be particularly useful when knitting items such as hats or socks that require a snug fit.
What is a dots knitting pattern?
A dots knitting pattern refers to a knitting pattern that incorporates dots or circular shapes into the design. These dots can be created using different knitting techniques, such as colorwork, lace knitting, or textured stitches.
A dots knitting pattern can be used to create a variety of items, including sweaters, hats, scarves, and socks. The dots can be arranged in different ways, such as scattered randomly, forming a pattern, or creating a specific image or motif.
Colorwork: One way to create dots in a knitting pattern is through colorwork. This involves knitting with multiple colors to create a design. Dots can be created by knitting small circles or dots using a contrasting color against a background color.
Lace knitting: Lace knitting refers to a type of knitting technique that creates an openwork pattern. Dots can be created in lace knitting by using yarn overs or eyelets to form small holes or circles. These dots can be scattered throughout the knitting or arranged in a specific pattern.
Textured stitches: Another way to incorporate dots into a knitting pattern is through textured stitches. Dots can be created by using purl stitches or bobbles to form small raised circles. These textured dots can add dimension and interest to the knitting pattern.
A dots knitting pattern can be a fun and creative way to add visual interest to your knitting projects. Whether you choose to use colorwork, lace knitting, or textured stitches, incorporating dots into your knitting can help to create a unique and eye-catching design.
Why should you incorporate dots into your knitting projects?
If you’re looking to add a touch of whimsy and playfulness to your knitting projects, incorporating dots into your designs can be a great choice. Dots are versatile and can be used in many different ways to enhance the overall look of your knitted items.
1. Adds visual interest: Dots can instantly add visual interest to your knitting projects, making them stand out and catch the eye. Whether you’re creating a simple polka dot pattern or using dots as accents, they can bring a unique and charming element to your designs.
2. Creates texture: Dots can also be used to create texture in your knitting. By using different stitch patterns or techniques, you can make the dots pop out from the background, adding depth and dimension to your fabric.
3. Allows for color experimentation: Dots provide an opportunity to experiment with different colors in your knitting projects. You can choose contrasting colors for the dots to make them stand out, or use different shades of the same color for a more subtle effect. This allows you to showcase your creativity and create truly unique pieces.
4. Suitable for all skill levels: Whether you’re a beginner or an advanced knitter, incorporating dots into your designs is accessible to all skill levels. They can be as simple or intricate as you want them to be, making them a great choice for knitters of all experience levels.
5. Adds a touch of retro style: Dots have a classic and timeless appeal that can add a touch of retro style to your knitting projects. Whether you’re going for a vintage-inspired look or simply want to add a nostalgic flair, dots can help you achieve that effortlessly.
Incorporating dots into your knitting projects allows you to add a fun and playful element to your designs. So why not give it a try and see how dots can transform your knitting? Whether you’re knitting a sweater, scarf, or even socks, dots can be a delightful addition to any project.
Choosing the right yarn for your dots knitting pattern
When it comes to knitting patterns, the choice of yarn is just as important as the knitting pattern itself. This is especially true when working on a dots knitting pattern. The type of yarn you choose will not only affect the final look of your project, but also its comfort, durability, and ease of maintenance.
Consider the fiber content: One of the first things to consider when selecting yarn for a dots knitting pattern is the fiber content. Different fibers have different properties, so it’s important to choose one that suits your specific needs. For a more classic and timeless look, you may opt for natural fibers like wool or cotton. If you want a softer and more luxurious feel, you may choose yarns made of alpaca or silk. Synthetic fibers like acrylic or nylon can also be a good choice for their affordability and easy care.
Pay attention to the weight: The weight of the yarn will determine the thickness and drape of your finished project. Typically, dots knitting patterns require a yarn with a medium or bulky weight to create well-defined dots. However, keep in mind that the weight of the yarn also affects the overall size and weight of your project. Consider the intended use of your finished item and choose a yarn weight accordingly.
Consider the color and texture: The color and texture of the yarn can also play a significant role in the overall aesthetic of your dots knitting pattern. You may opt for a solid-colored yarn to let the dots stand out, or choose a variegated yarn for a more playful and dynamic look. Additionally, the texture of the yarn can add dimension and interest to your project. Consider whether you want a smooth or textured finish, and choose a yarn accordingly.
Test the yarn: Before committing to a specific yarn for your dots knitting pattern, it’s always a good idea to swatch and test the yarn. This will give you an idea of how the yarn knits up, how it feels in your hands, and how it looks in the dot stitch pattern. It will also help you determine if the yarn is suitable for the desired result and if any adjustments need to be made.
When choosing the right yarn for your dots knitting pattern, consider the fiber content, weight, color, and texture. Don’t be afraid to experiment and try different yarns until you find the perfect one for your project. Remember, the yarn you choose can make all the difference in creating a beautiful and successful finished piece.
Simple dot knitting pattern for beginners

If you are new to knitting and looking for a simple and beginner-friendly pattern, a dots knitting pattern is a great choice. With just a few basic stitches and some yarn, you can create a beautiful and versatile design.
To start, you will need knitting needles in a size suitable for your yarn, and a ball of yarn in your desired color. Choose a yarn that is not too thick or too thin, as it will be easier to work with for a beginner.
Materials:
- Knitting needles
- Yarn
- Tape measure
- Scissors
- Darning needle
Once you have your materials ready, you can begin the pattern. The dots knitting pattern is created by simply knitting or purling stitches in a contrasting color to create dots or circles on your knitted fabric. You can choose the size and placement of the dots based on your own preference.
Here is a step-by-step guide to creating the dots:
- Cast on the desired number of stitches for your project.
- Begin knitting or purling in the main color for a few rows to create a base.
- Switch to the contrasting color and knit or purl stitches in a circle shape to form a dot. You can do this by simply skipping a stitch and then knitting or purling the next stitch in the contrasting color.
- Continue knitting or purling in the main color for a few more rows.
- Repeat steps 3 and 4 to create more dots in different sizes and placements.
- Finish off your project by knitting or purling a few final rows in the main color, and then bind off.
Once you have completed the pattern, you can use your knitted fabric to make various items such as scarves, blankets, or even clothing. The dots pattern will add a fun and unique touch to your knitting projects, and it is a great way to practice your knitting skills as a beginner.
Advanced Dot Knitting Techniques for Experienced Knitters
As an experienced knitter, you may be looking to further enhance your skills and try out new and intricate patterns. One popular pattern among advanced knitters is the dot knitting pattern. Dots are versatile and can be incorporated into various designs, such as sweaters, scarves, and blankets. In this article, we will explore some advanced dot knitting techniques that will challenge and inspire you.
Dot Intarsia: Intarsia is a technique that involves knitting with multiple colors to create intricate patterns. Dot intarsia takes this technique to the next level by incorporating small, precise dots into your design. This technique requires careful attention to detail and concentration, as you will be working with multiple colors and often have to carry the yarn behind your work. The result is a stunning and visually appealing dot pattern that adds depth and complexity to your knitting.
Lace Dot Stitches: Lace knitting is known for its delicate and intricate patterns. By incorporating dot stitches into lace patterns, you can create a beautiful and unique design. Lace dot stitches typically involve yarnovers, decreases, and slip stitches to create the appearance of dots. The challenge lies in maintaining the integrity of the lace pattern while incorporating the dots seamlessly. This technique requires attention to detail and precision to ensure that the dots stand out within the lacework.
Two-Color Dot Stitch: The two-color dot stitch is a technique that involves using two different colors of yarn to create a pattern of dots. This technique requires working with two strands of yarn at the same time and switching between colors to create the dot pattern. The challenge lies in maintaining an even tension and preventing the colors from getting tangled. The two-color dot stitch adds depth and visual interest to your knitting, making it an advanced technique that will impress others with your skills.
Pointelle Dot Stitch: Pointelle knitting is a delicate and lacy technique that creates an openwork pattern. By incorporating dot stitches into pointelle knitting, you can create a unique design with a combination of textured and open sections. The challenge lies in working the dot stitches within the pointelle pattern without losing the lacy effect. This technique requires attention to detail and patience to achieve the desired result.
Overall, incorporating dot knitting techniques into your projects can take your knitting skills to the next level. These advanced techniques require attention to detail, precision, and patience, but the result is a stunning and intricate design that will impress others. Whether you choose to try dot intarsia, lace dot stitches, two-color dot stitch, or pointelle dot stitch, you are sure to challenge yourself and create beautiful and unique knitting projects.
Adding color to your dot knitting pattern
Creating a dot knitting pattern is a fun way to add texture and interest to your knitting projects. However, you can take your pattern to the next level by incorporating color into your design. By adding color, you can make your dots pop and create a visually stunning piece of knitted fabric.
Choose complementary colors: When selecting colors for your dot knitting pattern, it’s important to choose shades that complement each other. Consider using a color wheel or color palette to help you find colors that work well together. Complementary colors, which are opposite each other on the color wheel, can create a striking contrast and make your dots stand out.
Experiment with different techniques: There are several techniques you can use to add color to your dot knitting pattern. One popular technique is stranded knitting, also known as Fair Isle knitting. This technique involves carrying multiple colors of yarn across the back of your work, creating a float behind the stitches. Another technique is intarsia knitting, where you use separate bobbins or balls of yarn for each area of color. Experiment with different techniques to find the one that works best for your project.
- Create pattern using multiple colors: Instead of using just one color for your dots, consider using multiple colors to create a pattern. You can alternate between different colors for each dot or use a different color for every few rows. This will add complexity and visual interest to your pattern.
- Use color to highlight specific elements: Another way to incorporate color into your dot knitting pattern is to use it to highlight specific elements. For example, you can use a contrasting color to outline the dots or create a gradient effect by using different shades of the same color. This will draw attention to the dots and make them the focal point of your design.
By adding color to your dot knitting pattern, you can take your project from ordinary to extraordinary. Whether you choose complementary colors, experiment with different techniques, or create a pattern using multiple colors, there are endless possibilities for adding color to your knitting. Have fun exploring different color combinations and techniques to create your own unique dot knitting masterpiece.
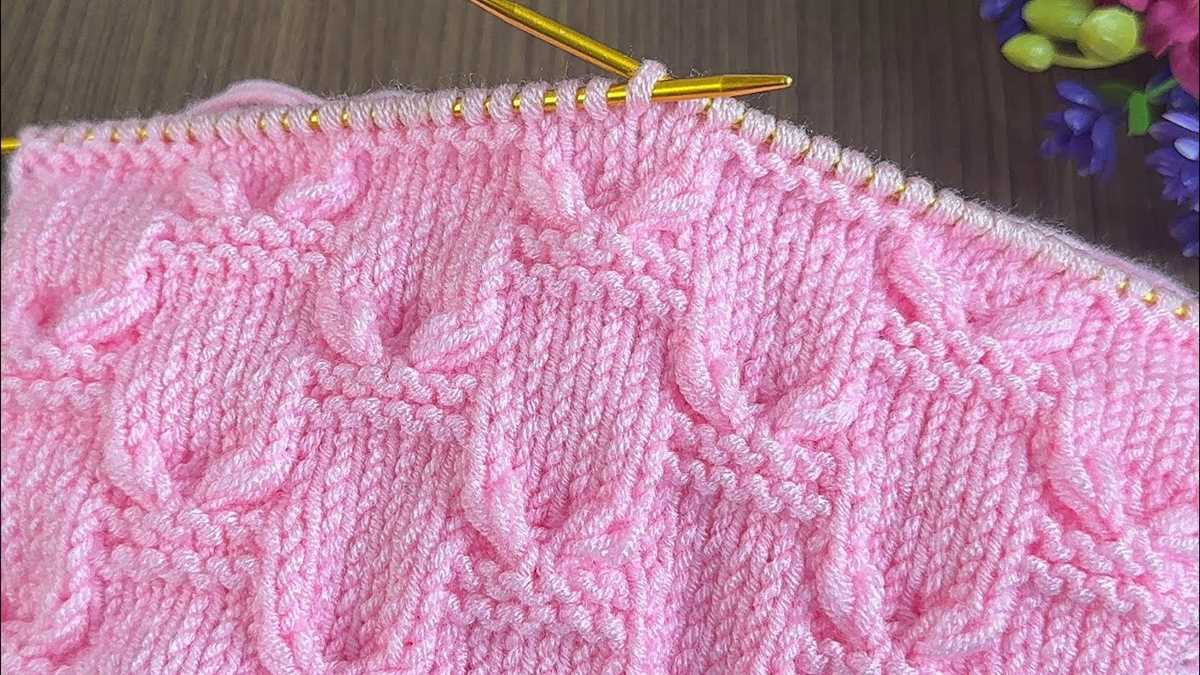
Creating dot designs with different stitch patterns
Knitting dot designs can add a fun and playful element to any knitting project. There are several stitch patterns that can be used to create these eye-catching dots, allowing you to experiment and customize your design. Whether you are knitting a scarf, hat, or even a sweater, incorporating dot designs can elevate your project to a whole new level.
Polka Dot Stitch: One popular stitch pattern for creating dots is the polka dot stitch. This stitch involves alternating between two colors, creating sections of dots on a solid background. You can choose contrasting or complementary colors to make the dots stand out even more. The polka dot stitch can be worked in different ways, such as using intarsia or stranded knitting techniques.
Bobble Stitch: The bobble stitch is another great option for incorporating dots into your knitting. This stitch creates small, puffy dots that add texture and dimension to your project. The bobble stitch is worked by increasing and decreasing stitches in a specific sequence to create the rounded shape of the dot. You can use this stitch to create a scattered dot pattern or arrange the dots in a specific design.
Openwork Dot Stitch: If you prefer a more delicate and lacy look, the openwork dot stitch is the way to go. This stitch pattern involves creating small eyelets in the shape of dots. You can control the size of the dots by adjusting the number of stitches and rows between the eyelets. The openwork dot stitch adds a light and airy feel to your knitting, making it perfect for summer garments or accessories.
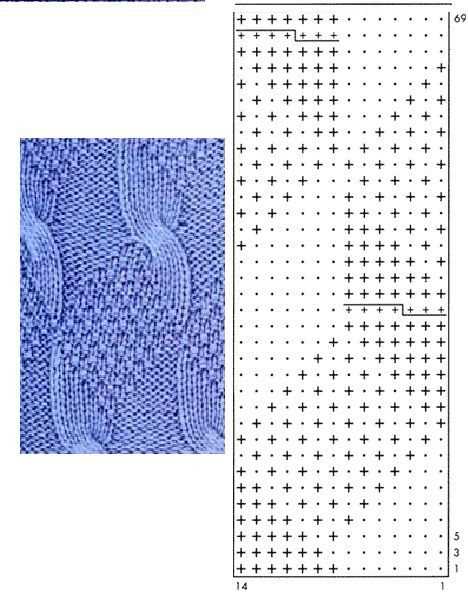
Cable Dot Stitch: For a more intricate and detailed dot design, the cable dot stitch is a great choice. This stitch pattern uses cables to create raised dots that pop out from the background. The cables are worked in a specific pattern, crossing over each other to form the dot shape. The cable dot stitch requires some intermediate knitting skills, but the result is definitely worth the effort.
Whether you choose to incorporate polka dots, bobbles, openwork dots, or cable dots into your knitting, experimenting with different stitch patterns can help you create unique and eye-catching designs. Have fun exploring these techniques and unleash your creativity to make your knitting truly one-of-a-kind.
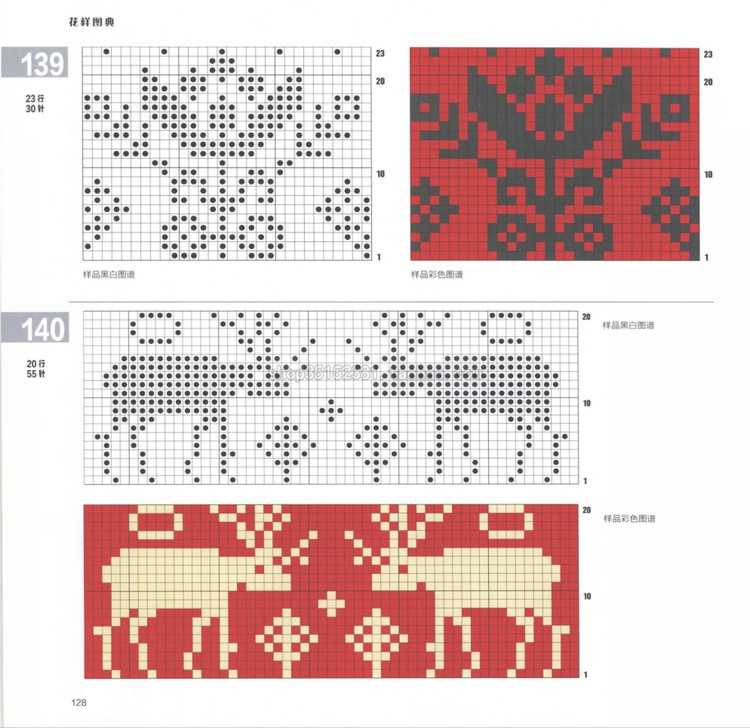
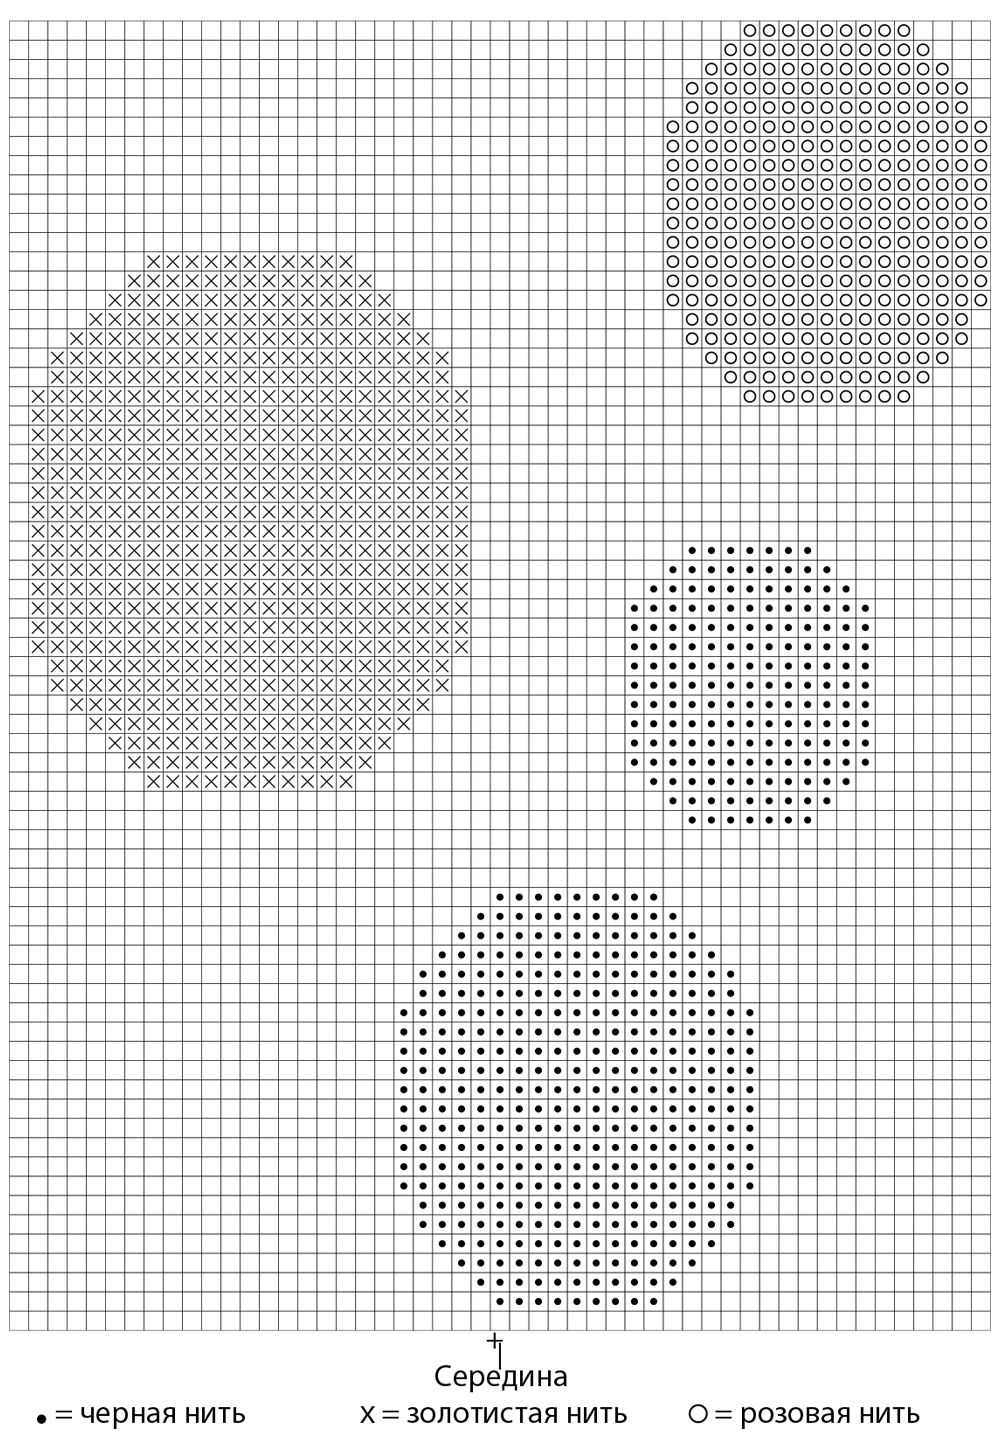
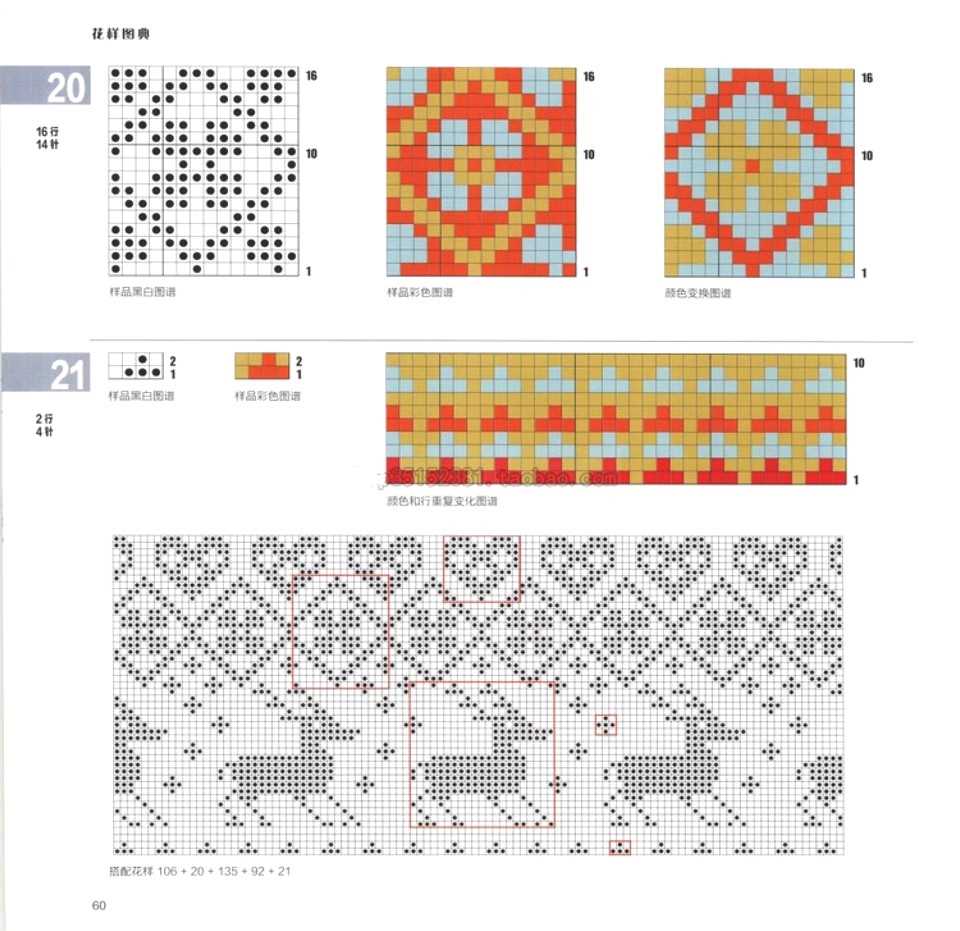
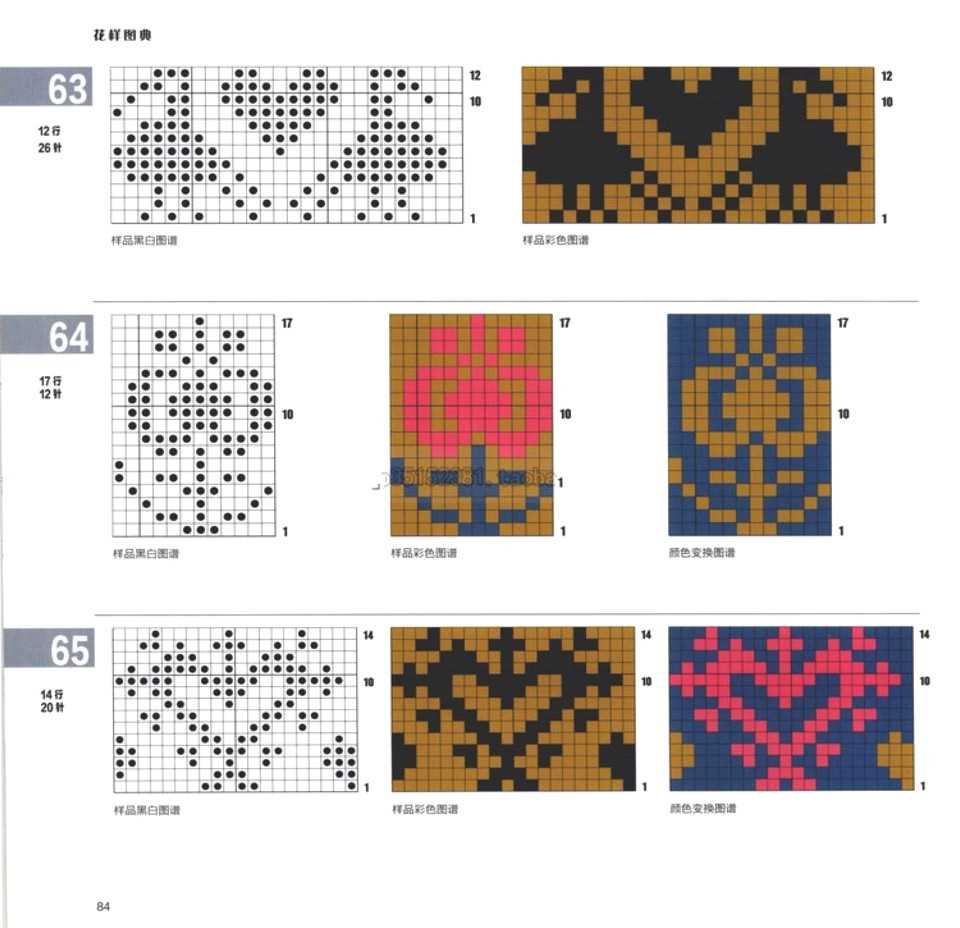
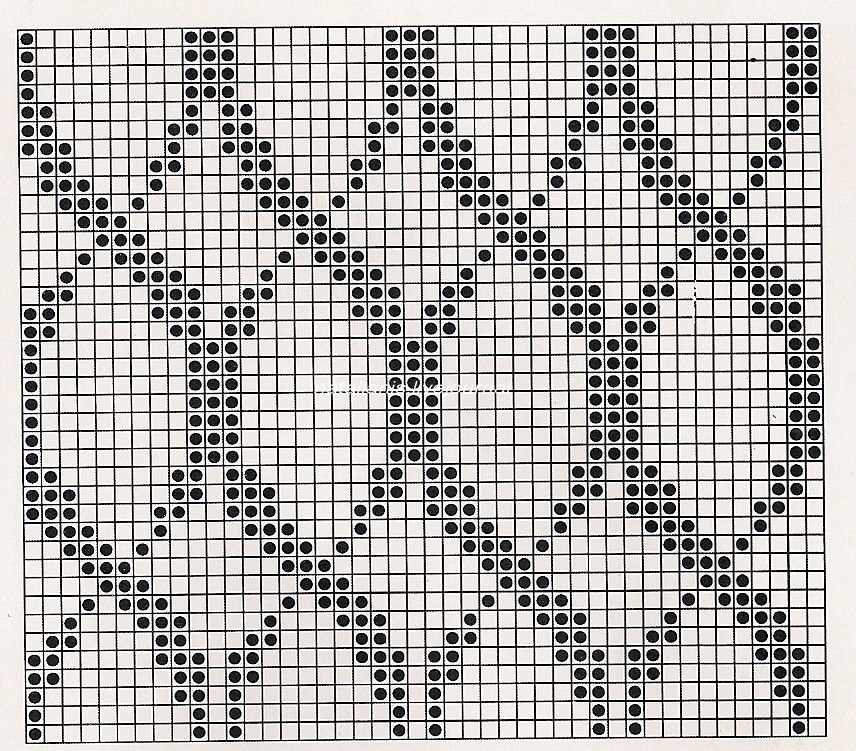
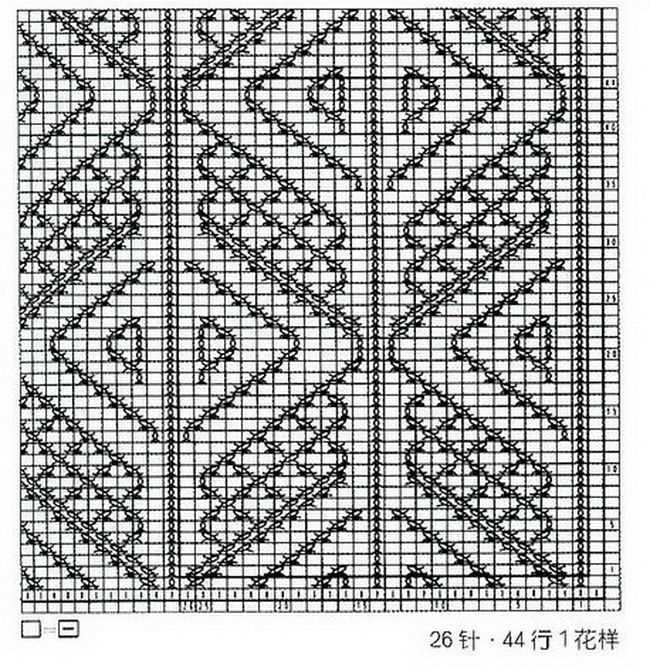
How to read a dots knitting pattern chart
Reading a dots knitting pattern chart can be intimidating for beginners, but with a little practice, it becomes much easier to understand. These charts are visual representations of the knitting pattern, with each dot representing a stitch or a specific action. Here are some tips to help you read and understand a dots knitting pattern chart.
1. Understand the key
The first step in reading a dots knitting pattern chart is to familiarize yourself with the key. The key is a legend that explains the symbols used in the chart. It will tell you what each dot represents, such as knit stitches, purl stitches, yarn overs, decreases, and more. Make sure you understand the symbols used in the key before you start reading the chart.
2. Read from right to left
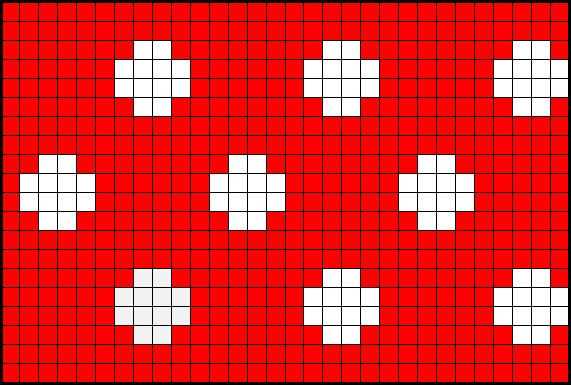
In most knitting patterns, the dots chart is read from right to left. Each row of the chart represents a single row of knitting. The numbers on the right side of the chart indicate the row number, starting from the bottom. So, if you’re knitting a flat piece, you’ll start with row one on the right side of the chart and move to the left side as you progress.
3. Pay attention to repeats and pattern sections
Many knitting patterns have repeat sections, where a set of stitches is repeated multiple times. These repeat sections are often indicated in the chart by brackets or asterisks. Make sure to understand how the repeat section works and keep track of the number of repeats you need to make. This will make it easier to follow the pattern and keep your stitches consistent.
4. Use highlighters or markers
When reading a dots knitting pattern chart, it can be helpful to use highlighters or markers to keep track of your progress. You can use different colors to highlight different sections or mark off rows as you complete them. This will prevent you from getting lost in the chart and help you stay organized.
Reading a dots knitting pattern chart may seem challenging at first, but with practice and these tips, you’ll be able to tackle any pattern with confidence. Take your time to understand the key, read from right to left, pay attention to repeats and pattern sections, and use highlighters or markers to stay organized. Happy knitting!
Integrating dots into various knitting projects
Knitting is a versatile craft that allows for endless creativity and personalization. One way to add an extra touch of whimsy and visual interest to your knitting projects is by incorporating dots into the design. Whether you’re a beginner or an experienced knitter, dots can be easily integrated into a variety of knitting projects to create unique and eye-catching patterns.
One popular way to incorporate dots into knitting is by using the Fair Isle technique. This technique involves using two or more colors of yarn in a single row to create a pattern. By working with a contrasting color, you can create dots that stand out against the background. Whether you choose to create a polka dot pattern on a sweater or add small dots to a pair of socks, the Fair Isle technique allows for endless possibilities.
Another way to integrate dots into your knitting projects is by using bobbles or popcorn stitches. These stitches create three-dimensional bumps on the surface of your knitting, mimicking the look of dots. You can create a dotted pattern by strategically placing these bobbles throughout your project. This technique works well on scarves, hats, or even blankets, adding texture and visual interest.
Additionally, you can use stranded colorwork to create dot patterns. This technique involves using multiple colors within the same row, but instead of working with two colors like in Fair Isle, you carry all the colors across the row. By strategically placing stitches of a contrasting color, you can create dots that stand out against the background color. This technique works well on mittens, sweaters, or any project where you want to add a playful touch.
If you prefer a more subtle dot pattern, you can use the duplicate stitch technique. This technique involves embroidering dots onto your finished knitting using a tapestry needle and a contrasting color of yarn. This allows you to add dots in any size or placement to your project without changing the knitting pattern itself. This technique works well on hats, scarves, or even baby clothes, where you want to add a touch of embellishment.
Overall, integrating dots into your knitting projects is a fun and creative way to make your designs stand out. Whether you choose to use the Fair Isle technique, bobbles, stranded colorwork, or the duplicate stitch, dots can add a touch of whimsy and playfulness to your knitting. Experiment with different techniques and colors to create your own unique dot patterns and let your creativity shine.
Tips for achieving perfect dot placement in your knitting
Knitting with dots can add a fun and playful element to your projects. Whether you are creating polka dot sweaters or adding small dots as accents, it is important to achieve perfect dot placement. Here are some tips to help you achieve flawless dot placement in your knitting.
1. Plan your dot placement in advance
Before you start knitting, take some time to plan out the placement of your dots. Consider the overall design and determine where the dots will look best. You can sketch out the pattern on graph paper or create a digital mockup to visualize the final result. Planning in advance will help you ensure that the dots are evenly spaced and create a balanced design.
2. Use stitch markers or contrasting yarn
To mark the placement of your dots, you can use stitch markers or contrasting yarn. Place a marker or make a small loop of contrasting yarn where you want each dot to be. This will help you keep track of your dot placement as you knit. Make sure to move the markers or remove the contrasting yarn as you finish each dot.
3. Pay attention to your tension
Consistent tension is key to achieving perfect dot placement. If your tension is too loose or too tight, your dots may end up misshapen or uneven. Take your time to ensure that your tension remains consistent throughout your knitting. You can practice on a swatch before starting your project to fine-tune your tension.
4. Consider using duplicate stitch
If you are having trouble achieving perfect dot placement through traditional knitting, you can try using duplicate stitch. Duplicate stitch is a method where you embroider the dots onto your knitting after it is finished. This gives you more control over the placement and allows for more precise dot placement.
With these tips, you can achieve perfect dot placement in your knitting and create beautiful and eye-catching designs.
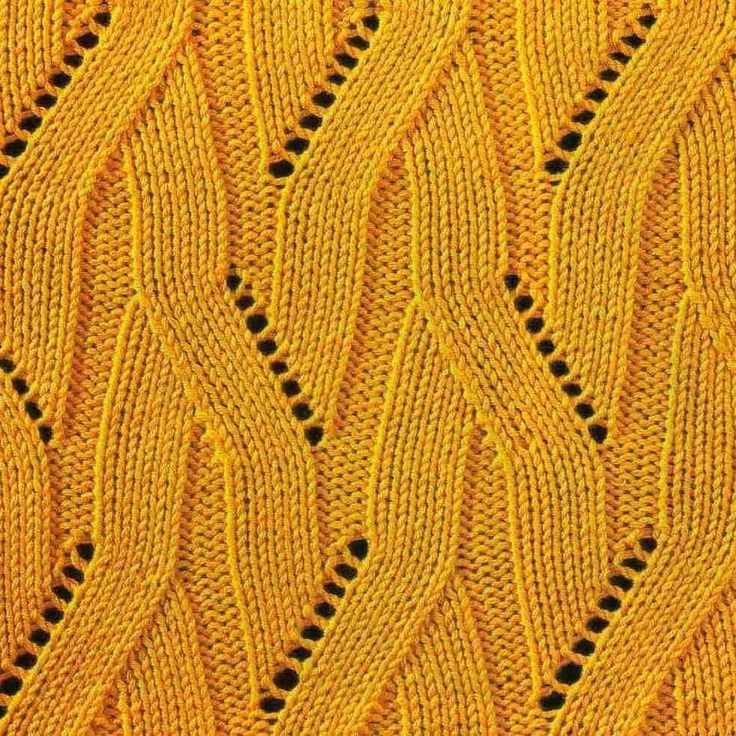
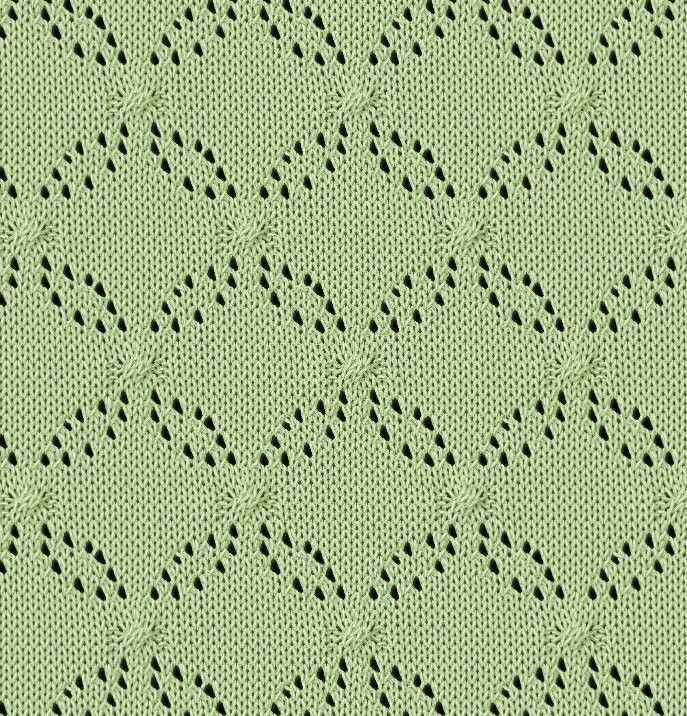
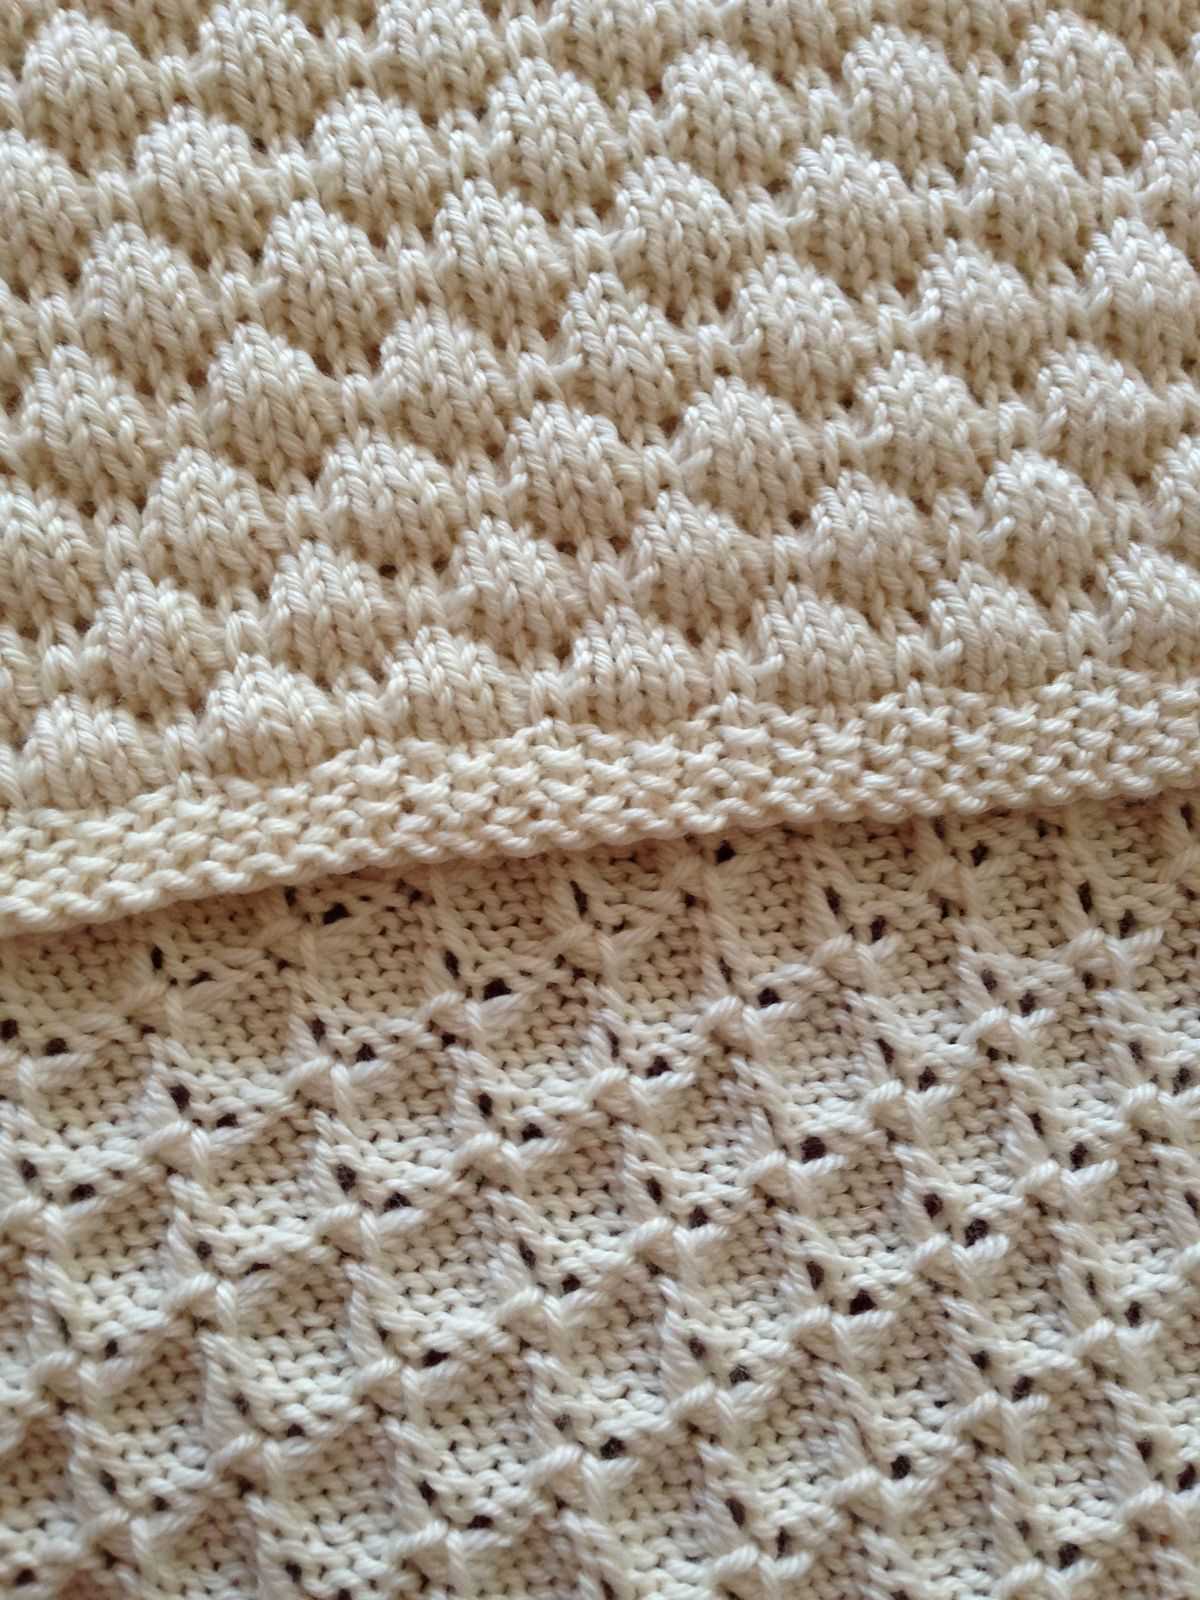
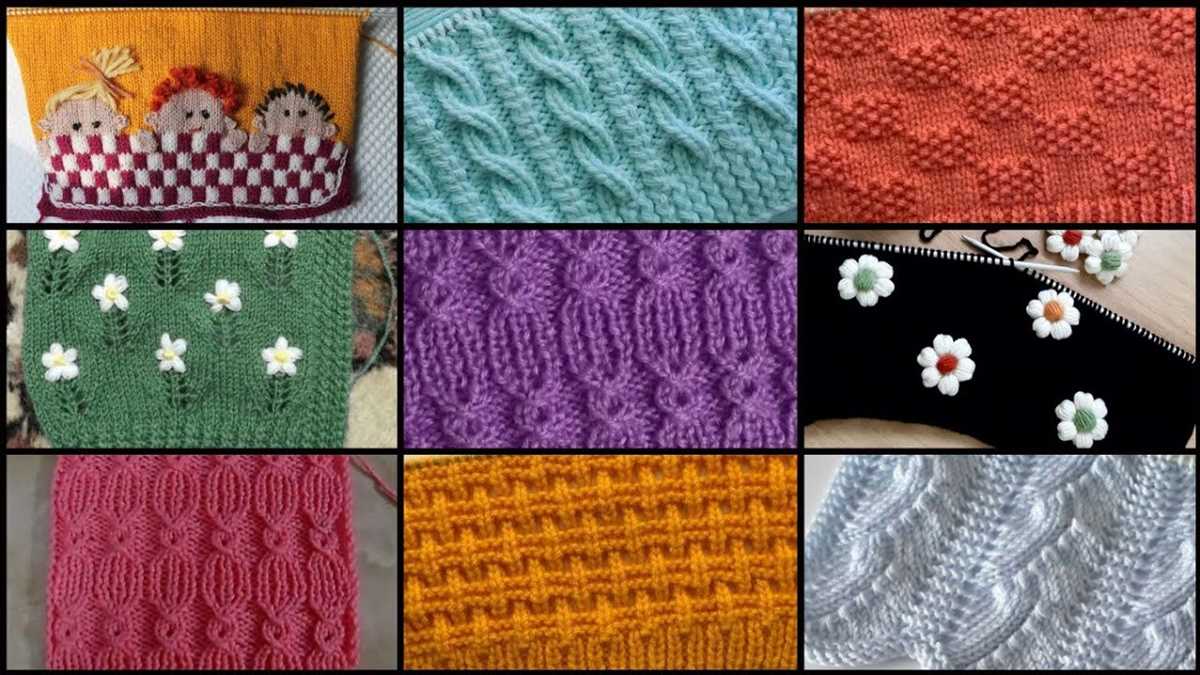
Inspiration: Showcase of beautiful dot knitting patterns
In this article, we have explored various dot knitting patterns and learned about the different ways they can be used to create beautiful and unique designs. From polka dots to textured dots, these patterns can add a touch of whimsy and elegance to any knitting project.
We have seen how dot knitting patterns can be used to create stunning sweaters, scarves, hats, and blankets. Whether you prefer a simple and classic look or a more intricate design, there is a dot knitting pattern out there for you.
There are endless possibilities when it comes to dot knitting patterns. You can experiment with different colors, sizes, and placement of dots to create a truly personalized design. You can also combine dot patterns with other knitting techniques such as cables or lacework to add even more interest and complexity to your projects.
Dot knitting patterns are a great way to add a playful or sophisticated touch to your knitting projects. Whether you are a beginner knitter or an experienced one, these patterns are fun to work with and can yield stunning results.
So, why not give dot knitting patterns a try? Browse through the showcased patterns in this article and let your creativity run wild. The possibilities are endless, and the end result is sure to be a beautiful and unique piece of knitwear that you can be proud of.
Happy knitting!