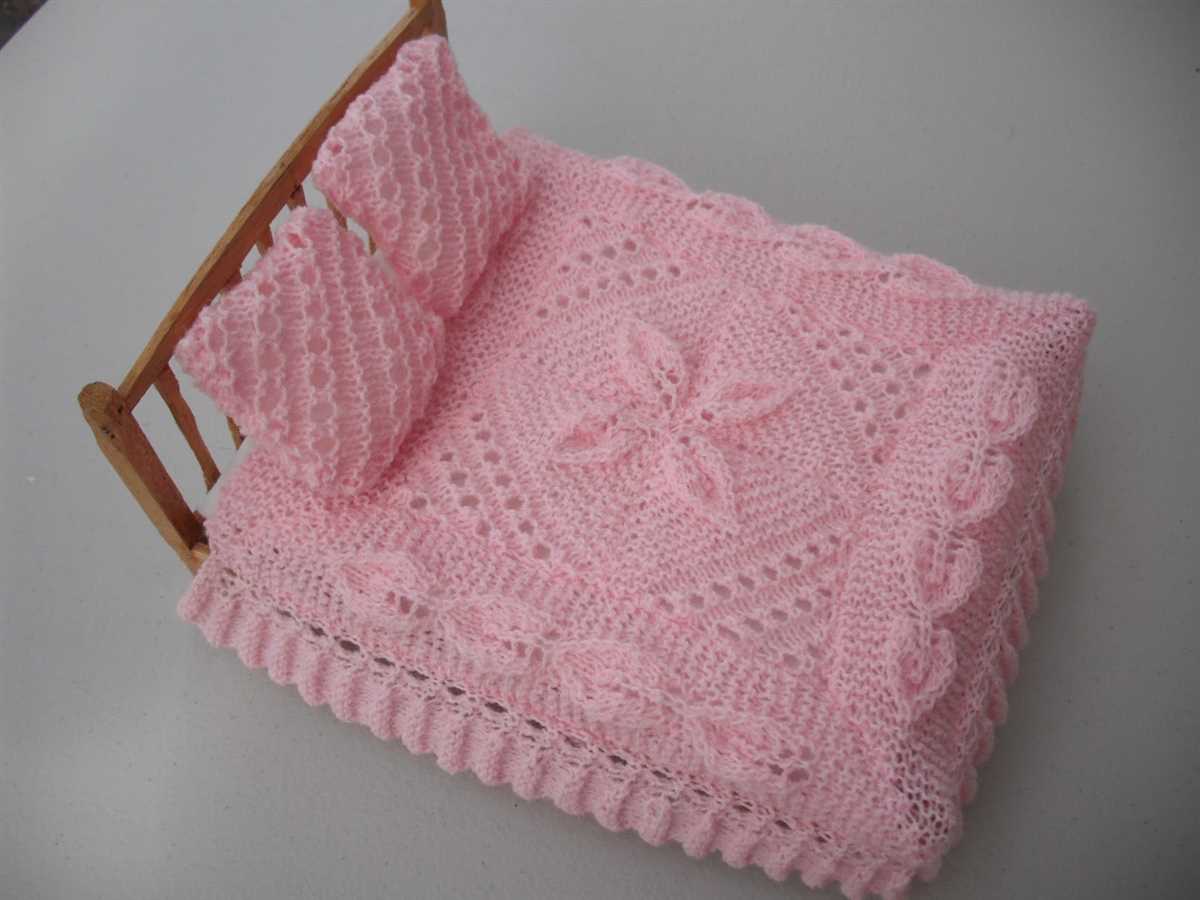
If you’ve ever wanted to create a cozy, handmade accessory for your child’s dolls, then this doll blanket pattern is for you. Knitting a miniature blanket not only provides a much-needed item for imaginary play, but it also gives you a chance to practice your knitting skills on a smaller scale. This pattern is perfect for beginners or experienced crafters looking for a quick and enjoyable project.
This doll blanket pattern is designed to be versatile and customizable, so you can create a unique blanket for each doll in your child’s collection. The pattern includes instructions for adjusting the size of the blanket, as well as suggestions for different stitch patterns and color combinations. Whether you prefer simple garter stitch or more intricate lace designs, this pattern allows you to get creative and make a blanket that truly reflects your style and the personality of the dolls it will adorn.
Knitting a doll blanket is a great way to use up leftover yarn from other projects, making it a budget-friendly option as well. This pattern is suitable for a variety of yarn weights, so you can experiment with different textures and thicknesses to achieve the desired look and feel. The blanket can be knitted in one solid color or in a combination of colors, allowing you to use up those small scraps of yarn that are too precious to throw away.
Doll Blanket Pattern Knit
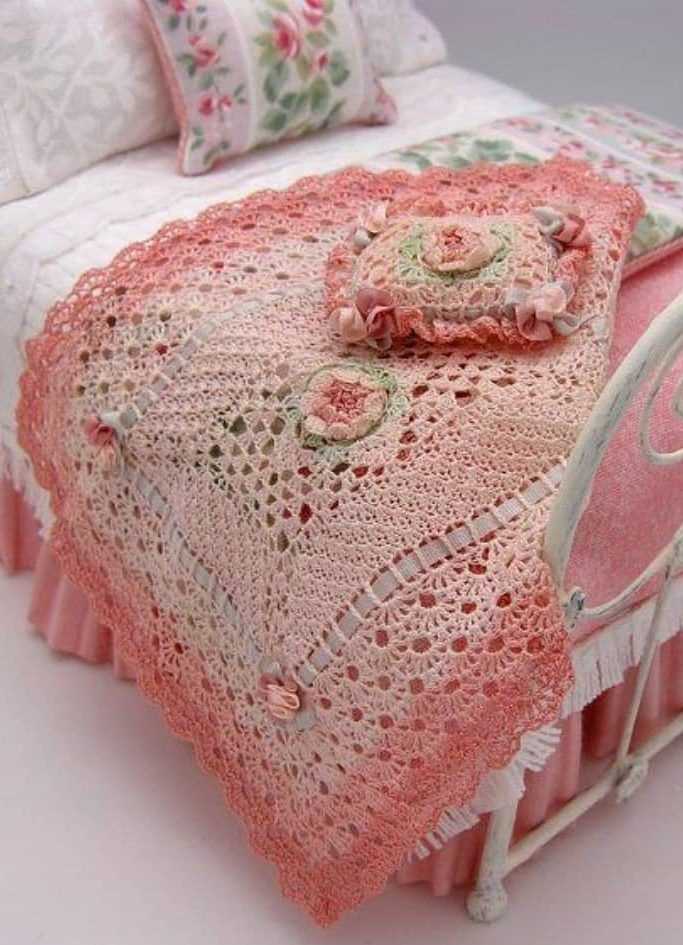
If you’re looking for a fun and cozy project to knit, a doll blanket pattern is a great choice. Knitting a tiny blanket for a doll can be a quick and satisfying project that allows you to experiment with different stitch patterns and yarns. Whether you’re making a blanket for a child’s favorite doll or for a collector’s item, there are endless possibilities for creativity and customization.
Choosing your yarn and needle size
When selecting yarn for your doll blanket, consider the size of the doll and the desired finished dimensions of the blanket. If you want a thinner blanket, choose a fingering or sport weight yarn. For a thicker, cozier blanket, opt for a worsted or bulky weight yarn. You can also experiment with different fiber blends and textures to achieve different effects.
Next, consider the needle size
A larger needle size will create a looser, more open-knit fabric, while a smaller needle size will result in a denser fabric. Choose a needle size that complements your chosen yarn and desired aesthetic. Circular needles can provide more flexibility when working on a larger blanket, while straight needles may be preferred for smaller sizes.
Choosing a stitch pattern
Once you have your yarn and needles, it’s time to choose a stitch pattern. From simple garter or stockinette stitch to more complex lace or cable patterns, the possibilities are endless. Consider the skill level required for each pattern and choose one that matches your knitting abilities. Don’t be afraid to experiment and modify existing patterns to suit your own preferences.
Knitting the blanket
Carry out the chosen stitch pattern for the desired length or until you are satisfied with the size of the blanket. Pay attention to your tension and gauge to ensure an even and consistent fabric. Once you have finished knitting, bind off your stitches and weave in any loose ends.
Finally, consider adding embellishments to your doll blanket, such as a decorative border or embroidered details. This will add a personal touch and make your blanket truly unique.
Knitting a doll blanket can be a delightful and rewarding project. Not only will you end up with a beautiful and functional item, but you will also have the satisfaction of creating something by hand. So, grab your knitting needles and start creating a cozy, miniature world for your doll!
Overview
In this blog post, we will discuss the topic of doll blanket patterns for knitting. We will explore different types of patterns and techniques that can be used to create these adorable blankets for dolls. Whether you are a beginner knitter or have advanced skills, there are patterns available for all levels of expertise.
If you enjoy knitting and love making accessories for your dolls, this is the perfect project for you. Not only is it a fun and creative way to spend your time, but it also allows you to customize the blankets to match the dolls’ outfits or your personal preferences.
Types of Doll Blanket Patterns
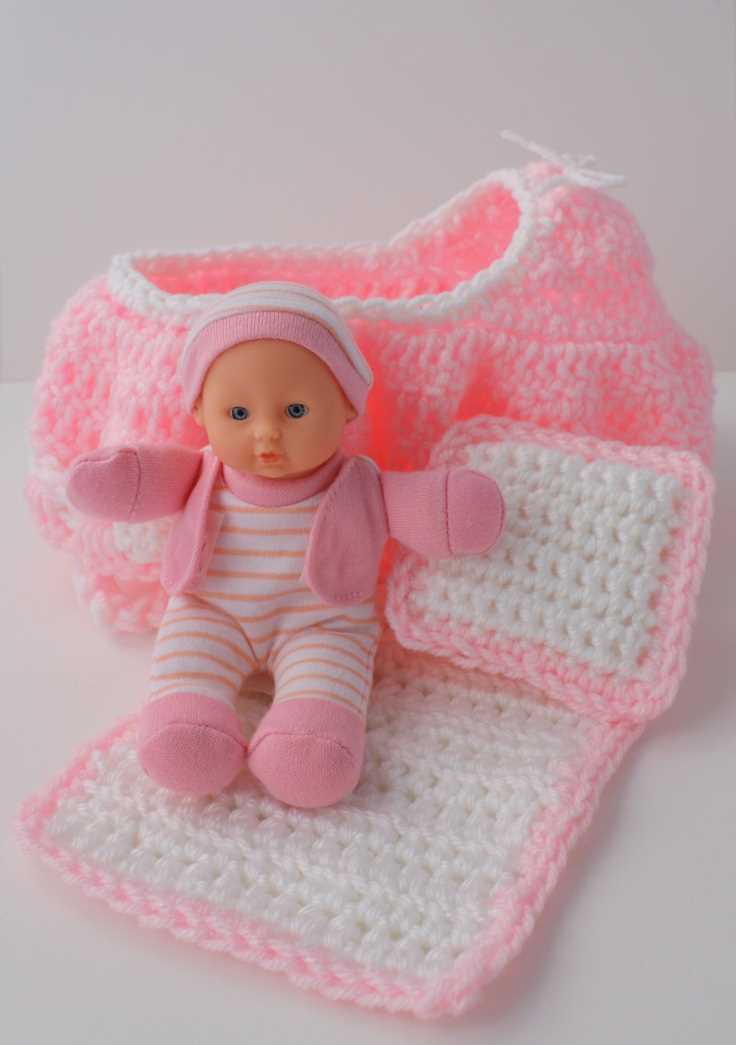
When it comes to doll blanket patterns, there are various options to choose from. You can find patterns for simple garter stitch blankets, which are perfect for beginners. These patterns usually involve knitting every row and create a cozy and textured blanket.
For those with more experience, there are more intricate patterns available that incorporate different stitches and techniques. These patterns can include lace patterns, cables, or colorwork designs, allowing you to showcase your knitting skills and create unique and beautiful blankets for your dolls.
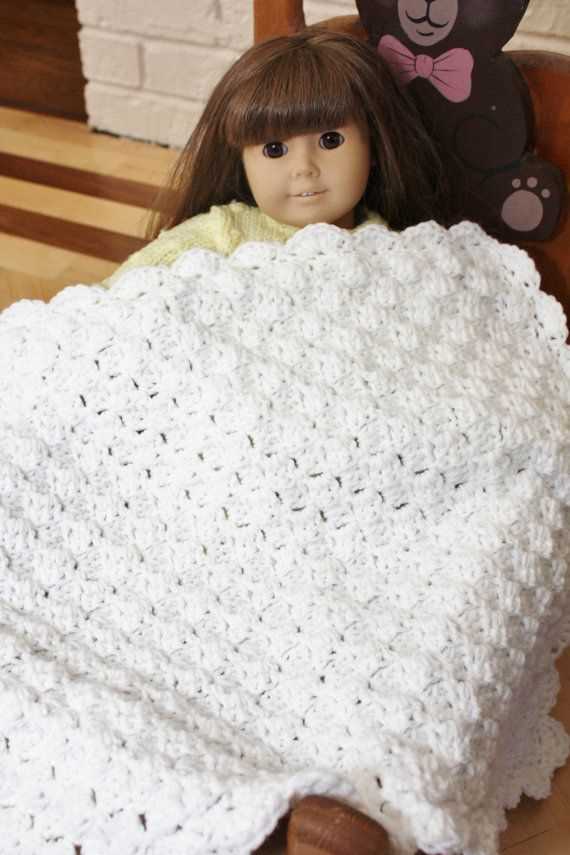
Additionally, you can also find patterns for different sizes of dolls, from small baby dolls to larger American Girl dolls. This allows you to make blankets that are the perfect fit for your dolls, ensuring they stay warm and cozy.
Materials and Tools
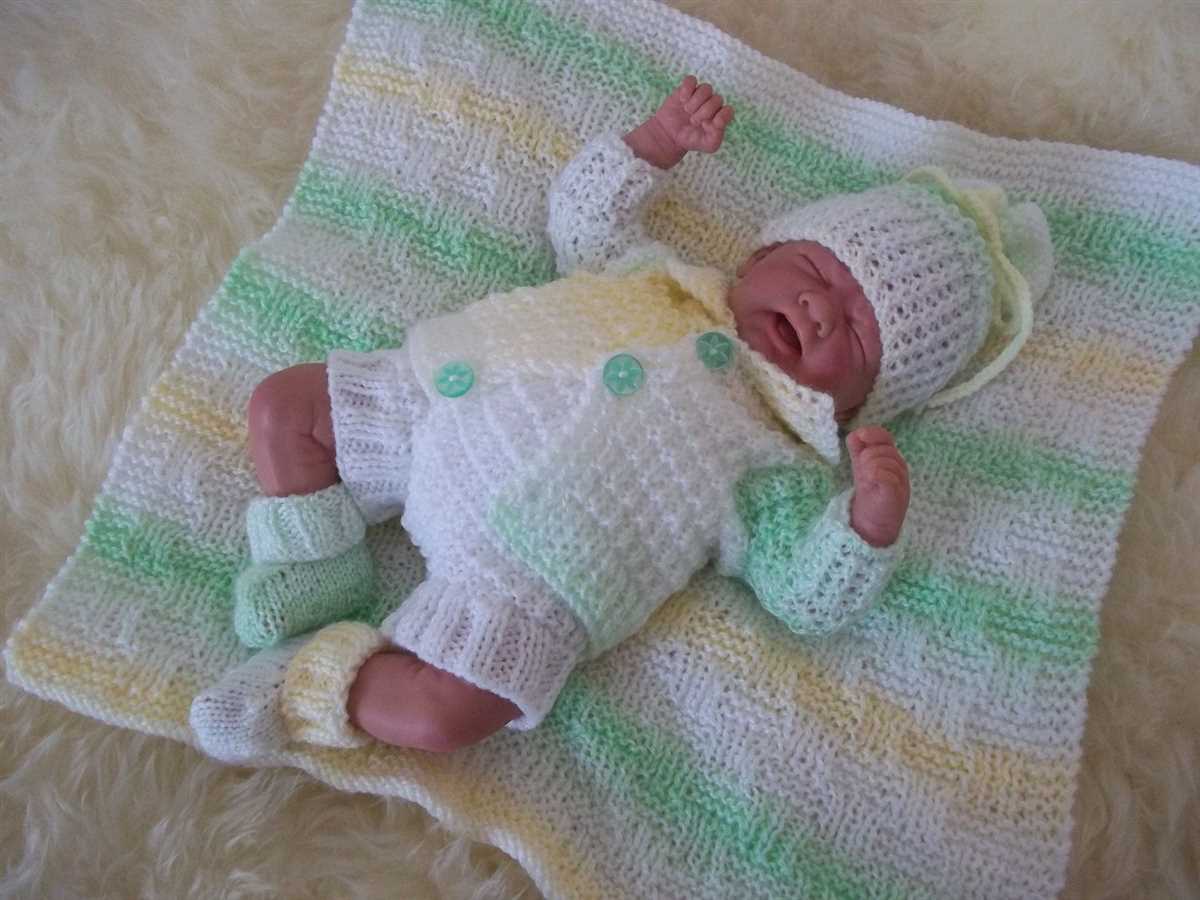
To knit doll blankets, you will need a few materials and tools. The main material you will need is yarn, which comes in various weights and fibers. You can choose a yarn that matches your desired blanket size and the doll’s style.
In terms of tools, you will need knitting needles in the appropriate size for your chosen pattern. Additionally, you may also need stitch markers, a tapestry needle for weaving in ends, and a pair of scissors.
Overall, knitting doll blankets is a fun and rewarding project that allows you to showcase your knitting skills and create adorable accessories for your dolls. With the various patterns and techniques available, you can create blankets that are unique and personalized for each doll. So grab your needles and yarn, and let’s start knitting!
Choosing the Right Yarn and Needles
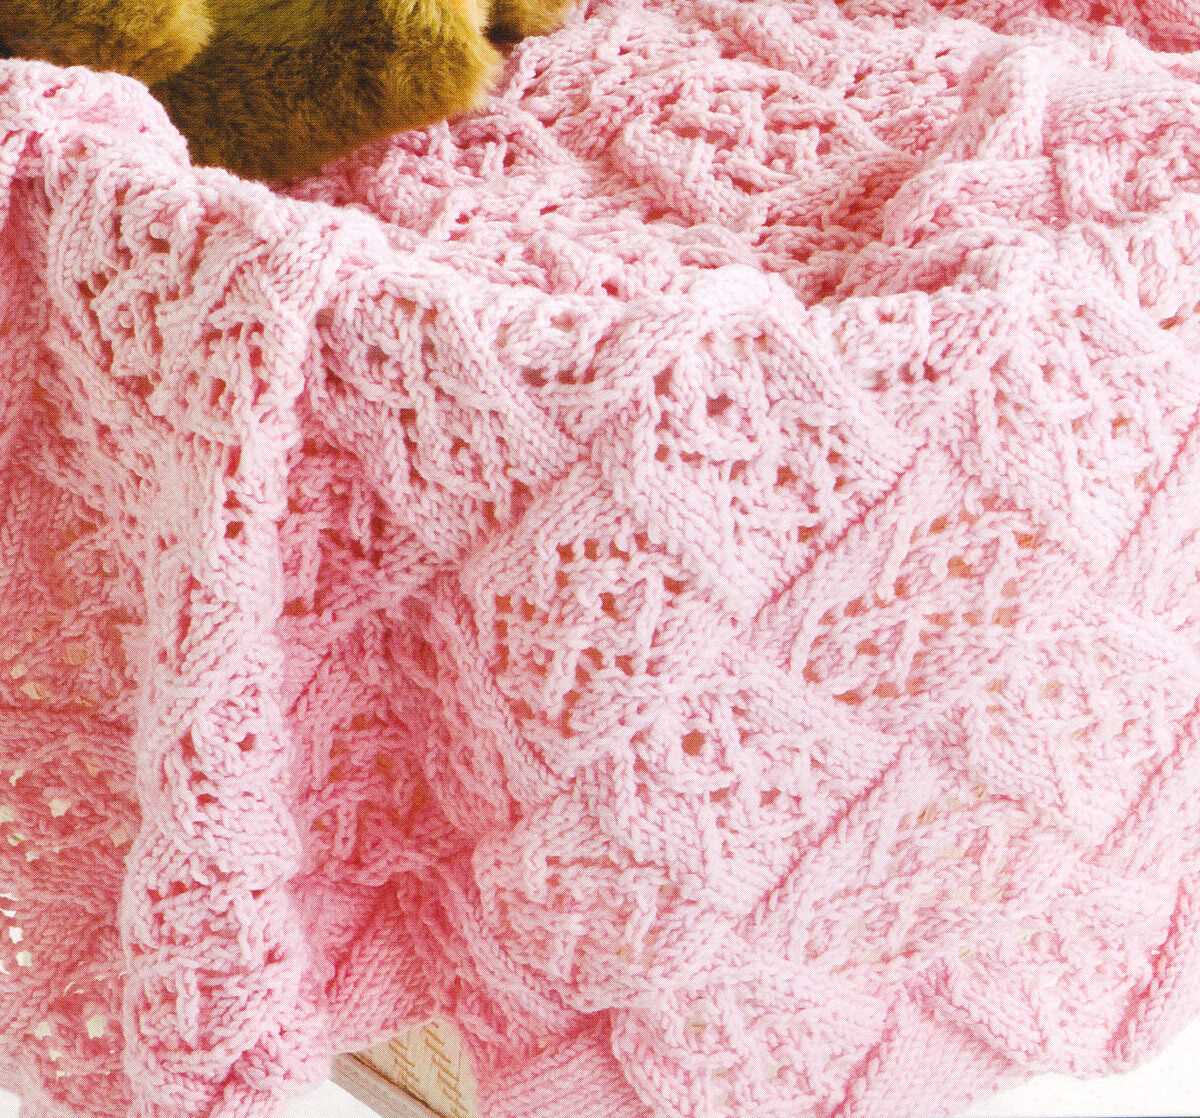
Choosing the right yarn and needles is crucial when knitting a doll blanket. The type of yarn you choose will determine the texture, thickness, and overall appearance of the blanket. Additionally, the size and material of the needles will affect the tension and ease of knitting. Here are some factors to consider when selecting yarn and needles for your doll blanket.
Type of Yarn: There are many types of yarn available, each with its own unique characteristics. You can choose from wool, cotton, acrylic, or a blend of different fibers. Consider the qualities you want in your doll blanket, such as softness, warmth, or durability. Some yarns may be more suitable for delicate or decorative patterns, while others may be better for everyday use.
Weight of Yarn: Yarns come in different weights, ranging from lace to super bulky. The weight of the yarn will determine how fine or thick the stitches will be. For a doll blanket, you may want to choose a lightweight or medium weight yarn for a delicate and dainty look.
Needle Size: The size of your needles will affect the tension and drape of the knitted fabric. Thicker needles will create larger stitches and a looser fabric, while smaller needles will result in tighter stitches and a denser fabric. Consider the weight of your yarn and the desired outcome when selecting needle size.
Gauge: Before starting your doll blanket, it’s important to check the gauge of your yarn and needles. The gauge refers to the number of stitches and rows per inch of knitted fabric. By matching the gauge specified in the pattern, you can ensure that your finished blanket will be the correct size.
Personal Preference: Ultimately, the choice of yarn and needles for your doll blanket will depend on your personal preference and the desired outcome. Experiment with different yarns and needle sizes to find the combination that creates the look and feel you envision for your project.
Essential Knitting Techniques
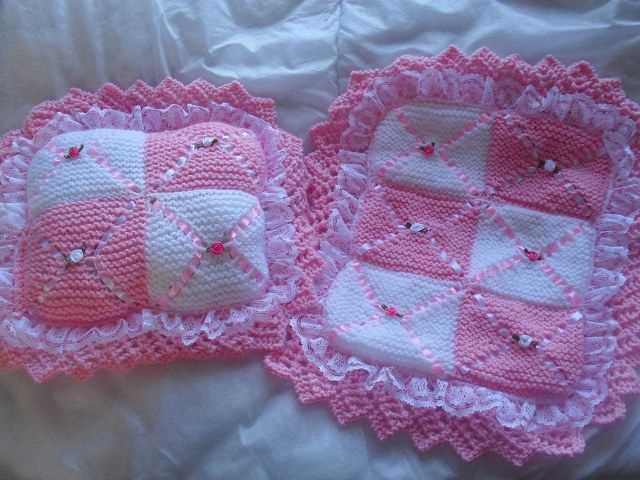
When it comes to knitting, there are several essential techniques that every knitter should know. These techniques form the foundation for creating beautiful and functional knitted items. Whether you’re a beginner or an experienced knitter, mastering these techniques will help you create stunning projects.
1. Casting On: Casting on is the first step in starting a knitting project. There are several different methods for casting on, such as the long-tail cast on, the knitted cast on, and the cable cast on. Each method creates a different edge and gives a different look to your knitting.
2. Knit Stitch: The knit stitch is the most basic stitch in knitting. It is used to create the majority of knitting patterns. To knit, you insert the right-hand needle into the first stitch on the left-hand needle, wrap the yarn around the needle, and pull the stitch through.
3. Purl Stitch: The purl stitch is the reverse of the knit stitch and is used to create texture in your knitting. To purl, you insert the right-hand needle into the first stitch on the left-hand needle from right to left, wrap the yarn around the needle, and pull the stitch through.
4. Increasing and Decreasing: Increasing and decreasing stitches is crucial for shaping your knitting. There are various methods for increasing stitches, such as the yarn over or the make one, while decreasing can be done through techniques like knit two together or slip slip knit.
5. Binding Off: Binding off is the final step in finishing your knitting. It creates a neat edge and prevents the stitches from unraveling. To bind off, you knit two stitches, insert the left-hand needle into the first stitch on the right-hand needle, and lift it over the second stitch and off the right-hand needle.
6. Reading a Knitting Pattern: Understanding how to read a knitting pattern is essential for following instructions and creating the desired design. Knitting patterns include abbreviations and symbols that represent different stitches and techniques, so it’s important to familiarize yourself with them.
With these essential techniques in your knitting repertoire, you’ll be well-equipped to tackle a wide range of knitting projects. Practice and experimentation will only enhance your skills and creativity as you explore the endless possibilities of knitting.
Getting Started with the Pattern
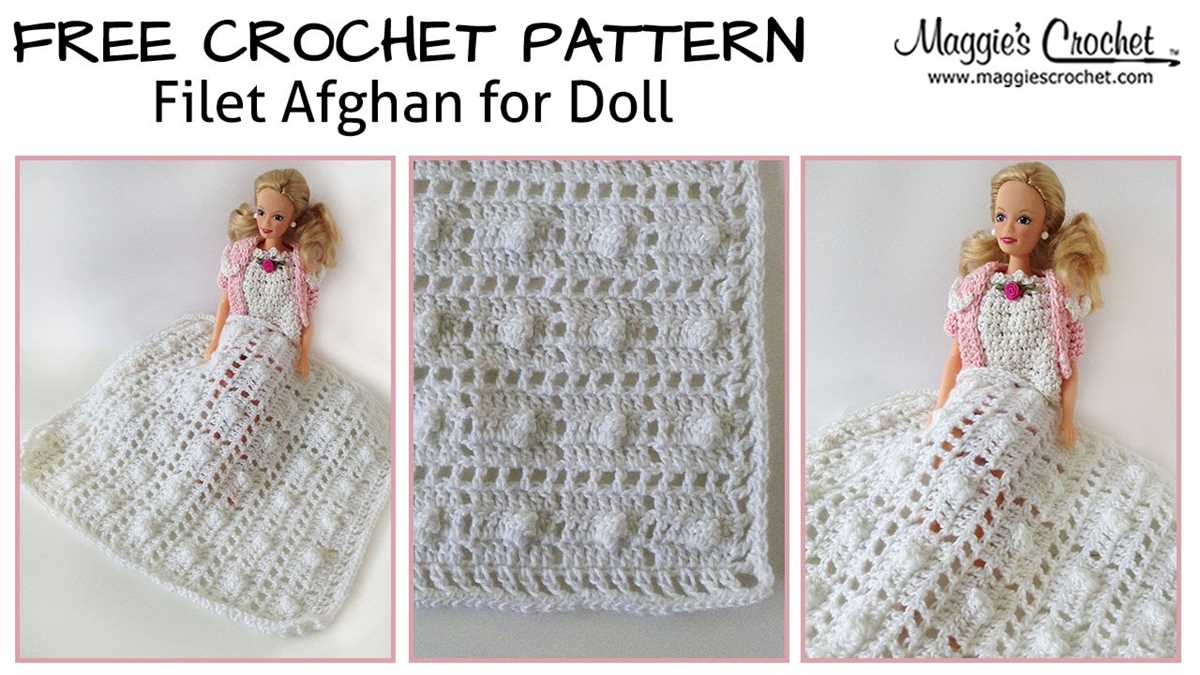
Welcome to the world of knitting doll blankets! This pattern is a great project for knitters of all levels, whether you’re a beginner or an experienced knitter looking for a quick and satisfying project. In this guide, we’ll go over the materials you’ll need, how to read the pattern, and some helpful tips and tricks to make your knitting experience enjoyable and successful. So grab your knitting needles and let’s get started!
Materials
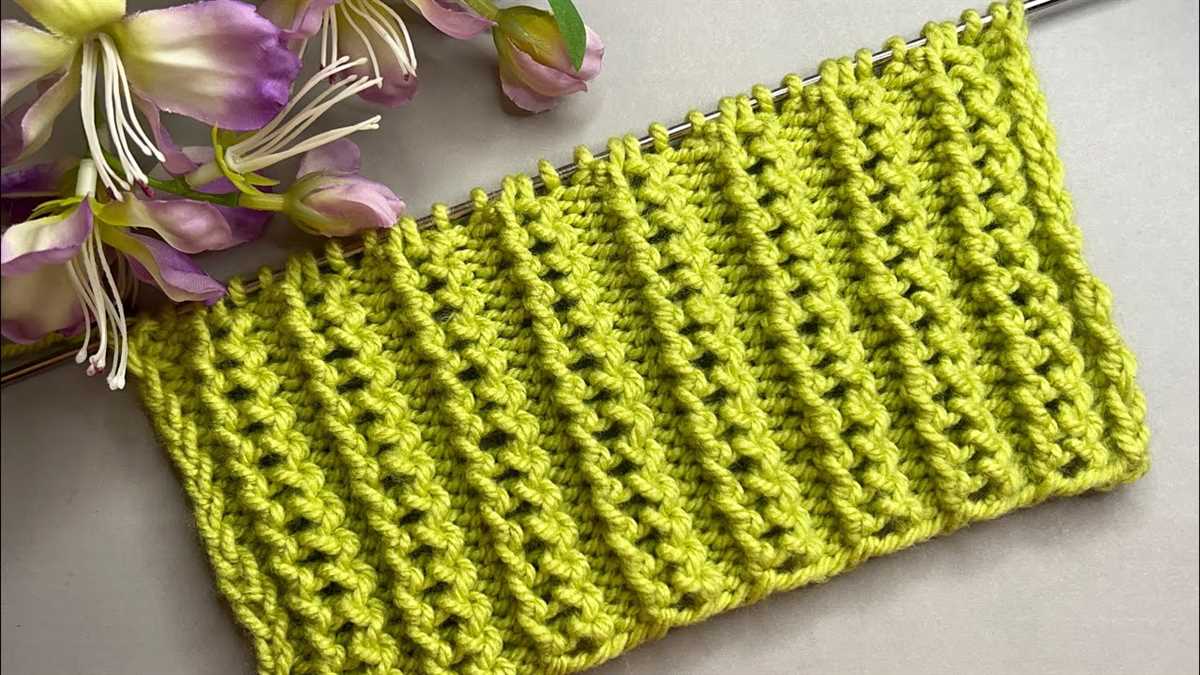
Before you dive into the pattern, make sure you have all the necessary materials on hand. For this project, you’ll need:
- Yarn: Choose a soft and cozy yarn in your desired color. The pattern usually specifies a specific weight, so make sure to check that before selecting your yarn.
- Knitting Needles: The size of needles will depend on the specific pattern, so be sure to check the gauge in the pattern instructions. Straight needles or circular needles can be used, depending on your preference.
- Tape Measure: This will come in handy when checking your gauge and measuring your progress.
- Tapestry Needle: This tool will be used for weaving in ends and finishing touches.
- Scissors: A trusty pair of scissors is a must-have for any knitting project.
Reading the Pattern
Now that you have your materials ready, let’s take a look at the pattern. Doll blanket patterns are typically straightforward and easy to follow. They are usually written in abbreviations, so it’s important to familiarize yourself with the common knitting abbreviations if you’re not already. The pattern will specify the number of stitches and rows you need to cast on, as well as any additional instructions or stitch patterns to follow.
When reading the pattern, be sure to pay close attention to the gauge. The gauge refers to the number of stitches and rows per inch, and it ensures that your finished project will be the correct size. Take the time to knit a gauge swatch before starting the pattern to ensure your tension matches the pattern’s requirements.
It’s also helpful to read through the entire pattern before you begin knitting. This will give you a good understanding of the steps involved and any special techniques or instructions that may be required. Don’t be afraid to reach out to the pattern designer or fellow knitters if you have any questions or need clarification on any part of the pattern.
With your materials in hand and the pattern understood, you’re now ready to dive into knitting your doll blanket! Enjoy the process and let your creativity shine as you create a cozy and beautiful blanket for your favorite doll.
Knitting the Body of the Blanket
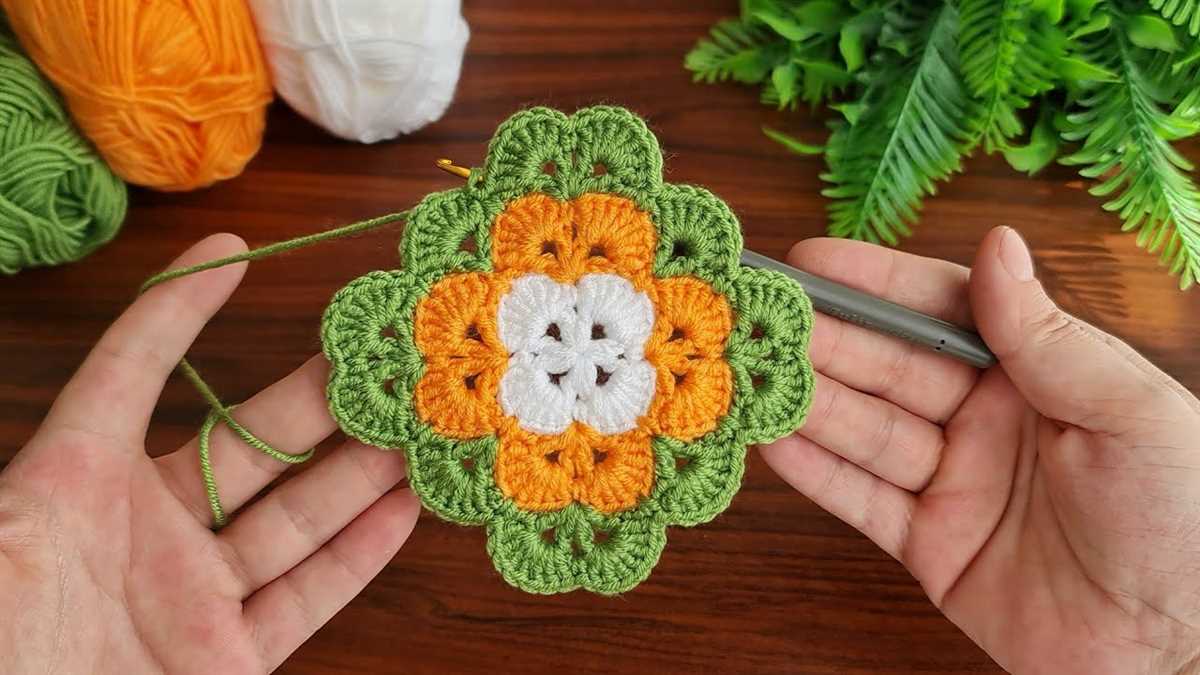
Once you have cast on the required number of stitches, you can begin knitting the body of the doll blanket. To create the blanket pattern, you will need to repeat a series of stitches across each row.
For instance, you might choose to knit five rows of garter stitch, followed by five rows of stockinette stitch, and then repeat this pattern throughout the length of the blanket. This will create a textured design with alternating knit and purl stitches.
To add more visual interest to the doll blanket, you can also incorporate different stitch patterns. For example, you could include a section of ribbing or cables, or even experiment with lace stitches. These patterns can be found in knitting stitch dictionaries or online resources.
As you work on the body of the blanket, it’s important to maintain an even tension to ensure that your stitches are uniform and the blanket lies flat. You should also periodically check your gauge to make sure you are knitting to the correct measurements.
- Continue knitting the body of the blanket until you reach the desired length. Depending on the size of the doll, you may want to make the blanket shorter or longer.
- Once you have completed the body, you can begin knitting the border or edging. This will help to give the blanket a finished look and prevent the edges from curling.
Adding Decorative Stitches
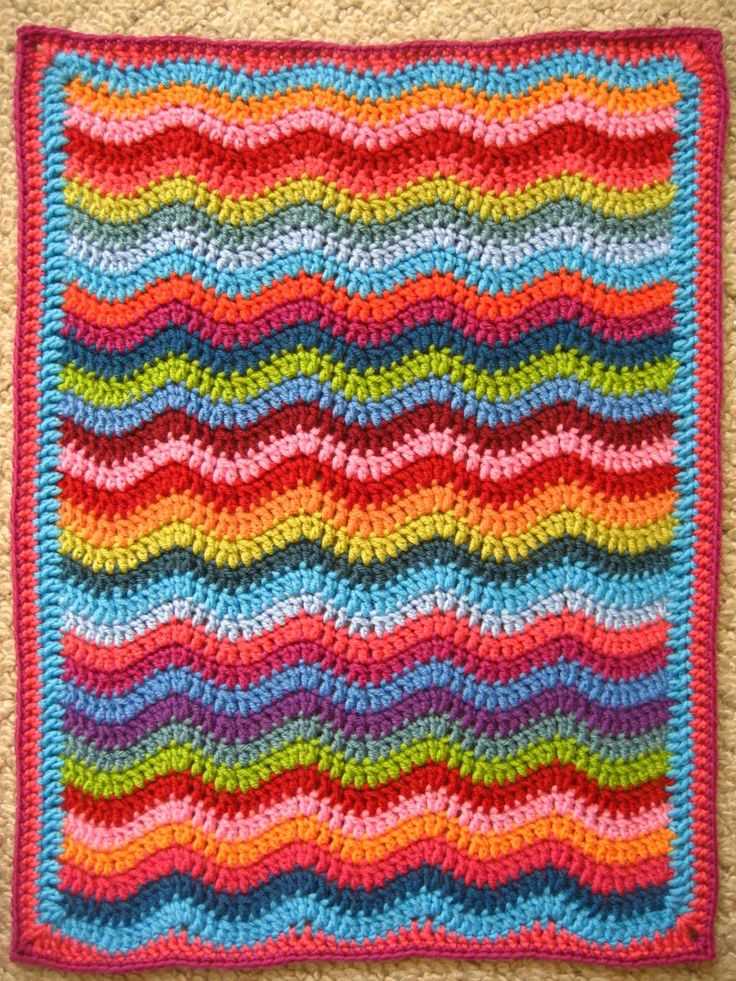
When knitting a doll blanket, adding decorative stitches can be a fun and creative way to personalize your project. There are many different stitches you can use to embellish the blanket and make it truly one-of-a-kind.
Lace stitches are a popular choice for adding a delicate and feminine touch to a doll blanket. You can use lace patterns such as the feather and fan stitch or the diamond lace stitch to create beautiful openwork designs. These stitches are usually worked using yarn overs and decreases to create the lace pattern.
Cable stitches are another option for adding texture and interest to your doll blanket. You can use simple cable patterns such as the twisted cable or the honeycomb cable to create a woven effect. These stitches involve crossing stitches over each other to create the cable pattern.
If you want to add some color to your doll blanket, you can incorporate colorwork stitches. Fair Isle knitting is a popular technique for adding color to your project. You can use different colored yarns to create intricate patterns such as stripes, motifs, or even pictures on your doll blanket.
- For a more playful look, you can also add pompoms to the corners of the doll blanket or along the edges. Pompoms are easy to make and can add a fun and whimsical touch to your project.
- Another option for adding decorative stitches is to embroider designs onto your doll blanket. You can use embroidery floss or yarn to add flowers, hearts, or other motifs to the blanket. Embroidery can add a personal and intricate touch to your project.
- If you’re feeling adventurous, you can try adding beads or sequins to your doll blanket. These embellishments can add a touch of sparkle and glamour to your project. You can sew the beads or sequins onto the blanket using a needle and thread.
Creating a Border
Adding a border to your doll blanket can add a finishing touch and make it look even more beautiful. There are several different ways you can create a border, depending on your preferences and knitting skills.
1. Ribbed Border: One popular option is to create a ribbed border. This can be done by knitting a few rows of knit and purl stitches in a pattern, such as k2, p2 or k1, p1. This will create a stretchy and textured border that adds a nice contrast to the main body of the blanket.
2. Seed Stitch Border: Another option is to create a seed stitch border. This is done by alternating knit and purl stitches in a pattern, such as k1, p1. The seed stitch creates a bumpy texture and adds a decorative touch to the edge of the blanket.
3. Garter Stitch Border: If you prefer a simple and clean look, you can create a garter stitch border. This is done by knitting every stitch, both on the right side and the wrong side. The garter stitch border adds a nice frame to the blanket and is easy to work for knitters of all levels.
4. Picot Edge Border: For a delicate and feminine touch, you can add a picot edge border. This is done by creating small loops along the edge of the blanket. To create the picot loops, you will need to knit a certain number of stitches together, then make a loop by casting on a few extra stitches, and finally knitting the same number of stitches together again. This will create a pretty picot edge that adds a decorative finish to the blanket.
5. Eyelet Border: If you want to add some lace-like details to your doll blanket, you can create an eyelet border. This can be done by working yarn overs and decreases in a pattern along the edge of the blanket. The eyelet border adds an airy and delicate look to the blanket, perfect for a special occasion or a gift.
When choosing a border for your doll blanket, consider the overall style and purpose of the blanket. Experiment with different patterns and techniques to find the one that best suits your taste. Remember to have fun and enjoy the process of creating a beautiful border for your doll blanket!
Finishing Touches
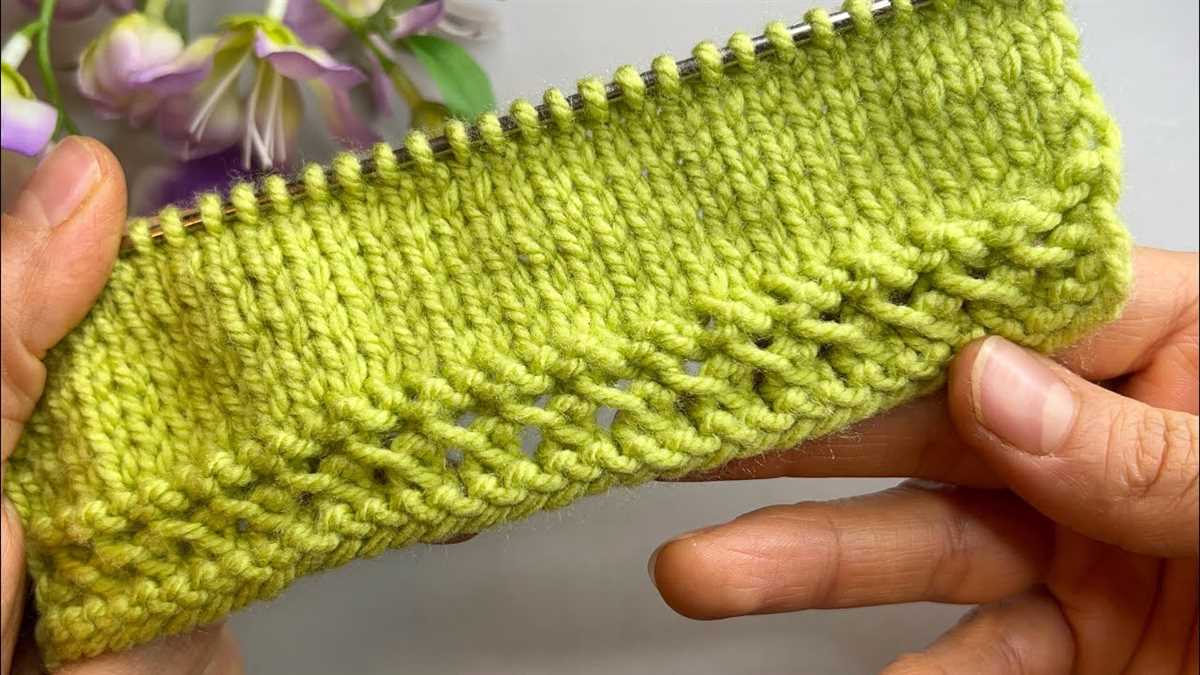
Once you have completed knitting your doll blanket, it’s time to add the finishing touches to make it a truly special and beautiful piece. Here are a few suggestions on how to do this:
Border: Adding a border to your doll blanket can give it a polished and professional finish. You can choose to knit a simple garter stitch border or get creative with a different stitch pattern. Consider using a contrasting color to make the border stand out.
Embroidery: Embroidery can be a lovely way to add extra detail and personalization to your doll blanket. You can try stitching a name, initials, or a simple design using embroidery floss or yarn. Use a needle and thread in a coordinating color to neatly sew your chosen design onto the blanket.
Pom-poms or Tassels: Adding pom-poms or tassels to each corner of your doll blanket can add a playful touch. You can make pom-poms using a pom-pom maker or by wrapping yarn around a piece of cardboard. For tassels, wrap yarn around your hand or a cardboard template and then tie it at one end before cutting the loops.
Blocking: To ensure your doll blanket lays flat and looks its best, consider blocking it. This involves wetting the blanket and then gently stretching it out to the desired shape and dimensions. Place it on a towel or blocking mat and pin it down to hold its shape until it dries completely.
Remember, the finishing touches you choose for your doll blanket will depend on your personal preference and the overall style you want to achieve. Have fun experimenting and adding your own unique touch to make it truly special.
Caring for Your Doll Blanket: Blocking and Maintenance
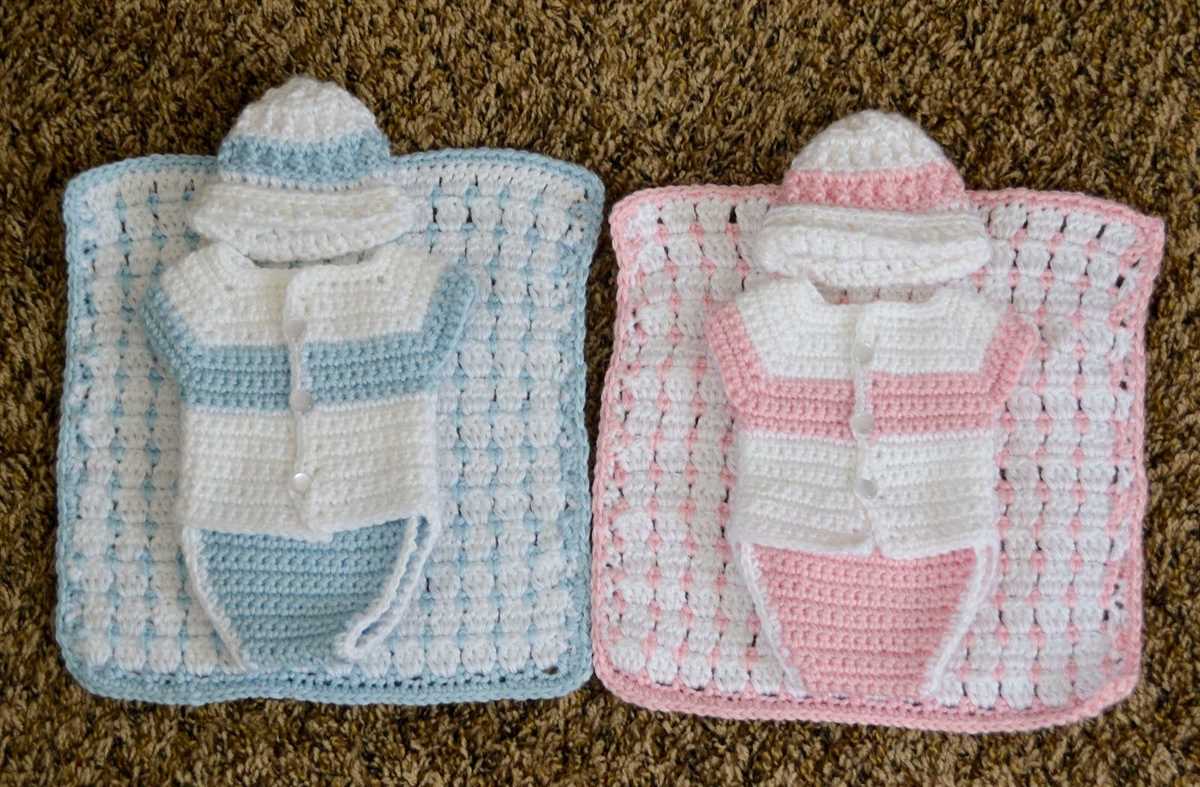
Blocking is an essential step in finishing your knitted doll blanket. It helps to even out the stitches, improve the drape, and give the blanket its final shape. Here are some key steps to follow when blocking your doll blanket:
Blocking Process:
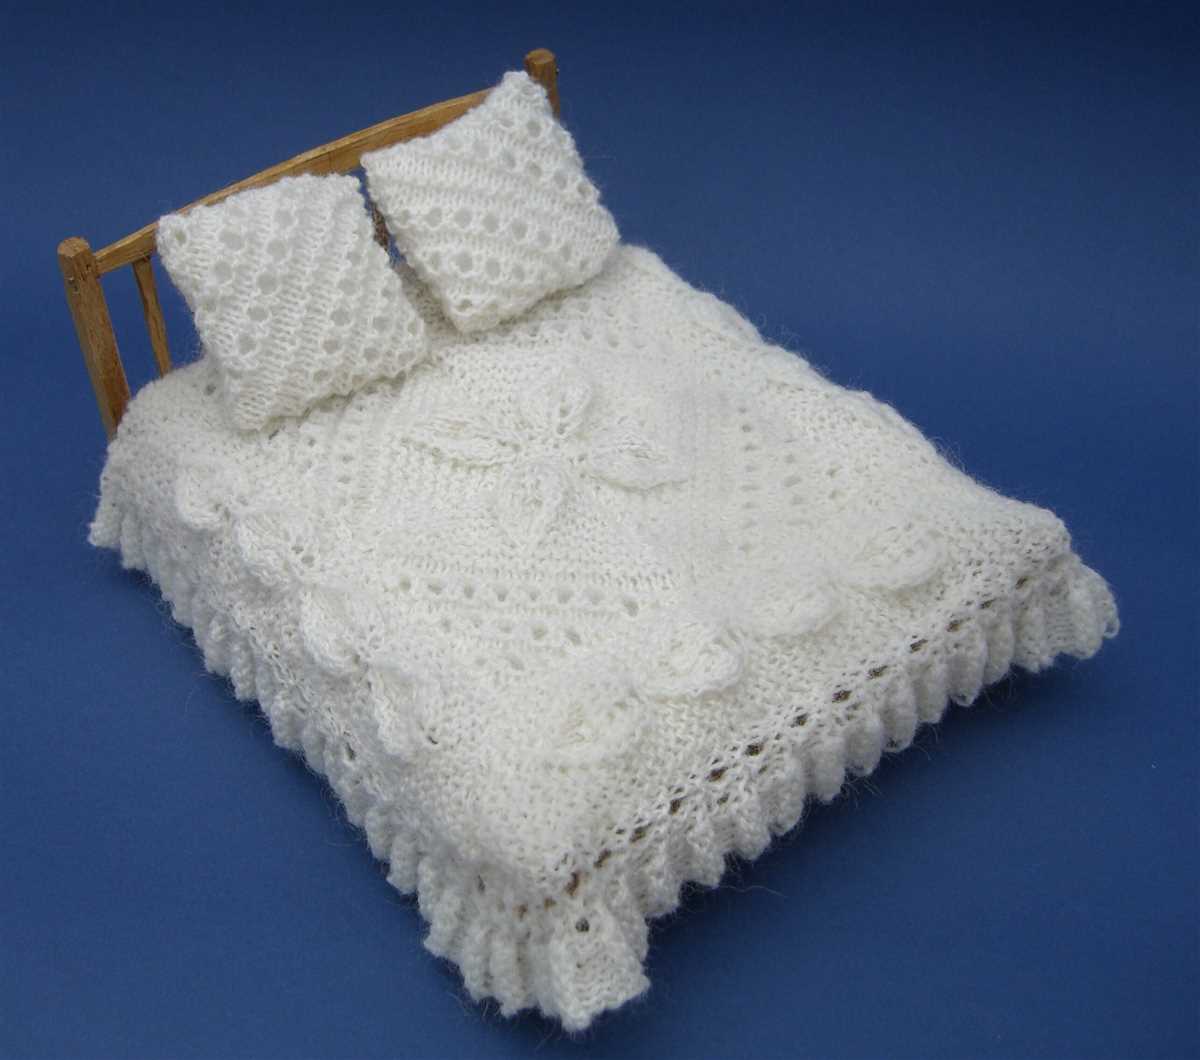
- Fill a basin or sink with lukewarm water and add a small amount of mild soap or wool wash.
- Submerge the doll blanket in the soapy water, gently squeezing and massaging it to ensure even distribution of soap.
- Allow the blanket to soak for about 15 minutes, then drain the water and gently squeeze out any excess moisture. Avoid wringing or twisting the blanket, as this can damage the fibers.
- Lay a clean towel on a flat surface and place the damp blanket on top.
- Gently stretch and shape the blanket to your desired dimensions, using blocking pins or rust-proof T-pins to secure the edges and corners in place.
- Leave the blanket to dry completely, undisturbed, for at least 24 hours. Make sure it is away from direct sunlight and heat sources.
- Once dry, remove the pins and admire your beautifully blocked doll blanket!
Maintenance and Care:
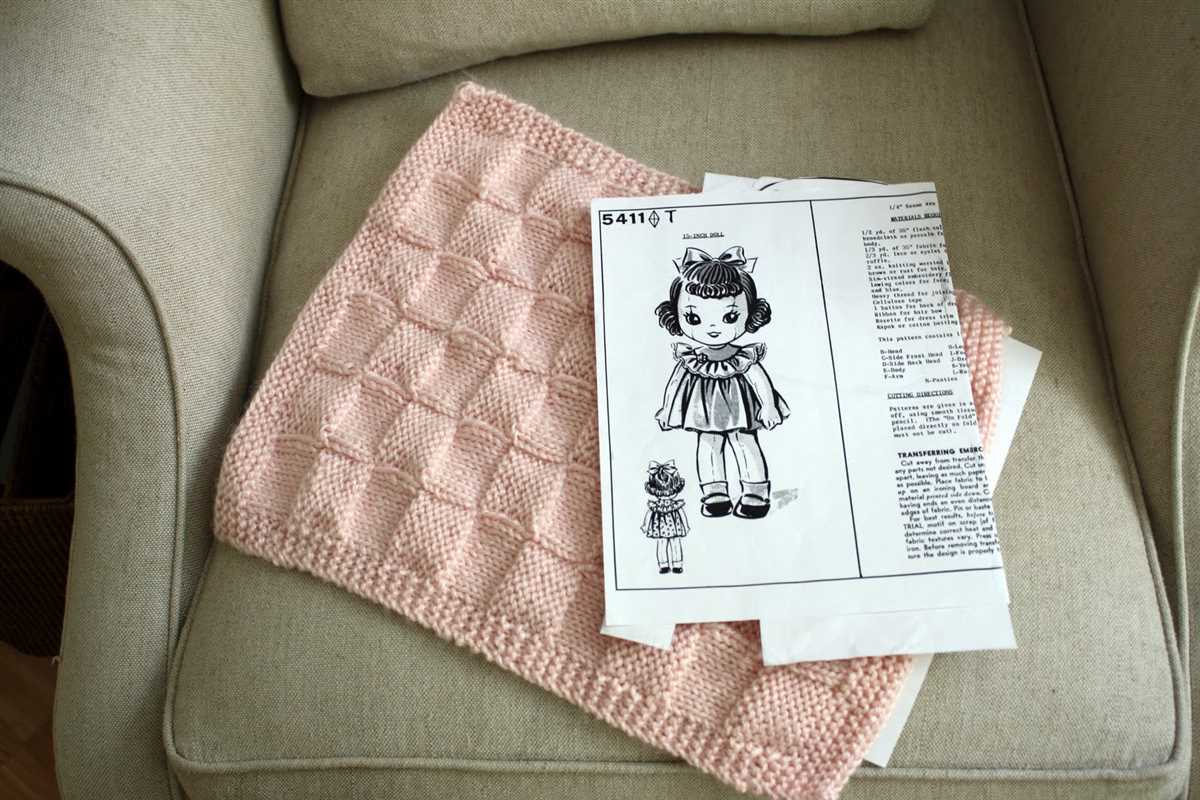
To keep your doll blanket looking its best, there are a few important tips to follow:
- When not in use, store the blanket in a clean, dry place to prevent dust accumulation.
- If the blanket gets soiled, spot clean it using a mild detergent and lukewarm water. Gently blot the affected area and avoid rubbing or scrubbing.
- Avoid storing the doll blanket in direct sunlight, as prolonged exposure can cause fading and discoloration over time.
- If you need to wash the blanket, always follow the care instructions specific to the yarn used. Some yarns may require hand washing, while others can be machine washed on a gentle cycle.
- After washing, gently reshape and block the blanket again to restore its original shape and dimensions.
By following these blocking and maintenance tips, your doll blanket will stay in great condition and be ready to provide cozy comfort to your favorite doll for years to come!
Other Doll Accessories to Knit
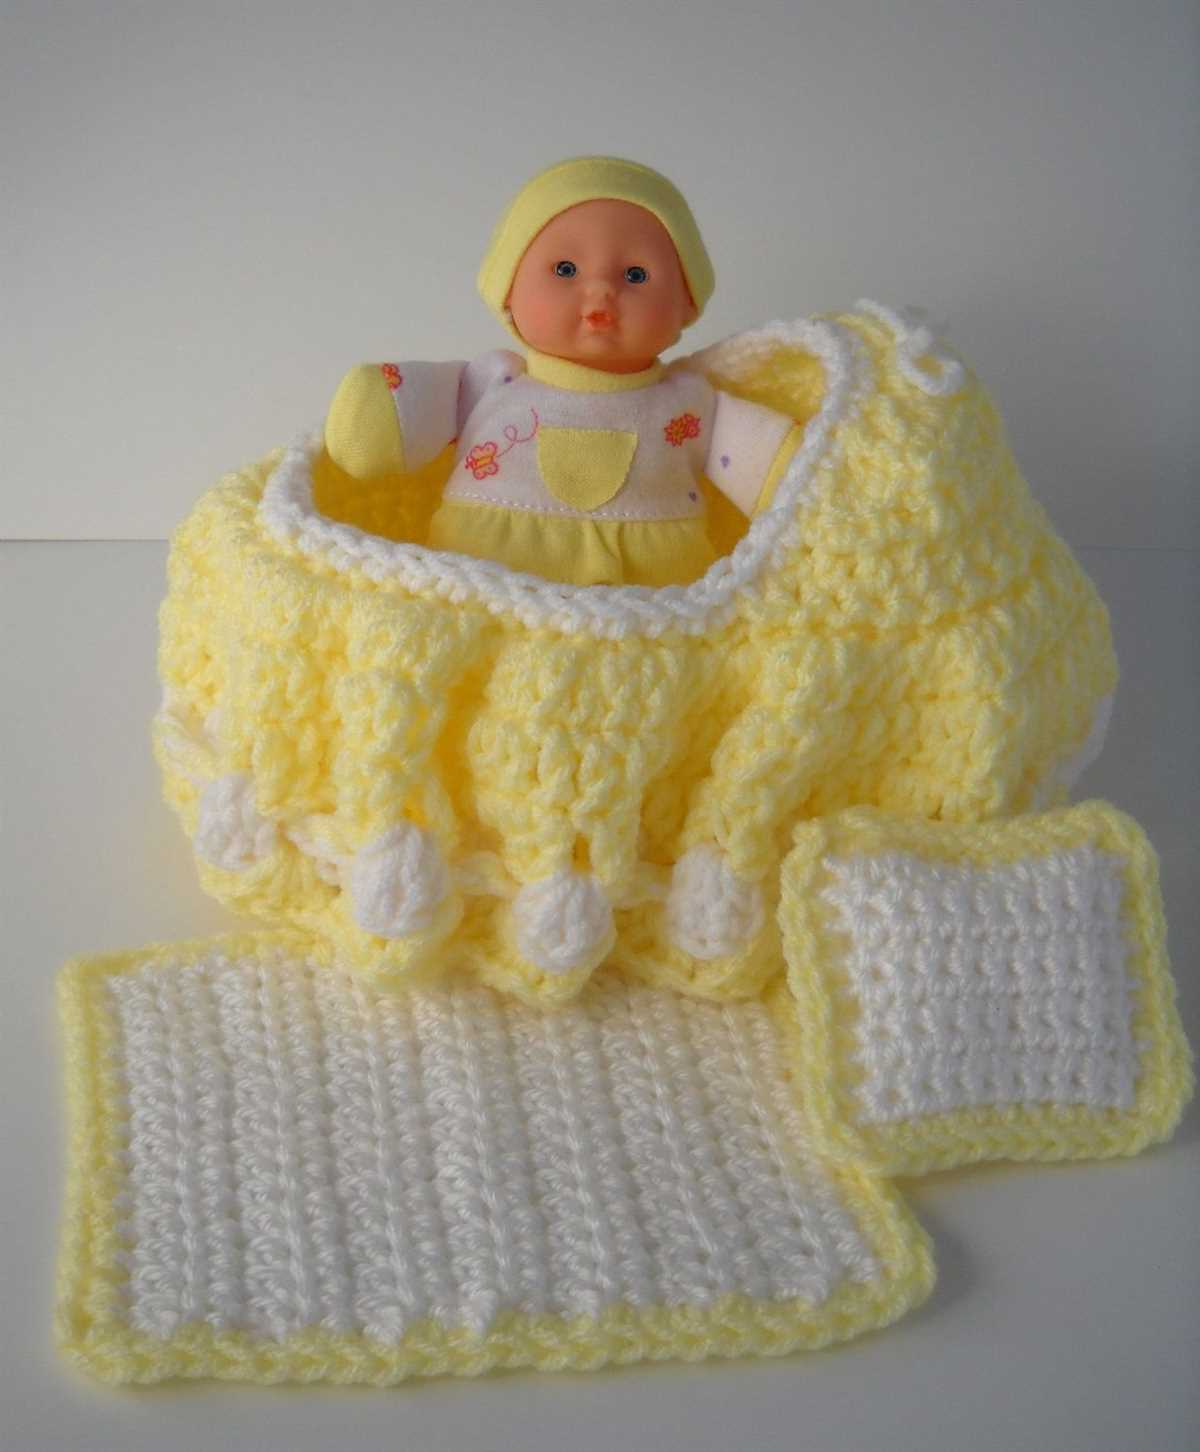
Aside from doll blankets, there are many other accessories that you can knit for your dolls. These accessories can add a personal touch to your doll’s wardrobe and make playtime even more fun. Here are a few ideas:
Doll Sweaters
Knitting a cozy sweater for your doll can keep them warm during the colder months. You can choose from a variety of patterns, from simple pullovers to intricate cardigans. Experiment with different colors and stitches to create unique designs that reflect your doll’s personality.
Doll Hats
A cute hat can complete your doll’s outfit and add a touch of style. Whether you prefer beanies, berets, or sun hats, there are plenty of hat patterns available for you to choose from. You can even adorn your doll’s hat with pompoms, ribbons, or flowers to make it extra special.
Doll Scarves
Scarves are not only fashionable but also practical, especially during the chilly seasons. Knitting a scarf for your doll can keep them warm while also adding a stylish accessory to their ensemble. You can make a simple garter stitch scarf or experiment with different stitch patterns and colors to create a unique design.
Doll Bags
Your doll needs a stylish bag to carry their belongings! You can knit a small tote bag, purse, or backpack for your doll. Adding buttons, beads, or other embellishments can make the bag even more special. Your doll will be ready for any adventure with their own personalized bag.
In conclusion, knitting doll accessories can be a fun and creative way to enhance your doll’s wardrobe. Whether you choose to knit sweaters, hats, scarves, or bags, these accessories will add a unique touch to your doll’s style. So grab your knitting needles and start creating beautiful accessories for your dolls!