
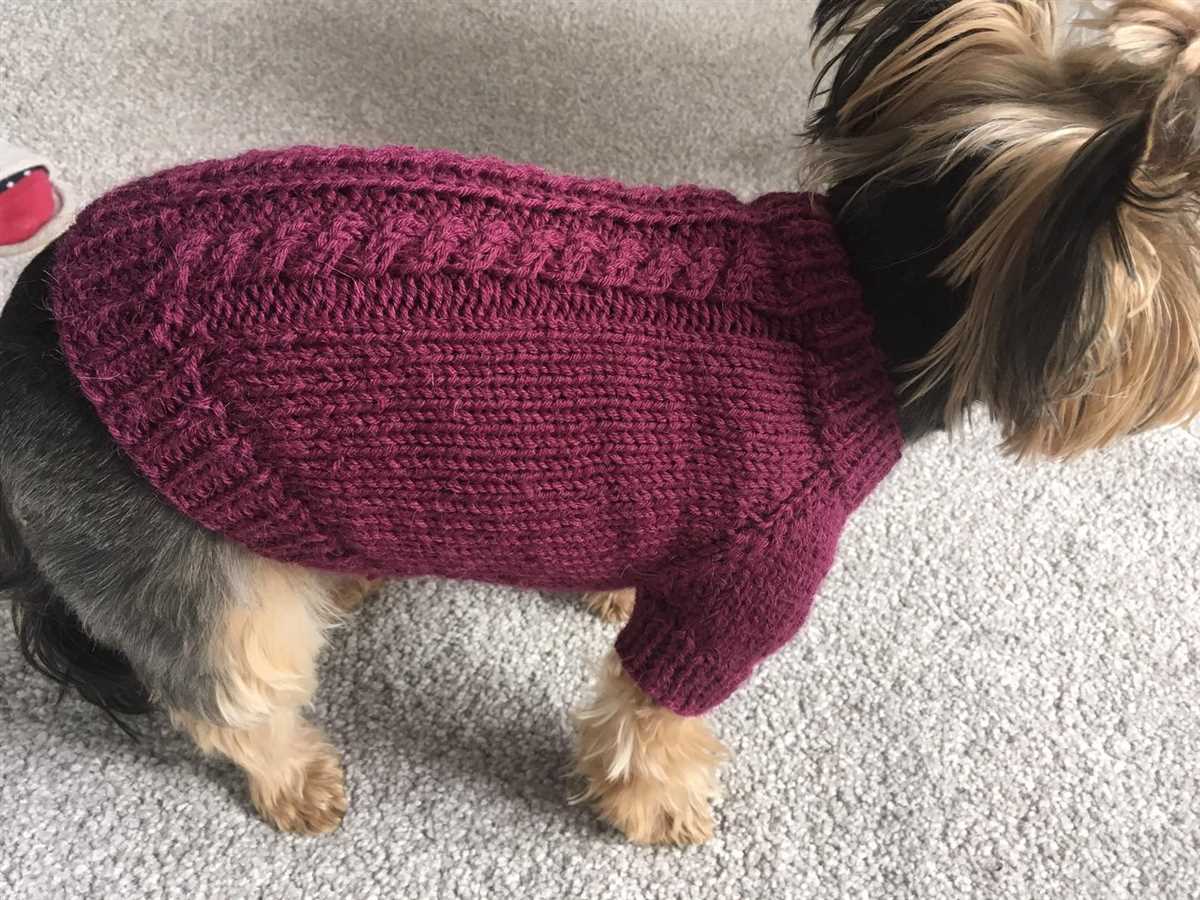
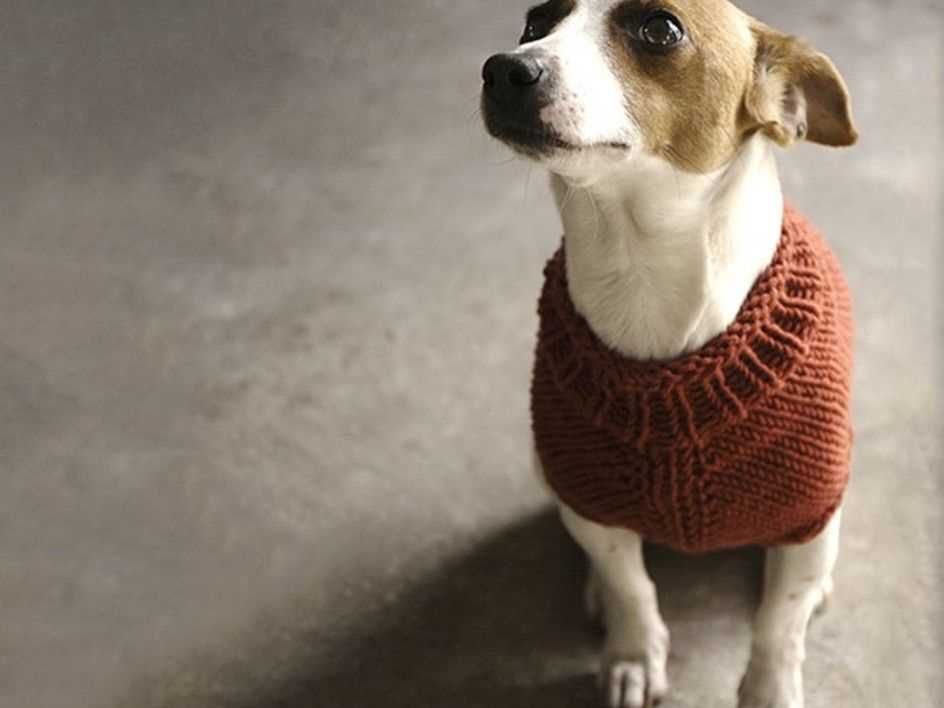
Knitting can be a rewarding and relaxing hobby, and what better way to show your love for your furry friend than knitting them a cozy and stylish sweater? Making your own dog sweater not only allows you to customize the design and fit, but it also allows you to choose the perfect yarn for your pup’s needs. In this article, we will take you through a step-by-step guide on how to knit a dog sweater in the round.
Knitting in the round is a technique that allows you to create a seamless garment, eliminating the need for sewing or seaming. This method is perfect for creating dog sweaters as it provides a comfortable and snug fit. Plus, it’s a fun and efficient way to knit!
To begin, you will need a few supplies. Choose a soft and warm yarn that is suitable for your dog’s size and breed. Worsted weight or chunky yarn works well for most dogs. You will also need circular knitting needles in the appropriate size for your yarn, as well as double-pointed needles for shaping the neck and leg holes. Don’t forget to have a tape measure, stitch markers, and a yarn needle handy as well.
Dog Sweater Knitting Pattern in the Round
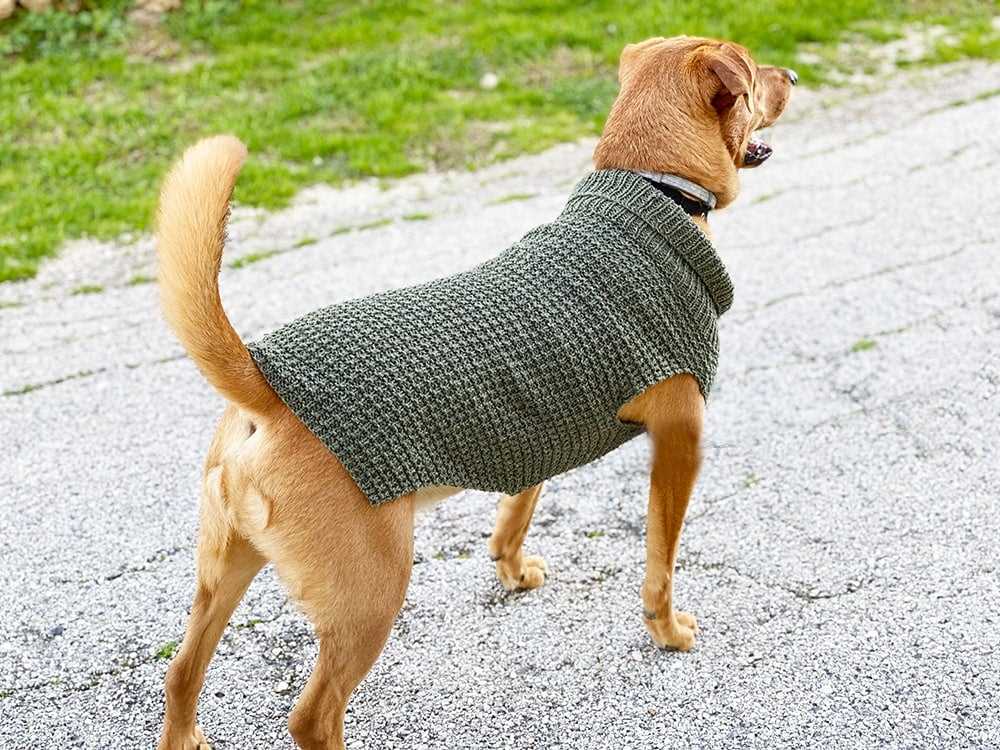
Knitting a sweater for your furry friend is not only a fun and rewarding project, but it also keeps them cozy and stylish during the colder months. In this knitting pattern, we will guide you through the process of making a dog sweater in the round, which means there are no seams to sew at the end.
Materials needed:
- Worsted weight yarn
- Knitting needles in the appropriate size for your chosen yarn
- Circular knitting needles in the same size (optional, but recommended)
- Crochet hook
- Tape measure
- Stitch markers
- Yarn needle
Instructions:
- Start by measuring your dog’s chest, neck, and length from the base of the neck to the tail. Write down these measurements to determine the size of the sweater.
- Using the gauge specified on the yarn label, calculate the number of stitches needed for the chest. Cast on the required number of stitches onto your circular knitting needles.
- Join the round, being careful not to twist the stitches. Place a stitch marker to indicate the beginning of the round.
- Continue knitting in the round, following the desired pattern, until the chest length is reached. Remember to incorporate any necessary increases or decreases for shaping.
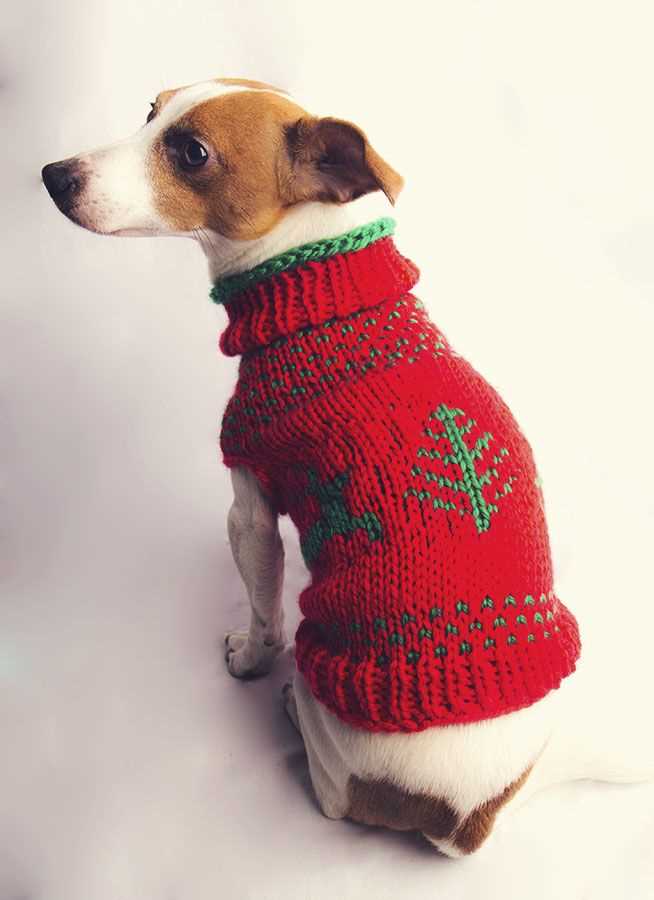
- Next, work on the collar by switching to a smaller size of circular needle. Knit the desired number of rounds in ribbing pattern (knit 1, purl 1).
- Once the collar is complete, switch back to the larger size circular needle and continue knitting in the main pattern until the desired length is achieved.
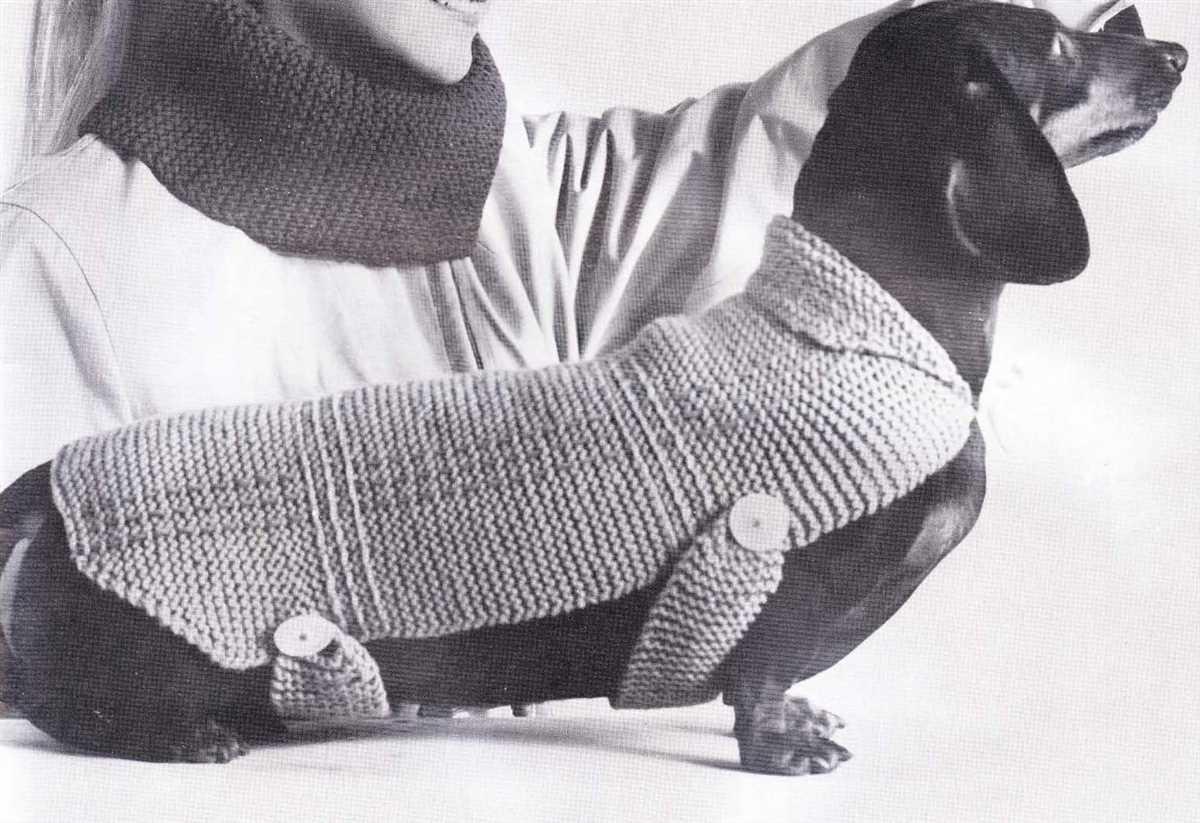
- Finally, bind off the stitches and weave in any loose ends using a yarn needle. Optionally, you can add embellishments such as buttons or a decorative border.
With this dog sweater knitting pattern in the round, you can create a cozy and stylish garment for your furry friend. Choose your favorite yarn colors and stitch patterns to personalize the sweater to your dog’s unique style. Happy knitting!
Choosing the Right Yarn and Needles
When it comes to knitting a dog sweater in the round, choosing the right yarn and needles is crucial. The yarn you select should be soft, warm, and durable, as it will need to withstand the active lifestyle of your furry friend. It’s also important to consider the size of the dog and the climate in which they live, as this will determine the weight and thickness of the yarn you should use.
Yarn Weight: Depending on the size of your dog, you may choose to use a fingering, sport, or worsted weight yarn. Fingering weight yarn is ideal for smaller dogs, while sport or worsted weight yarn is more suitable for larger breeds. Keep in mind that thicker yarn will result in a warmer sweater, while lighter weight yarn will be better for milder climates.
Fiber Content: Wool and wool blends are popular choices for dog sweaters as they provide warmth and insulation. Acrylic yarns can also be a good option, as they are often machine washable and easy to care for. However, if your canine companion has sensitive skin, it’s best to avoid yarns with a high percentage of wool or synthetic fibers that may cause irritation.
Needles: When it comes to choosing the right needles, circular needles are recommended for knitting in the round. They allow you to easily work the entire circumference of the sweater without the need to switch between needles. The size of the needles will depend on the weight of the yarn and the gauge specified in the pattern. It’s important to achieve the correct gauge to ensure that the sweater fits your dog properly.
Overall, selecting the right yarn and needles is essential for creating a comfortable and well-fitting dog sweater. Consider the size and needs of your dog, as well as the climate, to make an informed decision. With the right materials in hand, you’ll be well on your way to knitting a cozy and stylish sweater for your beloved pet.
Taking Measurements for a Perfect Fit
Before you begin knitting a dog sweater in the round, it’s important to take accurate measurements of your furry friend to ensure a perfect fit. By taking precise measurements, you can create a customized sweater that will keep your dog cozy and comfortable.
1. Neck Circumference: Start by measuring your dog’s neck circumference. Wrap a measuring tape around the base of their neck, where a collar would normally sit. Make sure the tape is snug but not too tight.
2. Chest Circumference: Measure the widest part of your dog’s chest, usually right behind their front legs. Wrap the tape around their chest and make sure it’s not too tight, allowing for some breathing room.
3. Back Length: Measure from the base of the neck to the base of the tail. This will give you the length of the sweater needed to cover your dog’s back. Make sure your dog is standing up straight and measure along their spine for an accurate measurement.
4. Leg Length: If you want to include leg openings in your dog sweater, measure the length of your dog’s front legs from the shoulder to the wrist. This measurement will help ensure that the leg openings are the perfect size for your pup.
5. Weight: While not a measurement per se, knowing your dog’s weight can also be helpful in determining the appropriate size for the sweater. A heavier dog may require a larger size, while a smaller dog may need a smaller size.
Once you have all the necessary measurements, you can reference a dog sweater knitting pattern in the round that provides instructions for the specific measurements you have taken. Remember to adjust the pattern accordingly to fit your dog’s unique measurements, and enjoy creating a cozy and stylish sweater for your beloved pooch!
Casting On and Joining in the Round
When starting a dog sweater knitting pattern in the round, the first step is to cast on the required number of stitches. This can be done using the long-tail cast on method or any other preferred method. It is important to make sure that the stitches are not twisted on the needle before joining in the round.
Once the stitches are cast on, the next step is to join in the round to create a seamless knitting project. To do this, place a stitch marker on the right needle to mark the beginning of the round. Then, take the left needle and bring it closer to the right needle, making sure the working yarn is behind the needles.
With the needles held together, insert the right needle into the first stitch on the left needle, working from left to right. Wrap the working yarn around the right needle and pull it through the stitch, creating a new stitch on the right needle. This is the first stitch of the round.
Continue knitting each stitch in the round, following the pattern instructions. Take care to not twist the stitches as you work. By joining in the round, you are forming a continuous loop of stitches that will create the body of the dog sweater.
Knitting the Ribbing
In order to create a cozy and snug fit for your dog sweater, it’s important to start with a stretchy ribbing. The ribbing is typically knitted at the beginning and end of the sweater, and it helps to create a flexible and comfortable cuff. When knitting the ribbing, it’s recommended to use a smaller needle size than the main body of the sweater to achieve a tighter gauge.
To begin, cast on the required number of stitches using the smaller needle size. The most common ribbing pattern is the 1×1 rib, which involves alternating one knit stitch with one purl stitch for each row. This creates a stretchy and textured fabric. As you work the ribbing, make sure to maintain an even tension and avoid pulling too tightly, as this can result in a constricted cuff.
Tips:
- Use a stitch marker to mark the beginning and end of the ribbing section.
- Consider using a circular needle or double-pointed needles for knitting in the round, as this can make the process easier and more efficient.
- If you prefer a different ribbing pattern, such as a 2×2 rib or a twisted rib, simply adjust the stitch pattern accordingly.
- Remember to measure your dog’s neck or leg circumference to ensure the ribbing will fit properly.
Once you have completed the ribbing section, you can continue with the main body of the sweater and begin knitting in the desired stitch pattern. The ribbing will provide a nice starting point and add a professional finishing touch to your dog sweater.
Creating the Body of the Sweater
Once you have completed the ribbing and established the desired gauge for your dog sweater, it’s time to start knitting the body of the sweater in the round. This section will guide you through the steps to create this portion of the garment.
1. Continuing in the Round
Using your circular needles, continue knitting in the round, working the body of the sweater. Depending on your chosen pattern, you may need to change colors, incorporate different stitch patterns, or continue in the same stitch pattern as the ribbing. Follow the pattern instructions for any stitch variations.
2. Shaping the Body
As you knit the body, you may need to make adjustments to shape the sweater to fit your dog. This usually involves increasing or decreasing stitches at specific points. These increases or decreases should be evenly distributed to maintain symmetry and ensure a proper fit. You can use markers or keep track of the stitch counts to help with this process.
The pattern you are following should provide guidance on when and where to make these adjustments. Be sure to carefully read the pattern instructions and follow them accordingly. If you are modifying a pattern or creating your own design, consider the measurements of your dog and adjust the stitch counts accordingly to achieve the desired fit.
3. Length and Finishing
Continue knitting the body until you have reached the desired length for your dog sweater. This will depend on your dog’s measurements and the style of the sweater. The pattern should provide guidance on the ideal length or you can measure your dog’s back from the base of the neck to the base of the tail to determine the appropriate length.
Once you have reached the desired length, you will typically finish the body of the sweater by binding off the stitches. Follow the pattern instructions for the specific bind-off method or use your preferred technique. Check the fit of the sweater on your dog and make any necessary adjustments before proceeding to the next steps of the pattern.
Knitting the Leg Openings
When knitting a dog sweater in the round, it is important to create leg openings to ensure a comfortable fit for your furry friend. Leg openings allow for easy movement and prevent the sweater from constricting your dog’s movement.
To create leg openings, you will need to divide your stitches evenly between the front and back sections of the sweater. This can be done by placing stitch markers at the desired locations. You can use contrasting stitch markers or different colored yarn to make them easily identifiable.
Step 1: First, count the total number of stitches on your needles. Divide this number by two to determine the number of stitches for the front and back sections of the sweater.
Step 2: Place a stitch marker at the center point of your sweater. This will mark the division between the front and back sections.
Once you have divided your stitches and placed the stitch marker, you can begin knitting the leg openings. To do this, you will usually need to knit some stitches, place them on hold, and then continue knitting the remaining stitches.
Step 3: Knit the desired number of stitches for one of the leg openings. This will depend on the size of your dog and the desired width of the leg openings. You can refer to the pattern for specific instructions on stitch counts.
Step 4: Slip the next set of stitches, up until the stitch marker, onto a stitch holder or spare piece of yarn. This will put these stitches on hold for now.
Step 5: Continue knitting the remaining stitches for the back section of the sweater.
Repeat steps 3 to 5 for the other leg opening, making sure to knit the same number of stitches and place the corresponding stitches on hold.
Once you have completed the leg openings, you can continue knitting the body of the sweater as instructed in the pattern. Remember to always keep track of your stitch counts and follow the pattern’s instructions carefully to ensure a successful outcome.
Shaping the Neckline
When knitting a dog sweater in the round, shaping the neckline is an important step to ensure a comfortable fit for your furry friend. The neckline should be wide enough to fit over the dog’s head but snug enough to stay in place during wear. There are several methods you can use to shape the neckline, depending on the style and design of the sweater.
One common method for shaping the neckline is to work short rows. To do this, you will knit a certain number of stitches, then turn your work and knit back without working the full round. This creates extra fabric on one side of the neckline, which will later be joined to the rest of the sweater. By knitting short rows on each side of the neckline, you can create a rounded shape that fits comfortably around the dog’s neck.
Another technique for shaping the neckline is to use decreases. This method involves gradually reducing the number of stitches on each side of the neckline to create a more fitted shape. You can use simple knit or purl decreases, such as k2tog or ssk, or more advanced techniques like centered double decreases or lifted increases. It’s important to evenly distribute the decreases so that the neckline remains symmetrical.
Once the neckline is shaped, you can continue knitting the rest of the sweater in the round. This may involve creating a ribbed or folded collar for added warmth and style. Following a dog sweater knitting pattern will provide specific instructions on how to shape the neckline for the desired size and style. Remember to always measure your dog’s neck circumference and compare it to the pattern’s measurements to ensure a proper fit.
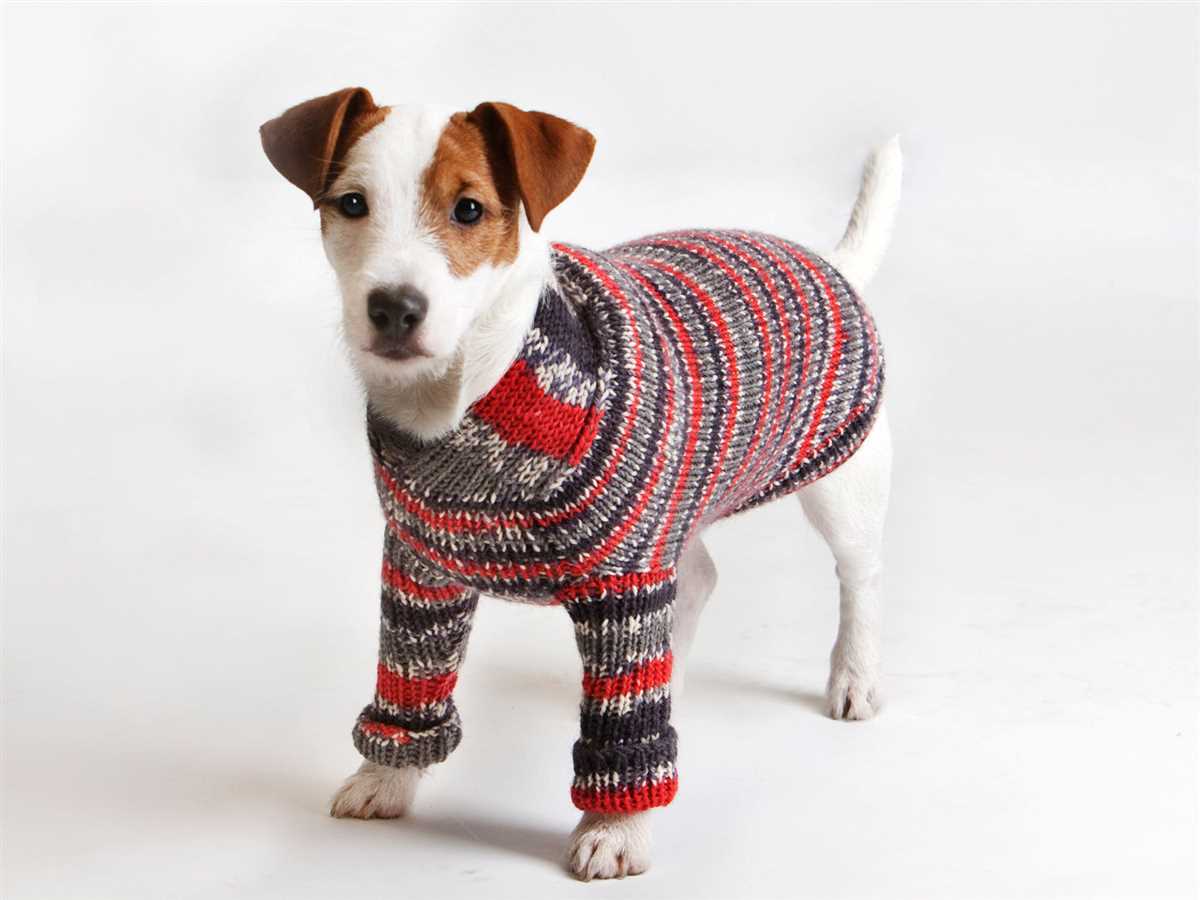
Adding Sleeves to the Sweater
When knitting a dog sweater in the round, you may want to add sleeves for extra warmth and style. Here is a step-by-step guide on how to add sleeves to your dog sweater:
1. Determine the Sleeve Length:
Begin by measuring the length of your dog’s front leg from the shoulder down to where you want the sleeve to end. This will help you determine the desired sleeve length for your dog’s sweater.
2. Provisional Cast On:
Using a provisional cast on method, cast on the number of stitches needed for the sleeve. The number of stitches will depend on the size of your dog and the gauge of your knitting. Make sure to leave a long tail for later use.
3. Joining the Sleeves:
Once you have cast on the necessary number of stitches for the sleeve, carefully join the sleeve to the main body of the sweater. This can be done by knitting the first stitch of the sleeve together with the first stitch of the sweater body. Continue working in the round, knitting the sleeve stitches as you come to them.
4. Shaping the Sleeve:
To shape the sleeve, you can use various techniques such as increasing or decreasing stitches, or working short rows. These techniques will help give the sleeve a tailored fit. Follow the knitting pattern instructions for shaping the sleeve to ensure a proper fit for your dog.
5. Finishing the Sleeve:
After shaping the sleeve and reaching the desired length, you can finish it off by binding off the stitches. Make sure to weave in any loose ends and secure them to prevent unraveling. Repeat these steps for the other sleeve if you want a symmetrical design.
With these steps, you can easily add sleeves to your dog’s sweater, providing them with extra warmth and comfort during colder weather. Remember to adjust the pattern to fit your dog’s measurements and knitting gauge for the best results.
Finishing and Securing Loose Ends
Once you have completed knitting the dog sweater in the round, it is time to finish the project and secure any loose ends. This final step is essential for ensuring that the sweater is durable and comfortable for your furry friend.
1. Weaving in Ends
Start by taking the loose yarn ends and threading them onto a tapestry needle. Carefully weave the needle through the stitches on the inside of the sweater, going back and forth to secure the yarn. Make sure to hide the ends and avoid creating any lumps or bumps on the surface.
Tip: If you are working with different colors, try to weave in the ends along the same color sections to make them less visible.
2. Blocking the Sweater
Blocking is an optional step, but it can help to give your dog sweater a more finished look. To block the sweater, fill a basin with lukewarm water and a mild detergent. Gently submerge the sweater, allowing it to soak for a few minutes. Remove the sweater from the water and squeeze out the excess moisture, being careful not to wring or twist it.
Note: Pay attention to any specific care instructions for the type of yarn you are using, as some may require different blocking techniques.
3. Drying and Final Touches
After blocking, reshape the sweater to its desired size and lay it flat on a clean towel to dry. Avoid exposing the sweater to direct sunlight or heat sources, as this can cause the fibers to become damaged or misshapen. Once the sweater is completely dry, give it a final inspection and make any necessary adjustments.
Tip: You can also add decorative touches to the sweater, such as buttons, bows, or trims, to personalize it and make it even more stylish.
- Weave in loose yarn ends
- Block the sweater if desired
- Dry flat and make final adjustments
- Add decorative touches for a personalized look
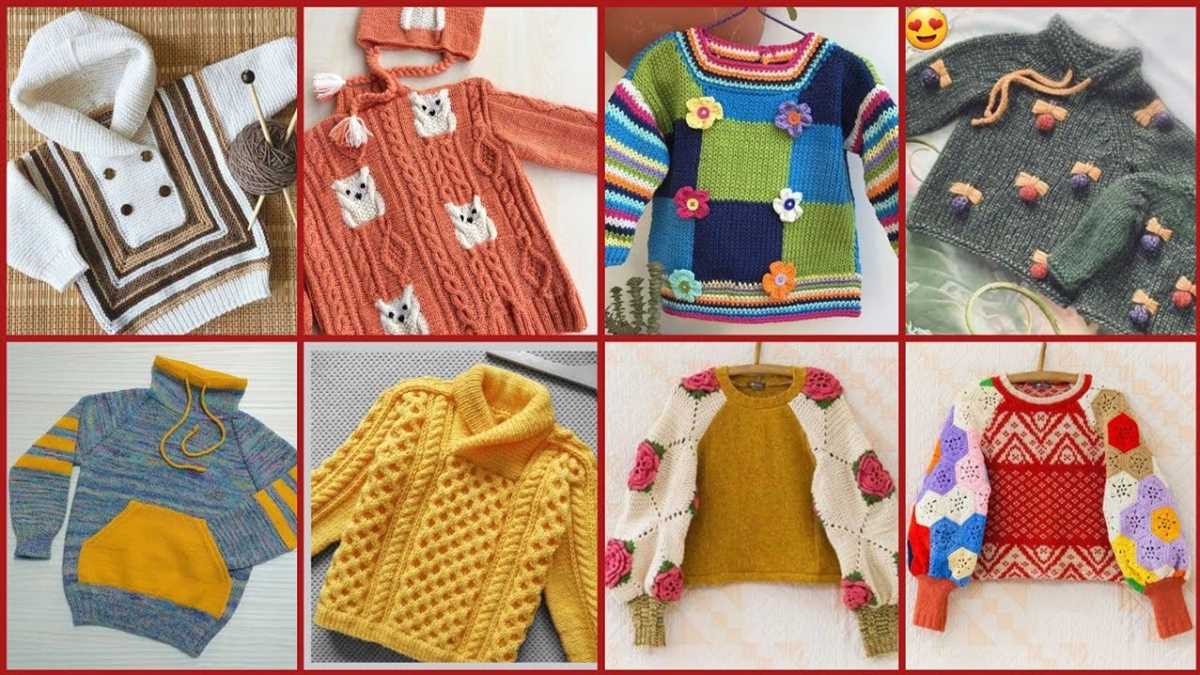
Adding Decorative Touches and Personalization
Once you have completed knitting the basic dog sweater pattern in the round, you can add some decorative touches and personalize it for your furry friend. These extra details can make the sweater even more special and unique.
Here are a few ideas to consider:
- Embroidery: Use a contrasting yarn or embroidery floss to add decorative stitches or patterns onto the sweater. You can create your dog’s name, cute designs, or even paw prints.
- Buttons: Sew on some buttons as embellishments. They can be functional or purely decorative, depending on your preference. Choose buttons that match the style and size of the sweater.
- Bows or Bows: Attach a small bow or bowtie to the front of the sweater. This can add a touch of elegance or playfulness to the design.
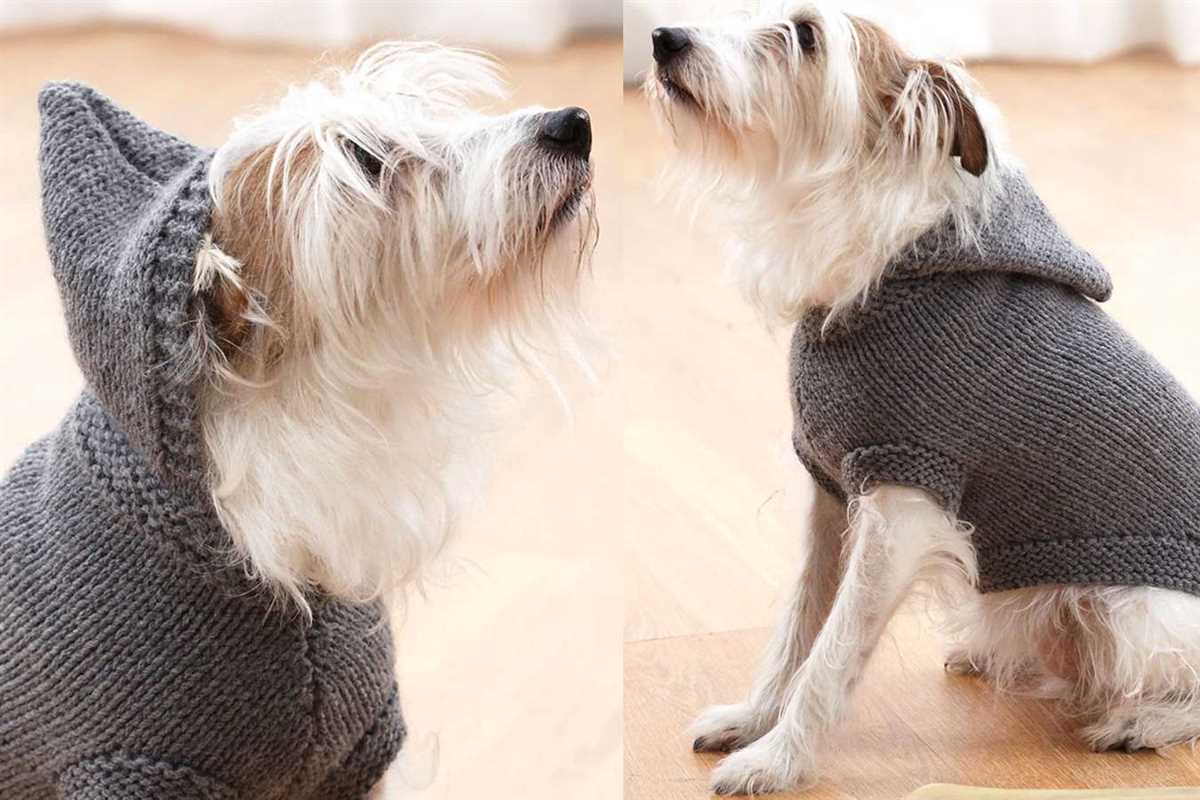
- Collar or Hood: Incorporate a collar or hood into the sweater design to provide extra warmth and style. You can use a different color or stitch pattern to make it stand out.
- Pom-poms or Tassels: Add some fun and flair by attaching pom-poms or tassels to the edges of the sweater. These can be made with yarn or purchased from a craft store.
- Custom Patches: Sew or iron on custom patches that represent your dog’s personality or interests. This can include their name, a favorite sports team, or a cute saying.
Remember to consider your dog’s comfort and safety when adding any decorative touches. Avoid using small or sharp objects that could be a choking hazard or cause discomfort. Always supervise your pet while they are wearing the sweater.
With these ideas, you can turn a simple dog sweater into a fashionable and personalized garment for your beloved canine companion. Have fun experimenting with different decorative touches and make a unique statement with your knitting skills!