
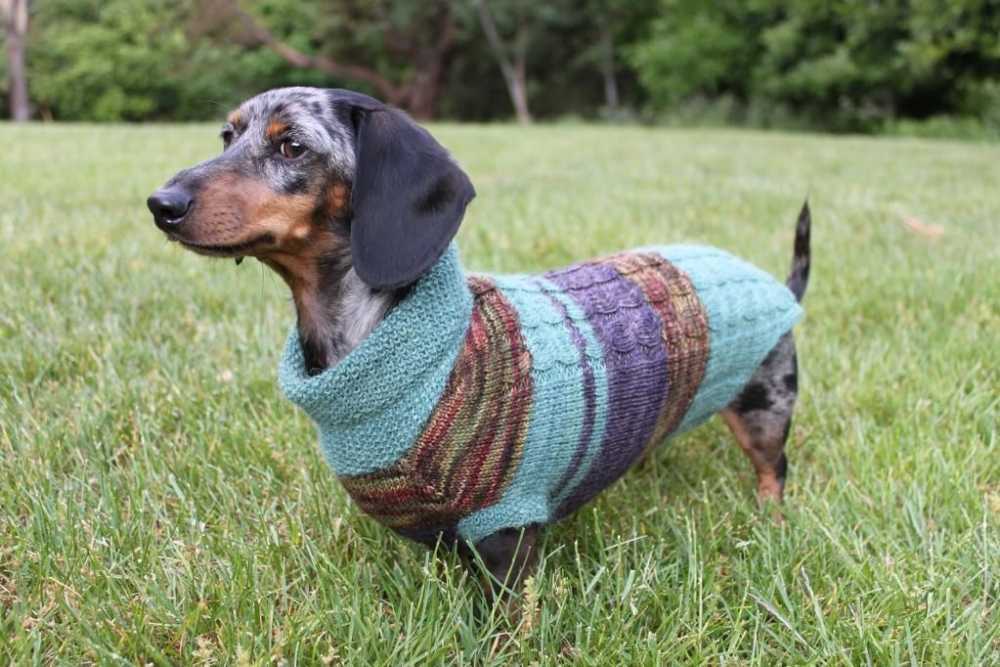
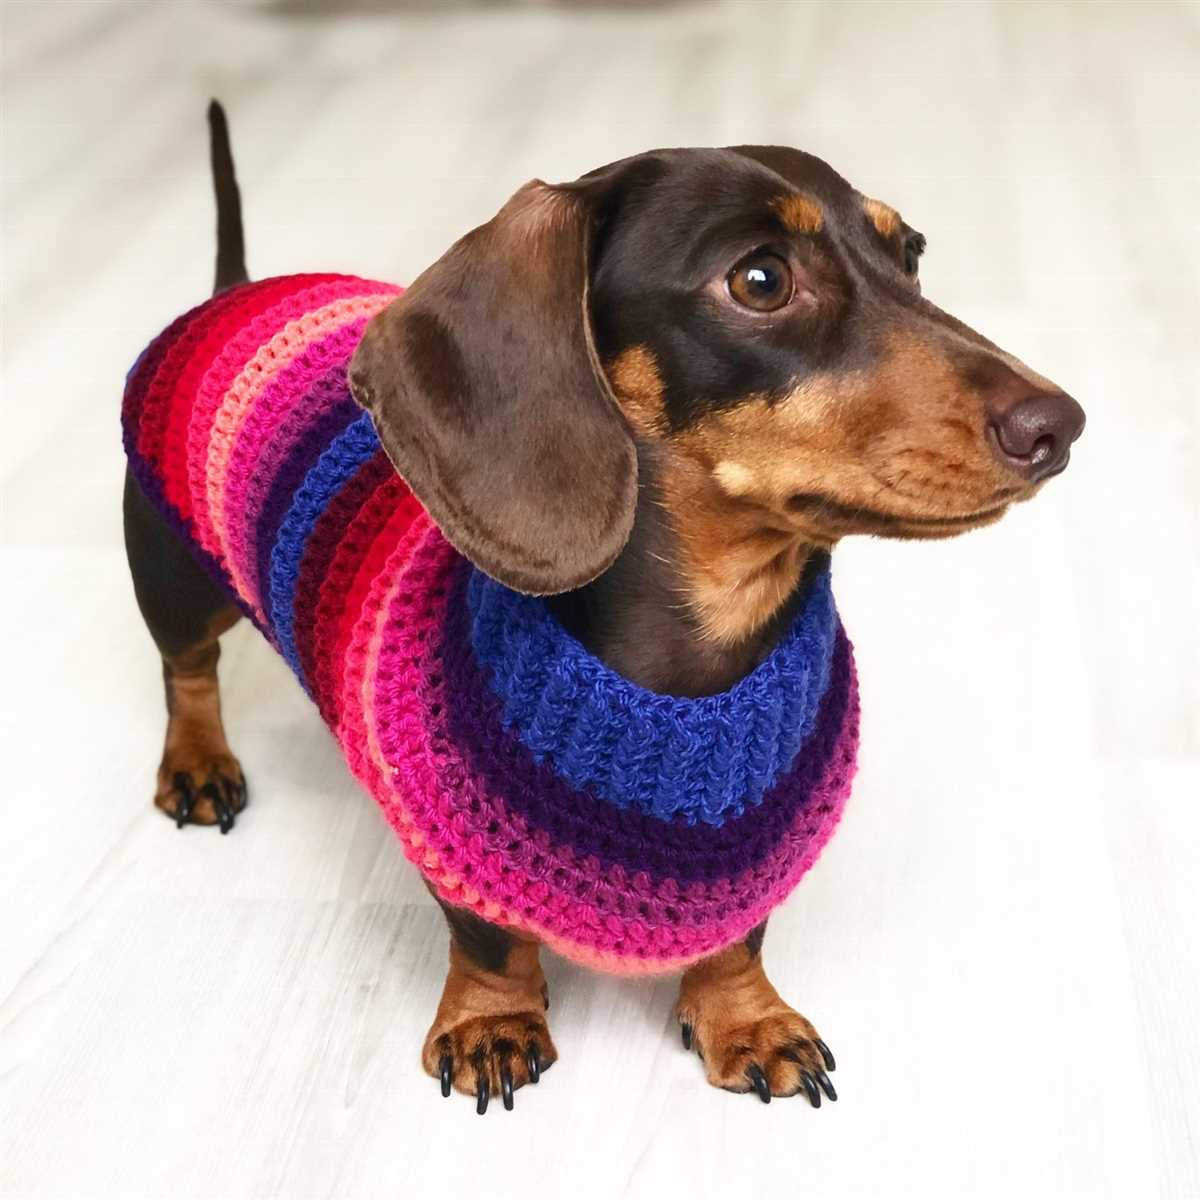
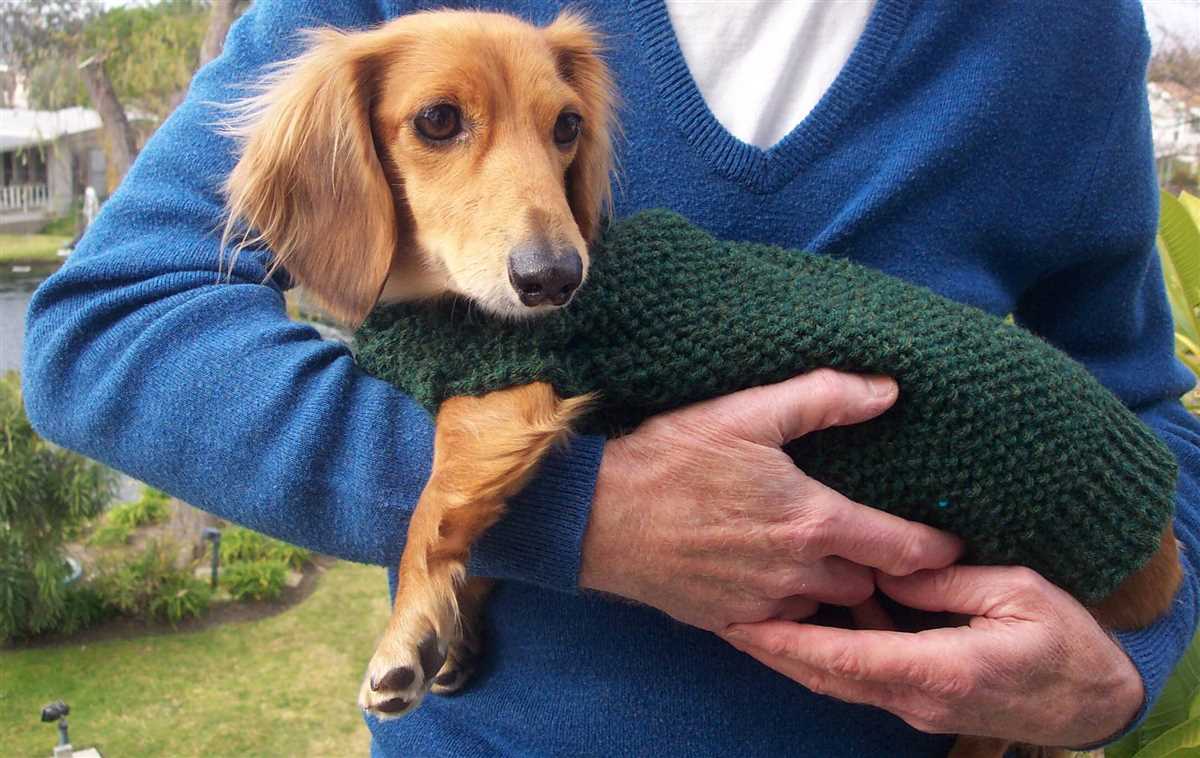
Do you have a dachshund and want to keep them warm and stylish during the winter months? Look no further! Knitting your own dachshund jumper is a fun and rewarding project that will not only keep your furry friend cozy, but also make them the envy of the dog park.
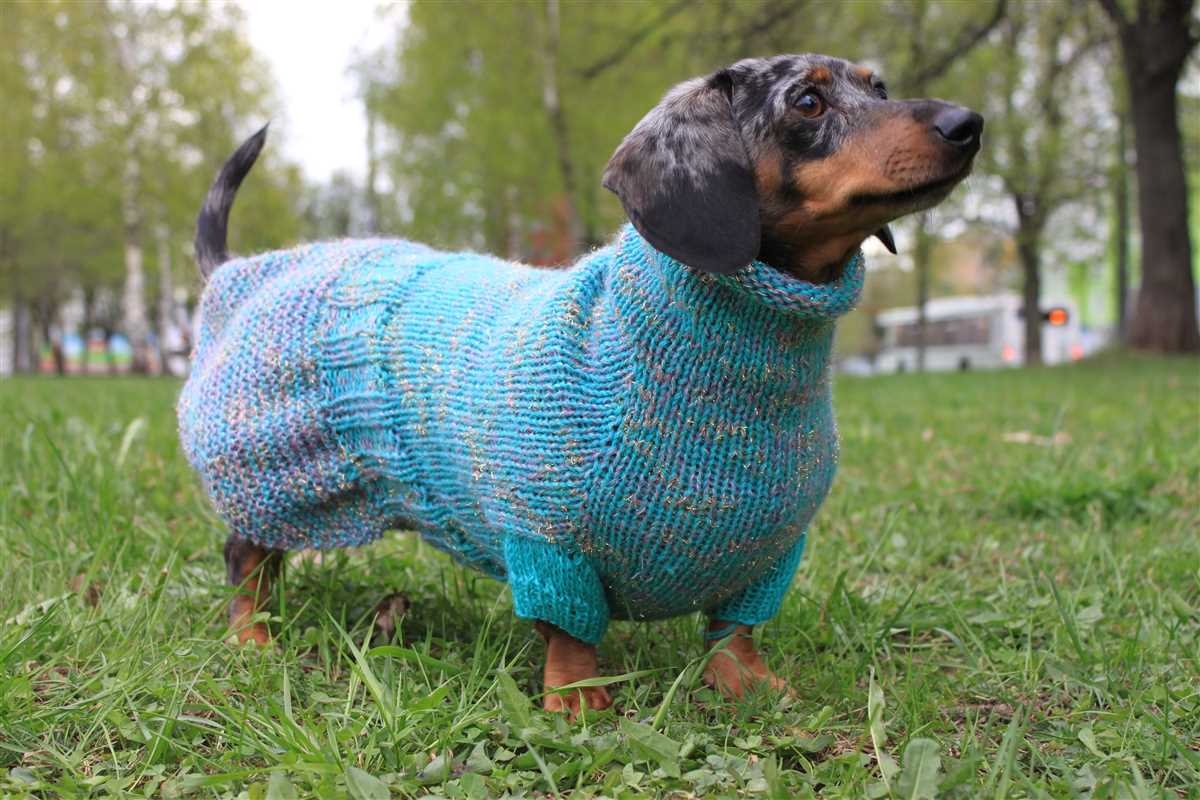
With this knitting pattern, you can create a custom-fit jumper for your dachshund that will keep them comfortable and snug. The pattern is designed specifically for dachshunds, taking into account their unique body shape and proportions. Whether your dachshund is a miniature or standard size, you can adjust the pattern to ensure a perfect fit.
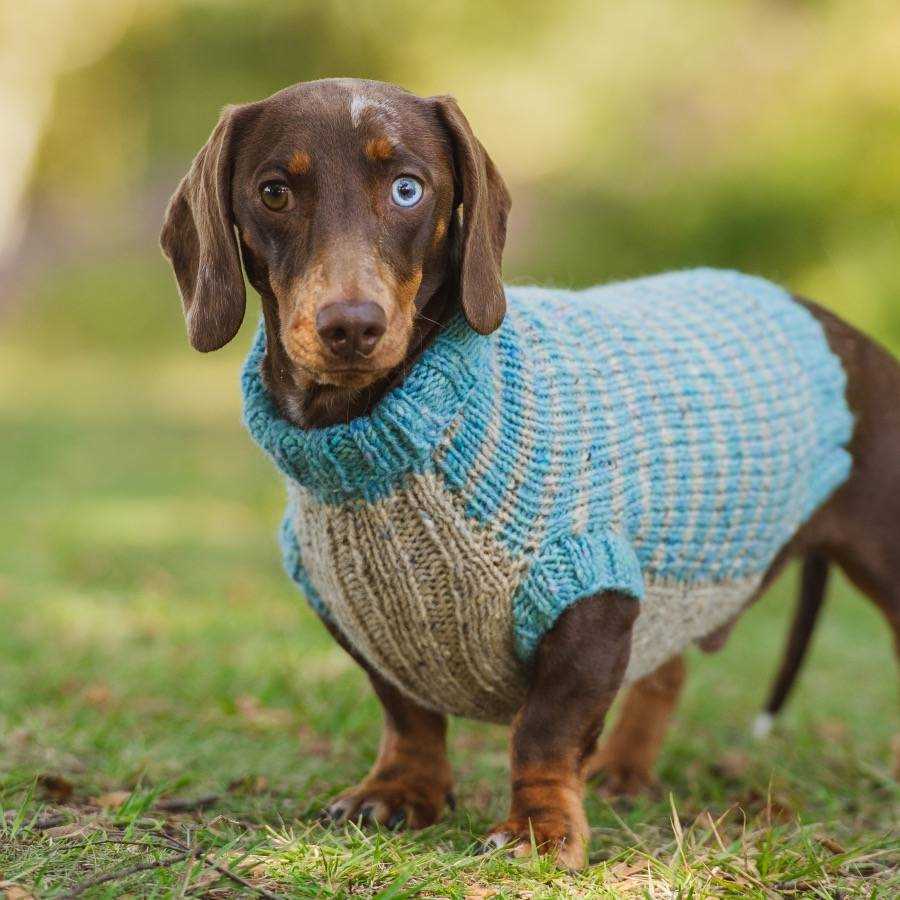
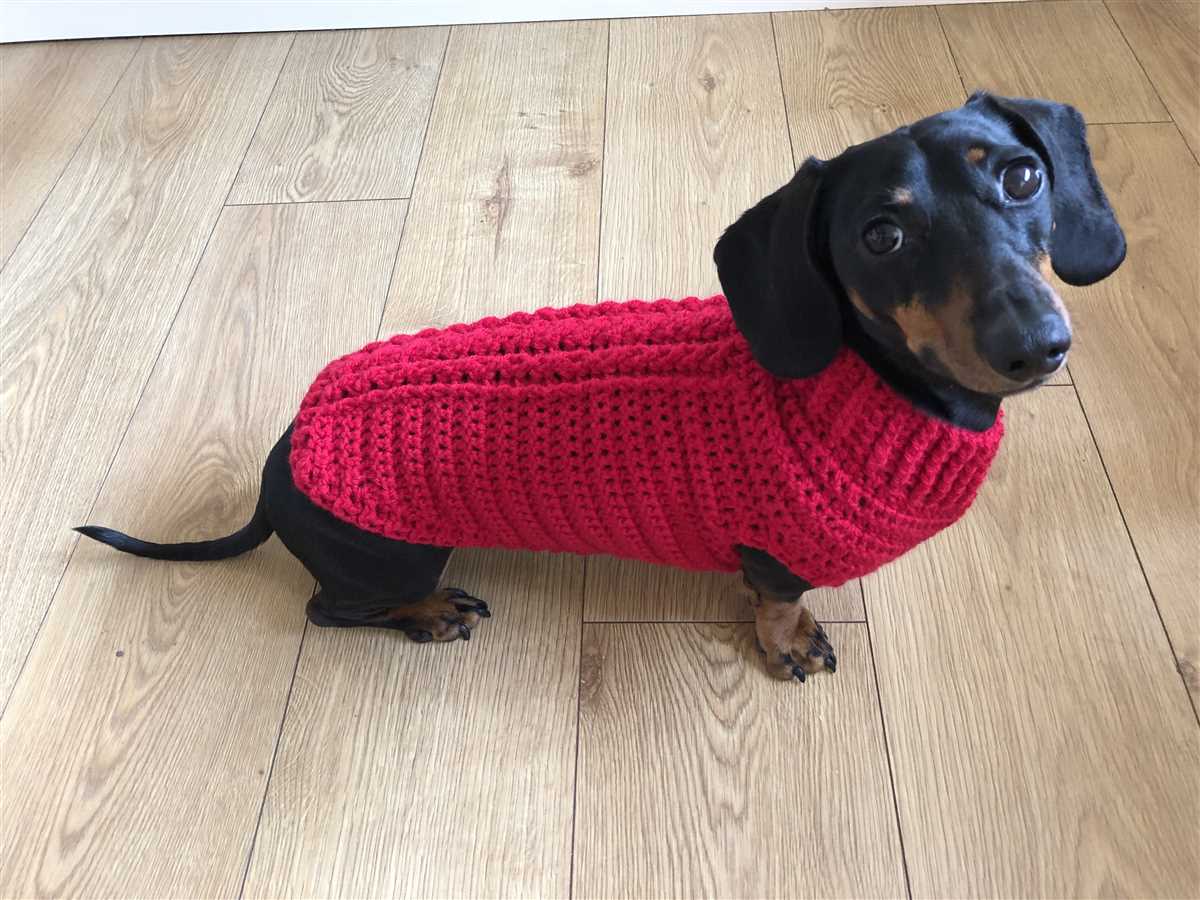
Not only is this sweater functional, but it’s also a great way to showcase your knitting skills and create a personalized garment for your beloved pet. You can choose from a wide variety of yarn colors and textures to suit your dachshund’s personality and style. The jumper can be easily customized with different patterns and embellishments, making each one unique.
Dachshund Jumper Knitting Pattern
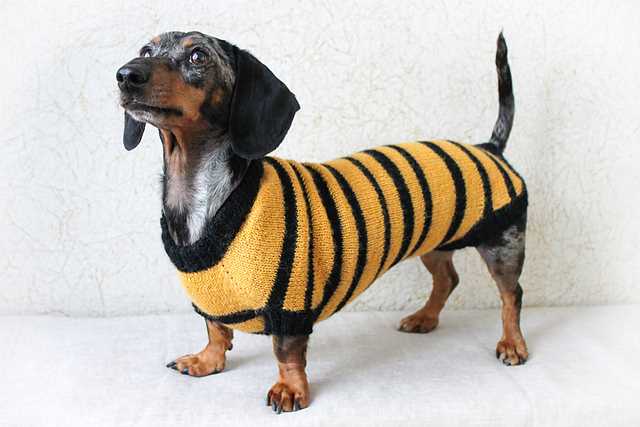
If you have a dachshund and love knitting, why not try making them a cozy and stylish jumper? With a dachshund jumper knitting pattern, you can create a custom-made garment that fits your furry friend perfectly. Knitting a jumper for your dachshund not only keeps them warm during the colder months, but it also adds a touch of personality to their wardrobe.
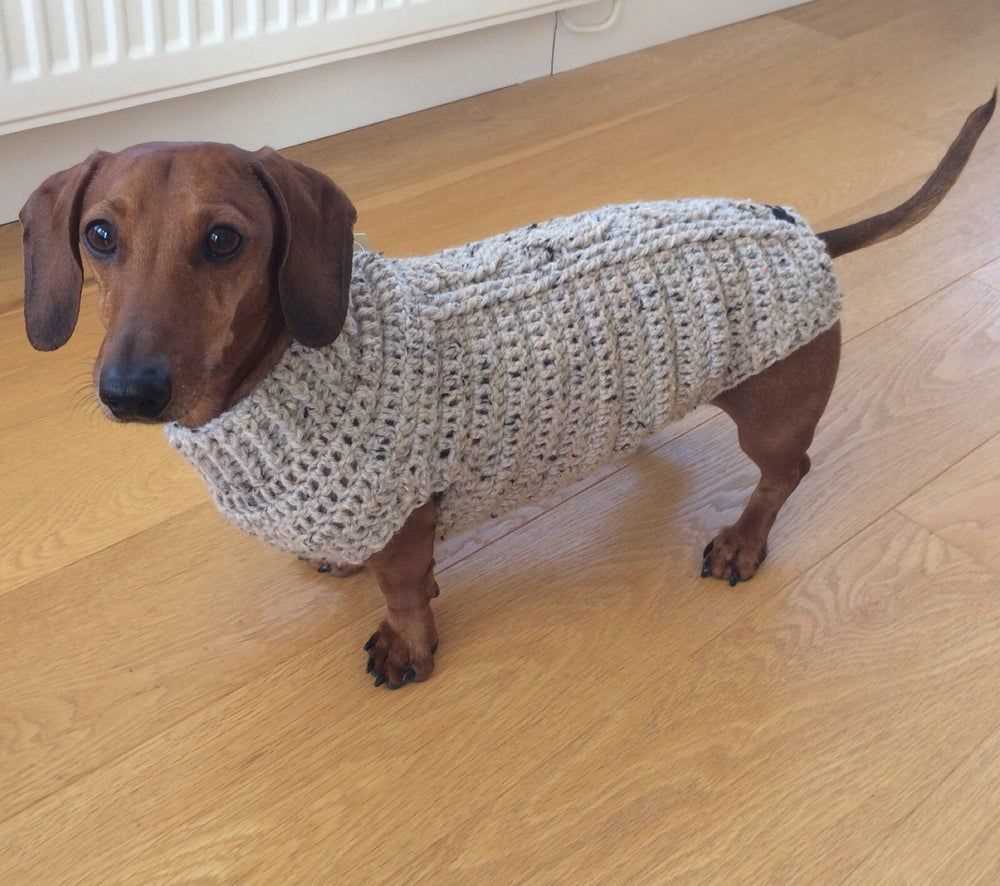
The dachshund jumper knitting pattern typically involves using a combination of knit and purl stitches to create a ribbed texture that stretches and flexes with your dog’s movements. It may also incorporate shaping techniques, such as increases and decreases, to ensure a snug fit around the neck, chest, and belly. Some patterns may also include cute embellishments, such as buttons or decorative stitching, to add extra flair to the jumper.
To start knitting a dachshund jumper, you will need to choose your yarn and needles based on the recommended gauge in the pattern. The pattern will provide detailed instructions on the measurements you should take to ensure the jumper fits your dachshund properly. It’s important to keep in mind that dachshunds have a unique body shape, with a long back and short legs, so customizing the pattern to their measurements is essential.
Knitting a dachshund jumper can be a fun and rewarding project that allows you to showcase your knitting skills while providing your furry friend with a cozy and fashionable garment. Whether you choose a simple design or opt for a more intricate pattern, your dachshund will surely appreciate the extra warmth and love you put into knitting their very own jumper.
Choosing the right yarn
When knitting a dachshund jumper, it is important to choose the right yarn that is not only suitable for the pattern, but also comfortable for your furry friend. There are a few key factors to consider when selecting the yarn for your project.
1. Fiber:
The fiber of the yarn plays a crucial role in determining the comfort and functionality of the jumper. It is recommended to choose a yarn that is soft and gentle against the dog’s skin. Natural fibers like merino wool or cotton are ideal choices as they are breathable and have a soft texture. These fibers also provide insulation and help to keep your dachshund warm during colder months.
2. Weight:
The weight of the yarn refers to its thickness and can vary from lightweight to bulky. When knitting a dachshund jumper, it is important to select a yarn with a suitable weight that will result in the desired fit and warmth. A medium-weight yarn is generally a good choice for this project as it strikes a balance between warmth and comfort.
3. Durability:
A dachshund jumper is likely to be subjected to regular wear and tear, especially if your dog is active or enjoys exploring outdoors. Therefore, it is essential to choose a yarn that is durable and can withstand frequent washing and use. Opting for a yarn with a blend of natural and synthetic fibers can provide both strength and easy care.
4. Color and Pattern:
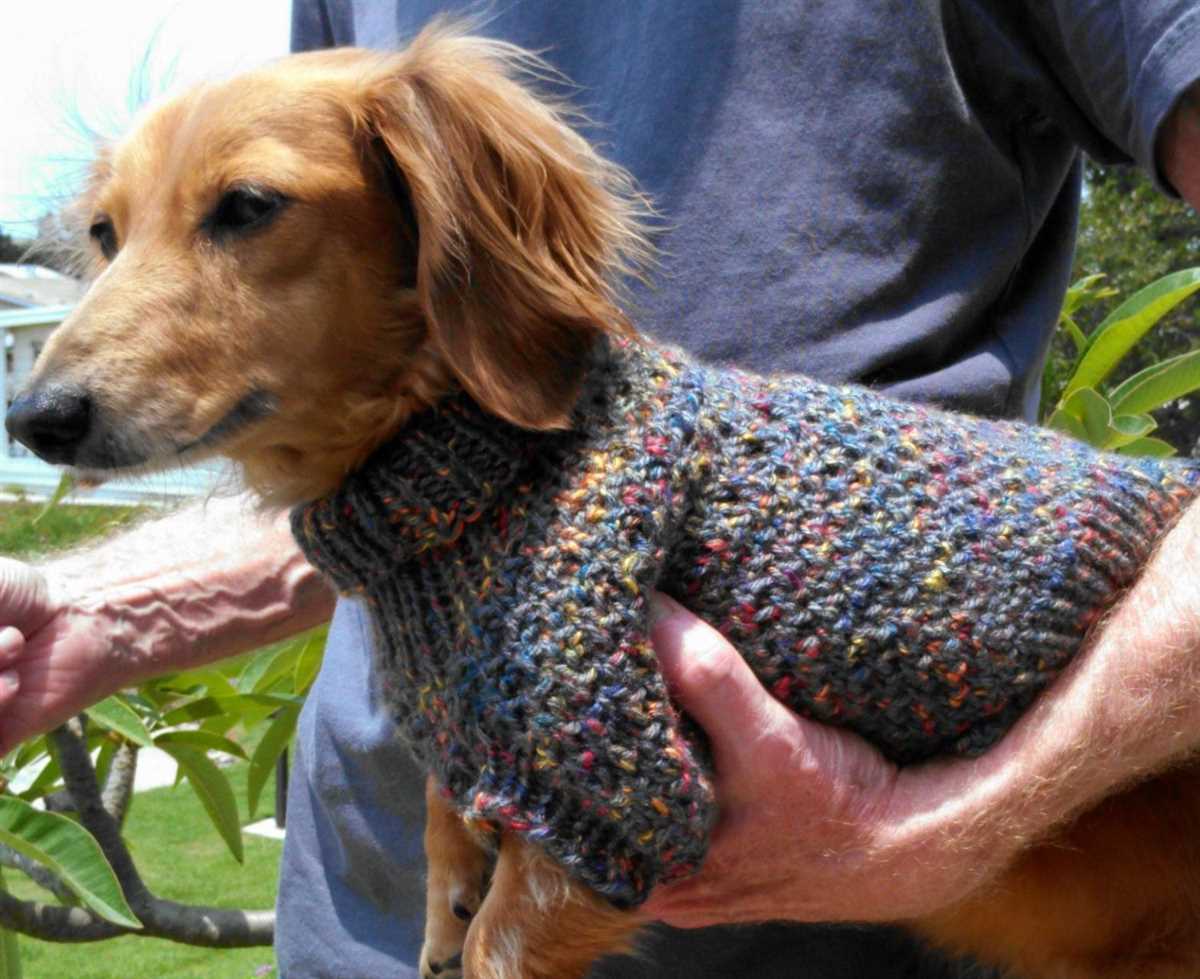
Selecting the right color and pattern for your dachshund jumper can add a fun and personalized touch to the finished garment. Consider your dog’s coat color and choose a yarn color that complements it. Additionally, you may also want to incorporate a pattern or design element to make the jumper unique and visually appealing.
Overall, choosing the right yarn for your dachshund jumper is essential for ensuring both comfort and functionality. By considering factors such as fiber, weight, durability, and color/pattern, you can create a garment that not only fits well but also keeps your furry friend cozy in style.
Selecting the appropriate needle size
When knitting a Dachshund jumper, selecting the appropriate needle size is crucial for achieving the desired gauge and fit. The needle size you choose will depend on several factors, including the weight of the yarn you are using and your own knitting tension. It’s important to note that this pattern is designed for a specific gauge, and using a different needle size may result in a different finished size for the jumper.
Before starting your project, it’s recommended to make a gauge swatch using the yarn and needles you plan to use. This will help you determine if you need to adjust your needle size to achieve the correct gauge. The gauge listed in the pattern is the number of stitches and rows per inch, typically measured over a 4×4 inch square. If your gauge swatch doesn’t match the recommended gauge, you may need to go up or down a needle size.
Depending on the thickness of the yarn you choose, you may need to use larger or smaller needles to achieve the correct gauge. Thicker yarns typically require larger needles, while thinner yarns require smaller needles. Additionally, some knitters have a looser tension and may need to use smaller needles, while others have a tighter tension and may need to use larger needles.
It’s also important to consider the type of stitch pattern used in the Dachshund jumper. If the pattern includes intricate stitch patterns or cables, you may need to use a larger needle size to ensure the stitches are not too tight and the pattern is fully visible.
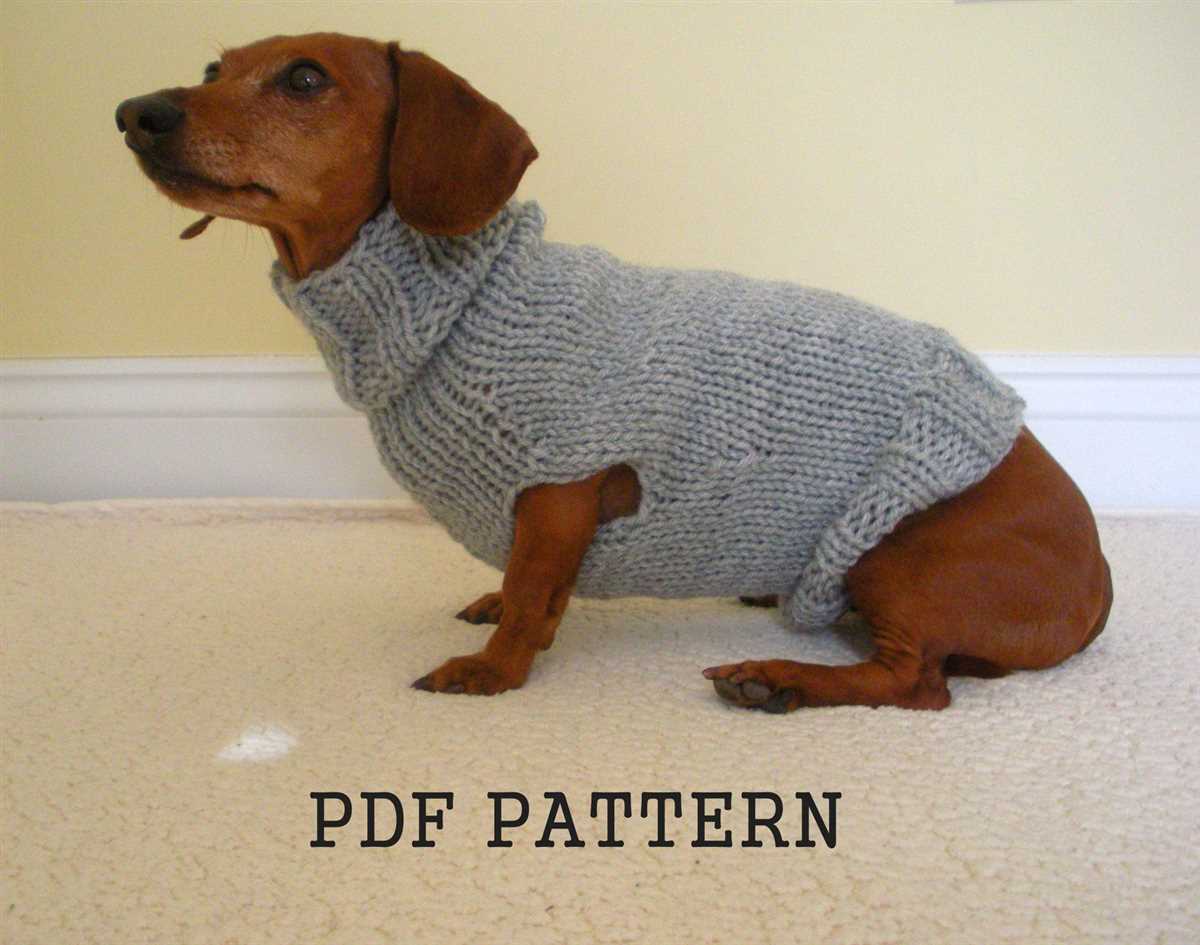
Taking body measurements

Before starting the process of knitting a dachshund jumper, it is important to take accurate body measurements of your dog. This will ensure that the jumper fits properly and provides optimum comfort.
Here are the key measurements you will need to take:
- Girth: Measure the circumference around the broadest part of your dachshund’s chest, just behind the front legs.
- Length: Measure the distance from the base of the neck to the base of the tail, following the curve of the spine.
- Neck circumference: Measure the circumference around the base of the neck where the collar would normally sit.
- Chest width: Measure the distance between the shoulder blades, across the widest part of the chest.
- Back width: Measure the distance between the shoulder blades, across the back.
- Leg holes: Measure the circumference of each front leg where the jumper will need to fit through.
It is important to measure your dachshund while they are standing up and in a relaxed state. Use a flexible measuring tape for accurate results. To ensure the jumper fits comfortably, it is recommended to add a bit of ease to the measurements.
By taking precise and detailed body measurements, you can create a customised dachshund jumper that will fit your furry friend perfectly and keep them warm and stylish during chilly days.
Creating a gauge swatch
Before you start knitting your dachshund jumper, it is important to create a gauge swatch. A gauge swatch is a small sample of knitting that allows you to check the tension and ensure that your finished jumper will fit correctly.
To create a gauge swatch, you will need the same needles and yarn that you plan to use for your jumper. Start by casting on a few stitches, around 20-30 should be enough. Then, knit a few rows in stockinette stitch, which is knitting one row and purling the next.
Take measurements – Once you have knitted a few rows, it is time to take some measurements. Use a ruler or tape measure and measure the width and height of your swatch. Write down these measurements for future reference.
Take stitch and row count – After measuring the size of your swatch, count the number of stitches and rows within a given area. For example, count the number of stitches within a 4-inch width and the number of rows within a 4-inch height. This will help you determine your stitch and row gauge.
Compare with pattern – Now that you know your stitch and row gauge, compare it to the gauge specified in the dachshund jumper knitting pattern. If your gauge matches the pattern, you can proceed with confidence. However, if your gauge is too loose or too tight, you may need to adjust your needle size or yarn weight to achieve the correct tension.
Remember – Creating a gauge swatch may seem like an extra step, but it can save you a lot of time and frustration in the long run. It ensures that your finished jumper will fit as intended and helps you avoid any surprises or disappointments. So, take the time to create a gauge swatch before you start knitting your dachshund jumper!
Casting on and joining in the round
When knitting a dachshund jumper, it is important to cast on and join in the round in order to create a seamless garment. This technique allows for continuous knitting in a circular motion, resulting in a more comfortable fit for your furry friend.
To begin, you will need a set of double-pointed needles (DPNs) or a circular needle, depending on your preference. Make sure to choose a needle size that matches the gauge specified in the pattern to ensure the correct fit.
Casting on: Start by making a slipknot and placing it on one of the DPNs or the circular needle. Hold the needle with the slipknot in your right hand and use your left hand to hold the working yarn. Insert the right needle into the slipknot from left to right and wrap the working yarn around the needle.
Joining in the round: With the working yarn behind the needle, begin knitting the first stitch, making sure to pull the working yarn tight to close the gap between the slipknot and the first stitch. This will create a continuous loop, marking the beginning of the round. Take care not to twist the stitches as you join them.
Once you have joined in the round, continue knitting the pattern, following the instructions provided. As you work, pay attention to the number of stitches required for each round and use stitch markers to help keep track. When you reach the end of the round, simply continue knitting in the same direction, always starting at the stitch marker.
Knitting the main body of the jumper
Once you have completed the ribbing for the neckline and cuffs of the dachshund jumper, it’s time to start knitting the main body of the sweater. Using the chosen color of yarn and the appropriate size needles, follow the knitting pattern to create the body of the jumper.
Begin by casting on the required number of stitches onto your needles. This will depend on the size of your dog and the desired fit of the jumper. Make sure to refer to the knitting pattern for the specific measurements and stitch counts.
- Row 1: Knit all stitches
- Row 2: Purl all stitches
- Repeat Rows 1-2 until the body of the jumper reaches the desired length, usually indicated in the pattern.
Remember to regularly check your gauge to ensure that your knitting matches the measurements specified in the pattern. This will help ensure that the jumper fits your dachshund correctly. Once you have finished knitting the main body, you can move on to the next step in the pattern, such as shaping the armholes or adding any desired patterns or designs.
Shaping the neck and shoulders
When knitting a dachshund jumper, one of the key areas to focus on is shaping the neck and shoulders. This will ensure that the jumper sits comfortably on your dog and allows for ease of movement.
To shape the neck, you will need to gradually decrease stitches on either side of the center front. This can be done by working paired decreases, such as knit two together (k2tog) or slip slip knit (ssk), at regular intervals. It’s important to follow the pattern instructions for the specific stitch count and decreases needed to achieve the desired neck shape.
Once the neck is shaped, attention can be turned to the shoulders. The shoulders of the jumper should be wide enough to provide a good fit, but not too wide that they fall off. One common technique to shape the shoulders is to bind off a certain number of stitches at each side, creating a sloping shape. This can be done using a basic bind off or a stretchy bind off, depending on the desired finished look. Taking accurate measurements and comparing them to the pattern instructions will help ensure the best fit for your dachshund.
Making the leg holes
One of the important steps in knitting a Dachshund jumper is creating the leg holes. Properly sized leg holes ensure a comfortable fit for your furry friend. Follow these steps to make the leg holes:
1. Measuring the leg circumference: Before you start knitting the leg holes, measure the circumference of your Dachshund’s legs. This will help you determine the size of the leg holes needed for a snug fit. Use a flexible measuring tape and wrap it around the thickest part of each leg.
2. Marking the leg hole positions: Once you have the leg circumference measurements, mark the positions of the leg holes on your knitting pattern. Use stitch markers or small safety pins to indicate where the leg holes will be placed. Make sure the leg holes are symmetrical on both sides of the jumper.
3. Working on the leg hole rows: Knit the rows that correspond to the leg hole positions. You may need to decrease or increase stitches to achieve the desired leg hole size. Consult your knitting pattern for specific instructions on how to adjust the stitch count for the leg holes.
4. Creating the leg hole edge: Once you have the desired number of stitches for the leg holes, you can create an edge to prevent the knitting from unraveling. This can be done by either knitting a few rows of ribbing or by adding a garter stitch border. The edge should be tight enough to hold the shape of the leg hole but not too tight that it restricts your Dachshund’s movement.
By following these steps, you will be able to create well-fitting and comfortable leg holes for your Dachshund jumper. Remember to always refer to your knitting pattern for specific instructions and adjust the size of the leg holes accordingly.
Finishing touches
Once you have completed knitting the dachshund jumper, there are a few finishing touches you can add to make it extra special.
First, you can sew on any additional details, such as buttons for eyes or a cute little nose. Use a contrasting thread to make the details stand out.
Next, you can add some decorative stitching around the edges of the jumper. This can be done with a contrasting color of yarn or embroidery thread. Try different stitches, such as a blanket stitch or a simple running stitch, to add some texture and interest to the design.
If you want to add some extra warmth and comfort to the jumper, you can line it with a soft fabric. Cut a piece of fabric to match the size of the jumper and sew it onto the inside. This will not only make it more cozy for your dachshund, but it will also give the jumper a professional, finished look.
Finally, give the jumper a good blocking to even out the stitches and make it look neat and tidy. Wet the jumper and gently reshape it to the correct size, then lay it flat to dry. This will help the jumper retain its shape and ensure it looks its best on your dachshund.
Congratulations! You have now finished knitting your dachshund jumper and added all the finishing touches. Now your furry friend will be stylish and warm all winter long!