
Knitting is a wonderful craft that allows you to create beautiful and cozy items for yourself and your loved ones. One popular project for knitters of all skill levels is a corner to corner blanket. This pattern is known for its versatility and ability to create stunning designs using simple knit and purl stitches. Whether you’re a beginner or an experienced knitter, a corner to corner blanket is a project that you’ll love.
The corner to corner blanket pattern is a popular choice because it creates a thick and warm fabric that’s perfect for snuggling up with on cold winter nights. The pattern starts at one corner of the blanket and gradually expands to the desired size. You can create different designs by changing the color of the yarn or by adding stripes or other embellishments.
One of the reasons why the corner to corner blanket pattern is so loved by knitters is because it’s a relatively easy pattern to follow. The basic stitch for this pattern is the diagonal garter stitch, which is created by alternating between knit and purl stitches. Once you master this stitch, you can easily create stunning blankets in various sizes.
If you’re looking for a new knitting project, the corner to corner blanket pattern is a great choice. Not only will you enjoy the process of knitting, but you’ll also end up with a beautiful and cozy blanket that you can treasure for years to come. So grab your knitting needles and a ball of yarn, and get ready to create your own corner to corner blanket.
What Is a Corner to Corner Blanket Pattern in Knitting?

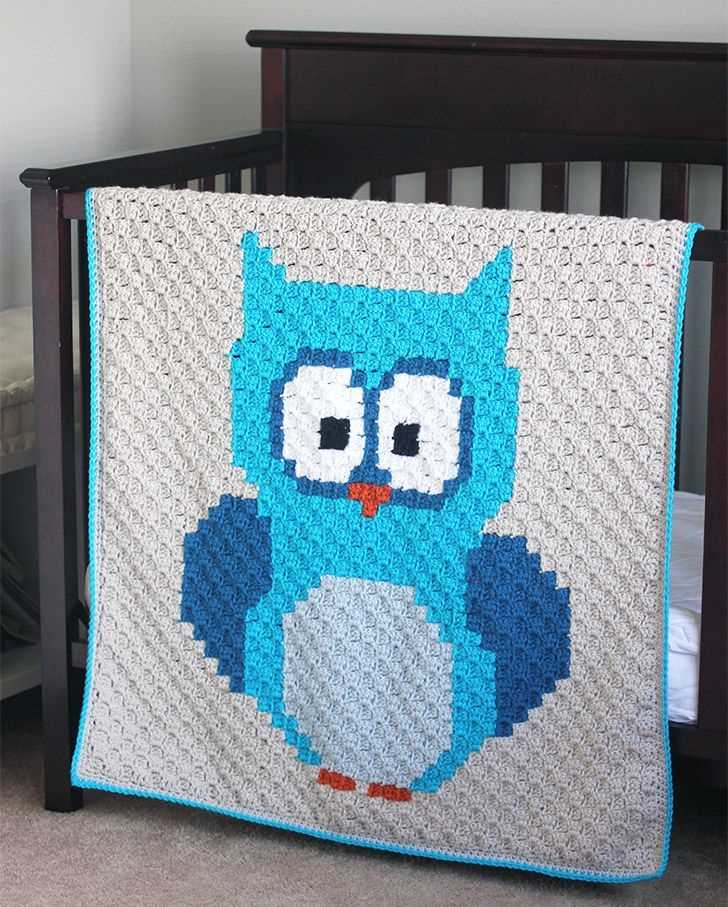
A corner to corner blanket pattern in knitting is a technique that allows you to create a blanket by working diagonally from one corner to the opposite corner. This pattern is also known as C2C (corner to corner) knitting. It involves increasing or decreasing stitches on each row to create a triangle shape, which forms the blanket. This technique is popular among knitters because it creates a unique design that showcases the texture and color changes in the yarn.
To knit a corner to corner blanket, you will typically start with a small number of stitches and increase or decrease the stitch count on each row to create the diagonal shape. This pattern can be easily customized to your desired size by continuing the increasing or decreasing until you reach the desired dimensions.
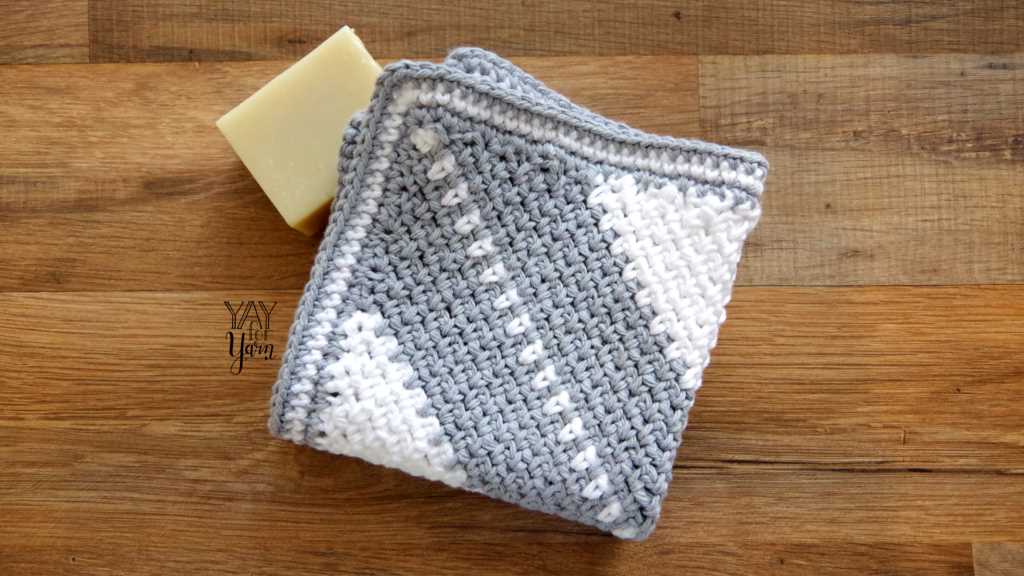
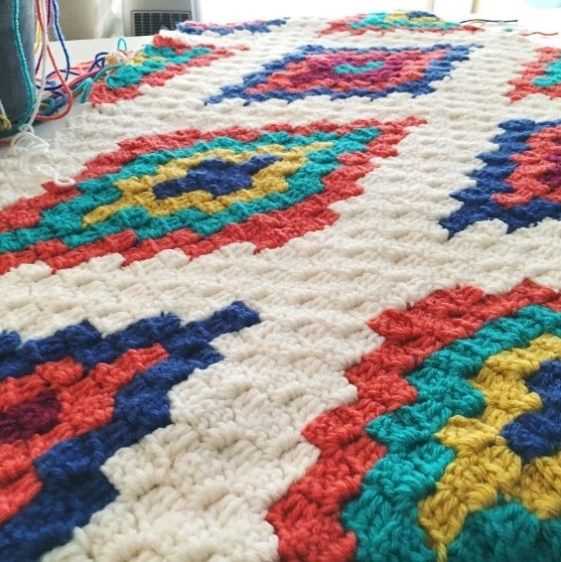
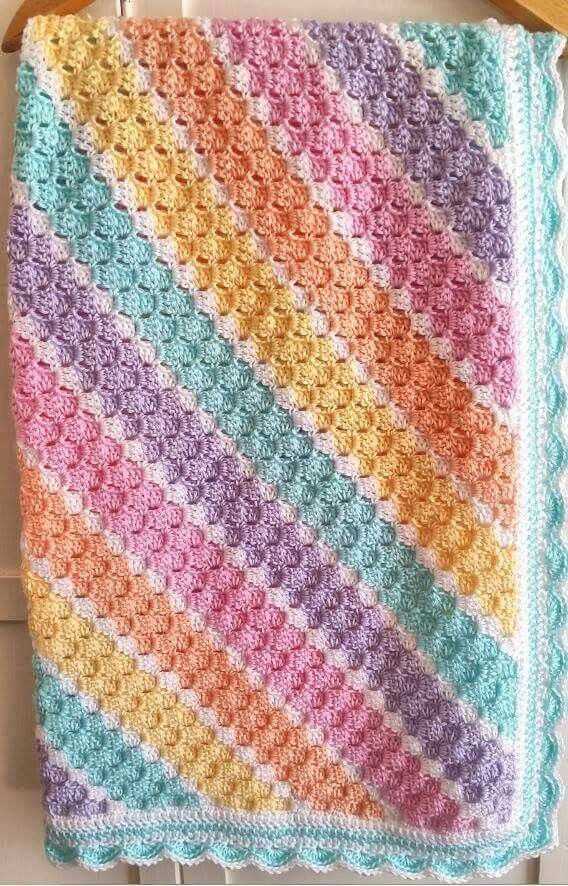
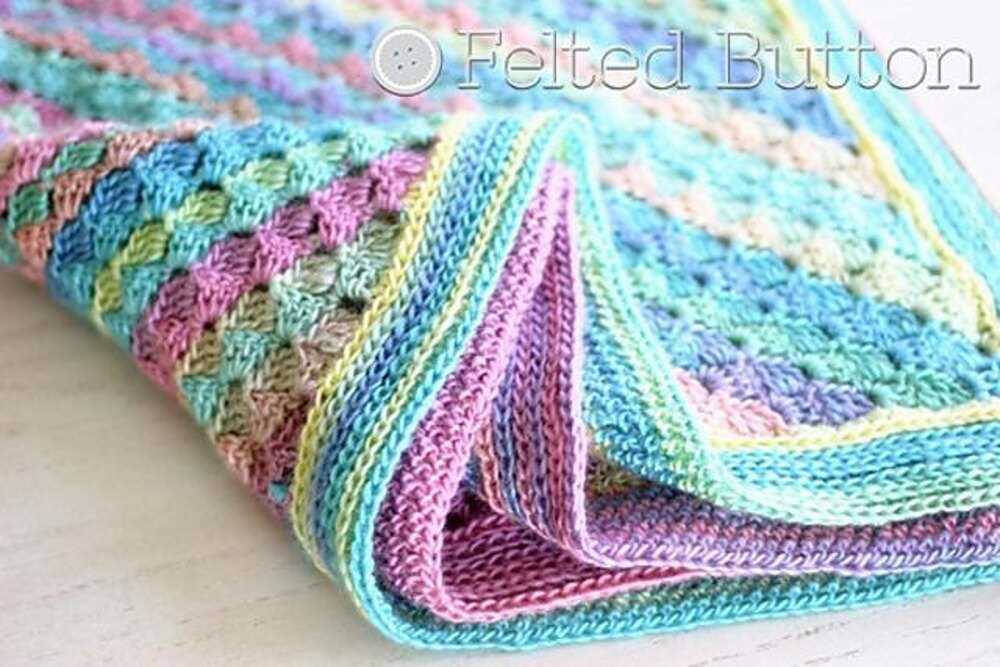
One of the advantages of using a corner to corner blanket pattern in knitting is that it allows you to easily adjust the size of the blanket. This makes it a versatile pattern that can be used to create anything from a baby blanket to a large throw. Additionally, the diagonal construction of the blanket creates an interesting visual texture, especially when using variegated yarn.
Corner to corner knitting patterns can also be used to create other items, such as scarves, shawls, or dishcloths. The technique can be adapted to different stitch patterns and yarn weights, allowing you to create a wide variety of projects using the same basic technique.
If you’re looking for a unique and visually appealing knitting project, consider trying a corner to corner blanket pattern. Whether you’re a beginner or an experienced knitter, this technique can be a fun and rewarding way to create a one-of-a-kind blanket or other knitted items.
Choosing the Right Yarn and Needles for Your Corner to Corner Blanket
When it comes to knitting a corner to corner blanket, choosing the right yarn and needles is crucial for achieving the desired outcome. The type and weight of yarn you choose will determine the overall look and feel of the blanket, while the size of the needles will influence the gauge and drape of the fabric. Here are some important factors to consider when selecting yarn and needles for your corner to corner project.
Yarn Weight and Fiber
The weight of the yarn is an important consideration when knitting a corner to corner blanket. A heavier weight yarn, such as bulky or chunky, will result in a thicker and warmer blanket, while a lighter weight yarn, like fingering or sport, will create a lighter and more delicate fabric. Additionally, the fiber content of the yarn will affect the softness, durability, and care requirements of the blanket. Common yarn fibers include wool, acrylic, cotton, and blends of these materials.
- Wool: Wool yarns are known for their warmth and natural elasticity, making them ideal for cozy blankets. However, they may require special care, such as handwashing and blocking.
- Acrylic: Acrylic yarns are affordable, easy to care for, and come in a wide range of colors. They are a great choice for blankets that will be used frequently and require frequent washing.
- Cotton: Cotton yarns are breathable and perfect for warmer climates or those with allergies to wool. They have less elasticity than wool or acrylic, making them better suited for lightweight blankets.
Needle Size

The size of your needles will impact the overall gauge and size of your corner to corner blanket. Generally, larger needles create looser and more drapey fabric, while smaller needles produce tighter and more dense fabric. The appropriate needle size will depend on the yarn weight and the desired final dimensions of your blanket. It is recommended to check the gauge of your pattern and adjust accordingly to achieve the desired results.
When choosing your yarn and needles for a corner to corner blanket, take into consideration the weight and fiber content of the yarn, as well as the desired drape and size of the finished blanket. With the right choices, you can create a beautiful and cozy blanket that will be cherished for years to come.
Getting Started: Casting On for Your Corner to Corner Blanket
When starting your corner to corner blanket, the first step is to cast on your stitches. This is the foundation row that will set the width of your blanket. You have several options for casting on, but the most common method is the long tail cast on.
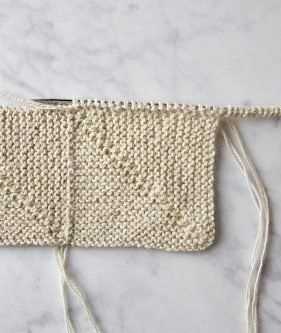
To begin, you will need to estimate the number of stitches you will need for your desired width. This will depend on the size of your needles and the weight of your yarn. You can either follow a pattern or make a gauge swatch to determine the number of stitches per inch. Once you have this information, you can calculate the total number of stitches needed for your blanket.
To cast on using the long tail method, you will need to leave a long tail of yarn, approximately three times the width of your blanket. Make a slip knot and place it on your needle. Hold the slip knot and tail in your left hand, and the working yarn in your right hand.
Next, using your right hand, insert the needle into the slip knot from front to back. With the working yarn, bring it over the needle from back to front. Then, use your right hand to pull the working yarn through the slip knot, creating a new loop on the needle. Repeat this process until you have cast on the desired number of stitches.
The Corner to Corner Stitch: How to Knit It
Knitting is a popular craft that allows you to create beautiful and cozy items for yourself and your loved ones. If you’re looking for a new stitch pattern to try, the corner to corner (C2C) stitch is a great option. This stitch creates a diagonal design that can be used to make blankets, scarves, and more. In this guide, we’ll walk you through the steps of knitting the corner to corner stitch.
To start, you’ll need a set of knitting needles and some yarn in the color of your choice. The C2C stitch is worked in a diagonal direction, so you’ll begin by casting on a small number of stitches. As you work, you’ll increase the number of stitches on each row until you reach the desired width of your project. Then, you’ll decrease the number of stitches on each row to create the diagonal shape.
To knit the corner to corner stitch, follow these steps:
- Cast on: Start with a small number of stitches, such as 3 or 4, and cast on using your preferred method.
- Row 1: Knit the first stitch, then knit into the front and back of the second stitch to increase. Knit the remaining stitches on the row.
- Row 2: Knit the first stitch, then knit into the front and back of the second stitch. Repeat this increase for the rest of the row.
- Repeat rows 2 and 3: Continue to knit row 2, increasing stitches, and row 3, knitting all stitches, until you reach the desired width of your project.
- Decrease rows: Once you’ve reached the desired width, you’ll start decreasing stitches on each row to create the diagonal shape. Follow the pattern of knitting the first stitch, then knitting two stitches together for the rest of the row.
- Bind off: When you have just a few stitches left, cut the yarn, leaving a long tail. Thread the tail through the remaining stitches and pull tight to secure.
With these steps, you can easily knit the corner to corner stitch and create beautiful projects. The C2C stitch is versatile and can be used to make blankets, scarves, dishcloths, and more. Experiment with different colors and yarn weights to create unique designs. Happy knitting!
Incorporating Color Changes in Your Corner to Corner Blanket
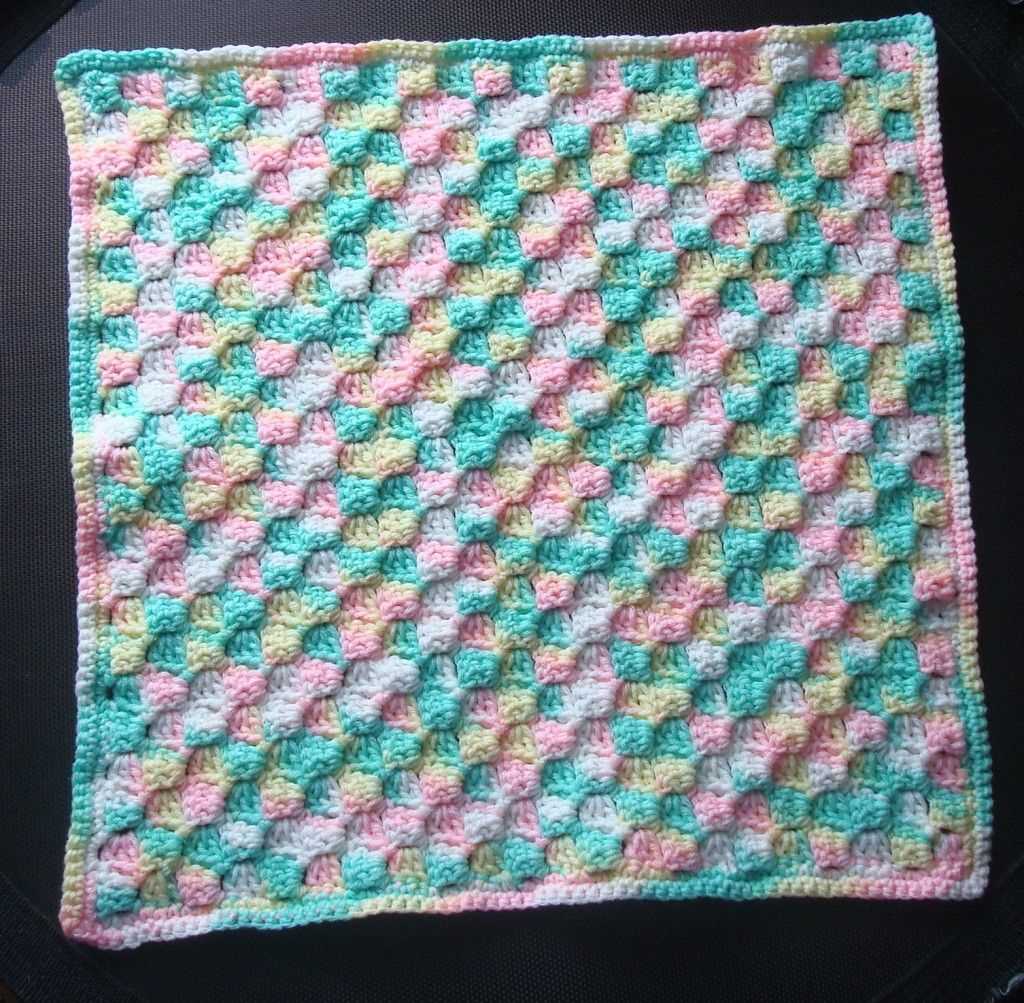
Adding color changes to your corner to corner blanket can create a stunning and unique design. Whether you want to create a striped pattern or incorporate different shades of one color, there are many ways to incorporate color changes into your knitting project.
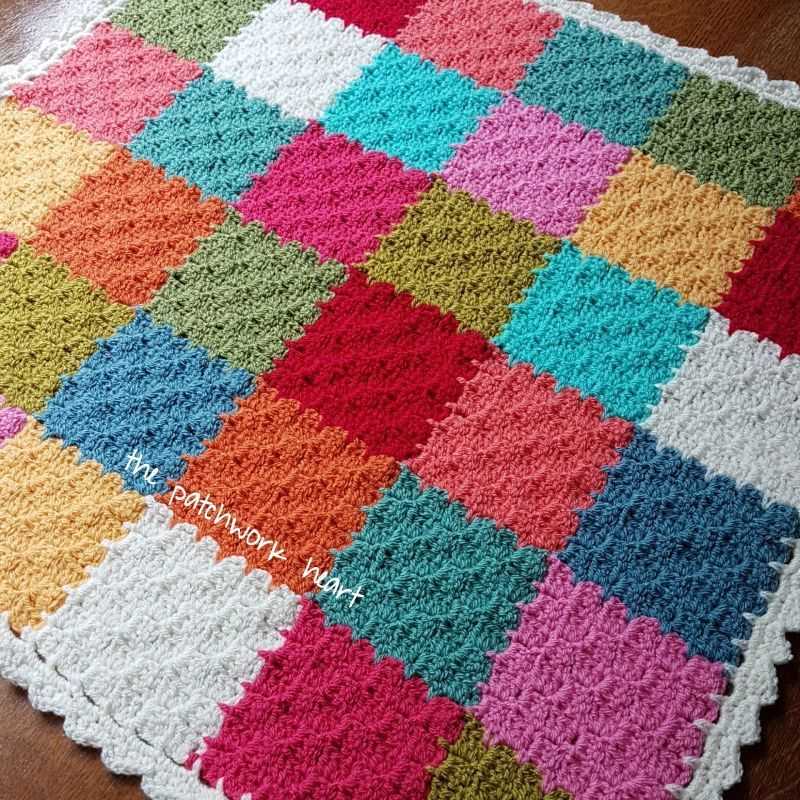
1. Stripes: One of the simplest ways to introduce color changes is by knitting stripes. You can create horizontal or vertical stripes by changing colors at the beginning or end of each row. This technique can create a bold and graphic design.
2. Gradual color changes: If you prefer a more subtle look, you can create gradual color changes by blending different shades of yarn together. This can be achieved by using two strands of different colors held together while knitting. As you progress through your project, the colors will blend naturally, creating a smooth transition.
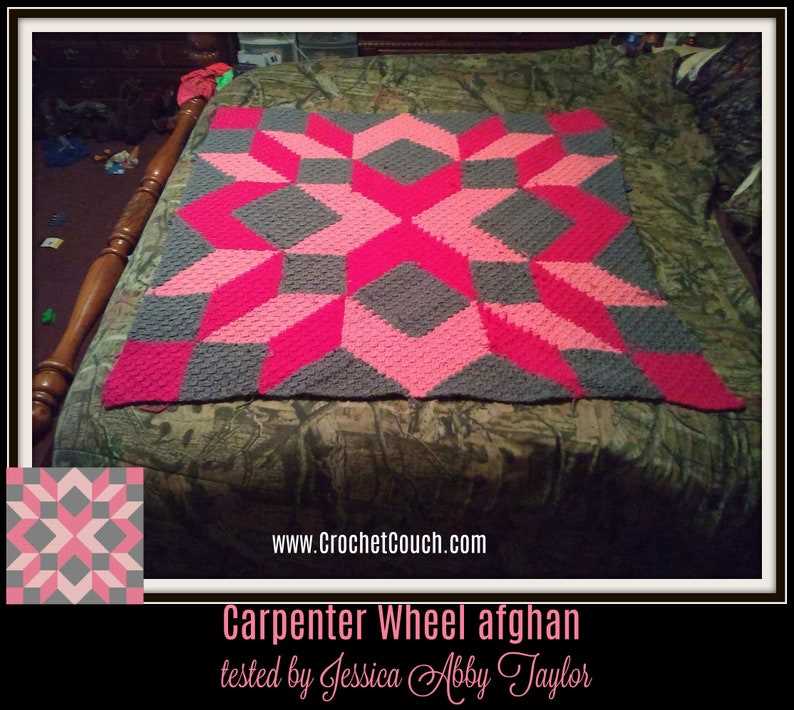
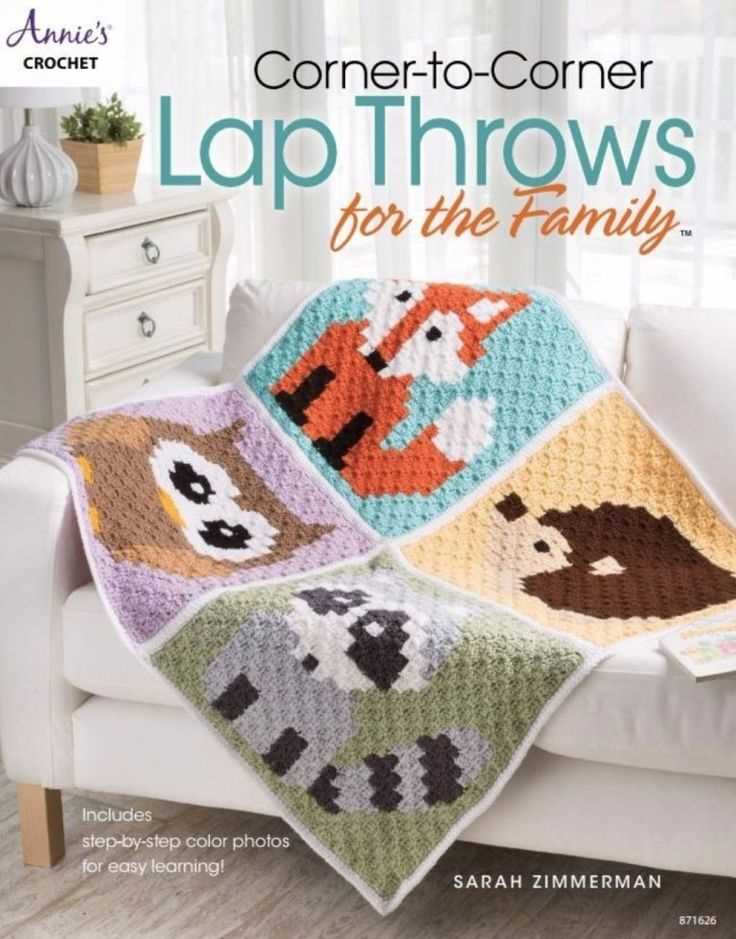
3. Intarsia or stranded colorwork: For more intricate designs, you can try intarsia or stranded colorwork. Intarsia involves knitting sections of different colors separately and then connecting them together. This technique is perfect for creating detailed motifs or images within your blanket. Stranded colorwork involves knitting with multiple colors in each row, carrying the unused yarn loosely across the back of your work. This technique is great for creating intricate patterns or Fair Isle designs.
Remember to plan your color changes before starting your project by creating a color chart or swatching different color combinations. This will help you visualize how the colors will look together and ensure a cohesive design. Have fun experimenting with different color changes in your corner to corner blanket, and enjoy the process of creating a truly unique and personalized piece.
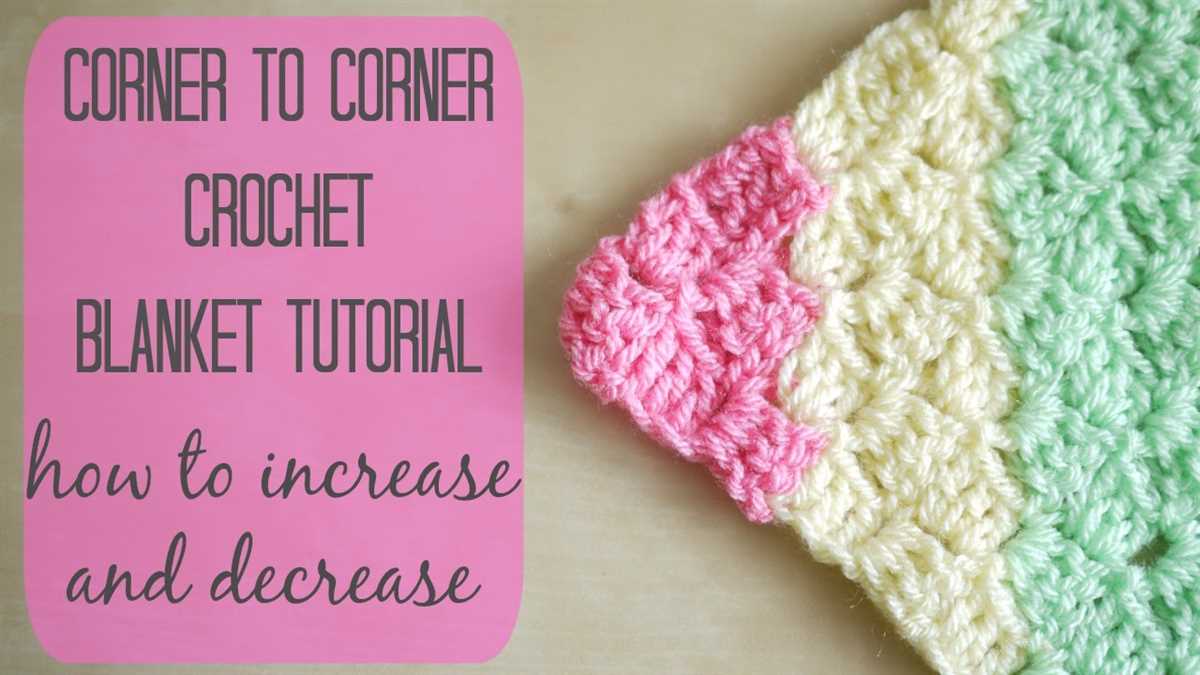
Increasing and Decreasing: Shaping Your Corner to Corner Blanket
When working on a corner to corner (C2C) blanket pattern knit, it is important to understand how to increase and decrease stitches in order to shape your blanket. The C2C technique involves creating a square or rectangular piece by working diagonally, increasing stitches on one side and decreasing on the other to create the desired shape.
Increasing Stitches: To increase stitches in the C2C blanket pattern, you will begin by knitting or purling the first stitch of the row as usual. Then, instead of continuing to work the following stitch, you will make an increase. This can be done by knitting or purling into the front and back of the same stitch, or by making a yarn over. Repeat this increase process for the desired number of stitches, creating a diagonal line that extends outwards from the starting point.
Decreasing Stitches: Decreasing stitches in the C2C pattern is done in a similar manner to increasing. Once you have reached the point where you want to start decreasing, you will knit or purl the first stitch of the row and then work the next two stitches together. This can be done by knitting or purling two stitches together, or by slipping one stitch knitwise, knitting the next stitch, and then passing the slipped stitch over the knit stitch. Repeat this decrease process for the desired number of stitches, creating a diagonal line that narrows towards the opposite corner.
By utilizing these increasing and decreasing techniques, you can shape your corner to corner blanket in various ways. Whether you want to create an angled edge, add a border, or taper the blanket towards one end, mastering these shaping techniques will allow you to customize your project and achieve the desired outcome.
Adding Borders and Edging to Your Corner to Corner Blanket
Once you have completed your corner to corner blanket pattern knit, it’s time to add the finishing touches with borders and edging. These final details can really elevate the overall look of your blanket and give it a polished and professional appearance.
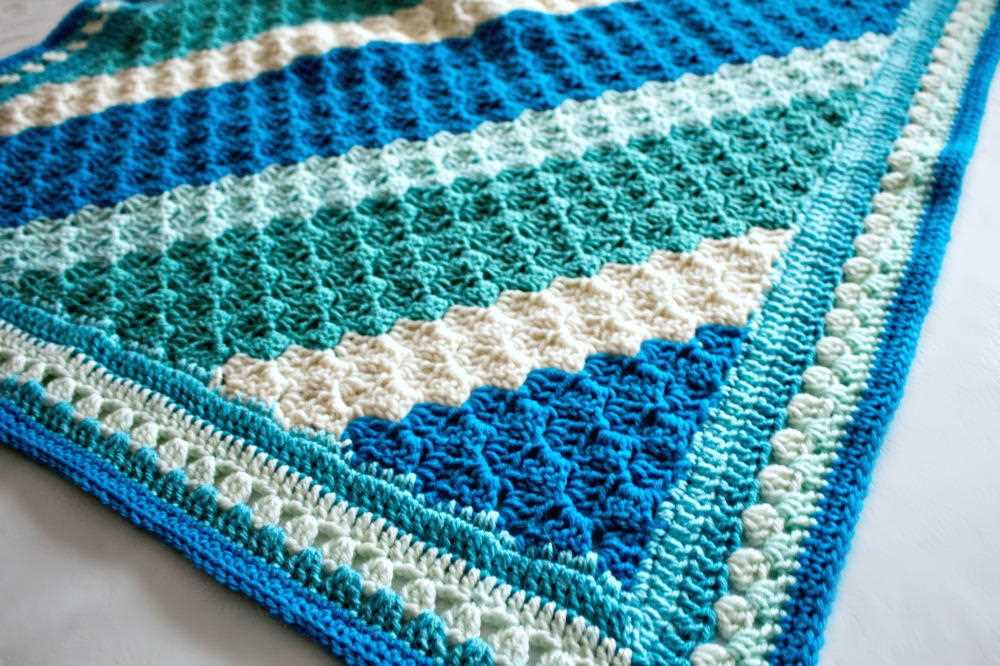
1. Simple border: If you prefer a clean and minimalistic look, you can opt for a simple border. This can be achieved by knitting a few rows or rounds of a contrasting color around the entire perimeter of your blanket. This border can be worked in a basic stitch pattern, such as garter stitch or seed stitch, to provide a neat and tidy finish.
2. Decorative edging: If you want to add some flair and personality to your blanket, consider incorporating a decorative edging. You can choose from a wide variety of edging options, such as lace patterns, picot edges, or even crochet borders. These decorative elements can add texture and visual interest to your blanket, making it truly unique.
3. Ribbed border: For a more textured and cozy look, you can add a ribbed border to your corner to corner blanket. This can be done by alternating knit and purl stitches in a specific pattern, such as 2×2 ribbing or 1×1 ribbing. The ribbed border will provide some stretch and elasticity to your blanket, making it even more comfortable to wrap up in.
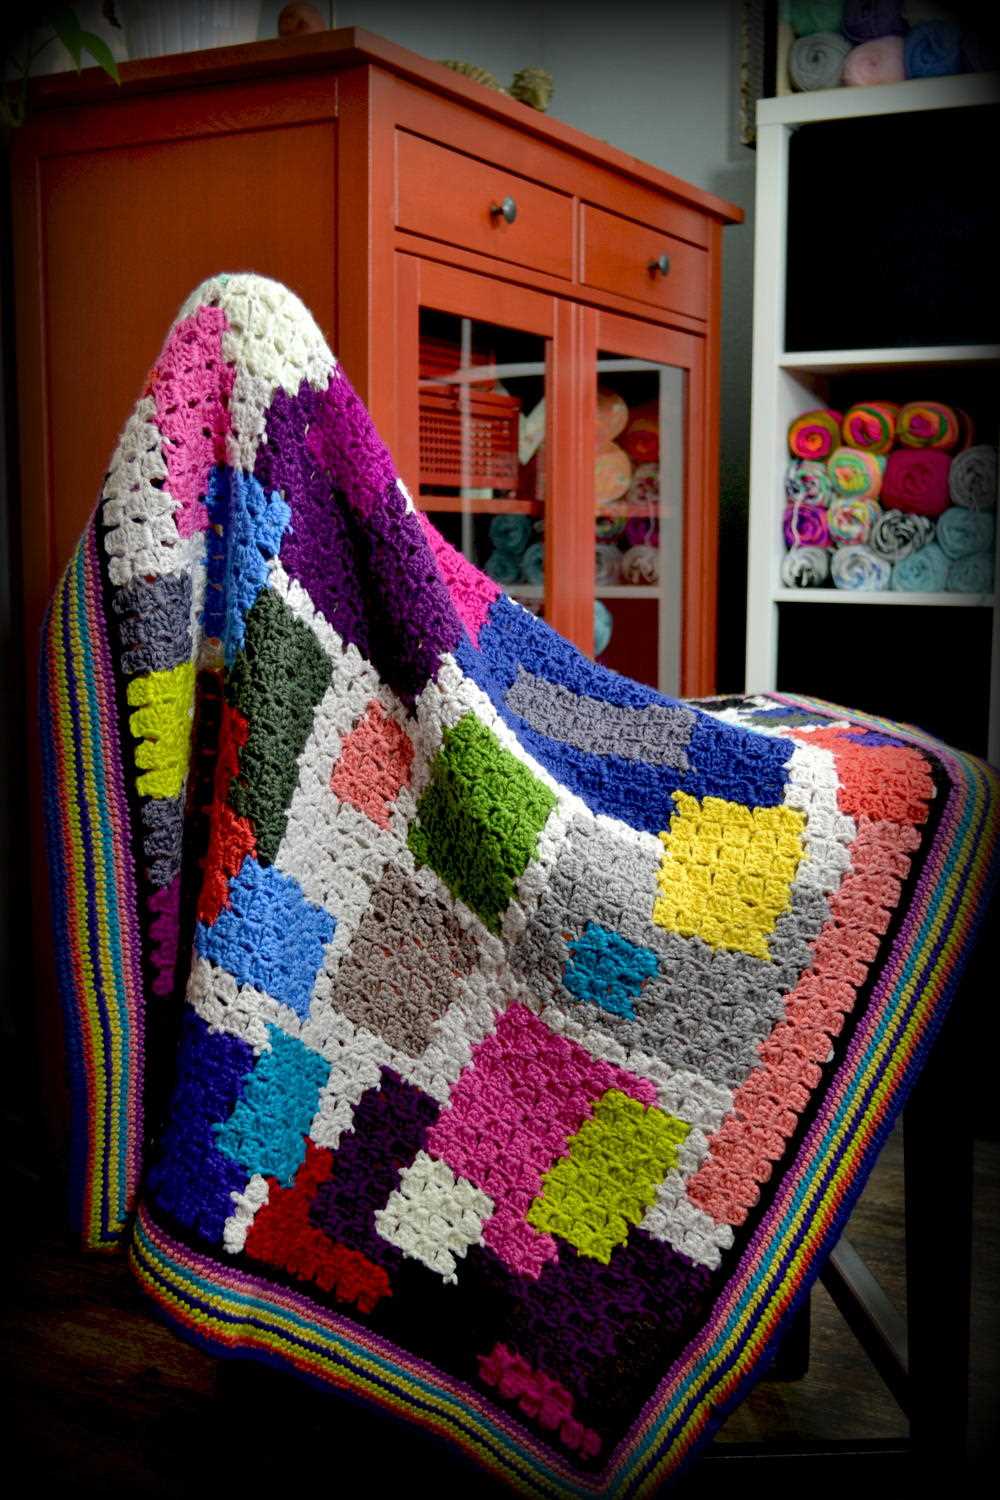
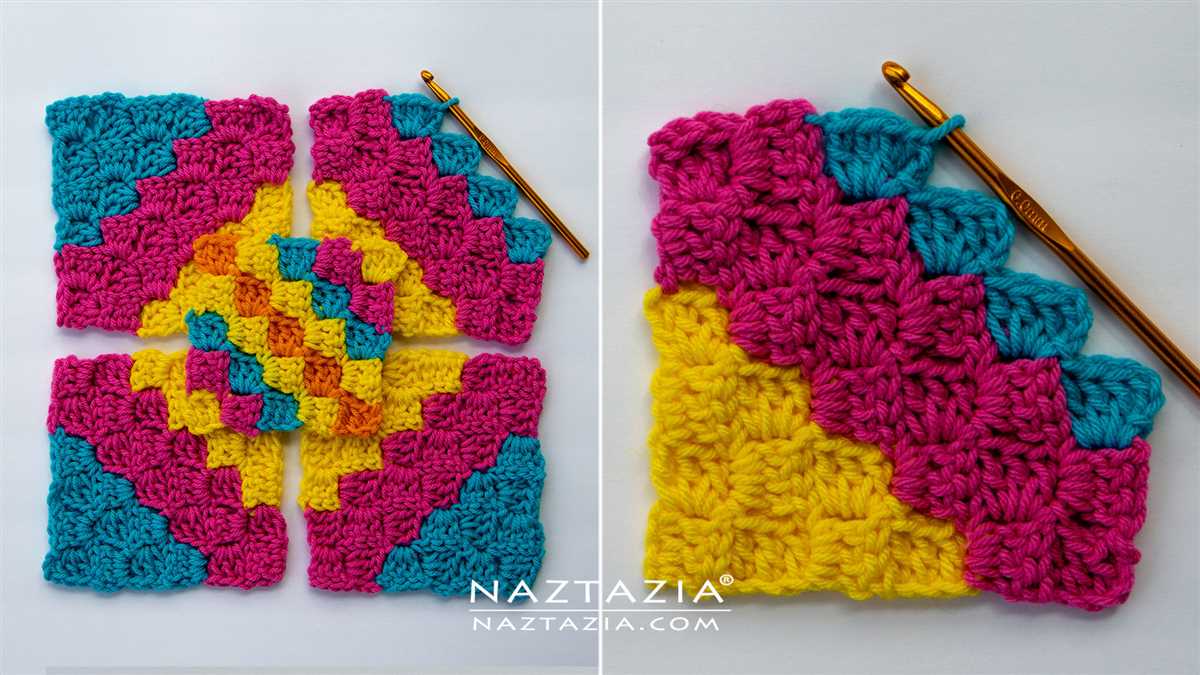
4. Color-blocked border: If you’re feeling adventurous, you can create a color-blocked border on your blanket. This involves using different colors of yarn to create distinct sections or stripes along the edge of your blanket. This technique can add a modern and trendy touch to your corner to corner blanket, and allows you to showcase your color combinations and creativity.
Regardless of the border or edging option you choose, make sure to bind off your stitches neatly and securely to prevent any unraveling. Remember to consider the overall style and aesthetic of your blanket when selecting a border or edging, ensuring that it complements the main pattern and enhances the overall design. With the right finishing touches, your corner to corner blanket will be transformed into a beautiful and functional masterpiece.
Blocking and Finishing Your Corner to Corner Blanket

Once you have completed your corner to corner (C2C) blanket pattern knit, it’s time to block and finish your project. Blocking is an important step that helps to even out the stitches and give your blanket a more polished and professional look. Here are some steps to follow:
1. Prepare your blanket for blocking
Before you begin blocking, make sure your blanket is clean and free of any loose yarn or debris. Gently hand wash your blanket using a mild detergent, if needed. Rinse it thoroughly and squeeze out the excess water, making sure not to wring or twist the fabric. Lay your blanket out flat on a clean, dry towel.
2. Block your blanket
To block your corner to corner blanket, you will need to stretch and shape it into the desired dimensions. You can use blocking mats or a large, flat surface such as your bed or a clean floor. Pin the edges of your blanket to the surface, using T-pins or blocking wires if necessary, while gently pulling and stretching the fabric to ensure it lays flat and even. Leave your blanket to dry completely.
3. Finish your blanket
Once your blanket is dry, you can add any finishing touches you desire. This may include weaving in any loose ends or adding a border for a more polished look. You can also add tassels or pom-poms for an extra touch of decoration. Be creative and customize your blanket to your own liking!
Overall, blocking and finishing your corner to corner blanket pattern knit is an essential step to give your project a professional and polished appearance. Take your time and enjoy the process of completing your beautiful blanket!
Tips and Tricks for Successful Corner to Corner Blanket Knitting

Corner to corner blanket knitting is a popular technique that creates beautiful and cozy blankets. If you’re new to corner to corner knitting or looking for some tips to improve your skills, here are some helpful tricks to keep in mind.
1. Start with a solid foundation
Before you begin knitting your corner to corner blanket, make sure you have a solid foundation in the basic knitting stitches. Familiarize yourself with knitting, purling, increasing, and decreasing stitches. This will make it easier for you to understand the pattern and execute the stitches correctly.
2. Use stitch markers
Stitch markers are a great tool to help you keep track of your progress and prevent mistakes in your pattern. Place a stitch marker at the beginning of each row to help you easily identify the starting point and keep your stitches aligned.
3. Tension is key
Maintaining consistent tension throughout your corner to corner knitting is essential to achieving a uniform and professional-looking blanket. Be mindful of the tightness of your stitches and adjust accordingly to ensure an even tension.
4. Choose the right yarn
When selecting yarn for your corner to corner blanket, consider the weight and fiber content. Thicker and softer yarns will create a chunkier and cozier blanket, while lighter and smoother yarns will result in a lighter and more delicate finished product. Choose a yarn that suits your desired look and feel for the blanket.
5. Block your finished blanket
Blocking your corner to corner blanket is an important step to give it a polished and professional finish. After completing your knitting, wet block the blanket by soaking it in water, gently squeezing out excess moisture, and laying it flat to dry. This will help even out the stitches and give the blanket a more finished appearance.
With these tips and tricks in mind, you’ll be well-prepared to tackle your next corner to corner blanket project. Happy knitting!
Conclusion
In conclusion, corner to corner blanket patterns are a versatile and popular choice for knitters of all skill levels. With their unique diagonal construction and endless design possibilities, these patterns allow knitters to create beautiful and personalized blankets that are both stylish and cozy.
In this article, we have explored various corner to corner blanket patterns, ranging from simple and classic designs to more intricate and detailed motifs. We have also provided resources such as online tutorials, pattern websites, and knitting communities where knitters can find inspiration and support for their corner to corner blanket projects.
Whether you are a beginner knitter or an experienced crafter, there is a corner to corner blanket pattern out there for you. So grab your favorite yarn and knitting needles, and embark on your corner to corner blanket journey. Happy knitting!