
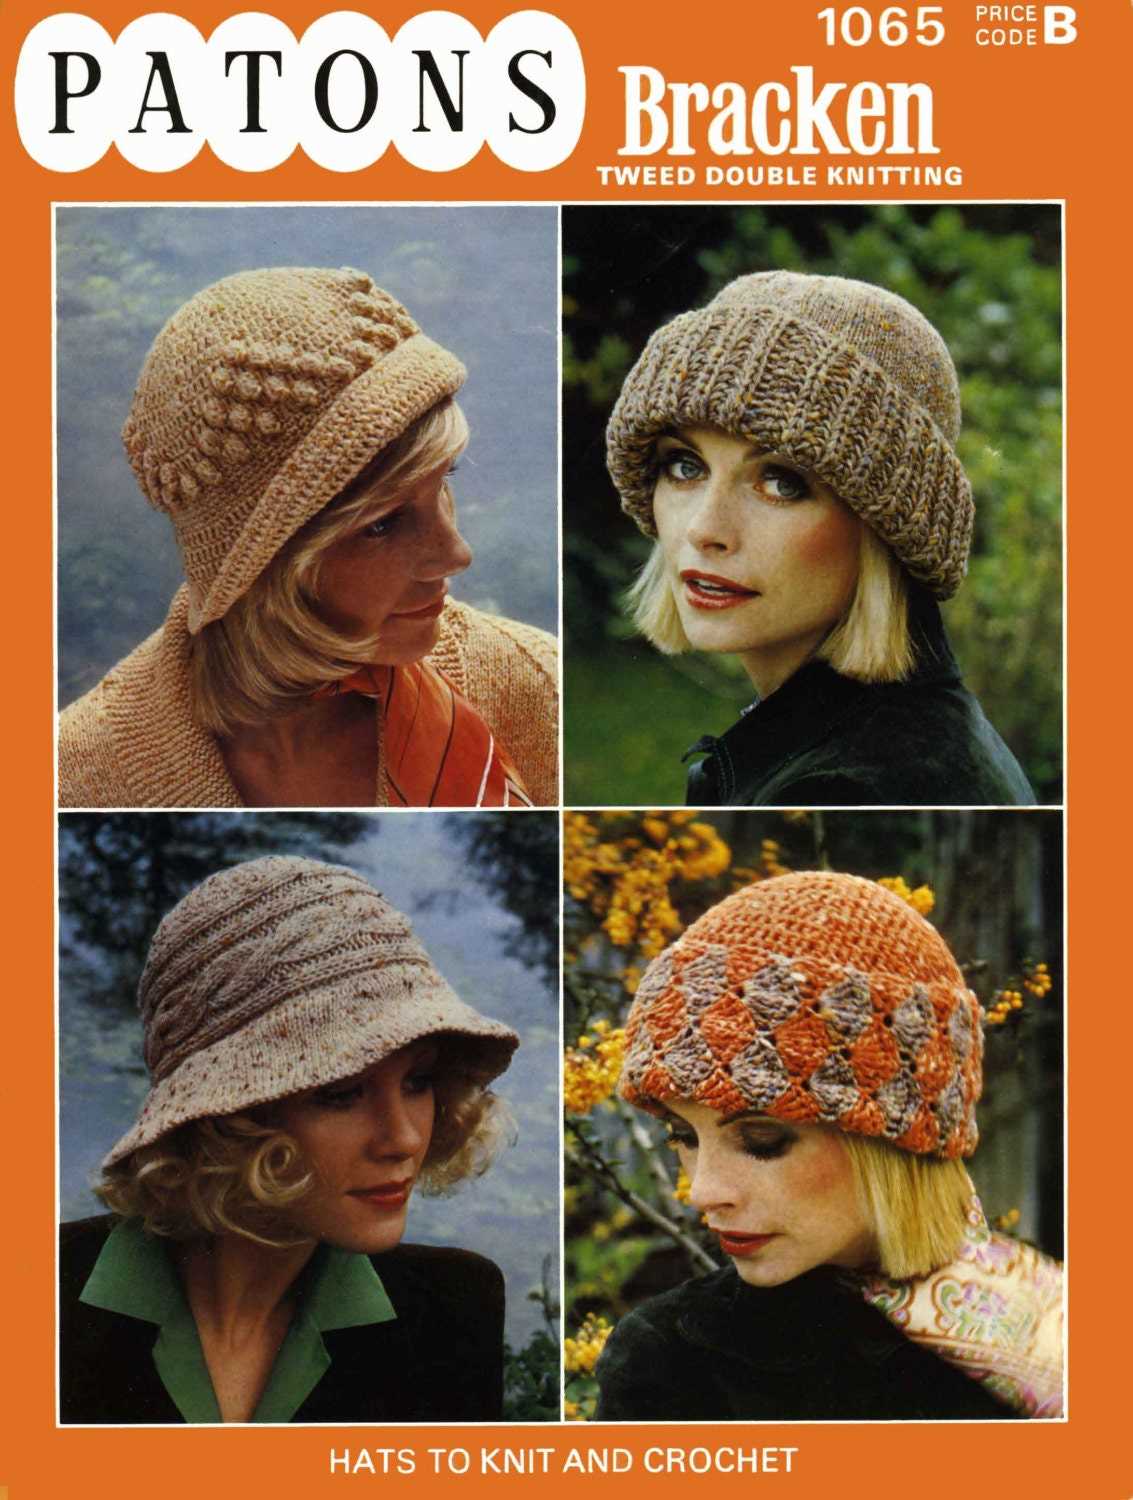
If you’re a fan of vintage fashion and looking to add a touch of old-world charm to your wardrobe, a cloche hat is the perfect accessory. Originally popular in the 1920s, the cloche hat has made a comeback in recent years and is now a stylish choice for those who want to make a fashion statement. The great thing about this hat is that it’s not only stylish but also practical, keeping your head warm and protected from the elements.
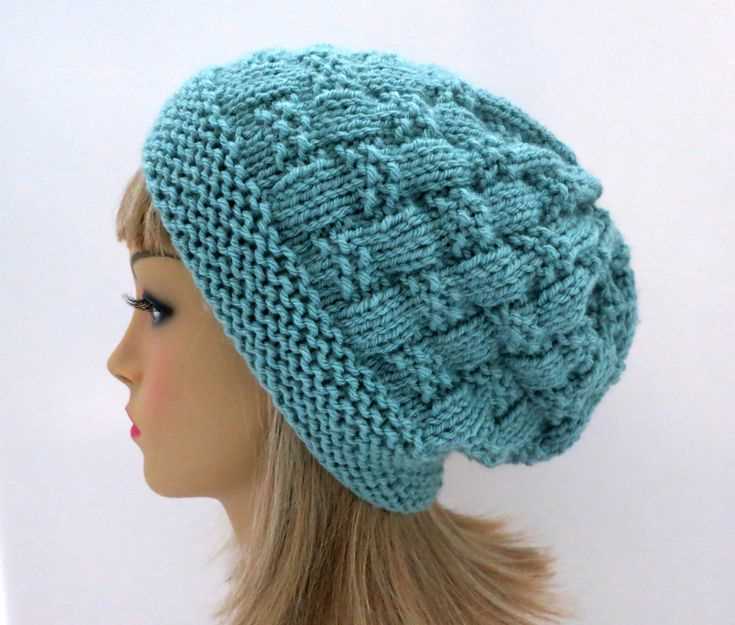
Knitting your own cloche hat can be a rewarding project that allows you to customize the hat to your own taste and style. Whether you prefer a slouchy or a more fitted style, a cloche hat can be adapted to suit your preferences. Plus, knitting allows for endless possibilities when it comes to colors and yarn choices.
To get started with your cloche hat knitting project, you’ll need a few basic knitting supplies, including a set of double-pointed knitting needles, a circular needle, and a stitch marker. You’ll also need to choose your yarn, keeping in mind that a wool-blend or alpaca yarn will provide warmth and structure to the hat.
Once you have your supplies ready, it’s time to cast on and begin knitting. The cloche hat typically starts with a ribbed brim, which adds stretch and ensures a snug fit around the head. From there, you’ll knit the body of the hat, working in a combination of knit and purl stitches to create the desired pattern.
The History of Cloche Hats
The cloche hat, meaning “bell” in French, is a stylish and iconic hat that became popular in the 1920s and 1930s. Designed to fit snugly around the head and completely cover the wearer’s hair, the cloche hat was a symbol of the changing roles and fashion of women during that time period. It was a departure from the wide-brimmed and heavily trimmed hats of the previous era, reflecting the newfound freedom and independence of women in society.
Originally created by French milliner Caroline Reboux in the early 20th century, the cloche hat quickly gained popularity and became a fashion staple for women of all ages. Its unique shape and close-fitting style made it a versatile accessory that could be worn with both casual and formal attire. The hat was typically made of felt or straw and featured a brim that sloped downward towards the face, framing the wearer’s features.
Key Features of the Cloche Hat
The cloche hat was characterized by several distinct features that set it apart from other hat styles of the time. One of its most notable features was its close-fitting shape, which hugged the head and covered the ears. This helped to accentuate the wearer’s facial features and create a sleek and elegant look. Additionally, the hat often featured decorative embellishments such as ribbons, bows, flowers, or feathers, adding a touch of femininity and elegance to the overall design.
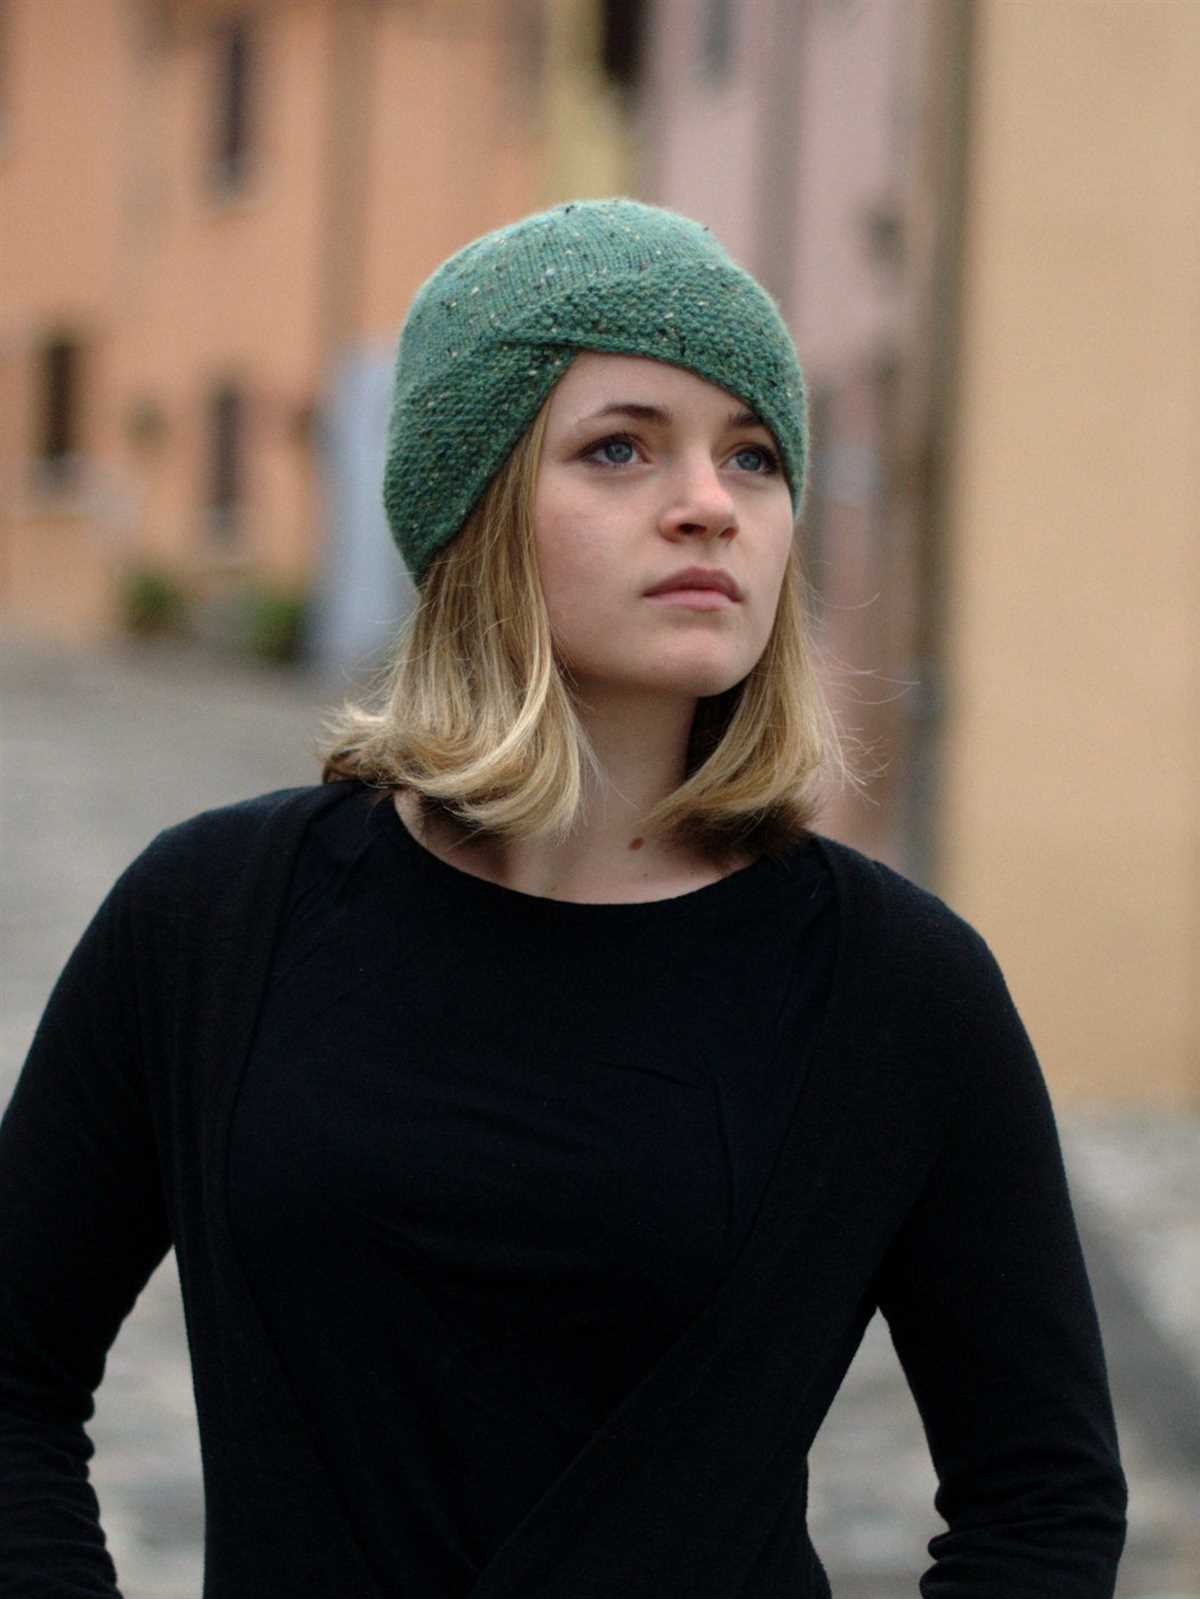
Another key feature of the cloche hat was its versatility. It could be worn in various ways, such as tilted to one side, pulled down over the eyes for a mysterious look, or pushed back to showcase the wearer’s hair. This adaptability made the cloche hat a popular choice for women of all ages and personal styles.
- The cloche hat became a symbol of the modern, independent woman of the 1920s and 1930s.
- Designed to fit snugly around the head and cover the hair.
- Originally created by French milliner Caroline Reboux.
- Typically made of felt or straw and featured a sloping brim.
- Characterized by a close-fitting shape and decorative embellishments.
- Could be worn in various ways to suit different personal styles.
Why create your own cloche hat?
Creating your own cloche hat can be a rewarding and enjoyable experience. By knitting your own cloche hat, you have the opportunity to express your personal style and creativity. You can choose the colors, patterns, and materials that best suit your taste and preferences.
One of the advantages of creating your own cloche hat is the ability to customize it to fit perfectly. With knitting, you can easily adjust the size and shape of the hat to ensure a comfortable fit. This is especially beneficial for individuals with unique head sizes or who find it challenging to find hats that fit properly in stores.
Another benefit of knitting your own cloche hat is the sense of accomplishment and pride that comes with completing a handmade project. You can showcase your knitting skills and create a unique piece that you can wear and cherish for years to come. Knitting is also a great way to relax and unwind, providing a therapeutic outlet for creativity and self-expression.
By creating your own cloche hat, you are also contributing to a more sustainable and eco-friendly fashion industry. Knitting allows you to use yarn made from natural fibers, which are biodegradable and renewable. Additionally, by making your own hat, you are reducing the demand for mass-produced clothing and supporting a more ethical and conscious approach to fashion.
Overall, creating your own cloche hat is a rewarding and empowering experience. It allows you to showcase your creativity, customize the fit, and contribute to a more sustainable fashion industry. So why not give it a try and enjoy the process of knitting your very own stylish and unique cloche hat?
Materials needed for knitting a cloche hat
Knitting a cloche hat requires a few specific materials to achieve the desired shape and style. Here is a list of the key materials you will need:
1. Yarn:
Choose a soft and durable yarn that is suitable for hats. Worsted weight yarn is often a good choice for cloche hats as it provides the right amount of warmth and structure. You can opt for natural fibers such as wool or alpaca for a cozy and luxurious feel, or go for synthetic blends for added durability and affordability.
2. Knitting Needles:
You will need a set of circular knitting needles in the appropriate size for your chosen yarn. The size will depend on the gauge you want to achieve and may vary from pattern to pattern. Make sure to check the recommended needle size in the pattern instructions or use a gauge swatch to determine the correct size.
3. Stitch Markers:
Stitch markers are essential for keeping track of your stitches and ensuring that you don’t lose your place in the pattern. They can be either removable or fixed, depending on your preference. Place them at the beginning and end of each pattern repeat or wherever indicated in the pattern instructions.
4. Tape Measure:
A tape measure will come in handy for checking your gauge and measuring the circumference of the hat. This will ensure that your hat fits properly and is the right size for the intended recipient. It is important to follow the pattern’s measurements and make adjustments if needed.
5. Darning Needle:
A darning needle or yarn needle with a large eye is necessary for weaving in loose ends and finishing the hat. This will give your project a polished look and prevent any unraveled stitches. Make sure to choose a needle that is compatible with the thickness of your yarn.
6. Embellishments (optional):

If you want to add some personal touch to your cloche hat, you can consider adding embellishments such as buttons, ribbons, flowers, or decorative stitches. These can be attached with a darning needle or sewn on after the main knitting is finished. Be creative and let your style shine!
By gathering these essential materials, you will be well-prepared to start knitting your own beautiful and fashionable cloche hat. Happy knitting!
Choosing the right yarn for your cloche hat
When knitting a cloche hat, one of the most important factors to consider is the type of yarn you use. The yarn can greatly impact the look, feel, and durability of your hat. To ensure you choose the right yarn for your project, there are a few key factors to keep in mind.
1. Weight
The weight of the yarn will determine the thickness and drape of your hat. A lighter weight yarn, like lace or fingering weight, will create a delicate and airy hat. On the other hand, a heavier weight yarn, such as worsted or bulky, will result in a chunkier and more substantial hat. Consider the desired look and feel of your finished hat when choosing the weight of your yarn.
2. Fiber
The fiber content of the yarn will impact both the comfort and durability of your cloche hat. Natural fibers, such as wool, alpaca, or cotton, are popular choices for hats as they provide warmth, breathability, and softness. Synthetic fibers, like acrylic or nylon, can offer durability and easy care. Think about the season in which you plan to wear your hat and choose a fiber that suits your needs.
3. Color and Texture
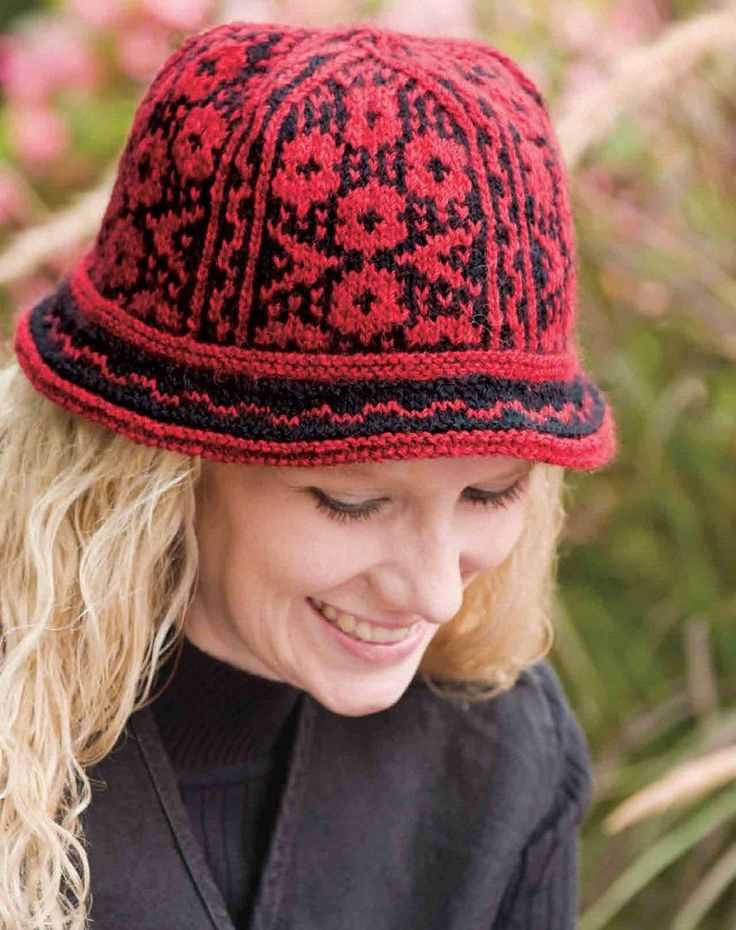
The color and texture of the yarn can play a big role in the overall look of your cloche hat. Consider the style and purpose of the hat when selecting the color. Neutral tones, such as black, brown, or gray, can create a classic and versatile hat. Bold and vibrant colors, like red or purple, can add a fun and eye-catching element. Additionally, the texture of the yarn, such as a smooth or textured finish, can add depth and interest to your hat.
To ensure success with your cloche hat knitting project, take the time to carefully choose the right yarn. By considering the weight, fiber, color, and texture of the yarn, you can create a hat that is not only beautiful but also perfectly suited to your personal style and needs.
Selecting the Appropriate Knitting Needles for Your Project
When embarking on a knitting project, one of the most important decisions you’ll need to make is selecting the appropriate knitting needles. The right needles can make all the difference in achieving the desired outcome for your project. Here are some factors to consider when choosing your knitting needles:
Needle Material
The material of the needle can greatly impact your knitting experience. Knitting needles are available in various materials such as bamboo, wood, metal, and plastic. Each material has its own unique characteristics. Bamboo and wood needles are known for their warmth and smoothness, making them great for those who prefer a more tactile knitting experience. Metal needles, on the other hand, are lightweight and highly durable, ideal for fast knitting. Plastic needles are often the most affordable option, but they may not offer the same level of comfort and durability as other materials.
Needle Size
The size of the needle is another crucial element to consider. The size you choose will depend on the type of yarn you’re using and the desired tension or gauge of your project. Thicker yarns generally require larger needles, while thinner yarns call for smaller needles. It’s important to check the recommended needle size indicated on your yarn label and consider your own personal tension when making your selection. Remember that using the correct needle size is essential to ensure a well-fitting and properly sized finished piece.
Project Type
The type of project you’re working on also plays a role in selecting the appropriate knitting needles. If you’re knitting a delicate lace shawl or intricate cable pattern, you may prefer using sharp-tipped needles that allow for precise stitch work. Alternatively, if you’re knitting a bulky sweater or blanket, you may opt for long and sturdy needles that can accommodate a large number of stitches. Consider the specific requirements of your project and choose needles that will best facilitate the knitting techniques and stitch patterns involved.
- Consider the yarn weight and tension of your project when selecting needle size.
- Material choice affects the knitting experience – bamboo and wood offer warmth and smoothness, while metal is lightweight and durable.
- Sharp-tipped needles are suitable for intricate patterns, while long and sturdy needles are ideal for big projects.
Understanding the basic techniques for knitting a cloche hat
Knitting a cloche hat can be a fun and rewarding project for knitters of all levels. The cloche hat is a stylish and versatile accessory that can be worn in any season. Whether you’re knitting for yourself or as a gift for someone else, it’s important to understand the basic techniques involved in creating this classic hat.
Casting on: The first step in knitting a cloche hat is to cast on your stitches. This can be done using any method you prefer, such as the long-tail cast on or the knitted cast on. Make sure to cast on the required number of stitches specified in the pattern.
Knit and purl stitches: Knowing how to knit and purl stitches is essential for knitting a cloche hat. Most patterns will include a combination of knit and purl stitches to create different textures and patterns. The knit stitch is created by inserting the right-hand needle into the front of the stitch on the left-hand needle, wrapping the yarn around the right-hand needle, and pulling it through. The purl stitch is similar, but the needle is inserted into the back of the stitch.
Decreasing: Decreasing is an important technique used to shape the crown of the hat. The most common decrease stitch used in hat knitting is the knit two together (k2tog) stitch. This is done by inserting the right-hand needle into the next two stitches on the left-hand needle as if to knit, and then knitting them together. Other decrease stitches, such as slip slip knit (ssk), may also be used depending on the pattern.
Ribbing: Many cloche hat patterns include ribbing, which is a stretchy and attractive pattern often used at the brim of the hat. Ribbing is created by alternating knit and purl stitches in a specific pattern, such as k1, p1 or k2, p2. This creates a stretchy fabric that fits snugly around the head.
Blocking: Once you have finished knitting your cloche hat, it’s important to block it to give it a polished and finished look. Blocking involves shaping the hat and allowing it to dry in the desired shape. This can be done by wetting the hat, shaping it on a hat block or other appropriate form, and letting it dry completely.
By understanding these basic techniques, you’ll be well-equipped to take on any cloche hat knitting pattern. So grab your knitting needles, choose a pattern, and start creating your own fashionable and cozy accessory!
Step-by-step instructions for casting on and making the brim
Knitting a cloche hat can be a fun and rewarding project. One of the first steps in making a cloche hat is casting on and making the brim. Here is a step-by-step guide on how to do it:
Materials:
- Size 8 knitting needles
- Worsted weight yarn
- Tapestry needle
Casting on:
- Begin by making a slipknot with the yarn and placing it on one of the knitting needles. This will be your first stitch.
- Hold the knitting needle with the slipknot in your right hand and the other needle in your left hand.
- Insert the left needle into the slipknot from left to right, going under the right-hand needle.
- With your right hand, bring the yarn over the right-hand needle, crossing the left-hand needle.
- With your right hand, pull the right-hand needle through the slipknot, bringing the new stitch onto the right-hand needle. This is your second stitch.
- Repeat steps 3-5 until you have cast on the desired number of stitches for your hat brim.
Making the brim:
Once you have cast on the desired number of stitches, it’s time to start making the brim of the cloche hat:
- With the yarn in your right hand, bring it over the left-hand needle, from back to front.
- With your right hand, insert the right-hand needle into the first stitch on the left-hand needle, from left to right.
- With your right hand, bring the yarn over the right-hand needle and pull it through the stitch, creating a new stitch on the right-hand needle.
- Repeat steps 1-3 until you have worked a row of knit stitches across all the stitches on the left-hand needle. This is your first row of the brim.
- Continue working more rows in the same way, knitting every stitch, until the brim reaches the desired width for your cloche hat.
By following these step-by-step instructions, you will be able to cast on and make the brim for your cloche hat. Once the brim is complete, you can continue knitting the body of the hat using your preferred pattern or design.
Knitting the body of the cloche hat
The body of the cloche hat is typically knit in the round, starting from the brim and working upwards towards the crown. This creates a seamless and comfortable fit. To begin, you will cast on the desired number of stitches, usually using a circular needle to accommodate the large number of stitches.
Once your stitches are cast on, you will join them in the round and begin knitting the body of the hat. The pattern may instruct you to knit in a specific stitch pattern or continue in stockinette stitch. It’s important to follow the pattern’s instructions precisely to achieve the desired look.
As you work your way up the hat, you may need to incorporate shaping techniques to create the desired silhouette. This can be achieved through increases or decreases at specific intervals. Pay close attention to the pattern and follow the instructions carefully to ensure your hat turns out as intended.
Continue knitting in the round until you reach the desired length for the body of the hat. At this point, you may need to start shaping the crown of the hat. This typically involves decreasing stitches gradually in a specific pattern to create a snug fit at the top of the hat.
Once you have completed the body of the cloche hat, you can bind off your stitches and weave in any loose ends. This will give your hat a clean and polished finish. With the body of the hat complete, you can then move on to knitting the brim or adding any embellishments or finishing touches as desired.
Shaping the crown of the cloche hat
When knitting a cloche hat, shaping the crown is an important step to create the desired shape and fit. There are several techniques that can be used to shape the crown, depending on the style and design of the hat.
Decreasing method:
One common way to shape the crown is by using decreasing stitches. This involves reducing the number of stitches in each round to create a domed shape. The decreases can be done in various ways, such as knit two stitches together (k2tog) or slip slip knit (ssk). These decreases can be evenly spaced or placed strategically to achieve the desired crown shape.
Short rows:
Another method to shape the crown is by using short rows. Short rows are partial rows of knitting that create additional fabric in certain areas, allowing for shaping without changing the stitch count. By wrapping and turning the stitches, you can create curves or angles in the crown of the hat. This technique is often used to shape the back of the hat slightly higher than the front for a more comfortable and flattering fit.
Combining methods:
In some cases, a combination of decreasing and short rows is used to shape the crown. For example, decreasing stitches can be used to create a domed shape, while short rows are used to add extra height or contour in specific areas. This combination allows for more precise shaping and customization of the hat.
Additional details:
When shaping the crown of a cloche hat, it’s important to follow the pattern instructions carefully and pay attention to stitch counts and markers. By carefully executing the shaping techniques, you can achieve a well-fitted and stylish cloche hat with a beautifully shaped crown.
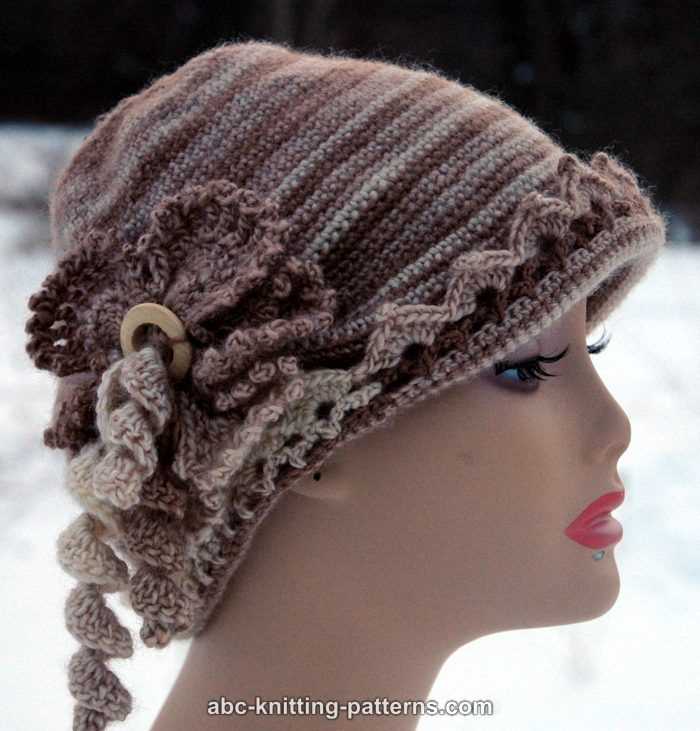
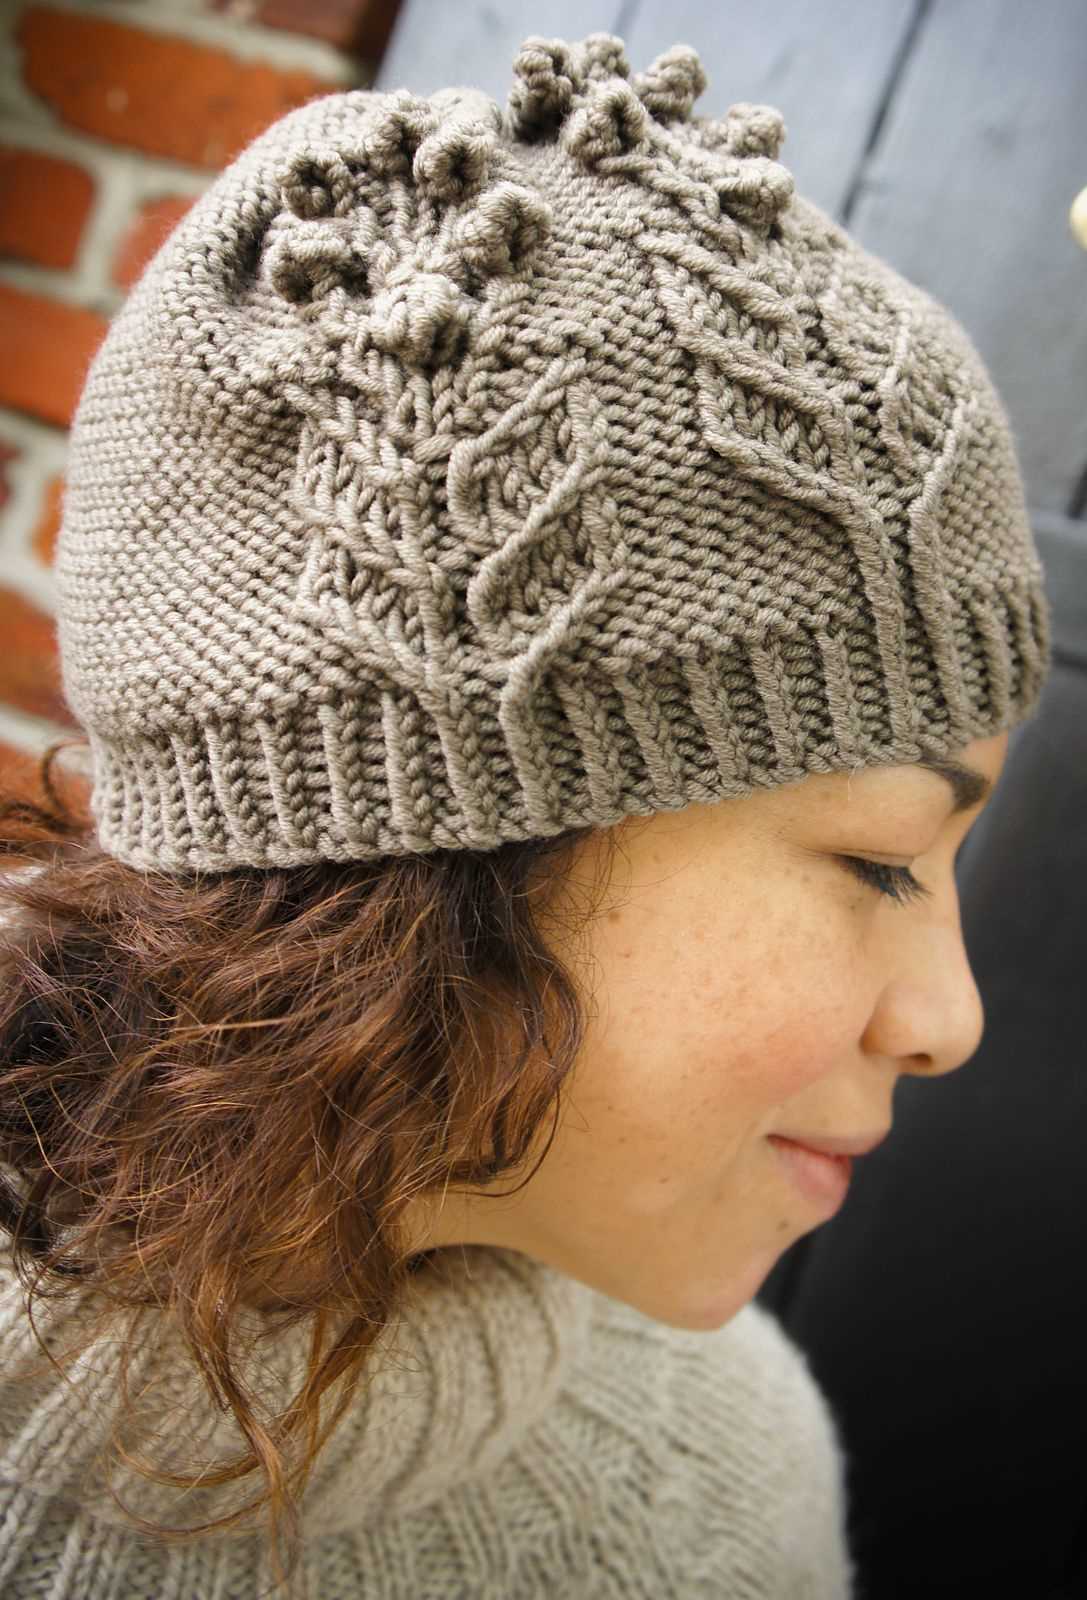
Adding decorative elements to your cloche hat
Once you have completed knitting your cloche hat using the pattern, you may want to add some decorative elements to make it truly unique and personalized. There are various ways you can embellish your cloche hat to enhance its appearance and style.
Ribbon: One simple and classic way to add decoration to your cloche hat is by attaching a ribbon around the base of the crown. You can choose a ribbon in a color that complements the yarn you used for knitting the hat or go for a contrasting color to create a bold statement.
Flowers or bows: Another popular option is to add flowers or bows to your cloche hat. You can either knit or crochet these decorative elements separately and then sew them onto the hat. Alternatively, you can use fabric flowers or pre-made bows and securely attach them using a needle and thread.
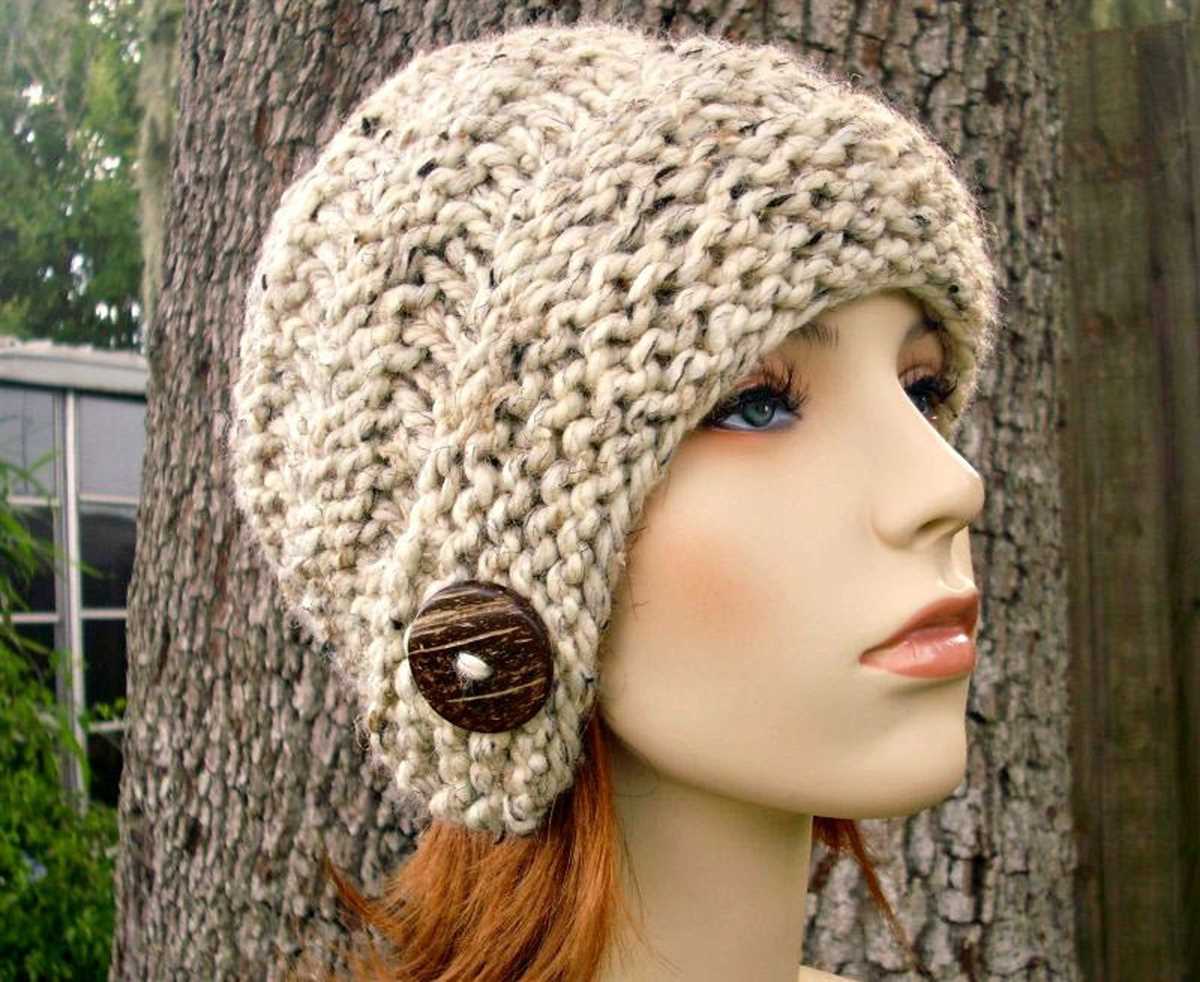
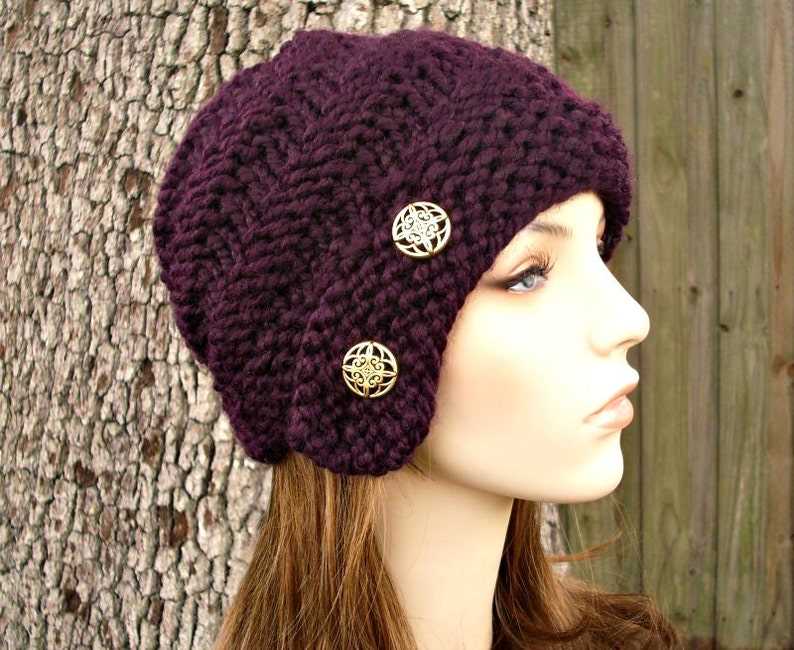
- Buttons: Adding buttons to your cloche hat can give it a vintage or playful look, depending on the style and size of the buttons you choose. Sew them onto the brim or around the crown to create eye-catching details.
- Brooch or pin: If you have a beautiful brooch or pin, you can easily attach it to your cloche hat to add an elegant touch. Simply pin it onto the hat, ensuring it is secure, and you have a stylish accessory.
Embroidery: Another way to decorate your cloche hat is by adding embroidery. You can use different colored threads to embroider patterns, motifs, or even names onto the hat. This is a great way to add a personal touch and showcase your creativity.
With these various options for adding decorative elements, you can take your knitted cloche hat to the next level and create a hat that truly reflects your style and personality. Have fun experimenting with different embellishments and make your hat one-of-a-kind!
Tips for finishing off your cloche hat
Finishing off your cloche hat is an important step in completing your project. Here are some tips to help you achieve a polished and professional-looking result:
1. Secure loose ends
Before you begin finishing off your hat, make sure to securely fasten any loose ends of yarn. This will prevent your hat from unraveling and ensure a neat and tidy finish. You can use a tapestry needle to weave the loose ends into the stitches of the hat, making sure to do so on the wrong side to hide them from view.
2. Blocking
Blocking is an essential step in finishing off your hat. This process helps to reshape the hat and even out any tension or inconsistencies in your knitting. To block your cloche hat, you can gently steam it or wet block it by pinning it to a towel or foam block. Allow it to dry completely before removing the pins and wearing it.
3. Embellishments
Add some extra flair to your cloche hat by attaching embellishments such as flowers, buttons, or ribbons. This can be done by sewing them onto the hat using a needle and thread or hot glue. Be creative and choose embellishments that complement your hat design and personal style.
4. Consider adding a lining
If you want to add extra warmth and comfort to your cloche hat, consider adding a lining. This can be made from a soft fabric such as silk or cotton and sewn into the hat using a whip stitch or slip stitch. A lining also helps to give the hat a more finished look on the inside.
By following these tips, you can ensure that your cloche hat is finished off beautifully and ready to be worn with pride. Have fun with the finishing touches and enjoy your stylish new accessory!
Styling and Wearing Your Handmade Cloche Hat
Once you have finished knitting your cloche hat, it’s time to style and wear it with confidence. Whether you’re going for a vintage-inspired look or adding a touch of elegance to your everyday outfit, the cloche hat is a versatile accessory that can elevate any ensemble. Here are some tips on how to style and wear your handmade cloche hat:
1. Pair it with a vintage-inspired outfit:
Embrace the retro charm of the cloche hat by pairing it with vintage-inspired clothing. Think flowy midi dresses, tailored pantsuits, or high-waisted skirts. Add some vintage accessories like gloves and pearls to complete the look. This combination will transport you back to the glamorous era of the 1920s.
2. Dress it up or down:
The cloche hat can be styled for both casual and formal occasions. For a casual look, wear it with a pair of jeans, a cozy sweater, and ankle boots. To dress it up, pair it with a tailored coat, a fitted dress, and heels. The cloche hat adds a touch of sophistication to any outfit, making it suitable for a wide range of events.
3. Experiment with different hairstyles:
The cloche hat looks stunning with various hairstyles. Try wearing it with your hair down in loose waves for a romantic look. For a more polished appearance, tuck your hair into the hat and create a sleek, finger-wave hairstyle. You can also accessorize the hat with a scarf or a brooch for added flair.
4. Choose the right color:
Consider the color of your cloche hat when styling your outfit. Opt for neutral shades like black, gray, or beige for a classic look. If you want to make a bold statement, choose a vibrant color like red or royal blue. The color of the hat can either compliment or contrast with the rest of your outfit, depending on the style you want to achieve.
In conclusion, the handmade cloche hat is a timeless accessory that can elevate your style. With its vintage charm and versatility, it can be styled for various occasions and paired with different outfits. Whether you prefer a classic look or want to make a bold fashion statement, the cloche hat is sure to add an elegant touch to your ensemble.