
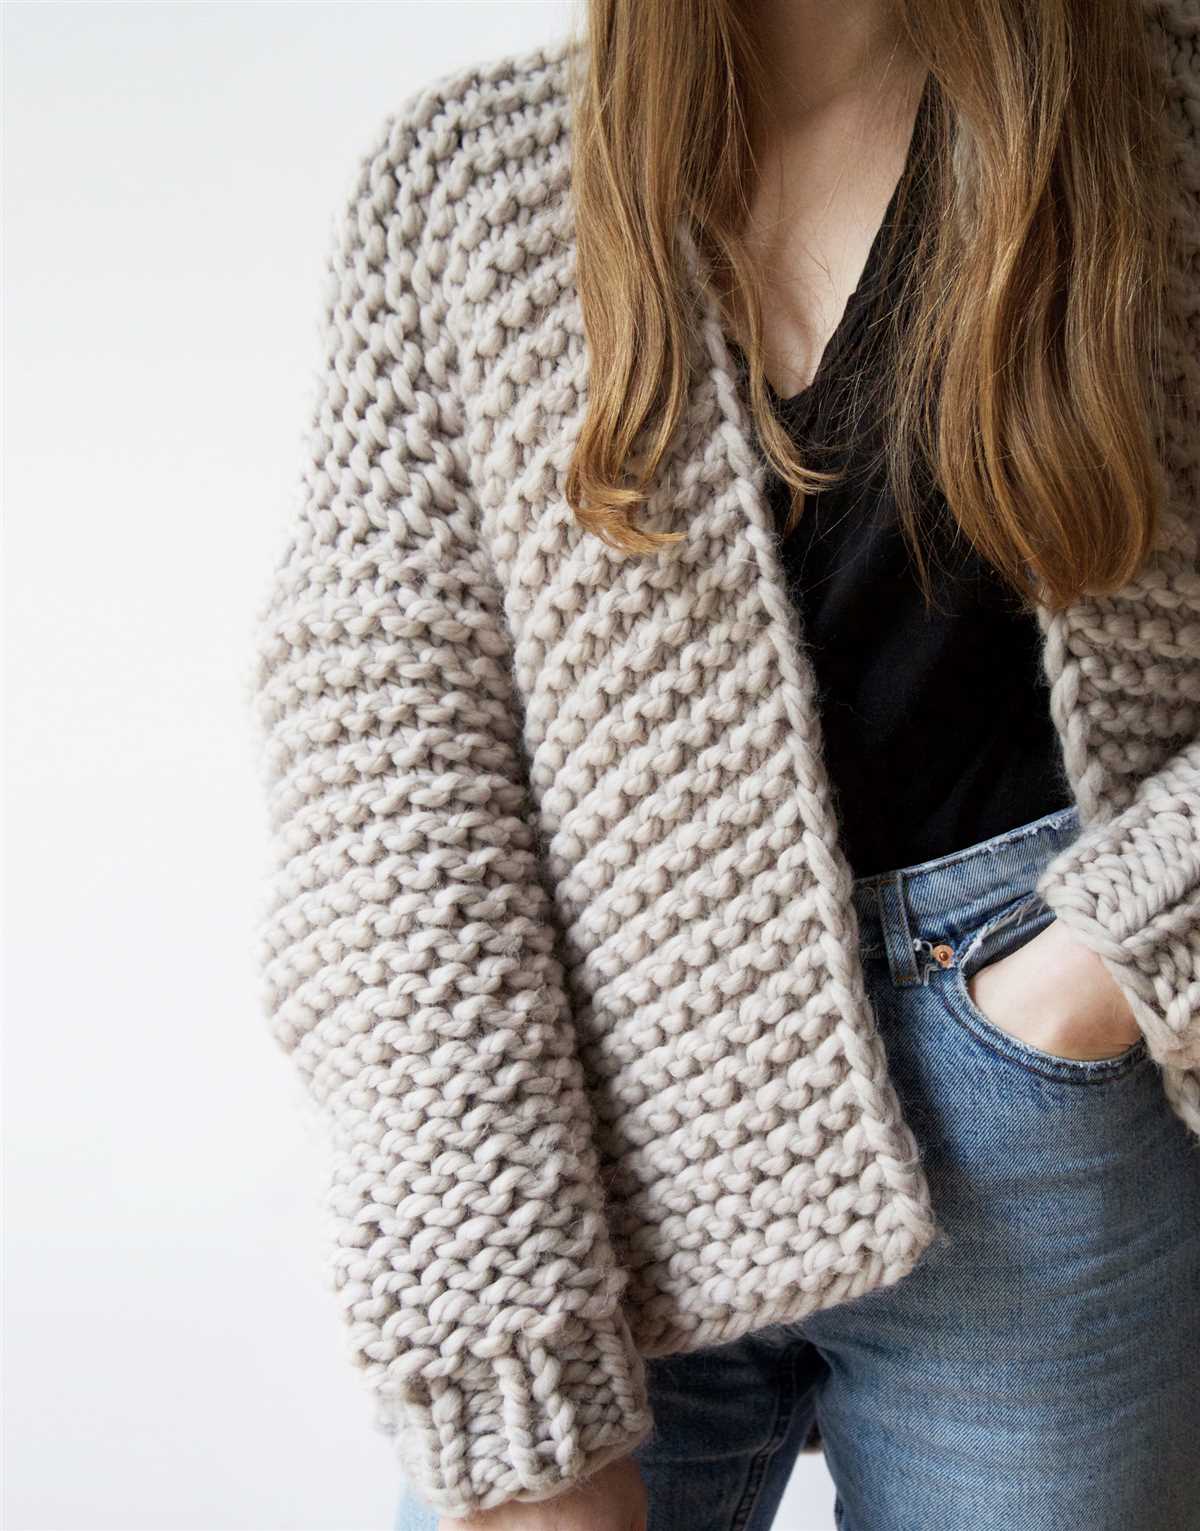
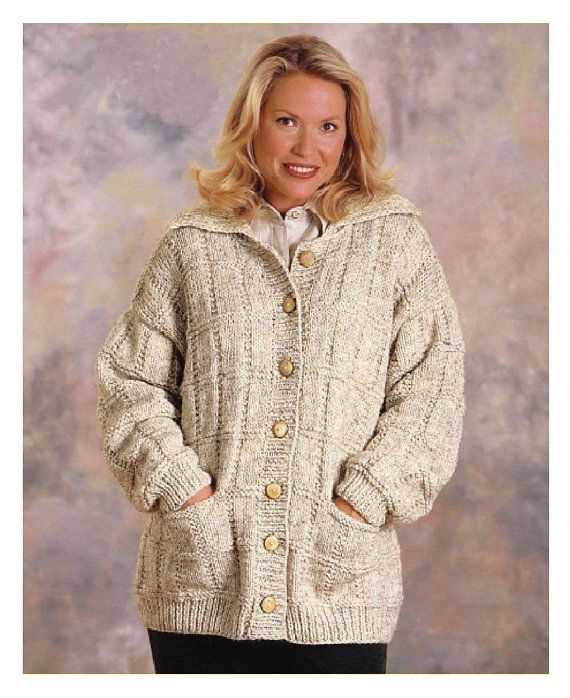
If you’re looking for a cozy and stylish addition to your fall and winter wardrobe, a chunky cardigan is the perfect choice. Chunky knits are not only warm and comfortable, but they also add a touch of texture and dimension to any outfit. Whether you’re a seasoned knitter or just starting out, a chunky cardigan knit pattern is a great project to take on.
Knitting a chunky cardigan can seem intimidating, but with the right pattern and a little patience, it’s a project that anyone can tackle. The key is to choose the right yarn and needles to achieve the chunky look and feel. You’ll also want to select a pattern that matches your skill level.
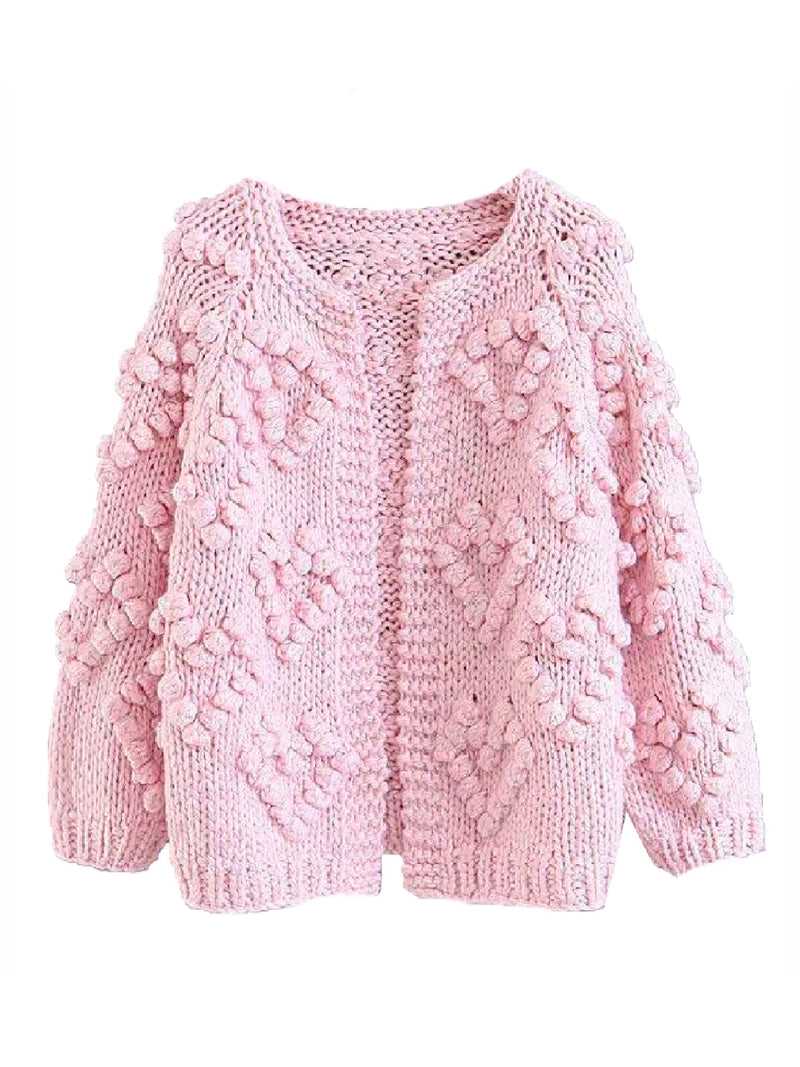
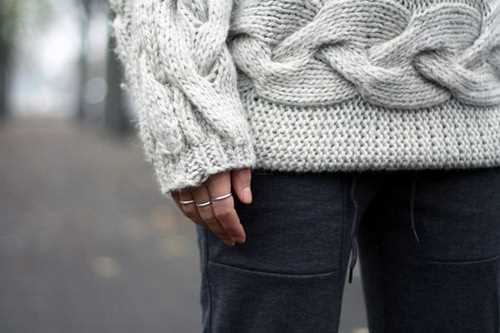
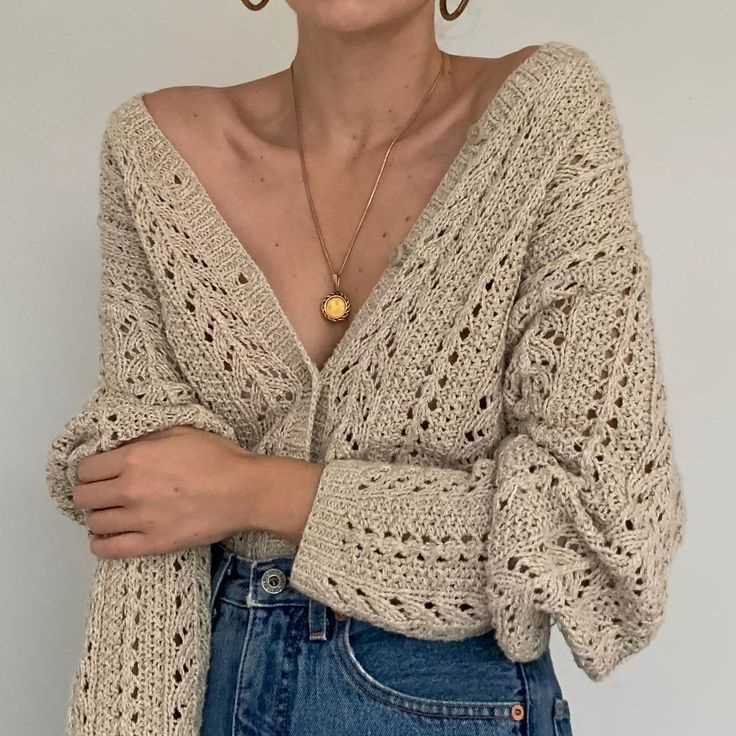
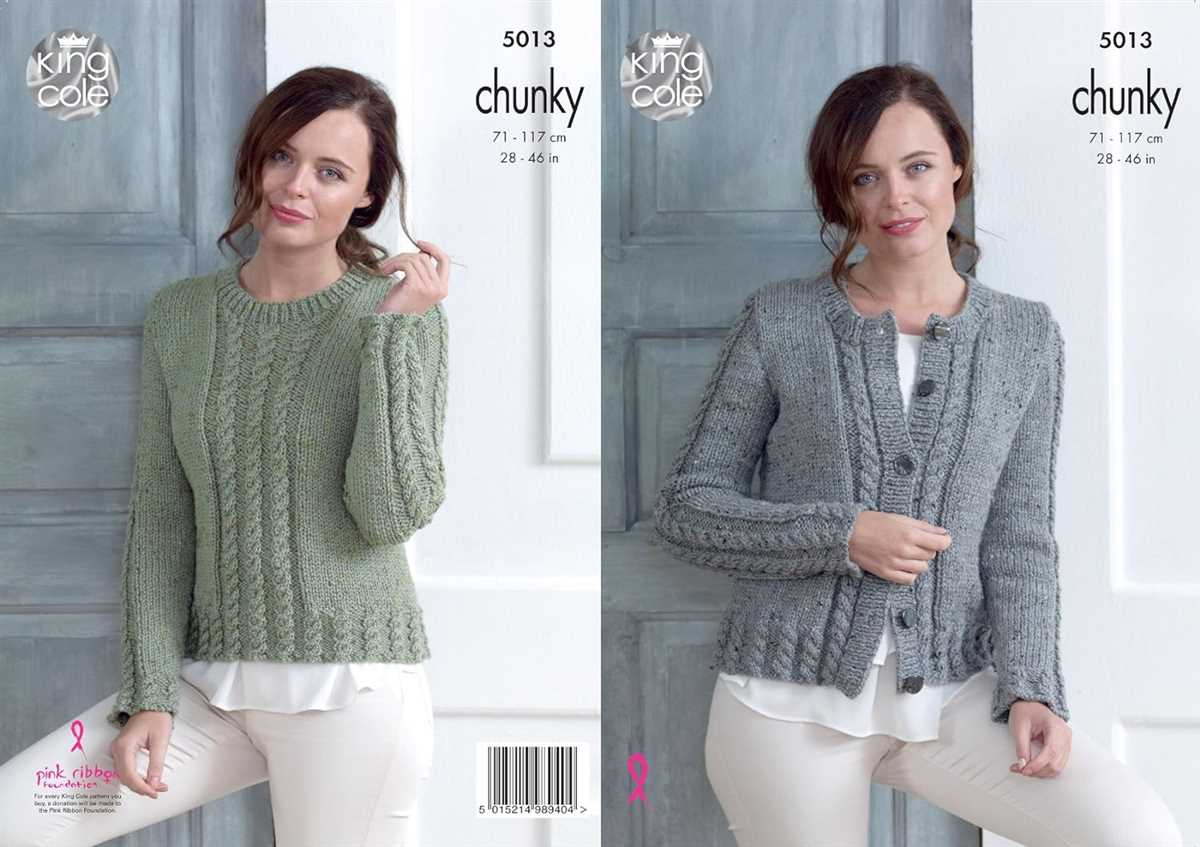
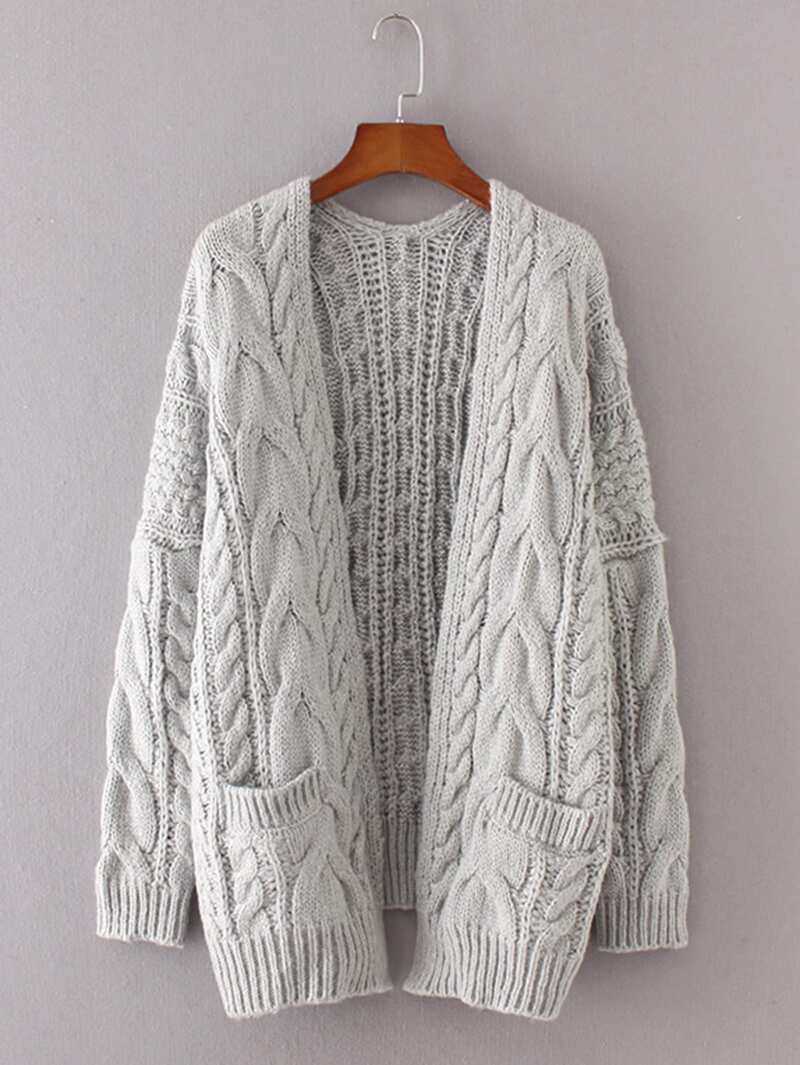
There are countless chunky cardigan knit patterns available, ranging from basic designs with simple stitches to more intricate patterns with cables and lace. Depending on your preference, you can choose a pattern that is more fitted or one that has a more oversized and cozy feel. With so many options, you’re sure to find a pattern that suits your style and skill level.
Once you’ve chosen your pattern, it’s time to gather your materials and get started. You’ll need a set of knitting needles in the appropriate size, as well as the recommended yarn. You may also want to invest in stitch markers and a row counter to help keep track of your progress. With everything in place, it’s time to cast on and start knitting your chunky cardigan.
Choosing the right yarn for your chunky cardigan
When it comes to knitting a chunky cardigan, choosing the right yarn is crucial for achieving the desired look and feel. The type of yarn you choose will determine the overall texture, warmth, and durability of your finished garment. Therefore, it is important to consider a few key factors before making your selection.
Yarn weight: The first thing to consider is the weight of the yarn. For a chunky cardigan, you’ll want to choose a yarn that is on the heavier side. Look for yarns labeled as “chunky” or “bulky” which are typically thicker and will give your cardigan a cozy and substantial look.
Fiber content: The fiber content of the yarn will also affect the look and feel of your chunky cardigan. Wool is a popular choice for its warmth and natural elasticity, but you may also consider other fibers such as alpaca, mohair, or a blend of different materials. Each fiber has its own unique properties, so take into account factors like softness, drape, and washability when choosing your yarn.
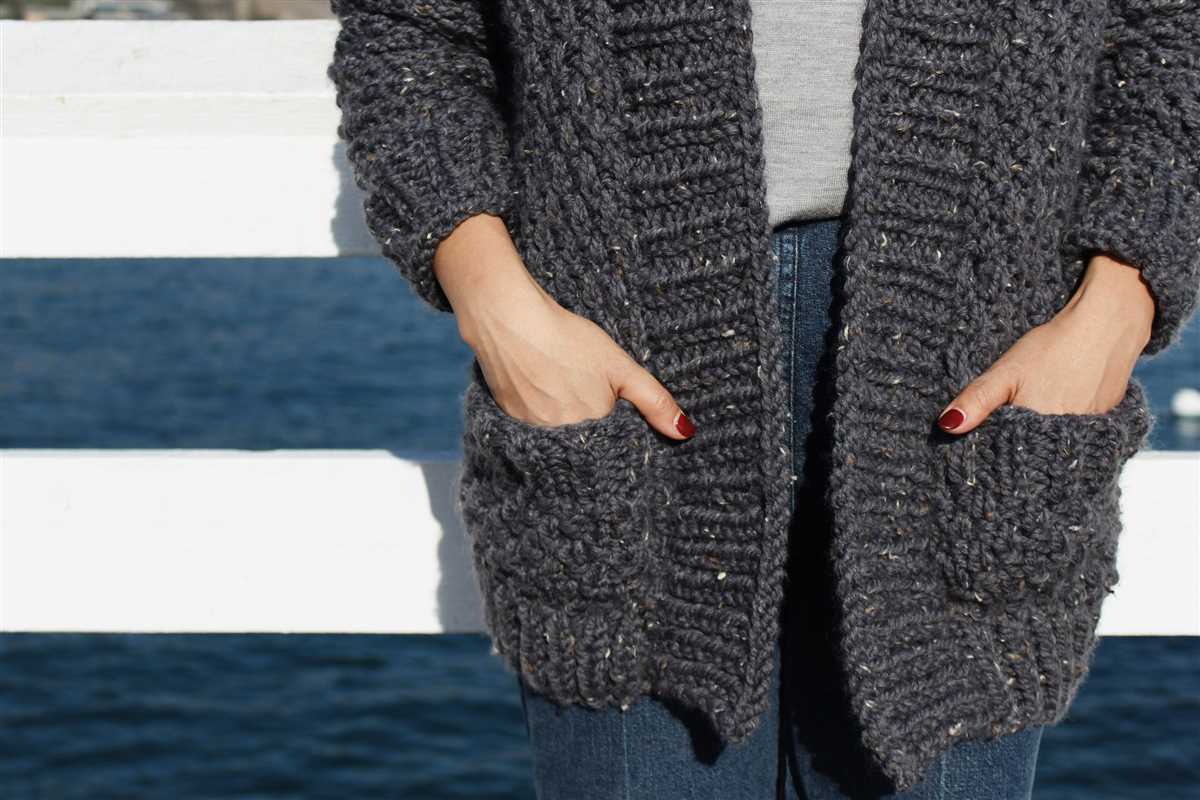
Texture and appearance: Pay attention to the texture and appearance of the yarn. Some chunky yarns have a smooth, plied texture, while others may have a more rustic or textured look. Consider the stitches and patterns you plan to use for your cardigan and choose a yarn that will showcase them well. It’s also important to think about the color and how it will complement your personal style and wardrobe.
Quantity and cost: Lastly, consider the quantity of yarn you will need for your project and the cost. Chunky yarns typically require less yardage compared to thinner yarns, but it’s still important to accurately estimate the amount you’ll need to avoid running out. Additionally, take into account the cost of the yarn and how it fits within your budget. There are a wide range of chunky yarn options available across different price points, so you can find a yarn that meets both your needs and your budget.
By considering these factors and choosing the right yarn for your chunky cardigan, you’ll be on your way to creating a beautiful and cozy garment that you’ll love to wear.
Essential tools for knitting a chunky cardigan
When it comes to knitting a chunky cardigan, having the right tools is essential to ensure a successful and enjoyable knitting experience. Here are some key tools that every knitter should have:
- Chunky yarn: The first and most important tool for knitting a chunky cardigan is a good quality chunky yarn. Choose a yarn that is soft, warm, and durable, and that will give your cardigan the desired thickness and texture.
- Knitting needles: You will need a pair of knitting needles that are appropriate for the thickness of your yarn. For chunky yarn, larger needles, such as size 10 or 11, are recommended to achieve the right tension and gauge.
- Tape measure: Accurate measurements are crucial for achieving the perfect fit in your chunky cardigan. A tape measure is an essential tool for measuring your own body as well as the progress of your knitting project.
- Stitch markers: Stitch markers are small rings or clips that can be placed on your knitting needles to mark specific stitches or sections. They are especially useful when knitting patterns that require increases, decreases, or other stitch variations.
- Yarn needle: A yarn needle, also known as a tapestry needle, is used for weaving in loose yarn ends and stitching pieces of your cardigan together. Choose a needle with a large eye and a blunt tip for easy threading and smooth stitching.
These are just a few of the essential tools that every knitter should have when tackling a chunky cardigan project. With the right tools in hand, you’ll be well-equipped to create a cozy and stylish cardigan that you’ll love to wear.
Gauge Swatching for Your Chunky Cardigan
When knitting a chunky cardigan, it is essential to start with a gauge swatch to ensure that your finished garment will have the correct measurements. A gauge swatch is a small piece of knitting that allows you to determine the number of stitches and rows per inch in the pattern. This information is crucial because it affects the size and fit of your cardigan.
To make a gauge swatch for your chunky cardigan, you will need to gather the same yarn and knitting needles that you plan to use for the entire project. It is important to use the correct needle size recommended in the pattern, as this will impact the tension and overall gauge of your knitting.
Begin by casting on a few more stitches than the recommended gauge given in the pattern. For example, if the pattern states that the gauge is 12 stitches per 4 inches, you can cast on around 15-20 stitches. Knit a few rows in stockinette stitch, making sure to maintain an even tension.
Once you have completed a few rows, measure a 4-inch section in the center of your swatch using a ruler or a gauge measuring tool. Count the number of stitches and rows within this measured section. Compare these measurements to the gauge specified in the pattern.
If your stitch and row count match the gauge specified in the pattern, then your tension is correct, and you can begin knitting your chunky cardigan confidently. However, if your stitch and row count differ from the specified gauge, you may need to adjust your needle size.
If your stitch count is too small, try using larger needles to achieve a looser tension. Conversely, if your stitch count is too large, use smaller needles to create a tighter tension. Repeat the swatching process until you achieve the correct gauge.
Remember that the gauge swatch allows you to customize the fit of your cardigan, so take the time to swatch and make any necessary adjustments. It may seem like an extra step, but it will ensure that your finished chunky cardigan has the perfect fit and proportions.
Understanding the pattern instructions for your chunky cardigan
When embarking on a knitting project, it’s important to carefully read and understand the pattern instructions for your chunky cardigan. This will ensure that you can follow the pattern correctly and create a beautiful finished garment. Here are some tips to help you understand the pattern instructions:
Familiarize yourself with the abbreviations and symbols:
The pattern instructions will likely include various abbreviations and symbols that represent knitting stitches and techniques. Take the time to familiarize yourself with these abbreviations and symbols before you start knitting. Refer to the pattern’s glossary or a knitting reference guide if necessary.
Read through the entire pattern:
Before you begin knitting, read through the entire pattern from start to finish. This will give you an overview of the construction and shaping of the cardigan, as well as any special techniques or stitches that may be used. It will also help you understand the order in which the different sections of the cardigan are worked.
Take note of the size and gauge information:
Make sure to pay attention to the size and gauge information provided in the pattern. This will help you determine which size to knit and ensure that your cardigan will fit properly. Take the time to swatch and check your gauge before starting the project, as using the wrong gauge can result in a cardigan that is too small or too large.
Break down the instructions into smaller sections:
Once you’re ready to start knitting, break down the pattern instructions into smaller sections. This will make the instructions easier to follow and help you keep track of your progress. Use stitch markers or highlighters to mark the beginning and end of each section, if necessary.
Refer to video tutorials or knitting guides if needed:
If you come across a technique or stitch that you’re not familiar with, don’t hesitate to seek additional resources. There are many video tutorials available online that can demonstrate the technique in a visual format, making it easier to understand. You can also consult knitting guides or ask for help from more experienced knitters.
By taking the time to understand the pattern instructions for your chunky cardigan, you’ll set yourself up for knitting success. Happy knitting!
Cast on and ribbing for your chunky cardigan
Making a chunky cardigan is a fun and rewarding project that can be completed by knitters of all skill levels. To get started, you will need to cast on the required number of stitches for your pattern. The number of stitches will vary depending on the size of your cardigan and the desired fit. Make sure to check your pattern for the specific instructions.
Once you have cast on your stitches, you will begin working the ribbing for the hem, cuffs, and neckline of your cardigan. Ribbing is a stretchy and decorative pattern that is commonly used in sweater knitting. It is typically worked in a combination of knit and purl stitches to create alternating columns of texture.
To work the ribbing, start by knitting one stitch, then purling one stitch, and continue this sequence until you have completed one row. The next row will be the opposite, so if you knit the first stitch on the previous row, you will purl it on this row, and vice versa.
Continue working in this ribbing pattern for the desired length specified in your pattern. Ribbing is often worked for a few inches to provide a stretchy and snug fit. Once you have completed the ribbing, you will be ready to move on to the main body of the cardigan.
Remember to take your time and enjoy the process of creating your chunky cardigan. Knitting is a relaxing and meditative craft, and with each stitch, you are creating something beautiful and unique.
Working the Body of Your Chunky Cardigan
Once you have completed the ribbing and established the stitch pattern for your chunky cardigan, it’s time to start working the body. This is the main part of the cardigan that will give it its cozy, chunky look.
To begin, continue working in the established stitch pattern for the desired length. Depending on the style and fit you want for your cardigan, you can adjust the length accordingly. Keep in mind that chunky cardigans tend to have a slightly oversized fit, so consider this when determining the length.
As you work the body, you may want to incorporate shaping techniques to create a more flattering silhouette. This can be done by gradually increasing or decreasing stitches at specific points. For example, you might want to increase stitches at the waist for a more defined shape, or decrease stitches at the bust for a better fit. These shaping techniques can be achieved by working increases and decreases within the established stitch pattern.
It is important to regularly try on your cardigan as you work the body to ensure the fit is to your liking. Making adjustments along the way will help you achieve the desired look and fit.
Once you have reached the desired length for the body, you can then move on to working the sleeves or any other additional details you may want to include in your chunky cardigan pattern.
Shaping the sleeves for your chunky cardigan
When knitting a chunky cardigan, shaping the sleeves can be a crucial step to ensure a comfortable and flattering fit. There are various techniques you can use to shape the sleeves, depending on the design and style of your cardigan.
1. Raglan sleeves: Raglan sleeves are a popular choice for chunky cardigans as they create a seamless and elegant look. To shape raglan sleeves, you will decrease stitches at the raglan seams. This can be done by knitting two stitches together or through other decrease techniques specified in your pattern. Keep in mind that the number of decreases and their placement will depend on your gauge and desired fit.
2. Set-in sleeves: Set-in sleeves are another option for shaping chunky cardigan sleeves. In this method, sleeves are usually worked separately and sewn into the armholes. To achieve the desired shape, you will need to decrease stitches gradually along the sleeve cap. This can be done by knitting two stitches together, slipping stitches, or working short rows to create a curved shape.
When shaping the sleeves of your chunky cardigan, it’s important to follow the instructions provided in your pattern, as they will guide you on the specific decreases and shaping techniques to use. Pay attention to your gauge and measurements to ensure the sleeves fit comfortably and proportionately with the rest of the cardigan. Don’t be afraid to make adjustments or modifications as needed to achieve the desired fit and style.
Joining the sleeves and body of your Chunky Cardigan
Once you have completed knitting the sleeves and body of your chunky cardigan, it’s time to join them together to create the finished piece. Here’s a step-by-step guide on how to do it:
1. Prepare the sleeves and body
Before joining, make sure the sleeves and body are blocked to the correct measurements. This will ensure that the finished cardigan fits properly. Lay out the sleeves and body pieces flat on a clean, flat surface.
2. Match the markers
Take note of the stitch markers you placed on the sleeves and body. These markers signify the locations where the pieces will be joined. Match the markers on the sleeves to the corresponding markers on the body.
3. Slip stitches
With the right sides facing each other, slip the stitches from the sleeves onto the needle containing the body stitches. Make sure that the stitches are aligned properly and that the markers line up.
4. Join the pieces
Using a tapestry needle and yarn, begin to sew the sleeves to the body of the cardigan. Start at the first marker and work your way to the second marker. Use a mattress stitch or a whip stitch to create a seamless join.
5. Secure the ends
Once the sleeves are attached to the body, weave in any loose ends and trim off the excess yarn. Test the join by gently pulling on the fabric to ensure it is secure.
6. Continue finishing the cardigan
With the sleeves and body joined together, you can now proceed to finish the remaining details of your chunky cardigan. This may include knitting the collar, adding buttons or other closures, and blocking the finished piece once again to ensure the stitches lay flat.
Knitting the collar or neckline for your chunky cardigan
When knitting a chunky cardigan, one important step is to knit the collar or neckline. The collar or neckline can add an extra touch of style and functionality to your cardigan, and it’s important to get it right. There are several techniques you can use to knit the collar or neckline, depending on the desired style and effect.
One common technique is to use a rib stitch for the collar or neckline. This creates a stretchy and snug fit, making it perfect for keeping the cold air out. To knit the collar or neckline using the rib stitch, start by casting on the required number of stitches. Then, alternate between knitting and purling stitches to create the rib pattern. You can choose the width of the rib pattern based on your personal preference.
If you’re looking for a more decorative touch, you can also consider using a cable stitch for the collar or neckline. This creates a beautiful texture and adds visual interest to your chunky cardigan. To knit the collar or neckline using the cable stitch, start by casting on the required number of stitches. Then, follow the cable stitch pattern of your choice, crossing the stitches to create the desired cable design. This technique requires a bit more skill and attention to detail, but the end result is well worth the effort.
Another option for knitting the collar or neckline is to use a simple garter stitch. This stitch creates a clean and tidy edge, making it perfect for a minimalistic and understated look. To knit the collar or neckline using the garter stitch, start by casting on the required number of stitches. Then, simply knit every row until you reach the desired length. This technique is easy to master, making it suitable for both beginners and experienced knitters.
When knitting the collar or neckline for your chunky cardigan, don’t be afraid to experiment with different techniques and designs. Whether you choose a rib stitch, cable stitch, or garter stitch, the collar or neckline can greatly enhance the overall look of your cardigan. So grab your knitting needles, choose your favorite pattern, and start creating a beautiful and cozy collar or neckline for your chunky cardigan.
Adding buttons or other closures to your chunky cardigan
When knitting a chunky cardigan, the question of closures often arises. While some cardigans are designed to be left open, others benefit from the addition of buttons or other types of closures. Adding closures not only adds functionality to your cardigan but can also enhance its style. Here are a few options for adding closures to your chunky cardigan.
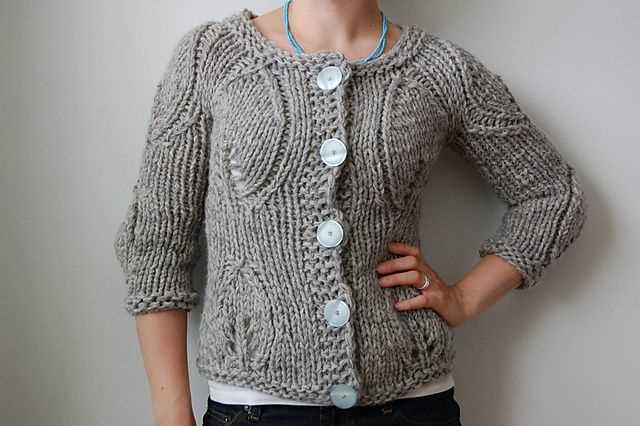
Buttons
Buttons are a classic choice for cardigan closures and come in a variety of styles, sizes, and materials. Choose buttons that complement the overall look of your cardigan and fabric. Consider using large statement buttons for a bold and eye-catching effect, or opt for smaller, more subtle buttons for a minimalist touch. When attaching buttons, make sure to reinforce the areas where they will be sewn on to prevent them from pulling or coming loose.
Toggle closures
If you prefer a more rustic or outdoorsy look for your chunky cardigan, toggle closures are a great option. Toggle closures typically consist of a loop or buttonhole and a wooden or metal toggle that is threaded through the loop to secure the cardigan. This type of closure adds a unique and visually interesting detail to your cardigan and can be customized to match your personal style.
Zipper
For a modern and streamlined look, consider adding a zipper to your chunky cardigan. Zippers are a convenient closure option that allows for easy on and off. Opt for a zipper that matches the color or style of your cardigan for a cohesive look. Sewing a zipper onto a chunky knit fabric may require some extra care and attention, so make sure to take your time and properly secure it to ensure that it stays in place.
Regardless of the closure option you choose, it’s important to carefully consider the placement and spacing of the closures on your cardigan. This will ensure that the cardigan fits and drapes nicely when worn closed. By adding buttons or other closures to your chunky cardigan, you can transform it into a versatile and stylish garment that will keep you warm and cozy in the colder months.
Finishing touches and blocking your chunky cardigan
After completing all the knitting, it’s time to add those finishing touches to your chunky cardigan. Here are a few steps you can take to make sure your garment looks polished and professional:
- Weave in loose ends: Use a yarn needle to weave in any loose ends from changing colors or joining new skeins of yarn. Make sure to secure the ends firmly so that they don’t come loose with wear.
- Add buttons or closures: Depending on the style of your cardigan, you might want to add buttons, toggles, or other closures. Sew them securely onto the front of your cardigan, making sure that they align evenly with the buttonholes.
- Block your cardigan: Blocking is an important step in finishing your chunky cardigan. It helps to even out the stitches, relaxes the yarn, and gives your garment its final shape. To block your cardigan, follow these steps:
| 1. | Fill a sink or basin with lukewarm water and add a small amount of wool wash or gentle detergent. Submerge your cardigan in the water, gently squeezing out any air bubbles. |
| 2. | Let your cardigan soak for about 15-20 minutes, allowing the fibers to absorb the moisture. |
| 3. | Remove the cardigan from the water and gently squeeze out the excess water, taking care not to wring or twist the fabric. |
| 4. | Lay your cardigan flat on a clean towel or blocking mat, shaping it to the desired dimensions. Use rust-proof pins or blocking wires to secure the edges and any other areas that need shaping. |
| 5. | Leave your cardigan to dry completely, preferably in a well-ventilated area, away from direct sunlight or heat sources. |
Once your cardigan is completely dry, it’s ready to be worn or gifted to someone special. The blocking process will give your garment a more professional and polished look, showcasing the intricate stitch patterns and ensuring that it fits perfectly.
With these finishing touches, your chunky cardigan will be a cozy and stylish addition to your wardrobe. Enjoy the process of knitting and wearing your beautiful creation!