
Christmas is the most magical time of the year, and one of the highlights is decorating the Christmas tree. Adding a festive garland can really bring the tree to life and create a beautiful focal point in your home. If you’re a knitting enthusiast, why not try your hand at creating your own Christmas tree garland? With just a few simple steps and some basic knitting skills, you can create a unique and personalized garland that will add a touch of handmade charm to your holiday decorations.
To create a Christmas tree garland, you’ll need some festive yarn in your desired colors. Consider using traditional Christmas colors like red, green, and white, or get creative and mix it up with metallics or pastels. You’ll also need knitting needles in an appropriate size for your chosen yarn, as well as a pair of scissors and a tapestry needle for finishing touches.
Start by casting on the desired number of stitches for your garland. You can make it as long or as short as you like, depending on the size of your tree and your personal preference. Once you’ve cast on, begin knitting in your chosen stitch pattern. You may want to try a simple garter stitch for a classic look, or experiment with ribbing or lace patterns for something a bit more intricate.
Christmas Tree Garland Knitting Pattern – A Festive Decoration for the Holidays
The Christmas season is a time for celebration, joy, and creating a warm and welcoming atmosphere in our homes. One of the most beloved traditions during this special time is decorating the Christmas tree. And what better way to add a personal touch to your tree than with a beautiful handmade knitted garland? With its unique texture and intricate design, a knitted garland is a charming addition that brings warmth and cozy vibes to any holiday decor.
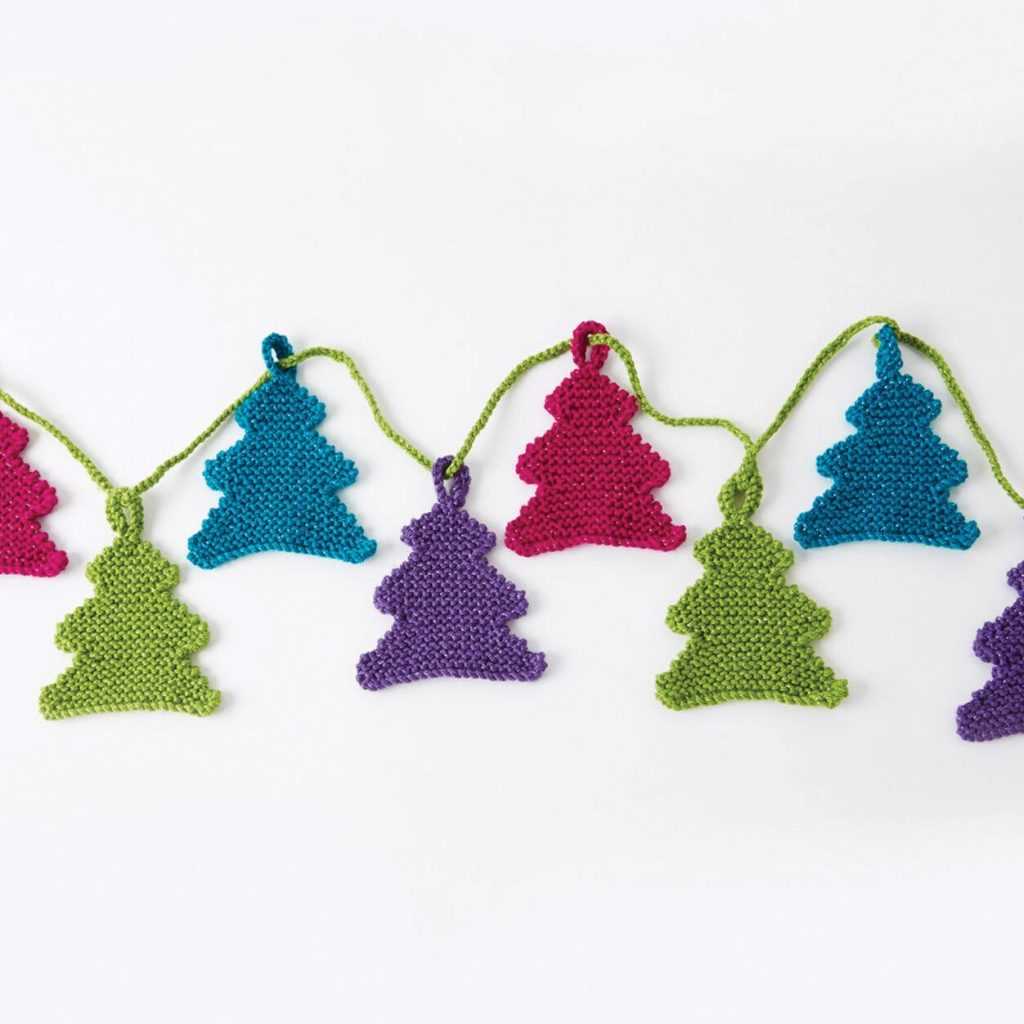
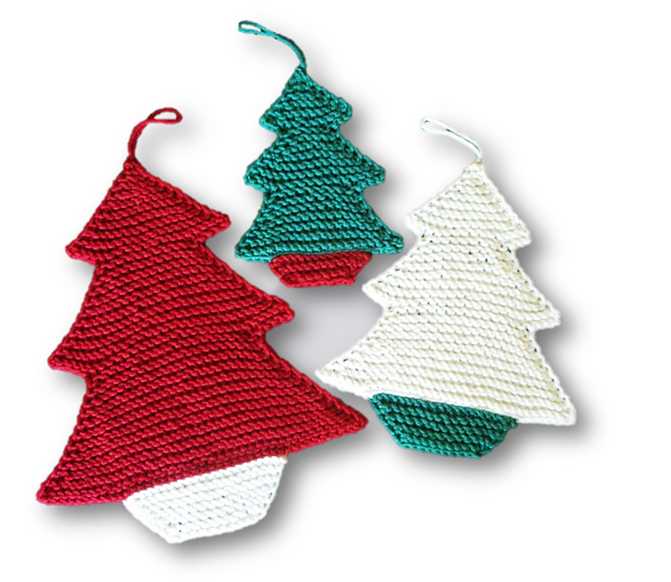
Creating a Christmas tree garland using knitting needles and colorful yarn is a fun and rewarding project that allows you to showcase your creativity and add a personal touch to your tree. Whether you prefer a traditional red and green color scheme, or want to experiment with different shades and patterns, the possibilities are endless. You can knit the garland in a single color for a minimalist look, or combine multiple colors to create a vibrant and eye-catching design.
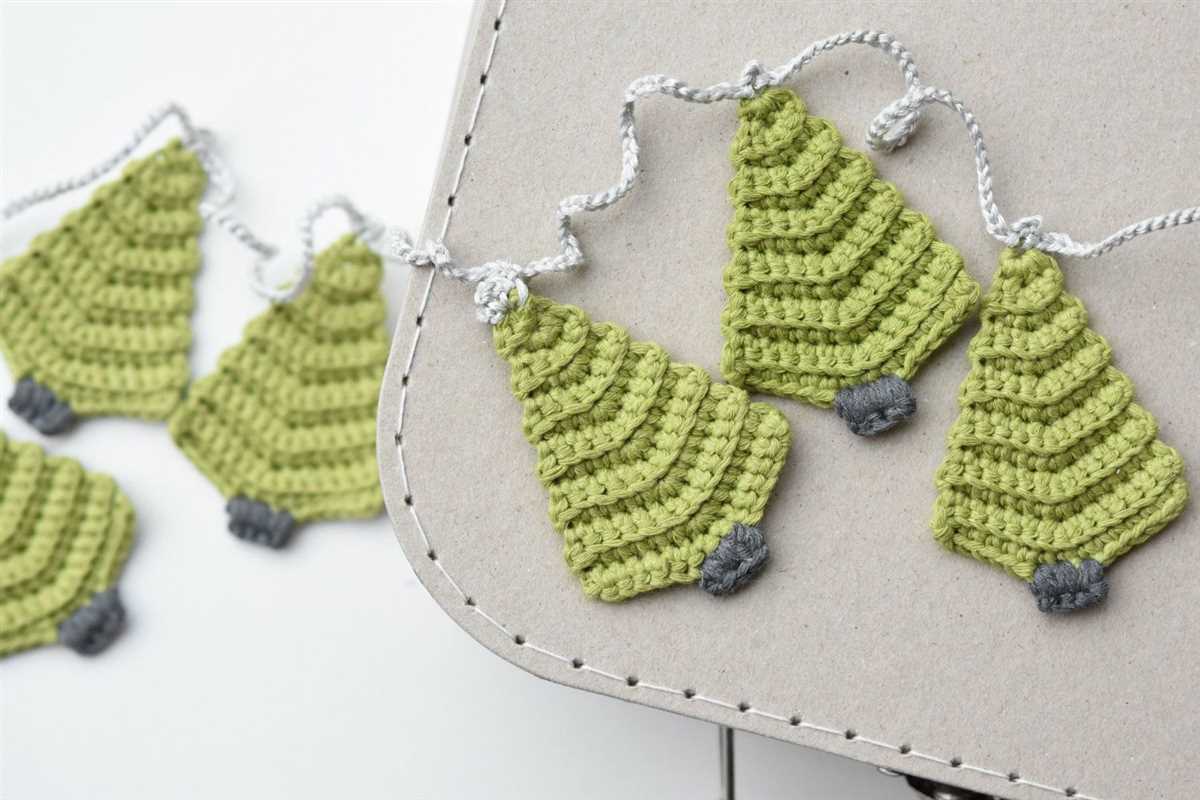
To make a knitted garland, you will need to follow a specific knitting pattern. This pattern will guide you through the process of creating the garland, including the types of stitches to use, the number of stitches to cast on, and the length of each individual piece. The pattern will also provide instructions for joining the pieces together to form a continuous garland that can be draped around the branches of your Christmas tree.
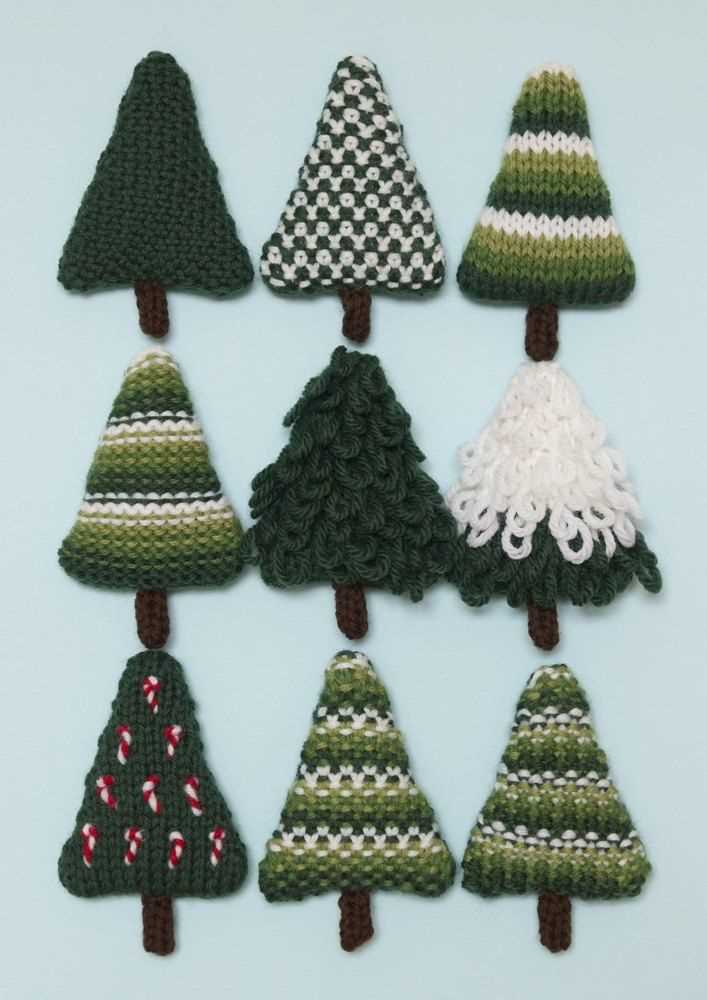
There are various types of patterns available, ranging from simple and beginner-friendly to more complex and intricate designs. Some patterns incorporate basic stitches such as knit and purl, while others might involve more advanced techniques like cables or lacework. Depending on your skill level and preference, you can choose a pattern that suits your knitting abilities and desired aesthetic for your Christmas tree garland.
Whether you are an experienced knitter or just starting out, knitting a Christmas tree garland can be a delightful project that brings a sense of accomplishment and festive cheer. By incorporating your own unique style and creativity into the design, you can create a garland that becomes a cherished part of your holiday traditions for years to come. So grab your knitting needles, choose your favorite yarn, and let the magic of knitting bring your Christmas tree to life!
Overview
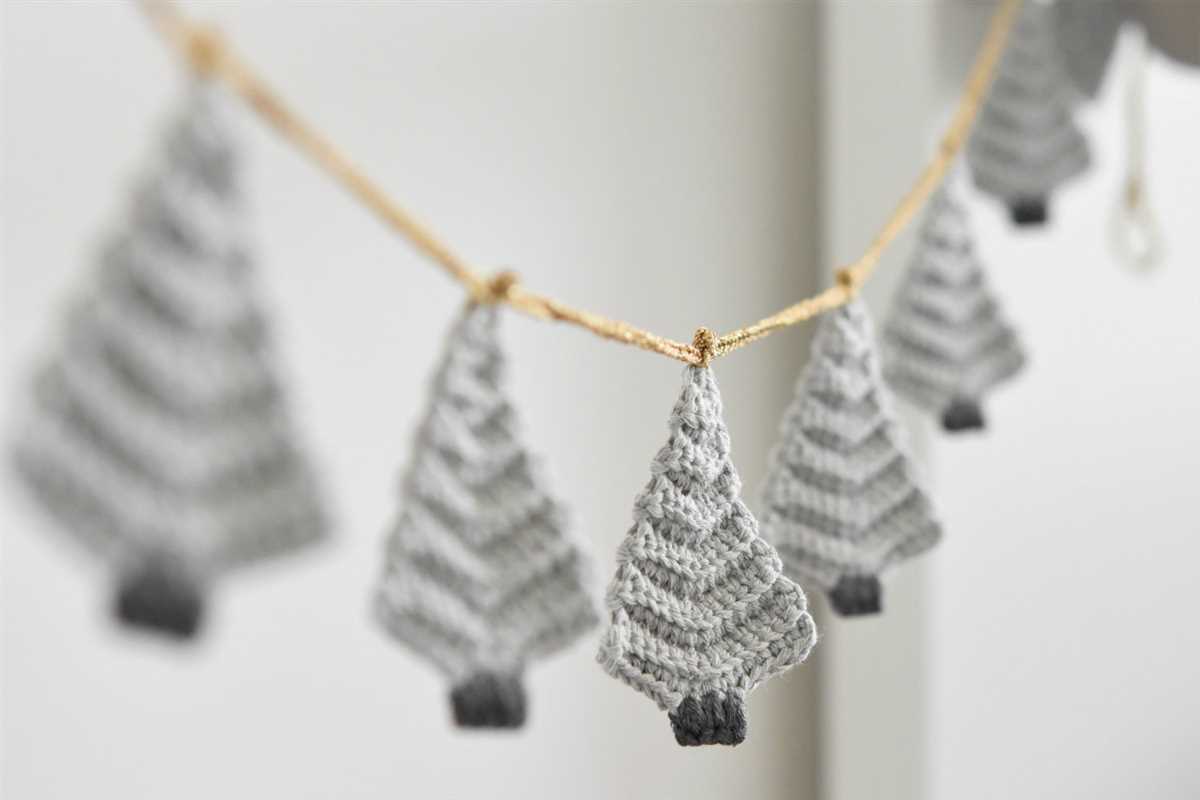
In the world of Christmas decorations, the Christmas tree garland is a staple. It is a string of decorative materials that is wrapped around the Christmas tree to add an extra festive touch. While there are many commercially available garlands, knitting your own garland can be a rewarding and creative project. In this knitting pattern, we will explore how to create a beautiful and unique Christmas tree garland.
The knitting pattern for the Christmas tree garland features a simple yet elegant design that can be customized to match your personal style and home decor. The pattern uses basic knitting stitches and techniques, making it suitable for knitters of all skill levels. Whether you are a beginner or an experienced knitter, this pattern provides a fun and enjoyable knitting project that can be completed in a relatively short amount of time.
Supplies Needed
In order to knit your own Christmas tree garland, you will need the following supplies:
1. Yarn
You will need a variety of yarn colors to create the garland. It is recommended to choose festive colors such as red, green, and gold. The yarn should be medium weight (worsted) and suitable for knitting needles size US 8-9 (5-5.5mm).
2. Knitting Needles
You will need a pair of knitting needles in size US 8-9 (5-5.5mm). These needles will be used to knit the garland and should be comfortable for you to hold and work with.
3. Scissors
Scissors are essential for cutting the yarn and trimming any excess. Make sure to have a sharp pair of scissors that will easily cut through the yarn.
4. Tapestry Needle
A tapestry needle will be used to weave in any loose ends and sew the different sections of the garland together. Choose a needle with a large eye that will easily accommodate the yarn.
5. Stitch Markers
Stitch markers are helpful for keeping track of your stitches and marking specific sections in the pattern. You can use store-bought stitch markers or make your own using small pieces of contrasting yarn or safety pins.
6. Optional Embellishments
If you want to add extra flair to your garland, you can consider adding decorations such as mini ornaments, bells, or ribbon. These embellishments can be easily attached to the knitted garland using a tapestry needle or small safety pins.
Once you have gathered all the necessary supplies, you will be ready to start knitting your Christmas tree garland. Follow the instructions in the knitting pattern and enjoy creating a festive and personalized decoration for your tree!
Choosing the Right Yarn

When it comes to knitting a Christmas tree garland, choosing the right yarn is essential to achieve the desired look and texture. The yarn you select will determine how well the garland holds its shape, its durability, and the overall aesthetic appeal. It’s important to consider various factors before making a decision.
1. Fiber Content: One of the first things to consider is the fiber content of the yarn. Synthetic fibers such as acrylic or nylon are great choices for garlands as they are durable and have good shape retention. On the other hand, if you prefer a more natural look and feel, consider yarns made from wool or cotton. They may require a bit more care, but can provide a cozy and rustic touch to your Christmas decor.
2. Weight and Thickness: The weight and thickness of the yarn will determine the size and feel of the garland. For a delicate and lightweight garland, opt for a fingering or sport weight yarn. If you prefer a chunkier and more substantial garland, go for a worsted or bulky weight yarn. Keep in mind that the weight and thickness will also affect the knitting gauge, so be sure to check the recommended gauge for the pattern.
3. Color and Texture: The color and texture of the yarn can greatly influence the overall look of the garland. Consider whether you want a traditional green garland or if you prefer a more unique color like silver or gold. You can also choose yarns with metallic threads or other embellishments for added sparkle. Additionally, consider the texture of the yarn – a smooth yarn will give a clean and polished look, while a textured yarn will add depth and interest to the garland.
4. Availability and Price: Finally, take into account the availability and price of the yarn. Some yarns may be more readily available in your local stores, while others may need to be ordered online. Consider your budget as well, as some yarns can be quite expensive. However, keep in mind that a high-quality yarn will often result in a more durable and beautiful garland in the long run.
By considering these factors, you’ll be able to choose the right yarn for your Christmas tree garland knitting project and create a piece that perfectly complements your holiday decor.
Basic Knitting Techniques
Knitting is a popular craft that allows you to create beautiful and functional items using just some yarn and needles. Whether you’re a beginner or an experienced knitter, mastering the basic techniques is essential. Here are a few fundamental knitting techniques that every knitter should know:
Casting On
Casting on is the first step in starting any knitting project. It creates the foundation row of stitches on your needle. There are several ways to cast on, but the long tail cast on is one of the most common methods. To perform this cast on, you will need to measure a long tail of yarn and create a slipknot at one end. Then, you will use the slipknot to make the first stitch on your needle.
Knit Stitch
The knit stitch is the most basic stitch in knitting. It creates a smooth, “V” shaped fabric. To knit, you will insert the needle into the first stitch on the left-hand needle from front to back. Then, you will wrap the yarn around the right-hand needle and pull it through the stitch, creating a new stitch on the right-hand needle. Repeat this process until all the stitches have been transferred from the left-hand needle to the right-hand needle.
Purl Stitch
The purl stitch is another basic stitch in knitting. It creates a bumpy, textured fabric. To purl, you will insert the needle into the first stitch on the left-hand needle from back to front. Then, you will wrap the yarn around the right-hand needle and pull it through the stitch, creating a new stitch on the right-hand needle. Repeat this process until all the stitches have been transferred from the left-hand needle to the right-hand needle.
Binding Off
Binding off is the final step in completing a knitting project. It creates a finished edge and secures the stitches in place. To bind off, you will knit the first two stitches on the left-hand needle. Then, you will insert the left-hand needle into the first stitch on the right-hand needle and lift it over the second stitch and off the needle. Repeat this process until only one stitch remains on the right-hand needle. Cut the yarn, leaving a tail, and pull it through the last stitch to secure.
Increasing and Decreasing
Increasing and decreasing stitches are techniques used to shape your knitting. There are various methods for increasing and decreasing, such as yarn overs, knit two together, and slip slip knit. These techniques allow you to add or remove stitches to create shaping, such as in sleeves, necklines, or decorative patterns.
Mastering these basic knitting techniques will give you a solid foundation for tackling more complex patterns and projects. With practice and patience, you can create beautiful garments, accessories, and home decorations with your knitting skills.
Knitting the Garland
Knitting your own garland for the Christmas tree is a fun and creative project that can add a personal touch to your holiday decorations. With a few simple materials and a basic knitting pattern, you can create a beautiful and festive garland that will be the perfect finishing touch for your tree.
To start knitting the garland, you will need a pair of knitting needles and some yarn in the color of your choice. You can choose a traditional Christmas color like red or green, or get creative with a combination of different colors. You can also add some sparkle to your garland by using yarn with metallic or glitter threads.
Once you have your materials ready, you can begin knitting the garland. The pattern for the garland is simple and repetitive, making it a great project for beginner knitters. You can use either a straight knitting needle or a circular needle, depending on your preference.
To start, cast on the desired number of stitches, depending on how long you want your garland to be. It’s a good idea to make a sample swatch before you start the actual garland to ensure that the tension and gauge are correct. Then, follow the knitting pattern, which usually involves knitting each row and repeating a set sequence of stitches.
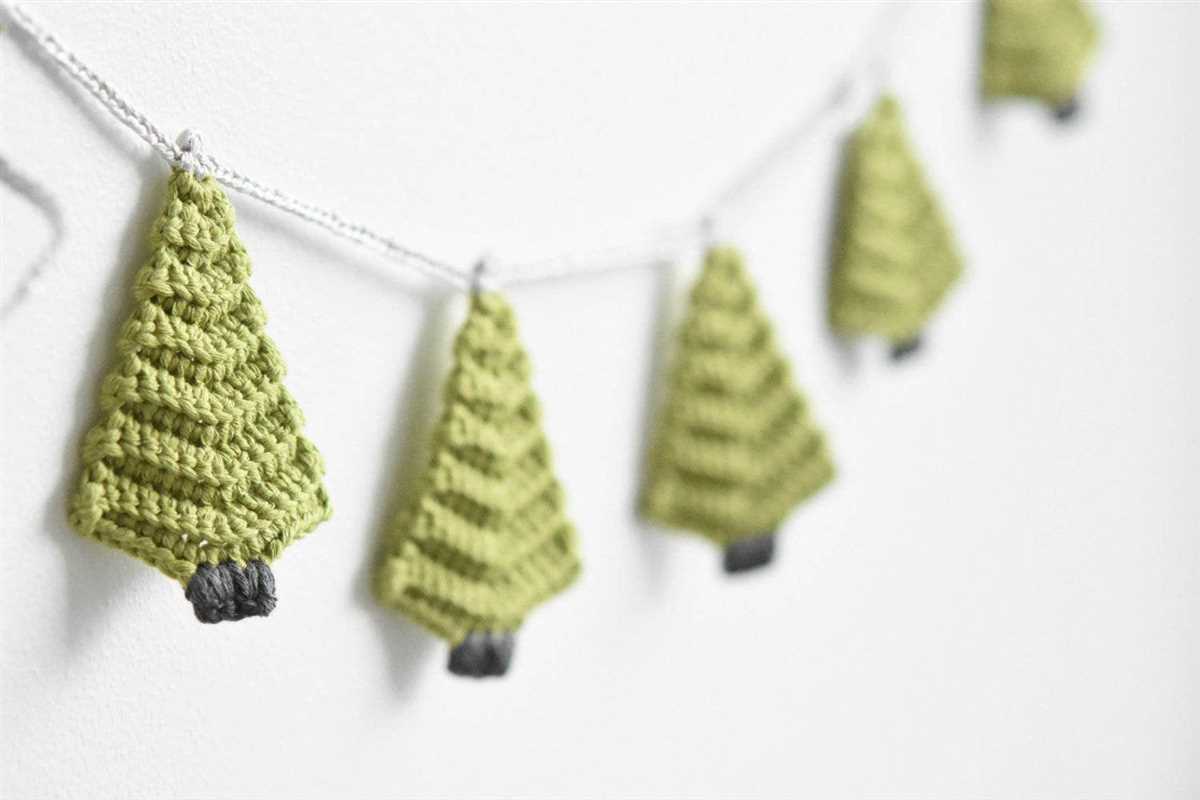
As you knit, you will see the garland start to take shape. You can adjust the length by adding or removing rows as needed. Once you have finished knitting the garland, you can bind off the stitches and weave in the loose ends. If you want to add some extra flair, you can also attach small decorations or beads onto the garland.
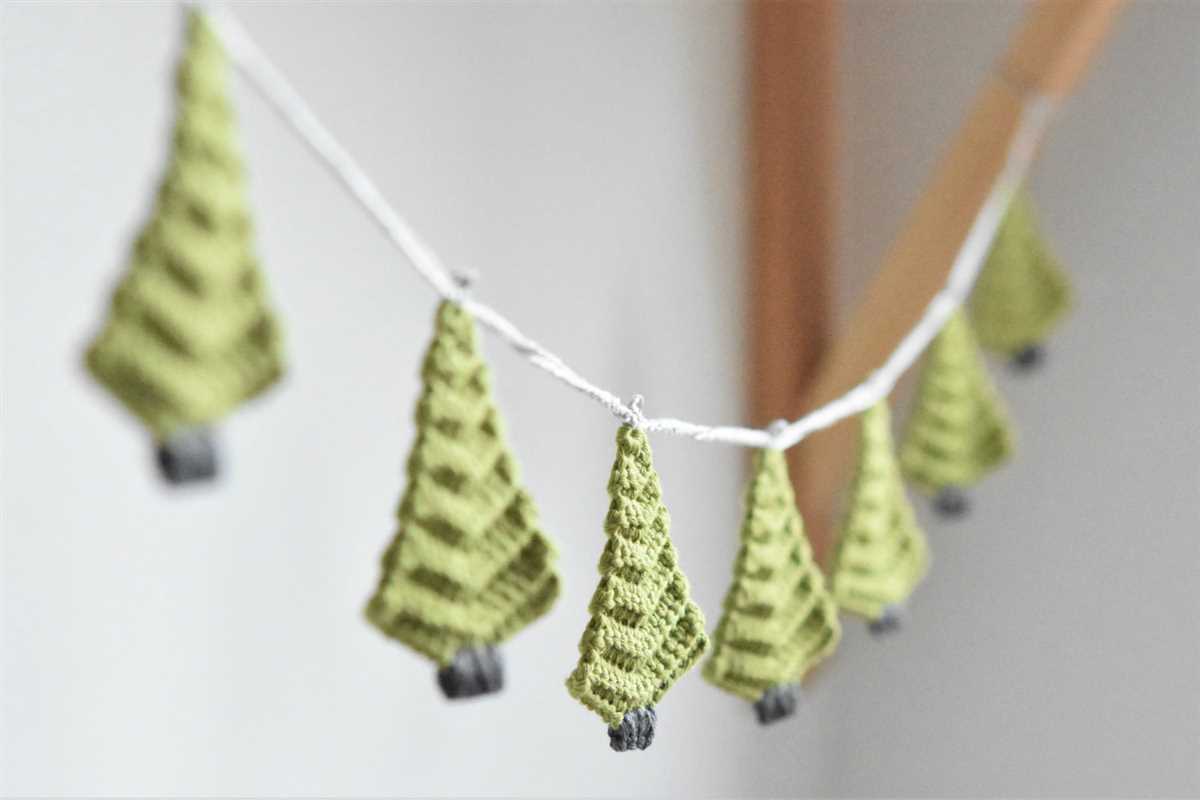
Once your garland is complete, you can drape it around your Christmas tree, hang it on the mantel, or use it to decorate other areas of your home. Knitting your own garland not only allows you to customize the color and style, but it also adds a personal touch to your holiday decor. Whether you are an experienced knitter or just starting out, knitting a Christmas tree garland is a fun and rewarding project that will make your holiday season even more special.
Adding Decorative Elements
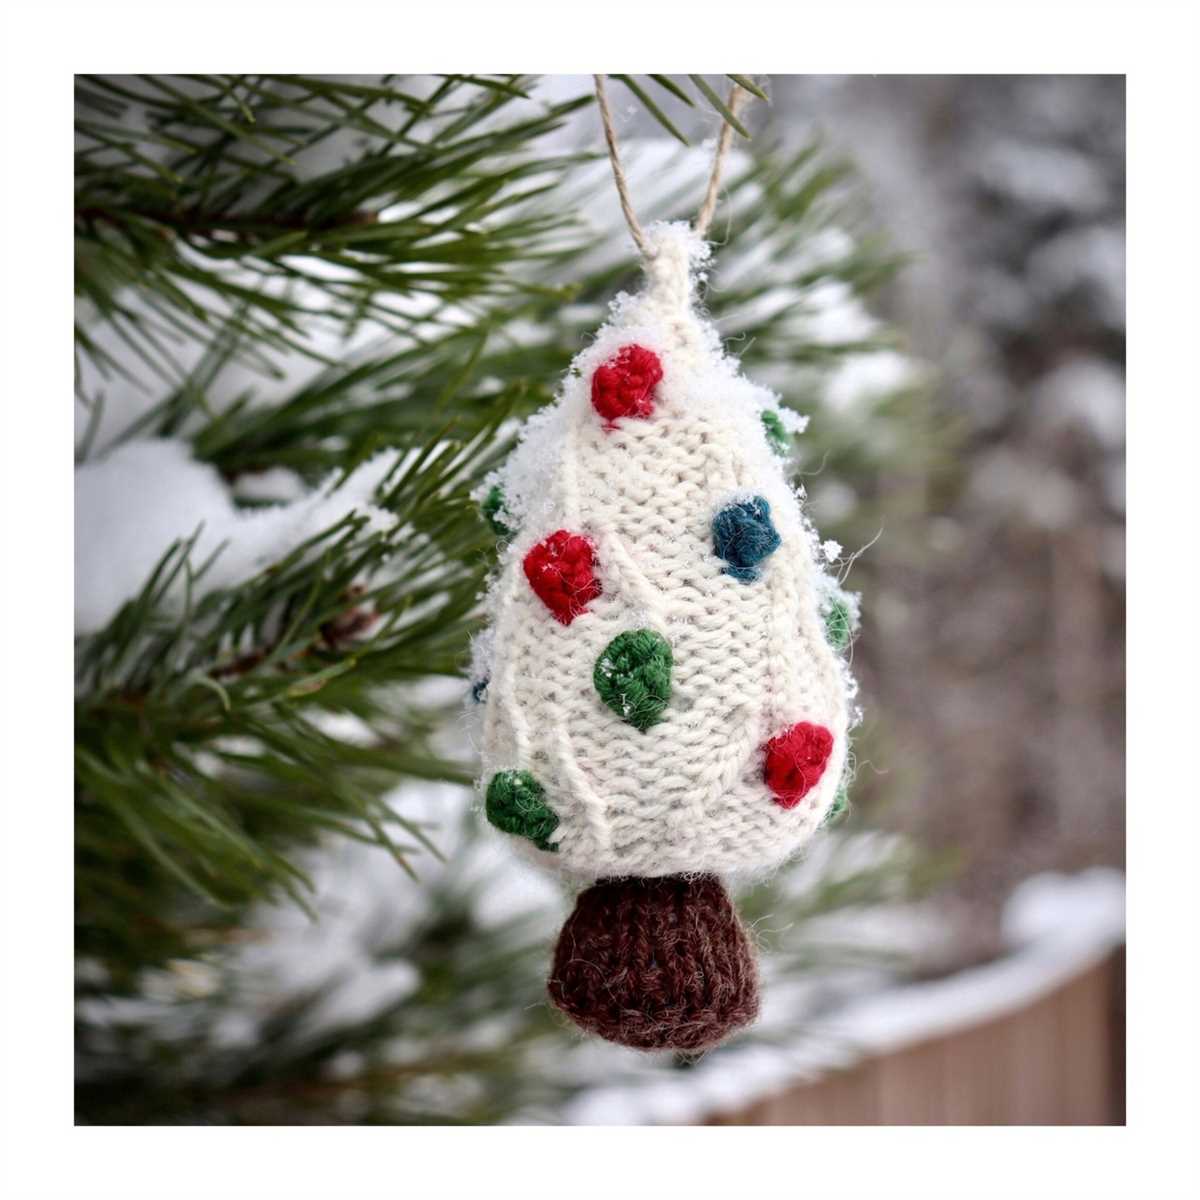
When knitting a Christmas tree garland, adding decorative elements can enhance its festive look. One popular option is incorporating mini ornaments into the design. These can be knitted separately and attached to the garland using a needle and thread. The ornaments can be made in various shapes and colors to match the overall theme of the garland.
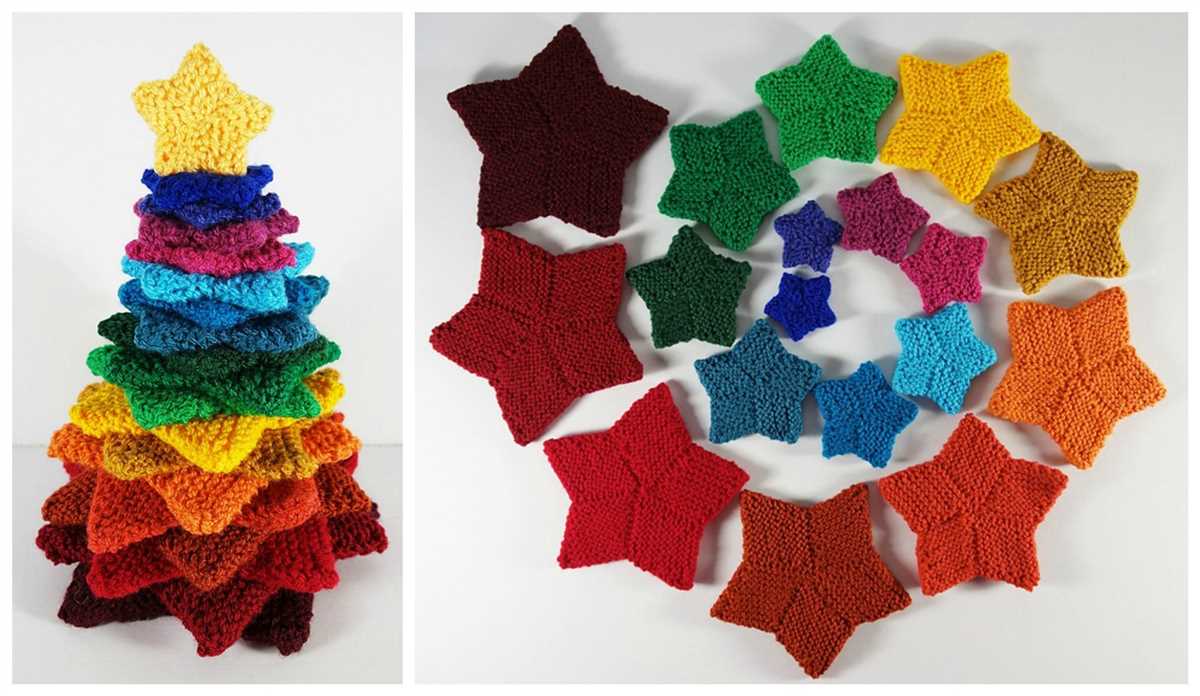
Another way to add decorative elements is by incorporating beads or sequins into the knitting pattern. These small embellishments can be added at regular intervals, creating a sparkling effect when the garland catches the light. Alternatively, they can be used to create patterns or designs, such as snowflakes or stars, to give the garland a unique and personalized touch.
Mini Ornaments:
- Knit mini stockings using different colors and patterns.
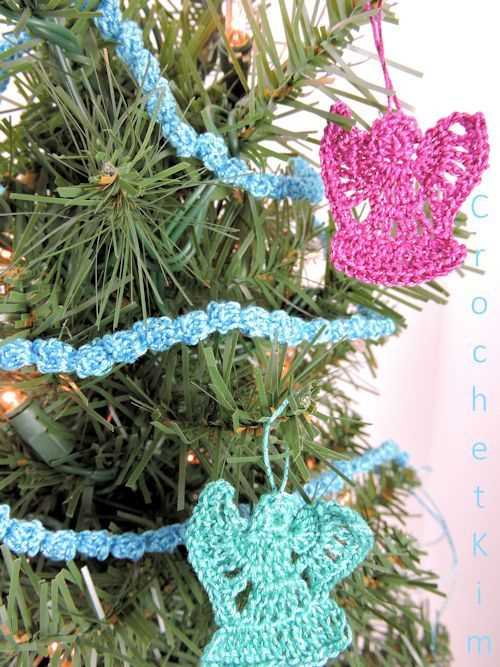
- Create tiny snowflakes using a delicate lace stitch pattern.
- Make small mittens or hats to add a cozy winter touch.
- Knit tiny gift boxes or presents to mimic a Christmas tree scene.
Beads or Sequins:
- Choose beads or sequins in festive colors, such as gold or silver.
- Thread them onto the yarn before knitting to incorporate them seamlessly.
- Add them to create rows, stripes, or individual accents throughout the garland.
- Experiment with different sizes and shapes to create unique patterns and textures.
By adding these decorative elements, the Christmas tree garland becomes more than just a plain knitted strip. It transforms into a festive and eye-catching decoration that will bring holiday cheer to any room.
Alternative Patterns and Designs
If you’re looking to create a unique and eye-catching Christmas tree garland, there are plenty of alternative patterns and designs available that will add a special touch to your holiday decor. Whether you prefer a modern or traditional look, there are options for everyone.
1. Chunky Knit Garland: For a cozy and rustic feel, consider using chunky yarn and oversized knitting needles to create a garland with a textured look. This style works particularly well with a neutral color palette and can be easily customized to match your existing Christmas decorations.
2. Beaded Garland: Add a touch of elegance to your tree with a beaded garland. Use a mix of different bead sizes and colors to create a unique and eye-catching design. Consider incorporating metallic or iridescent beads for a festive sparkle.
3. Pom Pom Garland: Create a fun and playful garland by making pom poms in various colors and sizes. String them on a yarn or twine to create a garland that adds a whimsical touch to your Christmas tree. This is a great project to get the kids involved in, as they can help with making the pom poms.
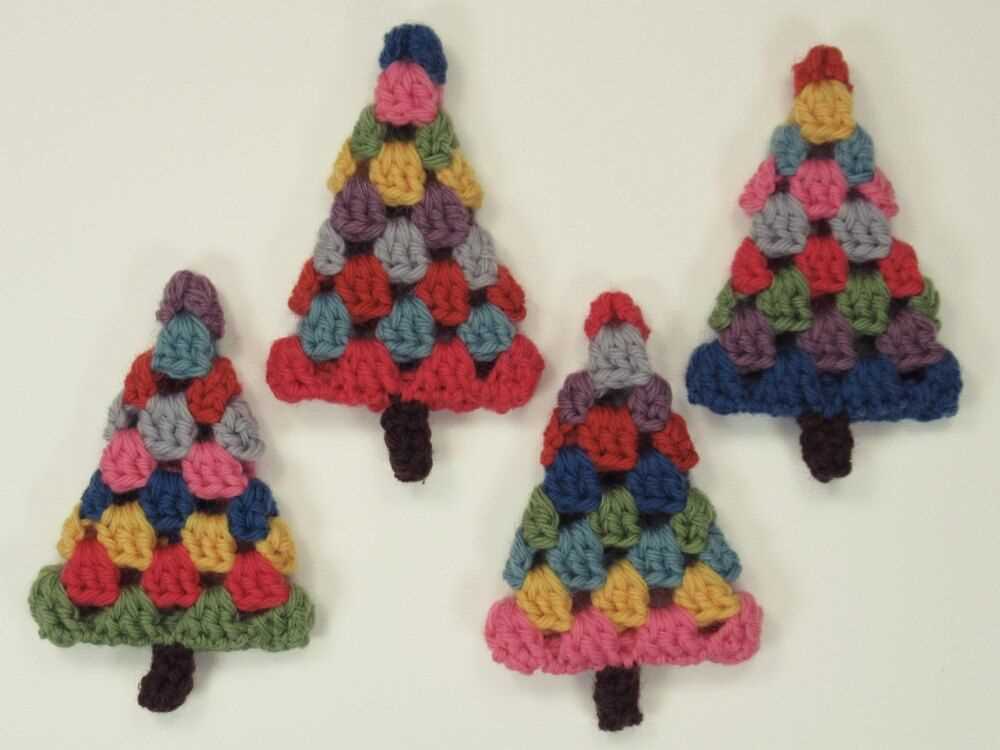
4. Crochet Garland: If you prefer crochet over knitting, there are plenty of crochet patterns available for Christmas tree garlands. From simple chains to intricate snowflakes or stars, the options are endless. Consider using metallic or glittery yarn to add a festive touch to your crochet garland.
5. Felt Garland: For a DIY project that doesn’t involve knitting or crochet, consider making a felt garland. Cut out different shapes, such as gingerbread men, stars, or Christmas trees, and sew them onto a ribbon or string. This is a great option for those who prefer a more crafty or handmade look.
6. Ribbon Garland: If you’re looking for a quick and easy garland option, ribbon garlands are a great choice. Simply cut lengths of ribbon in different colors and patterns, and tie them onto a string or ribbon. This is a versatile option that allows you to easily customize the look and feel of your garland.
Tips and Tricks for a Professional Finish
When knitting a Christmas tree garland, achieving a professional finish is essential to make your project stand out. Here are some tips and tricks to help you achieve that polished look.
1. Use high-quality yarn:
Using a high-quality yarn can make a significant difference in the final appearance of your garland. Opt for yarns specifically designed for knitting garments or accessories, as they tend to have a smoother texture and better stitch definition.
2. Choose the right needle size:

The size of the needles you use can also impact the finished result. Consider the yarn weight and the desired tension when selecting the needle size. Using needles that are too large may result in a loose and uneven finish, while using needles that are too small can make the fabric too tight and stiff.
3. Pay attention to tension:
Consistent tension is essential for achieving a professional finish. Make sure to maintain an even tension throughout your knitting. Avoid pulling the yarn too tightly or leaving it too loose, as it can affect the overall appearance of your stitches.
4. Block your finished piece:

Blocking is a crucial step in giving your garland a polished look. It involves wetting or steaming your knitted piece to even out the stitches and help it hold its shape. Follow the blocking instructions specific to your chosen yarn to ensure the best results.
5. Weave in loose ends:
When you finish knitting your garland, don’t forget to weave in any loose ends. Use a tapestry needle to carefully thread the yarn through the stitches on the wrong side of your project to secure them. This will give your garland a neat and tidy finish.
By following these tips and tricks, you can ensure that your Christmas tree garland has a professional finish that will impress all who see it. So pick up your needles and start creating a beautiful holiday decoration!
Showcasing Your Creation
Now that you have successfully completed your Christmas tree garland knitting pattern, it’s time to show off your creation! Here are a few ideas on how you can showcase your beautiful garland:
- On the Christmas Tree: The most obvious place to display your garland is on the Christmas tree itself. Wrap it around the branches, making sure to spread it out evenly for a stunning effect.
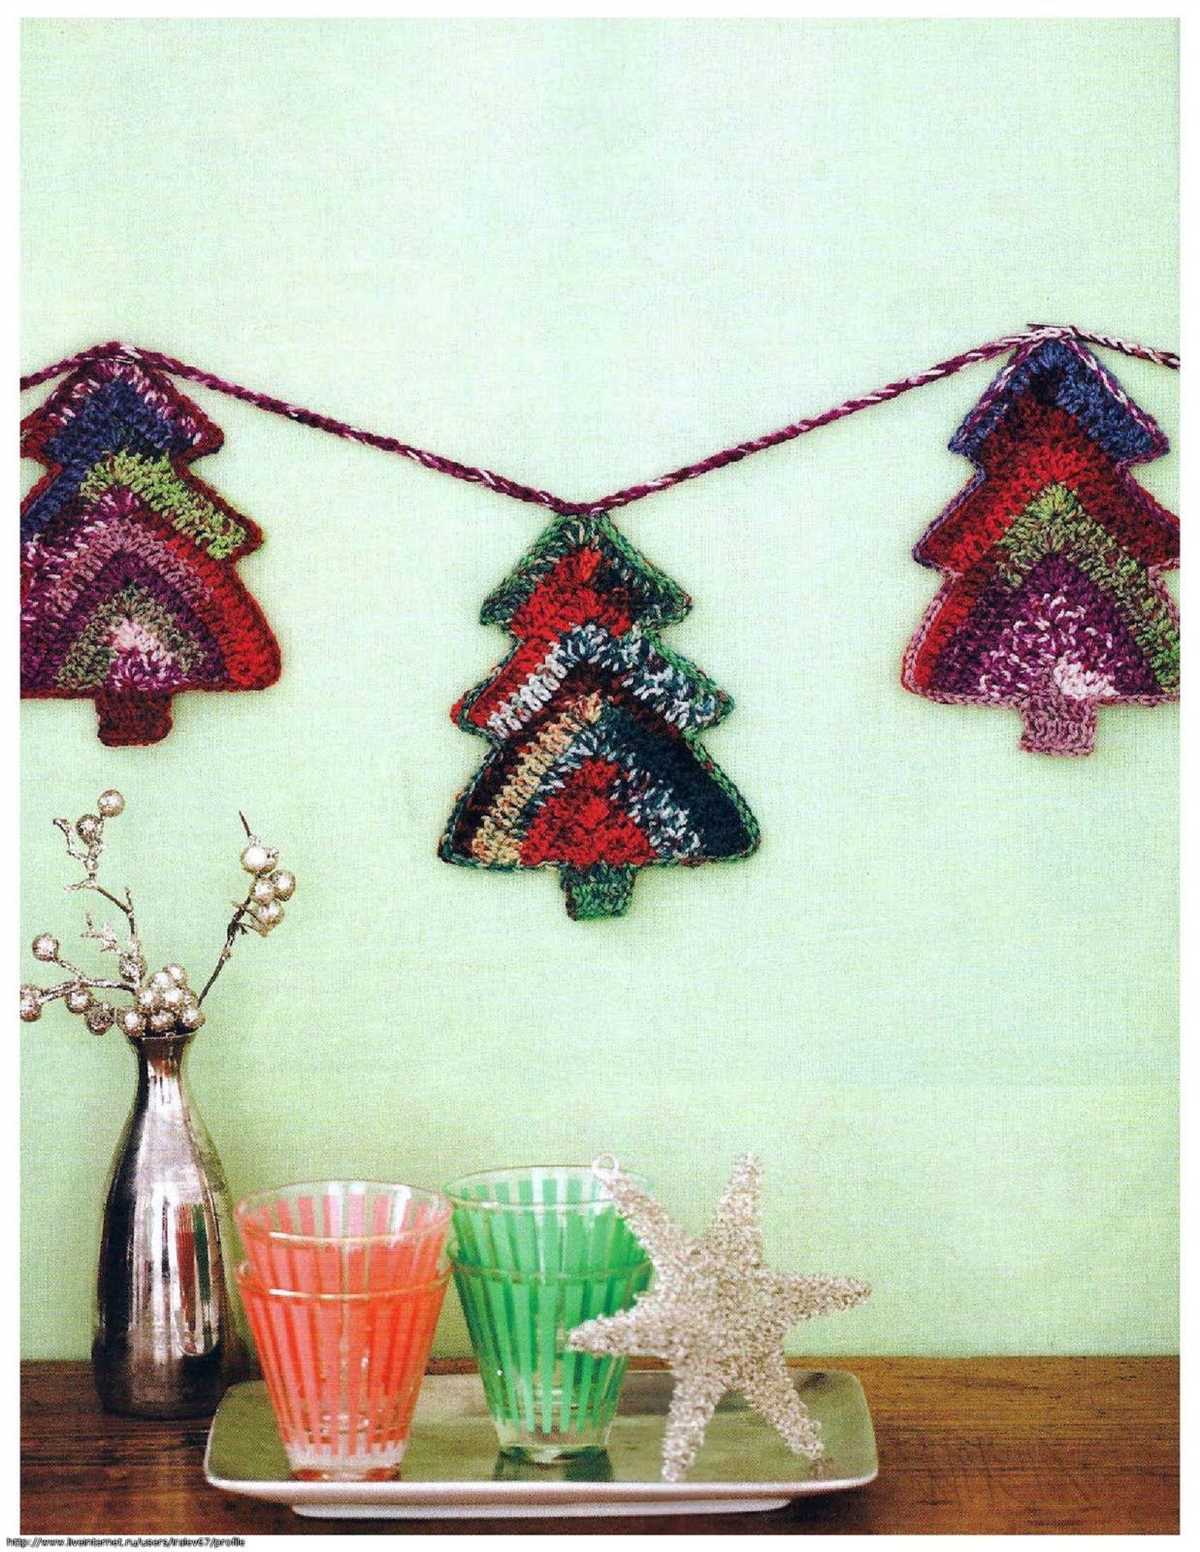
- As a Decorative Banner: If you have a mantle or a wall that needs some festive decoration, you can hang your garland as a decorative banner. Simply attach it to a string or ribbon and hang it up for everyone to admire.
- As Table Decor: If you’re hosting a holiday gathering, why not use your garland as a centerpiece? Place it along the center of your dining table, weaving it through candles or other holiday decor for an enchanting touch.
- As Window Decoration: If you want to spread some holiday cheer to the outside world, hang your garland in a window. The natural light will beautifully showcase the knitted stitches and create a cozy atmosphere.
No matter how you choose to display your Christmas tree garland, be sure to take a moment to appreciate the time and effort you put into creating it. Your handmade decoration will surely be a conversation starter and a cherished part of your holiday traditions.
So go ahead, display your garland with pride and let the festive spirit shine!