
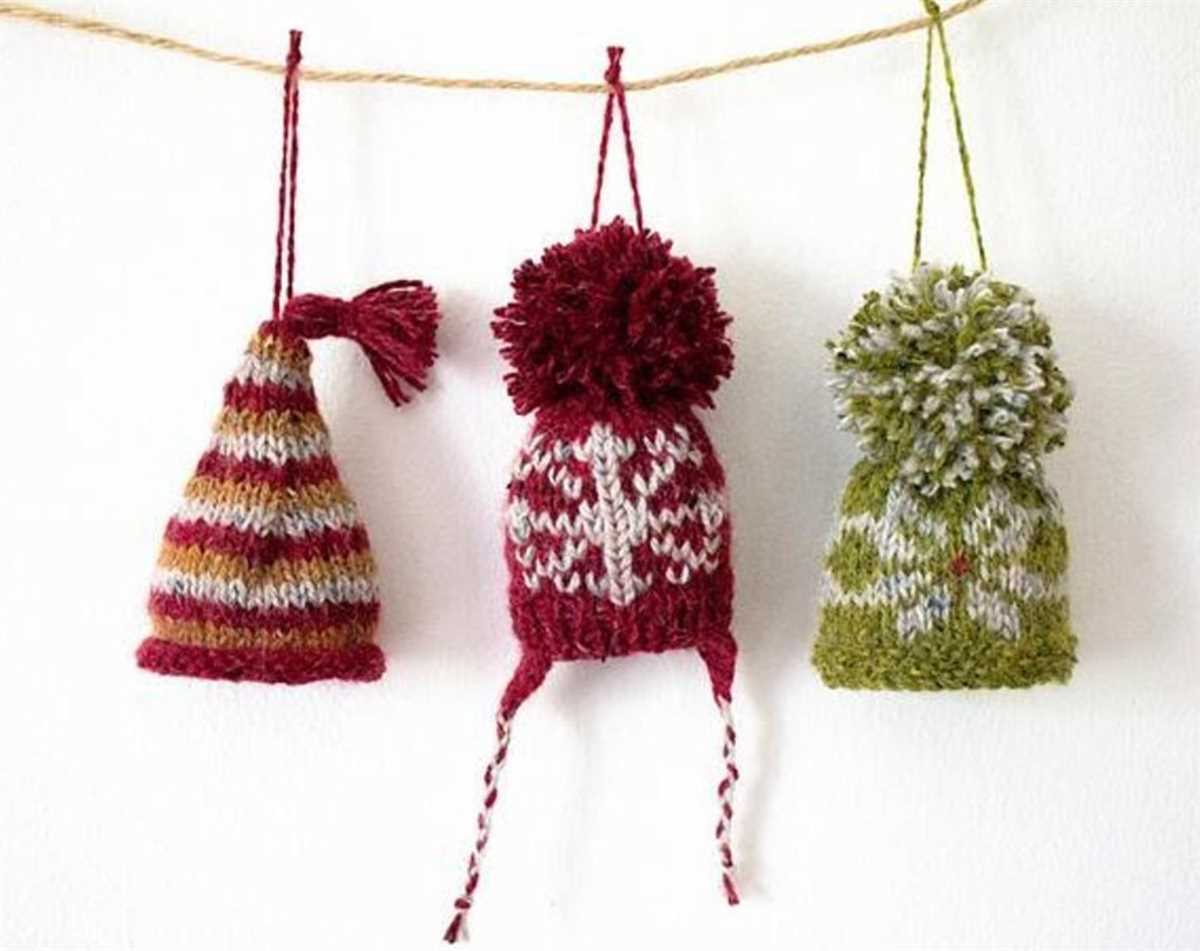
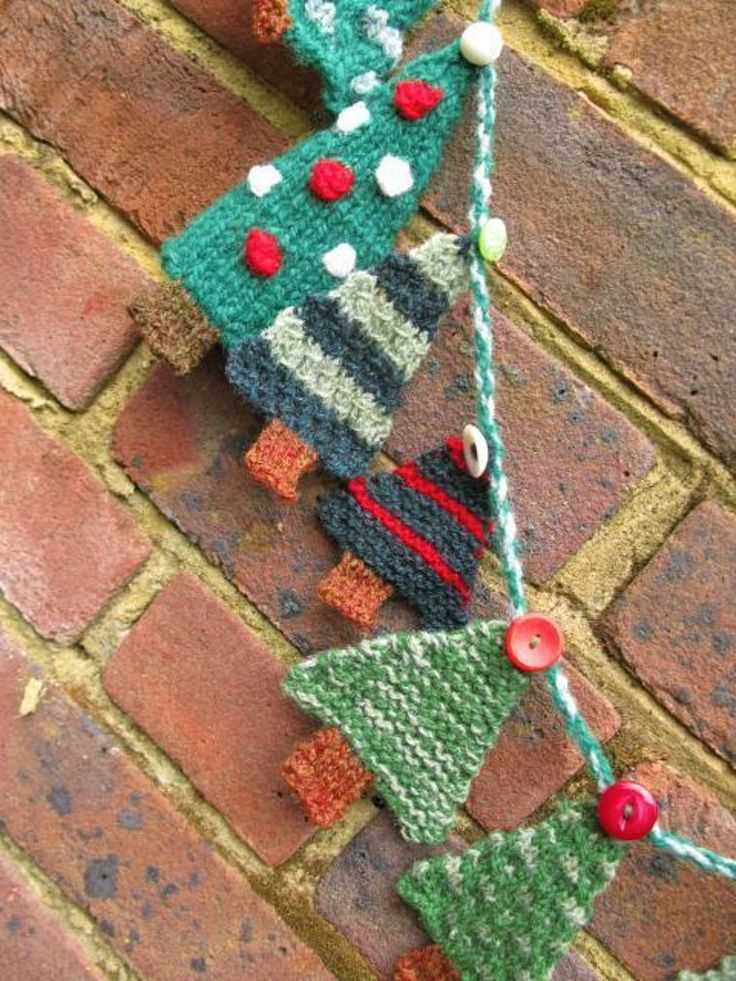
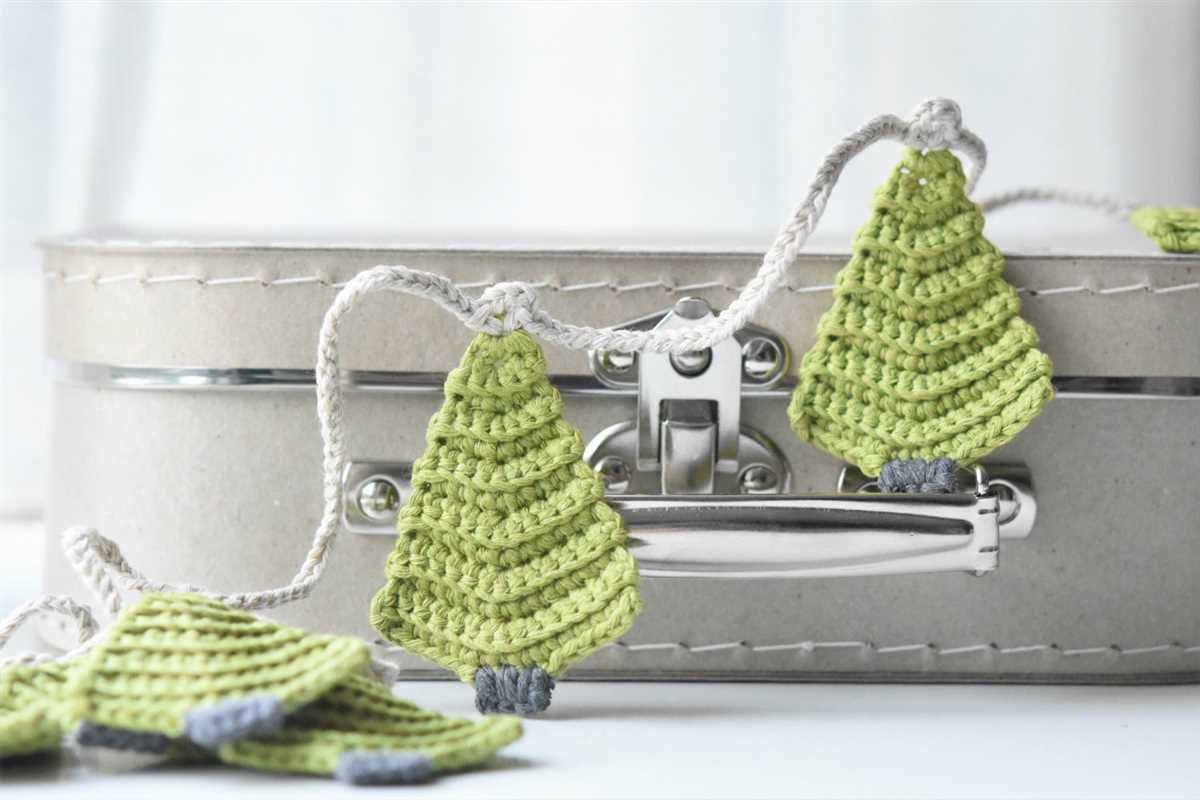
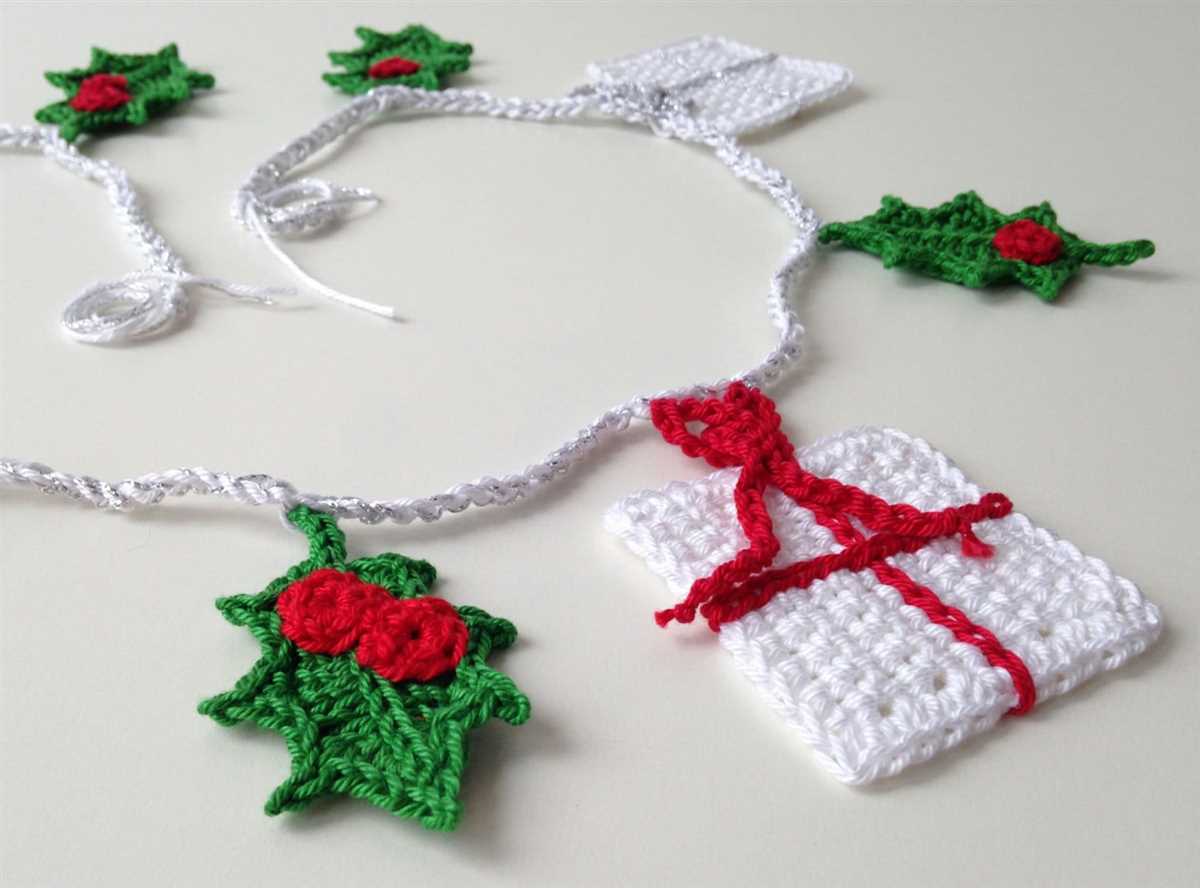
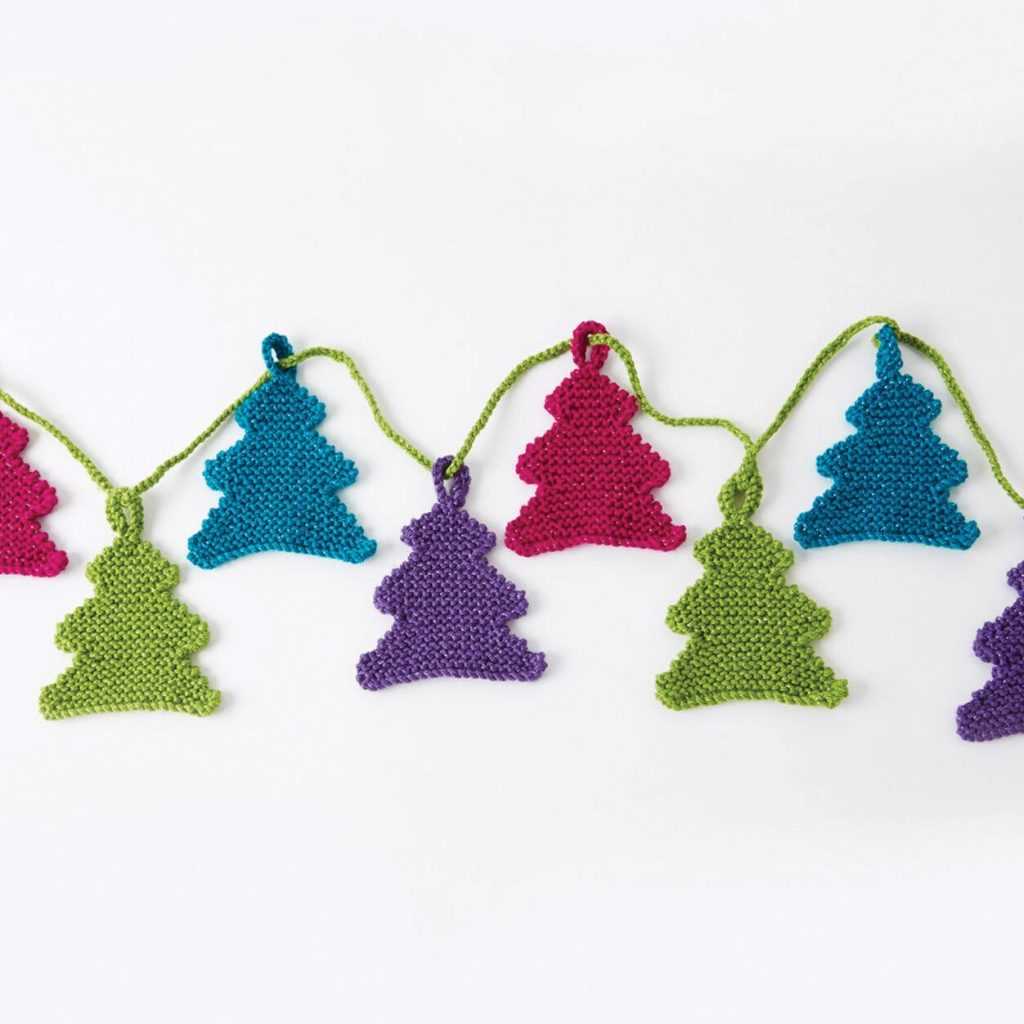
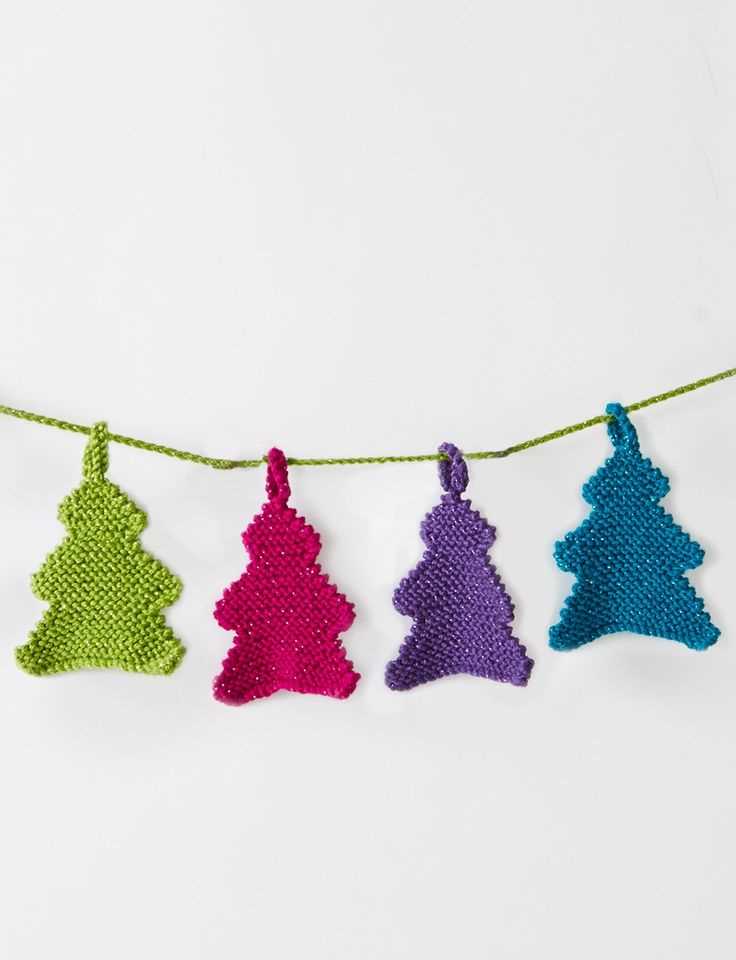
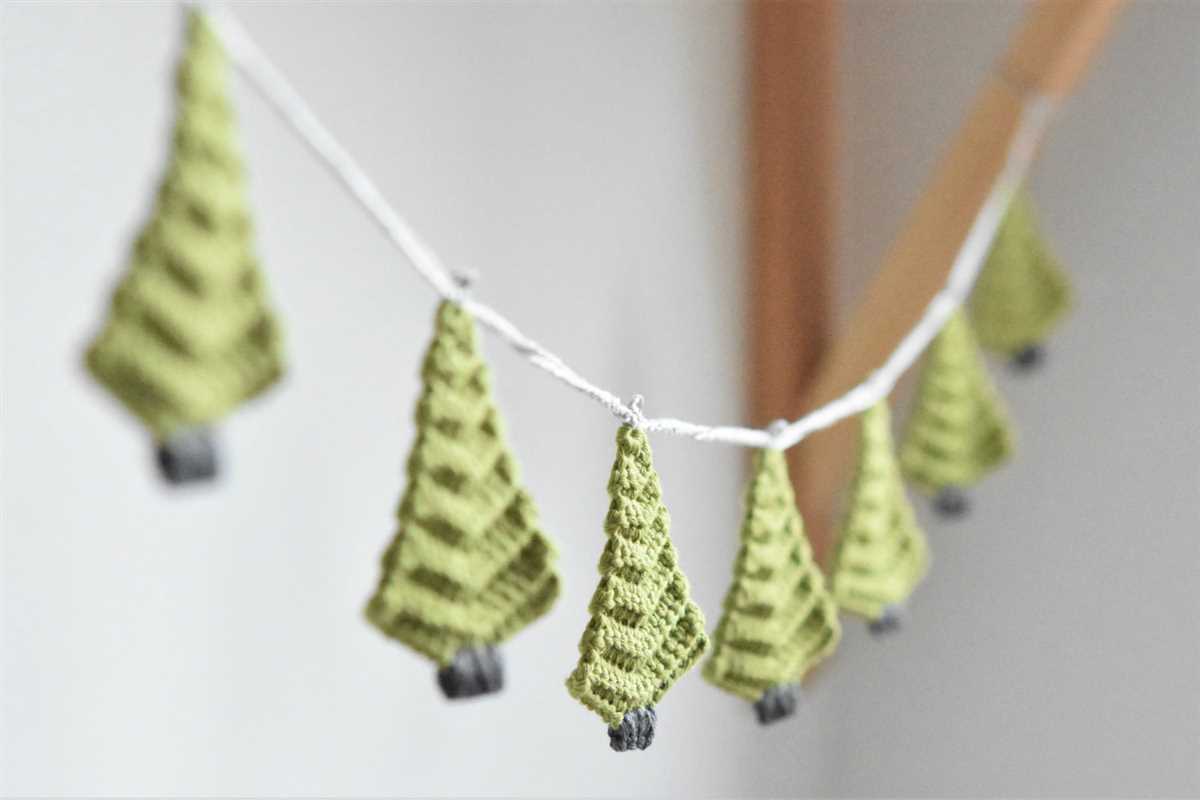
Christmas is a time of joy, warmth, and decorations. And what better way to add some festive cheer to your home than with a handmade Christmas garland? Knitting your own garland allows you to add a personal touch to your holiday decor, while also indulging in a relaxing and creative activity. Whether you are an experienced knitter or just starting out, this Christmas garland knitting pattern is perfect for all skill levels.
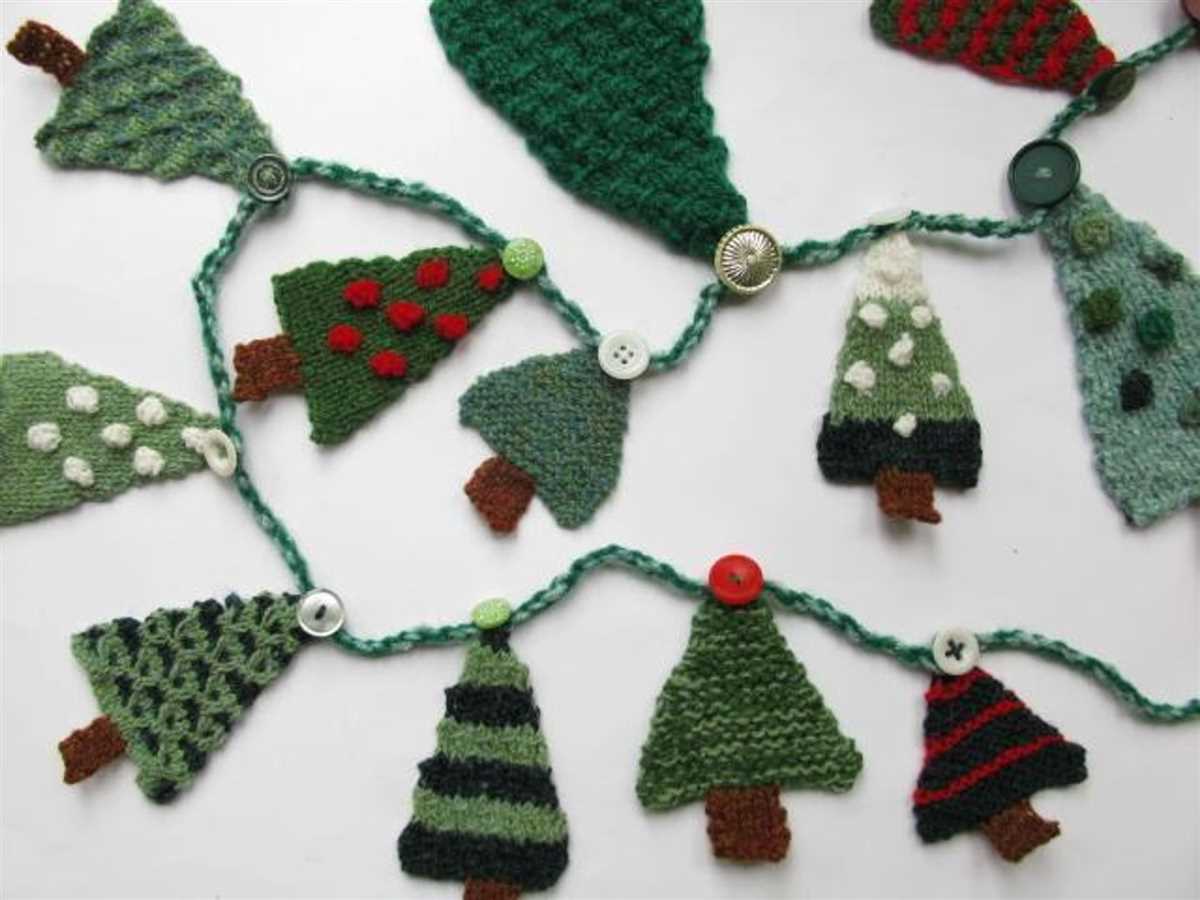
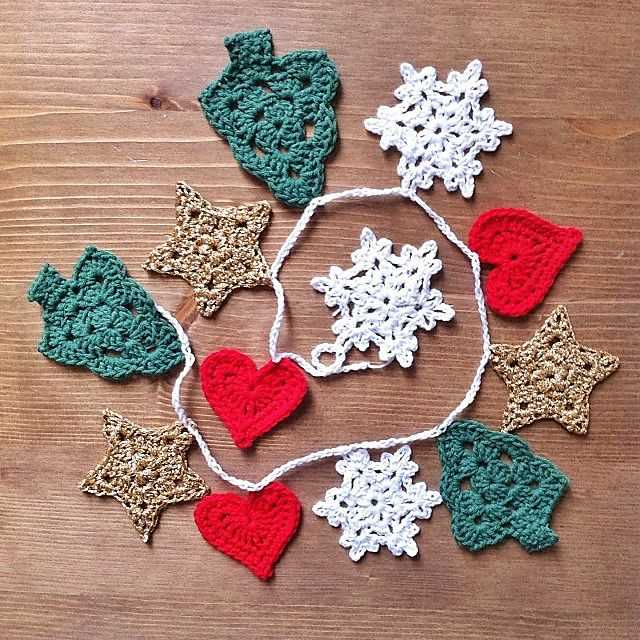
This garland pattern features a variety of classic Christmas motifs, including candy canes, mittens, and snowflakes. The pattern is designed to be easily customizable, so you can choose your favorite motifs and arrange them in any order you like. You can also experiment with different colors and yarn types to create a unique and personalized garland that matches your home decor.
Not only is this Christmas garland a beautiful addition to your holiday decorations, but it also makes for a thoughtful and heartfelt gift. Imagine the joy on your loved ones’ faces when they receive a handmade garland that you took the time and effort to create just for them. This garland can be hung on the Christmas tree, draped on the fireplace mantel, or used to adorn any other area of your home that needs a festive touch.
Christmas Garland Knitting Pattern
Christmas garlands are a festive and fun way to decorate your home during the holiday season. Knitting your own Christmas garland allows you to add a personal touch to your decorations and can be a enjoyable project to work on during the colder months. With this knitting pattern, you can create a beautiful garland that will add charm and warmth to any space.
Materials:
- Size 6 knitting needles
- Worsted weight yarn in various Christmas colors
- Tapestry needle
- Scissors
Instructions:
- Choose the colors of yarn you want to use for your garland. You can go for traditional Christmas colors like red, green, and white, or get creative with different shades and textures.
- Cast on 20 stitches using your first color of yarn.
- Knit every stitch for 5 rows to create a garter stitch.
- Switch to your next color of yarn and knit every stitch for 5 rows.
- Repeat steps 3 and 4 for each color of yarn you want to use.
- Once you have reached your desired length, bind off all stitches.
- Weave in any loose ends using a tapestry needle.
- Your Christmas garland is now ready to be displayed! Hang it on your mantle, staircase, or around your Christmas tree for a cozy and festive touch.
With this simple knitting pattern, you can create a gorgeous Christmas garland that will bring joy and holiday spirit to your home. Get creative with colors and patterns to make it your own, and enjoy the process of knitting during the holiday season.
Materials Needed
In order to create your own Christmas garland using this knitting pattern, you will need the following materials:
- Yarn: Choose a variety of colors and textures to create a festive and eye-catching garland. For best results, use a medium-weight yarn.
- Knitting Needles: Use knitting needles in the appropriate size for your yarn. Typically, a size US 7 or 8 (4.5 or 5 mm) needle works well with medium-weight yarn.
- Tape Measure: This will come in handy for measuring the length of your garland as you progress.
- Scissors: You will need scissors to cut the yarn and finish off your garland.
- Tapestry Needle: A tapestry needle with a large eye will be useful for weaving in ends and adding any decorative elements to your garland.
With these materials on hand, you’ll be well-equipped to bring some holiday cheer to your home with a homemade Christmas garland. Gather your supplies and get ready to knit!
Choosing Your Yarn
When it comes to knitting a Christmas garland, choosing the right yarn is essential. The right yarn can make all the difference in the final look and feel of your garland. There are a few factors to consider when selecting your yarn.
Fiber: The type of fiber you choose for your garland will determine its durability and appearance. Many knitters prefer using acrylic yarn for Christmas garlands due to its affordability and easy maintenance. However, if you want a more luxurious and soft feel, you might consider using a yarn made from natural fibers like wool or cotton.
Weight: The weight of the yarn will impact the final size and density of your garland. Lighter weight yarns, such as lace or fingering weight, will create a delicate and airy garland, while heavier weight yarns, like worsted or bulky, will result in a more substantial and cozy garland.
Color: The color choice is a matter of personal preference and should reflect your desired holiday aesthetic. Classic Christmas colors such as red, green, and white are popular choices, but you can also get creative and experiment with different color combinations to match your holiday decor.
Texture: The texture of the yarn can add visual interest to your garland. You can choose a smooth yarn for a clean and polished look, or opt for a textured or novelty yarn for a more whimsical and festive feel. Consider how the texture will complement the overall design of your garland.
By taking these factors into consideration, you can find the perfect yarn for your Christmas garland knitting project. Whether you’re going for a traditional or modern look, the right yarn will help you create a beautiful and unique garland that will make your holiday decorations stand out.
Selecting Your Needles
When it comes to knitting Christmas garlands, selecting the right needles is essential. The type and size of needles you choose will affect the overall look and feel of your garland. There are several factors to consider when selecting your needles, including the type of yarn you’ll be using, the desired thickness of your garland, and your personal knitting style.
Type of Needles: There are two main types of knitting needles: straight needles and circular needles. Straight needles are long and have a pointed end on one side and a stopper on the other. Circular needles have two pointed ends connected by a flexible cable. For knitting garlands, either type of needle can be used, but circular needles are often preferred as they allow for knitting in the round, which is common for garlands.
Size of Needles: The size of needles you choose will depend on the thickness or weight of the yarn you’ll be using. The yarn label will usually recommend a needle size range, but you can also refer to a needle gauge to determine the best size. A smaller needle size will produce a tighter and denser stitch, while a larger size will result in a looser and more open stitch. Consider the desired look and feel of your garland when selecting the needle size.
Material of Needles: Knitting needles are made from various materials, including metal, wood, and plastic. Each material has its own advantages and disadvantages. Metal needles are durable and slide easily through the yarn, but they can also be slippery. Wooden needles provide a warm and natural feel, but may break more easily. Plastic needles are lightweight and flexible, but they may not be as sturdy. Consider your personal preferences and the characteristics of the yarn you’ll be using when choosing the material of your needles.
Getting Started with the Basic Stitch
If you’re new to knitting and want to start with a simple project, learning the basic stitch is a great place to begin. This versatile stitch can be used to create a variety of beautiful patterns, including the Christmas garland pattern. With just a few essential tools and some yarn, you’ll be well on your way to creating your own festive decorations.
To get started with the basic stitch, you’ll need a pair of knitting needles and a ball of yarn. Choose a yarn that is suitable for the project you have in mind – for the Christmas garland, opt for a festive color like red or green. You’ll also want to make sure your knitting needles are the correct size for your chosen yarn.
Step 1: To begin, make a slipknot by holding the yarn in your hand and crossing the end over the working yarn. Pull the end through the loop created and tighten the knot around the knitting needle. This slipknot will act as your first stitch.
Step 2: Insert the right needle into the slipknot from front to back, with the working yarn behind the needle. With your right hand, hold the working yarn and wrap it around the right needle from back to front, making sure the yarn is crossing over the left needle.
Step 3: With the working yarn, use the right needle to pull the loop through the slipknot, creating a new stitch. Slip the old stitch off the left needle and onto the right needle, completing the basic stitch. Repeat steps 2 and 3 until you have reached your desired length or completed your pattern.
Remember to practice and take your time when first learning the basic stitch. Once you have mastered this foundation stitch, you’ll be ready to tackle more complex knitting patterns and create your own beautiful Christmas garland.
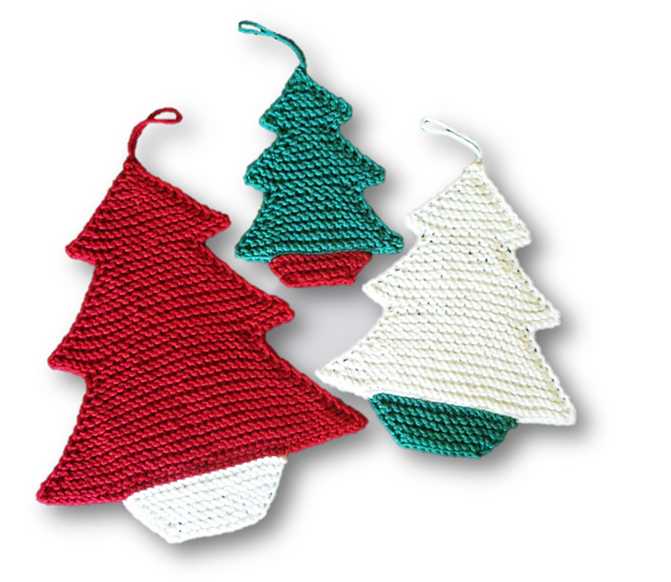
Creating the First Branch of the Garland
When knitting your Christmas garland, it’s important to start with the first branch. This initial branch will serve as the foundation for the rest of the garland. To create the first branch, you will need a set of knitting needles and your chosen yarn in your desired colors.
Begin by casting on the desired number of stitches. The number of stitches will depend on the length and thickness of the branch you want to create. Make sure to leave a long tail of yarn, as you will use this later to attach the branch to the garland.
Step 1: Knit Stitch
Once you have cast on the stitches, you will start knitting the first row in the knit stitch. Insert the right-hand needle into the first stitch on the left-hand needle, from front to back. Take the yarn over the right-hand needle, bringing it from the back to the front, and wrap it around the right-hand needle counterclockwise from left to right.
Step 2: Purl Stitch
After completing the knit stitch row, you will switch to the purl stitch for the second row. Insert the right-hand needle into the first stitch on the left-hand needle, from back to front. Take the yarn over the right-hand needle, bringing it from the front to the back, and wrap it around the right-hand needle counterclockwise from right to left.
Step 3: Repeat
Continue alternating between the knit stitch and purl stitch for each row, until you have reached the desired length for the first branch of the garland. Make sure to keep track of your stitches and rows to ensure an even and uniform branch.
Step 4: Bind Off
Once you have completed the desired length, it’s time to bind off the stitches. Knit the first two stitches, then insert the left-hand needle into the first stitch on the right-hand needle. Lift the first stitch over the second stitch and off the right-hand needle. Repeat this process until you have only one stitch left, then cut the yarn, leaving a long tail.
Step 5: Finishing
To finish the first branch, weave in the loose ends of yarn using a tapestry needle. Take the long tail of yarn left from the initial cast on and use it to attach the branch to the garland, either by sewing it on or by tying it securely to the main strand. Trim any excess yarn, and your first branch of the Christmas garland is now complete!
Adding Embellishments, Such as Bows or Beads
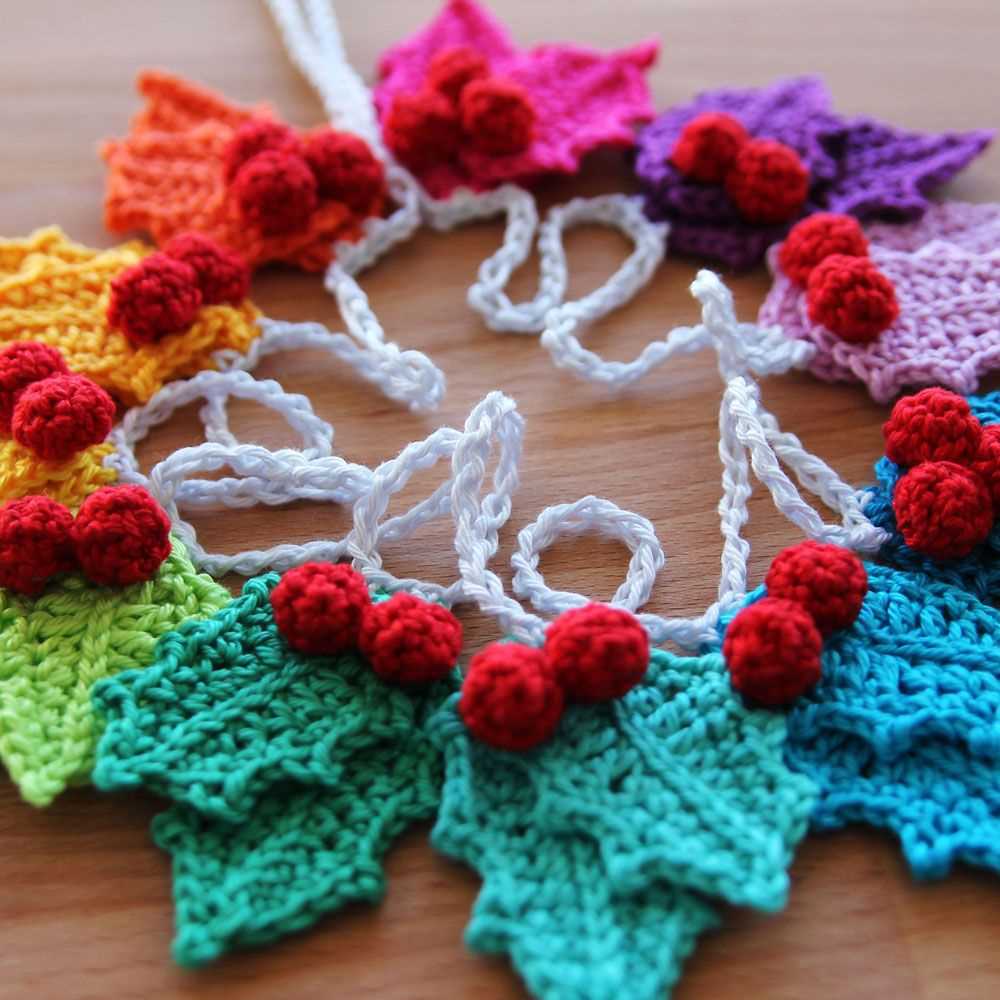
Once you have finished knitting your Christmas garland, you can add some extra embellishments to make it even more festive and eye-catching. One popular option is to attach bows to the garland at regular intervals. You can use ribbon or yarn to make the bows, and there are many different styles and colors to choose from. Simply tie the bows onto the garland using the excess yarn or ribbon.
Another option to enhance the garland is to incorporate beads into the design. You can thread the beads onto the yarn before knitting, or you can sew them onto the garland afterward. Beads can add a touch of sparkle and elegance to your garland, and they come in various shapes, sizes, and colors. Consider creating patterns or alternating colors with the beads to create a more visually interesting effect.
If you want to go the extra mile, you can also add other types of embellishments to your garland. For example, you could attach small ornaments, mini bells, or even tiny LED lights to make your garland truly shine. The key is to choose embellishments that match your overall Christmas decor and complement the colors and style of your garland.
In summary, don’t be afraid to get creative and add some embellishments to your knitted Christmas garland. Whether it’s bows, beads, or other decorations, these extra touches will make your garland stand out and bring festive cheer to your home during the holiday season.
Continuing to Knit Additional Branches
Once you have completed the first branch of your Christmas garland, you can continue to knit additional branches to create a full and festive look. To do this, follow the same pattern as before, starting with casting on the required number of stitches and knitting the desired length for the branch.
However, when knitting the additional branches, you may want to vary the length and number of stitches to create a more natural and realistic look. For example, you can make some branches shorter and others longer, and vary the number of stitches in each row for a more uneven appearance. This will help to give your garland a more organic and natural look.
For shorter branches: To create shorter branches, simply knit fewer rows. Start by casting on the desired number of stitches and knitting a few rows, then bind off to finish the branch. These shorter branches can be spaced out along the garland to add visual interest and create a more varied look.
For longer branches: To create longer branches, you will need to knit more rows. Start by casting on the desired number of stitches and continue knitting until the branch reaches your desired length. Remember to keep track of the number of rows you knit so that you can replicate the length for each additional longer branch.
As you continue to knit additional branches, you can experiment with different stitch patterns or textures to add more visual interest to your garland. For example, you can incorporate cable stitches, lace patterns, or even colorwork to create a unique and personalized Christmas garland.
Joining Branches Together
When knitting a Christmas garland, it is important to know how to join the branches together seamlessly. This step ensures that the garland looks neat and professional once it is hung up. There are several methods you can use to join the branches together, depending on the desired look and your knitting skills.
1. Whip Stitch: One easy method to join the branches together is using a whip stitch. This involves sewing the edges of the branches together using a yarn needle and matching yarn. Start by lining up the edges of the branches and inserting the needle through one edge, then through the corresponding spot on the other edge. Continue stitching back and forth, pulling the yarn tight as you go, until the branches are securely joined.
2. Three-Needle Bind Off: Another method for joining the branches is using a three-needle bind off. This technique creates a visible seam, but it also adds a decorative element to the garland. To do this, slip the last stitch of one branch onto a third knitting needle and hold it at the back. Then, insert another knitting needle into the first stitch of the second branch, holding it at the front. Knit these two stitches together, and repeat across the row. This creates a neat seam that holds the branches securely together.
3. Kitchener Stitch: For a practically invisible join, the Kitchener stitch is a great option. It creates a seamless finish that looks like the branches were knitted in one continuous piece. This method requires some practice, as it involves weaving the yarn through the live stitches on both branches. The result is a smooth, invisible seam that blends seamlessly into the rest of the garland.
The method you choose to join the branches together may depend on personal preference, skill level, and the desired look of the garland. Whichever method you choose, remember to take your time and ensure that the branches are securely joined to create a beautiful and professional-looking Christmas garland.
Making the Loop for Hanging the Garland
To hang the Christmas garland, it is important to create a sturdy loop at one end of the garland. This loop will allow you to easily hang the garland from a hook or nail.
Here is a step-by-step guide to making the loop for hanging the garland:
- Start by cutting a length of yarn or ribbon, approximately 8 inches long.
- Fold the yarn or ribbon in half, creating a loop at one end.
- Take the looped end and feed it through the last stitch on one end of the garland.
- Pull the looped end through the stitch, creating a knot at the end of the garland.
- Adjust the loop to your desired size by pulling on the ends of the yarn or ribbon.
- Once the loop is the desired size, tie a knot at the ends to secure the loop in place.
And there you have it! You have now created a loop for hanging your Christmas garland. Simply hang the looped end of the garland from a hook or nail, and enjoy the festive addition to your holiday decor.
Finishing the Edges of the Garland
Once you have completed the main body of your Christmas garland knitting pattern, it’s time to finish the edges. This step is important to give your garland a polished and professional look. There are several ways you can finish the edges, depending on the look you want to achieve.
1. Ribbed Edging
One option is to add a ribbed edging to your garland. This can be done by picking up stitches along the edges and knitting a few rows of ribbing in a contrasting color or the same color as your garland. This will give your garland a neat and finished look.
2. Crocheted Edging
If you prefer a more delicate look, you can add a crocheted edging to your garland. This can be done using a crochet hook and a coordinating yarn. You can choose from a variety of crochet stitches, such as single crochet, double crochet, or picot stitch, to create your desired edging.
3. Fringed Edging
For a festive and playful look, you can add a fringed edging to your garland. This can be done by attaching small strands of yarn to the edges of your garland. You can use different colors or textures to create an eye-catching fringe.
4. Tassel Edging
Another option is to add tassels to the edges of your garland. This can be done by making small tassels out of yarn and attaching them to the ends of your garland. You can use the same yarn as your garland or a contrasting color for added visual interest.
Whichever method you choose, finishing the edges of your Christmas garland knitting pattern will add the perfect finishing touch to your holiday decor.
Blocking and Care Instructions
After completing your knitted Christmas garland, it’s important to block it to achieve the desired shape and improve the overall appearance. Blocking helps to even out stitches, relax the fabric, and give the garland a more professional finish. Here are some step-by-step instructions on how to block your garland:
1. Wet Blocking:
Fill a basin or sink with lukewarm water and a mild detergent suitable for delicate fabrics. Immerse the garland completely in the water, gently squeezing it to ensure it is thoroughly saturated. Leave it to soak for about 15 minutes.
Once the soaking time is complete, carefully remove the garland from the water and gently squeeze out the excess moisture, being careful not to wring or twist the fabric. Lay the garland flat on a clean, absorbent towel.
Gently shape the garland into the desired form, carefully stretching and pinning it into place. Use rust-resistant T-pins or blocking wires to hold the garland in position. Avoid using regular straight pins as they may leave marks or damage the fabric.
Leave the garland to dry completely, which may take 24-48 hours depending on the ambient humidity and airflow. Avoid exposing the garland to direct sunlight or heat sources as this may cause the colors to fade or the yarn to shrink.
2. Care Instructions:
After blocking and drying your Christmas garland, it’s important to care for it properly to ensure its longevity. Here are some care instructions to follow:
- Hand wash the garland using a mild detergent and lukewarm water. Avoid using harsh chemicals or bleach as they can damage the fabric.
- Gently squeeze out excess water and lay the garland flat on a clean towel to dry.
- Avoid hanging the garland or wringing it to remove water as this can cause the strands to stretch or deform.
- Store the garland in a cool, dry place away from direct sunlight and moisture to prevent color fading or mildew formation.
- If necessary, iron the garland using a low heat setting and a pressing cloth to protect the fabric. Avoid ironing over any decorations or embellishments.
By following these blocking and care instructions, you can ensure that your knitted Christmas garland remains beautiful and festive for many holiday seasons to come.
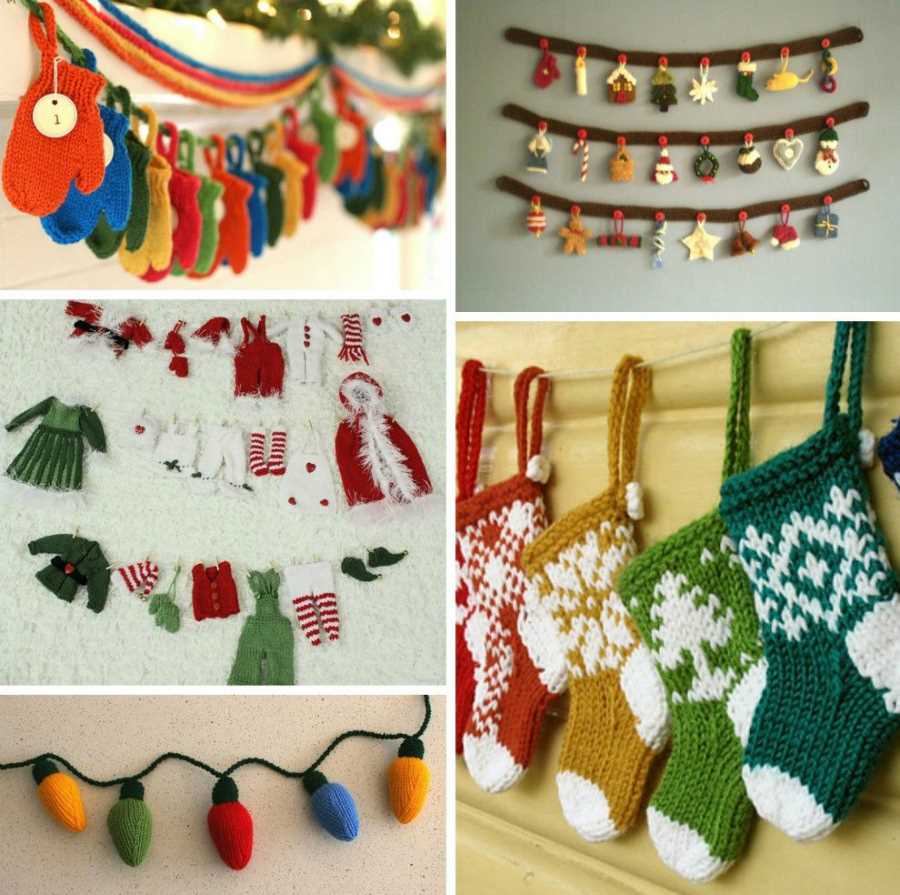
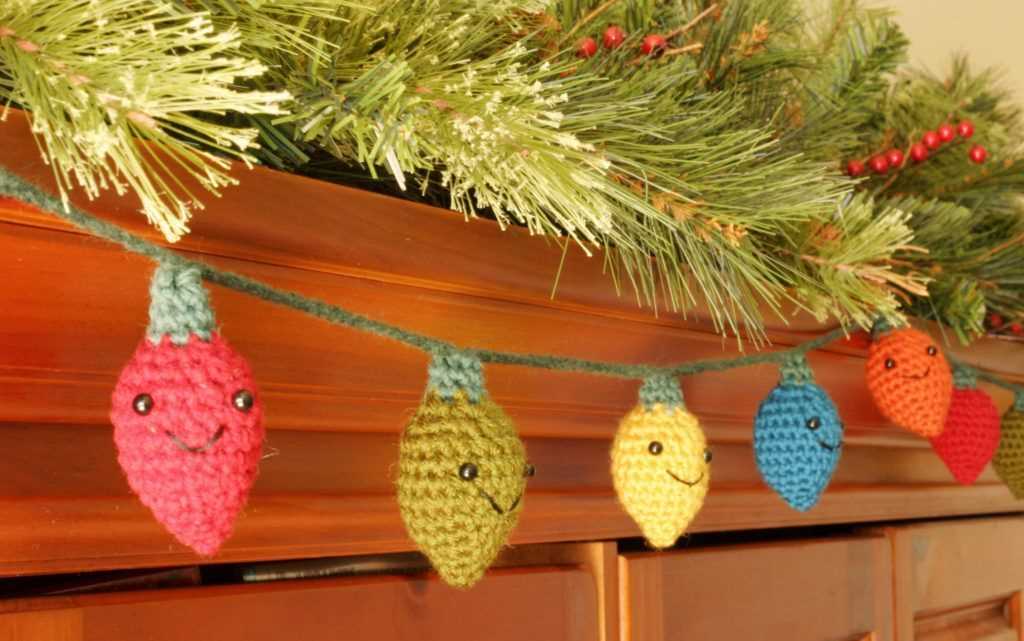
Ideas for Displaying Your Christmas Garland
Once you have finished knitting your beautiful Christmas garland, it’s time to think about how you want to display it in your home. Here are some creative ideas to inspire you:
- Hanging from the mantel: The mantelpiece is the perfect place to showcase your Christmas garland. Simply drape it along the length of the mantel and let it add a festive touch to your fireplace.
- Wrapped around the staircase railing: If you have a staircase in your home, consider wrapping your garland around the handrail. This creates a stunning and elegant look.
- Adorning the Christmas tree: Instead of using traditional tinsel, you can use your knitted garland to decorate your Christmas tree. It will add a unique and cozy touch to your tree.
- As a table centerpiece: For a festive dining table, place your garland in the center and adorn it with candles, ornaments, or pinecones. This will create a beautiful centerpiece that will impress your guests.
- Creating a festive entrance: Hang your garland above your front door or in your hallway to create a warm and welcoming entrance for your guests.
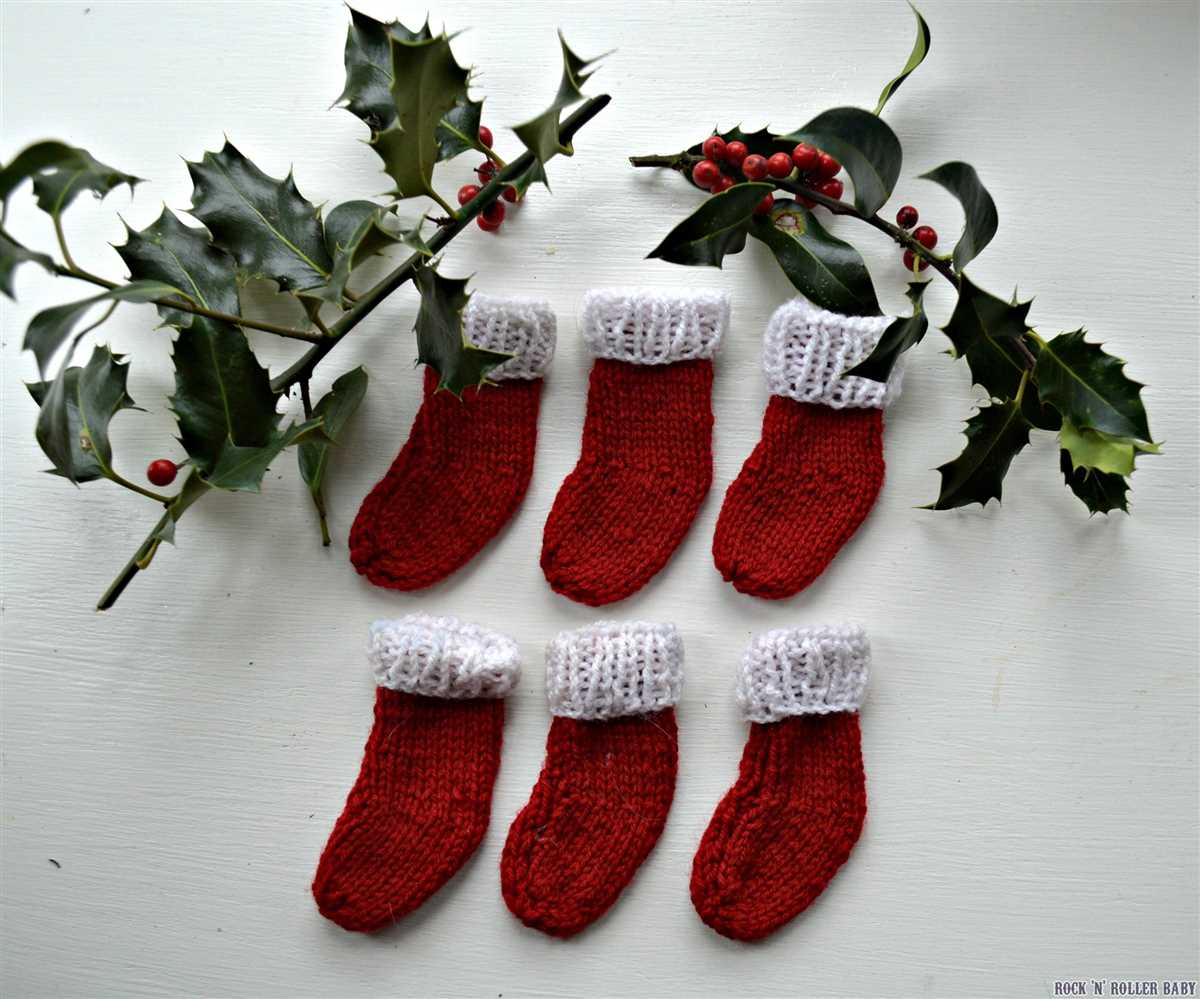
- Incorporating with other holiday decorations: You can combine your knitted garland with other Christmas decorations such as wreaths, stockings, and lights to create a cohesive holiday display.
With these ideas, you can showcase your knitted Christmas garland in various ways throughout your home, adding a touch of festive cheer to every corner. Get creative and have fun decorating for the holiday season!