
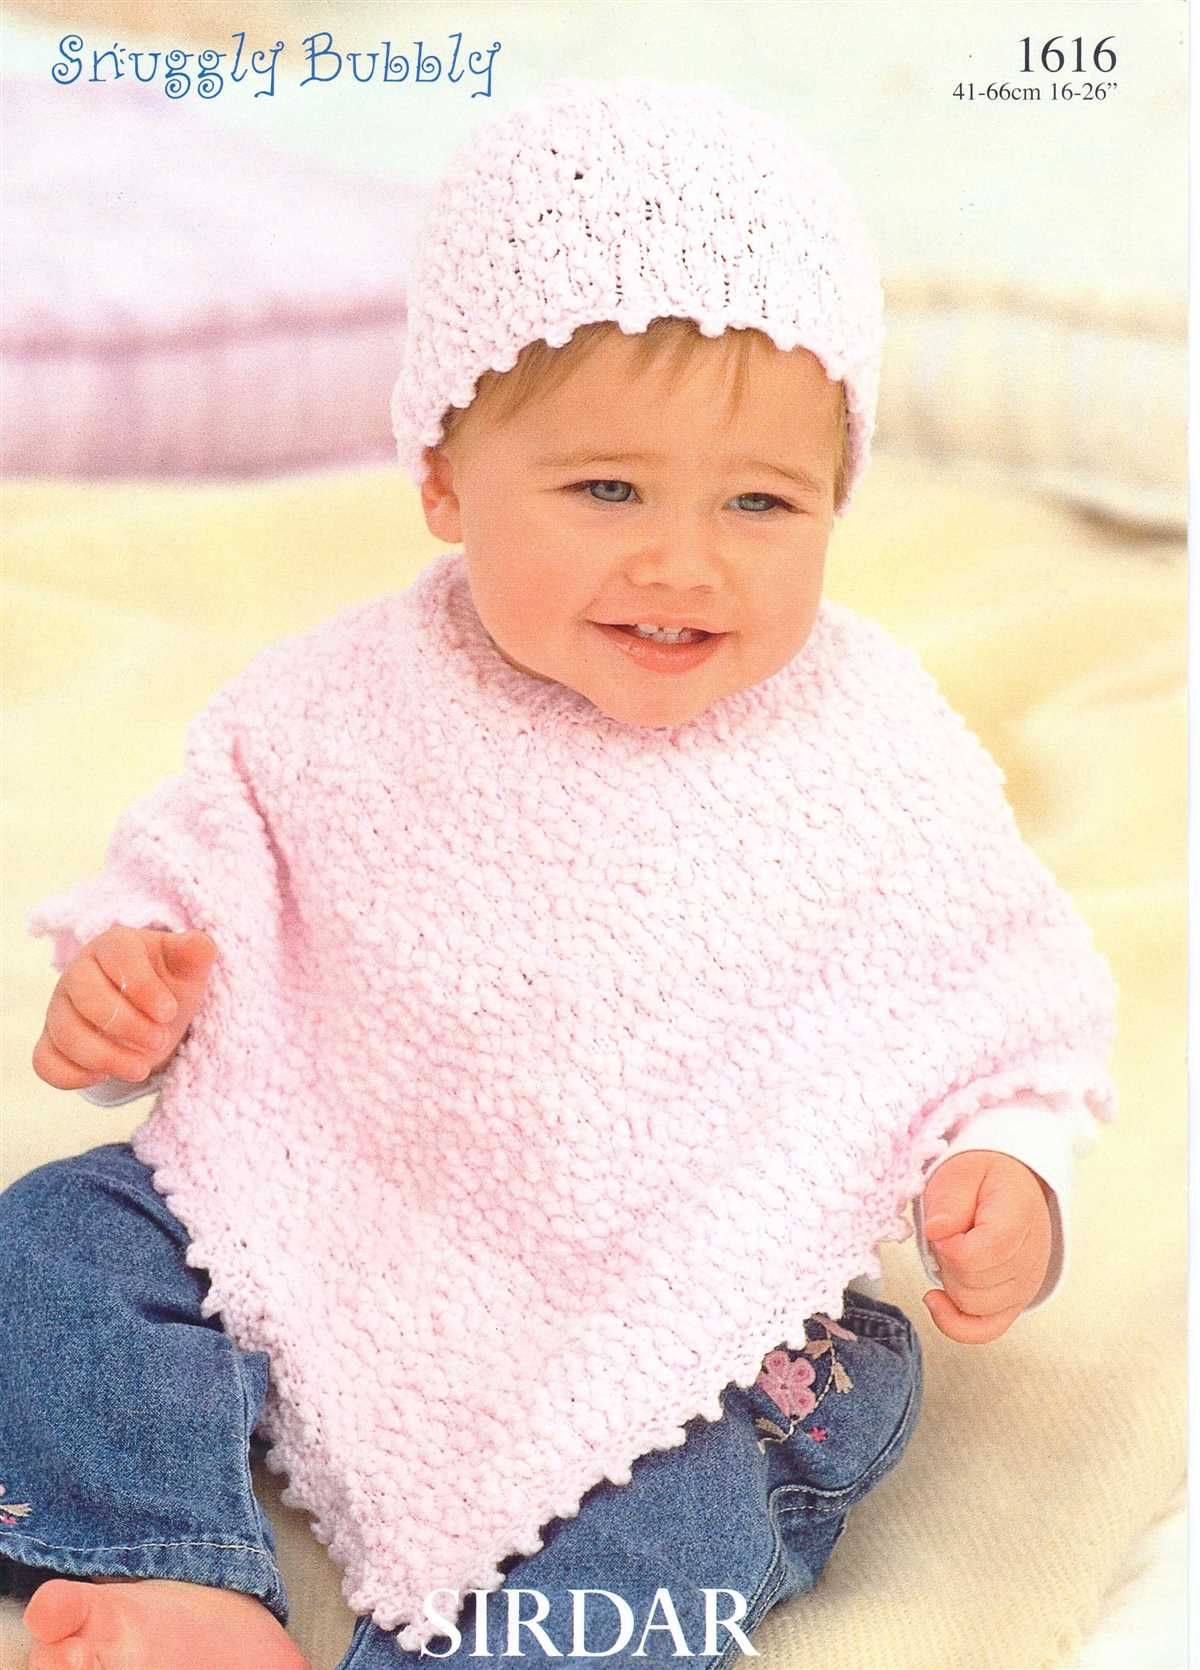
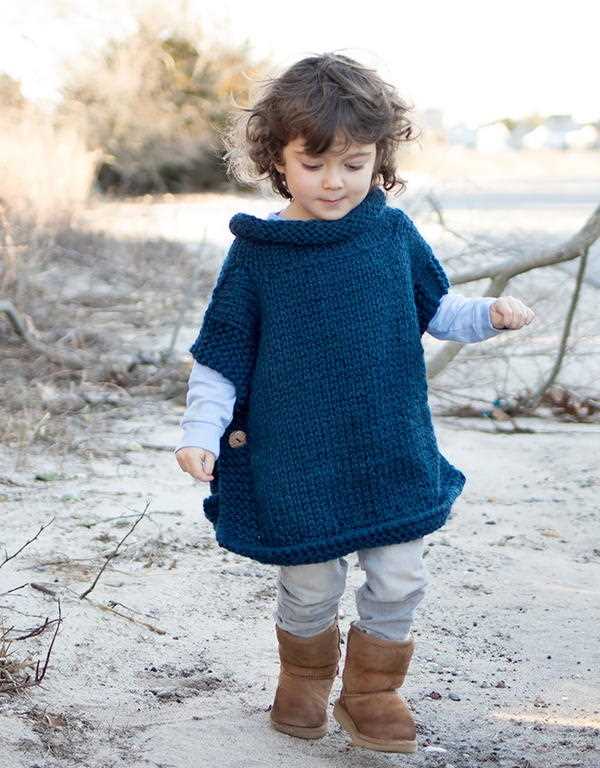
A knitted poncho is a stylish and cozy garment that is perfect for keeping your child warm during the colder months. Whether you are a beginner or an experienced knitter, making a poncho for your little one is a fun and rewarding project. Not only will your child love wearing their new poncho, but you can also personalize it by choosing their favorite colors and patterns.
Knitting a poncho for a child is a great way to practice your knitting skills and create a unique garment. With so many different patterns and designs to choose from, you can easily find one that suits your child’s personality and style. Whether you prefer a simple and minimalistic design or a more intricate and detailed pattern, there is something for everyone.
When choosing a pattern for a child’s knitted poncho, it’s important to consider the level of difficulty. If you are a beginner, look for a pattern that is labeled as easy or beginner-friendly. These patterns typically use basic stitches and simple construction techniques, making them perfect for those who are just starting out. For more experienced knitters, there are advanced patterns available that incorporate more complex stitches and techniques.
In this article, we will explore different child’s knitted poncho patterns, including both easy and advanced options. We will also provide tips and tricks to help you successfully complete your project and create a beautiful garment that your child will love.
How to Make a Child’s Knitted Poncho: A Step-by-Step Guide
Knitting a poncho for a child can be a fun and rewarding project. Whether you’re a beginner or an experienced knitter, this step-by-step guide will help you create a beautiful and cozy poncho for your little one.
Materials Needed:
- Knitting needles (size will depend on the pattern you choose)
- Yarn (choose a soft and warm yarn suitable for children, in the color of your choice)
- Tape measure
- Scissors
- Yarn needle
Step 1: Choose a Pattern
Start by selecting a pattern for your child’s poncho. You can find a variety of free patterns online or in knitting books. Consider the size, style, and complexity of the pattern before making your choice.
Step 2: Gather Your Materials
Once you have chosen a pattern, gather all the materials you will need. Make sure you have the correct size of knitting needles and enough yarn to complete the poncho. Prepare your workspace and make sure you have all the necessary tools.
Step 3: Gauge Swatch
Before beginning your project, it’s important to make a gauge swatch. This will ensure that your poncho will turn out the correct size. Follow the instructions in your pattern to create a swatch using the recommended size of needles and yarn. Measure the swatch and compare it to the gauge specified in the pattern. Adjust your needle size if necessary.
Step 4: Cast On
Once you have completed your gauge swatch, it’s time to cast on the required number of stitches for your poncho. Follow the instructions in your pattern to cast on using the desired method (e.g., long-tail cast on or cable cast on).
Step 5: Knit the Body
Now it’s time to start knitting the body of the poncho. Follow the pattern instructions carefully, knitting each row or round as indicated. Pay attention to any shaping or stitch patterns specified in the pattern.
Step 6: Shape the Neck
Once the body of the poncho is complete, you may need to shape the neck opening. Follow the pattern instructions to knit or bind off stitches to create the neck opening. Make sure to keep track of your stitch count and maintain the pattern stitch as necessary.
Step 7: Finishing Touches
After shaping the neck, continue knitting the remaining sections of the poncho, following the pattern instructions for any edging or finishing details. Once all the knitting is complete, bind off your stitches and weave in any loose ends using a yarn needle.
With these step-by-step instructions, you can create a beautiful and cozy knitted poncho for your child. Enjoy the process of knitting and watching your project come to life, and soon your little one will have a stylish new addition to their wardrobe.
Choosing the Right Yarn and Needles
When it comes to knitting a child’s poncho, it is important to choose the right yarn and needles. The yarn you choose will determine the texture, warmth, and drape of the poncho, while the needles will determine the size and tension of your stitches. Here are some factors to consider when selecting yarn and needles for your project.
Yarn Weight
- Fingering weight yarn: If you want a lightweight and delicate poncho, you can opt for fingering weight yarn. This yarn is often used for baby garments as it creates a soft and dainty texture.
- Sport weight yarn: Sport weight yarn is a popular choice for children’s clothing. It is slightly thicker than fingering weight yarn, providing more warmth and durability without being too heavy.
- Worsted weight yarn: Worsted weight yarn is a versatile option that is suitable for both winter and transitional seasons. It provides good warmth and has a nice drape, making it a great choice for a poncho.
Needle Size
The size of your needles will determine the overall size and tension of your stitches. It is important to choose the right needle size to achieve the desired gauge mentioned in the pattern. The gauge refers to the number of stitches and rows per inch.
- US size 3-5 needles: These smaller needle sizes are commonly used with fingering weight yarn. They create tighter and more delicate stitches.
- US size 5-7 needles: These medium-sized needles are suitable for sport weight yarn. They create a balanced tension, resulting in a soft and comfortable fabric.
- US size 7-9 needles: These larger needle sizes work well with worsted weight yarn. They create larger stitches, giving the poncho a cozy and chunky look.
Remember to always check the gauge of your stitches before starting the project. This will ensure that your poncho turns out the right size and fits your child comfortably. Experiment with different yarns and needle sizes to find the combination that works best for your desired outcome.
Getting Started with the Poncho Pattern
Are you ready to start knitting a poncho for your child? This simple and cozy garment is perfect for keeping them warm during colder days. With just a few basic knitting skills, you can create a beautiful and functional poncho that your child will love to wear.
Materials:
- Knitting needles (size and type specified in the pattern)
- Yarn (specified in the pattern)
- Scissors
- Tapestry needle
Pattern Notes:
- Make sure to check your gauge before starting the project. This will ensure that your finished poncho will have the correct measurements.
- Read through the entire pattern before beginning. This will help you understand the instructions and avoid any mistakes.
- If you are new to knitting, it may be helpful to practice some basic stitches before starting the project.
Step 1: Casting On
Start by casting on the required number of stitches specified in the pattern. The cast-on method will also be indicated in the pattern instructions. Use your knitting needles to create a foundation row of stitches.
Step 2: Knitting the Body
Follow the pattern instructions to knit the body of the poncho. This may involve knitting a certain number of rows or repeating a specific stitch pattern. Pay attention to any shaping or decreases indicated in the pattern.
Step 3: Finishing Touches
Once you have completed the body of the poncho, it’s time to finish it off. This may involve binding off your stitches, weaving in any loose ends, and blocking the poncho to give it a professional finish.
That’s it! With these basic steps, you can easily get started on knitting a poncho for your child. Remember to take your time, follow the pattern instructions, and enjoy the process of creating a beautiful and cozy garment.
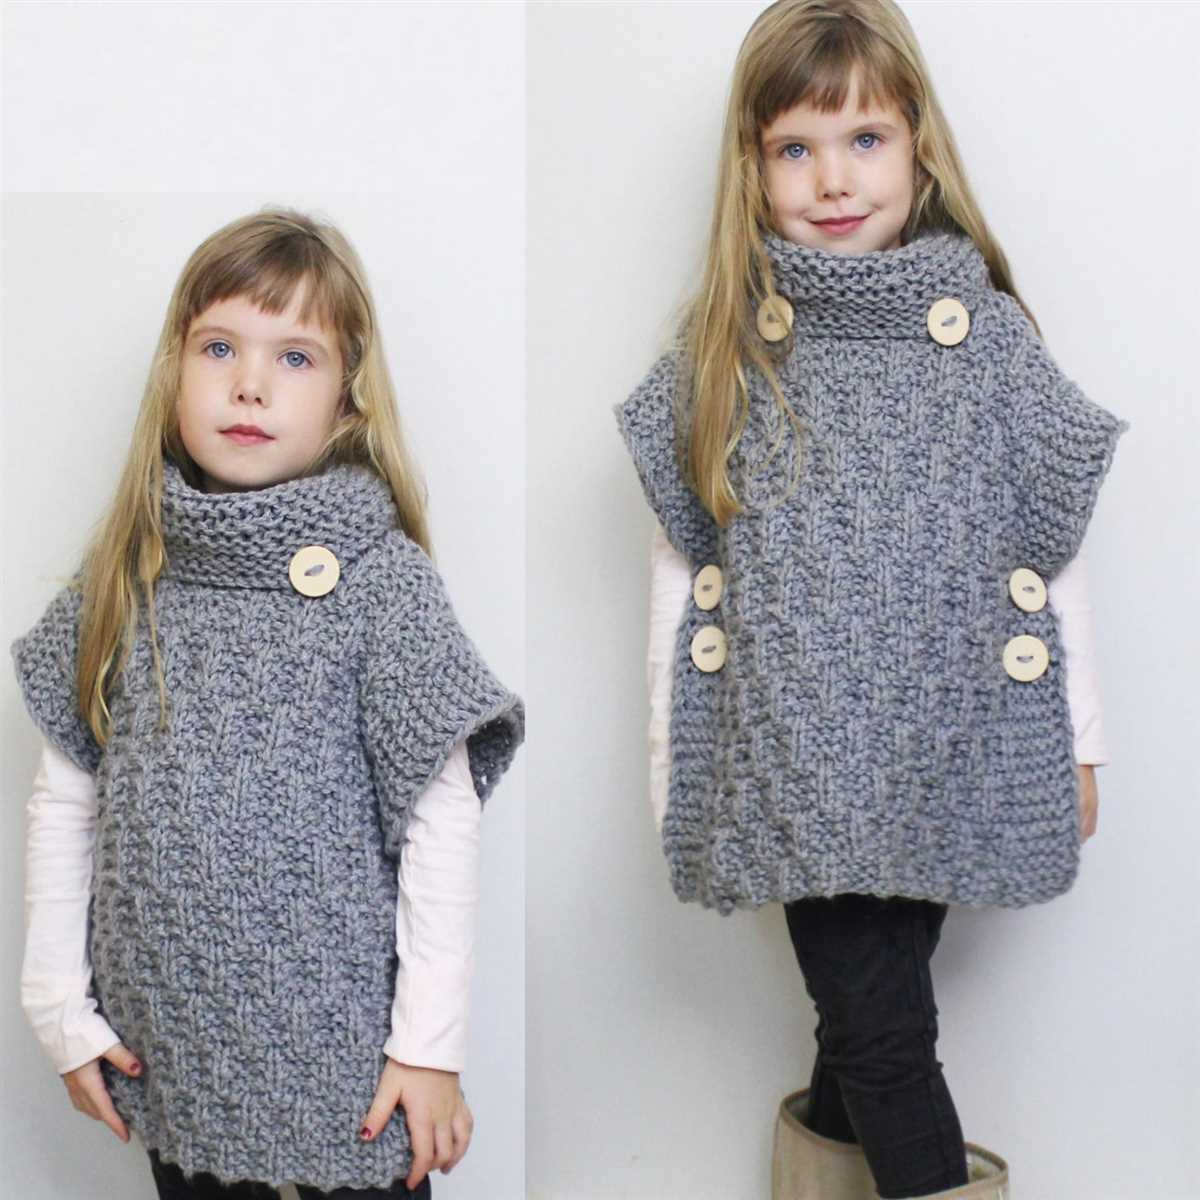
Creating the Neckline
When creating a neckline for a child’s knitted poncho, there are a few key considerations to keep in mind. The neckline should be comfortable for the child to wear, while also adding a stylish and finished look to the overall design.
1. Choosing the neckline style: There are several different neckline styles that can be used for a child’s knitted poncho. Some popular options include a round neckline, a V-neckline, or a boat neckline. The choice of neckline style will depend on personal preference and the overall design of the poncho.
2. Creating the neckline edge: Once the neckline style has been chosen, it is important to create a neat and tidy edge for the neckline. This can be done by using a ribbing or binding technique, which will help to prevent the neckline from stretching out over time. Another option is to use a crochet trim or a picot edge, which will add a decorative touch to the neckline.
- 3. Incorporating buttons or closures: Depending on the size and design of the poncho, it may be necessary to incorporate buttons or closures into the neckline. This can help to make the poncho easier to put on and take off, especially for younger children who may struggle with overhead garments. When adding buttons or closures, it is important to ensure that they are securely attached and will not pose a choking hazard to the child.
- 4. Adjusting the neckline size: It is important to consider the size and fit of the neckline when creating a child’s knitted poncho. If the neckline is too tight, it may be uncomfortable for the child to wear. Conversely, if the neckline is too loose, it may not stay in place and could cause the poncho to slip off the shoulders. It is a good idea to try the poncho on the child as you work and make any necessary adjustments to the neckline size accordingly.
- 5. Adding finishing touches: Once the neckline has been created, it is important to add any finishing touches to complete the look. This could include weaving in any loose ends, blocking the poncho to ensure the neckline lays flat, or adding any additional decorative elements such as appliques or embroidery. These finishing touches will help to give the poncho a polished and professional appearance.
Knitting the Body of the Poncho
Once you have finished knitting the neckline of the poncho, it’s time to move on to the body. The body of the poncho is the largest part and will determine the length of the garment. Follow the instructions carefully to ensure the correct measurements.
To begin knitting the body, you will continue using the same size needles and yarn combination as the neckline. Start by knitting the first row in the established pattern, following the instructions provided. This row will set the foundation for the body of the poncho.
Row 1: *Knit 2, purl 2; repeat from * until the end of the row.
After completing the first row, you will continue knitting in the established pattern for the desired length of the poncho. The length can vary depending on the size and style you are knitting. Use the measurements provided in the pattern as a guide and adjust as necessary.
It is important to regularly check your gauge as you work on the body of the poncho to ensure that your stitches are the correct size. This will help ensure that the finished garment fits properly. If your gauge is off, adjust your needle size as needed.
Keep track of your rows as you knit the body of the poncho to ensure that both sides are symmetrical. This will help achieve a uniform finished look. Use stitch markers or a row counter to help keep track of your progress.
Once you have reached the desired length for the body of the poncho, you can move on to knitting the border or any other finishing touches specified in the pattern. Follow the instructions carefully to complete your knitted poncho.
Adding the Sleeves
When it comes to adding the sleeves to your child’s knitted poncho, there are a few different options to consider. You can choose to knit the sleeves separately and then sew them onto the body of the poncho, or you can choose to pick up stitches along the armholes and knit the sleeves directly onto the poncho. Both methods have their advantages and it ultimately depends on your personal preference and knitting skills.
Option 1: Knitting the Sleeves Separately
If you choose to knit the sleeves separately, you will begin by casting on the required number of stitches for the sleeves, using the same yarn and needle size as you did for the body of the poncho. You will then work in your chosen stitch pattern, following the pattern instructions, until the sleeve measures the desired length. Once the sleeve is complete, you will sew it onto the body of the poncho, positioning it evenly at the armhole.
Option 2: Knitting the Sleeves Directly Onto the Poncho
If you prefer to knit the sleeves directly onto the poncho, you will begin by picking up stitches along the armhole edges of the poncho using a circular or double-pointed needle. The number of stitches you pick up will depend on your gauge and the desired size of the sleeves. Once you have picked up the stitches, you will work in your chosen stitch pattern, following the pattern instructions, until the sleeves reach the desired length. This method eliminates the need for seaming, but it can be a bit trickier to get the fit and placement of the sleeves just right.
Whichever method you choose, make sure to follow the pattern instructions carefully and take your time to ensure that the sleeves are added smoothly and securely to your child’s knitted poncho. With a little patience and practice, you’ll have a beautiful and cozy poncho that your child will love to wear!
Finishing Touches: Binding Off
Binding off, also known as casting off, is the final step in completing your knitted poncho. This process is used to secure the stitches and create a neat edge. It is important to bind off properly to ensure that your poncho has a clean and finished look.
To bind off, you will need a pair of knitting needles and your working yarn. Begin by knitting the first two stitches as usual. Then, insert the left needle into the first stitch on the right needle and lift it over the second stitch and off the right needle. This effectively binds off one stitch.
Continue binding off in this manner, knitting one stitch and lifting the previous stitch over until you have only one stitch left on the right needle. Cut the working yarn, leaving a long tail, and thread it through the last stitch. Pull tight to secure the stitch and weave in the end to hide it.
When binding off, it is important to maintain an even tension to ensure that the edge of your poncho is not too tight or too loose. You can adjust your tension by slightly loosening or tightening your stitches as you go along. It may also be helpful to periodically measure your bound off edge to ensure that it matches the desired length.
By following these steps and paying attention to your tension, you can achieve a professional-looking bind off for your knitted poncho. This finishing touch will make all the difference in the overall appearance of your garment, giving it a polished and completed look.
Blocking and Shaping the Poncho
Once you have finished knitting the poncho, it is important to block and shape it to ensure that it looks its best and fits well on the child. Blocking involves wetting the knitted piece and then stretching it out to the desired shape and dimensions. This process helps to even out the stitches and give the poncho a more polished appearance.
To block the poncho, begin by filling a basin or sink with lukewarm water. Add a few drops of wool wash or mild detergent and gently swish the water to create suds. Immerse the knitted poncho in the water, making sure it is fully saturated. Allow it to soak for about 15 minutes, then carefully remove it from the water, taking care not to wring or twist it.
Next, you will need to shape the poncho. Lay a clean towel flat on a flat surface, such as a table or the floor. Gently place the poncho on top of the towel, making sure it is spread out evenly. Reshape the poncho as necessary, pulling and stretching it to the desired size. Use a measuring tape or ruler to ensure that the dimensions are accurate.
Once the poncho is in the desired shape, use sewing pins to secure it to the towel. Start by pinning the corners and edges, and then add more pins throughout the body of the poncho to help maintain its shape. Be sure to space the pins evenly, without pulling or stretching the knitted fabric excessively.
Leave the poncho to air dry completely. This process may take several hours or overnight, depending on the humidity and air circulation in your location. Once the poncho is dry, carefully remove the pins and gently shake out any remaining moisture. Your child’s knitted poncho is now ready to be worn and enjoyed!
Adding Decorative Elements
When knitting a child’s poncho, adding decorative elements can be a fun way to personalize the garment and make it even more special. Here are a few ideas for adding decorative elements to your knitted poncho:
1. Embroidery
Adding embroidery is a great way to add a pop of color and texture to your knitted poncho. You can use different threads and stitches to create unique motifs, such as flowers, animals, or abstract designs. Embroidery can be done before or after the poncho is finished, depending on your preference.
2. Applique
Applique involves attaching fabric shapes or designs onto the knitted poncho. This can be done by sewing or using adhesive. You can use contrasting or complementary fabrics to create eye-catching designs and patterns. Applique can be especially effective when creating themed or seasonal ponchos.
3. Beading
Adding beads to the knitted poncho can create a beautiful and sparkly effect. You can sew the beads onto the poncho using a needle and thread or string them onto the yarn as you knit. Beads can be added in a random pattern or strategically placed to create a specific design. Make sure to choose beads that are safe for children and won’t come loose easily.
4. Pom-poms
Pom-poms are a playful and whimsical addition to any knitted poncho. You can easily make pom-poms using a pom-pom maker or by hand. Attach the pom-poms to the corners or edges of the poncho using yarn or thread. You can make pom-poms in one color or create a multicolored effect for added visual interest.
These are just a few examples of decorative elements that you can add to a child’s knitted poncho. Don’t be afraid to get creative and experiment with different techniques to make your poncho one-of-a-kind!
Tips and Tricks for Knitting a Perfect Poncho

Knitting a poncho for your child can be a rewarding and enjoyable project. Whether you’re a beginner or an experienced knitter, here are some tips and tricks to help you create a perfect poncho:
1. Choose the Right Yarn
When selecting yarn for your child’s poncho, it’s important to choose a soft and lightweight option that is also durable. Look for yarn that is specifically labeled as suitable for children’s clothing, as this will ensure that it is safe and comfortable for your little one to wear.
2. Use the Correct Needle Size
The needle size you choose will depend on the yarn you’re using and the desired finished look of your poncho. Be sure to check the knitting pattern for the recommended needle size, as this will help you achieve the correct gauge and ensure that your poncho turns out the right size.
3. Gauge Swatch
Before you start knitting your poncho, it’s a good idea to make a gauge swatch. This will help you determine if your stitches and rows match the measurements provided in the knitting pattern. Adjust your needle size if necessary to achieve the correct gauge.
4. Follow the Pattern Carefully
When knitting a poncho, it’s important to carefully follow the pattern instructions. Pay attention to any special stitches or techniques that are required, as these will help you achieve the desired design. Take your time and refer to the pattern as you go to avoid making mistakes.
5. Block Your Poncho
Once you’ve finished knitting your child’s poncho, it’s a good idea to block it to give it a polished and professional look. Blocking involves wetting the poncho and shaping it to the desired measurements. This will help even out the stitches and give the poncho a neater appearance.
By following these tips and tricks, you can create a beautiful and well-fitting poncho for your child. Enjoy the process and have fun knitting!
Child’s Knitted Poncho Pattern Variations
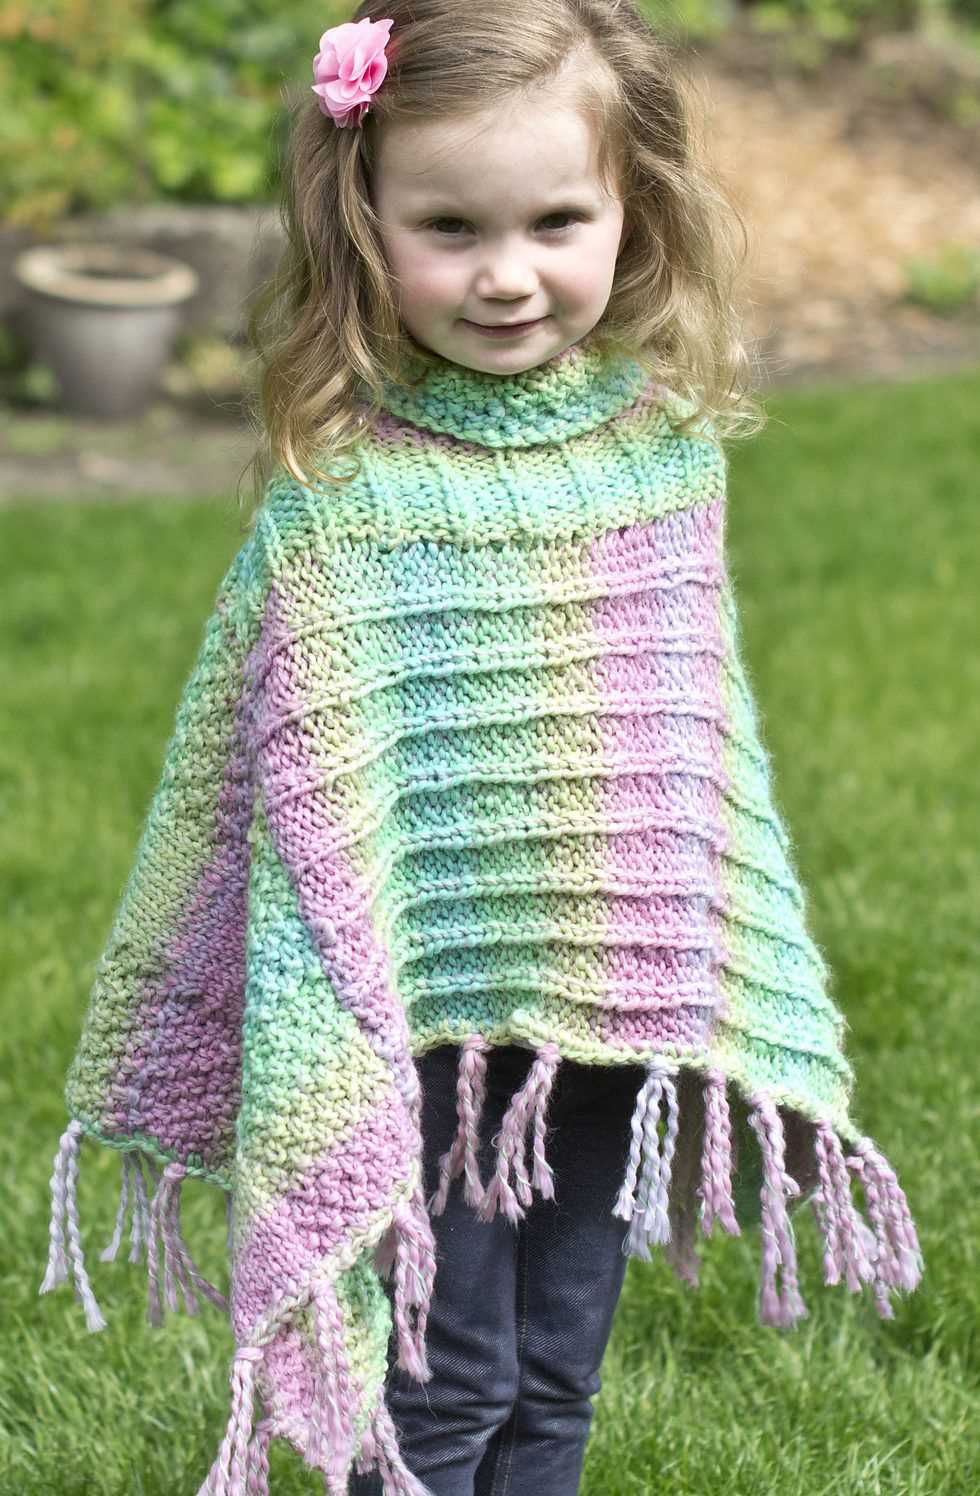
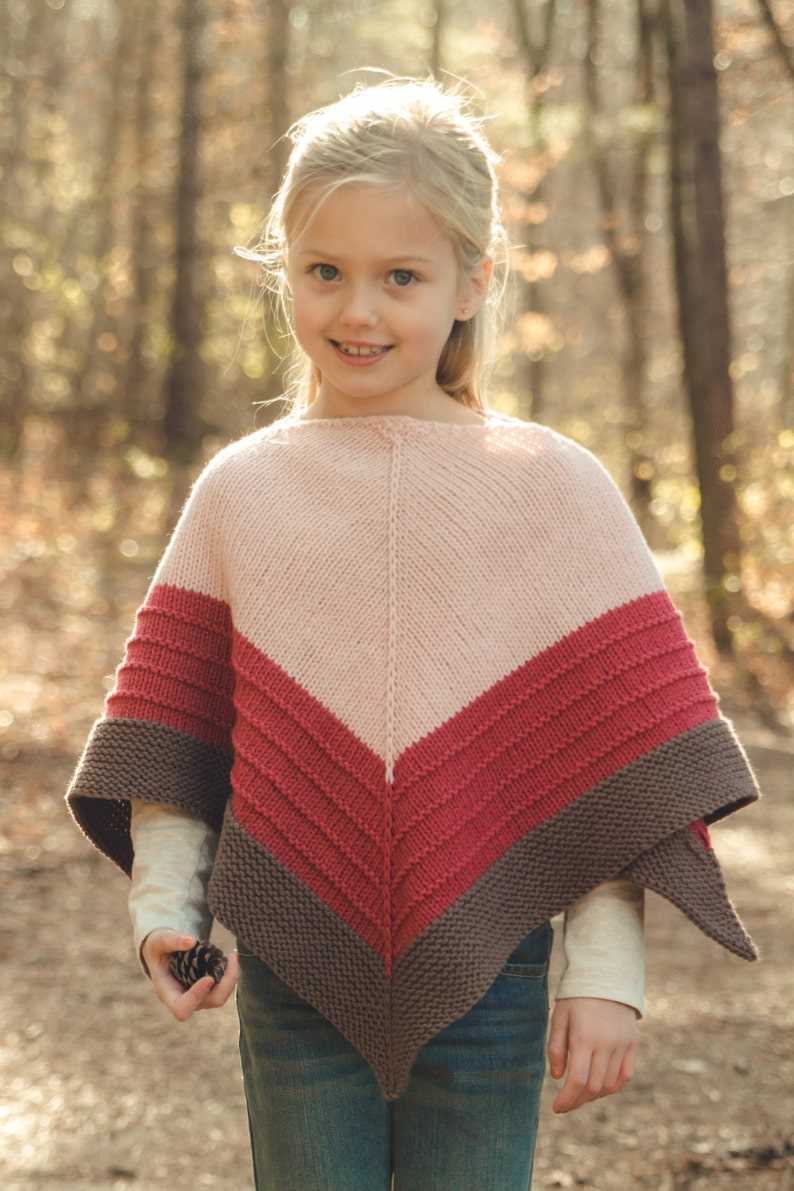
Knitted ponchos are a versatile and stylish garment for children that can be modified in many ways to create unique and eye-catching designs. By using different knitting stitches, colors, and textures, you can easily personalize a child’s poncho pattern to match their individual style. Here are a few variations to consider:
Striped Poncho:
Add a playful touch to the child’s poncho by incorporating colorful stripes. You can use a combination of different colors and widths to create an interesting pattern. Striped ponchos are perfect for both boys and girls, and they can be made using simple stockinette or garter stitch.
Lace Poncho:
If you want to add a delicate and feminine touch to the poncho design, consider incorporating lace stitches. Lace patterns can be used to create beautiful and intricate designs that add elegance to the garment. Lace ponchos are particularly popular for formal occasions or special events.
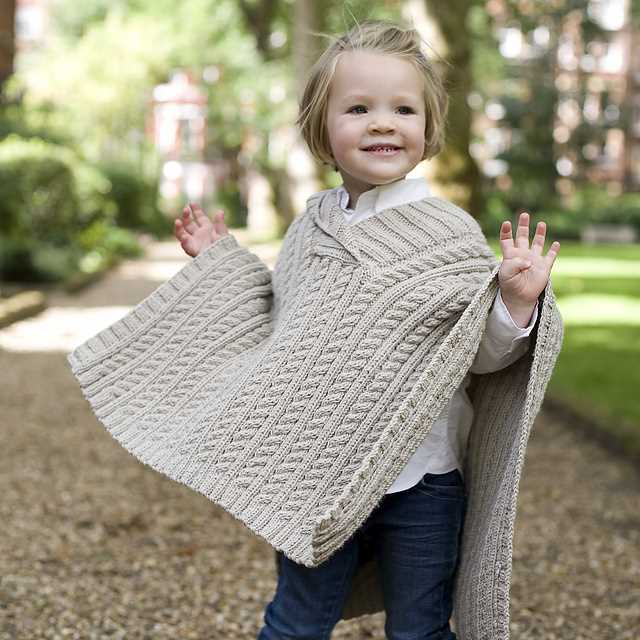
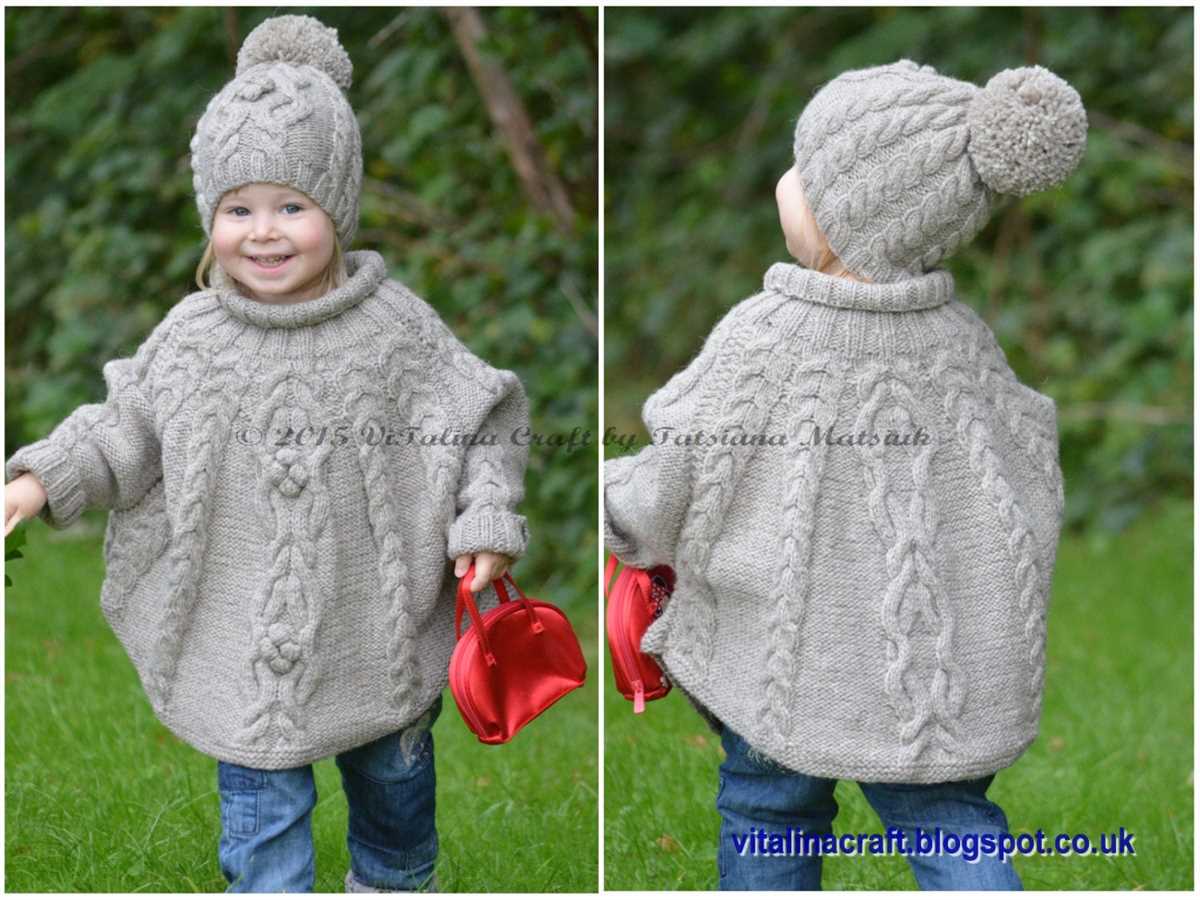
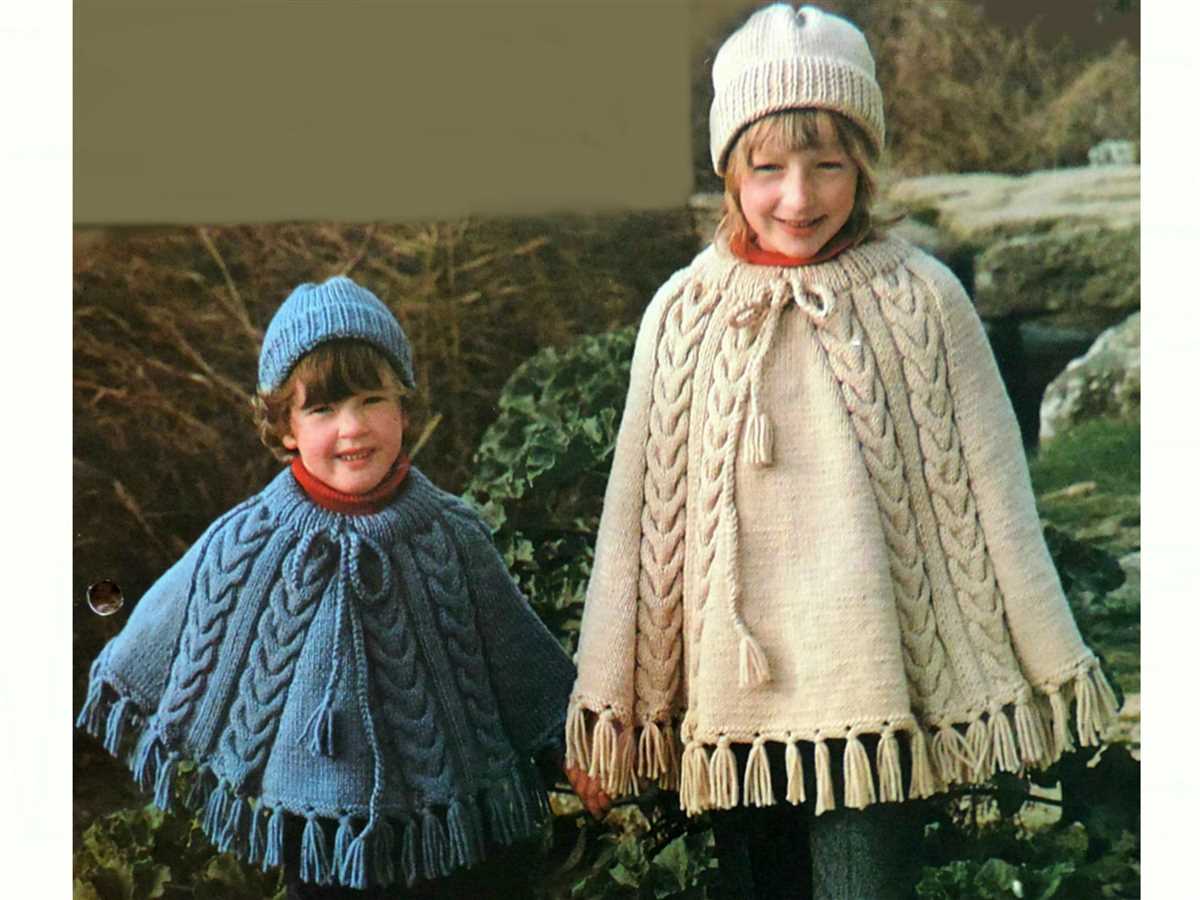
Cable Poncho:
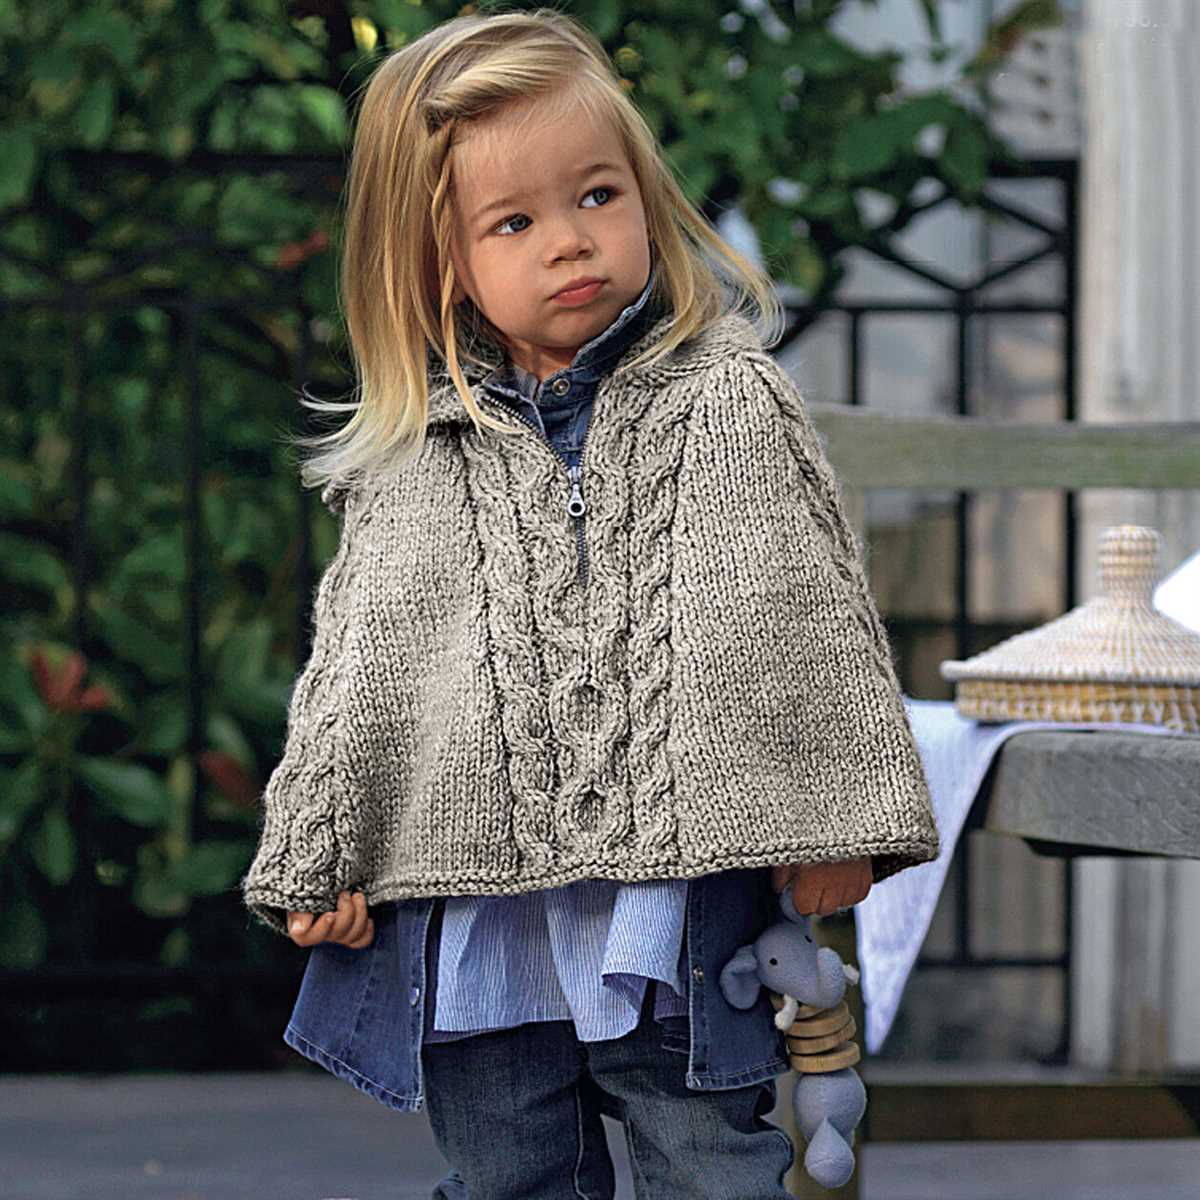
For a more textured and cozy look, try knitting a cable poncho. Cable stitches create raised motifs that add depth and interest to the garment. Cable ponchos are perfect for colder weather or as a stylish accessory for fall or winter outfits.
Fair Isle Poncho:
Add a touch of traditional style to the child’s poncho by incorporating Fair Isle knitting. Fair Isle is a technique that involves knitting multiple colors in a single row to create intricate and colorful patterns. This technique can be used to create ponchos with traditional or modern designs.
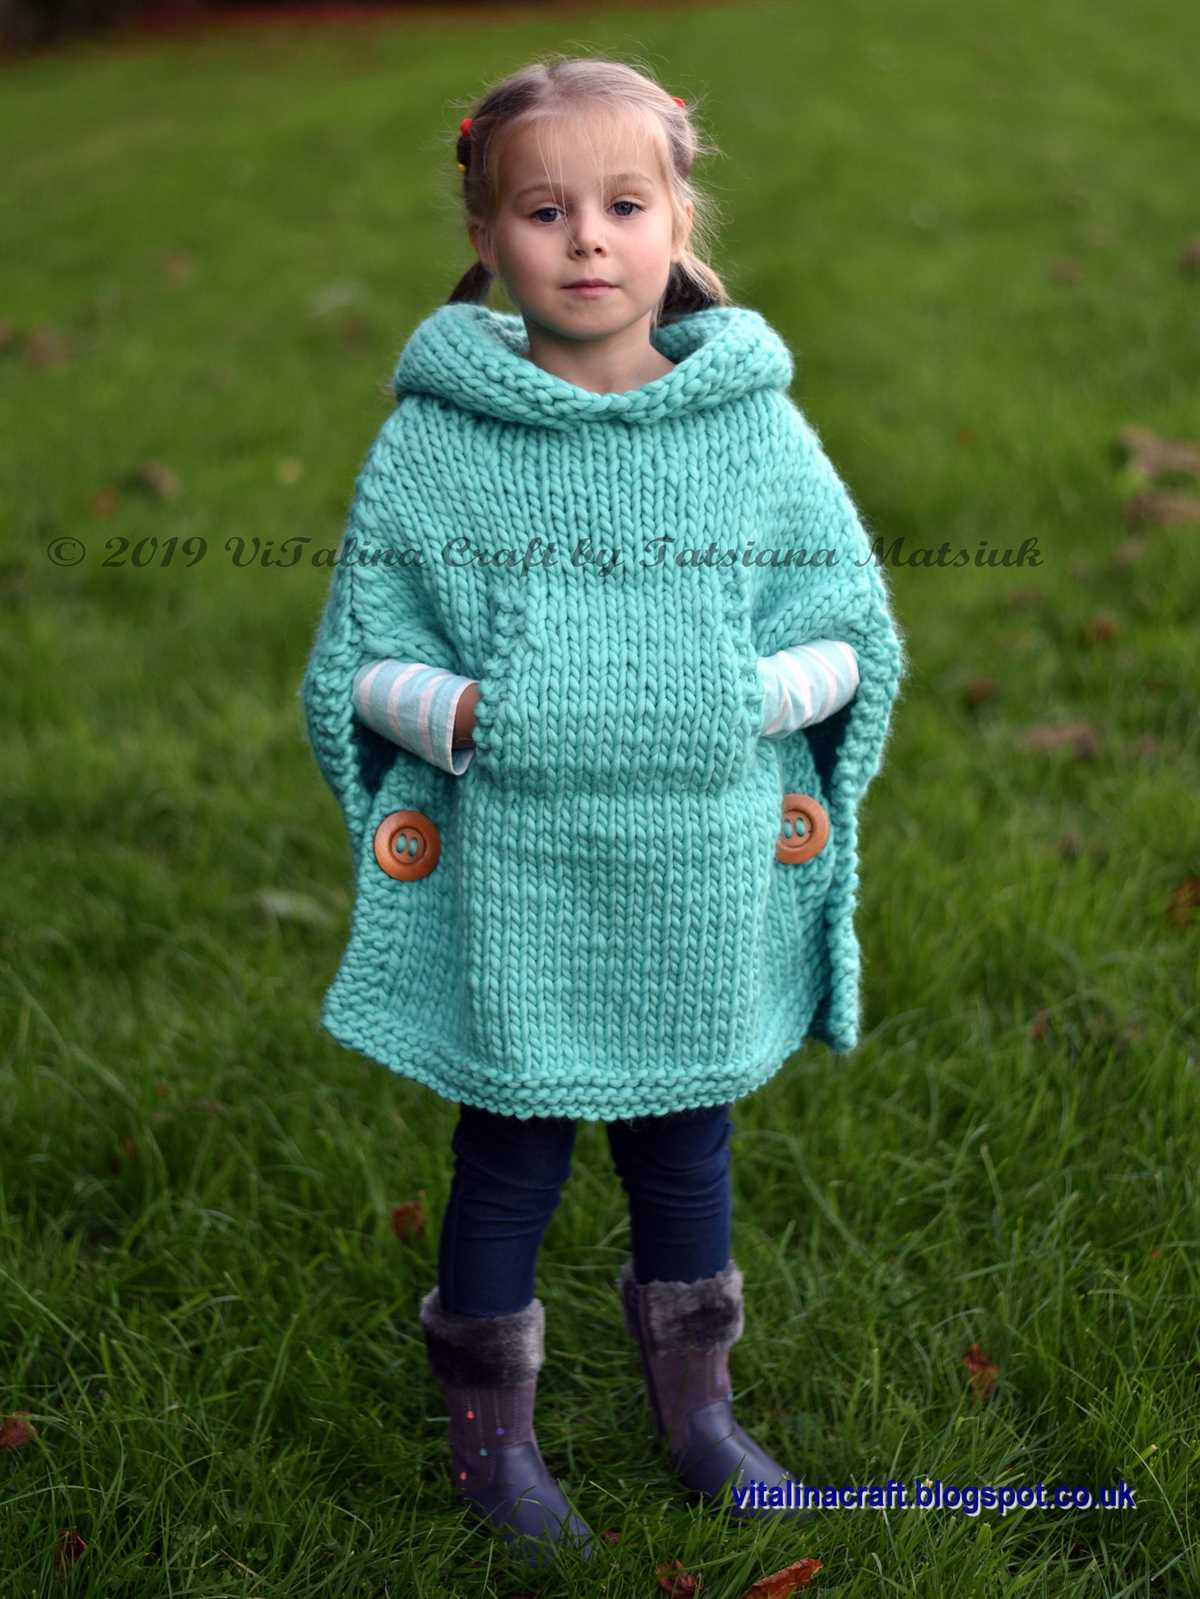
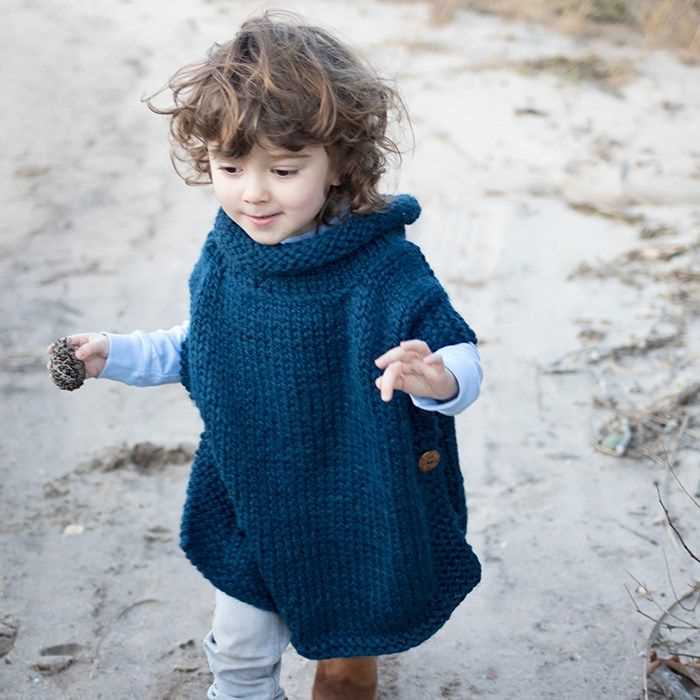
Hooded Poncho:
To add versatility and warmth to the child’s poncho, consider adding a hood. The hood provides additional protection from the elements and can be a cute and practical addition to the garment. A hooded poncho is perfect for outdoor activities or as a cozy layering piece.
These are just a few variations of child’s knitted poncho patterns that you can explore and experiment with. Whether you’re a beginner or an experienced knitter, modifying a poncho pattern allows you to showcase your creativity and create a unique and personalized garment for the little ones. So pick up your knitting needles and start creating!
Knitting Resources and Where to Find Patterns
Whether you are a beginner or an experienced knitter, finding good knitting resources and patterns is essential to your craft. Luckily, there are many online platforms and websites dedicated to sharing knitting patterns and tutorials. Here are some popular resources where you can find a variety of patterns for child’s knitted ponchos and more:
1. Ravelry
Ravelry is a well-known online community for knitters and crocheters. It offers a vast collection of patterns, including many options for child’s knitted ponchos. You can search for patterns by category, difficulty level, and yarn weight. Ravelry also allows you to connect with other knitters, join groups, and showcase your own projects.
2. Lion Brand Yarn
Lion Brand Yarn is a popular brand that offers a wide range of knitting patterns on their website. They have an extensive selection of child’s poncho patterns, and you can filter the options based on your desired yarn and skill level. Lion Brand Yarn also provides helpful video tutorials and guides for beginners.
3. Knitty
Knitty is an online knitting magazine that features free knitting patterns, articles, and tutorials. They have a dedicated section for kids’ patterns, where you can find unique and creative designs for child’s knitted ponchos. Knitty releases new issues regularly, so you can always find fresh inspiration for your knitting projects.
4. Etsy
Etsy is a marketplace for handmade crafts, including knitting patterns. Many independent designers sell their patterns on Etsy, offering a diverse range of options for child’s knitted ponchos. You can browse through different sellers, read reviews, and choose patterns that suit your preferences. Etsy also allows you to support individual designers and their work.
These are just a few examples of the many resources available for knitting patterns. Whether you prefer online communities, brand websites, or independent designers, there is no shortage of options to explore. Take your time to browse through different platforms, try out new patterns, and unleash your creativity as you knit beautiful child’s knitted ponchos!