
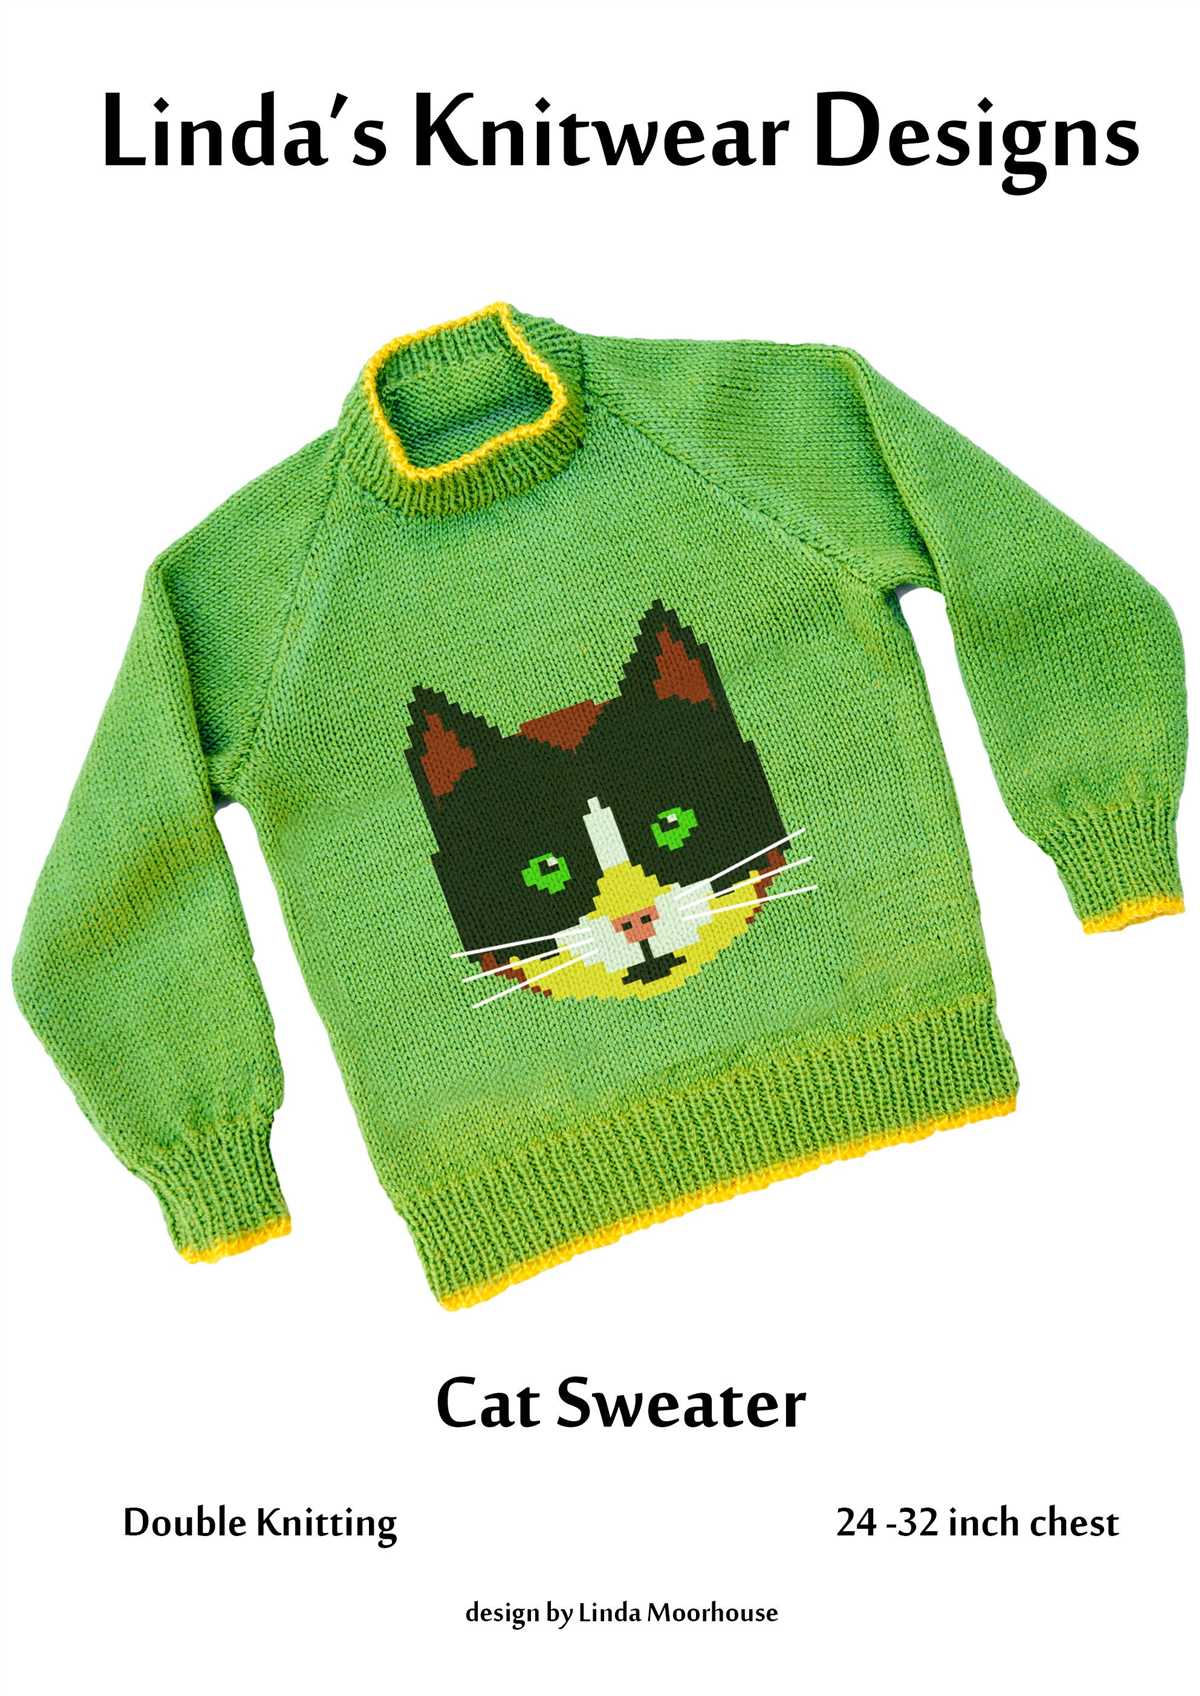
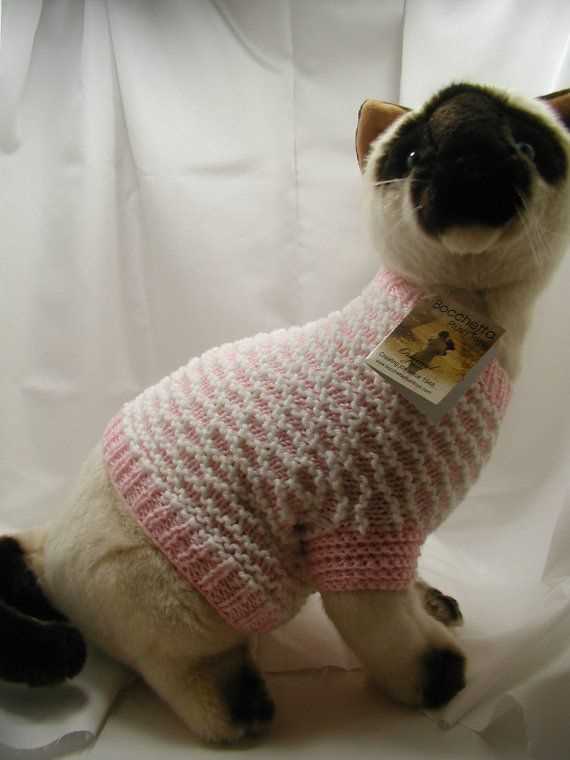
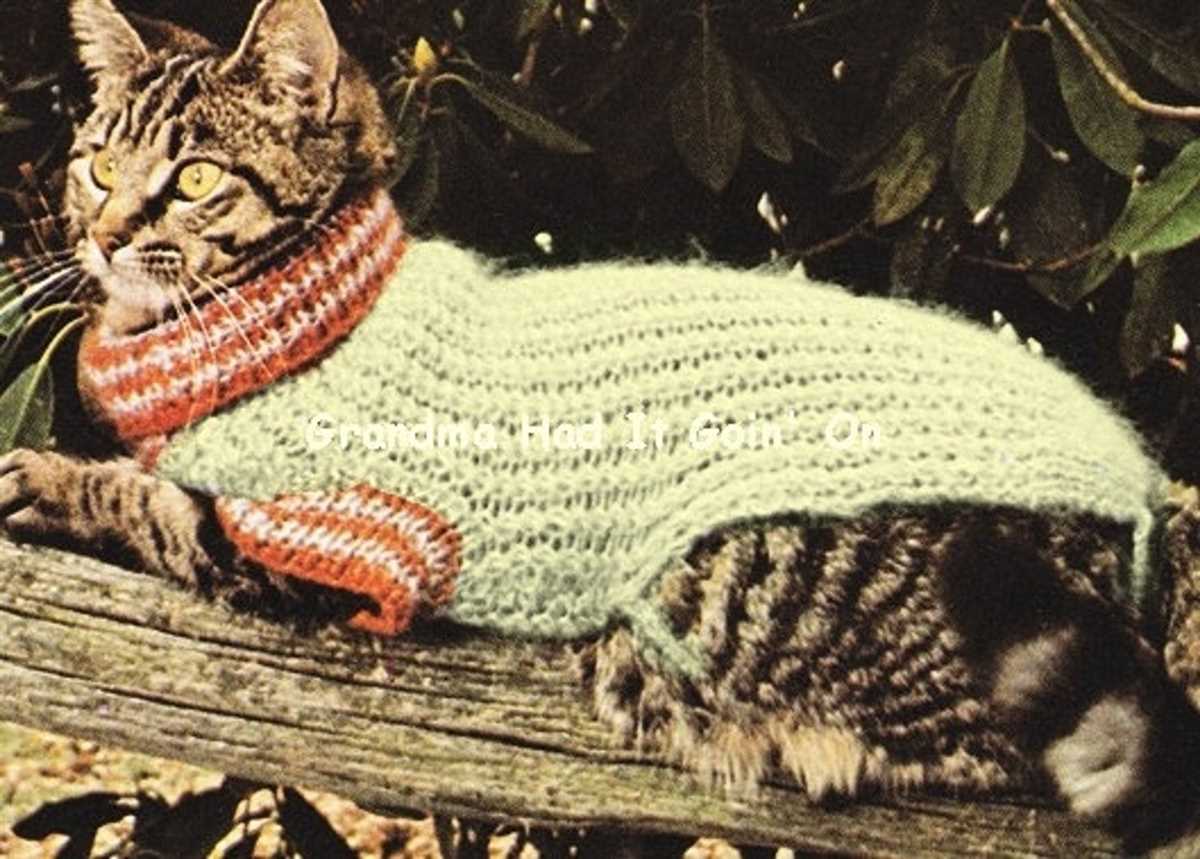
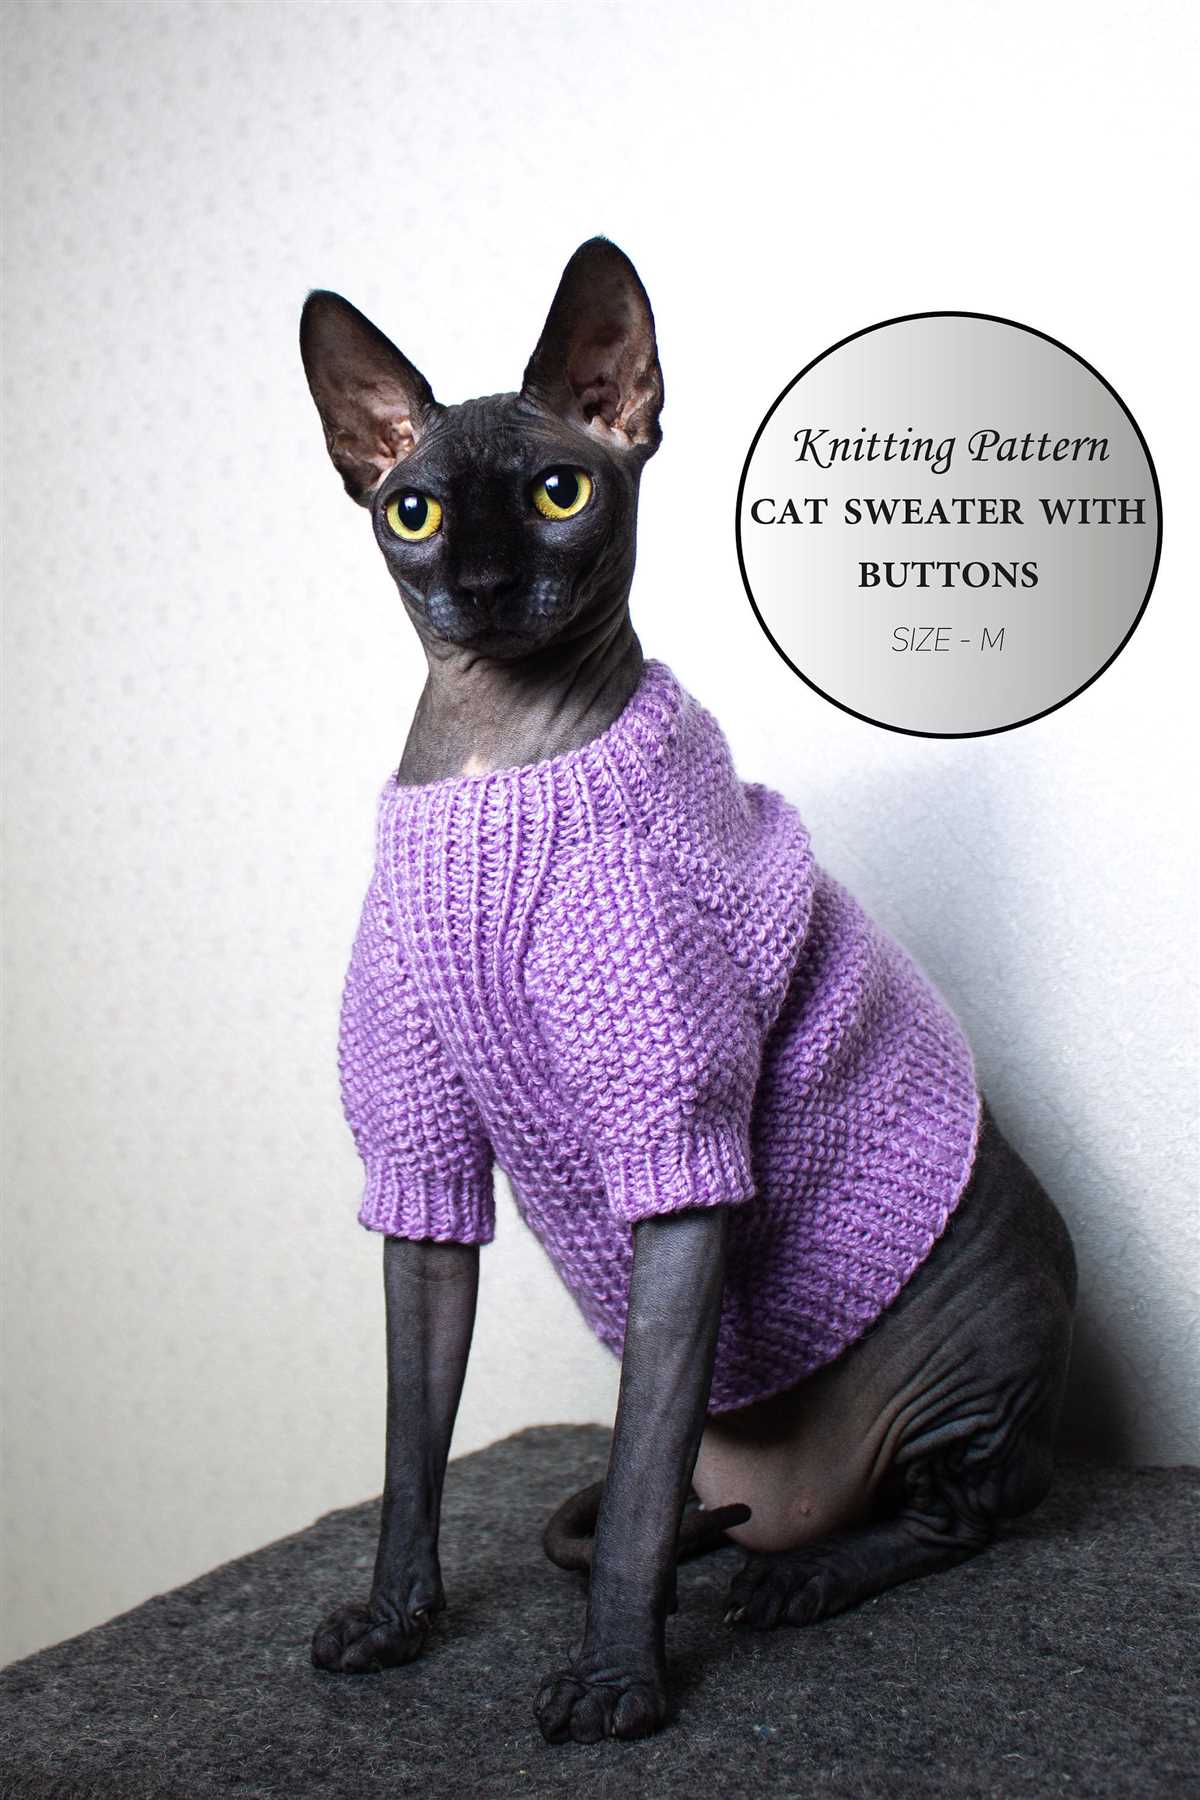
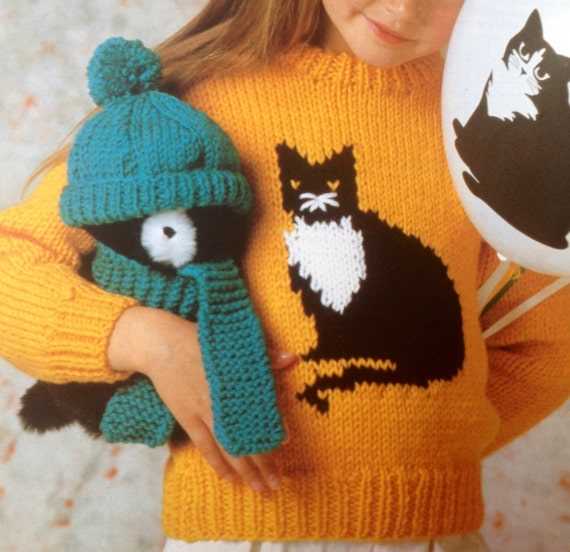
Are you a cat lover who also enjoys knitting? If so, then you’ll love the idea of knitting a sweater for your furry little friend. Not only will it keep your cat warm and cozy on chilly days, but it’s also a great way to show off your knitting skills and add some unique flair to your pet’s wardrobe.
With so many different knitting patterns available, it can be overwhelming to choose the perfect one for your cat. But if you’re looking for something cute, trendy, and easy to make, a cat knitting pattern sweater might be just what you’re looking for.
Whether you’re a seasoned knitter or a beginner looking to try your hand at a new project, this article will guide you through the process of knitting a sweater for your feline friend. From selecting the right yarn and needles to mastering knitting techniques, we’ll cover everything you need to know to create a stylish and comfortable sweater that your cat will adore. So grab your knitting needles, follow our step-by-step instructions, and get ready to create a one-of-a-kind sweater for your favorite feline companion!
Why knit a sweater for your cat?
Knitting a sweater for your cat may seem like a whimsical idea, but it can actually have a number of practical benefits for both you and your furry feline friend.
1. Keeping your cat warm: Cats, especially those with short hair or in colder climates, can benefit from wearing sweaters to help regulate their body temperature. Knitting a sweater allows you to customize the fit and fabric to provide optimal warmth and comfort for your cat.
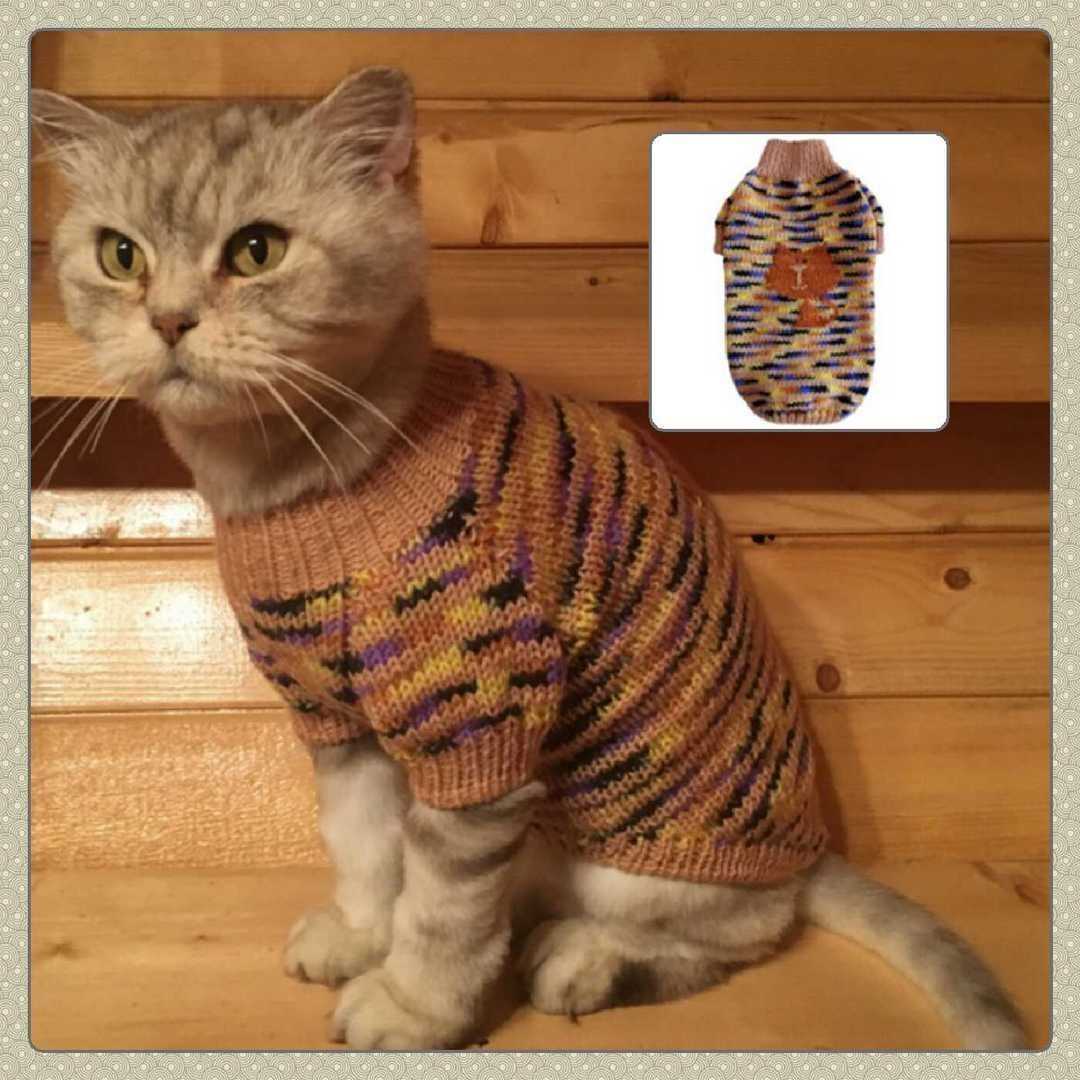
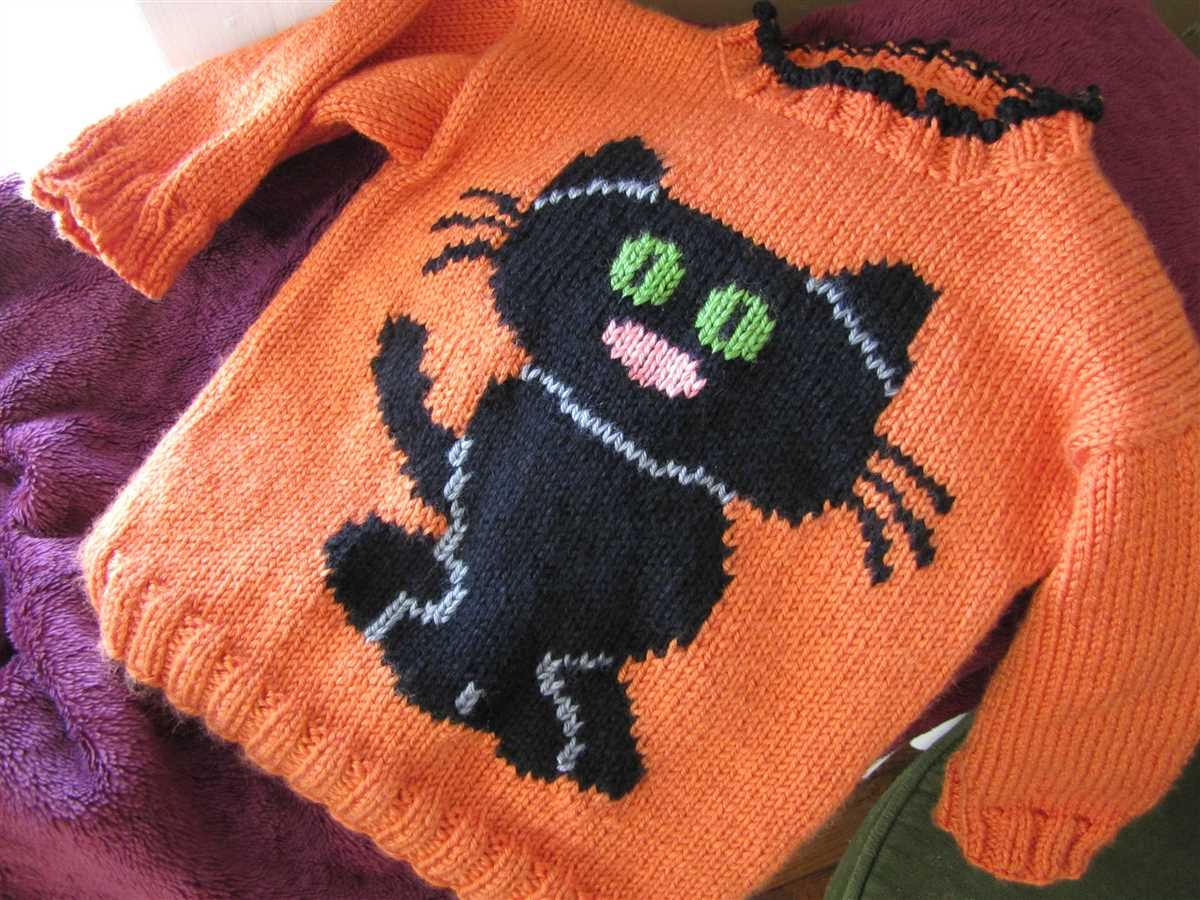
2. Fashion statement: Just like humans, cats can also make a fashion statement with their attire. By knitting a unique sweater for your cat, you can showcase their personality and style. Whether it’s a cute, colorful design or something more sophisticated, your cat will surely turn heads with their fashionable wardrobe.
3. Protection from allergens: If you or someone in your household has allergies to cat dander, knitting a sweater can help minimize exposure. The sweater acts as a barrier, reducing the amount of dander that is released into the environment, making it easier for those with allergies to coexist with their feline companion.
4. Bonding experience: Knitting a sweater for your cat can be a fun and rewarding activity that strengthens the bond between you and your pet. As you work on the project, your cat may become curious and provide you with some much-needed company and entertainment. Plus, once the sweater is finished, your cat will appreciate the extra love and attention they receive when wearing it.
5. Photo opportunities: Let’s be honest, dressing up pets and taking adorable photos has become a popular pastime for many pet owners. Knitting a sweater for your cat opens up a whole new world of creative photo opportunities. You can capture memorable moments with your cat in their stylish sweater, making for great social media posts and cherished memories.
In conclusion, knitting a sweater for your cat is not only a practical way to keep them warm but also a creative and enjoyable activity that can enhance your bond and provide countless photo-worthy moments. So grab your knitting needles and let your imagination run wild as you create a cozy and fashionable sweater for your beloved feline companion.
Choosing the Right Yarn and Needles
When it comes to knitting a cat sweater, choosing the right yarn and needles is essential for a successful and comfortable fit. The type of yarn you choose will depend on the level of warmth you want to provide and the level of durability needed for your cat’s activities.
Yarn: It is recommended to use a soft, lightweight, and non-itchy yarn for your cat’s sweater. Acrylic or cotton yarns are great options as they are comfortable and easy to care for. Avoid using yarns with a lot of texture or loose strands that could potentially irritate your cat’s sensitive skin.
Needles: The size of needles you will need for your cat’s sweater will depend on the thickness of the yarn you choose. Thicker yarns will require larger needles, while finer yarns will require smaller needles. It is important to choose needles that will result in a tight and even stitch, ensuring a snug and secure fit for your cat.
Additionally, consider the length and material of the needles. Knitting with circular needles can be more comfortable and easier to manage, especially for smaller projects like cat sweaters. As for the material, wooden or bamboo needles are recommended as they provide a better grip and reduce the chances of the stitches slipping off.
Finally, when choosing the yarn and needles for your cat’s sweater, it is important to consider the design and pattern you will be using. Some patterns may recommend specific yarn weights or needle sizes, so be sure to check the instructions before making your selection.
Understanding the knitting pattern
Knitting patterns can sometimes seem overwhelming, especially for beginners. However, once you understand how to read and interpret them, you’ll find that they provide all the necessary information to create a beautiful cat sweater. Let’s break down the key components of a knitting pattern:
1. Materials Needed:
Every knitting pattern will list the materials required to complete the project. This usually includes the specific type and amount of yarn, the recommended needle size, and any additional tools or accessories, such as buttons or a tapestry needle. It’s important to gather all the necessary materials before starting to ensure a smooth knitting process.
2. Gauge:
The gauge is an essential part of any knitting pattern as it determines the size and fit of the finished project. It represents the number of stitches and rows that should be achieved within a specified measurement. It’s crucial to check your gauge before starting the project to ensure that your tension matches the one specified in the pattern. You may need to adjust your needle size or yarn weight to achieve the correct gauge.
3. Instructions:
The instructions section is the heart of the knitting pattern. It is where you’ll find the step-by-step guidelines to create the cat sweater. The instructions will include abbreviations for various knitting techniques, such as knit (K), purl (P), increase (inc), or decrease (dec). Additionally, it will specify the stitch pattern, the number of stitches to cast on, the required shaping techniques, and any other important details to complete the project. It’s vital to read the instructions carefully, making note of any pattern repeats or special instructions.
4. Schematic and Diagrams:
Some knitting patterns will include a schematic or diagrams to provide visual guidance. A schematic is a drawing that outlines the dimensions and shape of the finished garment, such as the chest width or sleeve length. Diagrams, on the other hand, illustrate specific stitch patterns or techniques, which can be especially helpful for complex or repetitive sections of the pattern. These visual aids complement the written instructions and assist in visualizing the finished project.
By understanding the key components of a knitting pattern and taking the time to familiarize yourself with the instructions, you’ll be well-prepared to begin knitting the cat sweater. Remember to take it one step at a time, and don’t hesitate to seek help or clarification if needed. Happy knitting!
Getting started with the cast on
When starting a knitting project, one of the first things you will need to do is to cast on. Casting on is the process of creating the first row of stitches on your knitting needle. It is the foundation of your project and sets the stage for the rest of your knitting.
There are several different methods for casting on, but the most common and versatile method is the long-tail cast on. To do this, you will need to determine how much yarn you will need for your project and then measure out a tail of yarn that is about three times the width of your finished project. This tail will be used to create the first row of stitches.
To begin the long-tail cast on, make a slipknot about 6 inches from the end of the tail. Slip this knot onto your right-hand needle, holding the needle in your right hand. Hold the long end of the tail in your left hand, and position the yarn over your left thumb and index finger, forming a loop.
- Insert your right-hand needle into the loop on your left thumb from front to back.
- Bring the needle over the top of the loop on your left index finger.
- Rotate the needle anticlockwise, bringing it back under the loop on your left thumb.
- Gently pull the loop off your left thumb, creating a stitch on your right-hand needle.
- Tighten the stitch by pulling on the working yarn.
- Repeat these steps for the desired number of stitches.
The long-tail cast on creates a neat and elastic edge, making it suitable for a wide range of knitting projects. Once you have mastered this method, you will be ready to start knitting your cat sweater pattern!
Knitting the Body of the Sweater
Once you have completed the sleeves, it’s time to move on to knitting the body of the sweater. This is an exciting step as it brings you closer to finishing your cat’s cozy sweater.
1. Cast on stitches: Start by casting on the required number of stitches onto your knitting needles. The number of stitches will depend on the size of your cat and the desired fit of the sweater. Make sure to refer to the pattern for the specific measurements.
2. Work in the desired stitch pattern: Follow the instructions in the knitting pattern for the body of the sweater. This could involve working in a specific stitch pattern, such as stockinette stitch, ribbing, or any other pattern that you may prefer. Make sure to pay attention to any shaping or increases/decreases that may be required.
3. Knit to the desired length: Continue knitting in the pattern until you reach the desired length for the body of the sweater. This will depend on how long you want the sweater to be on your cat. Make sure to periodically try the sweater on your cat to ensure proper fit and adjust the length accordingly.
4. Shape the neckline: Once you have reached the desired length, you may need to shape the neckline. This could involve binding off stitches at the center of the row and then working each side separately to create a neckline opening. Again, refer to the pattern for specific instructions on shaping the neckline.
5. Bind off: Finally, when the body of the sweater is complete, bind off all the stitches to secure your work. This will ensure that the sweater holds its shape and doesn’t unravel.
By following these steps, you will be able to knit the body of the sweater for your cat and create a cozy and adorable outfit that your feline friend will love to wear. Happy knitting!
Creating the armholes
The next step in knitting a cat sweater is to create the armholes. This is an important part of the process as it allows your cat to move its front legs freely. To start, you will need to find and mark the appropriate stitches on each side of the sweater where the armholes will be located. This will depend on the size of your cat and the width of its chest. You can use stitch markers or contrasting yarn to make the marks clearly visible.
Once you have marked the stitches, you will need to carefully decrease the number of stitches in each row to create the armhole shape. This can be done by knitting two stitches together at the beginning and end of each row, or by following a specific decreasing pattern. Make sure to follow the instructions of the knitting pattern you are using, as different patterns may have different ways of creating armholes.
Creating armholes requires precision and attention to detail. It is important to keep track of your stitches and make sure that you are decreasing the correct number of stitches in each row. Take your time and double-check your work to ensure that the armholes are symmetrical and of the desired size. Remember to consult the knitting pattern for any specific measurements or instructions regarding the armholes.
Knitting the sleeves
After completing the body of the sweater, it’s time to move on to knitting the sleeves. The sleeves of a cat sweater are typically knitted separately and then sewn onto the body. This allows for a more customized fit and easier knitting in small sections.
Step 1: To begin knitting the sleeves, cast on the required number of stitches onto double-pointed needles or a circular needle. The number of stitches will vary depending on the size of the cat and the desired width of the sleeves.
Step 2: Once the stitches are cast on, begin knitting in the desired stitch pattern. This can be a simple stockinette stitch, ribbing, or any other pattern of your choosing. Be sure to check the knitting pattern for any specific stitch instructions.
Step 3: Continue knitting the desired length for the sleeves. This will also vary depending on the size of the cat and the desired length of the sleeves. You can measure the cat’s leg and adjust accordingly for a better fit.
Step 4: When the desired length is reached, it’s time to shape the sleeve by decreasing stitches. This is typically done by knitting two stitches together at regular intervals. Again, consult the knitting pattern for specific instructions on decreasing.
Step 5: After shaping the sleeve, continue knitting until the desired cuff length is reached. This can be a simple ribbed cuff or any other border detail you prefer.
Step 6: Once the sleeve is complete, repeat the entire process for the second sleeve. It’s important to maintain symmetry and ensure both sleeves are the same size and shape.
Finally, once both sleeves are complete, they can be sewn onto the body of the sweater using a whip stitch or any other preferred method of seaming. To ensure a clean and secure seam, take your time and carefully align the edges of the sleeve with the corresponding armhole on the sweater body. This will give the cat sweater a polished and professional finish.
Joining the sleeves to the body
The process of joining the sleeves to the body is an important step in knitting a cat sweater. This is where the individual components of the sweater start coming together to create the final product. Before beginning this step, make sure you have completed knitting both the body and the sleeves according to the cat knitting pattern.
To join the sleeves to the body, you will need a tapestry needle and yarn. Start by laying the knit sleeves flat on a surface with the wrong side facing up. Then, position the body of the sweater on top of the sleeves, making sure the wrong side of the body is also facing up. Align the stitches of the sleeves with the stitches of the body, matching the underarm seams.
Next, thread the tapestry needle with yarn that matches the color of the sweater. Insert the needle into the first stitch of the sleeve and then into the corresponding stitch of the body. Pull the yarn through, leaving a small tail. This is the first stitch for joining the sleeves to the body. Continue working in this manner, stitching the sleeves to the body using a mattress stitch or any other suitable method described in the cat knitting pattern.
- Tip: It is important to maintain the correct tension throughout this process to ensure a neat and professional finish.
- Note: Take extra care when joining the underarm area, as it can be a bit tricky to match the stitches perfectly. Slow and careful stitching will help in achieving a seamless result.
Adding Finishing Touches
Once you have knitted the main body of the cat sweater and sewn the seams together, it’s time to add the finishing touches to make the sweater truly unique and stylish for your furry friend.
1. Ribbed Collar: To give the sweater a polished look, you can add a ribbed collar. Using a smaller needle size and the same color yarn as the main body, knit a few rows of ribbing around the neckline. This will not only add a professional finish but also help to keep the sweater in place.
2. Embroidered Design: One way to personalize the cat sweater is by adding an embroidered design. You can choose to embroider your cat’s name or create a cute pattern. Use a contrasting color yarn and a tapestry needle to carefully stitch the design onto the sweater. This will add a pop of color and make the sweater truly unique.
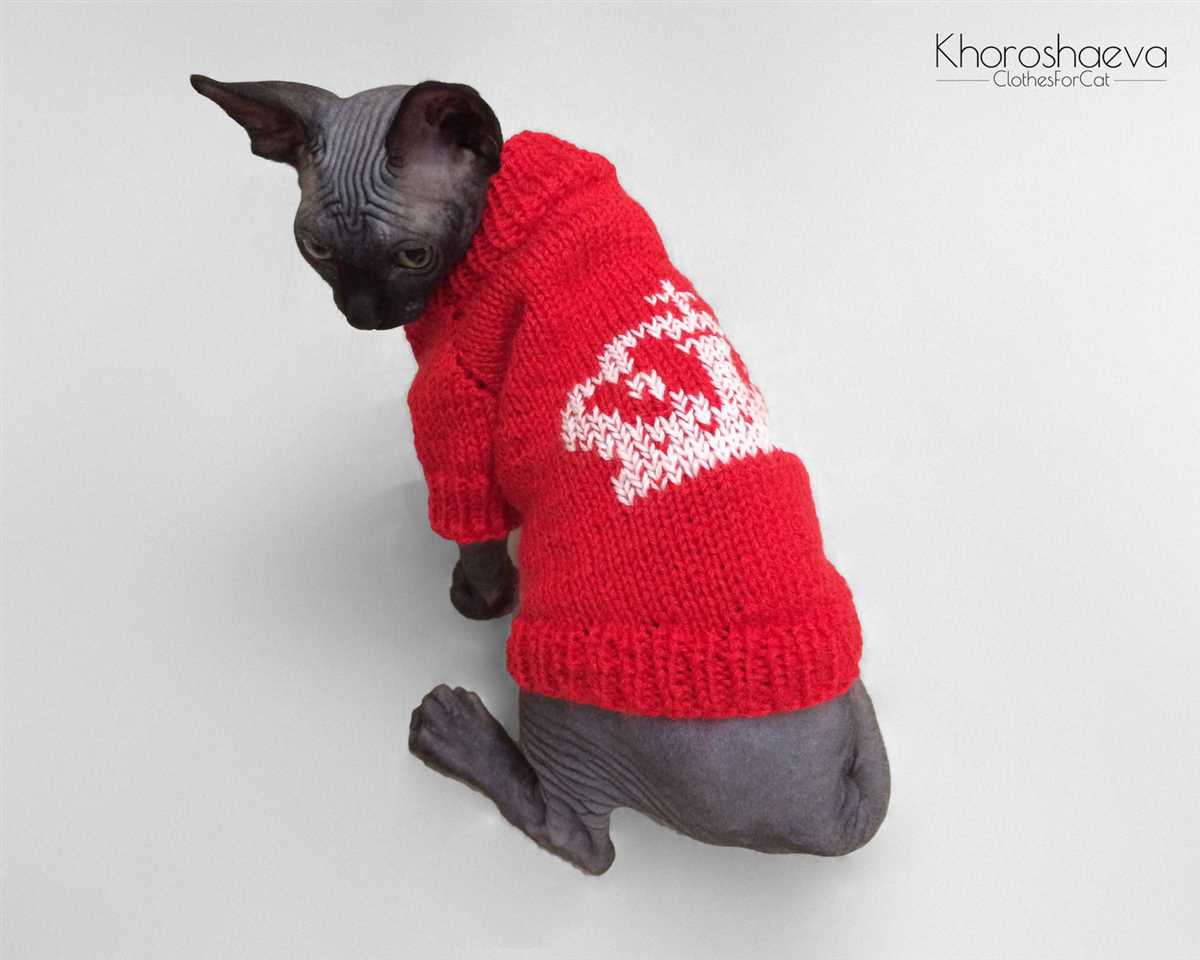
3. Buttons or Snaps: Another option to consider is adding buttons or snaps to the sweater. This will make it easier to put on and take off your cat. Choose buttons or snaps that complement the color of the sweater and securely attach them to the front or back opening of the sweater. This finishing touch will not only be convenient but also add a touch of style.
4. Pom-pom or Tassel: For an extra touch of flair, you can add a pom-pom or tassel to the end of the cat sweater. Using a contrasting color yarn, make a pom-pom or tassel and attach it to the lower hem of the sweater. This will give the sweater a playful and fun look.
5. Care Instructions: Don’t forget to include care instructions for the sweater. This can be a small tag or a handwritten note attached to the sweater. Include information on how to wash, dry, and store the sweater to ensure its longevity.
By adding these finishing touches, you can take your cat’s sweater from ordinary to extraordinary. Your furry friend will not only be warm and cozy but also fashion-forward!
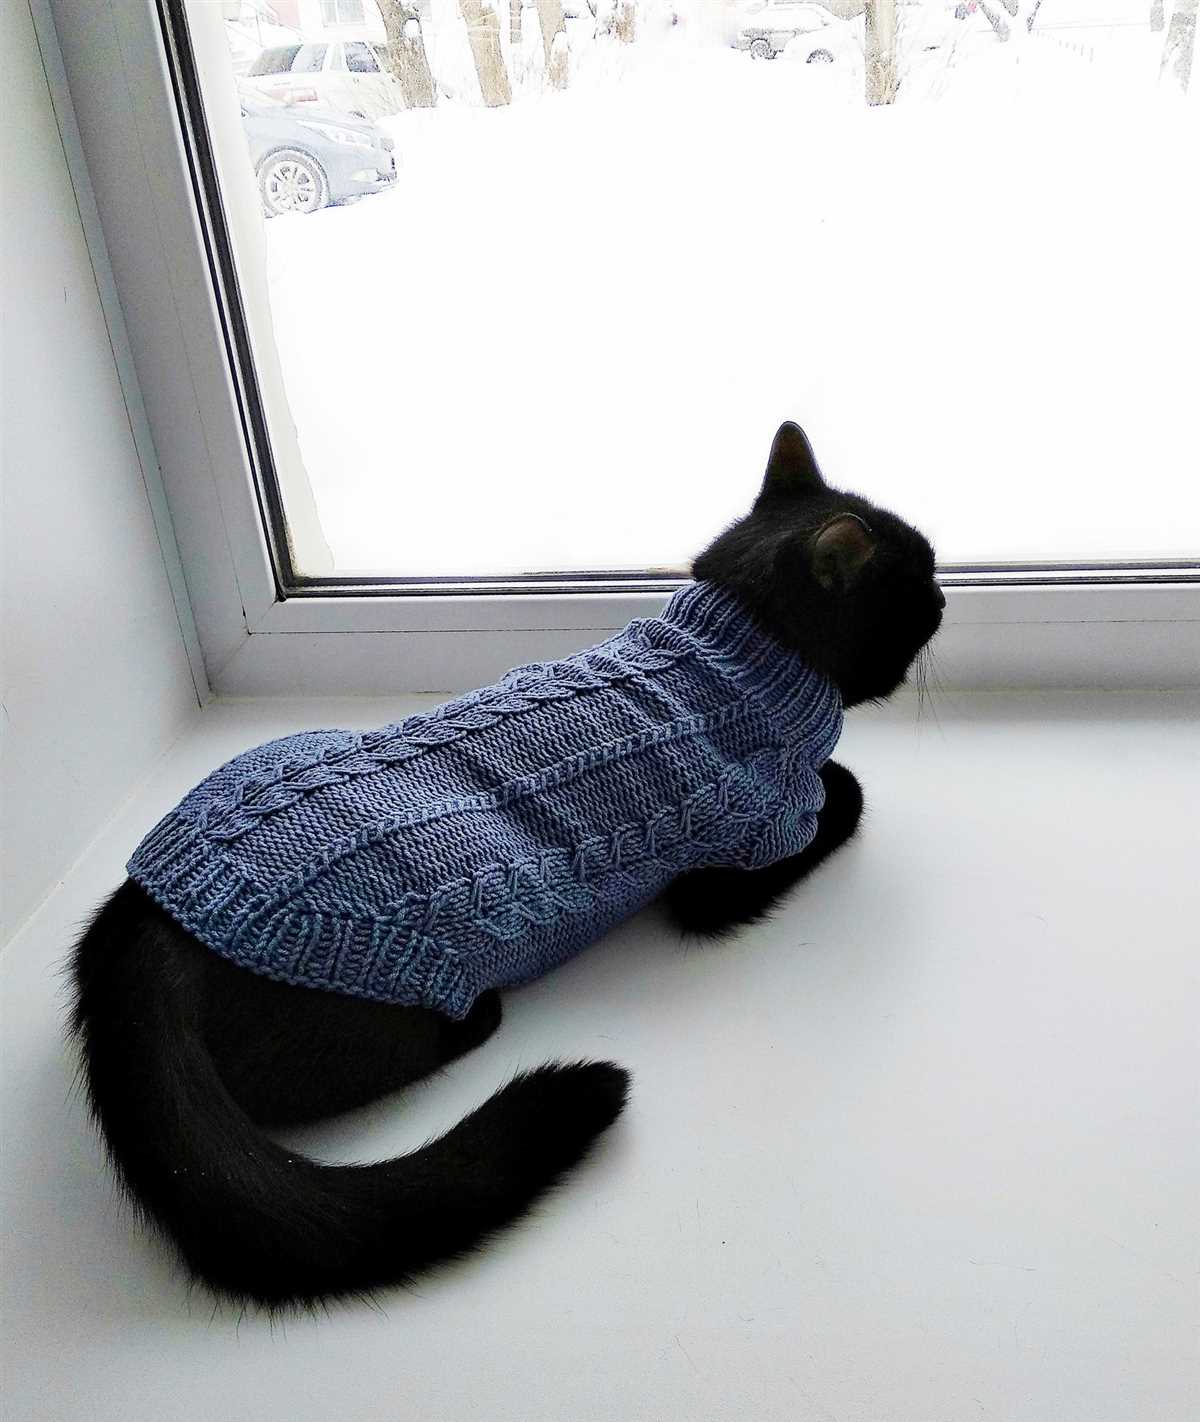
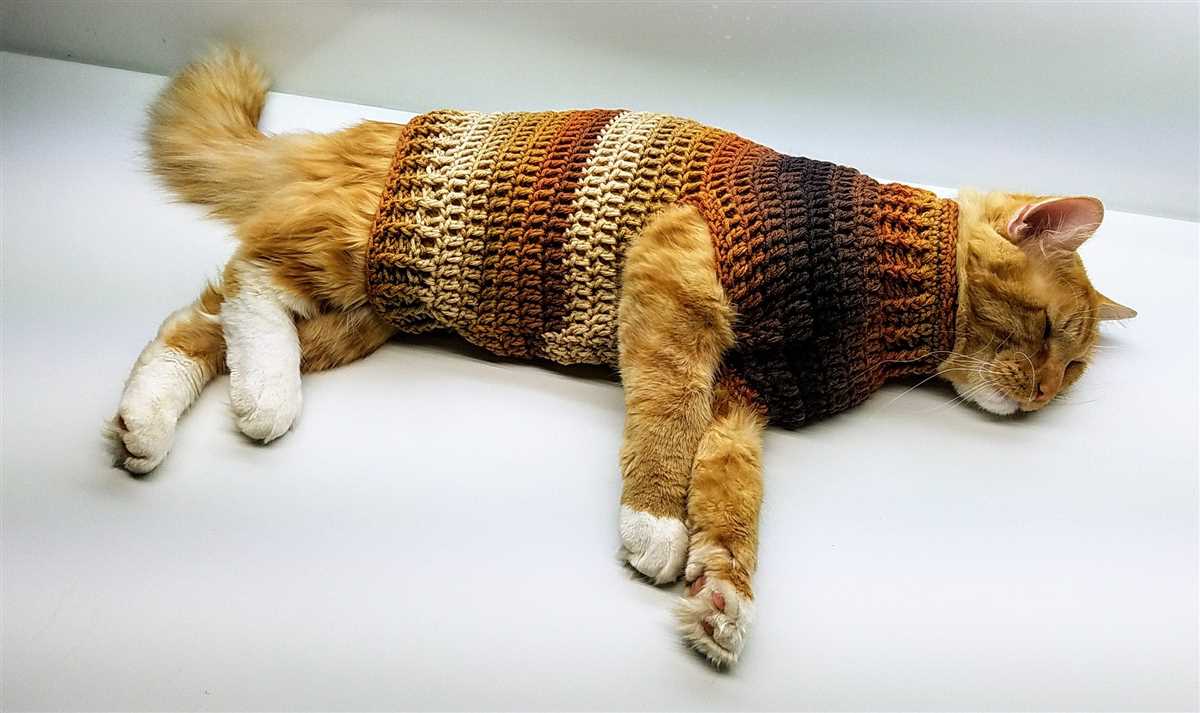
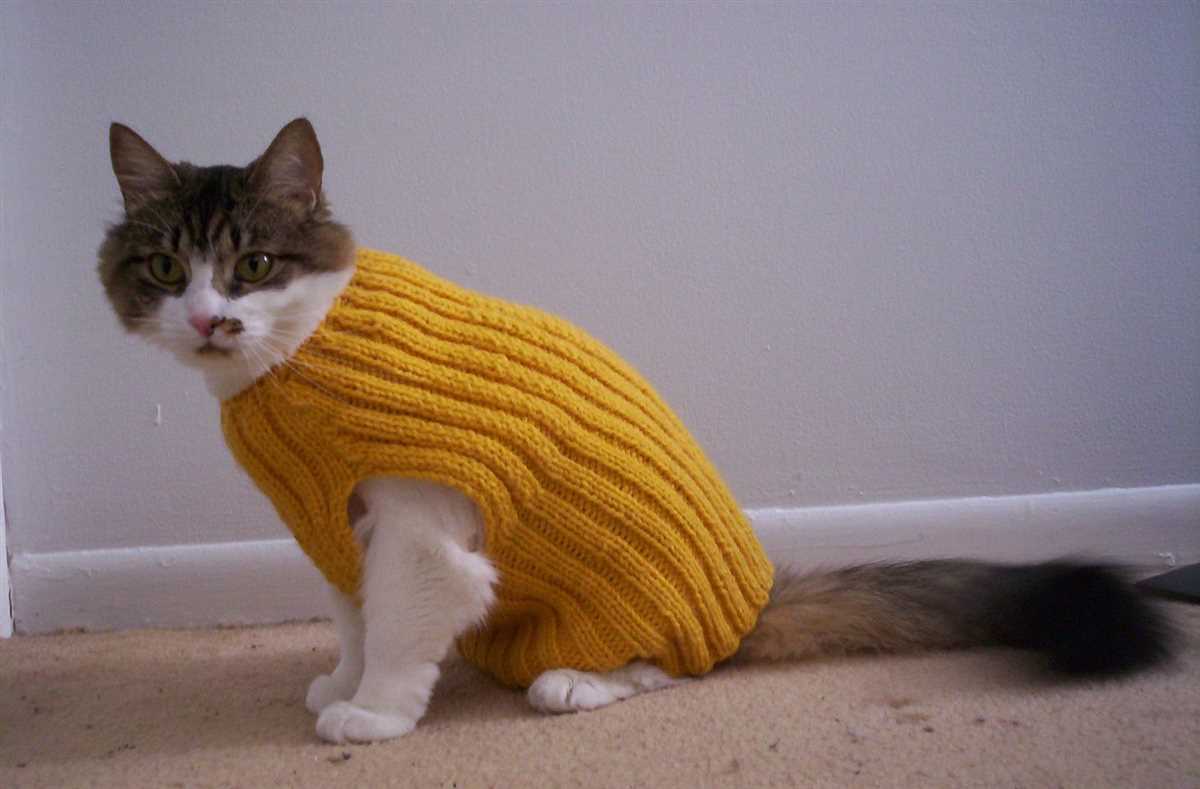
Trying on the sweater for size
After spending hours knitting the cat sweater, it’s finally time to try it on your furry friend. The first step is to carefully place the sweater over the cat’s head, making sure not to cause any discomfort. Slowly slide each paw into the designated holes, ensuring a snug fit without restricting the cat’s movement.
Adjusting the fit
Once the sweater is on, it’s important to check the fit and make any necessary adjustments. Take a moment to observe how the sweater sits on your cat’s body. The length should cover the cat’s back comfortably, reaching from the base of the neck to the base of the tail. The armholes should be positioned correctly, allowing unrestricted movement of the front legs.
Making modifications
If the sweater is too loose, you can consider adding some elastic or a drawstring around the bottom edge to create a more secure fit. On the other hand, if the sweater is too tight, you might need to unravel a few rows of knitting and extend the length. Be sure to make any modifications with care, as you want your cat to be both comfortable and fashionable.
- Checking for comfort: Once the sweater is on and adjusted, observe your cat’s behavior. If they seem uncomfortable, such as excessive scratching or trying to remove the sweater, it may be necessary to make further adjustments.
- Completing the look: Finally, don’t forget to admire your adorable cat in their new sweater! Take a moment to capture this precious moment on camera and share it with your fellow cat-loving friends.
Caring for your cat’s knitted sweater
Knitting a sweater for your beloved cat is a wonderful way to show your love and care. However, it is important to properly care for the sweater to ensure its longevity and your cat’s comfort. Here are some tips to help you care for your cat’s knitted sweater:
1. Hand wash
It is best to hand wash your cat’s knitted sweater to avoid any damage. Use a gentle detergent and lukewarm water. Avoid using hot water as it can shrink the sweater. Gently soak the sweater in the soapy water and lightly agitate it with your hands. Rinse thoroughly with clean water until there are no more soap suds.
2. Drying
After washing, carefully squeeze out excess water from the sweater. Do not wring or twist the sweater as it can stretch or damage the fabric. Instead, lay the sweater flat on a clean towel and gently roll the towel to absorb more moisture. Then, reshape the sweater and lay it flat on a drying rack or a clean, dry towel. Avoid hanging the sweater to dry as it can lose its shape.
3. Storage
When your cat is not wearing the knitted sweater, it is important to store it properly to protect it from damage. Make sure the sweater is completely dry before storing it. Fold the sweater neatly and place it in a clean, dry storage bag or a drawer. Avoid storing the sweater in direct sunlight or in a damp area, as it can cause discoloration and mold growth.
By following these simple tips, you can ensure that your cat’s knitted sweater stays in great condition for a long time. Your furry friend will be cozy and stylish in their handmade garment!
Showing off your cat’s new sweater
After hours of carefully knitting and crafting, your cat’s new sweater is finally complete! Now it’s time to show off your feline friend’s fashionable new look. Whether you’re planning a photo shoot or simply want to share your cat’s adorable ensemble with friends and family, here are some fun and creative ways to showcase your cat’s new sweater:
1. Strike a pose
Dress your cat in their sweater and find a picturesque backdrop for a mini photo shoot. You can capture your cat lounging in their favorite spot, exploring the outdoors, or playing with their favorite toy. Experiment with different angles and get down to your cat’s level to capture their unique personality.
2. Create a social media buzz
Showcasing your cat’s new sweater on social media is a surefire way to receive plenty of likes and comments. Take a cute photo of your cat wearing the sweater and share it on your favorite social media platforms. Don’t forget to use popular cat-related hashtags to reach a wider audience of fellow cat lovers.
3. Host a cat fashion show
Gather your friends and fellow cat owners for a fun-filled cat fashion show. Invite them to dress their cats in creative outfits and strut their stuff down a makeshift runway. Award prizes for the most stylish, funniest, and most original outfits. This is a great opportunity to showcase your cat’s knitting prowess and bond with other cat enthusiasts.
4. Coordinate with your cat
Take your cat’s fashion game to the next level by coordinating your outfits. Choose a sweater or accessory that complements your cat’s new attire and take adorable matching photos. Not only will you and your cat look adorable together, but you’ll also create a strong bond and capture special memories.
5. Share with local pet communities
If you’re part of a local pet community or online cat group, share pictures of your cat wearing their new sweater. You can inspire and motivate fellow cat owners to try their hand at knitting or share your pattern and tips with others. It’s a wonderful way to connect with like-minded individuals and celebrate your love for cats.
Celebrate the completion of your cat’s new sweater by showing it off in style. Whether it’s through photos, social media, or a fashion show, be proud of your knitting skills and your cat’s fashionable new look.
Q&A:
Where can I find a cat knitting pattern for a sweater?
You can find cat knitting patterns for sweaters on various websites, such as Ravelry, Etsy, and LoveCrafts. You can also find patterns in knitting books and magazines.
Are there different types of cat knitting patterns for sweaters?
Yes, there are various cat knitting patterns available for sweaters. You can find patterns that are designed for different sizes and shapes of cats, as well as patterns with different designs and styles. Some patterns may also include additional features such as hoods or pockets.
Can I modify a cat knitting pattern for a sweater?
Yes, you can modify a cat knitting pattern for a sweater to suit your preferences. You can adjust the size of the pattern to fit your cat, change the colors, or add your own design elements. Just remember to take accurate measurements of your cat and make any necessary adjustments to the pattern before starting your project.
What materials do I need to knit a cat sweater?
To knit a cat sweater, you will need knitting needles, yarn in your desired color(s), and any additional materials specified in the pattern, such as buttons or zippers. It is important to choose yarn that is safe for cats and comfortable for them to wear. Acrylic or cotton yarns are often good choices for cat sweaters.
Do I need advanced knitting skills to knit a cat sweater?
Knitting a cat sweater may require some intermediate knitting skills, such as basic knitting stitches, increasing and decreasing stitches, and following a pattern. However, there are also patterns available for beginners, so you can start with a simpler design if you are new to knitting. With practice and patience, you can develop the skills needed to knit a cat sweater.