
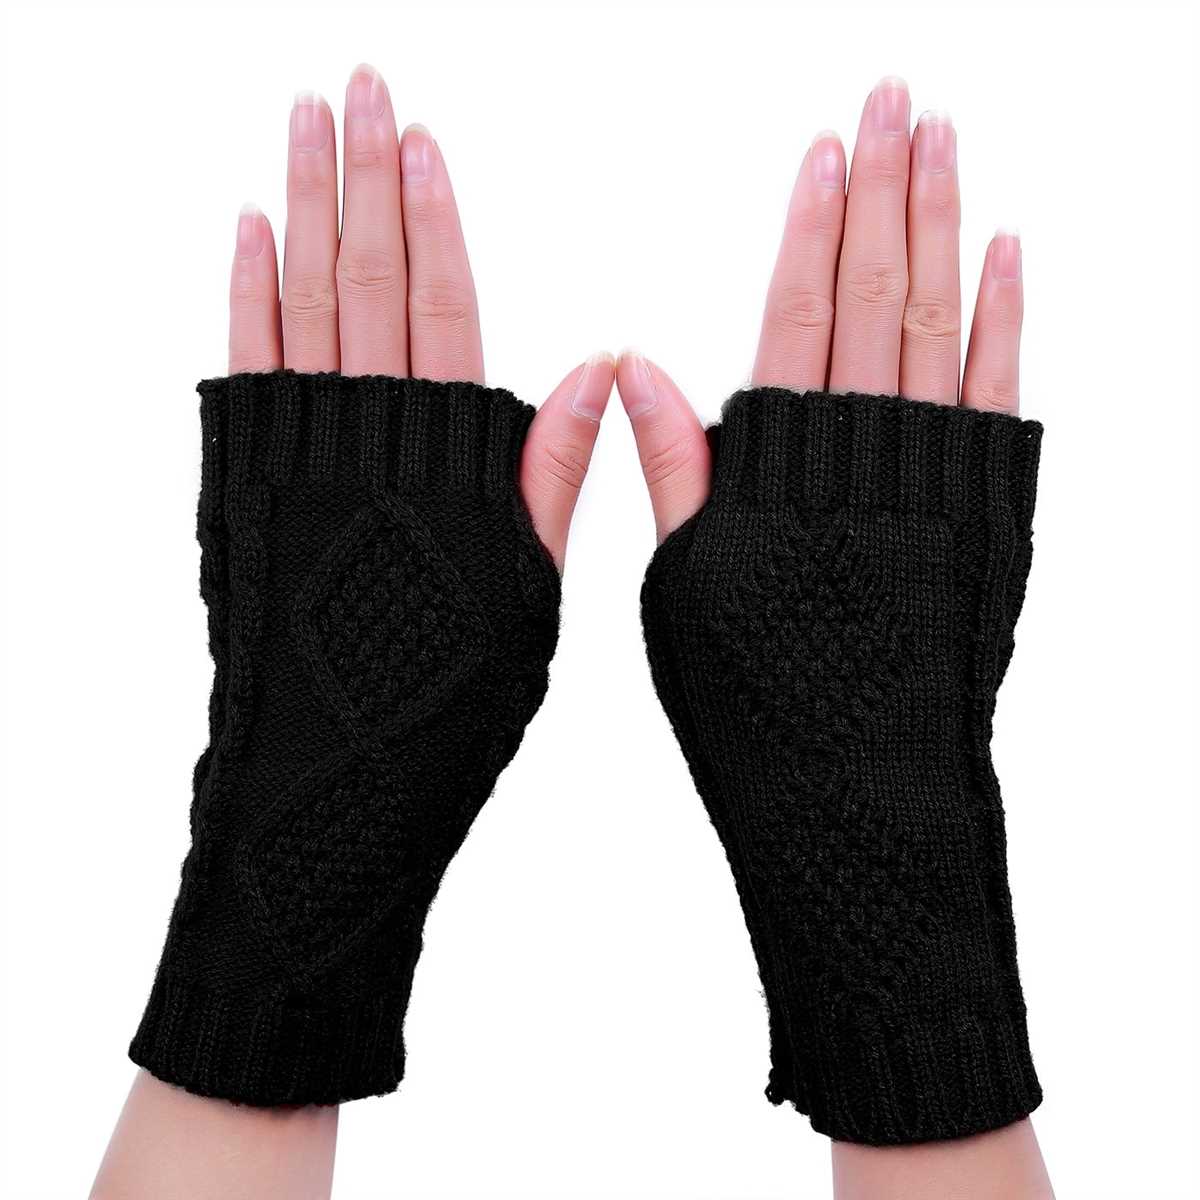
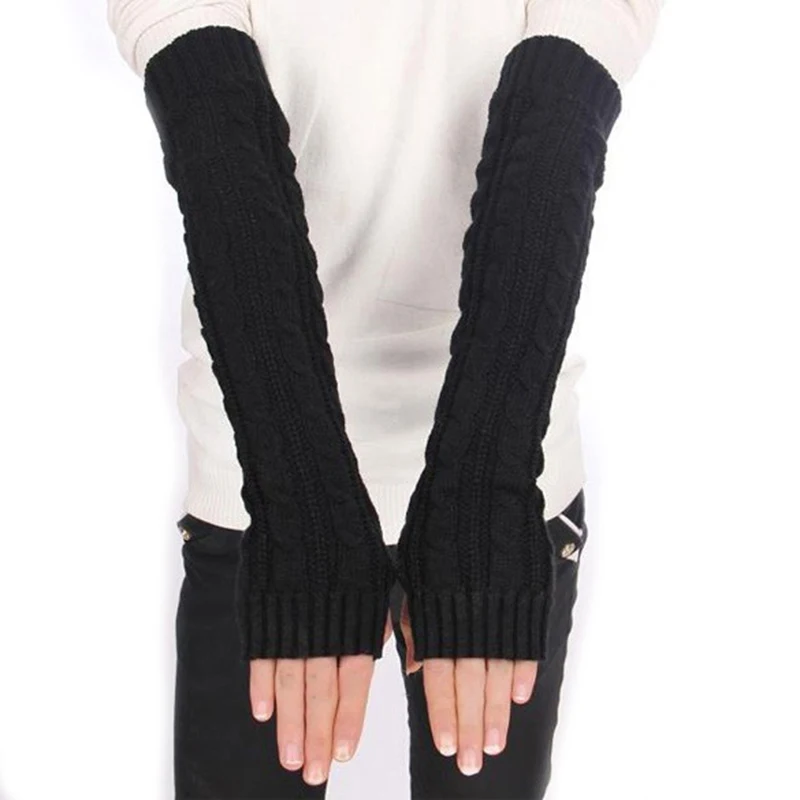
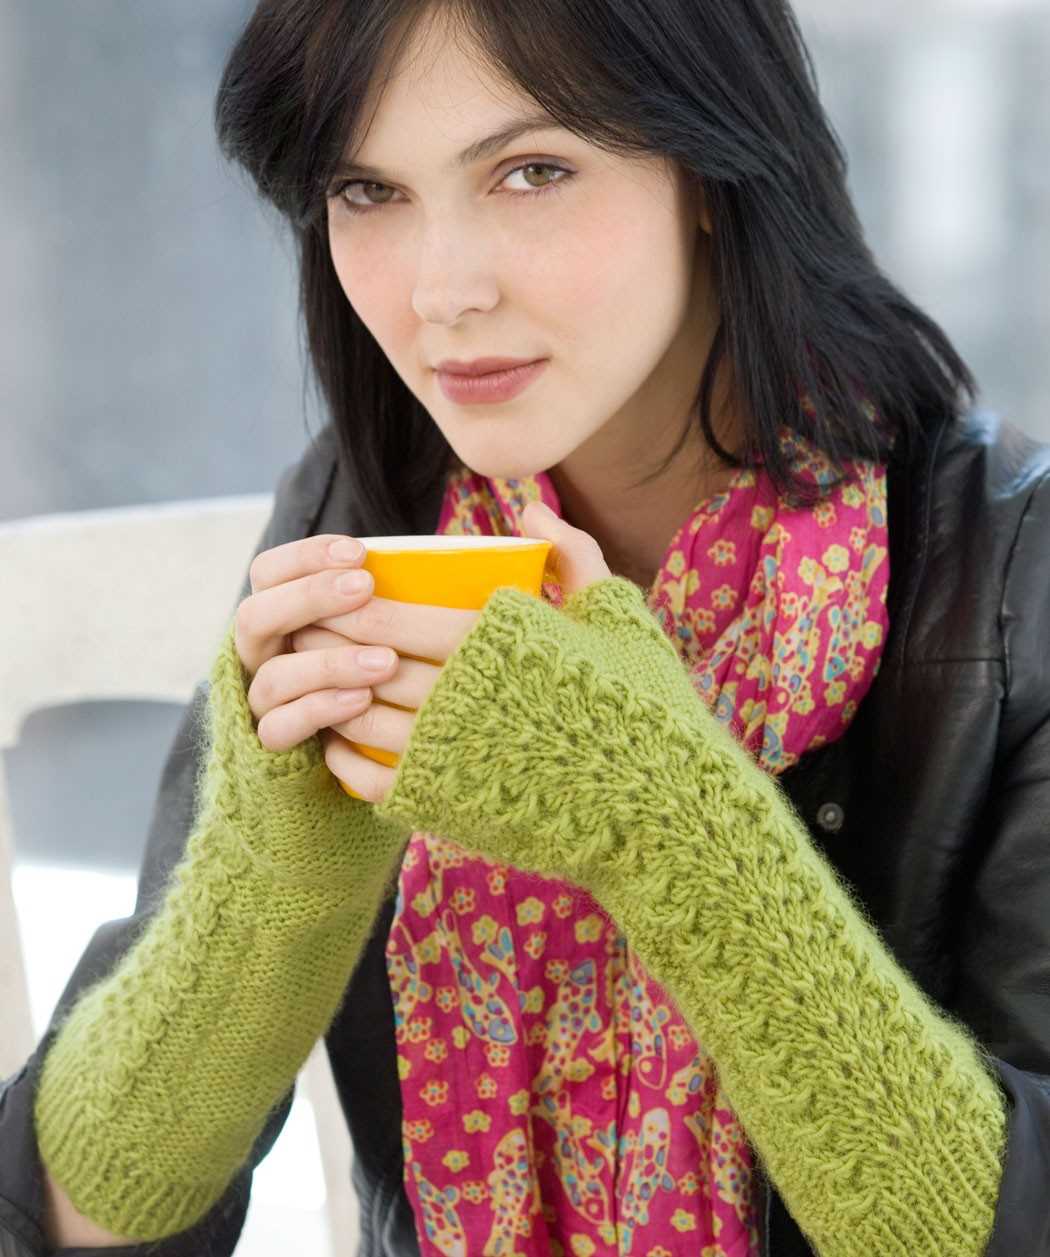
Arm warmers are a great accessory for keeping your arms cozy and warm during chilly weather. They can be worn indoors or outdoors, and are perfect for adding a touch of style to any outfit. Cable knit arm warmers are especially popular due to their intricate design and timeless appeal.
Knitting a pair of cable knit arm warmers can be a fun and rewarding project for knitters of all skill levels. Whether you’re a beginner looking for a new challenge or an experienced knitter searching for a quick and satisfying project, cable knit arm warmers are a great choice.
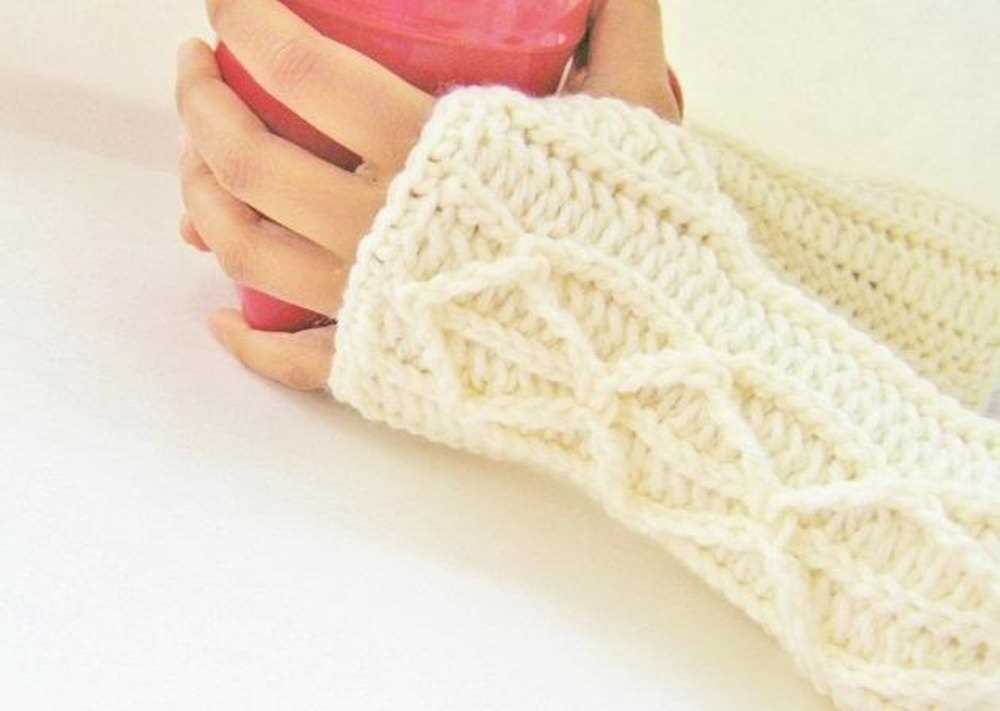
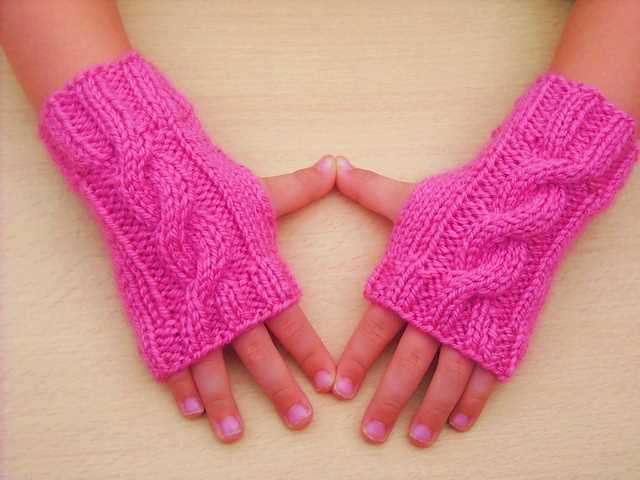
The cable knit pattern is created by crossing stitches over each other, creating twists and braids that give the arm warmers a textured and visually interesting look. This classic pattern adds a touch of elegance and sophistication to any outfit, making cable knit arm warmers a versatile and fashionable accessory.
In this article, we will provide a cable knit arm warmers pattern that is suitable for beginners and includes step-by-step instructions. We will also discuss different yarn options and show you how to customize the pattern to fit your personal style and preferences.
Cable Knit Arm Warmers Pattern
Arm warmers are a fashionable and practical accessory to have during the colder months. They keep your arms warm and provide added style to your outfit. If you enjoy knitting, you can create your own cable knit arm warmers using a simple pattern.
To make cable knit arm warmers, you will need two size 8 knitting needles, a cable needle, and a skein of chunky yarn. Start by casting on 40 stitches, and then knit in a rib stitch for about 2 inches to create the cuff. Next, switch to the cable pattern, which involves crossing stitches over each other to create the cable effect. Repeat this pattern until the arm warmer measures approximately 12 inches in length.
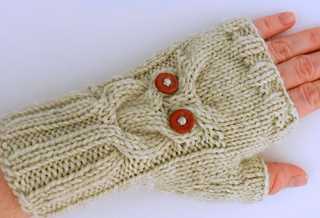
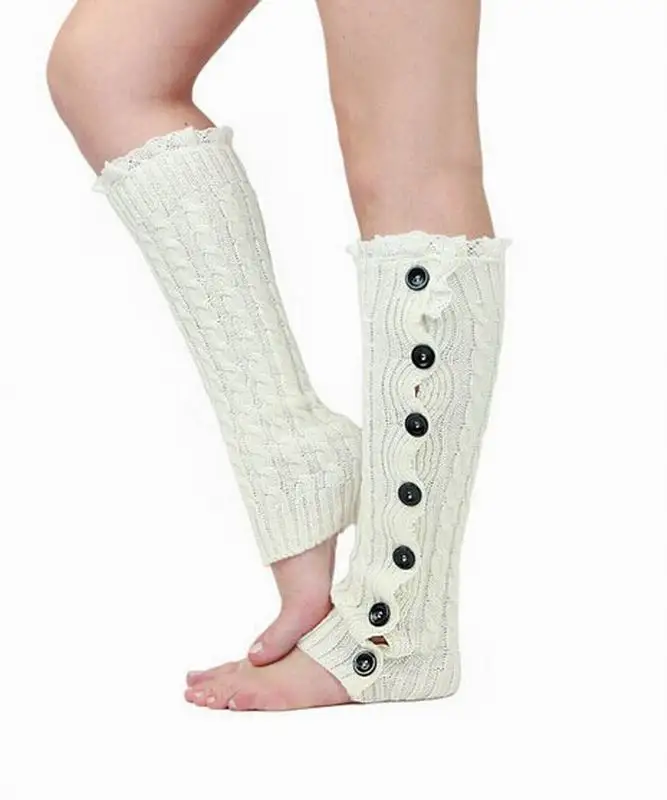
Once you’ve reached the desired length, switch back to the rib stitch for another 2 inches to create the cuff at the top of the arm warmer. Finally, bind off the stitches and sew up any remaining seams. You can also add buttons or other embellishments to personalize your arm warmers.
With this cable knit arm warmers pattern, you can create a cozy and stylish accessory to keep your arms warm during the colder months. Whether you’re knitting them for yourself or as a gift for someone else, these arm warmers will add a touch of warmth and style to any winter outfit.
Choosing the Right Yarn
When it comes to knitting cable knit arm warmers, choosing the right yarn is crucial. The yarn you select will determine the final appearance, texture, and durability of your arm warmers. There are several factors to consider when choosing yarn for this project.
Type of Yarn
The first consideration is the type of yarn. For cable knit arm warmers, it is best to use a medium weight or worsted weight yarn. These types of yarn provide enough thickness to create a warm and cozy accessory, while also allowing the cable stitches to stand out beautifully.
Another aspect to consider is the fiber content of the yarn. Traditional cable knit arm warmers are often made with wool or wool blends. Wool provides excellent insulation and warmth, making it a popular choice for cold weather accessories. However, if you are allergic to wool or prefer a vegan option, there are plenty of synthetic and plant-based yarns available in different weights and textures.
Color and Texture
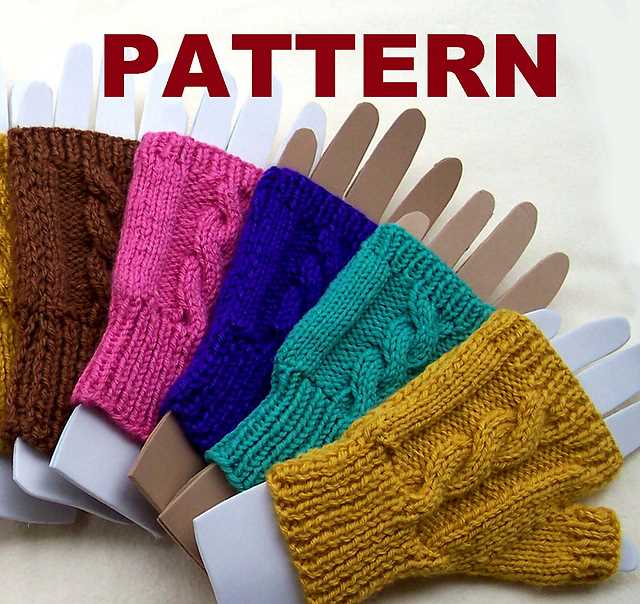
Next, think about the color and texture of the yarn. Cable knit stitches create a visually interesting pattern, so it’s important to choose a yarn color that will enhance the beauty of these stitches. Solid, neutral colors like cream, gray, or brown can showcase the intricate cable details. On the other hand, if you want a more vibrant and eye-catching look, you can opt for yarn in bold or variegated colors.
Texture is another important factor to consider. Cable knit arm warmers look best with yarn that has good stitch definition and a slight plumpness. Yarns with a tight twist or subtle halo will help the cables stand out and create a visually appealing texture. However, avoid yarns that are too fluffy or fuzzy, as they can obscure the cable pattern and make the arm warmers look bulky.
Choosing the right yarn for your cable knit arm warmers is essential in creating a beautiful and functional accessory. Take the time to consider the type of yarn, its fiber content, color, and texture to ensure your finished arm warmers will be cozy, stylish, and durable.
Selecting the Proper Needle Size
Choosing the correct needle size is crucial when working on cable knit arm warmers. The needle size will determine the gauge of your knitting, which in turn will affect the overall size and fit of the arm warmers. It is important to follow the pattern’s recommended needle size to achieve the desired result.
When selecting a needle size, consider the yarn you are using. Different yarns have different thicknesses or weights, which will require different needle sizes. Thicker yarns typically require larger needles, while thinner yarns require smaller needles. The pattern should indicate the recommended needle size for the specific yarn used in the design.
Using the wrong size needle can result in arm warmers that are either too large or too small. If your gauge is too loose, meaning you have more stitches per inch than the pattern suggests, try using a smaller needle size. On the other hand, if your gauge is too tight, meaning you have fewer stitches per inch, try using a larger needle size.
It is important to swatch for gauge before starting your project. This involves knitting a small sample using the recommended needle size and yarn, and measuring the number of stitches and rows per inch. If your gauge matches the pattern’s gauge, you are good to go. If not, you may need to adjust your needle size to achieve the correct gauge.
Remember, selecting the proper needle size is essential for ensuring that your cable knit arm warmers turn out just right. Take the time to swatch and test your gauge before diving into the project, and make any necessary adjustments to your needle size for optimal results.
Gauge Swatch
Before starting your cable knit arm warmers, it’s important to create a gauge swatch to ensure your finished project will have the correct measurements. The gauge swatch is a small sample of knitting that allows you to determine how many stitches and rows you need to achieve a specific measurement.
To create a gauge swatch, use the specified yarn and needles for your arm warmers. Cast on the recommended number of stitches and knit a few rows in the specified stitch pattern. Make sure to measure the swatch using a ruler or tape measure to check if it matches the pattern’s gauge instructions.
Key Phrases:
- Gauge swatch
- Finished project
- Measurements
- Specific stitch pattern
- Recommended number of stitches
- Gauge instructions
Creating a gauge swatch is crucial because it helps you determine the correct needle size and yarn tension to achieve the desired size and fit for your arm warmers. If your gauge swatch doesn’t match the pattern’s instructions, you may need to change your needle size or adjust your tension. Sometimes, even a slight difference in gauge can significantly affect the final outcome of your project.
Once your gauge swatch matches the pattern’s instructions, you can confidently begin knitting your cable knit arm warmers, knowing that they will turn out the right size. Remember to measure your gauge swatch periodically as you work on your arm warmers to ensure you maintain consistent tension throughout the project.
Casting On
Before you can start knitting your cable knit arm warmers, you need to cast on the required number of stitches. Casting on is the process of creating a foundation row of stitches on your knitting needle.
There are several different methods for casting on, but the long-tail cast on is a commonly used and versatile method. To begin, make a slipknot by making a loop with the working yarn and pulling the end through. Slide the slipknot onto one of the knitting needles.
Step 1: Hold the knitting needle with the slipknot in your right hand, and position the other knitting needle in your left hand.
Step 2: Place your thumb and index finger of your left hand (if you are right-handed) between the two strands of yarn, with the tail end of the yarn over your thumb and the working yarn over your index finger.
Step 3: Bring the knitting needle in your right hand over the top of the working yarn, under the tail end, and behind your thumb.
Step 4: Slide the right-hand needle through the loop on your thumb from front to back, with the working yarn passing under the needle.
Step 5: Release your thumb from the loop, and pull the working yarn gently to tighten the stitch onto the right-hand needle.
Continue repeating steps 3-5 until you have cast on the required number of stitches for your cable knit arm warmers. Once you have finished casting on, you can begin knitting the first row of your pattern.
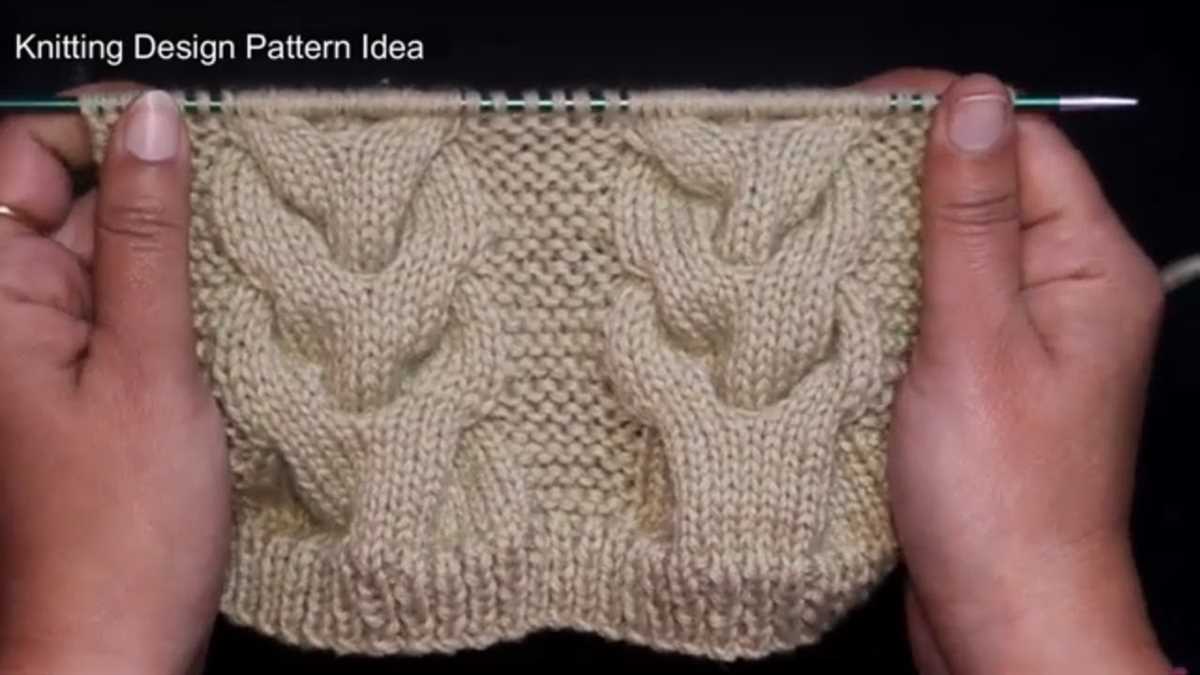
Cable Knit Stitch
The cable knit stitch is a classic and timeless pattern that is often seen in sweaters, scarves, and other winter accessories. It is characterized by its intricate interlocking design, which resembles twisted ropes or cables. This stitch adds texture and depth to any knitted piece, making it both visually appealing and cozy to wear.
To create the cable knit stitch, you will need a cable needle to hold the stitches while you work. The process involves crossing stitches over one another, creating the cable effect. This technique requires some skill and practice, but once mastered, it opens up a world of possibilities for creating beautiful and intricate designs.
When knitting cables, you can choose to work with a simple cable pattern, which involves crossing stitches in a straightforward manner. Alternatively, you can experiment with more complex cable patterns, such as honeycomb cables or tree of life cables, which require combining multiple cables to create intricate motifs.
To create a cable knit arm warmer pattern, you can incorporate various cable stitches to add interest and detail to the design. Consider using a combination of simple and complex cable patterns to achieve a unique and personalized look. Additionally, you can experiment with different yarns and colors to further enhance the visual appeal of the arm warmers.
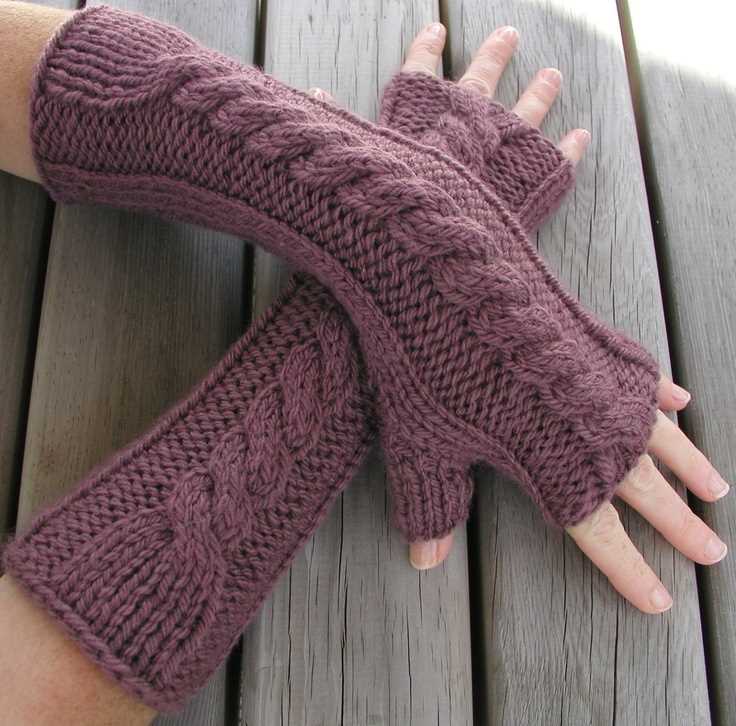
Knitting the Body of the Arm Warmer
Once you have finished knitting the ribbing for the cuff of the arm warmer, it’s time to move on to knitting the body of the arm warmer. This is where the cable knit pattern really begins to take shape.
To start, you’ll need to cast on the desired number of stitches for the body of the arm warmer. This will depend on the size of your arm and how snug or loose you want the arm warmer to fit. Make sure to refer to the pattern for the specific number of stitches to cast on.
Now that you have your stitches cast on, it’s time to begin the cable knit pattern. The cable pattern typically consists of a series of knit and purl stitches, as well as cable crosses. The pattern will provide you with the specific instructions for each row, so make sure to follow them closely.
As you work your way through the body of the arm warmer, you’ll start to see the cables forming. This is where the intricate and textured design of the arm warmer really shines. Take your time and enjoy the process of creating the cables.
Continue knitting the body of the arm warmer until you have reached the desired length. Again, refer to the pattern for the specific length measurements. Once you have reached the desired length, you’ll move on to shaping the thumb hole or continuing with the cable pattern until you reach the top of the arm warmer.
Overall, knitting the body of the arm warmer is an exciting and satisfying part of the process. The cable knit pattern adds a beautiful texture and dimension to the arm warmer, making it a stylish and cozy accessory for the colder months.
Shaping the Thumb Hole
When making cable knit arm warmers, one important step is shaping the thumb hole. The thumb hole allows for easy movement and flexibility while wearing the arm warmers.
To shape the thumb hole, you will need to divide your stitches. Typically, this is done by placing a marker a few stitches before where the thumb hole will be. Then, you’ll knit to the marker and slip the specified number of stitches onto a stitch holder or scrap yarn. This creates an opening for the thumb.
Once you have placed the stitches on hold, you will continue working the rest of the arm warmer according to the pattern. When you reach the thumb hole again, you will need to pick up the stitches that were placed on hold. This is typically done by sliding the stitches onto a double-pointed needle or a cable needle.
After picking up the stitches, you will then continue working on these stitches to create the thumb. This may involve shaping the thumb using decreases or increases, depending on the desired fit. Following the pattern instructions for the thumb section will ensure that the thumb hole is properly shaped and that the arm warmers fit comfortably.
Remember to always check the pattern for specific instructions on how to shape the thumb hole, as different patterns may have variations in the process. Taking your time and following the instructions carefully will help you create beautiful cable knit arm warmers with a well-shaped thumb hole.
Knitting the Thumb
When knitting arm warmers with a thumb hole, one of the most important steps is to create the thumb section. The thumb opening is typically positioned a few inches from the top of the arm warmer and can be created using various techniques.
To start knitting the thumb, the first step is to divide the stitches on the needle. This can be done by slipping a specific number of stitches onto a stitch holder or a separate piece of yarn. The remaining stitches will continue to be worked for the hand section of the arm warmer.
Next, the thumb stitches need to be picked up and worked. This is done by inserting the needle into the stitches on the stitch holder or yarn and transferring them back onto the main needle. It’s important to ensure that the stitches are not twisted as they are transferred.
Once the thumb stitches are back on the needle, the next step is to resume working in the established pattern. This may involve continuing with the cable or rib pattern used for the arm warmer while shaping the thumb.
During the process of knitting the thumb, it is important to periodically try on the arm warmer to ensure that the thumb opening is the correct size and in the desired position. Additionally, it is crucial to maintain the correct gauge and tension throughout to ensure a proper fit.
Finally, once the thumb section is complete, the remaining stitches can be joined together to continue working in the round for the hand section of the arm warmer. This may involve decreasing or increasing stitches to achieve the desired fit and shape.
Finishing the Arm Warmer
Once you have finished knitting your cable knit arm warmer, it’s time to add the finishing touches. This includes weaving in any loose ends and blocking the arm warmer to ensure it retains its shape.
To weave in the loose ends, thread the end of your yarn onto a tapestry needle. Insert the needle under several stitches on the wrong side of the arm warmer, making sure to catch the yarn securely. Repeat this process with any other loose ends, weaving them in a different direction to prevent them from unraveling. Trim any excess yarn once the ends are secure.
If you want to achieve a more polished look, you can block your arm warmer. Wet blocking is recommended for natural fibers such as wool. Fill a basin with lukewarm water and add a small amount of wool wash. Submerge the arm warmer in the water, gently squeezing to allow the fibers to absorb the moisture.
Remove the arm warmer from the water and gently squeeze out the excess moisture. Lay the arm warmer flat on a clean towel and reshape it to your desired dimensions, ensuring that the cables are properly aligned. Leave it to dry completely, away from direct heat or sunlight. Once dry, your cable knit arm warmer is ready to be worn!
Blocking and Seaming
Once you have finished knitting the arm warmers, it’s time to block them. Blocking is the process of wetting the knitted piece, shaping it, and allowing it to dry in order to give it a more finished and professional look. To block the cable knit arm warmers, follow these steps:
- Fill a basin or sink with lukewarm water and a small amount of mild soap or detergent.
- Place the arm warmers in the water, gently pressing them down to ensure they are fully submerged.
- Let the arm warmers soak for about 15 minutes to allow the fibers to absorb the water.
- Remove the arm warmers from the water, gently squeezing out the excess moisture. Do not wring or twist the arm warmers, as this can distort the cables.
- Lay the arm warmers flat on a clean towel and roll up the towel to remove more moisture.
- Unroll the towel and reshape the arm warmers, pulling out the cables and adjusting the length if necessary.
- Leave the arm warmers to air dry on a flat surface, away from direct sunlight or heat sources.
Once the arm warmers are dry, it’s time to seam them together. Place the arm warmer with the right side facing up and line up the edges. Using a tapestry needle and the same yarn, sew the edges together using a mattress stitch or your preferred seaming method. Make sure to leave a hole for the thumb to go through.
Congratulations! Your cable knit arm warmers are now complete and ready to keep your arms warm and stylish. Enjoy wearing them on chilly days or give them as a thoughtful handmade gift.