
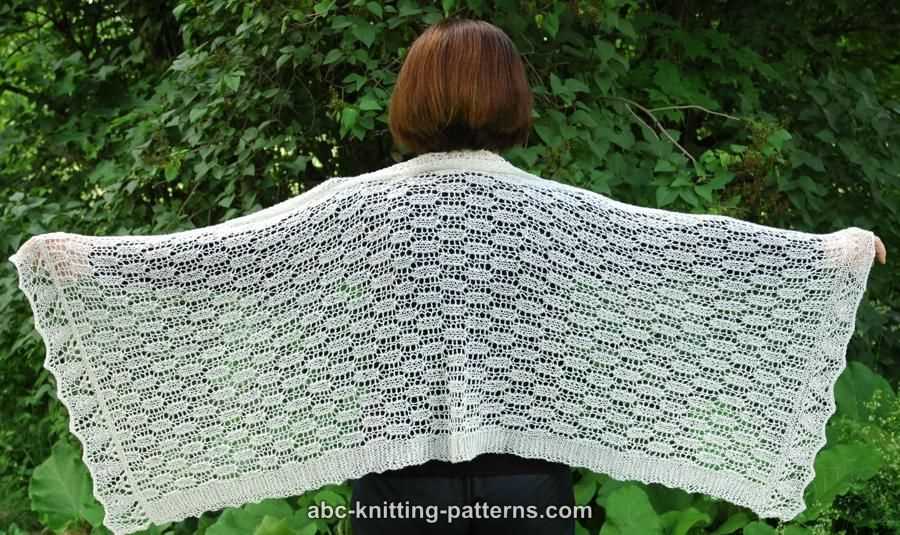
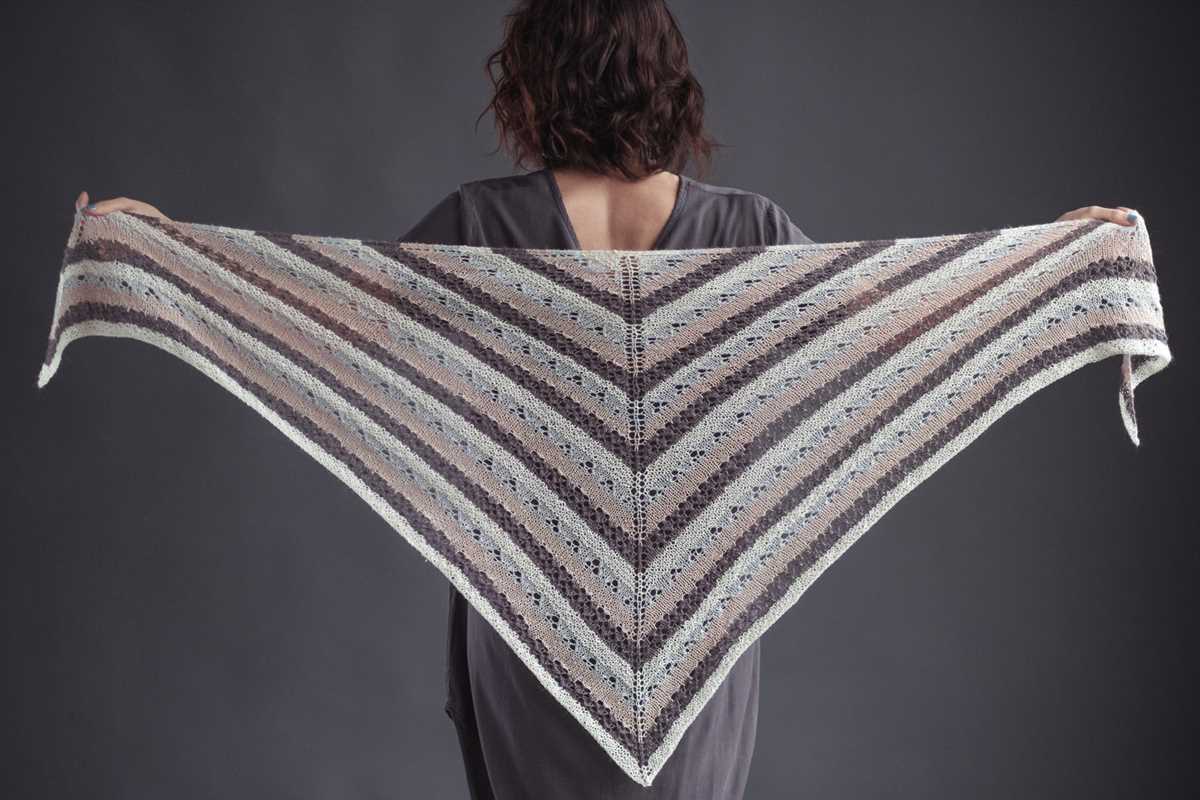
Knitting is a wonderful way to express your creativity and make beautiful, cozy accessories. If you’re new to knitting or looking for a simple project to practice your skills, a knit shawl is the perfect choice. With just a few basic stitches and some lovely yarn, you can create a stylish and functional piece that will keep you warm and add a touch of elegance to any outfit.
This beginner knit shawl pattern is designed for those who are just starting out or want a quick and easy project. It uses basic knit and purl stitches, making it perfect for beginners to practice their skills and gain confidence in their knitting abilities. The pattern is also versatile, allowing you to customize it with different yarn weights and colors to suit your personal style.
Not only is this pattern beginner-friendly, but it’s also a great way to learn new techniques. It includes instructions for simple lace stitches and shaping, so you can expand your knitting repertoire while creating a stunning accessory. Whether you’re knitting for yourself or want to make a thoughtful gift for a loved one, this beginner knit shawl pattern is sure to impress.
Beginner Knit Shawl Pattern
If you’re new to knitting and want to create a beautiful and cozy shawl, this beginner knit shawl pattern is perfect for you. With just a few basic knitting stitches, you’ll be able to create a stunning accessory that you can wear or give as a gift.
To get started, you’ll need some knitting needles, yarn, and basic knitting skills. This pattern uses simple knit and purl stitches, so it’s a great project for beginners who want to practice their technique. You’ll also need to know how to increase stitches, which is a basic skill that you’ll use in many knitting projects.
Materials:
- Size 8 knitting needles
- Lightweight yarn (approximately 400 yards)
- Tapestry needle
Instructions:
- Cast on 3 stitches.
- Row 1: Knit all stitches.
- Row 2: Knit 1, increase 1 stitch, knit to end of row.
- Repeat Rows 1 and 2 until you have reached your desired shawl size.
- Bind off all stitches.
- Weave in any loose ends with a tapestry needle.
That’s it! You’ve completed your beginner knit shawl. This simple pattern allows you to create a versatile and stylish accessory that you can wear year-round. Experiment with different yarn colors and textures to personalize your shawl and make it your own. Happy knitting!
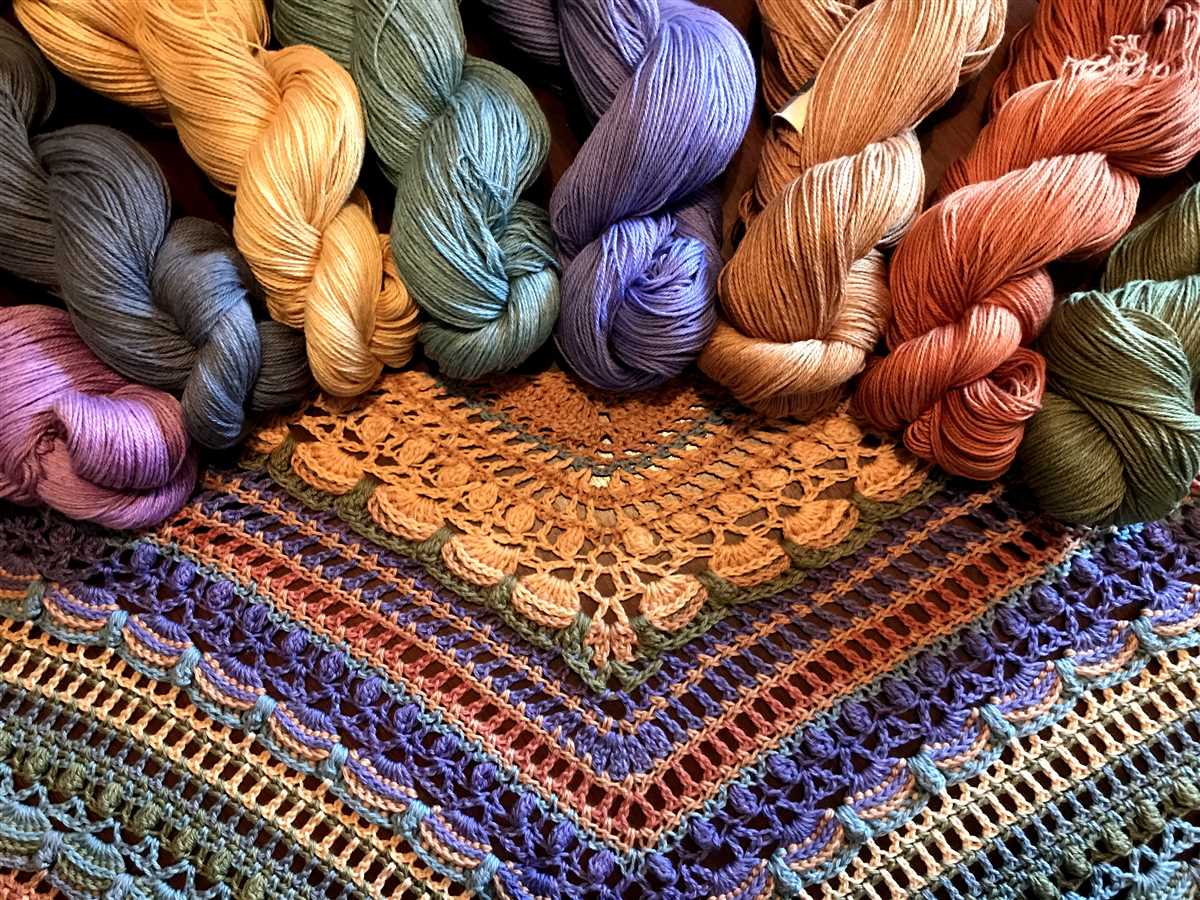
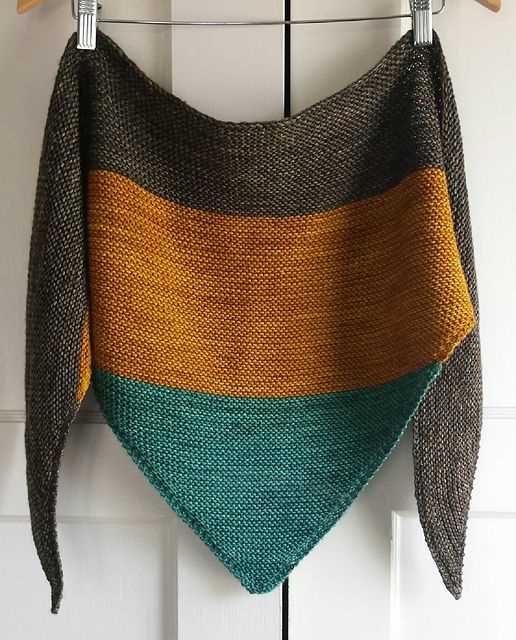
Choosing the Right Yarn
When it comes to knitting a shawl, choosing the right yarn is crucial. The type of yarn you pick will greatly affect the final look and feel of your project. So, how do you choose the perfect yarn for your beginner knit shawl?
Consider the Fiber: Different fibers have different properties, which can impact the drape, warmth, and texture of your shawl. For beginners, it’s often recommended to start with a basic yarn like acrylic or wool blends. These yarns are easy to work with, affordable, and come in a wide range of colors. Wool is a great option if you’re looking for warmth and elasticity, while cotton or bamboo can provide a lighter, more breathable feel.
Think About the Gauge: The gauge refers to the number of stitches and rows per inch. It’s important to choose a yarn that matches the recommended gauge for your shawl pattern. If you use a different yarn weight or needle size, the finished shawl may turn out too small or too large. Check your pattern for the recommended gauge and use a yarn that can achieve it.
Consider the Yardage: Depending on the size and design of your shawl, you’ll want to make sure you have enough yarn to complete the project. Look for the recommended yardage in the pattern and choose a yarn that provides enough yardage. It’s always better to have a bit more yarn than needed, as running out in the middle of your project can be frustrating.
Think About Care Instructions: Before purchasing your yarn, consider how easy it will be to care for. Some yarns may require handwashing, while others can be machine washed. Think about your lifestyle and how much time you’re willing to spend on caring for your shawl. If you prefer low-maintenance options, look for yarns that are machine washable.
Consider Your Budget: Yarn can vary greatly in price, so it’s important to consider your budget when choosing the yarn for your shawl. While luxurious yarns may be tempting, they may not be the best choice for a beginner project. There are plenty of affordable yarn options that are still high-quality and will produce beautiful results.
By considering the fiber, gauge, yardage, care instructions, and budget, you can choose the perfect yarn for your beginner knit shawl. Experiment with different yarns to find the one that suits your preferences and the desired outcome of your project.
Selecting the Perfect Needles
When knitting a shawl, selecting the right needles is crucial to the success of your project. The type and size of needles you choose can affect the overall texture, drape, and appearance of the finished shawl. Whether you prefer metal, wooden, or plastic needles, there are a few factors to consider when making your selection.
Type of Needles
- Metal Needles: Metal needles, such as those made from aluminum or stainless steel, are known for their smoothness and durability. They have a slick surface that allows the yarn to glide easily, making them a popular choice for faster knitters.
- Wooden Needles: Wooden needles, like those made from birch, bamboo, or rosewood, offer a warmer and quieter knitting experience. They have a natural grip that prevents stitches from slipping off and can be more forgiving for those with tension issues.
- Plastic Needles: Plastic needles are lightweight and affordable, making them a popular choice for beginners. They have a moderate grip and come in various colors and sizes to suit different yarn weights.
Size of Needles
Along with the type of needles, the size of the needles also plays a significant role in the outcome of your shawl. The size of the needles will determine the gauge, or the number of stitches and rows per inch. It is important to choose needles that match the recommended gauge for your pattern to ensure that your shawl turns out the correct size and shape.
Needle Length
The length of the needles will depend on the width of your shawl and your personal preference. Longer needles are ideal for larger projects as they can hold more stitches, while shorter needles may be easier to maneuver for smaller or more intricate patterns. Consider the size and shape of your shawl when choosing the length of your needles.
By considering the type of needles (metal, wooden, or plastic), the size of needles for desired gauge, and the length of needles for your project, you can select the perfect needles that will help you achieve the best results for your beginner knit shawl.
Understanding Knitting Gauge
Knitting gauge is an essential aspect of any knitting project. It refers to the number of stitches and rows per inch or centimeter that you achieve when knitting with a specific yarn and needle size. Understanding knitting gauge is crucial for ensuring that your finished project matches the intended size and fit.
Measuring knitting gauge
In order to measure your knitting gauge, you will need to knit a swatch. A swatch is a small sample of knitting that allows you to determine the number of stitches and rows you achieve with a particular yarn and needle combination. To make a swatch, cast on a few more stitches than the recommended gauge and knit a few rows. Then, measure the number of stitches and rows within a 4×4 inch (10×10 cm) square. This will give you an accurate gauge measurement.
Importance of knitting gauge
Knitting gauge is crucial because it ensures that your finished project will have the correct dimensions and fit. If your gauge is too tight, meaning you have more stitches and rows per inch than the pattern specifies, your finished piece may be smaller than intended. On the other hand, if your gauge is too loose, meaning you have fewer stitches and rows per inch, your finished piece may be larger.
Troubleshooting knitting gauge issues
If your gauge does not match the pattern’s gauge, don’t worry! There are several ways to adjust your gauge. You can try using a different needle size to achieve the correct gauge, or you can change the yarn weight to match the recommended gauge. Additionally, adjusting your tension while knitting can also help achieve the desired gauge.
Conclusion
Understanding knitting gauge is essential for creating a successful knitting project. By measuring your gauge accurately and adjusting it if necessary, you can ensure that your finished piece matches the intended size and fit. So, take the time to swatch and measure your gauge before starting your next knitting project!
Casting On
When starting a knitting project, the first step is to cast on the stitches onto the knitting needle. This creates the foundation for the rest of the shawl. There are different methods of casting on, but for this beginner shawl pattern, the long-tail cast on method will be used.
The long-tail cast on is a versatile method that creates a neat and flexible edge. To begin, hold the knitting needle in your right hand and leave a long tail. Make a slip knot by creating a loop with the tail end crossing over the working end of the yarn. Slide this loop onto the needle and tighten it, ensuring that the loop is not too tight or too loose.
To cast on the first stitch, hold the needle with the slip knot in your right hand. Insert the needle from left to right into the loop of the slip knot, making sure to go under the yarn from the ball. With your left hand, hold the working yarn taut and use your right hand to pull the needle and the loop through the slip knot.
Continue casting on by repeating this process for the desired number of stitches specified in the pattern. Once all the stitches have been cast on, you are ready to begin knitting the first row of the shawl pattern. Make sure to count your stitches to ensure that you have the correct number before moving on to the next step.
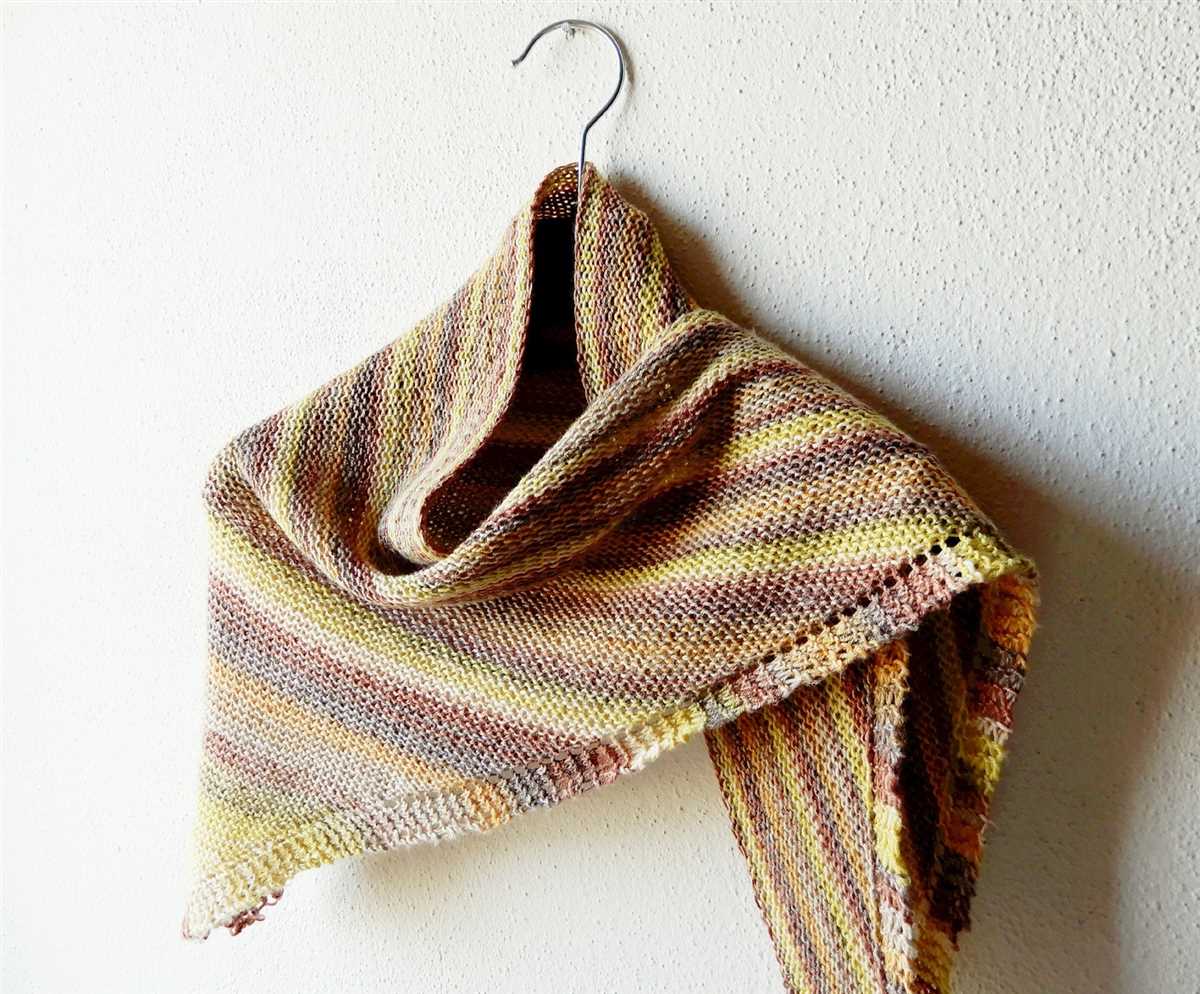
Knitting the Base
When starting a beginner knit shawl pattern, it is important to first knit the base of the shawl. The base is the foundation of the shawl and sets the overall shape and structure.
To knit the base, you will begin by casting on the desired number of stitches. The pattern will usually specify the recommended cast on method, but a common technique is the long tail cast on. This method creates a neat and flexible edge that is perfect for shawls.
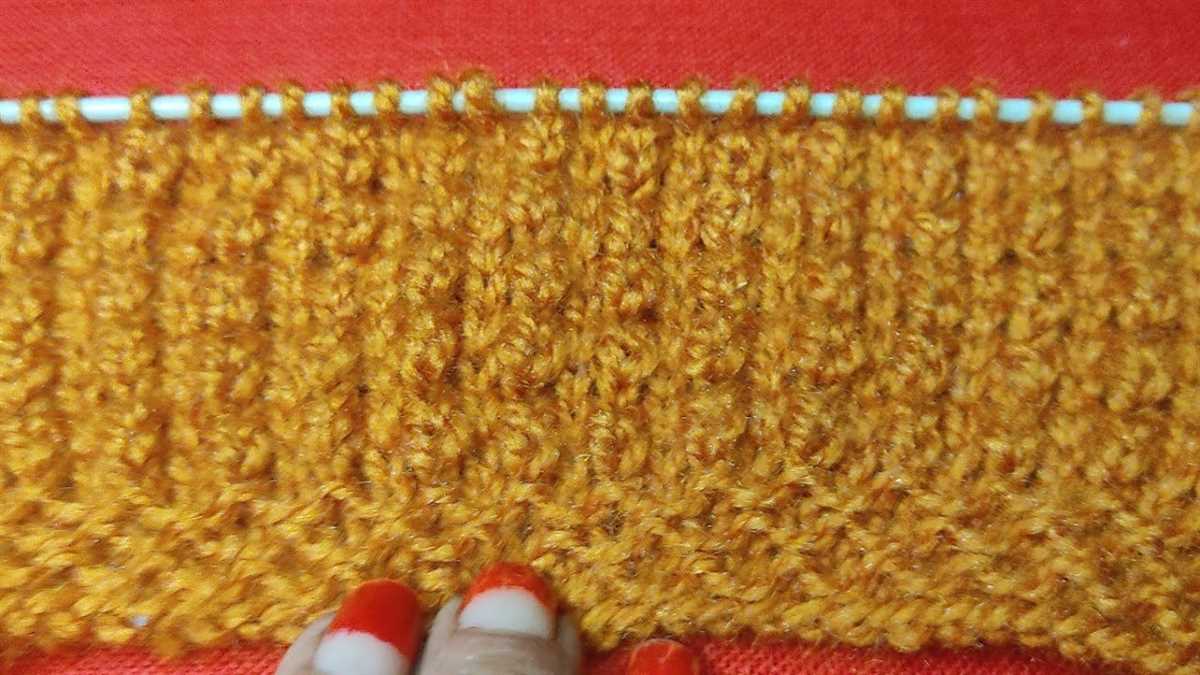
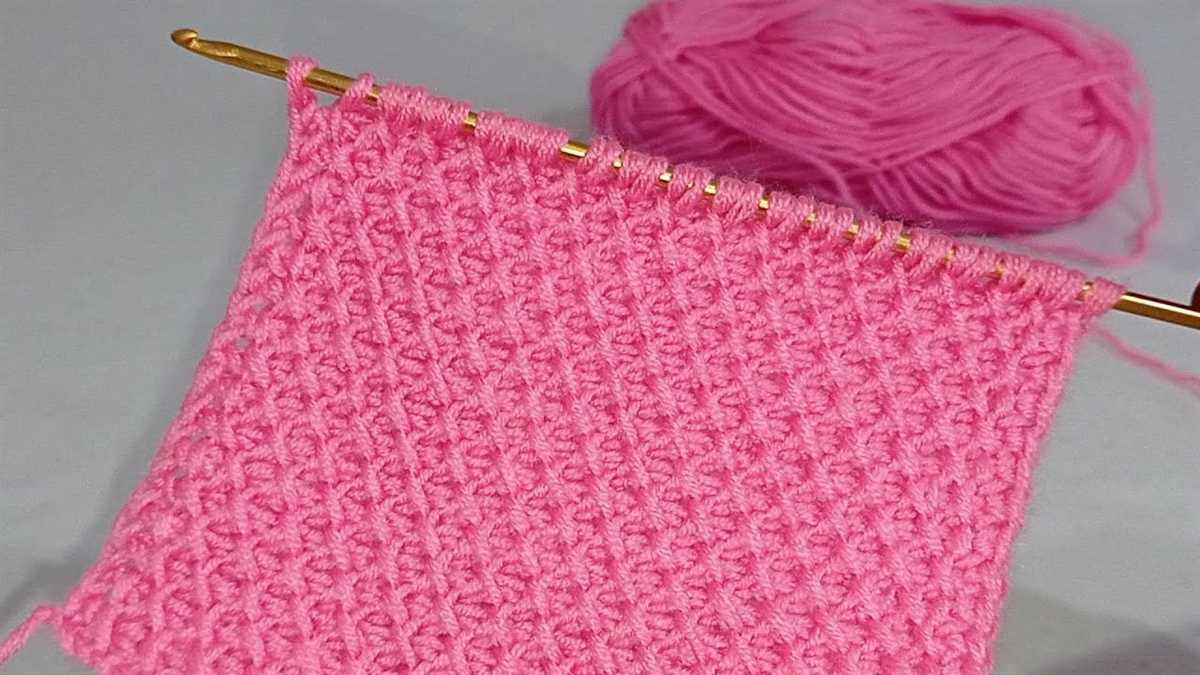
Once you have cast on your stitches, you will then proceed to knit the base rows. The pattern will typically provide instructions on the stitch pattern or pattern repeat to use for the base. This can range from simple garter stitch to more intricate lace or cable patterns. It’s important to follow the pattern carefully and keep track of your rows to ensure a consistent and even base.
As you knit the base, you may want to place stitch markers to help keep track of pattern repeats or increases and decreases. These markers can be easily moved as you progress through the pattern. Additionally, it’s a good idea to regularly check your gauge to ensure that your finished shawl will be the correct size. Adjust your needle size if necessary to obtain the correct gauge.
Once you have completed the base section of the shawl, you will be ready to move on to the next part of the pattern, such as the border or the main body. The base provides a solid starting point for the design and allows you to build upon it with additional stitches and patterns. By carefully following the instructions and taking your time, you will soon have a beautiful knit shawl to enjoy or gift to a loved one.
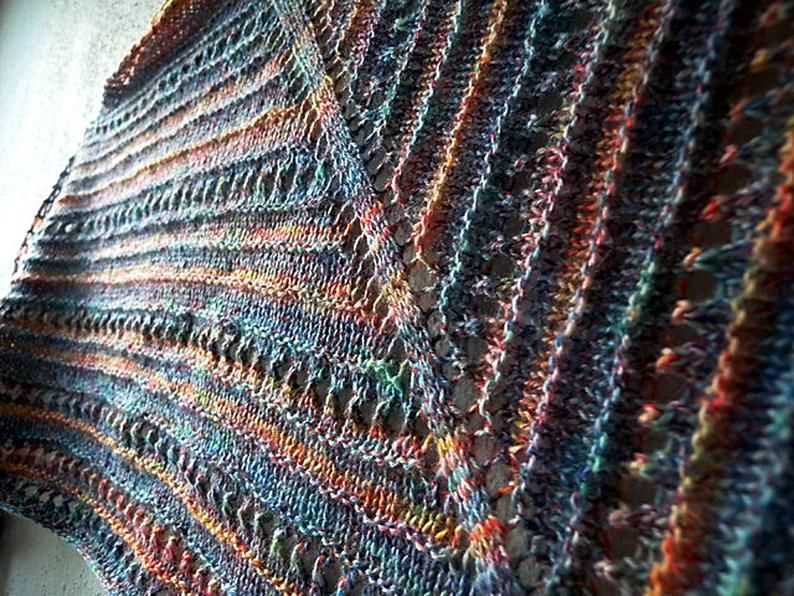
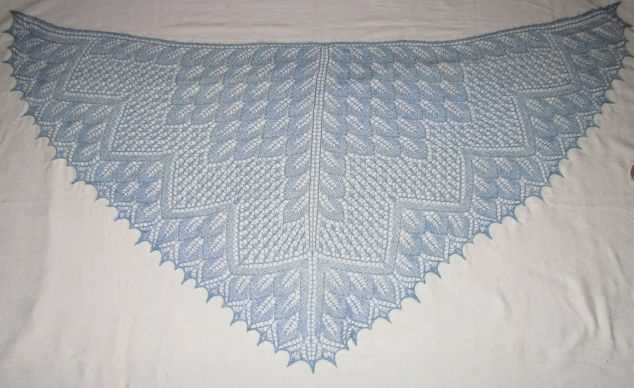
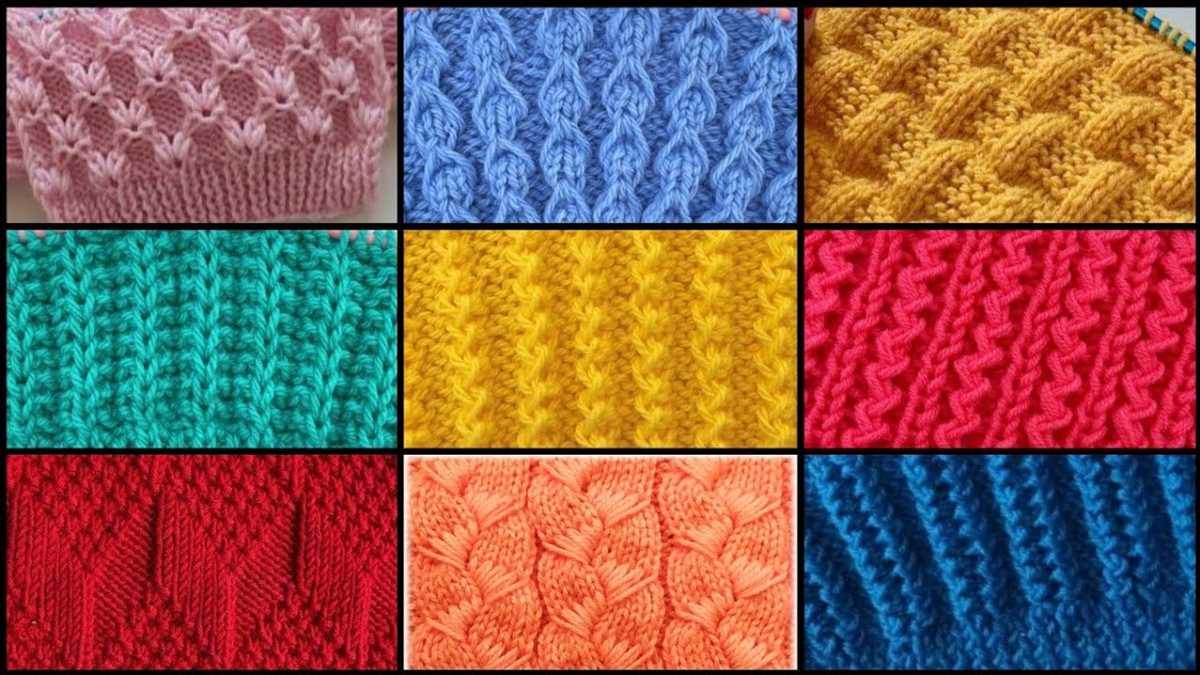
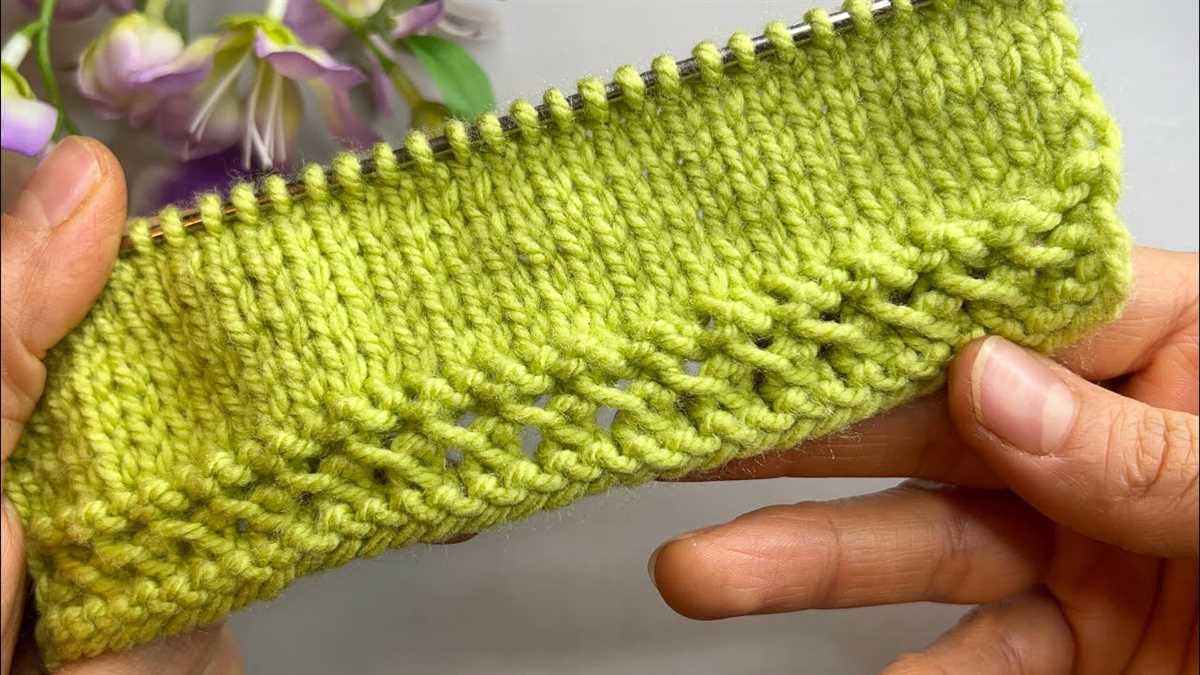
Adding Lace Stitches
When knitting a shawl, adding lace stitches can create a beautiful and delicate pattern. Lace stitches are typically made up of yarn overs and decreases, which create the open and airy look that is characteristic of lace knitting. There are many different lace stitch patterns to choose from, ranging from simple stitches to more complex designs.
One popular lace stitch pattern is the “yo, k2tog” stitch: This stitch is created by making a yarn over (bringing the yarn forward) and then knitting two stitches together. This combination creates an eyelet or hole in the fabric, and the stitches are decreased by one. This stitch pattern is often used in shawls to create a subtle lace pattern.
Another lace stitch pattern to try is the “double yarn over” stitch: This stitch is created by making two yarn overs in a row. The double yarn over creates a larger eyelet or hole in the fabric, which can add more visual interest to the shawl. When working with a double yarn over, it is important to ensure that the extra yarn overs are accounted for in the following rows, either by knitting or purling them together.
There are also more complex lace stitch patterns that can be used for more advanced knitters. These patterns often involve multiple yarn overs and decreases in a specific order to create intricate lace designs. It’s important to carefully read and follow the pattern instructions for these more complex lace stitches to ensure that the pattern is executed correctly.
When adding lace stitches to a beginner knit shawl pattern, it’s important to consider the skill level and experience of the knitter. It may be helpful to start with simpler lace stitch patterns and gradually work up to more complex designs as confidence and skill level increases. Additionally, swatching the lace stitch pattern before starting the shawl can help ensure that the desired effect is achieved and that the stitches are executed correctly.
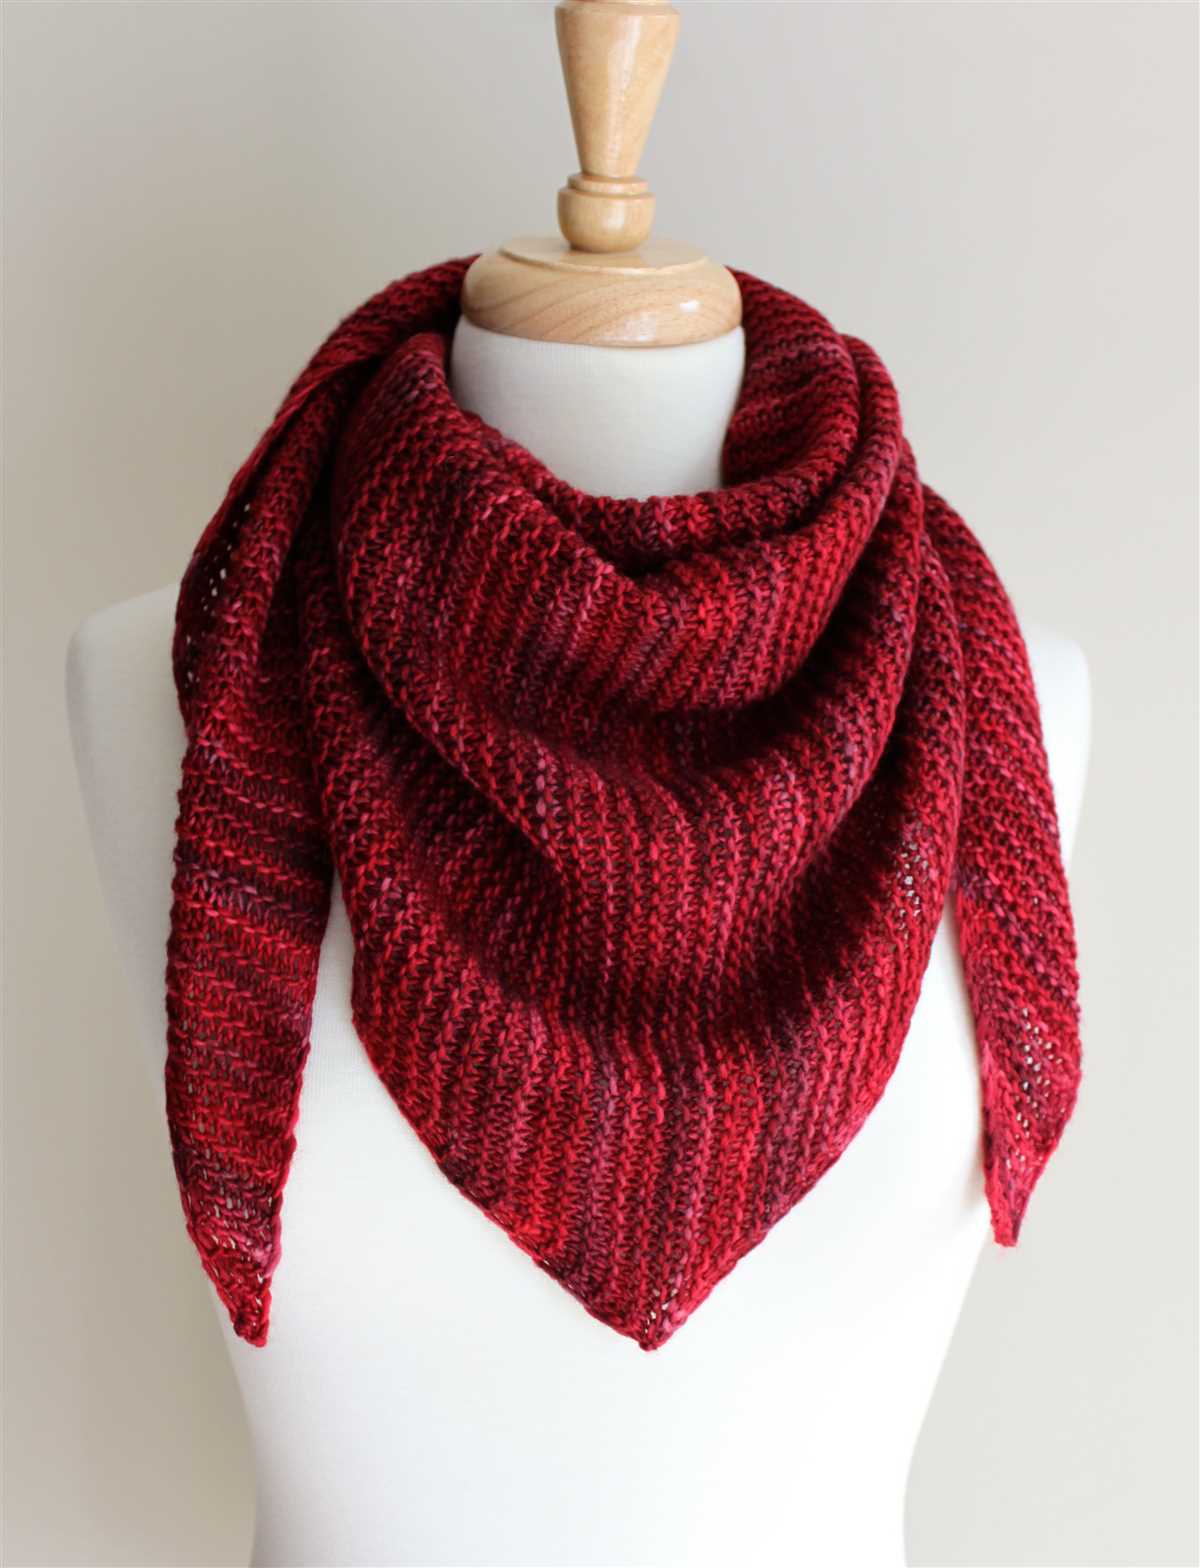
Creating the Border
Once you have finished knitting the main body of your beginner shawl, it’s time to create the border. The border will add a finished and polished look to your shawl, as well as providing a structural element to help hold its shape. There are several different border options you can choose from, depending on your skill level and the look you want to achieve.
Option 1: Garter Stitch Border
A garter stitch border is a simple and classic choice for a beginner knit shawl. To create a garter stitch border, you will continue knitting in garter stitch (knitting every row) for a certain number of rows, typically around 10-15. This border will blend seamlessly with the garter stitch body of your shawl, creating a cohesive and clean look.
Option 2: Ribbing Border
If you want to add a bit of texture and structure to your shawl, you can opt for a ribbing border. Ribbing is created by alternating knit and purl stitches in a specific pattern, such as K2, P2. This border will create a stretchy and flexible edge, making it ideal for shawls that need to be wrapped around the body or shoulders.
Option 3: Lace Border
If you’re feeling adventurous and want to add a touch of delicate beauty to your shawl, you can choose to create a lace border. Lace borders are created using a combination of yarn overs, decreases, and other stitches to create intricate and openwork patterns. This option requires a bit more skill and attention to detail, but the end result can be stunning.
Whichever border option you choose, make sure to carefully follow the pattern instructions and keep track of your stitches. Blocking your shawl after completing the border will also help to enhance the appearance of the border and give your shawl a professional finish.
Knitting the Main Body
Once you have completed the setup rows and established the stitch pattern, it’s time to start knitting the main body of the shawl. Follow the instructions below to knit the main body:
Row 1:
- Knit the first stitch.
- Purl the next stitch.
- Repeat these two stitches until the end of the row.
Row 2:
- Knit the first stitch.
- Purl the next stitch.
- Repeat these two stitches until the end of the row.
Continue repeating rows 1 and 2 until the main body of the shawl reaches your desired length, or until the pattern specifies a certain number of rows. Make sure to follow the stitch pattern and any shaping instructions provided in the pattern.
As you knit the main body, you can see the shawl gradually taking shape. The stitch pattern may become more apparent and you may start to see the beautiful texture emerge. Take your time and enjoy the process of creating your very own shawl!
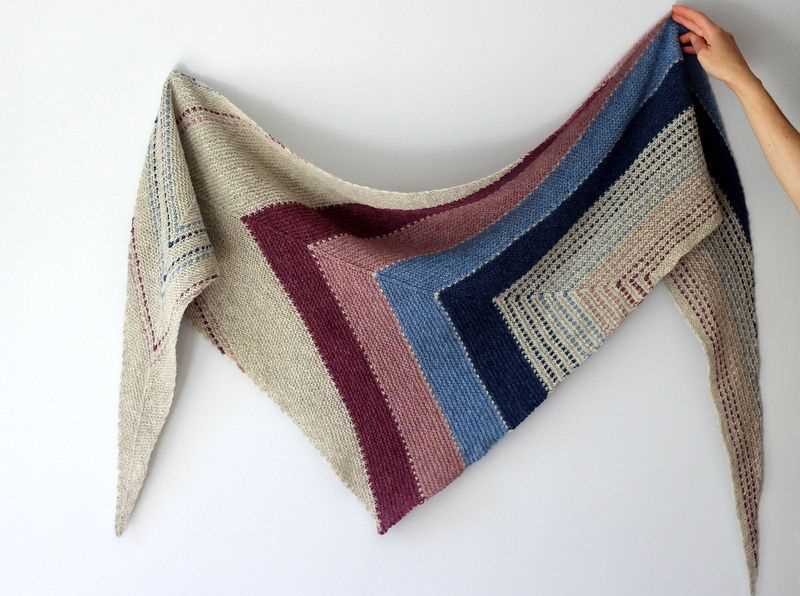
Shaping the Shawl
When knitting a shawl, shaping is an important technique to ensure that it fits and drapes correctly. Shaping helps to create the desired shape and style of the finished shawl. There are several ways to shape a shawl, including increasing and decreasing stitches, adding short rows, or creating a lace pattern that naturally shapes the fabric.
Increasing and Decreasing Stitches
Increasing and decreasing stitches are commonly used techniques to shape a shawl. By adding stitches, the shawl becomes wider and larger. This can be done by knitting into the front and back of a stitch or by making yarn overs. Decreasing stitches, on the other hand, create a tapered effect and can be achieved by knitting two stitches together or by slipping stitches over each other. These techniques allow you to create a triangular or crescent-shaped shawl.
Adding Short Rows
Short rows are another method to shape a shawl. This technique involves knitting part of a row and then turning the work before reaching the end of the row. By adding short rows, you can create sections of the shawl that are shorter or longer than others, resulting in a unique shape. This can be used to create a shawl with a curved or asymmetrical design.
Creating a Lace Pattern
Lace patterns can also be used to shape a shawl. Lace stitches naturally create openings in the fabric, which can be strategically placed to shape the shawl. By increasing or decreasing stitches within the lace pattern, you can create a shawl with a scalloped or wave-like edge. This technique adds both visual interest and shaping to the finished shawl.
Overall, shaping is an essential technique when knitting a shawl. Whether through increasing and decreasing stitches, adding short rows, or creating a lace pattern, shaping allows you to customize the shape and style of your shawl, resulting in a beautiful and well-fitting accessory.
Binding Off
When you reach the end of your shawl and are ready to finish it off, you will need to bind off your stitches. Binding off is a way to secure the final row of stitches so that they don’t unravel. It creates a neat and finished edge to your project.
To bind off, begin by knitting the first two stitches of your row as normal. Then, using your left needle, lift the first stitch over the second stitch and off the right needle. This will leave one stitch on your right needle. Knit the next stitch as usual, then lift the previous stitch over the newly knitted stitch and off the right needle. Repeat this process until you have one stitch remaining on your right needle.
Once you have only one stitch left, cut your yarn leaving a tail of several inches. Thread the tail through the final stitch and pull tight to secure. You can then weave in the ends of the yarn to hide them and create a clean finish.
Binding off is an important skill for any knitter to learn. It is the final step in completing a project and gives your work a polished look. Practice binding off on small swatches before attempting it on your shawl to ensure you are comfortable with the technique. With a bit of practice, you’ll be able to bind off your shawls confidently and beautifully.
Blocking the Shawl
Blocking is an essential step in knitting a shawl to achieve a professional and polished finished look. It is the process of shaping and stretching the knitted fabric to its desired dimensions. By blocking your shawl, you can even out the stitches, open up lace patterns, and enhance the drape of the fabric.
Here are the steps to block your beginner knit shawl:
- Prepare your workspace: Find a clean and flat surface where you can lay your shawl. You may need a blocking mat or a towel to protect the surface and provide a bit of grip.
- Soak your shawl: Fill a basin with lukewarm water and a mild detergent. Submerge your shawl in the water, gently squeezing it to ensure thorough saturation. Let it soak for about 15-20 minutes.
- Remove excess water: Carefully lift the shawl out of the water and squeeze it gently to remove excess water. Do not wring or twist the fabric, as this can damage the fibers.
- Pin the shawl: Lay your shawl flat on the prepared surface and gently stretch it into its desired shape. Use rustproof T-pins or blocking wires to secure the edges and hold the fabric in place.
- Let it dry: Leave your shawl to dry completely. Depending on the fiber content and thickness of the fabric, this can take anywhere from a few hours to a couple of days.
- Finishing touches: Once your shawl is dry, unpin it and admire your work! The blocking process will have helped to enhance the stitch definition and give your shawl a beautiful drape.
Blocking is a worthwhile step in the knitting process that can make a significant difference in the final appearance of your shawl. Taking the time to block your beginner knit shawl will ensure that it looks its best and is ready to be proudly worn or gifted.
Adding Finishing Touches
Once you have completed knitting your shawl, it’s time to add the finishing touches to make it truly special. Here are some options to consider:
Blocking

Blocking is the process of shaping and stretching the knitted fabric to its intended dimensions. It is an essential step in finishing your shawl as it evens out the stitches and gives the final piece a polished look. To block your shawl, follow these steps:
- Fill a basin or sink with lukewarm water and add a small amount of gentle wool wash.
- Place your shawl in the water and gently submerge it, making sure it is fully saturated.
- Let the shawl soak for about 15-20 minutes before carefully removing it from the water.
- Lay the shawl flat on a clean towel and gently squeeze out any excess water.
- Pin the edges of the shawl to the desired shape and size on a blocking mat or foam board.
- Allow the shawl to air dry completely before unpinning.
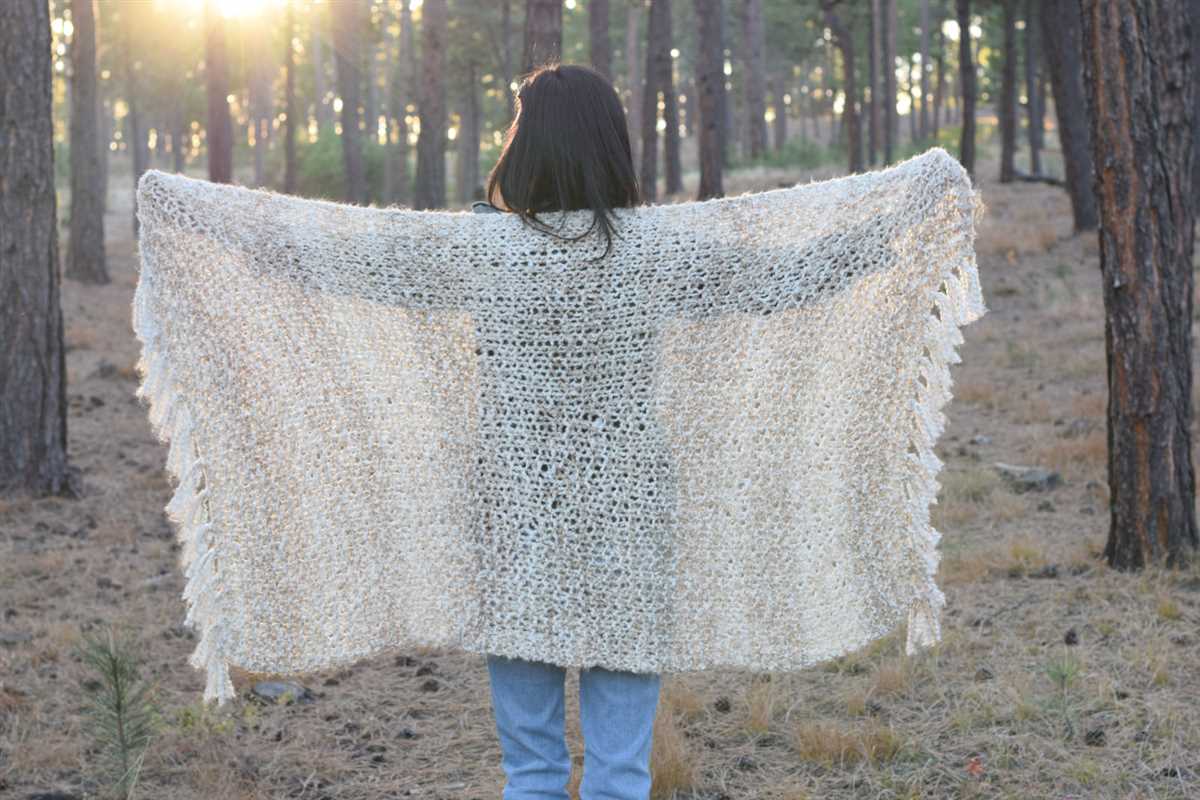
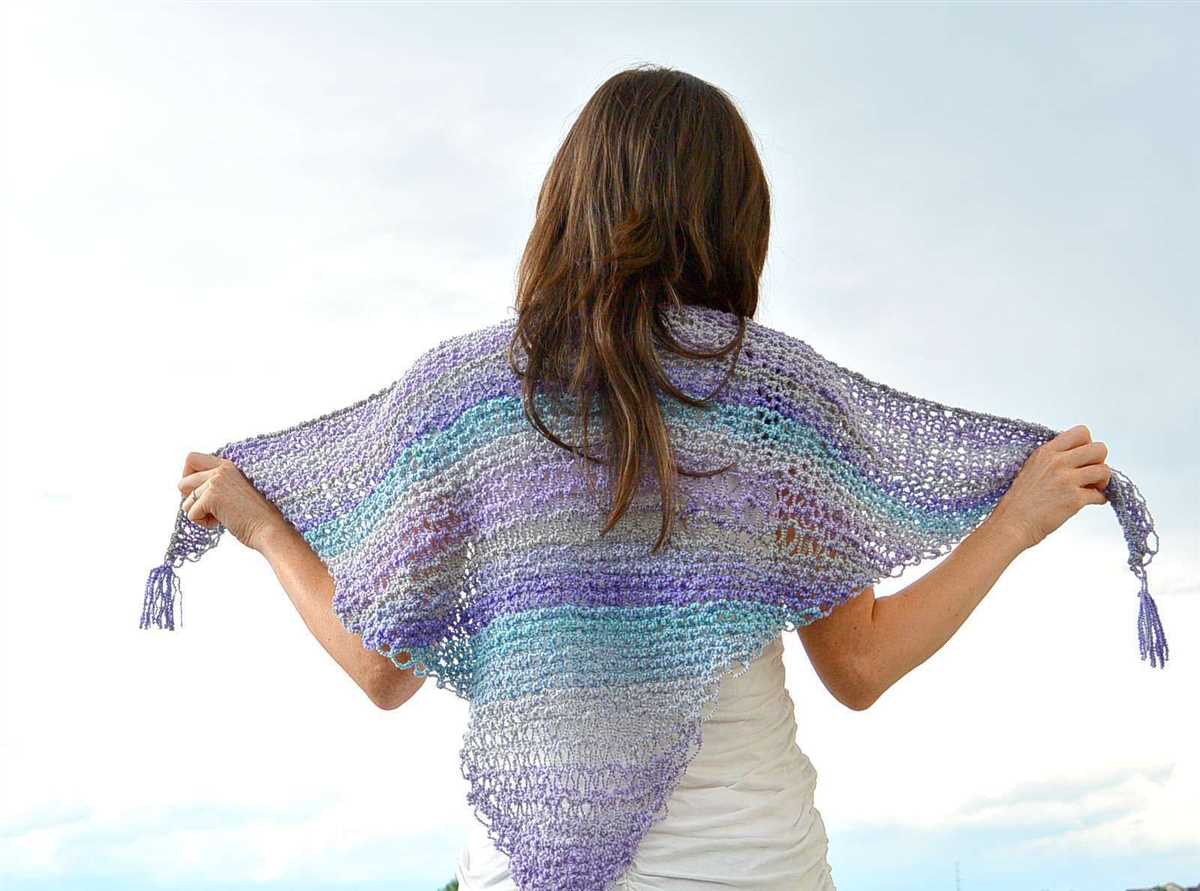
Add Fringe or Tassels
Adding fringe or tassels to your shawl can give it a decorative and playful touch. To add fringe, cut lengths of yarn twice the desired length of the fringe. Fold each piece in half and loop it through the edge of your shawl, pulling the ends of the yarn through the loop. Repeat this process along the edge of your shawl, evenly spacing the fringe. To add tassels, cut longer lengths of yarn and fold them in half. Fold the folded end over a needle and pull it through the fabric at the desired location. Take the loose ends of the yarn and pull them through the folded end to secure.
Add Embellishments
You can get creative and add embellishments to your shawl, such as beads, buttons, or embroidery. Sewing on beads or buttons along the edge or in a pattern can give your shawl a unique and personal touch. Embroidering patterns or designs onto your shawl can also add visual interest and make it one-of-a-kind.
With these finishing touches, your beginner knit shawl will be complete and ready to be worn or gifted to someone special. Remember to enjoy the process and have fun experimenting with different options to make your shawl truly unique!