
Are you interested in knitting and want to make a cozy hat for yourself or a loved one? Knitting hats is a great way to practice your knitting skills and create something functional and stylish. Whether you’re a beginner knitter or have some experience under your belt, knitting a basic hat using circular needles is a fun and rewarding project.
Circular needles are a popular choice for knitting hats because they allow you to easily knit in the round without joining seams. They are especially useful for knitting hats, as you don’t have to switch to double-pointed needles when you decrease for the crown. Circular needles also provide more flexibility and are more comfortable to use than straight needles.
With a basic knit hat pattern and circular needles, you can create a hat that fits snugly and keeps you warm throughout the colder months. This pattern is customizable, allowing you to choose the type of yarn, color, and size that best suits your style and needs. Whether you prefer a slouchy beanie or a fitted cap, this basic pattern can be adapted to create the hat of your dreams.
Basic Knit Hat Pattern Circular Needles
Knitting a hat is a great project for both beginner and experienced knitters. With circular needles, you can easily create a seamless hat that will keep you warm and stylish. This basic knit hat pattern is a perfect starting point for anyone looking to make their own hats.
To begin, you’ll need circular needles in the appropriate size for your desired hat. The size of the needles will determine the gauge and the fit of the hat. You’ll also need a set of double-pointed needles for finishing the top of the hat.
Start by casting on the desired number of stitches onto the circular needles. The number of stitches will depend on the size of the hat you want to make. It’s recommended to use a stretchy cast-on method, such as the long-tail cast-on, to ensure a comfortable fit.
Once you have cast on your stitches, join them in a round by knitting the first stitch and slipping the last stitch knitwise. This will create a join without an obvious seam. From here, you will continue working in rounds until the hat reaches the desired length.
When the hat is long enough, you’ll need to shape the crown. This is done by reducing the number of stitches in each round. You can do this by knitting two stitches together, also known as a knit-two-together decrease. Repeat this decrease in every round until you have only a few stitches left.
Finally, transfer the remaining stitches onto the double-pointed needles and gather them tightly by pulling the yarn tail through the stitches. Secure the tail and weave in any loose ends. Your basic knit hat is now complete, and you can enjoy wearing it or gift it to a loved one.
Choosing the Right Yarn and Needles
When it comes to knitting a basic hat pattern using circular needles, it is important to choose the right yarn and needles for the project. The type of yarn and the size of the needles can greatly affect the final result of the hat.
Yarn Weight: The weight of the yarn refers to its thickness and can vary from super fine to super bulky. For a basic hat, it is best to choose a medium weight yarn, also known as worsted weight or #4 on the yarn weight scale. This weight is easy to work with and provides a good balance between warmth and flexibility.
Yarn Fiber: The fiber content of the yarn can also impact the hat’s performance. Natural fibers like wool or alpaca offer great warmth and breathability, while synthetic fibers like acrylic or nylon can provide durability and easy care. It is important to consider factors such as allergies, personal preferences, and the intended use of the hat when choosing the yarn fiber.
Needle Size: The needle size determines the size of the stitches and the overall gauge of the project. For a basic hat pattern, circular needles in size US 7 (4.5mm) are commonly used. However, it is always recommended to check the pattern instructions or make a gauge swatch to ensure the correct needle size is chosen. Adjustments may be needed based on personal tension or yarn choice.
Additional Tools: In addition to yarn and needles, other tools that may be needed for knitting a hat include stitch markers, a darning needle for weaving in ends, and a row counter to keep track of the number of rows. These tools can help make the knitting process more organized and efficient.
Overall, choosing the right yarn and needles for a basic knit hat pattern is essential for achieving the desired result. Consider factors such as yarn weight, fiber content, needle size, and additional tools to ensure a successful and enjoyable knitting experience.
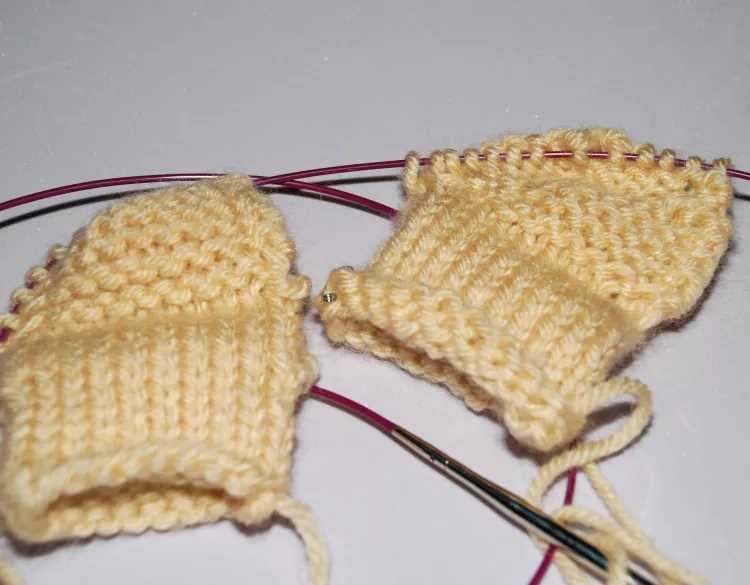
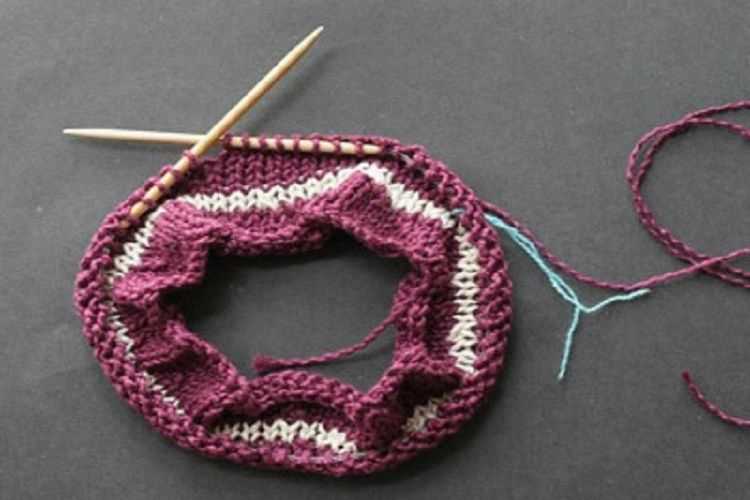
Casting On and Joining in the Round
When starting a basic knit hat pattern with circular needles, casting on and joining in the round is the first step. This technique allows you to knit continuously around, creating a seamless hat without any seams to sew.
To cast on: Start by making a slipknot and placing it onto one of the circular needles. Insert the other needle into the slipknot and tighten the loop slightly. Hold the needles in your right hand with the working yarn attached to the ball or skein of yarn.
To join in the round: To begin knitting in the round, make sure that the stitches are not twisted around the needle. The first stitch should be at the front of the needle, and the working yarn should be at the back. Slide the stitches to the end of the left-hand needle, ensuring that the working yarn is at the back of the work.
With the working yarn in your right hand, insert the right-hand needle through the first stitch on the left-hand needle from left to right, as if to knit. Wrap the working yarn around the right-hand needle, bringing it under and over the left-hand needle. Use the right-hand needle to pull the loop of yarn through the first stitch, creating a new stitch on the right-hand needle. Slip the original stitch off the left-hand needle.
Continue to knit in the round, repeating the steps of inserting the right-hand needle, wrapping the yarn, pulling a new stitch through, and slipping the original stitch off the left-hand needle. As you work, the stitches will accumulate on the right-hand needle, and the fabric will begin to form a cylindrical shape.
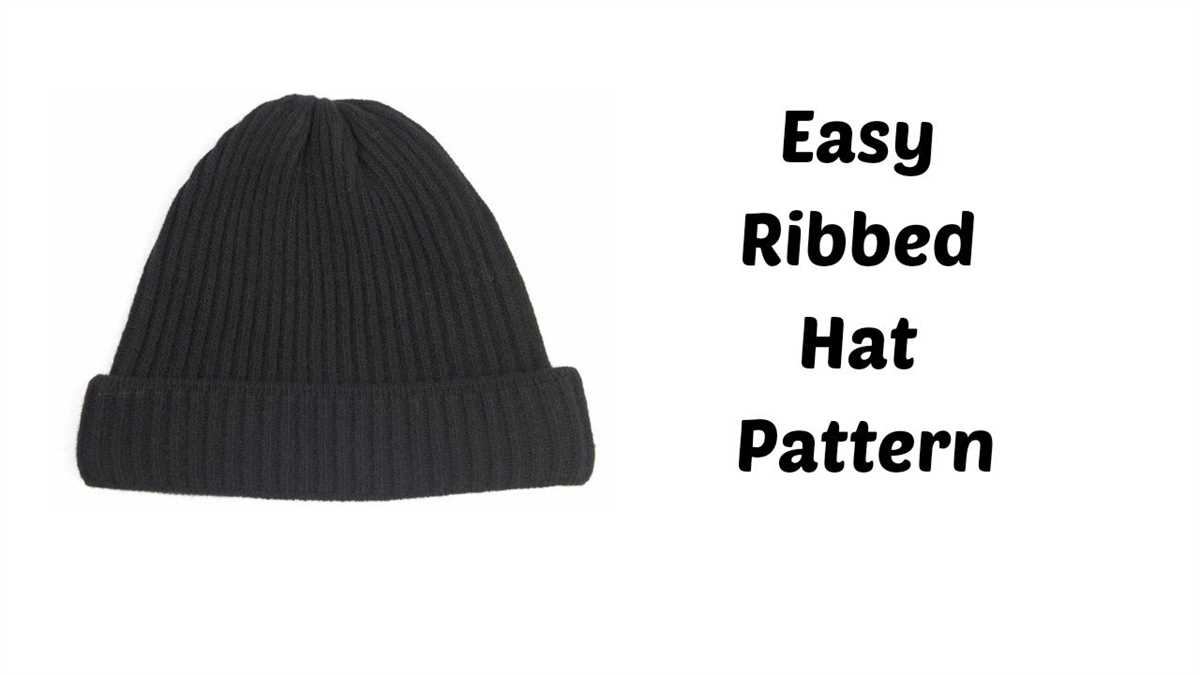
Working the Ribbing
Knitting a basic ribbed hat is a great project for beginners. The ribbing is typically the first part of the hat that you will knit, and it helps to create a stretchy and snug fit around the head. The ribbing is usually done using a smaller size circular needle compared to the rest of the hat. This creates a tighter fabric and ensures that the hat stays in place.
To start the ribbing, you will cast on the desired number of stitches using your circular needle. It’s important to make sure that the number of stitches is divisible by the ribbing pattern you plan to use. Common ribbing patterns include 1×1 (alternating knit and purl stitches) and 2×2 (alternating two knit stitches and two purl stitches).
Once you have cast on the stitches, you will begin the ribbing pattern by working the first row as instructed in your pattern. For example, if you are working a 1×1 ribbing, you may start with a knit stitch followed by a purl stitch. Repeat this pattern across the row until you reach the end.
Continue working the ribbing pattern for the desired length, as indicated in your pattern. It’s important to pay attention to your tension and make sure your stitches are even. This will help create an even and professional-looking ribbing.
After completing the ribbing, you can then transition to the main body of the hat and continue knitting in the desired stitch pattern. The ribbing will help ensure a secure and comfortable fit for the wearer. Once the hat is complete, you can finish it off by weaving in any loose ends and blocking it to shape.
Switching to Stockinette Stitch

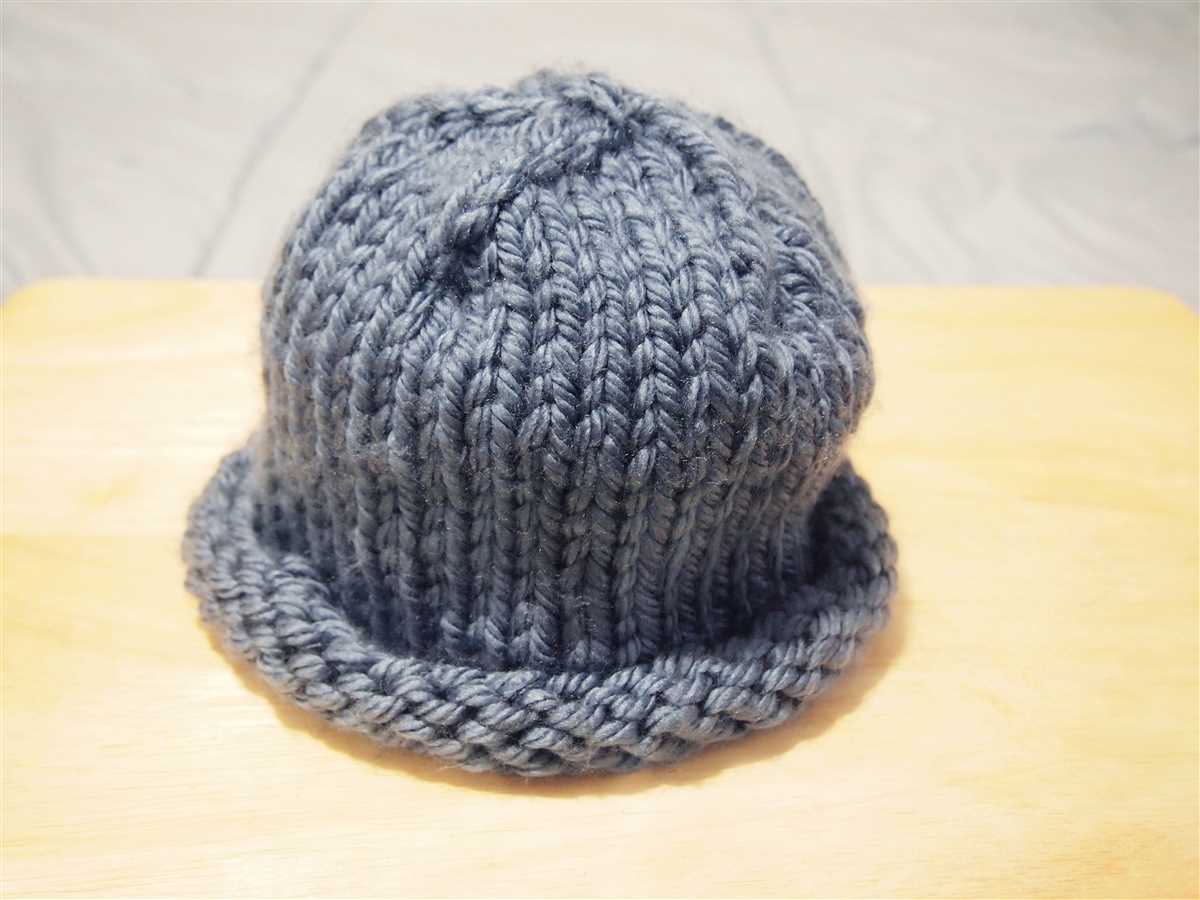
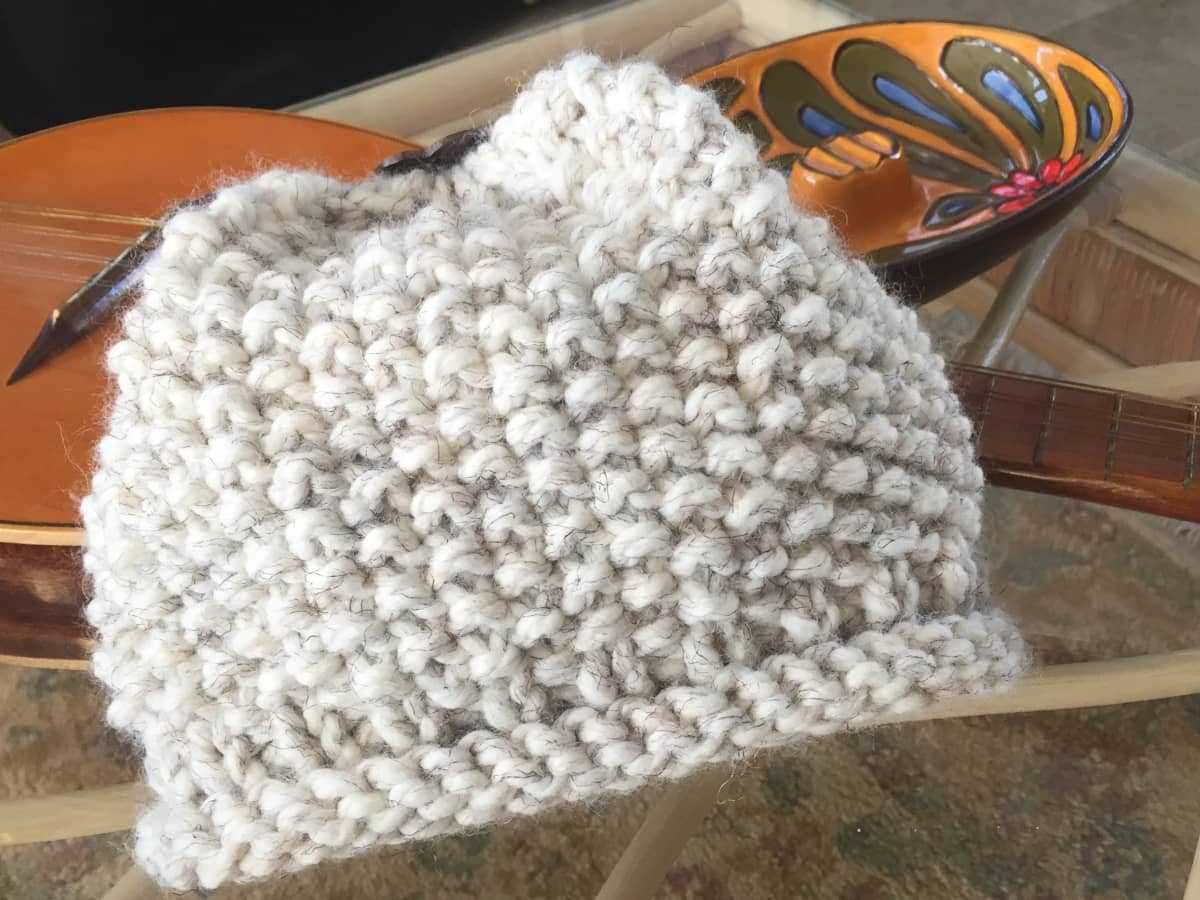
Once you have finished the ribbed brim of your basic knit hat on circular needles, it’s time to switch to stockinette stitch. Stockinette stitch creates a smooth and even fabric with a “V” pattern on one side and a purl pattern on the other side. This stitch is commonly used in knitting patterns and is a great way to showcase the yarn color and texture.
To switch to stockinette stitch, you will start knitting all the stitches in each round instead of alternating between knit and purl stitches. This will create the smooth “V” pattern on the right side. Make sure you keep track of your rounds by using stitch markers or counting rows to ensure an even and consistent fabric.
When switching to stockinette stitch, it is important to maintain an even tension throughout your knitting. Tension refers to how tightly or loosely you knit your stitches. If your tension is too loose, the fabric may appear sloppy and uneven. If your tension is too tight, the fabric may end up stiff and difficult to stretch. Practice and experience will help you find the right tension for your knitting style.
When working in stockinette stitch, you can customize your hat further by adding various patterns or embellishments. For example, you can incorporate stripes, cables, or colorwork to make your hat unique. Just make sure to follow the pattern instructions and keep track of your stitches. Stockinette stitch is a versatile stitch that can be used in various knitting projects, so once you have mastered it, you can experiment with different designs and create beautiful garments and accessories.
In summary, switching to stockinette stitch in your basic knit hat pattern on circular needles is a simple yet important step in creating a smooth and even fabric. Keep an even tension and consider adding patterns or embellishments to make your hat unique. Happy knitting!
Creating the Crown Shaping
Once you have completed the ribbing and body of your knit hat, it’s time to start shaping the crown. The crown shaping is the part of the hat where you decrease the number of stitches to create a rounded top. This gives the hat its classic shape and allows it to fit snugly on the head.
Decreasing Stitches
To begin the crown shaping, you will need to decrease the number of stitches in each row. This can be done in a variety of ways, such as knitting two stitches together or slipping stitches over one another. The specific decrease method you choose will depend on the pattern you are following.
Most crown shaping patterns will instruct you to decrease stitches evenly around the hat, typically dividing the stitches into sections and decreasing a certain number of stitches in each section. This helps to maintain the shape of the hat and prevent any gaps or unevenness in the crown.
Continuing the Decreases
As you continue with the crown shaping, the number of stitches will decrease with each row. This means that the decreases will become more frequent, bringing the top of the hat to a point. It’s important to carefully follow the pattern instructions to ensure that you decrease the stitches correctly and evenly.
Once you have completed the crown shaping, you will be left with a small number of stitches that can be gathered at the top of the hat. This can be done by threading a yarn needle through the remaining stitches and pulling tight to close the top. The yarn end can then be securely woven in to finish the hat.
With the crown shaping complete, you can now admire your finished knit hat. The rounded top and snug fit make it a cozy and stylish accessory for the colder months. Whether you’re keeping it for yourself or giving it as a gift, this basic knit hat pattern is sure to be a favorite.
Finishing Touches: Binding Off and Weaving in Ends
In order to complete your basic knit hat, it’s essential to properly bind off and weave in all loose ends. This will give your hat a polished and finished look.
To bind off, start by knitting two stitches as usual. Then, using your left-hand needle, lift the first stitch over the second stitch and off the right-hand needle. Continue knitting one stitch and then passing the previous stitch over until you reach the end of the row. Finally, cut the yarn, leaving a long tail, and pull the tail through the last loop to secure it.
Once you’ve bound off, you’ll need to weave in any remaining loose ends. Thread a tapestry needle with the tail of the yarn and insert the needle into the back of the nearest stitch, then weave it back and forth through the stitches for about an inch. This will help secure the end of the yarn and prevent it from unraveling.
Repeat the same process for any other loose ends on the inside of the hat, making sure to weave them in securely to avoid any potential discomfort when wearing the hat.
Tips for a neat finish:
- Make sure to bind off loosely to avoid a tight edge that may be uncomfortable when worn.
- Weave in the ends as you go along to avoid a large pile-up of loose ends at the end.
- If you prefer a cleaner look, you can use a different color yarn to weave in the ends, matching the color of the stitches.
- Take your time and be patient when weaving in the ends to ensure a neat and secure finish.
Blocking the Hat
After completing your knit hat using circular needles, it is important to block it to give it a finished and polished look. Blocking is the process of shaping and stretching the knit fabric to achieve the desired size and shape. It also helps to even out any inconsistencies in tension and improves the drape of the hat.
To block the hat, you will need a blocking mat or towel, rustproof pins, and a spray bottle filled with water. Begin by soaking the hat in lukewarm water for about 15 minutes. Gently squeeze out the excess water, being careful not to wring or twist the hat. Lay the hat on the blocking mat or towel, and use your hands to shape it into the desired size and shape, smoothing out any wrinkles or uneven areas.
Pin the brim and crown
Next, start pinning the brim of the hat using rustproof pins. Place the pins along the edge of the brim, spacing them evenly apart. This will help to ensure that the brim retains its shape and doesn’t curl up. Then, pin the crown of the hat by stretching it slightly and placing the pins in a circular pattern, working from the center outwards. This will help to give the hat a nice rounded shape.
Let it dry
Once the hat is pinned, use the spray bottle to lightly mist the hat with water, making sure to evenly moisten the fabric. This will help the hat to retain its shape as it dries. Allow the hat to dry completely, which can take anywhere from a few hours to overnight, depending on the climate and humidity.
After the hat is fully dry, carefully remove the pins, being careful not to snag the knit fabric. Your hat is now ready to wear or gift to someone special! Blocking not only improves the appearance of the hat but also helps to set the stitches and ensure that the hat fits properly. Enjoy your beautifully blocked knit hat!
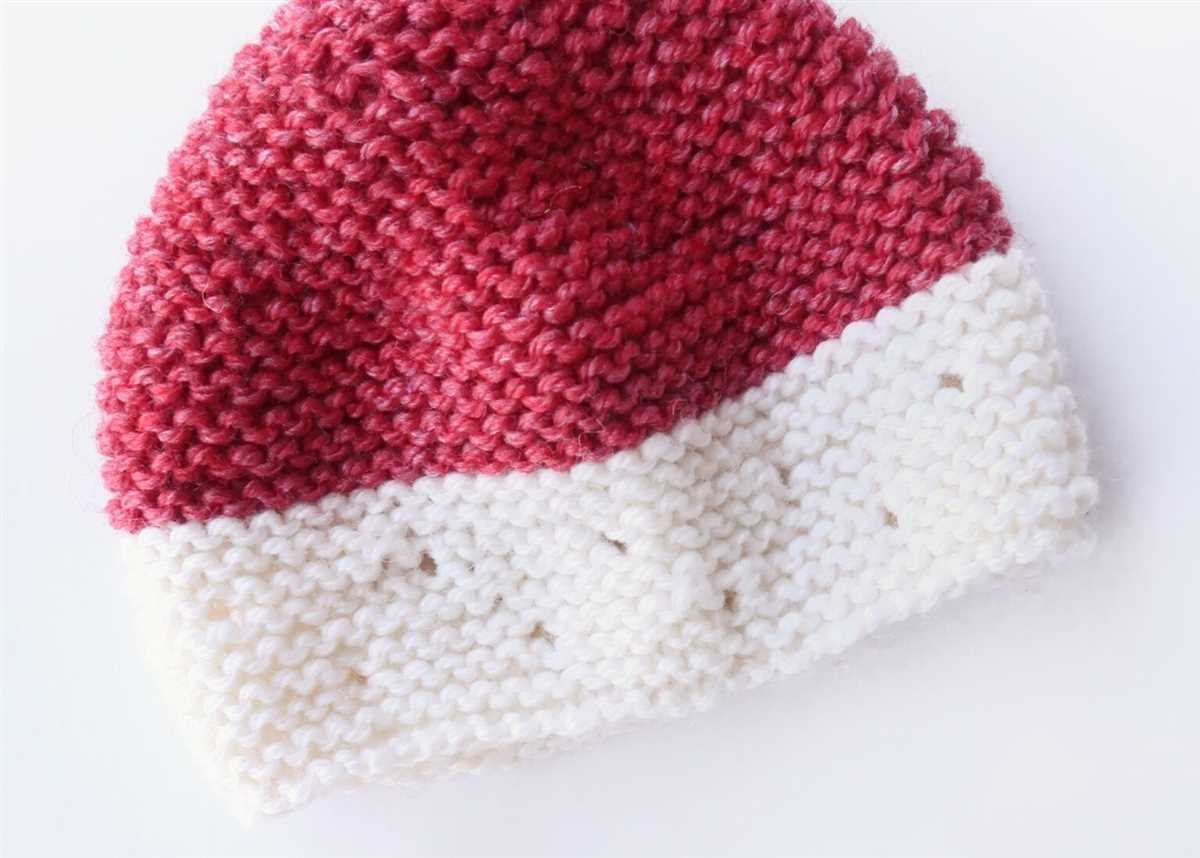
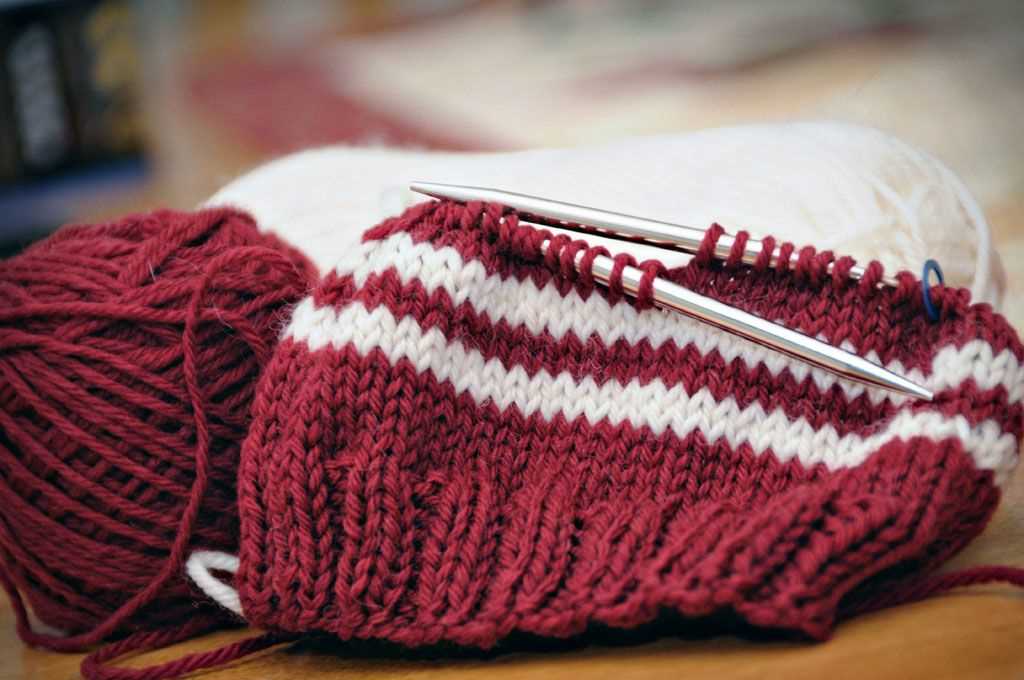
Customizing the Pattern: Adding Stripes or Colorwork
One way to customize the basic knit hat pattern is by adding stripes or colorwork. This can add visual interest and create a unique design for your hat. There are several different techniques you can use to incorporate stripes or colorwork into your knitting.
Stripes: To add stripes to your hat, you can simply change colors every few rows. For example, you could knit two rows in one color, then switch to another color for the next two rows. Repeat this pattern until you reach the desired length of your hat. You can use as many different colors as you like and experiment with different stripe widths to create a unique design.
Colorwork: Another way to customize your hat is by incorporating colorwork. This involves knitting with two or more colors at the same time to create a pattern or design. One popular colorwork technique is stranded knitting, also known as Fair Isle knitting. With this technique, you carry both colors of yarn across the back of your work and create intricate patterns by knitting stitches with different colors. Another technique is intarsia, which involves knitting blocks of color separately and twisting the strands of yarn at color changes to avoid holes.
If you’re new to colorwork, it’s a good idea to start with simple patterns or motifs and gradually work your way up to more complex designs. There are also many resources available, such as books and online tutorials, that can help you learn and practice different colorwork techniques.
Whether you choose to add stripes or colorwork to your knit hat, it’s important to keep track of your stitch pattern or color changes. You can use stitch markers, a row counter, or a pattern chart to help you stay organized. Enjoy the process of customizing your hat and creating a unique design that reflects your personal style!
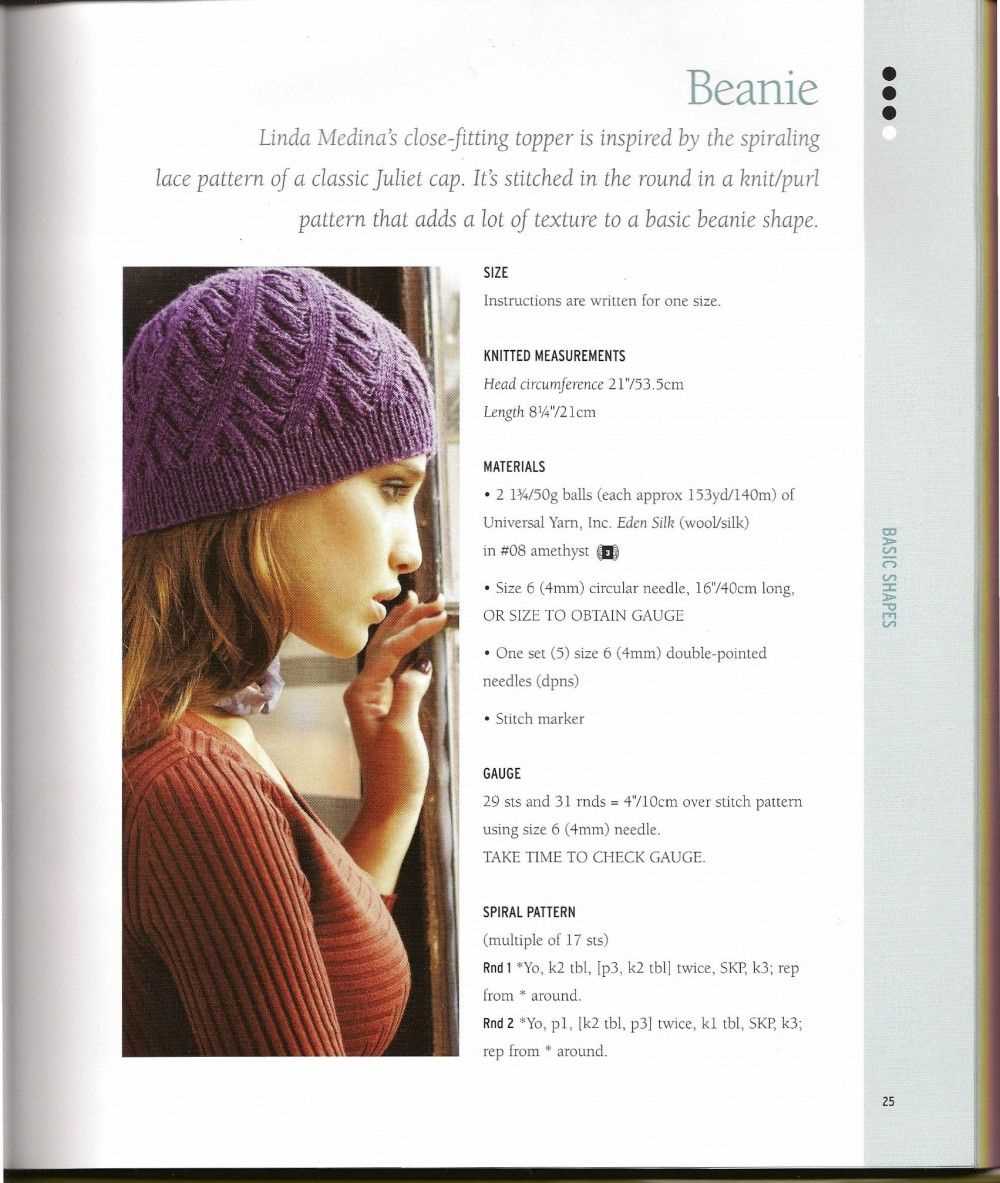
Advanced Techniques: Cabling or Lace Panels
Once you have mastered the basic knit hat pattern using circular needles, you may be ready to challenge yourself with more advanced techniques. Two popular options to take your knitting skills to the next level are cabling and lace panels.
Cabling: Cable knitting involves creating raised patterns by crossing stitches over each other. This technique adds texture and interest to your knitted projects. To cable, you will need a cable needle or a spare DPN to hold the stitches while you cross them. With practice, you can create intricate cable designs that will impress and delight.
Lace Panels: Lace knitting creates delicate and intricate patterns that resemble lace fabric. This technique involves working yarnovers and decreases to create holes and openwork designs in your knitting. Lace panels can be added to hats, scarves, shawls, and other projects to add a touch of elegance and femininity.
When incorporating cabling or lace panels into your knit hat pattern, it is important to pay attention to the pattern instructions and charts. These advanced techniques require careful stitch manipulation and counting. Stitch markers can be helpful in keeping track of patterns and repeats.
If you are new to cabling or lace knitting, it is a good idea to start with a simple design and gradually work your way up to more complex patterns. There are many resources available, including books, online tutorials, and knitting groups, where you can learn and practice these advanced techniques.
By adding cabling or lace panels to your knit hat pattern, you can take your knitting to new heights and create beautiful, eye-catching designs. Embrace the challenge and enjoy the process of expanding your knitting skills!
Additional Tips and Resources
Now that you have the basics down, here are some additional tips and resources to help you with your basic knit hat project:
Tips:
- Always check your gauge before starting your project. This will ensure that your hat will fit properly.
- Try different types of yarn to achieve different effects. Bulky yarn will create a chunkier hat, while worsted weight yarn will result in a more standard size.
- If you’re new to circular knitting, practice with a smaller project first, such as a small pouch or a coffee cozy, to get comfortable with the technique.
- Use stitch markers to help keep track of your rounds, especially when working with a large number of stitches.
- Blocking your hat after completing it can help to even out the stitches and give it a more polished look.
Resources:
- Online tutorials: There are numerous online tutorials and videos available that can guide you through the process of knitting a basic hat with circular needles. Websites such as YouTube and knitting blogs are great places to start.
- Knitting books: There are many knitting books available that provide detailed instructions and patterns for knitting hats and other projects. Some popular options include “The Knitter’s Handy Book of Patterns” by Ann Budd and “Knitting in the Round” by Debbie Stoller.
- Local knitting groups or classes: Joining a local knitting group or taking a knitting class can provide you with hands-on guidance, support, and the opportunity to learn from experienced knitters.
Remember, practice makes perfect, so don’t get discouraged if your first few hats don’t turn out exactly as planned. With time and experience, you’ll be able to create beautiful, custom knit hats that you can be proud to wear or give as gifts.