
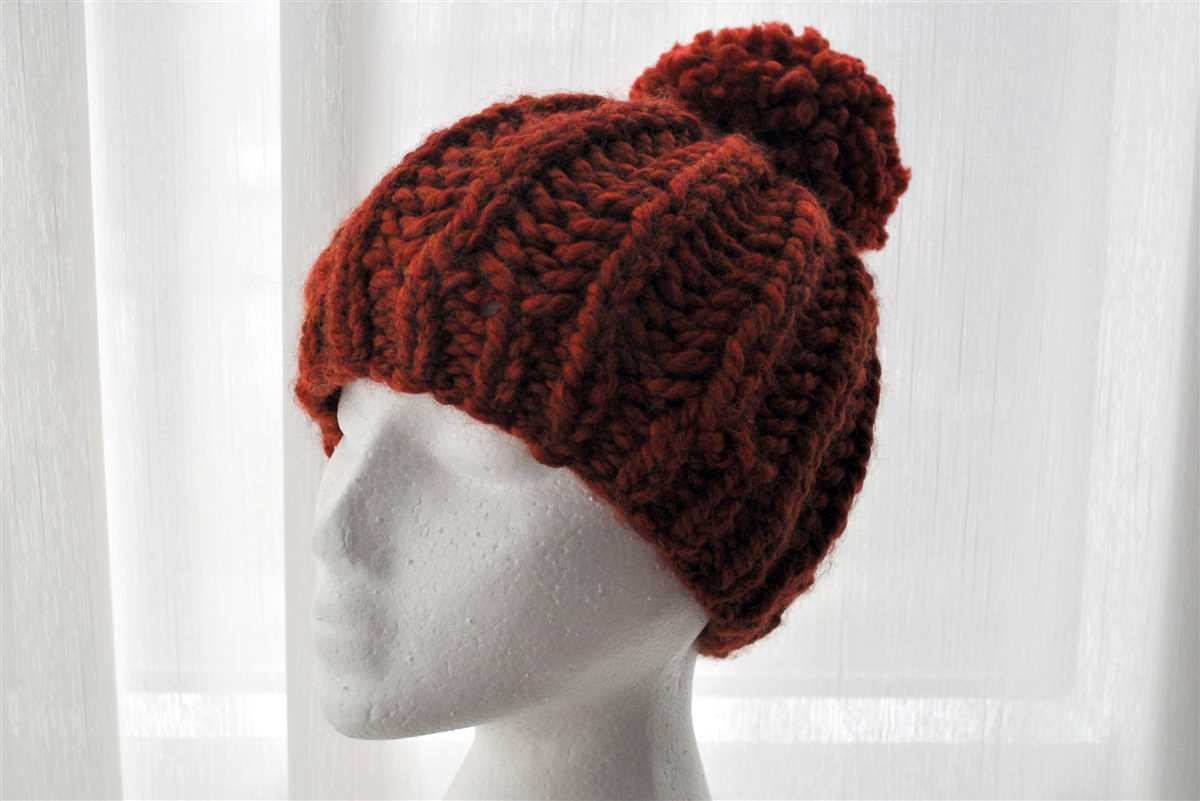
Knitting hats is a fun and rewarding activity that allows you to create unique and personalized accessories to keep you warm during the colder months. Whether you’re new to knitting or an experienced crafter, this basic hat knitting pattern is a great project to test your skills and create a stylish addition to your winter wardrobe.
This pattern is designed to be simple and easy to follow, making it perfect for beginners. The hat is knit in the round using circular needles, which eliminates the need for any seaming. It features a classic ribbed brim and can be customized with different stitch patterns, colors, and embellishments to suit your taste.
To get started, you’ll need basic knitting supplies, including a set of circular knitting needles, a stitch marker, and a yarn needle for weaving in ends. Choose a soft and warm yarn in your preferred color and weight, and make sure to check the gauge to ensure that your hat will fit properly.
What is a Basic Hat Knitting Pattern?
A basic hat knitting pattern is a set of instructions that guide you in creating a simple, versatile hat using knitting techniques. This pattern is perfect for both beginners and experienced knitters, as it provides a foundation for various hat designs and allows for customization.
Typically, a basic hat knitting pattern consists of step-by-step instructions, including the type of yarn and needles recommended, as well as the necessary gauge and measurements. It also provides details on the specific stitches and techniques required to create the hat, such as casting on, knitting in the round, and decreasing stitches.
Benefits of Using a Basic Hat Knitting Pattern
Using a basic hat knitting pattern offers several benefits:
- Simplicity: A basic pattern is easy to follow, making it suitable for beginners who are learning to knit hats.
- Versatility: The basic pattern can be modified and adapted to different styles, sizes, and stitch patterns, allowing for endless customization options.
- Time Efficiency: With a basic pattern, you become familiar with the steps involved, which leads to faster knitting as you gain experience.
- Foundation for Creativity: Once you are comfortable with the basic pattern, you can experiment with different yarns, colors, and decorative elements to create unique hats.
Whether you are looking to knit a simple hat for yourself or to give as a gift, a basic hat knitting pattern is a valuable resource that provides the framework for creating a stylish and functional accessory.
Choosing the Right Yarn and Needles for Your Hat
When knitting a hat, it is important to choose the right yarn and needles to ensure that your finished project turns out just the way you want it. The yarn and needles you select will determine the size, shape, and overall look of your hat. Here are some factors to consider when making your choices:
Yarn Weight:
- Fingering weight: This is a lightweight yarn that is perfect for making hats with a delicate and dainty appearance. It is usually knit using smaller needles.
- Sport weight: This is a slightly heavier yarn than fingering weight and can create hats that have a nice balance between warmth and drape. It is commonly knit using medium-sized needles.
- Worsted weight: This is a popular choice for hats as it provides warmth and durability. It is knit with medium to large-sized needles.
- Bulky weight: If you want a hat that is cozy and warm, bulky weight yarn is the way to go. This yarn is knit using larger needles to create a quick and chunky finished project.
Needle Size:
The size of the needles you choose will affect the tension and overall appearance of your hat. Here are some guidelines to help you select the right needle size:
- Smaller needles: Using smaller needles will create a tighter and denser fabric, which is great for hats that need to be warm and wind-resistant.
- Medium needles: These are the most commonly used needle sizes for hats. They create a balance between warmth and drape, making them suitable for a variety of hat styles.
- Larger needles: If you want a hat with a looser and more open stitch pattern, using larger needles will help achieve that look. However, keep in mind that the hat may be less warm and more prone to stretching.
Remember to always swatch before starting your hat to ensure that you have the correct gauge and achieve the desired size. This will ensure that your hat fits perfectly and looks just as you imagined.
Understanding Yarn Weight and Fiber Content
When it comes to knitting, understanding yarn weight and fiber content is essential for choosing the right yarn for your project. Yarn weight refers to the thickness of the yarn, which affects the final look and drape of your knitted item. On the other hand, fiber content determines the characteristics and care instructions for the yarn.
Yarn weight is typically categorized into different categories, ranging from lace weight to super bulky. Each category has its own recommended needle size and gauge, so it’s important to match the yarn weight with the appropriate pattern. For a basic hat, a medium weight (worsted) yarn is usually a good choice, as it offers a good balance between warmth, drape, and stitch definition.
When it comes to fiber content, there are various options to choose from. Popular options include wool, cotton, acrylic, and blends of different fibers. Wool is known for its warmth and elasticity, making it a great choice for cold weather accessories. Cotton, on the other hand, is breathable and cool, making it suitable for lightweight garments. Acrylic is a synthetic fiber that is often used for its affordability and durability. Blends of different fibers can offer a combination of different properties, such as the softness of merino wool and the durability of nylon.
Before starting a knitting project, it’s important to check the yarn label for information on the yarn weight and fiber content. This will help you choose the right yarn for your project and ensure that it will meet your desired expectations in terms of look, feel, and care. Remember, experimenting with different yarns and fibers can also be a fun and creative way to add variety and uniqueness to your knitting projects!
Selecting the Appropriate Needle Size
When knitting a basic hat, one of the most important factors to consider is selecting the appropriate needle size. The needle size you choose will depend on several factors, including the type of yarn you are using, the desired gauge, and your personal knitting style.
Before starting your project, it’s essential to check the yarn label for recommended needle sizes. This information is typically listed along with other important details, such as suggested stitch gauge and yarn weight. Following the manufacturer’s recommendations will help ensure that your hat turns out the right size and shape.
Needle size affects both the overall size of the hat and the way the stitches appear. Using larger needles will result in a looser, more open fabric, while smaller needles will create a tighter, denser fabric. Consider the desired drape and appearance of your hat when selecting the needle size.
In addition to the recommended needle size on the yarn label, you can also make adjustments based on your personal knitting style and tension. If you tend to knit tightly, you may need to use larger needles to achieve the desired gauge. Conversely, if you knit loosely, using smaller needles can help create a more even and controlled fabric.
When in doubt, it’s a good idea to swatch before starting your hat. Knit a small sample using the selected needle size and check the gauge to ensure it matches the pattern. Swatching will also give you an opportunity to see how the yarn and needles work together and make any necessary adjustments before diving into the main project.
Remember, selecting the appropriate needle size is crucial for achieving the desired fit and appearance of your basic hat. Take into account the yarn label recommendations, your personal knitting style, and consider swatching to ensure success with your project.
Key Techniques for Knitting a Basic Hat
Knitting a basic hat can be a fun and rewarding project for knitters of all skill levels. Whether you’re a beginner or an experienced knitter, there are a few key techniques that you’ll need to master in order to successfully complete your hat.
1. Casting on: The first step in knitting a hat is to cast on your stitches. This is done by creating a slipknot on your knitting needle and then using various casting on techniques to add additional stitches. The number of stitches you cast on will depend on the size of your hat and the gauge of your yarn.
2. Knitting in the round: Most basic hats are knit in the round, which means you will be knitting in a continuous circle rather than back and forth in rows. This is typically done using circular knitting needles or double-pointed needles. To knit in the round, you’ll need to master techniques such as joining the round, knitting stitches in the round, and purling stitches in the round.
3. Decreasing: To shape the crown of your hat, you’ll need to decrease your stitches. This is done by knitting two stitches together, either by using a knit two together (k2tog) or a slip, slip, knit (ssk) technique. Decreasing evenly and following a specific decrease pattern will ensure that your hat tapers towards the top and creates a snug fit.
4. Finishing: Once you have completed the main body of your hat, you’ll need to finish off your work. This usually involves cutting the yarn, leaving a long tail for sewing, and pulling the tail through the remaining stitches to close the top of the hat. You may also need to weave in any loose ends and block your hat to ensure it retains its shape.
By mastering these key techniques, you’ll be well on your way to knitting a basic hat that is both stylish and cozy. Remember to follow a trusted hat pattern and experiment with different yarns and stitches to customize your hat and make it truly unique.
Casting On and Joining in the Round
Before you can start knitting a hat, you need to cast on your stitches and join them in the round. Casting on is the process of creating the first row of stitches on your knitting needle. There are several different methods you can use to cast on, such as the long-tail cast on, the knitted cast on, or the cable cast on. Choose the method that you are most comfortable with or that gives you the desired look for your hat.
Once you have cast on your stitches, you are ready to join them in the round. Joining in the round means connecting the last stitch you cast on to the first stitch you cast on, creating a continuous loop of stitches. This is typically done by sliding the stitches onto a circular needle or double-pointed needles, depending on your preferred knitting method.
To join in the round:
- Make sure your stitches are facing the same direction, with the right side of the work facing you.
- Hold the knitting needle with the cast on stitches in your right hand, and the empty needle in your left hand.
- Insert the empty needle into the first stitch on the right-hand needle, from front to back.
- Slide the first stitch onto the empty needle, making sure it is not twisted.
- Repeat this process for the remaining stitches, ensuring that they are all facing the same direction.
Once all the stitches are on the empty needle, you can start knitting in the round. This means that you will be working in a continuous spiral, without turning your work at the end of each row. This is important for creating a seamless hat. Keep in mind that you may need to use stitch markers to help you keep track of the beginning of each round, especially if you are working with a large number of stitches.
Knitting the Ribbing and Body of the Hat
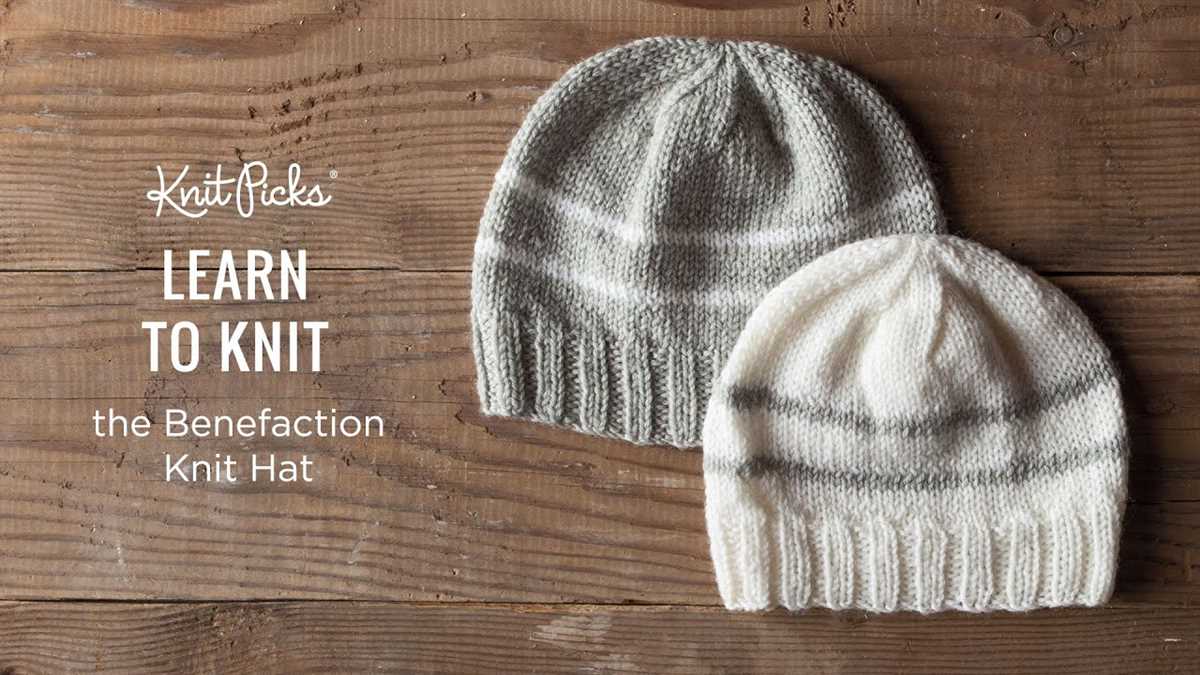
Once you’ve cast on the desired number of stitches for your hat, it’s time to start knitting the ribbing. The ribbing is the folded edge of the hat that sits on the forehead and gives it a snug fit. To create the ribbing, you’ll need to alternate between knitting and purling stitches.
Start by knitting two stitches, and then purling two stitches. Repeat this pattern until you reach the desired length for the ribbing. Most patterns recommend knitting the ribbing for about 1-2 inches, but you can adjust it according to your preference. The ribbing adds elasticity to the hat, allowing it to stretch comfortably over the head.
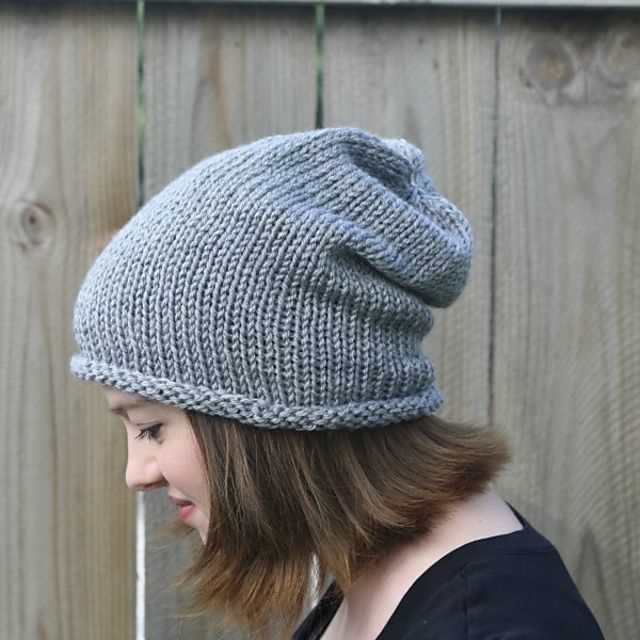
Once you’ve finished knitting the ribbing, it’s time to move on to the body of the hat. This is where you’ll knit all the stitches in the same manner, without any alternating patterns. You can continue using the same stitch pattern as the ribbing or switch to a different stitch pattern, depending on the design you want for your hat.
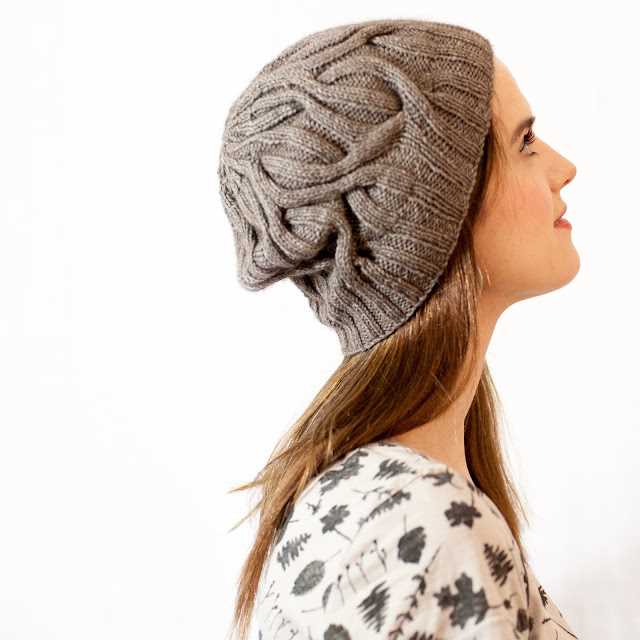
Continue knitting the body of the hat until you reach the desired length. Most patterns recommend knitting the body for about 5-7 inches, but you can adjust it based on your preference and the desired slouchiness of the hat. Remember to periodically check the length by trying the hat on or measuring it against your head.
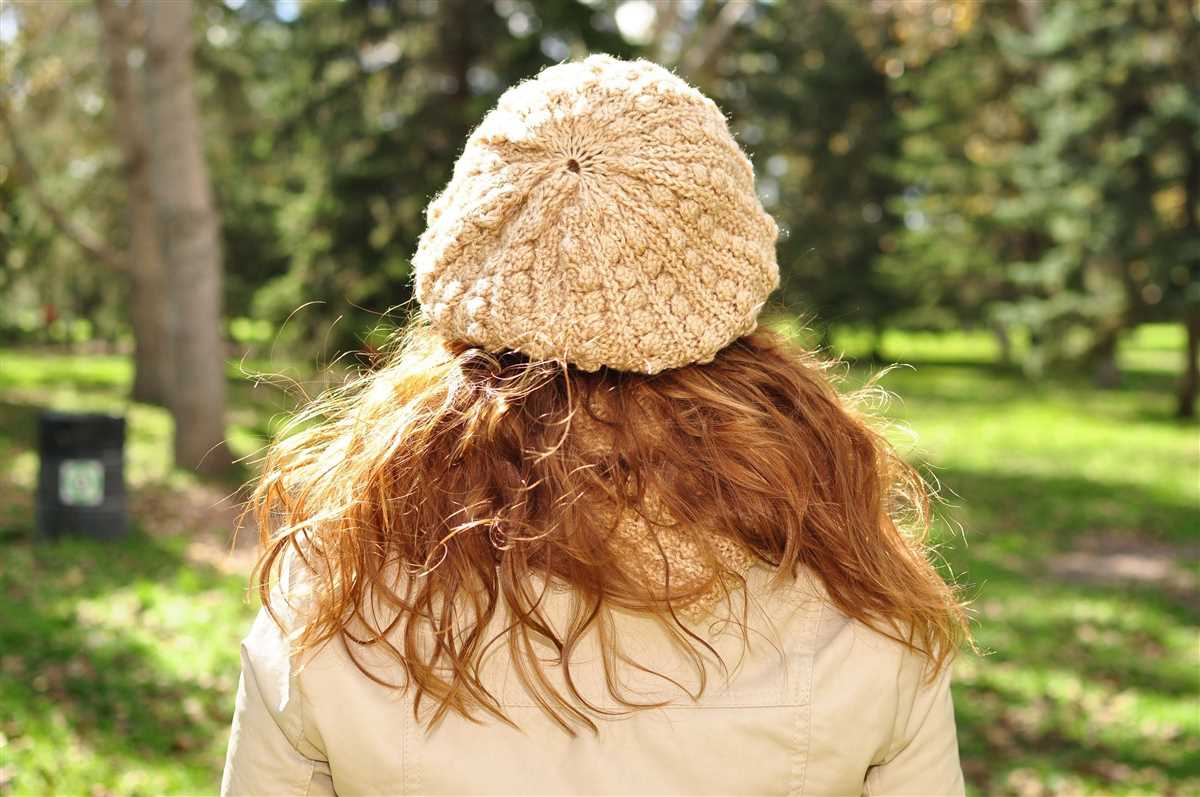
As you knit the body of the hat, you can also add decorative elements such as stripes, cables, or colorwork. These embellishments can add visual interest and make your hat unique. Just be sure to follow the pattern instructions carefully and keep track of any stitch changes or color changes.
Once you’ve reached the desired length for the body of the hat, it’s time to move on to shaping the crown. This involves decreasing the number of stitches gradually to create a tapered or rounded top. The crown shaping will give your hat its final shape and make it fit snugly on the head.
Decreasing to Create the Crown
Once you have reached the desired length for your hat, it is time to start decreasing to create the crown. Decreasing is done by knitting two stitches together or slipping stitches over each other to reduce the number of stitches on your needles. This creates a tapered effect that shapes the crown of the hat.
Start decreasing by knitting two stitches together at regular intervals. For example, you could knit two stitches together every five stitches to evenly distribute the decreases. This will depend on the size of your hat and the desired shape of the crown. Repeat this decrease pattern for several rounds until you have decreased enough stitches to reach the desired circumference for the crown.
Alternatively, you can decrease by slipping a stitch over the next stitch. To do this, slip one stitch knitwise, knit the next stitch, and then pass the slipped stitch over the knit stitch. This creates a decrease without knitting two stitches together and can create a different texture on the crown of the hat.
Continue decreasing in this manner until you have only a few stitches left on your needles. At this point, you can either cut the yarn leaving a long tail, thread it through the remaining stitches, and pull tight to close the crown, or you can transfer the remaining stitches to a set of double-pointed needles and use the Kitchener stitch or a three-needle bind off to close the crown neatly and seamlessly.
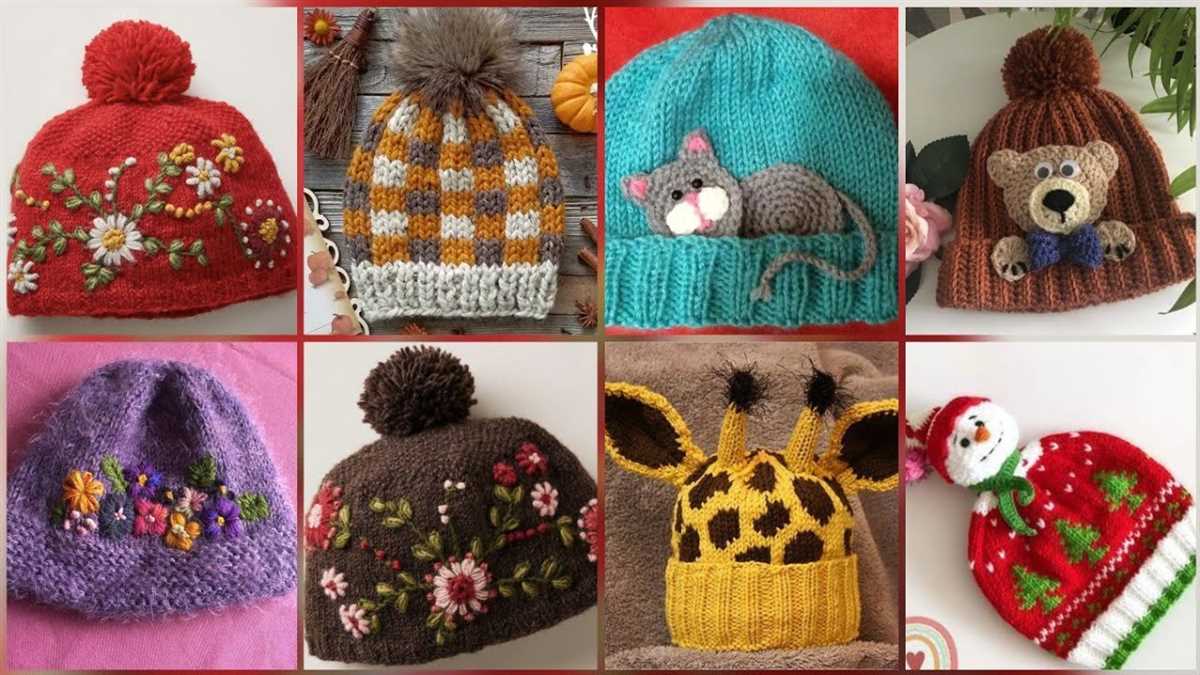
Customizing Your Basic Hat
Once you have mastered the basic hat knitting pattern, you can start to get creative and customize your hats to make them unique and personalized. There are several ways you can customize your hat to add your own personal touch.
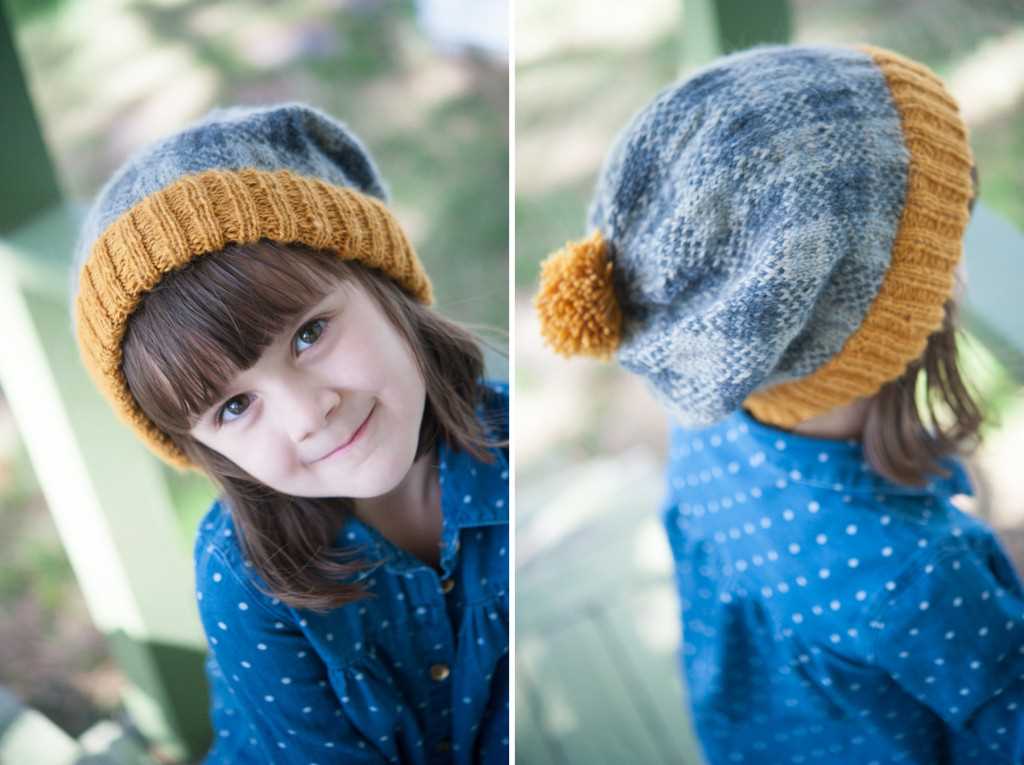
1. Color Choices: One of the easiest ways to customize your hat is to choose different colors for your yarn. You can create stripes or color blocks by alternating between different colored yarns. You can also experiment with different shades of the same color to create a gradient effect.
2. Embellishments: Adding embellishments to your hat can make it even more special. You can sew on buttons, beads, or sequins to add some sparkle. You can also crochet or knit flowers, bows, or other decorative elements and attach them to the hat.
Here are a few more ways to customize your basic hat:
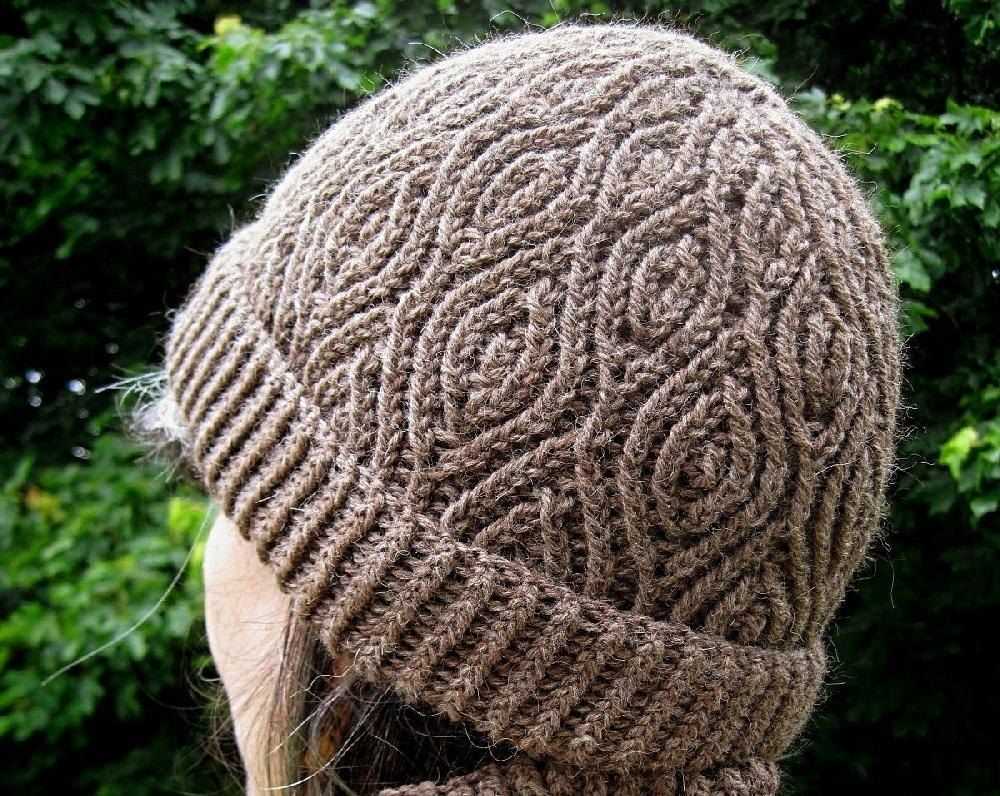
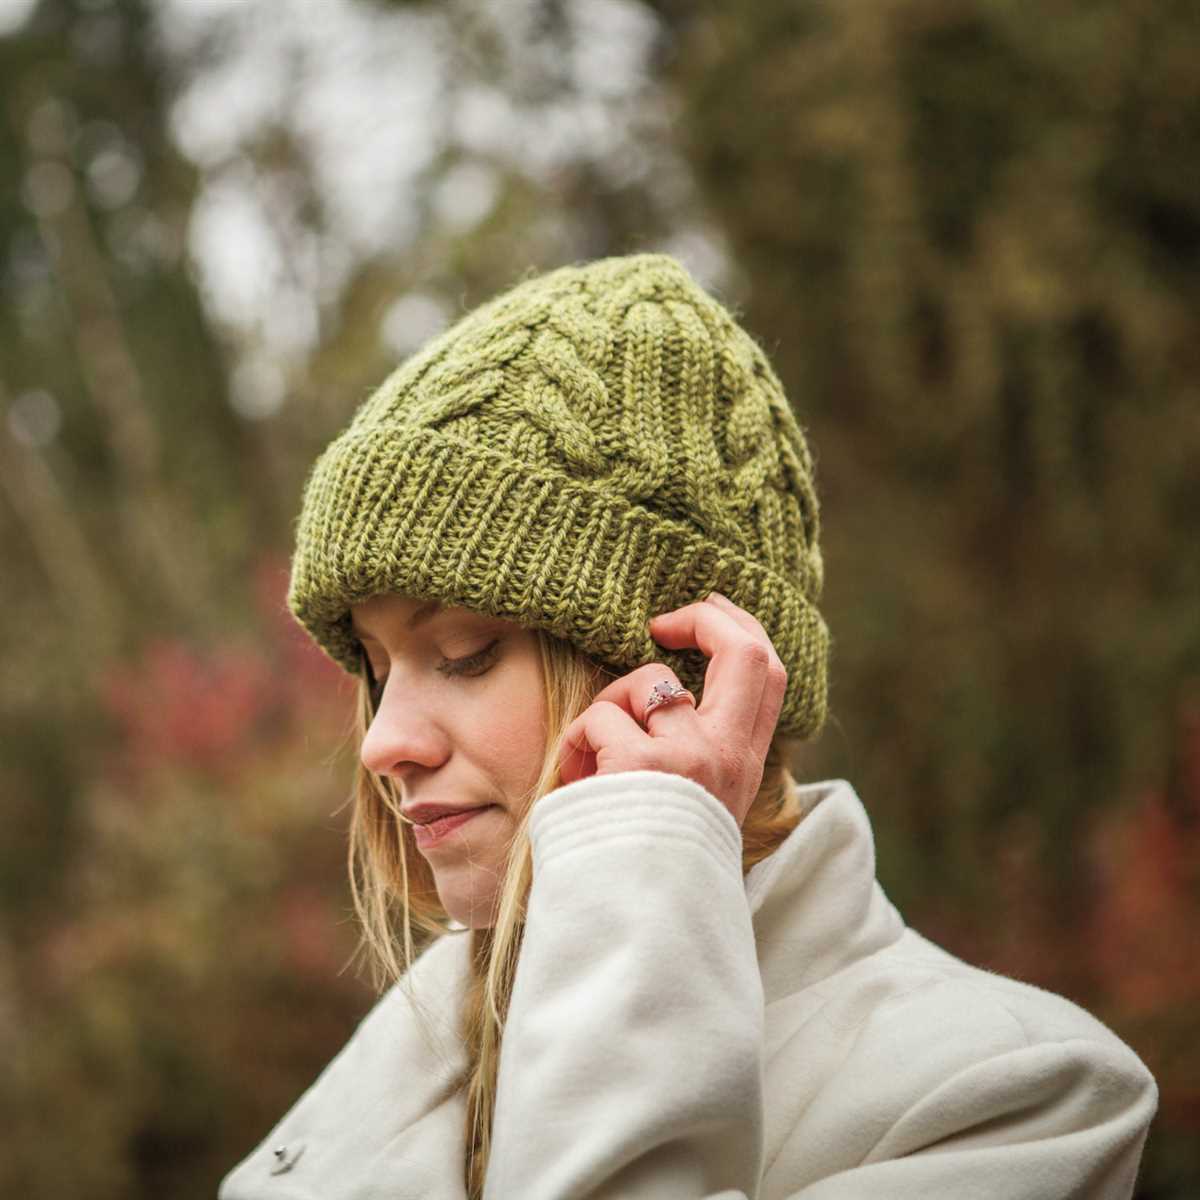
- 3. Texture: You can experiment with different stitch patterns to create texture on your hat. Try using cables, ribbing, or lace patterns to add visual interest.
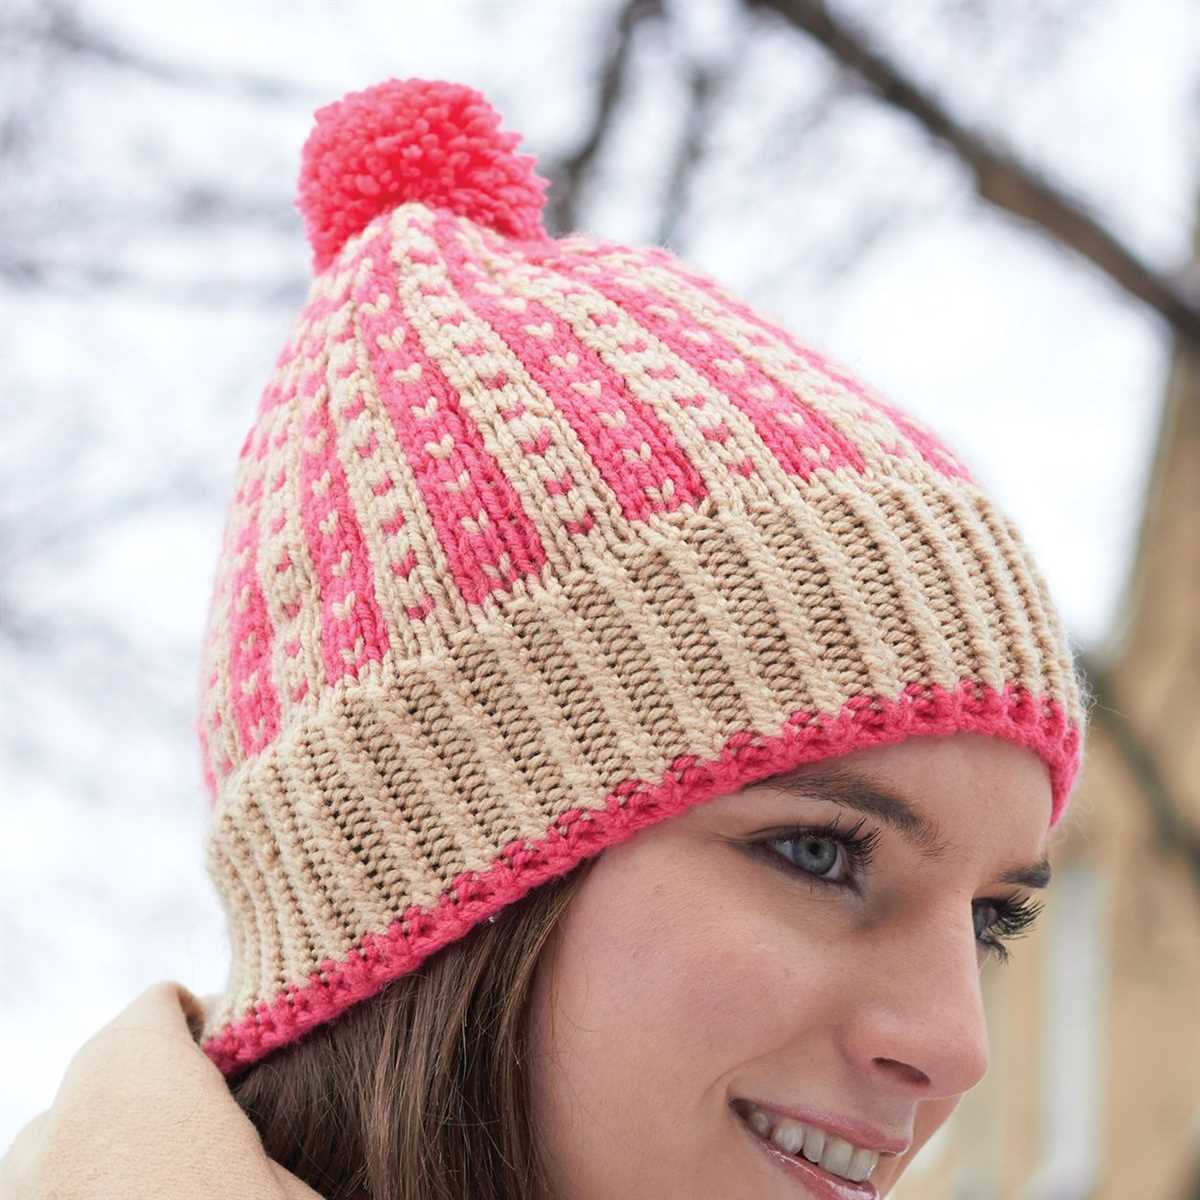
- 4. Pom-poms: Adding a pom-pom to the top of your hat can be a fun and playful addition. You can make pom-poms in different sizes and colors to suit your style.
- 5. Appliques: You can add appliques to your hat to personalize it even further. Try knitting or crocheting small shapes like hearts, stars, or animals, and sew them onto the hat.
Remember: The key to customizing your hat is to let your creativity shine. Don’t be afraid to experiment and try new things. Knitting is a versatile and flexible craft, so have fun and make your hat truly unique!
Adding Colorwork or Texture
If you want to add some visual interest to your basic hat pattern, consider incorporating colorwork or texture into the design. Colorwork involves using multiple colors of yarn to create patterns or motifs on the fabric of your hat. This can be achieved through techniques such as stranded knitting, intarsia, or fair isle.
Stranded knitting, also known as Fair Isle knitting, involves carrying two or more colors across a row of stitches. This creates a beautiful pattern on the right side of the fabric. Intarsia, on the other hand, is a colorwork technique where separate sections of different colors are worked and joined together. Both techniques require careful tension management and the use of additional yarn bobbins or bobbins to prevent the colors from tangling.
If you prefer texture over color, you can opt for stitch patterns that create raised or different textured areas on your hat. Cables, for example, are a popular choice for adding depth and interest to knitted items. You can incorporate simple cable twists or more intricate cable patterns depending on your skill level and desired outcome. Additionally, lace stitches can also create a textured effect, adding a delicate and airy look to your hat.
When adding colorwork or texture to your basic hat pattern, it’s important to consider the yarn weight and fiber content. Different yarns will yield different results, so experiment with different options to find the ones that work best for your desired design. Remember to gauge swatch before starting your project to ensure that the colorwork or textured pattern is proportionate and fits well on the hat.
Creating a Pom Pom or Tassel Embellishment
Adding a pom pom or tassel embellishment to a knitted hat not only adds a touch of fun and personality, but also serves a practical purpose. It can help to cinch the top of the hat and keep it securely in place, while also providing an extra layer of warmth.
Fortunately, creating a pom pom or tassel is a fairly simple process and requires only a few materials. To make a pom pom, you will need yarn in a complementary color, a pom pom maker or a cardboard template, scissors, and a yarn needle. To make a tassel, you will need yarn in a complementary color, a piece of cardboard or a tassel maker, scissors, and a yarn needle.
Creating a Pom Pom
To create a pom pom, start by selecting a yarn color that matches or complements the hat. Once you have chosen the yarn, decide on the desired size of the pom pom. A pom pom maker can be a helpful tool to create evenly sized pom poms, but you can also use a cardboard template.
If using a pom pom maker, open up the two halves and begin wrapping the yarn around one half. Continue wrapping until the desired thickness is achieved. Repeat the process on the other half of the pom pom maker. Once both halves are completely filled with yarn, close the pom pom maker and secure it with a clip or tie. Use scissors to cut the yarn along the groove between the two halves. Gently fluff the pom pom and trim any uneven strands to create a smooth, round shape. Finally, attach the pom pom to the top of your knitted hat using a yarn needle and secure it tightly.
Creating a Tassel
To create a tassel, begin by selecting a yarn color that complements the hat. Cut a piece of cardboard or use a tassel maker that matches the desired length of the tassel. Wrap the yarn around the cardboard or tassel maker several times, until the desired thickness is achieved.
Once the desired thickness is reached, carefully slide the wrapped yarn off the cardboard or tassel maker. Cut a separate piece of yarn and use it to tie a tight knot around the top of the tassel, about a half inch from the top. This will create the tassel’s “neck” and secure the strands in place. Trim the bottom edges of the tassel to create an even, clean look. Finally, attach the tassel to the top of your knitted hat using a yarn needle and secure it tightly.
Whether you choose to add a pom pom or tassel embellishment, both options offer a lovely finishing touch to your knitted hat. Have fun experimenting with different colors and sizes to create a hat that is uniquely yours!
Finishing Your Hat and Troubleshooting Tips
Once you have completed knitting your hat, it’s time to finish it off and make it look polished. Here are a few steps you can follow to finish your hat:
- Weave in loose ends: Start by weaving in any loose ends of yarn that may be sticking out. Use a tapestry needle to carefully thread the loose ends into the stitches on the inside of the hat. This will ensure that your hat looks neat and tidy.
- Block your hat: Blocking is an important step in finishing your hat. It helps to even out the stitches and give the hat its final shape. To block your hat, dampen it with water and place it on a hat blocker or a round object that is the same size as your head. Allow it to dry completely before removing it from the blocker.
- Add a pompom (optional): If you want to add a fun and playful touch to your hat, consider attaching a pompom to the top. You can either buy a premade pompom or make one yourself using yarn. Attach the pompom securely to the top of the hat using a tapestry needle and some extra yarn.
If you encounter any issues while knitting your hat, here are some troubleshooting tips to help you out:
- Uneven stitches: If your stitches are coming out uneven, try to knit with more consistent tension. Make sure you are not pulling the yarn too tightly or too loosely. Practice keeping a steady tension throughout your knitting.
- Too tight or too loose: If your hat feels too tight or too loose, you may need to adjust your needle size. Use a smaller needle size if your hat is too loose and a larger needle size if it is too tight. You can also try blocking the hat to help adjust the fit.
- Twisted stitches: Twisted stitches can happen when you accidentally knit through the back loop instead of the front loop. If you notice twisted stitches in your hat, carefully undo the stitches and re-knit them correctly.
By following these finishing steps and troubleshooting tips, you can ensure that your knitted hat turns out beautifully and fits perfectly. Have fun knitting and enjoy wearing your cozy creation!
Binding Off and Weaving in Ends

Once you have completed knitting your hat, it’s time to finish it off by binding off and weaving in the ends. This final step will give your hat a polished look and secure all the stitches.
To bind off, knit the first two stitches as usual. Then insert the left needle into the first stitch on the right needle and lift it up and over the second stitch, letting it fall off the right needle. You now have one stitch on your right needle. Knit the next stitch, and repeat the process of lifting the first stitch up and over the second stitch. Continue this pattern until you have one stitch left on your right needle. Cut the yarn, leaving a long tail, and pull it through the last stitch to secure it.
Next, you’ll need to weave in the ends of the yarn to hide them and prevent unraveling. Thread the tail of yarn onto a tapestry needle. Start by inserting it into the back of your work, going under the stitches from left to right. Pull the yarn through, leaving a small loop. Then, insert the needle back into the work, going under the stitches in the opposite direction. Pull the yarn through, tightening the loop. Repeat this process a few more times, weaving the tail in different directions to ensure it is secure. Finally, trim any excess yarn.
By binding off and weaving in the ends, you have completed your basic hat knitting project. Your hat is now ready to be worn or gifted. Remember to block your hat if desired to give it a smoother and more professional finish. Enjoy your new hat and happy knitting!