
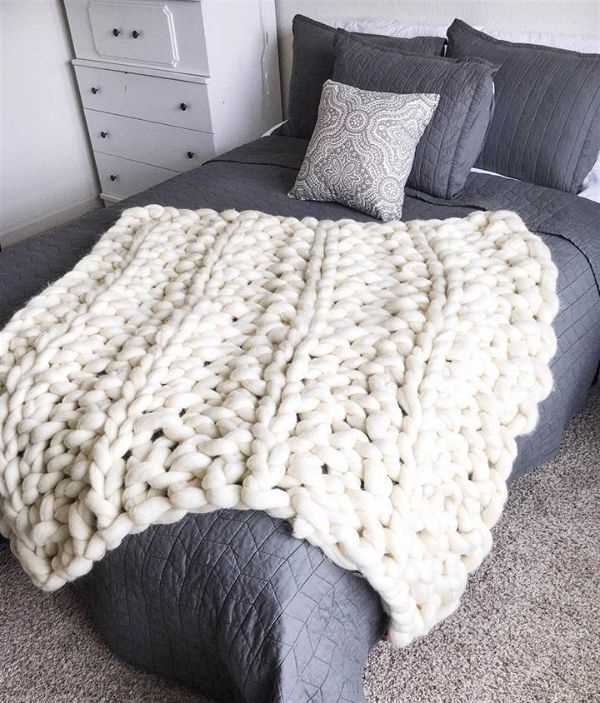
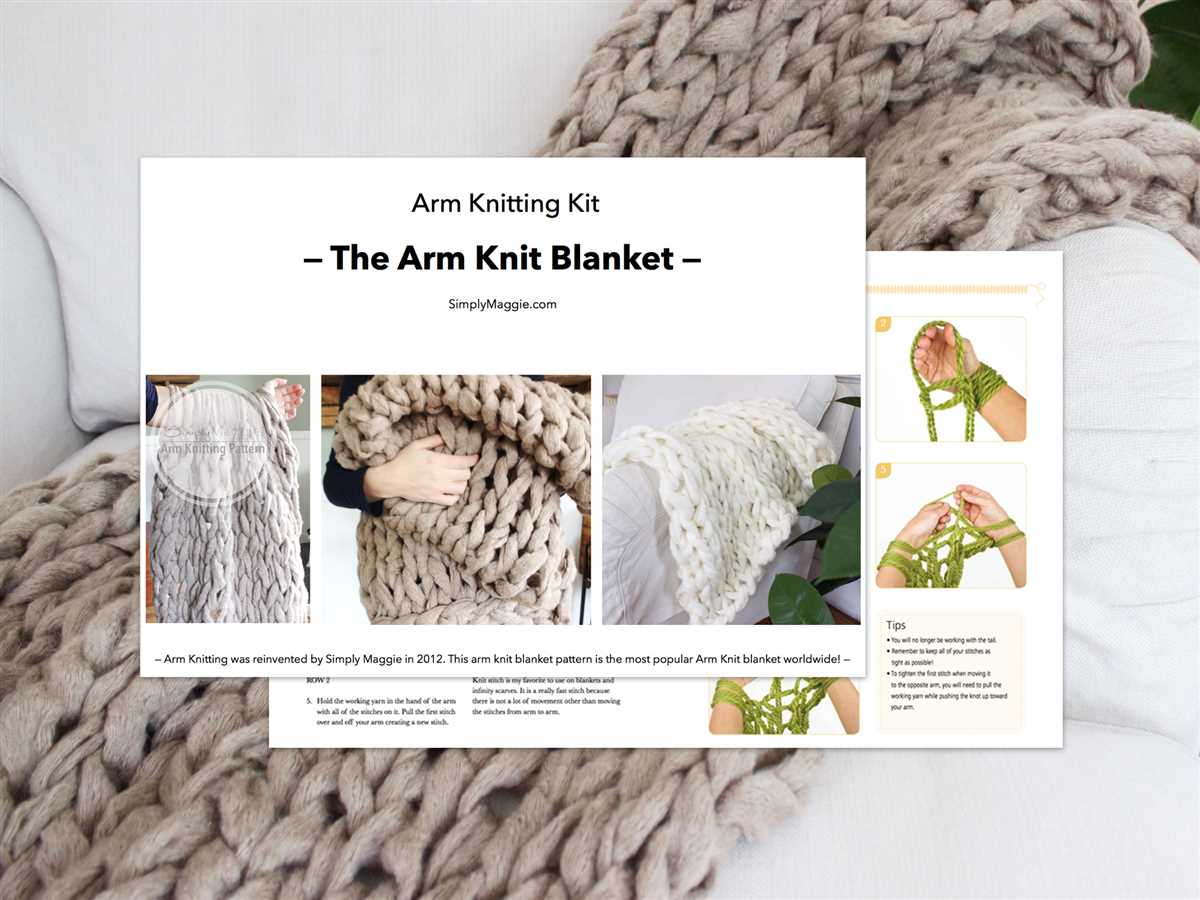
Are you in search of a cozy and stylish blanket that you can make with your own hands? Look no further than arm knitting! Arm knitting is a popular technique that uses your arms instead of knitting needles to create beautiful and chunky knits. One of the most popular projects for arm knitting is a blanket. In this article, we will explore the arm knitting blanket pattern and guide you through the process of making your very own arm knit blanket.
Arm knitting is a great way to create a blanket that is not only soft and warm but also adds a chic touch to any home decor. With arm knitting, you can achieve a larger gauge, which means that your blanket will knit up quickly. Plus, arm knitting is perfect for beginners or those who have never knitted before, as it requires minimal equipment and is easy to learn.
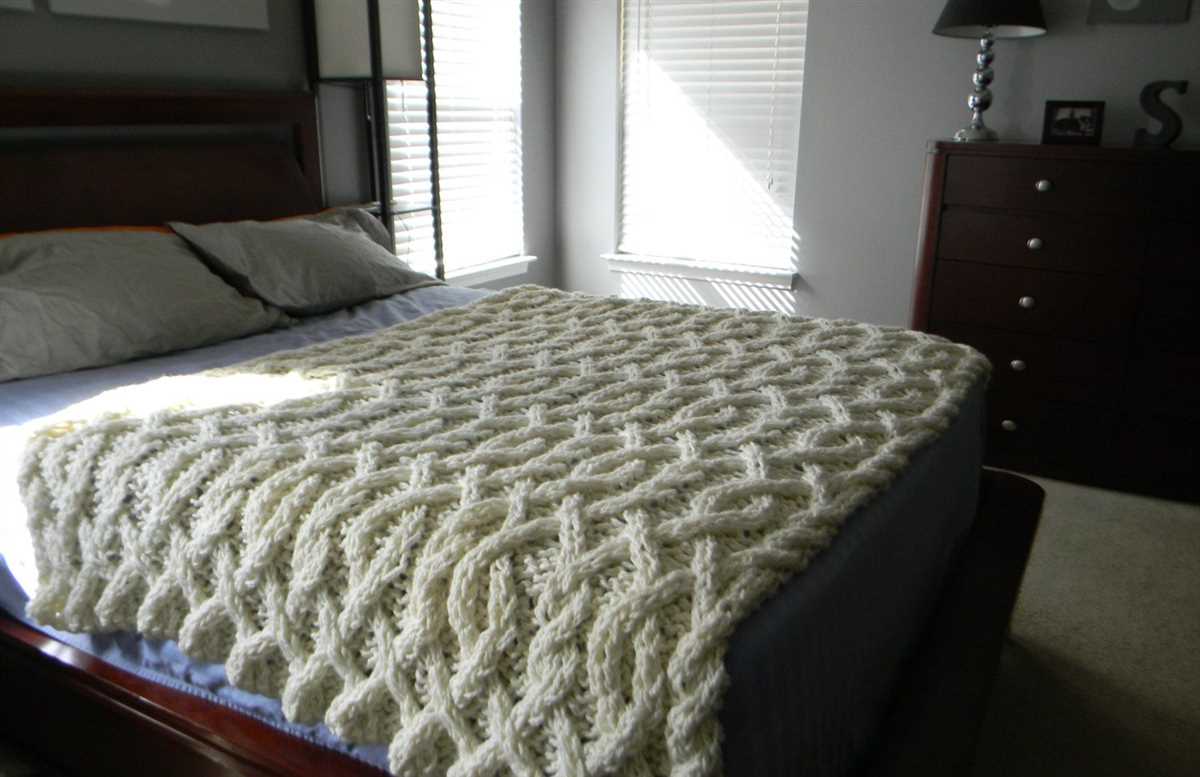
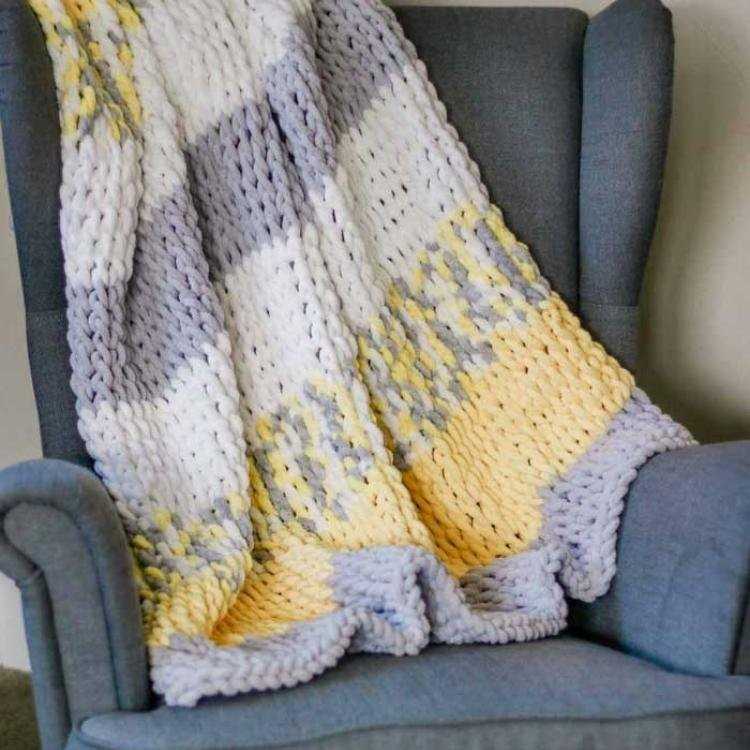
When it comes to selecting a pattern for your arm knitting blanket, there are countless options to choose from. You can opt for a simple garter stitch pattern for a classic look, or try a more intricate stitch pattern for a unique and textured blanket. The choice is yours! With arm knitting, you have the freedom to experiment with different stitches and designs to create a blanket that suits your personal style.
About arm knitting
Arm knitting is a unique and trendy technique that allows you to create beautiful and cozy blankets using only your arms and yarn. This technique has gained popularity in recent years, as it offers a quick and easy way to make chunky knit items without the need for knitting needles or crochet hooks. With arm knitting, you can create stylish and modern blankets in just a fraction of the time it would take with traditional knitting methods.
How does arm knitting work?
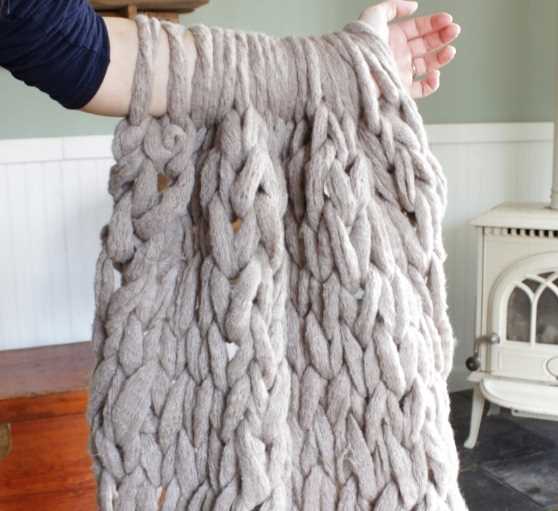
Arm knitting utilizes your arms as giant knitting needles, allowing you to loop and weave strands of yarn to create your desired pattern. By using your arms as the “needles,” you can easily control the tension and thickness of the stitches, resulting in a chunky and cozy blanket. The process involves casting on stitches onto your arm, then using a simple knit stitch to manipulate the yarn and create the desired pattern. You can experiment with different yarn thicknesses and textures to create unique and personalized blankets.
Benefits of arm knitting
- Speed: Arm knitting allows you to create blankets much faster than traditional knitting methods. With the absence of needles, you can cover more ground with each stitch, resulting in a quicker finished product.
- Simplicity: Arm knitting is an excellent technique for beginners as it requires minimal tools and skills. Even if you have no knitting experience, you can quickly learn the basic arm knitting techniques and start creating beautiful blankets right away.
- Versatility: Arm knitting can be used to create a variety of projects, including blankets, scarves, cowls, and more. The technique can be easily adapted to different patterns and designs, allowing you to express your creativity and style.
- Comfort: Using your arms as “needles” provides a comfortable and ergonomic knitting experience. You can adjust the tension and positioning of your arms to reduce strain and ensure a relaxing knitting session.
Whether you’re a knitting enthusiast looking for a new technique to try, or a beginner wanting to explore the world of knitting, arm knitting is a fun and accessible option. With its simplicity and versatility, arm knitting allows you to create cozy blankets that will add a touch of warmth and style to your home.
Choosing the right yarn
When it comes to arm knitting, selecting the right yarn is crucial for the success of your project. The yarn you choose will determine the look, feel, and durability of your finished blanket. Here are some factors to consider when choosing your yarn:
1. Yarn Weight:
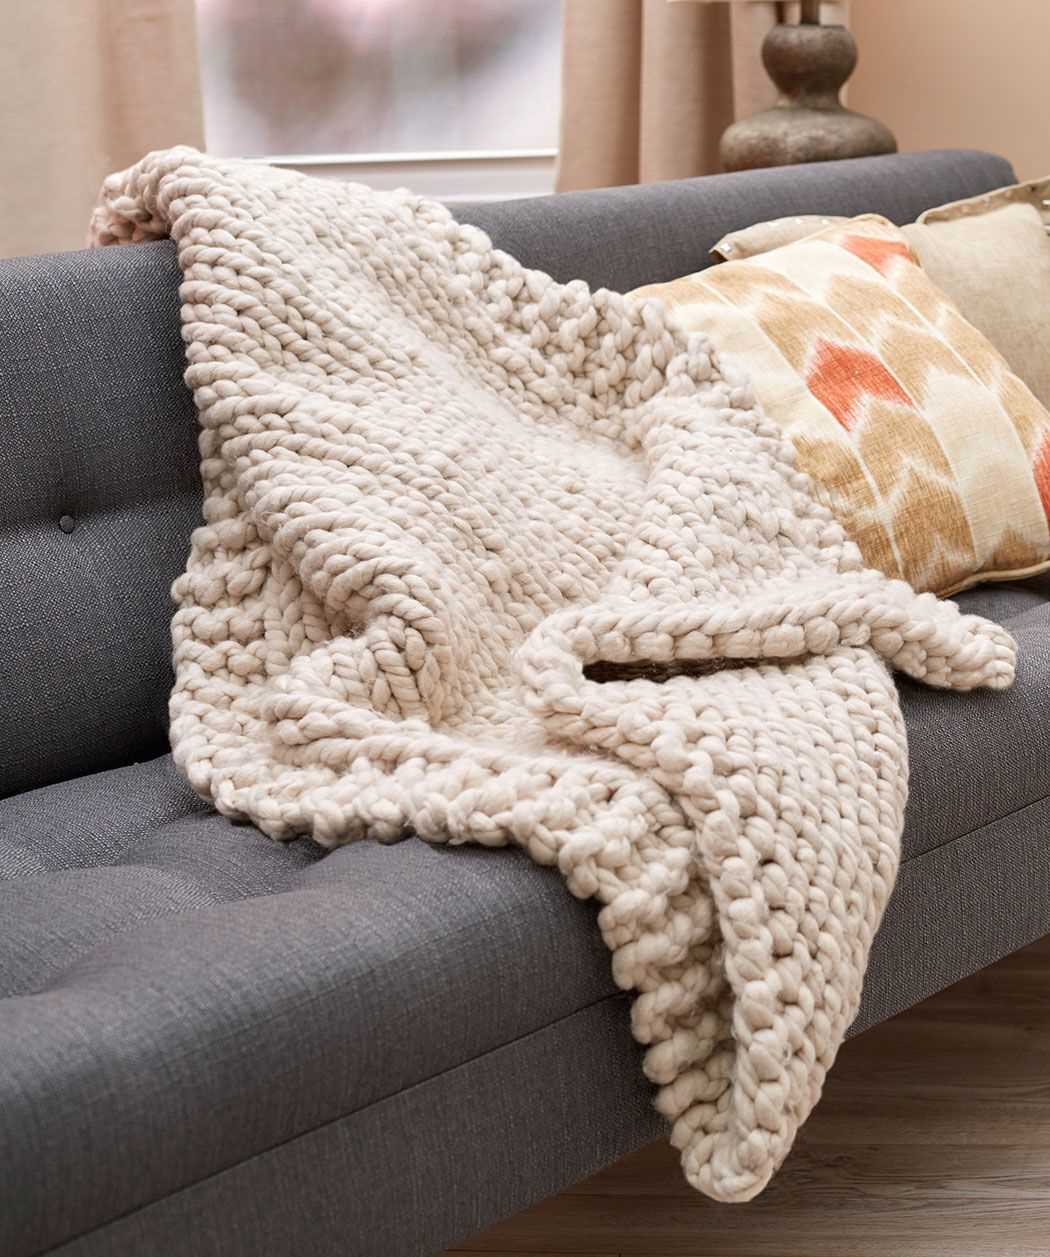
The weight of the yarn refers to its thickness, which can range from super bulky to lace weight. For arm knitting blankets, it is best to choose a super bulky or bulky weight yarn as it creates a cozy and chunky texture. The thicker the yarn, the faster your blanket will knit up.
2. Fiber Content:
The fiber content of the yarn is important as it affects the drape, warmth, and care instructions of the blanket. Common yarn fiber choices include acrylic, wool, cotton, and blends. Acrylic yarn is affordable, easy to care for, and widely available, making it a popular choice for beginners. Wool yarn is warm and durable but may require more delicate care. Cotton yarn is breathable and great for lightweight blankets. Blends offer a combination of different fibers, providing a balance between warmth and easy care.
3. Texture and Color:
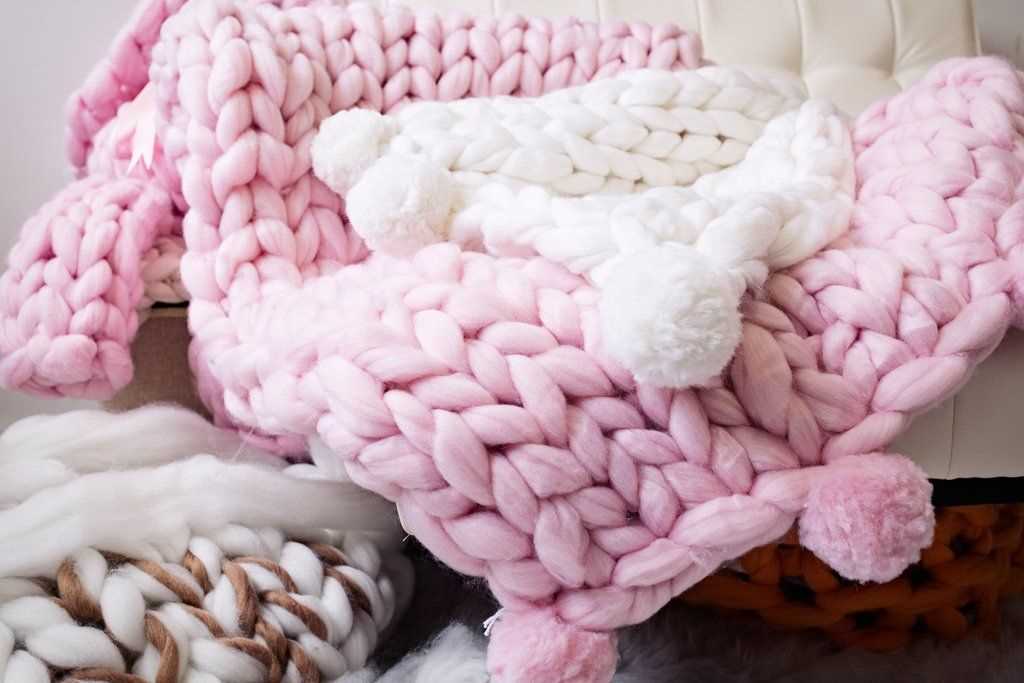
Consider the texture and color of the yarn to achieve the desired look for your blanket. Some yarns have a smooth texture, while others may have a boucle or eyelash effect. The color of the yarn can complement your home decor or create a statement piece. Experiment with different textures and colors to find the perfect match for your style.
4. Yardage:
Make sure to check the yardage of the yarn to ensure you have enough to complete your blanket. Arm knitting blankets require a significant amount of yarn, so it’s important to have an estimate of the yardage needed for your desired size. Most yarn labels provide information on yardage per skein or ball, allowing you to calculate the total amount required.
By considering these factors and taking the time to research and touch different yarns, you can choose the perfect yarn for your arm knitting blanket. Remember, the yarn you choose will greatly influence the end result, so don’t be afraid to explore different options and get creative with your choice!
Arm Knitting Techniques
Arm knitting is a popular technique for creating chunky knit items, such as blankets, scarves, and cowls, using only your arms and hands. It offers a quick and easy way to create cozy, oversized knits without the need for knitting needles or crochet hooks. Here are some arm knitting techniques you can try to create beautiful and unique projects.
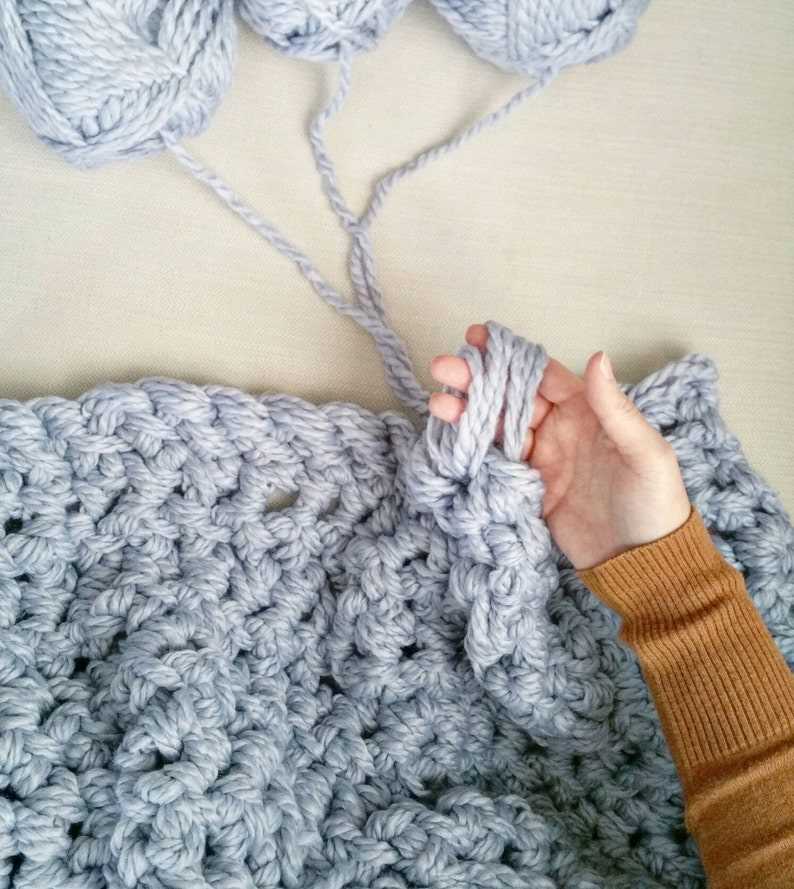
Casting On: To start your arm knitting project, you will need to cast on the stitches onto your arm. To do this, create a slipknot with your yarn and place it on your right arm. Slide your left hand through the loop and pull the yarn to tighten it. Repeat this process until you have the desired number of stitches on your arm.
Garter Stitch:
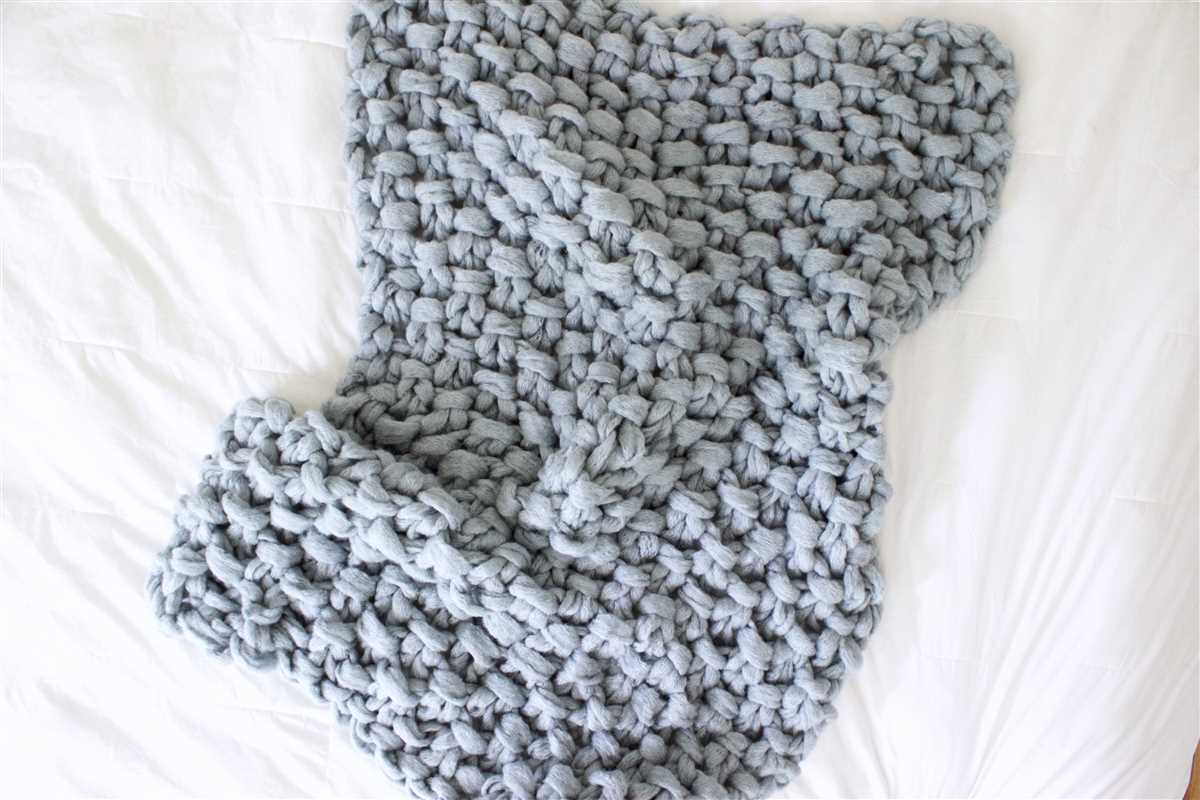
The garter stitch is the simplest and most basic stitch in arm knitting. To knit a garter stitch, simply knit every stitch in every row. This creates a bumpy texture on both sides of the fabric. The garter stitch is great for beginners and is often used for scarves, blankets, and other simple projects.
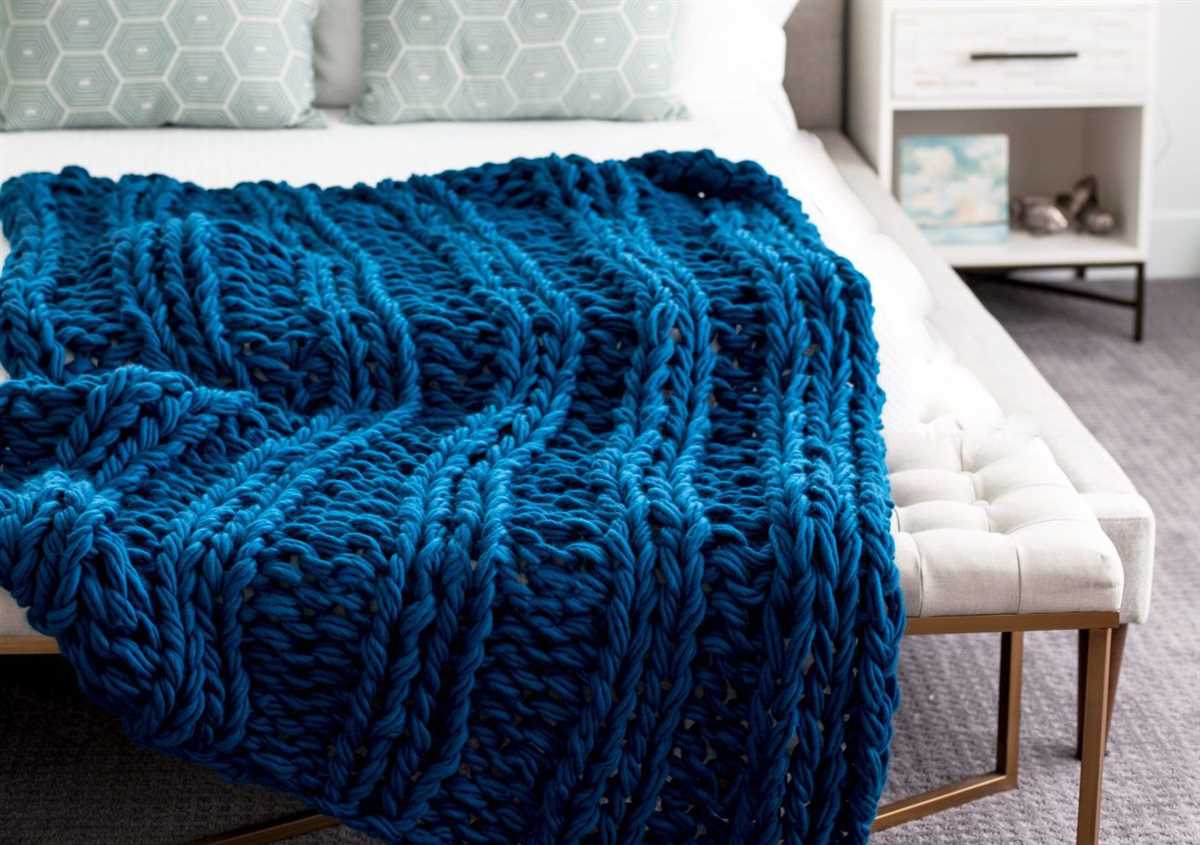
Ribbing:
Ribbing is a popular technique in arm knitting that creates a stretchy and textured fabric. To create ribbing, alternate between knitting and purling stitches in the same row. This creates columns of knit stitches and columns of purl stitches, giving the fabric a ribbed appearance. Ribbing is commonly used for cuffs, collars, and hems.
Seed Stitch:
The seed stitch is another simple arm knitting technique that creates a textured fabric. To knit a seed stitch, alternate between knitting and purling stitches in a checkerboard pattern. This creates a fabric with a raised texture, similar to a seed or gran pattern. The seed stitch is often used for scarves, cowls, and blankets.
These are just a few arm knitting techniques you can try. Experiment with different stitches, yarns, and patterns to create your own unique arm knitted projects. Whether you’re a beginner or an experienced knitter, arm knitting offers a fun and versatile way to create beautiful and cozy knits.
How to Cast On for Arm Knitting
If you’re new to arm knitting, casting on is the first step to getting started on your blanket project. Arm knitting is a technique that allows you to knit using your arms instead of traditional knitting needles. It’s a fun and fast way to create cozy blankets and other projects.
To cast on for arm knitting, you’ll need a chunky yarn that is suitable for arm knitting. Choose a yarn that is thick and soft, so your blanket will be warm and cozy. You’ll also need your arms and hands to complete the casting on process.
Here is a step-by-step guide to casting on for arm knitting:
- Start by making a slipknot with your yarn. To make a slipknot, create a loop with the yarn and pull the end through the loop to secure it.
- Place the slipknot on your right arm, just below your elbow.
- With your left hand, grab the yarn and pull it through the slipknot, creating a loop on your left arm.
- Continue pulling the yarn through the loop on your left arm, creating additional loops on your arm until you have the desired number of stitches for your project.
- Once you have cast on all the stitches, you can begin knitting your blanket using your arms. Follow your chosen arm knitting pattern to create the desired stitch pattern.
Casting on for arm knitting may take a bit of practice to get the tension and stitch size right, but with time and patience, you’ll be able to create beautiful blankets and other projects. Enjoy the process and have fun exploring the world of arm knitting!
Step-by-step arm knitting instructions
Arm knitting blankets has become a popular trend in the world of knitting, as it is a quick and easy way to create a cozy and stylish blanket without the need for knitting needles. If you’re new to arm knitting, don’t worry! This step-by-step guide will walk you through the process of making your own arm knit blanket.
Gather your materials
Before you start, gather all the materials you’ll need for arm knitting. You’ll need chunky yarn, which is perfect for arm knitting, as well as your arms! Choose a yarn color that you love and that matches your desired blanket design. You may also want to have a pair of scissors on hand to cut the yarn.
Create the initial loop
To start arm knitting, create a slip knot by placing the end of the yarn through the loop and pulling tight. This will create the first loop that you will work with. Slide the loop onto your right arm and tighten it so that it fits comfortably.
Begin knitting
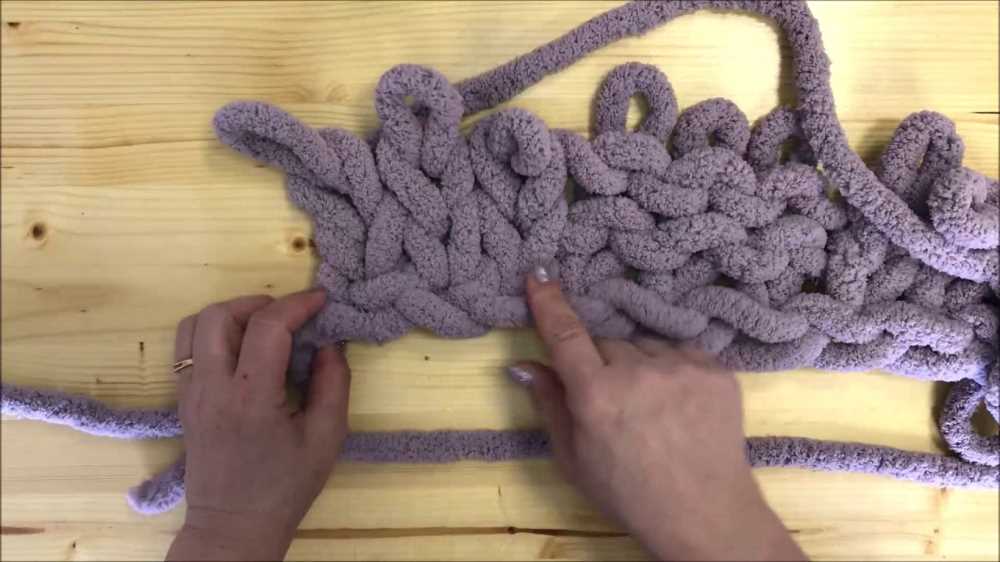
With the loop secured on your arm, you can start the arm knitting process. Take the working yarn and place it over your left hand and arm, allowing it to hang down. Take your right hand and reach through the loop on your arm, grabbing the working yarn. Pull the working yarn through the loop to create a new loop on your arm. Repeat this process, reaching through the loop, grabbing the working yarn, and pulling it through to create a new loop, until you have reached your desired blanket width.
Continue knitting rows
Once you have reached your desired width, you can continue knitting rows to create the length of your blanket. To do this, start at one end of your blanket and repeat the knitting process, reaching through the loop, grabbing the working yarn, and pulling it through to create a new loop, until you have reached the end of the row. Then, turn your blanket and start a new row, repeating the process until your blanket is the desired length.
Finishing touches
When you have finished arm knitting your blanket, cut the working yarn, leaving a long tail. Thread the tail through the last loop and pull tight to secure. Weave in any loose ends and trim any excess yarn. Your arm knit blanket is now complete and ready to be enjoyed!
Troubleshooting common arm knitting issues
Arm knitting can be a fun and quick way to create cozy blankets, but sometimes you may encounter some common issues. Here are a few troubleshooting tips to help you overcome these problems and create beautiful arm knit blankets:
Problem: Uneven tension or gauge

If you find that your arm knit blanket is turning out uneven with varying tension or gauge throughout, try the following solutions:
- Make sure you are using consistent arm movements and applying equal pressure to the yarn with each stitch. Practice and repetition can help improve your tension control.
- Consider using thicker or thinner yarn to achieve a more even tension and gauge. Experiment with different yarn weights until you find the right match for your arm knitting style.
- If you are using multiple strands of yarn, make sure they are all the same size and tension. Inconsistent yarn thickness can result in an uneven blanket.
Problem: Dropped stitches
Dropping stitches can be frustrating, but here are some tips to prevent and fix this issue:
- Pay close attention to your stitches and make sure they are secure on your arm before moving on to the next stitch. Take the time to double-check each stitch.
- If you do drop a stitch, don’t panic. Gently unravel the row until you reach the dropped stitch and then carefully pick it up with your fingers or a crochet hook. Re-knit the stitch and continue with your project.
Problem: Twisted or tangled yarn
Trying to untangle twisted yarn can be time-consuming, but here are some tips to prevent and resolve tangles:
- Before starting your arm knitting project, take the time to wind your yarn into a center-pull ball or cake. This will help prevent the yarn from twisting and tangling as you work.
- If your yarn does become tangled, resist the temptation to yank and pull. Instead, gently unravel the tangles with your fingers or use a yarn untangling tool.
- Consider working in a clean and clutter-free area to minimize the chances of your yarn getting tangled on objects or furniture.
By applying these troubleshooting tips, you can overcome common arm knitting issues and enjoy the process of creating beautiful blankets with your arms.
How to Finish Off Your Arm Knitting Blanket
Once you have completed knitting your blanket using the arm knitting technique, it’s time to finish it off to give it a polished look and ensure that it doesn’t come undone. Follow these steps to properly finish off your arm knitting blanket:
1. Secure the last stitch: After you have completed the final row of stitches, make sure to secure the last stitch by threading the tail of the yarn through it. This will prevent your blanket from unraveling.
2. Weave in loose ends: You may have some loose ends of yarn hanging from the edges or where you have changed colors. Take a crochet hook or a darning needle and weave these loose ends into the stitches of the blanket. This will help secure them and hide them from view.
3. Add a border (optional):
If you want to give your arm knitting blanket a more finished look, you can add a border. This can be done by either crocheting or knitting an edge around the perimeter of the blanket. Choose a complementary color and stitch pattern to enhance the overall design of your blanket.
4. Block your blanket (optional):
If your blanket looks uneven or has curls at the edges, you may choose to block it. Blocking is a process where you wet the blanket and then reshape it to the desired dimensions. Lay your blanket flat on a clean surface and use rustproof pins to hold it in place. Let it dry completely before removing the pins.
By following these steps, you will be able to finish off your arm knitting blanket and create a beautiful and cozy accessory for your home. Remember to take your time and pay attention to detail to achieve the best results.
Caring for your arm knitted blanket
When you invest time and effort into arm knitting a cozy blanket, it’s important to take proper care of it to ensure its longevity and maintain its appearance. By following a few simple steps, you can keep your arm knitted blanket looking beautiful and feeling soft for years to come.
Cleaning
To clean your arm knitted blanket, it’s best to hand wash it using cold water and a gentle detergent. Avoid using harsh chemicals or bleach, as they can damage the delicate fibers. Gently agitate the blanket in the water, being careful not to stretch or pull it. Rinse thoroughly to remove any detergent residue.
After washing, squeeze out excess water by pressing the blanket between towels. Avoid wringing or twisting, as this can lead to stretching or misshapenness. Lay the blanket flat to dry, away from direct heat or sunlight. Avoid hanging the blanket, as it can cause stretching.
Storage
When not in use, it’s important to store your arm knitted blanket properly to prevent damage. Fold the blanket neatly, avoiding sharp creases or wrinkles. You can also roll it up gently and secure it with a ribbon or tie.
Store the blanket in a cool, dry place away from direct sunlight, as prolonged exposure to sunlight can fade the colors. If you’re placing your blanket in a closet or drawer, use a breathable storage bag to protect it from dust and insects.
By following these care tips, you can ensure that your arm knitted blanket remains soft, beautiful, and comforting for years to come.
Arm knitting tips and tricks
In the world of arm knitting, there are a few tips and tricks that can help you create the perfect blanket. Whether you’re a beginner or an experienced knitter, these tips will come in handy as you work on your arm knitting project.
Choose the right yarn
When it comes to arm knitting, the type of yarn you use can make a big difference in the final result. Opt for super chunky yarn that is soft and easy to work with. Look for yarn that has a bit of stretch to it, as this will help give your blanket the right drape.
Practice your tension
Tension is key in arm knitting. One common mistake is knitting too tightly, which can make your blanket stiff and less cozy. When you’re starting out, take some time to practice your tension and make sure you’re not pulling too tightly on the yarn. It’s better to have a slightly looser stitch than a tight one.
Use your arms as guides
One of the benefits of arm knitting is that you don’t need any tools besides your arms. Use your arms as guides to help you keep track of your stitches. You can stretch your arms out wide to create a wider stitch, or keep them closer together for a tighter stitch. Experiment with different arm placements to achieve the desired look for your blanket.
Avoid twisting the stitches
When working with such bulky yarn, it’s easy for the stitches to get twisted. To avoid this, be mindful of how you’re holding the yarn as you work. Keep the yarn straight and untangled, and make sure each stitch is properly aligned before moving on to the next one. Twisted stitches can affect the overall appearance of your blanket.
Take breaks and rest your arms
Arm knitting can be a more physically demanding knitting technique compared to traditional knitting with needles. The weight of the yarn and the repetitive arm movements can put strain on your muscles. Don’t forget to take breaks and rest your arms to avoid any discomfort or fatigue. Stretching and gentle exercises can also help relieve tension in your arms and wrists.
With these arm knitting tips and tricks in mind, you’ll be well-equipped to create a beautiful and cozy blanket. Remember to have fun and enjoy the process as you work on your arm knitting project!
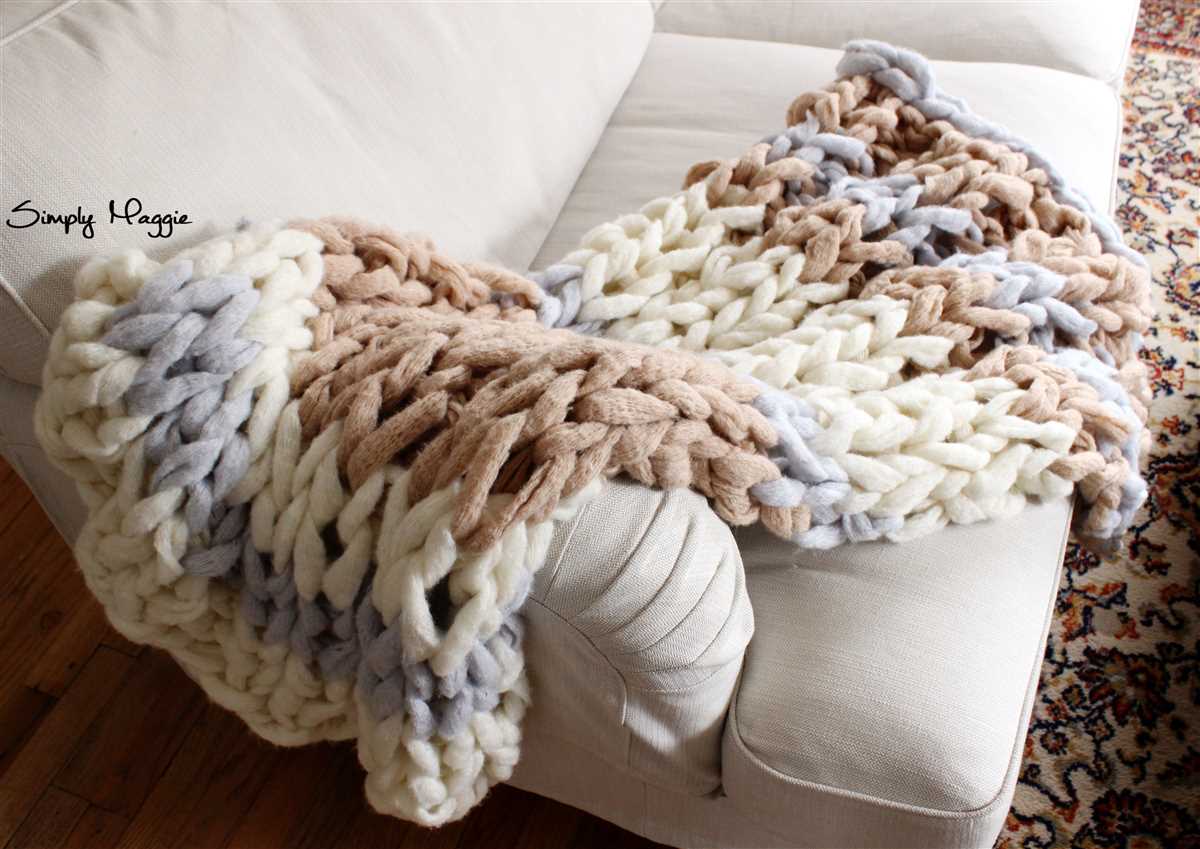
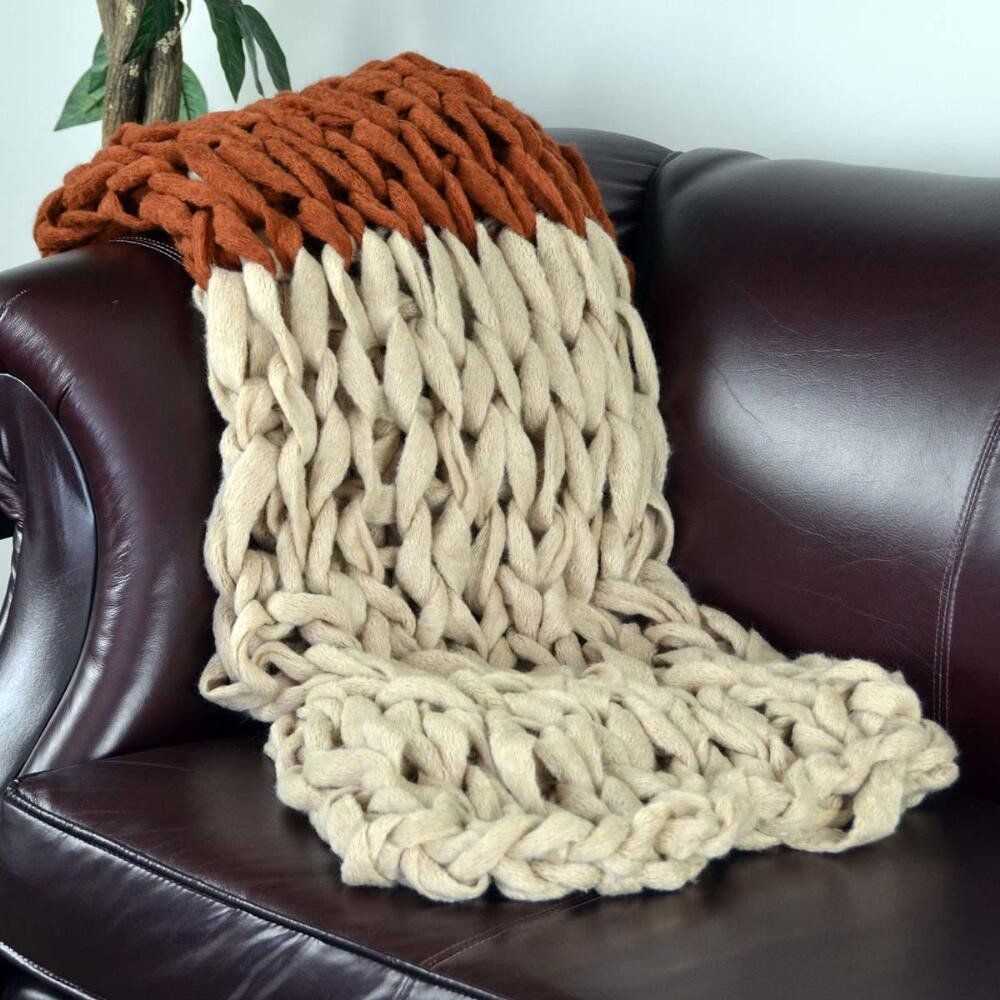
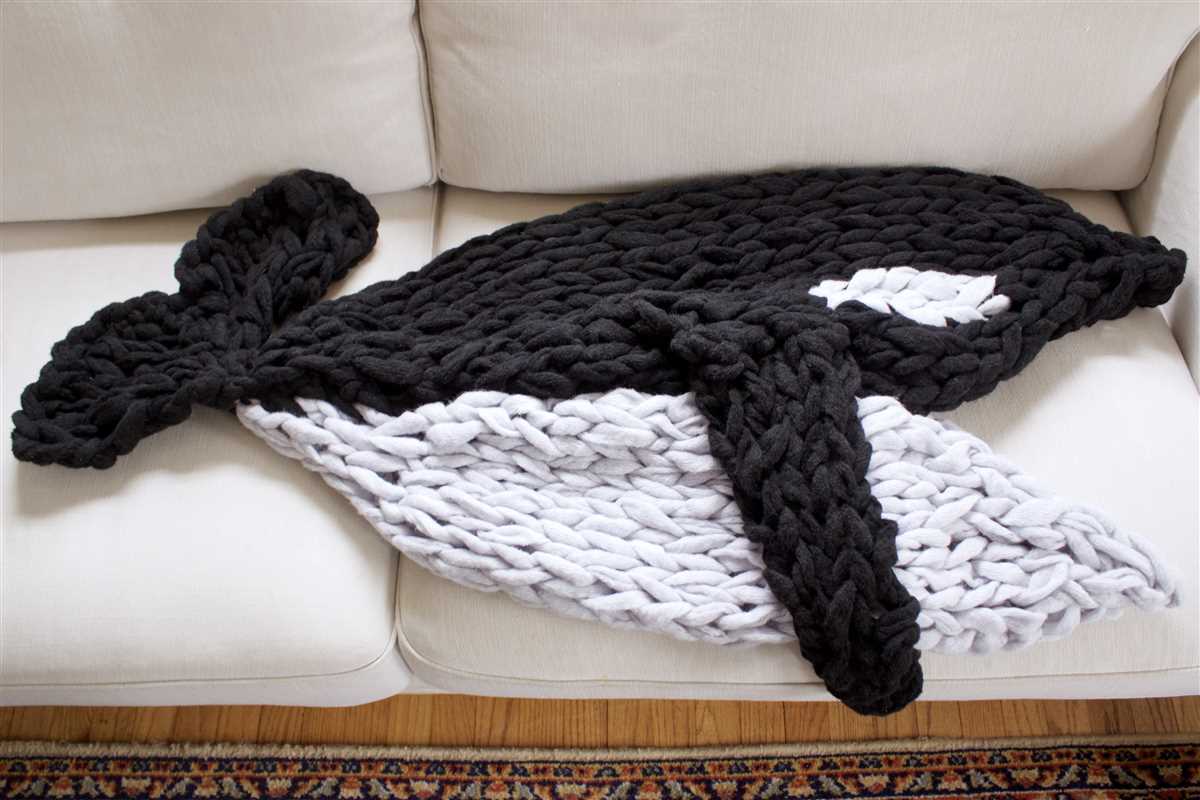
Arm knitting variations and design ideas
Arm knitting is a versatile technique that allows for a wide range of variations and design ideas. Whether you’re a beginner or an experienced knitter, there are plenty of options to explore and create unique and personalized arm-knitted blankets.
One variation is the use of different materials. While many arm-knitted blankets are made with yarn, you can also experiment with other materials such as chunky roving, fabric strips, or even recycled materials like old T-shirts or bed sheets. These alternative materials can add texture and visual interest to your blankets.
Another variation is the use of different stitches or patterns. The basic arm-knitting stitch is the garter stitch, which creates a series of knit stitches on both sides of the fabric. However, you can also explore other stitches, such as the seed stitch, which combines knit and purl stitches to create a textured pattern. Additionally, you can incorporate cables, lace, or other intricate stitch patterns into your arm-knitted blankets for a more complex look.
Design ideas:
- Color blocking: Divide your blanket into sections of different colors to create a modern and bold design. You can use contrasting colors or various shades of the same color to achieve different effects.
- Stripes: Knit your blanket in stripes of varying widths and colors. This classic design is versatile and can be tailored to fit any style or color scheme.
- Geometric patterns: Create geometric shapes such as chevron, herringbone, or triangles using different stitches or color changes. These patterns can add a contemporary and graphic element to your arm-knitted blanket.
- Texture play: Experiment with different stitches and materials to create a blanket with interesting textures. Combine chunky knits with smooth sections, or mix different materials for a tactile experience.
Overall, arm knitting is a fun and creative way to make cozy and stylish blankets. Whether you prefer simple designs or more intricate patterns, there is something for everyone to explore. Get inspired by these variations and design ideas and start arm knitting your own unique blankets!
Q&A:
What is arm knitting?
Arm knitting is a technique of knitting without using traditional knitting needles. Instead, large-scale yarn is worked with just the arms and hands.
What is an arm knitting blanket pattern?
An arm knitting blanket pattern is a set of instructions that guide you through the process of creating a blanket using the arm knitting technique. It specifies the type of yarn, the number of stitches, and the steps to follow to complete the project.
How long does it take to arm knit a blanket?
The time it takes to arm knit a blanket can vary depending on the size and complexity of the pattern, as well as the skill level of the knitter. However, on average, it can take anywhere from 4 to 10 hours to complete a small to medium-sized blanket.
What materials do I need to arm knit a blanket?
To arm knit a blanket, you will need super bulky yarn, which is specifically designed for arm knitting. You will also need your arms, a large working space, and a pair of scissors to cut the yarn.
Are there different patterns for arm knitting blankets?
Yes, there are various arm knitting blanket patterns available. Some patterns feature simple stitches for beginners, while others incorporate more complex designs for experienced knitters. You can find patterns for different sizes, textures, and styles of blankets to suit your preferences.