
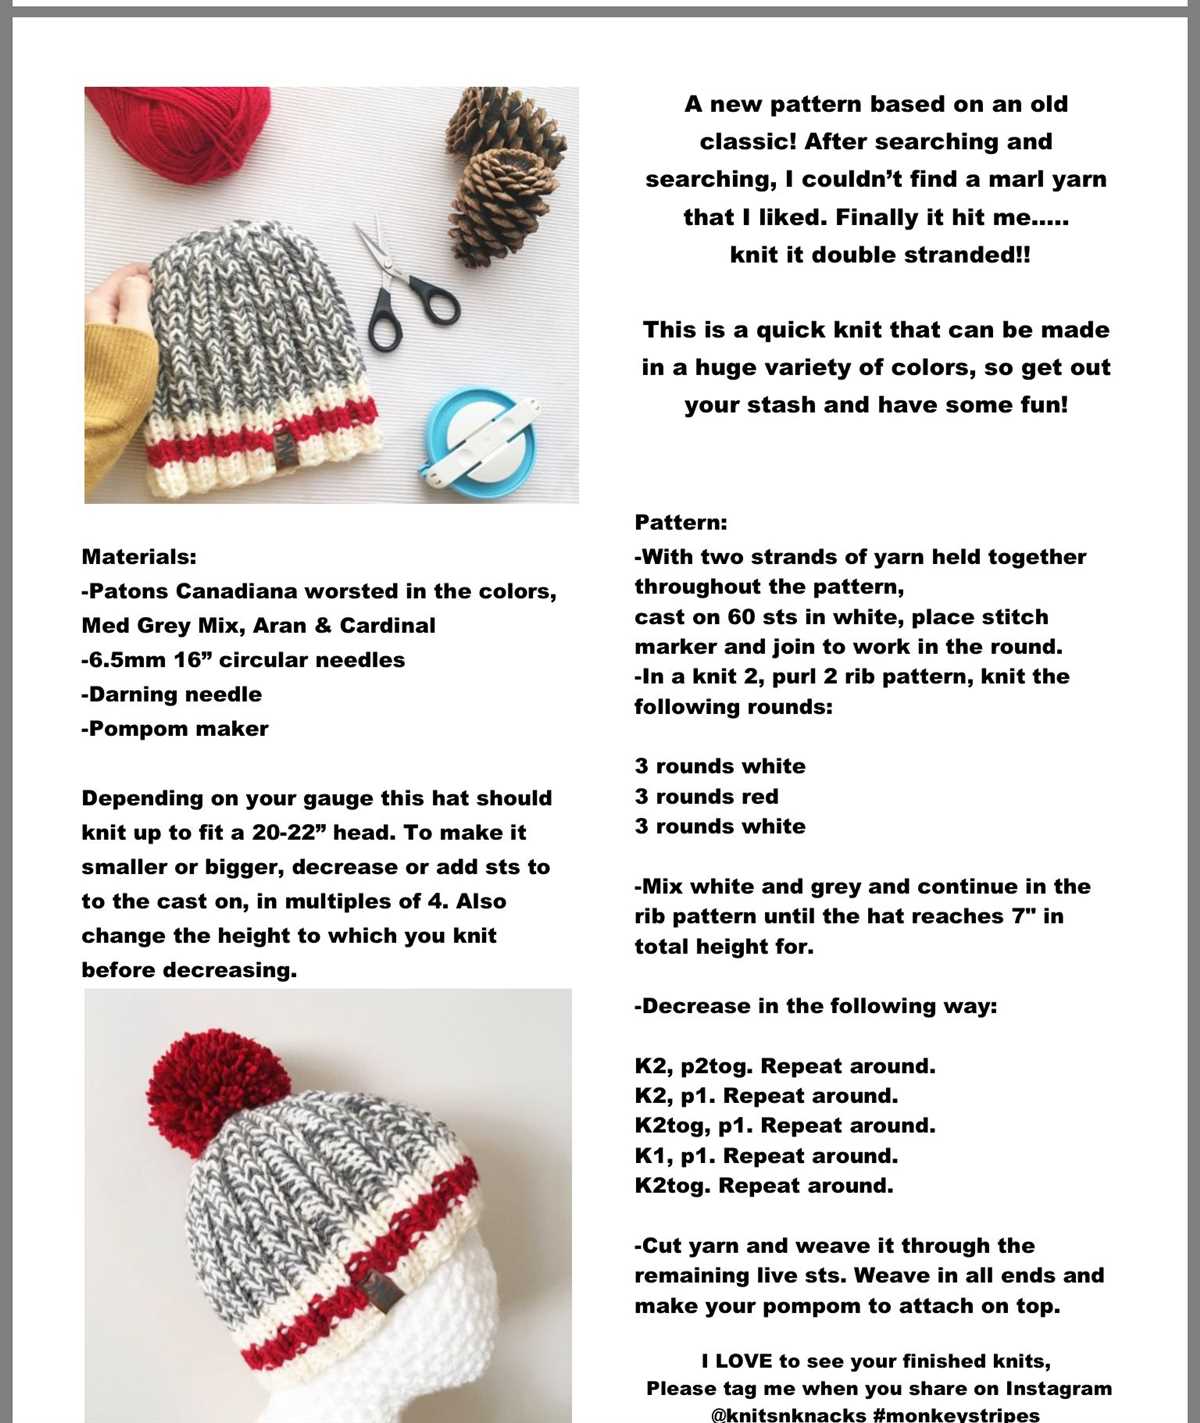
Winter is just around the corner, and what better way to stay warm and stylish than with a handmade knit hat? If you’re looking for a versatile and cozy pattern, then the worsted knit hat pattern is perfect for you. Whether you’re a beginner or an experienced knitter, this pattern will guide you through creating a beautiful hat that you’ll be proud to wear.
The worsted knit hat pattern is designed to be knitted with worsted weight yarn, which is the perfect weight for staying warm without being too bulky. This pattern features a classic ribbed brim for a snug fit, and a simple stockinette stitch for the body of the hat. The result is a timeless and elegant design that can be worn by both men and women.
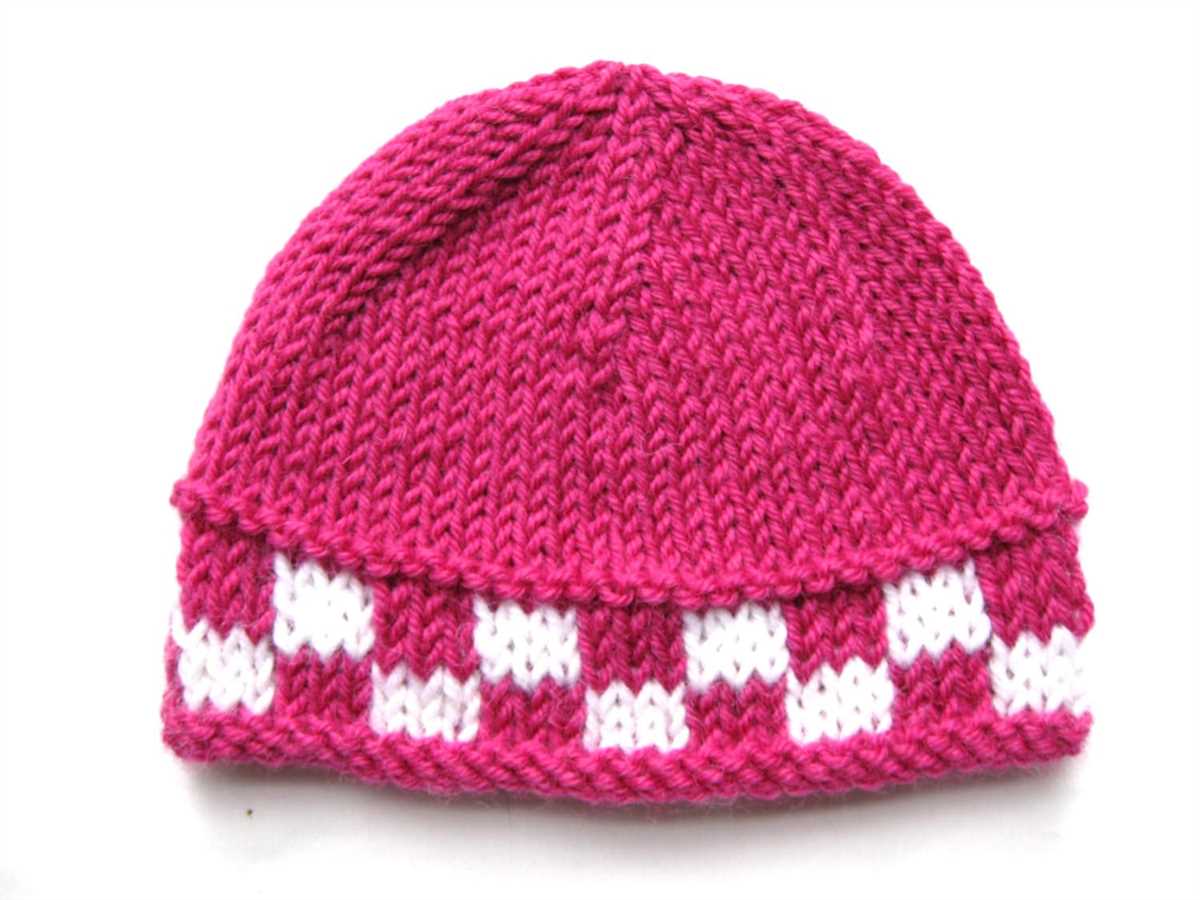
One of the best things about the worsted knit hat pattern is its versatility. You can easily customize the hat to fit your personal style by adding stripes, a pom pom, or even a folded brim. The pattern is also easily adjustable, so you can make the hat larger or smaller to fit your head perfectly. With just a few simple modifications, you can create a unique and one-of-a-kind hat that reflects your individuality.
Why choose a worsted knit hat?
A worsted knit hat is a versatile and practical option for both men and women. Made from worsted weight yarn, these hats offer a balance between warmth and breathability, making them suitable for various weather conditions. With a worsted knit hat, you can keep your head cozy and comfortable during chilly winter days or wear it as a stylish accessory during the cooler months.
One of the main advantages of choosing a worsted knit hat is its versatility. The worsted weight yarn used in its construction provides a medium thickness, which offers just the right amount of warmth without being too bulky. This makes the hat suitable for different activities, whether you’re going for a walk in the park, hitting the slopes, or simply running errands around town. It can easily be worn under a hood or helmet for added protection from the elements.
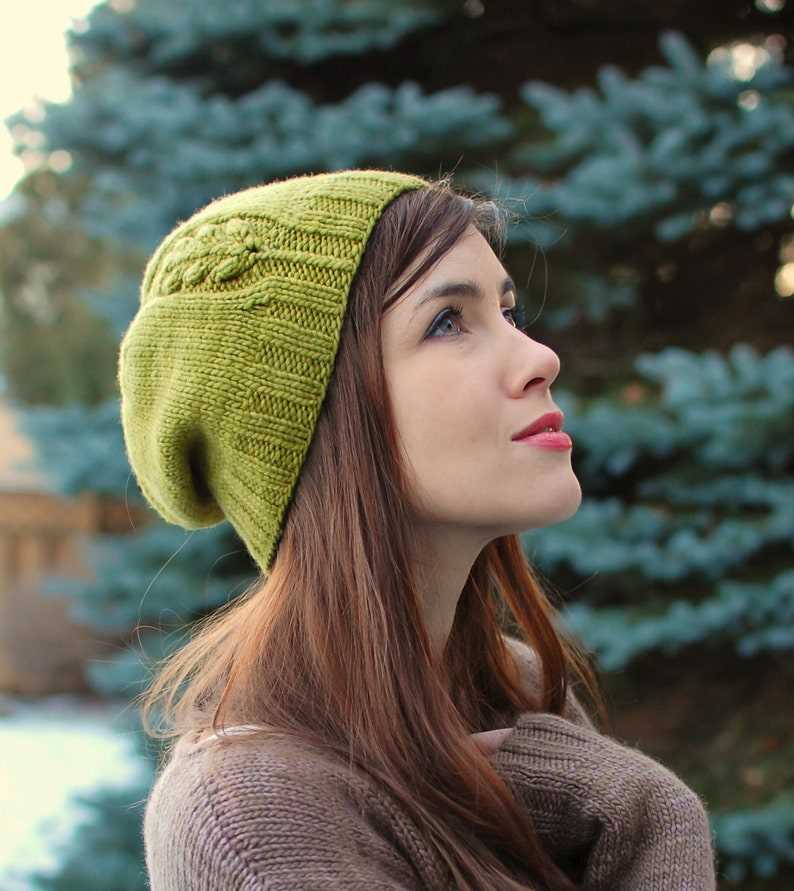
Furthermore, worsted knit hats come in a wide range of patterns and designs, allowing you to express your personal style. Whether you prefer a classic beanie, a slouchy hat, or a cabled design, there’s a worsted knit hat pattern to suit your taste. You can choose from various colors and textures to match your outfit or add a pop of color to your winter wardrobe. Additionally, worsted weight yarn is widely available, making it easy to find the materials needed to create your own unique hat.
When it comes to practicality, worsted knit hats are also easy to care for. Most worsted weight yarns are machine washable, making it convenient to clean your hat whenever necessary. The durability of worsted yarn ensures that your hat will last for multiple seasons, providing long-lasting warmth and comfort. Whether you’re a beginner or an experienced knitter, worsted knit hats are a fun and rewarding project that you can easily complete in a short amount of time.
Materials needed for the Worsted Knit Hat Pattern
Before starting the knitting process, gather the following materials:
- Yarn: One skein of worsted weight yarn. Choose a color that complements your personal style and preferences.
- Knitting Needles: Size US 8 (5 mm) circular needles or double-pointed needles, depending on your preferred knitting technique. Make sure the needle length is suitable for hat knitting.
- Crochet Hook: Size H (5 mm) crochet hook is optional, but can be useful for certain finishing techniques.
- Tapestry Needle: A tapestry needle with a large eye is necessary for weaving in ends and finishing the hat.
- Stitch Markers: Use stitch markers to keep track of your stitches, especially when working in the round or implementing complex pattern repeats.
- Scissors: A pair of scissors is essential for cutting the yarn and trimming any excess.
Once you have gathered these materials, you will be ready to begin knitting your own worsted hat. Take your time selecting yarn and needles that you feel comfortable working with, ensuring a successful and enjoyable knitting experience.
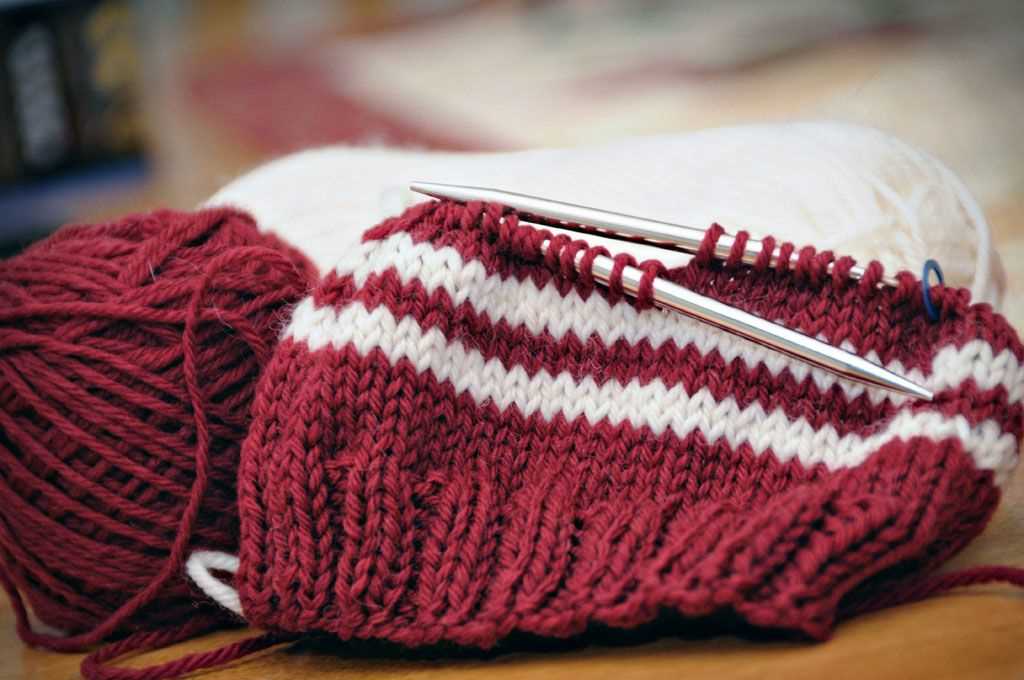
Getting started: Casting on and knitting the ribbing
Before you begin knitting the main body of your worsted knit hat, you’ll need to cast on and work the ribbing. The ribbing adds stretch and a snug fit to the bottom of the hat, ensuring it stays securely in place on your head.
To begin, gather your worsted weight yarn and appropriate-sized knitting needles. The pattern may specify the needle size, but a common size for worsted weight yarn is US size 7 or 4.5mm needles. You’ll also need a stitch marker to keep track of your rounds, as well as a tapestry needle to weave in any loose ends.
Start by making a slipknot with your yarn and slide it onto the needle. Hold the needle with the slipknot in your right hand and the other needle in your left hand. Insert the left needle into the slipknot from left to right, ensuring the working yarn is behind the right needle.
With your left thumb and index finger, bring the working yarn over the left needle and then interlace it under and over the right needle. Gently pull the right needle up and out of the slipknot, creating a new stitch. Slip this stitch onto the left needle, maintaining tension on the working yarn.
Continue this process until you have cast on the required number of stitches specified in the pattern. It’s important to maintain an even tension while casting on to ensure your ribbing is not too loose or too tight.
Once you have cast on all the stitches, lay your work flat on a surface and double-check that there are no twists in the stitches. It’s crucial to join the round correctly to avoid a twist in the ribbing. Insert your right needle into the first stitch you made, from left to right.
Place a stitch marker on the right needle to mark the beginning of the round. This will help you keep track of your progress as you knit in the round. Now you’re ready to begin working the ribbing pattern, following the specific instructions provided in the pattern.
Knitting the body of the hat: Basic stitch pattern
In order to knit the body of the hat, you will need to follow a basic stitch pattern. This pattern will give your hat a nice ribbed texture and added stretch. To begin, you will need to cast on the desired number of stitches using your chosen worsted weight yarn and appropriate needle size.
Once you have cast on, you will begin the stitch pattern by knitting two stitches, then purling two stitches. This creates a ribbed effect and adds elasticity to the hat. Repeat this pattern across the entire row until you reach the end. It’s important to maintain consistency with this stitch pattern throughout the entire body of the hat.
Continue knitting in this ribbed stitch pattern for the desired length of the hat body. You can customize the length to your preference, but a typical length is around 6-8 inches. To measure, simply hold your knitting up against your head to determine if it’s the right length.
Once you have reached the desired length, you can begin shaping the crown of the hat. This involves decreasing stitches in a specific pattern to create a tapered effect. The specific crown shaping pattern will vary depending on the design you are following, so be sure to consult your pattern for instructions.
Overall, knitting the body of the hat in a basic stitch pattern adds texture and stretch to your finished piece. It’s a versatile pattern that works well with worsted weight yarn and can be customized to fit your style and preferences. Happy knitting!
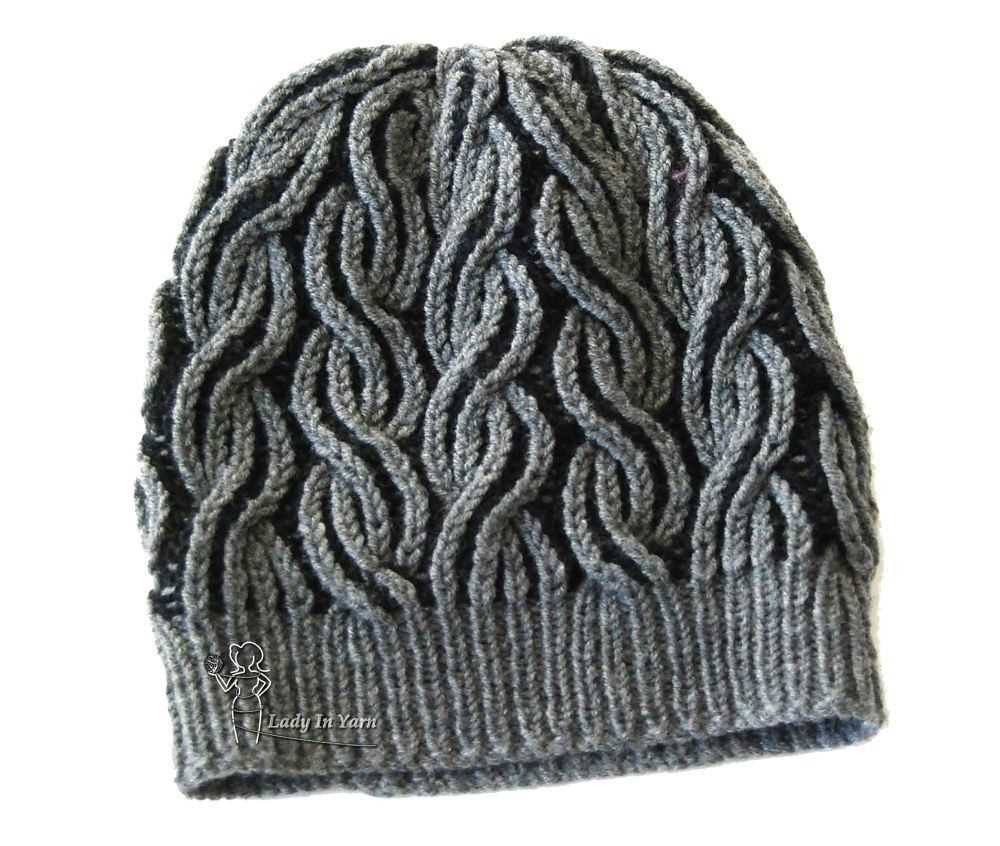
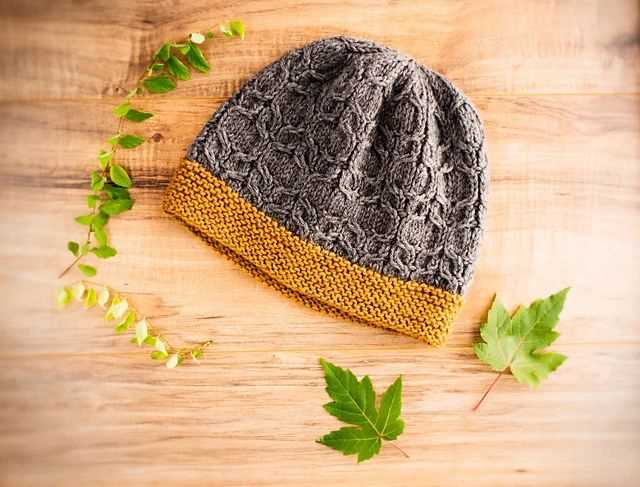
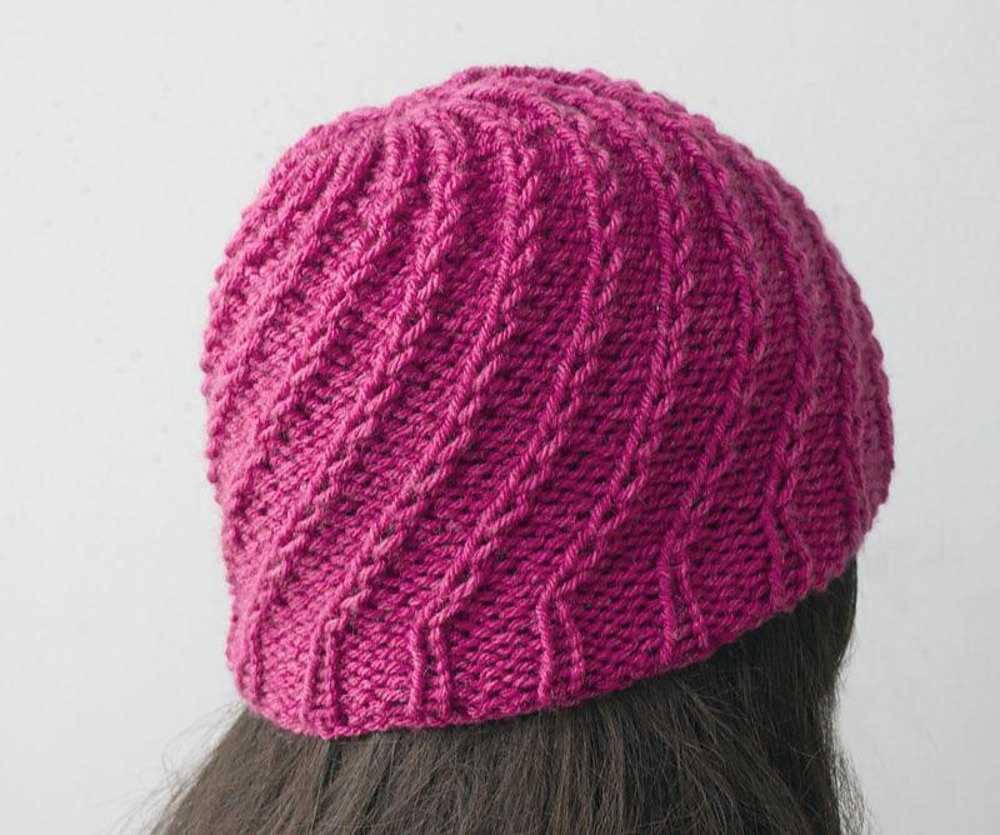
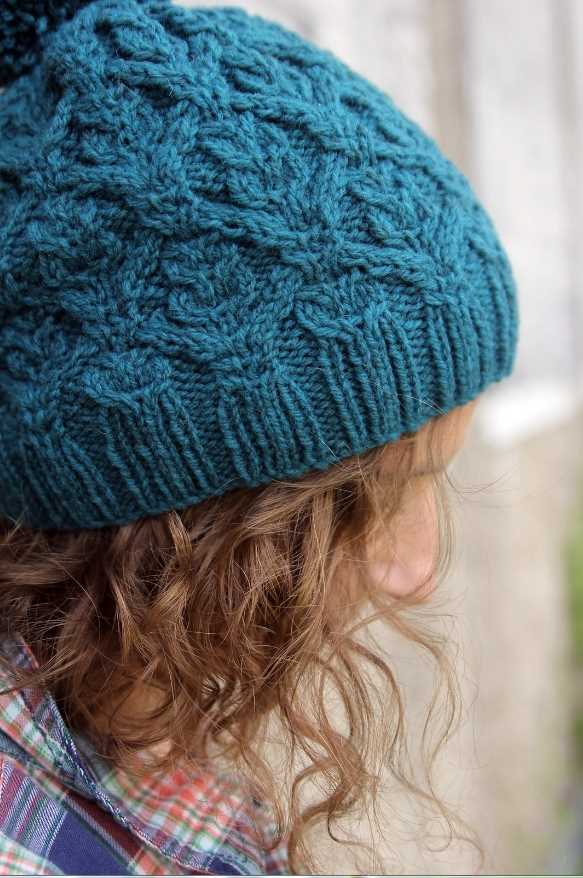
Adding texture: Cable or lace stitch options
When it comes to knitting a worsted hat, adding texture can bring a whole new level of interest and style. Two popular stitch options for adding texture to a knit hat are cable and lace stitches. These stitches not only create an eye-catching design, but they also add warmth and elasticity to the finished hat.
Cable stitches are created by crossing stitches over each other. This creates a twisted effect that forms a beautiful raised pattern. There are various types of cable stitches, including simple cables, braided cables, and horseshoe cables. Each type of cable stitch adds its own unique look to the hat. Knitting a hat with a cable stitch pattern can be a great way to showcase your knitting skills and create a stunning and intricate design.
Lace stitches create an open and delicate pattern in the fabric. They involve a combination of yarnovers, decreases, and knit or purl stitches to form intricate patterns. Lace stitches are perfect for adding a feminine touch to a worsted hat. The openwork created by lace stitches allows the hat to breathe and makes it ideal for slightly warmer weather. Choosing a lace stitch that complements the worsted weight yarn and the style of the hat can result in a truly unique and elegant finished product.
If you’re unsure about which stitch option to choose, you can also combine cable and lace stitches to create a more complex and detailed pattern. This can result in a hat with the best of both worlds – the structure and depth of cables with the delicate and airy feel of lace.
When incorporating cable or lace stitches into a worsted knit hat pattern, it’s important to consider the gauge and tension of your stitches to ensure that the hat will fit properly. Additionally, it’s helpful to choose a worsted weight yarn that has good stitch definition to highlight the texture of the stitches. With the right stitch and yarn combination, you can create a stunning textured hat that is both beautiful and functional.
Shaping the crown: Decreases and shaping techniques
When knitting a worsted knit hat, shaping the crown is an important step in creating a comfortable and well-fitted hat. Decreases are used to gradually reduce the number of stitches in each round, creating a shaping that allows the hat to fit snugly on the head. There are several shaping techniques that can be used to achieve different crown shapes.
One commonly used decrease technique is the knit two stitches together (k2tog) decrease. This decrease is performed by inserting the needle into the next two stitches as if to knit, and then knitting them together as one stitch. This decrease reduces two stitches into one, and is often used in a regular pattern around the crown to create a smooth and even shaping.
Another decrease technique is the slip, knit, pass (skp) decrease. This decrease is performed by slipping one stitch onto the right needle knitwise, knitting the next stitch, and then passing the slipped stitch over the knit stitch. This decrease also reduces two stitches into one, but it leans to the left and creates a diagonal line in the fabric. It can be used in combination with the k2tog decrease to create different crown shaping patterns.
It is important to follow the pattern instructions for shaping the crown of the worsted knit hat, as the number and placement of the decreases can vary depending on the desired shape. Some patterns may use a regular decrease pattern, such as alternating k2tog and skp decreases, while others may incorporate more complex shaping techniques, such as decreases in specific stitch patterns or in combination with other stitch manipulations.
Overall, shaping the crown of a worsted knit hat involves using decreases to gradually reduce the number of stitches in each round. By following the pattern instructions and using different shaping techniques, you can create a hat that fits well and has the desired crown shape.
Customizing the fit: Sizing options and adjustments
When making a worsted knit hat, it’s important to customize the fit to ensure it sits comfortably on your head. Luckily, there are various sizing options and adjustments you can make to achieve the perfect fit.
Sizing options:
- Firstly, you need to determine the size of the hat you want to make. This can be done by measuring your head circumference using a flexible measuring tape.
- Most hat patterns provide multiple sizes, ranging from child to adult, so you can choose the one that will fit you or your intended recipient best.
- If you don’t find a pattern with your desired size, you can easily adjust the sizing by adding or subtracting stitches. Keep in mind that adding stitches will make the hat larger, while subtracting stitches will make it smaller.
- Additionally, the hat’s depth can also be customized. Some people prefer a snug-fitting hat that sits low on the forehead, while others like a looser fit with more slouch. The pattern should indicate the desired depth, but you can modify it to your preference.
Adjustments for a better fit:
- If you find that the hat is too tight or too loose, you can modify the ribbing or brim to achieve a better fit. For example, you can change the number of ribbing rows or adjust the width of the brim to make it more snug or relaxed.
- If the hat is too short or too long, you can adjust the length by adding or subtracting rounds. Just keep in mind that the stitch pattern might be affected by these adjustments, so make sure to calculate the changes accordingly.
- For those with a larger or smaller head shape, you can also adjust the hat’s circumference by modifying the number of stitches in each round. This will ensure a more comfortable and personalized fit.
In conclusion, the beauty of knitting your own worsted hat is that you have the flexibility to customize the fit to suit your preferences. By choosing the right size and making adjustments as needed, you can create a hat that not only looks great but also fits perfectly.
Finishing touches: Bind off and weaving in ends
Once you have completed the main body of your worsted knit hat, it’s time to finish it off with the binding off and weaving in the ends. This final step will give your hat a clean and polished look.
To bind off, start by knitting two stitches. Then, using your left-hand needle, lift the first stitch over the second stitch and off the right-hand needle. Continue this process of knitting one stitch and lifting the previous stitch over until you have only one stitch left on your right-hand needle. Cut the yarn, leaving a tail of about 6 inches, and pull it through the remaining stitch to secure it.
Now that the knitting is complete, it’s time to weave in the ends. Thread the tail of yarn onto a tapestry needle and insert it into the stitches on the wrong side of the hat. Weave the needle in and out of the stitches, making sure to go in different directions to secure the end. Trim any excess yarn, leaving a small tail that will be hidden on the inside of the hat.
By binding off and weaving in the ends, you are adding the final touches to your worsted knit hat. These steps ensure that your hat holds its shape and does not unravel over time. With these finishing touches complete, your hat is now ready to be worn and enjoyed.
Blocking and Care Instructions for Your Hat
Blocking is an important step to ensure that your knitted hat maintains its shape and size. To block your worsted knit hat, start by gently soaking it in lukewarm water with a small amount of mild detergent. Avoid agitating or wringing the hat to prevent stretching or distorting the fibers.
After soaking for about 15 minutes, carefully remove the hat from the water and gently squeeze out the excess water without twisting or pulling on the fabric. Lay the hat flat on a clean towel and gently reshape it to the desired size and shape. Use pins to secure the hat in place, making sure to align any ribbing or cable patterns.
Leave the hat to air dry completely, preferably on a flat surface away from direct sunlight or heat sources. This can take up to 24 hours depending on the humidity and airflow in your environment. Once the hat is dry, remove the pins and check the shape and size. If needed, repeat the blocking process or make any necessary adjustments before storing or wearing the hat.
Care Instructions:
- Hand wash your hat using cold or lukewarm water and a gentle detergent.
- Avoid wringing or twisting the hat, as it may cause stretching or damage to the fibers.
- After washing, gently squeeze out excess water and reshape the hat if necessary.
- Allow the hat to air dry completely on a flat surface.
- Do not machine wash or dry your hat, as it may lead to shrinkage or loss of shape.
- Store your hat in a cool, dry place to prevent any potential damage from moisture or pests.
Following these blocking and care instructions will help to ensure that your worsted knit hat remains in excellent condition and can be enjoyed for years to come. Remember to check the specific care instructions for the yarn you used, as different fibers may require slightly different care.
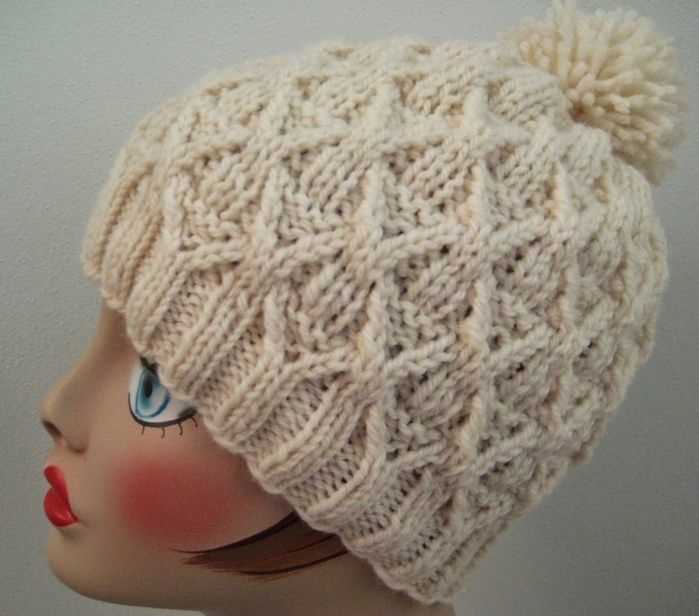
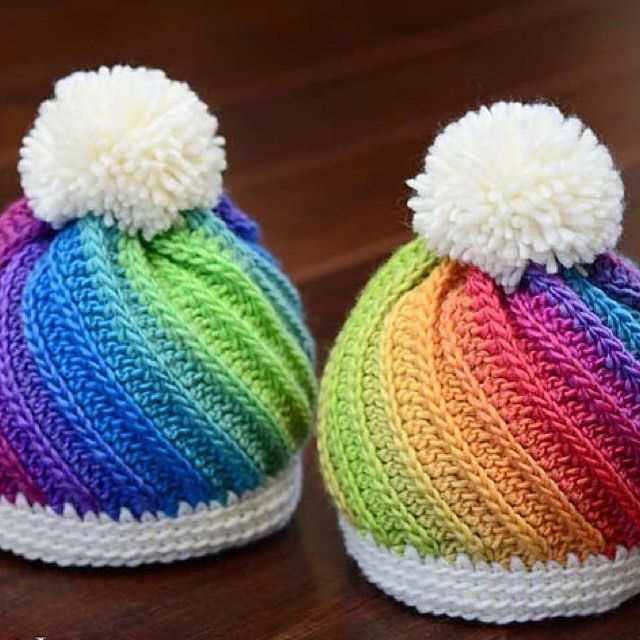
Variations and embellishments: Pom-poms, embroidery, and more
Once you have mastered the basic worsted knit hat pattern, you can start to explore different variations and embellishments to make each hat unique and personal. One popular embellishment is the addition of a pom-pom on top of the hat. Pom-poms can be made from yarn or even faux fur, and they add a playful and whimsical touch to an otherwise simple hat. You can experiment with different colors and sizes of pom-poms to create various looks.
If you’re feeling creative, you can also try your hand at embroidery. Embroidery can be used to add intricate designs, patterns, or even personalized initials to your hat. You can use a variety of embroidery stitches like the satin stitch, chain stitch, or French knot to create beautiful and detailed designs. Embroidery not only adds visual interest to the hat, but it also allows you to showcase your skills and creativity.
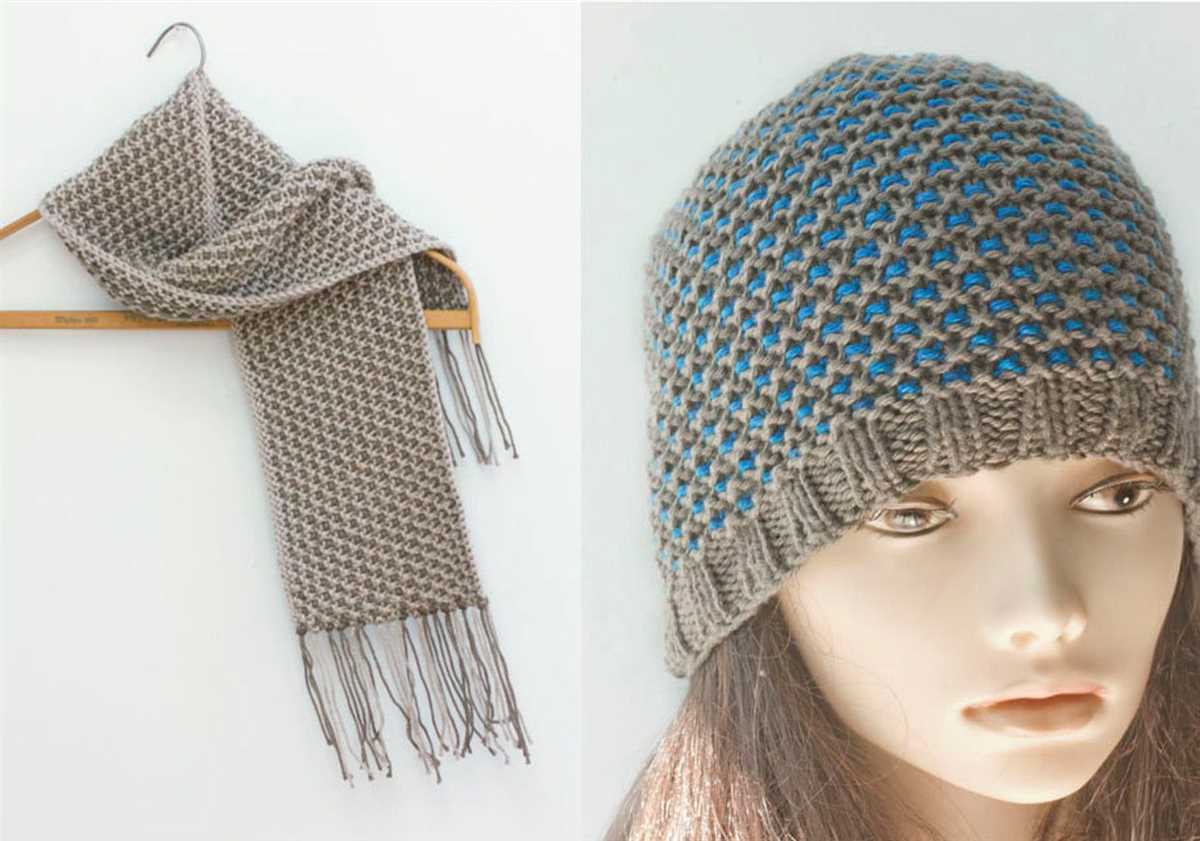
In addition to pom-poms and embroidery, there are many other ways to embellish your worsted knit hat. You can add buttons, beads, or sequins to give the hat some extra sparkle and shine. You can also experiment with different types of yarn, such as variegated yarn or yarn with metallic threads, to create unique and eye-catching patterns. Another option is to incorporate different stitch patterns into your hat, such as cables or lace, to add texture and dimension.
To keep track of these variations and embellishments, you can create a reference chart or notebook where you can jot down your ideas and keep track of what you’ve tried. This way, you can easily recreate your favorite designs or modify them to create new and exciting hats. Don’t be afraid to experiment and let your creativity shine through when it comes to personalizing your worsted knit hats!
Show off your creations: Sharing and showcasing your worsted knit hat
Now that you have mastered the art of knitting worsted hats, it’s time to show off your creations! Whether you knit for yourself, your loved ones, or for charity, it’s always exciting to share your work and inspire others to take up the craft. Here are a few ways to showcase your worsted knit hat:
1. Social media: Share a photo of your worsted knit hat on platforms like Instagram and Facebook. Use hashtags like #knitting, #knittersofinstagram, and #handmade to reach a wider audience. Don’t forget to tag the yarn brand or pattern designer if applicable.
2. Knitting community: Join online knitting communities such as Ravelry or knitting forums where you can share your finished projects with like-minded individuals. These platforms often have dedicated sections for showcasing work and offer opportunities for receiving feedback and support from fellow knitters.
3. Local craft fairs: Participate in local craft fairs or knitting events to display and sell your worsted knit hats. This is a great way to connect with other crafters and potential customers who appreciate handmade items.
4. Gift-giving: Give your worsted knit hats as gifts to friends and family. Not only will they appreciate the thought and effort that went into making the hat, but they will also become walking advertisements for your knitting skills.
5. Charity donations: Consider donating your worsted knit hats to organizations in need. Knitting for charity is not only a rewarding way to showcase your skills, but it also helps those in need stay warm during the winter months.
In conclusion, sharing and showcasing your worsted knit hat creations allows you to celebrate your skills, inspire others, and connect with the knitting community. Whether it’s through social media, local events, or charitable donations, the possibilities for showing off your work are endless. So grab your knitting needles, create beautiful worsted knit hats, and let the world see the amazing things you can do!