
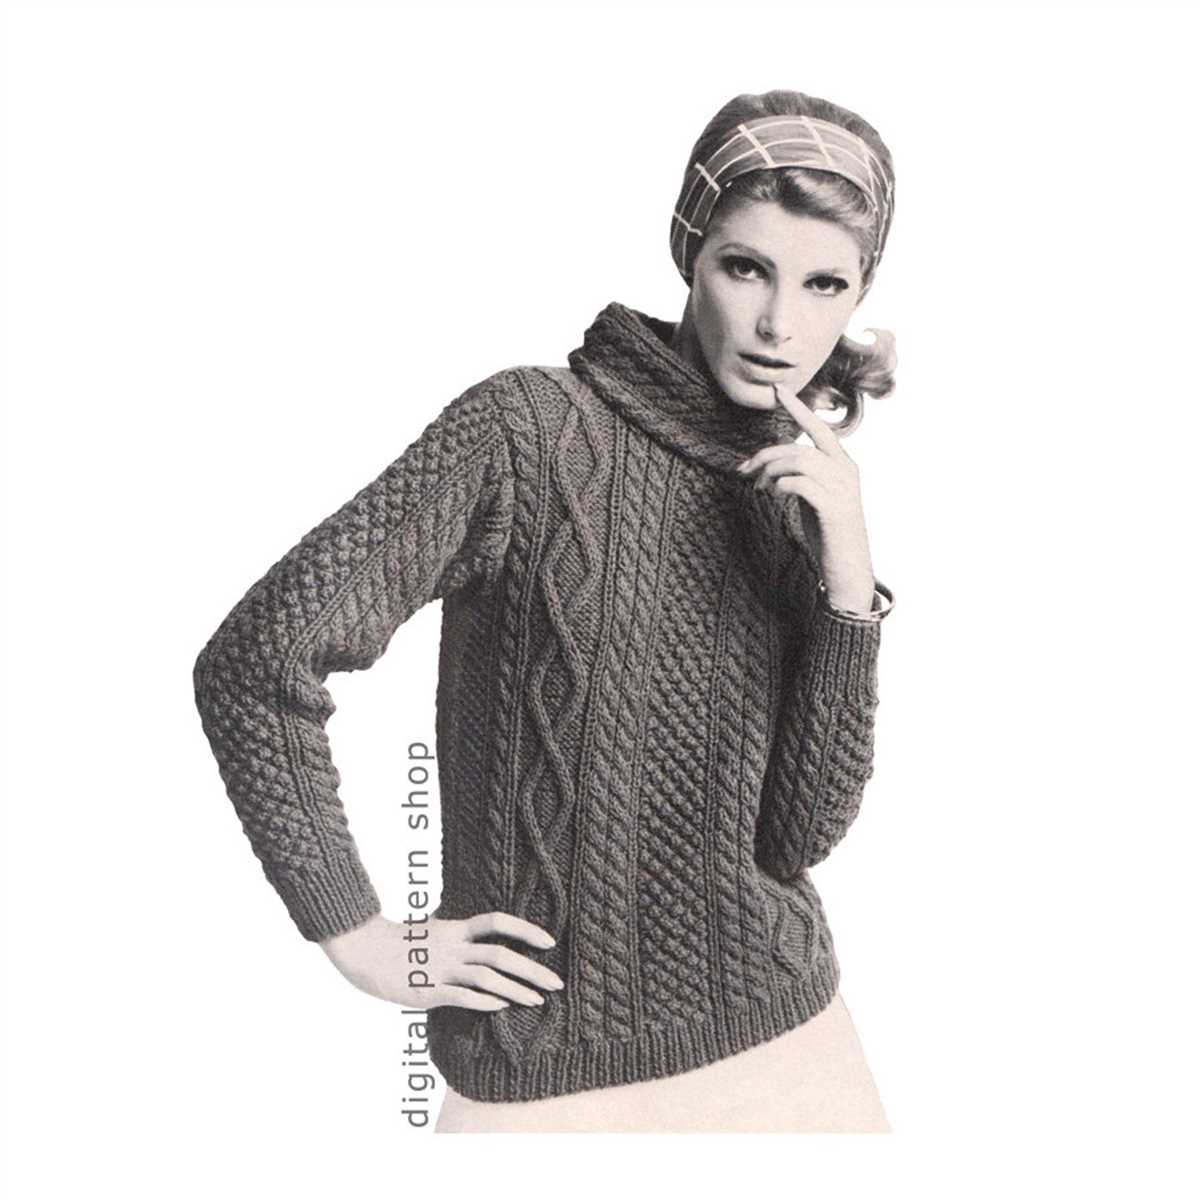
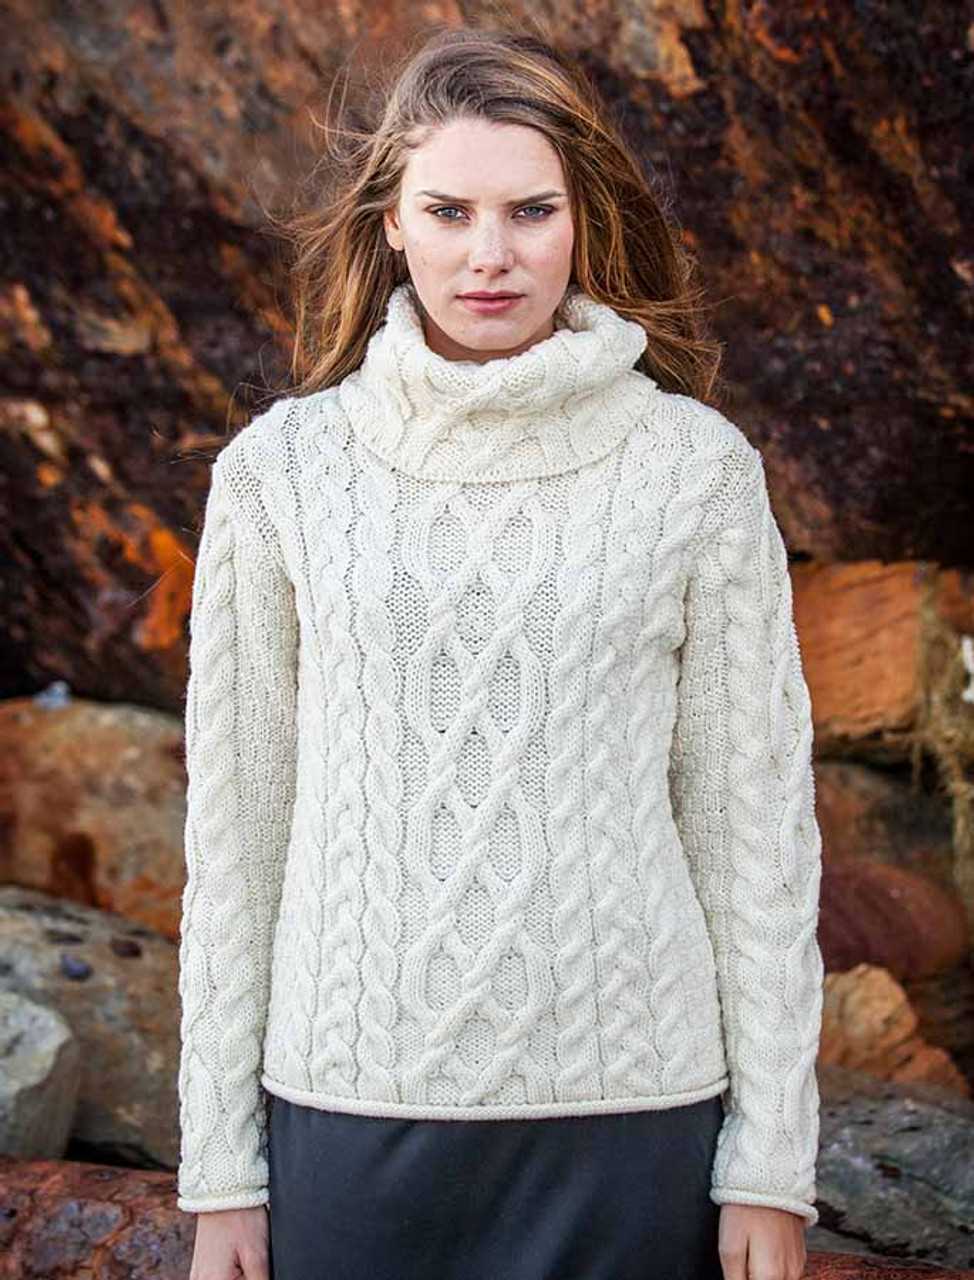
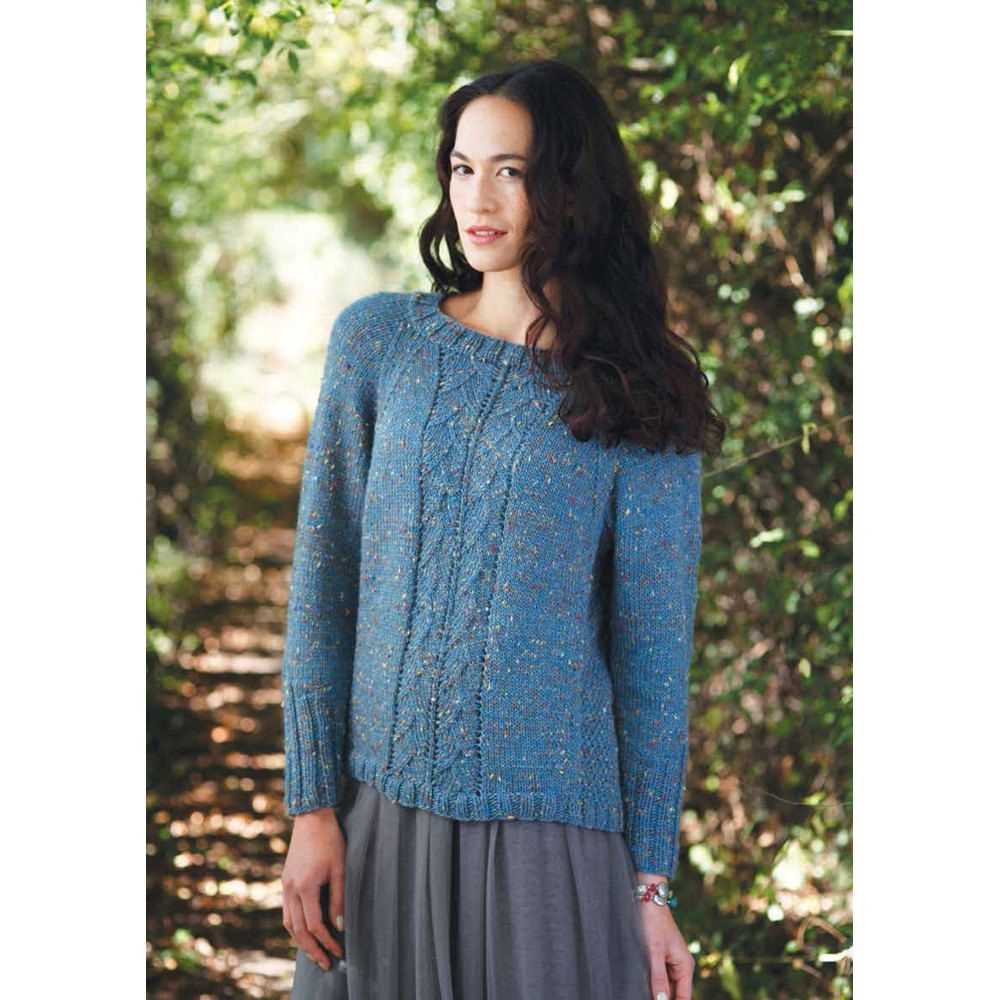
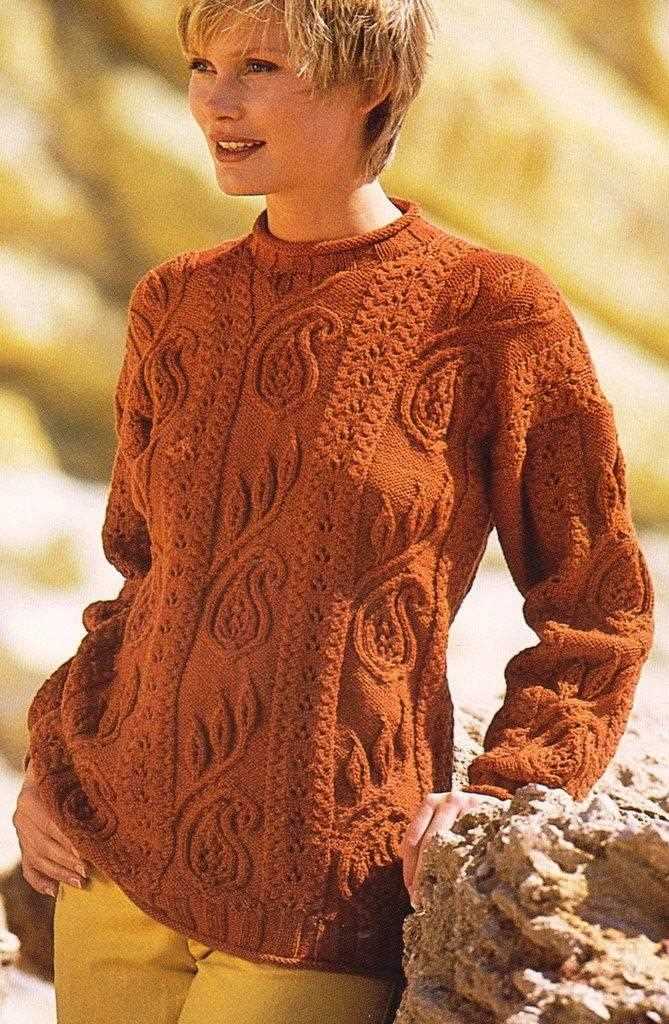
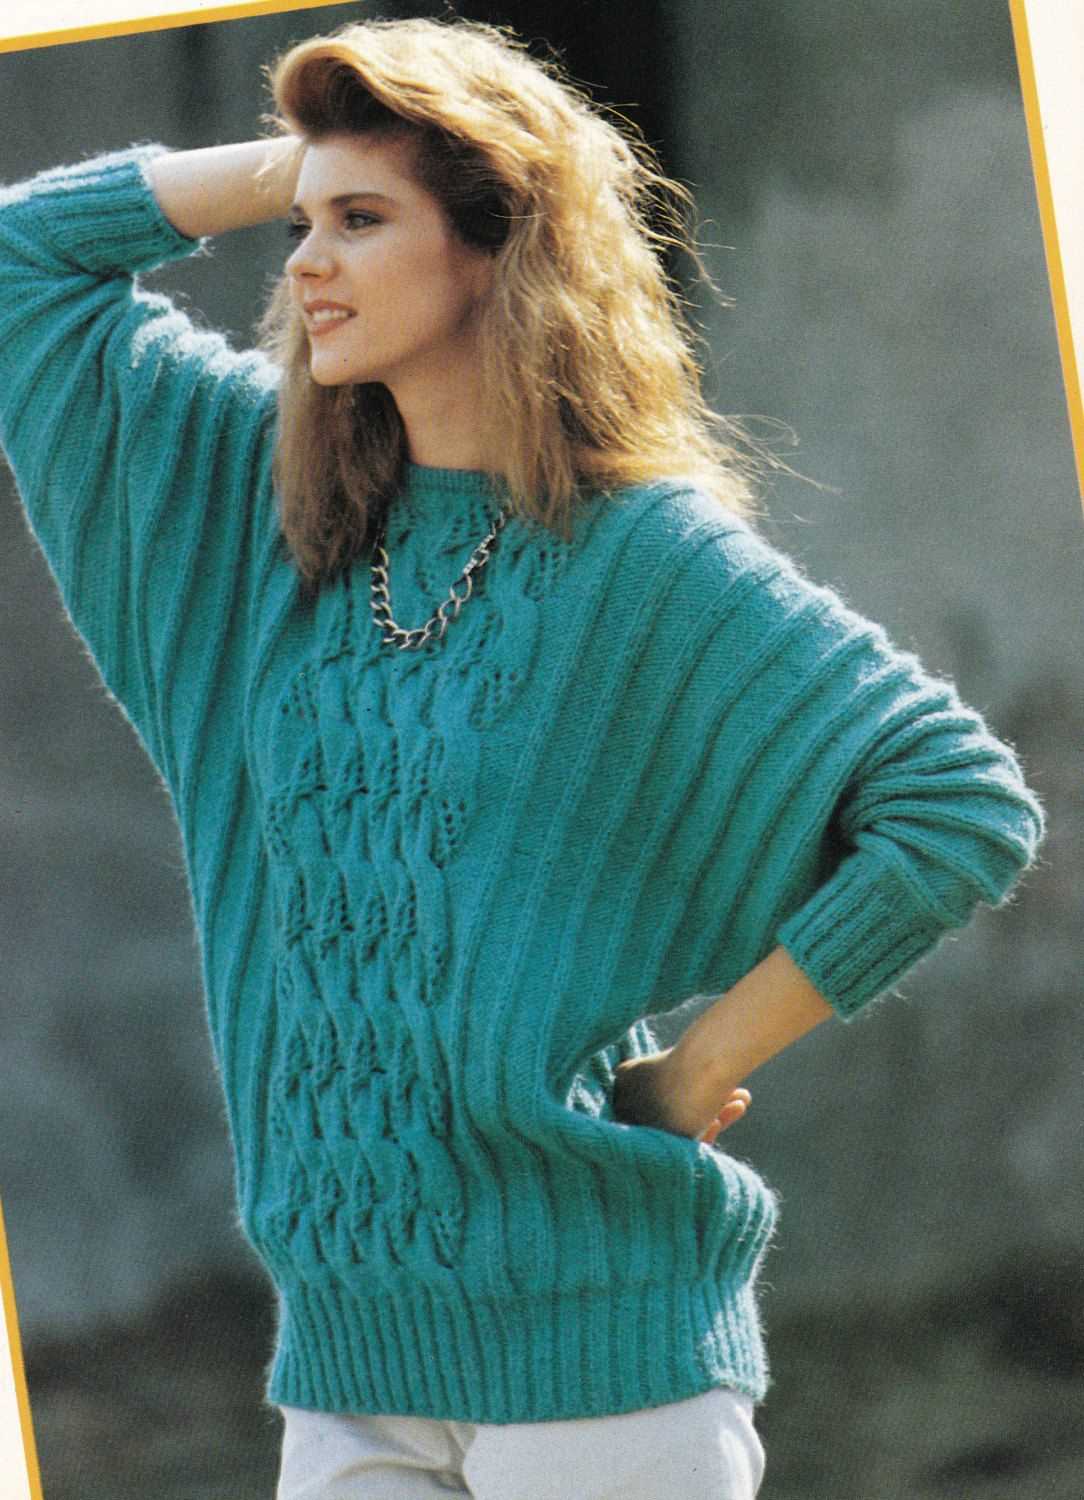
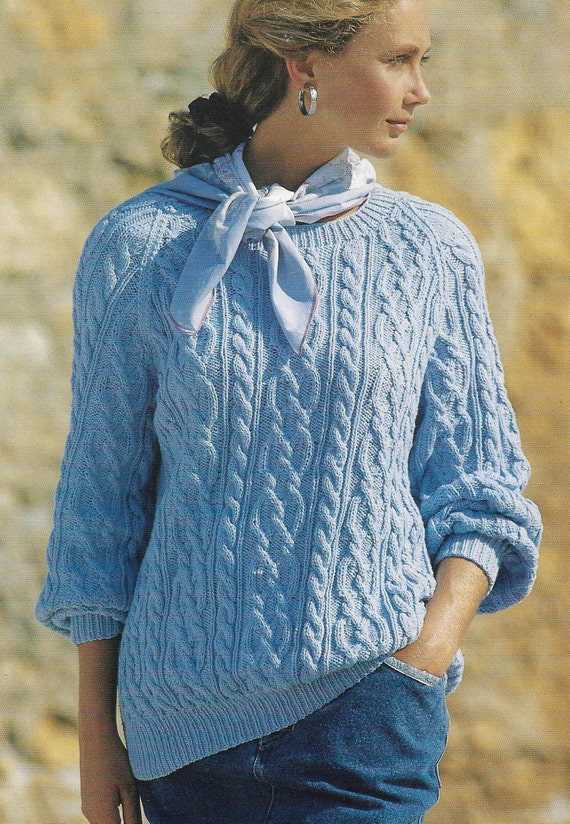
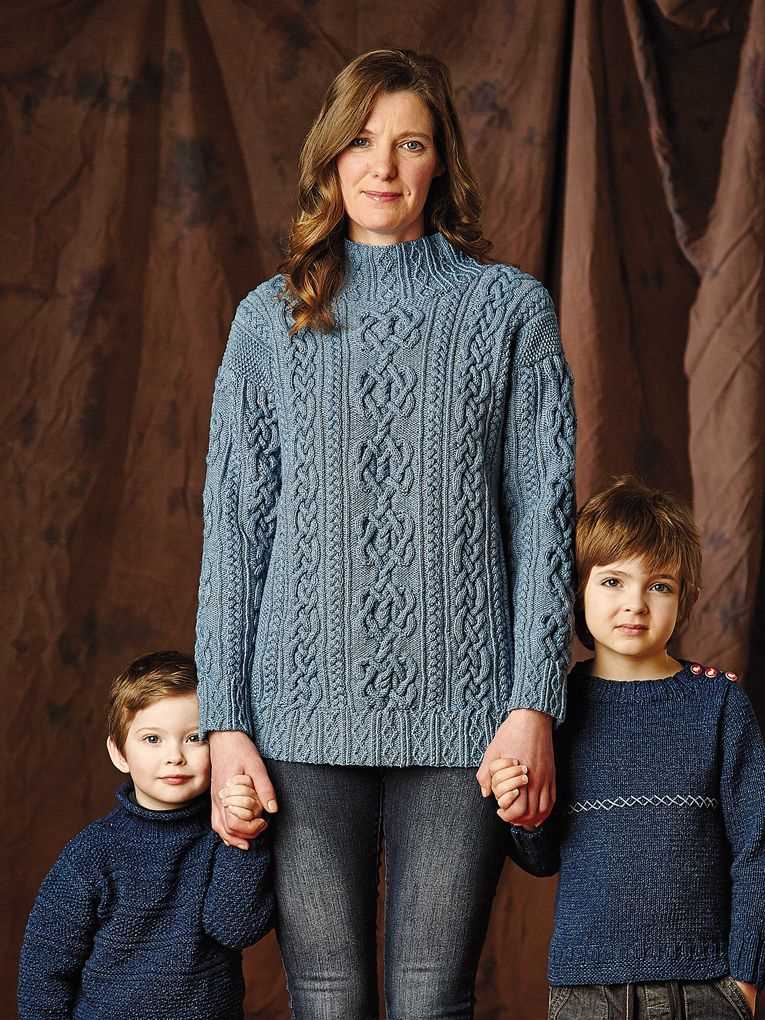
If you are a fan of knitting and enjoy creating beautiful garments, then this ladies cable jumper knitting pattern is perfect for you. The cable pattern creates a visually stunning texture that adds depth and elegance to the jumper. Whether you are a beginner or an experienced knitter, this pattern is suitable for all skill levels.
Knitting a jumper can be a rewarding and satisfying project, as you get to create something unique and personal. This cable jumper pattern allows you to customize the size and fit to suit your preferences. You can choose the yarn color that matches your style and personality, making it a truly one-of-a-kind piece.
The cable pattern may look intricate, but with the detailed instructions provided in this knitting pattern, you will be able to master it with ease. The pattern includes step-by-step instructions, as well as clear and helpful diagrams to guide you through the process. Whether you want to make a cozy jumper for yourself or a thoughtful gift for someone special, this pattern will help you create a beautiful and stylish garment that will be cherished for years to come.
Overview
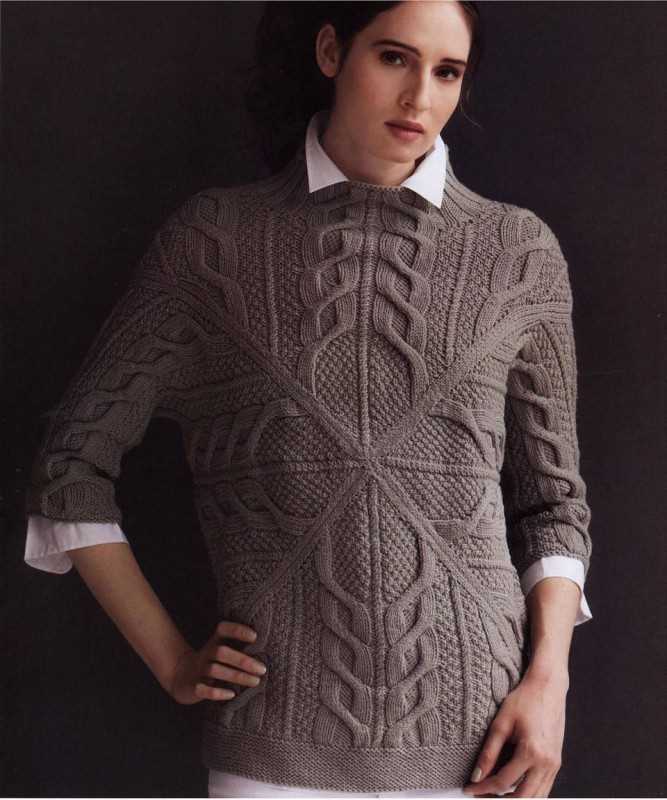
If you’re looking for a stylish and cozy jumper to add to your wardrobe, then the ladies cable jumper knitting pattern is perfect for you. This pattern features a beautiful cable design that adds texture and interest to the jumper, making it a standout piece. The pattern is suitable for intermediate knitters and provides a fun and rewarding project.
The ladies cable jumper knitting pattern includes detailed instructions on how to create the cable design, as well as the shaping and finishing of the jumper. It also provides guidance on the type of yarn and knitting needles to use, ensuring that you achieve the desired results. The pattern is written in clear and concise language, making it easy to follow even for those who are new to cable knitting.
Key Features:
- Trendy cable design
- Suitable for intermediate knitters
- Detailed instructions on shaping and finishing
- Clear and concise language
- Recommended yarn and needle sizes
Materials needed
To complete this ladies’ cable jumper knitting pattern, you will need the following materials:
- Yarn: You will need [number] skeins/balls of [yarn type] yarn in the desired color. Make sure to check the yardage and weight requirements mentioned in the pattern.
- Knitting Needles: You will need a set of [size] knitting needles. Check the gauge mentioned in the pattern to ensure your needle size matches.
- Cable Needle: A cable needle is necessary for working the cable stitches. This can be a traditional cable needle or any other type of needle or tool that helps you hold stitches aside while knitting.
- Tapestry Needle: A tapestry needle is useful for weaving in the loose ends and sewing any seams (if required).
- Stitch Holders: Depending on the pattern, you may need stitch holders to hold stitches temporarily while working on other sections or for shaping purposes.
- Buttons: If the jumper has a buttoned closure, you will need [number] of buttons in the appropriate size and style.
- Scissors and Measuring Tape: These are essential tools for any knitting project, so make sure you have them handy.
- Stitch Markers: Stitch markers are helpful for marking specific points in the pattern, such as the beginning of a round or the placement of shaping.
Make sure to have all the necessary materials before starting your knitting project. Double-check the pattern and any specific requirements mentioned to ensure you have everything you need to create a beautiful cable jumper.
Gauge
Gauge is an important factor to consider when knitting any project, and it is particularly crucial when it comes to creating a ladies cable jumper. The gauge refers to the number of stitches and rows per inch that you achieve when following the knitting pattern with the recommended yarn and needle size.
Before you begin knitting the jumper, it is highly recommended to make a gauge swatch. This involves knitting a small sample using the chosen yarn and needle size to determine whether your tension matches the pattern’s gauge. The pattern will usually specify the desired gauge, for example, 20 stitches and 24 rows per inch. By measuring your swatch, you can adjust your needle size if necessary to achieve the correct gauge.
Importance of Gauge
Gauge is vital because it ensures that your finished project will have the correct dimensions. If your gauge is too loose, your jumper may turn out larger than intended, while a tighter gauge will result in a smaller garment. Additionally, gauge affects the drape and overall appearance of the knitted fabric.
When knitting a ladies cable jumper, achieving the correct gauge is crucial for the intricate cable pattern to come out correctly. Incorrect gauge can distort the cables or make them appear uneven. By taking the time to make a gauge swatch and adjust your needle size if needed, you can ensure that your cable jumper will fit properly and showcase the beautiful cable design as intended in the pattern.
Cable knitting techniques
In the world of knitting, cable knitting techniques are a classic and beloved method for creating intricate and textured patterns. With just a few simple techniques, you can create stunning designs that add depth and interest to your knitted projects.
1. Basic cable stitch: The basic cable stitch is the foundation of all cable knitting. It involves crossing stitches over each other to create the cable pattern. To do this, you will need a cable needle, which is a short needle with a wide middle section. The basic cable stitch is created by slipping a set number of stitches onto the cable needle, holding it in front or behind the work, and then knitting the next set of stitches before knitting the stitches from the cable needle.
2. Cable twists: Cable twists are a simple way to add interest and variety to your cable knitting. They involve working the cable stitches in a different order than the basic cable stitch. For example, instead of crossing stitches to the right, you can cross them to the left. This creates a different cable twist pattern.
3. Complex cable patterns: Once you have mastered the basic cable stitch and cable twists, you can move on to more complex cable patterns. These patterns often combine multiple cable stitches in different directions and create intricate designs. They require careful attention to detail and often use charts or written instructions to guide you through each row.
4. Cable knitting tips: To ensure your cable knitting turns out beautifully, here are some tips to keep in mind. First, always use a cable needle that is the same size as your knitting needles. This will ensure that your stitches are the same size and tension. Second, pay attention to the direction of your cable needles when crossing stitches. This will help you create the desired cable twist pattern. And finally, don’t be afraid to experiment with different cable patterns and stitch combinations. Cable knitting is a versatile technique that allows for endless possibilities.
Choosing the right yarn
When knitting a ladies cable jumper, one of the most important decisions you’ll need to make is choosing the right yarn. The yarn you choose will determine the overall look and feel of the finished garment, so it’s important to consider a few key factors when making your selection.
Fiber type: The first thing to consider is the type of fiber you want to work with. Wool is a popular choice for cable jumpers as it provides warmth and has excellent stitch definition. However, if you’re looking for something lighter and more breathable, you might consider a cotton or bamboo blend yarn. Each fiber has its own unique properties, so think about how you want the finished jumper to feel against the skin.
Weight: Another important factor is the weight of the yarn. The weight refers to how thick or thin the yarn is and can significantly impact the drape and fit of the finished jumper. Bulky yarns will create a chunkier and more cozy jumper, while finer yarns will result in a lighter, more delicate garment. Consider the season and climate when choosing the weight of your yarn.
Color and texture:

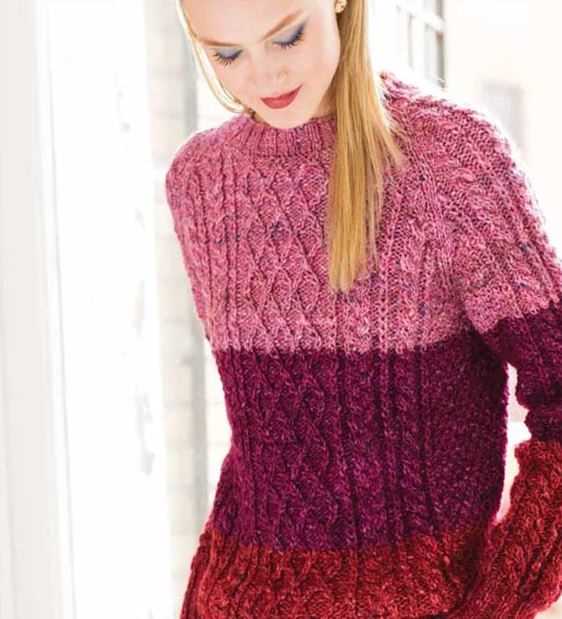
Next, think about the color and texture of the yarn. The cable pattern is already a standout feature, so you may want to choose a neutral or solid color to allow the design to shine. However, if you prefer a more vibrant and eye-catching look, opt for a variegated or self-striping yarn. Additionally, consider the texture of the yarn – a smooth yarn will showcase the cable stitches beautifully, while a yarn with a bit of texture can add depth and interest to the finished garment.
Gauge and yardage:
It’s important to select a yarn that matches the pattern’s recommended gauge. This ensures that your finished jumper will have the correct measurements and fit as intended. Be sure to check the yarn’s label for the suggested gauge and compare it to the pattern. Additionally, consider the yardage of the yarn. Make sure you have enough yarn to complete the project and consider buying an extra ball or two to account for any mistakes or modifications you may make along the way.
In summary, when choosing the right yarn for your ladies cable jumper, consider the fiber type, weight, color and texture, as well as gauge and yardage. By taking these factors into account, you’ll be able to find the perfect yarn that not only complements the cable pattern but also creates a beautiful and comfortable jumper.
Selecting the correct needle size
Choosing the correct needle size is crucial when knitting a ladies cable jumper. The needle size will determine the overall gauge and size of the finished garment. It’s important to carefully consider the pattern’s recommended needle size and also take into account your personal knitting tension.
Recommended needle size: The ladies cable jumper knitting pattern will usually specify a recommended needle size, which should be followed for the best results. This needle size is typically chosen to create the desired tension and ensure that the finished garment fits as intended.
Gauge swatch: Before starting your project, it’s a good idea to swatch with the recommended needle size and yarn to check if your tension matches the pattern’s gauge. This can help you determine if you need to adjust your needle size to achieve the correct gauge. The gauge swatch should be large enough to accurately measure the stitches and rows per inch.
Knitting tension: Everyone knits with a slightly different tension, so it’s important to consider your own knitting style when selecting the needle size. If you tend to knit tightly, you may need to go up a size or two in needles to achieve the desired gauge. On the other hand, if you knit loosely, you may need to go down a size or two. Testing your tension before starting the project can help you make the necessary adjustments.
Other factors: While the recommended needle size is a good starting point, it’s also important to consider other factors that may affect the finished garment, such as the yarn thickness and desired drape. If you’re using a particularly chunky yarn, you may need to go up in needle size to create a more open and loose fabric. Conversely, if you’re using a fine yarn, you may need to go down in needle size for a tighter and denser fabric.
By carefully selecting the correct needle size and adjusting for personal tension, you can ensure that your ladies cable jumper turns out just right.
Casting on and creating the ribbing
Before you can start knitting your ladies cable jumper, you’ll need to cast on your stitches. The number of stitches you need will depend on the size of the jumper you are making. Refer to the pattern for the specific stitch counts for each size.
To cast on, you can use any method you prefer, such as the long-tail cast on or the cable cast on. Make sure to leave a long tail of yarn at the beginning for weaving in later. Once you have cast on the required number of stitches, it’s time to create the ribbing.
To create the ribbing, you will need to alternate between knitting and purling stitches in a specific pattern. This pattern will create the raised ridges that give the ribbing its characteristic texture. The most common ribbing pattern is a 2×2 rib, which means you knit 2 stitches, then purl 2 stitches, repeating this pattern across the row.
Continue knitting in the ribbing pattern for the required number of rows, as specified in the pattern. The ribbing will create a stretchy and snug edge to the jumper, allowing it to fit more comfortably. Once you have completed the ribbing, you can move on to the main cable pattern or any other stitch pattern specified in the pattern.
Working the cable pattern
When knitting the ladies cable jumper, the cable pattern is a central feature that adds texture and visual interest to the garment. To work the cable pattern, you will need to follow the instructions carefully and have a good understanding of basic knitting techniques.
The cable pattern consists of a series of stitches that create the intertwined cables. To begin, you will need to cast on the required number of stitches as specified in the pattern. Then, follow the cable pattern chart or written instructions provided.
Step 1: Start by knitting a few rows in the main stitch pattern to establish the base for the cables.
Step 2: Once you reach the row where the cable pattern begins, you will need to carefully read the instructions or refer to the cable chart. The instructions will tell you which stitches to cross over and in which direction, creating the cable effect.
For example, the instructions might say:
- Slip three stitches onto a cable needle and hold at the back of the work.
- Knit the next three stitches from the left-hand needle.
- Knit the three stitches from the cable needle.
Step 3: Continue working the cable pattern as instructed until you have completed all the rows specified in the pattern. Pay attention to any shaping instructions or changes in stitch count as you go.
Step 4: Once you have finished working the cable pattern, you can continue with any additional instructions for finishing the jumper, such as shaping the neckline, adding ribbing, or sewing up the seams.
Working the cable pattern requires concentration and attention to detail, but the end result is a beautifully textured jumper that showcases your knitting skills.
Shaping the sleeves and neckline
The shaping of the sleeves and neckline is an important step in knitting the ladies cable jumper. By adding increases or decreases in the right places, you can create a garment that fits perfectly and flatters the figure.
To shape the sleeves, you will need to follow the pattern instructions for increasing or decreasing stitches at specific intervals. This will give the sleeves a tapered look, with a narrower cuff and a wider upper arm. It is important to pay attention to the pattern and make sure you are increasing or decreasing in the correct places to maintain the cable pattern.
In addition to shaping the sleeves, you will also need to shape the neckline. The neckline is an important part of the jumper’s design and can greatly affect the overall look of the garment. Depending on the style of the jumper, you may need to create a round neckline, a V-neck, or a boatneck.
To shape the neckline, you will need to follow the pattern instructions for shaping the front and back necklines. This may involve binding off stitches, knitting short rows, or creating a gradual slope. Again, it is important to pay attention to the pattern and make sure you are shaping the neckline correctly to maintain the cable pattern.
By carefully shaping the sleeves and neckline, you can create a ladies cable jumper that not only showcases the beautiful cable pattern but also fits and flatters the wearer. Make sure to follow the pattern instructions closely and take your time with the shaping to achieve the best results.
Finishing touches and blocking
Once you have completed knitting the cable jumper, there are a few finishing touches you can add to make it look more polished and professional.
The first step is to weave in any loose ends or yarn tails. Use a yarn needle to carefully thread the ends through the stitches on the wrong side of the garment. Make sure to secure the ends tightly to prevent them from unraveling.
Next, you can block the jumper to give it the desired shape and size. Blocking involves wetting the knitted fabric and then laying it out flat to dry, allowing it to stretch and relax into its final shape. This can help even out any uneven stitches and give the jumper a more neat and polished appearance.
To block the jumper, fill a basin or sink with lukewarm water and add a small amount of wool wash or gentle detergent. Submerge the jumper in the water and gently squeeze it to ensure that the entire garment is soaked. Let it sit in the water for about 15 minutes, then remove it and gently squeeze out the excess water.
Next, lay a clean towel on a flat surface and place the jumper on top of it. Gently stretch and shape the jumper to the desired dimensions, making sure that the cables and patterns are properly aligned. Use rust-proof pins to secure the edges and any areas that need extra shaping.
Once the jumper is in the desired shape, leave it to dry completely. This can take anywhere from 24 to 48 hours, depending on the humidity and airflow in the room. Avoid hanging the jumper to dry, as this can cause it to stretch out of shape.
After the jumper has dried, remove the pins and it’s ready to wear! The blocking process helps the jumper to maintain its shape and structure, ensuring that it looks its best for years to come.