
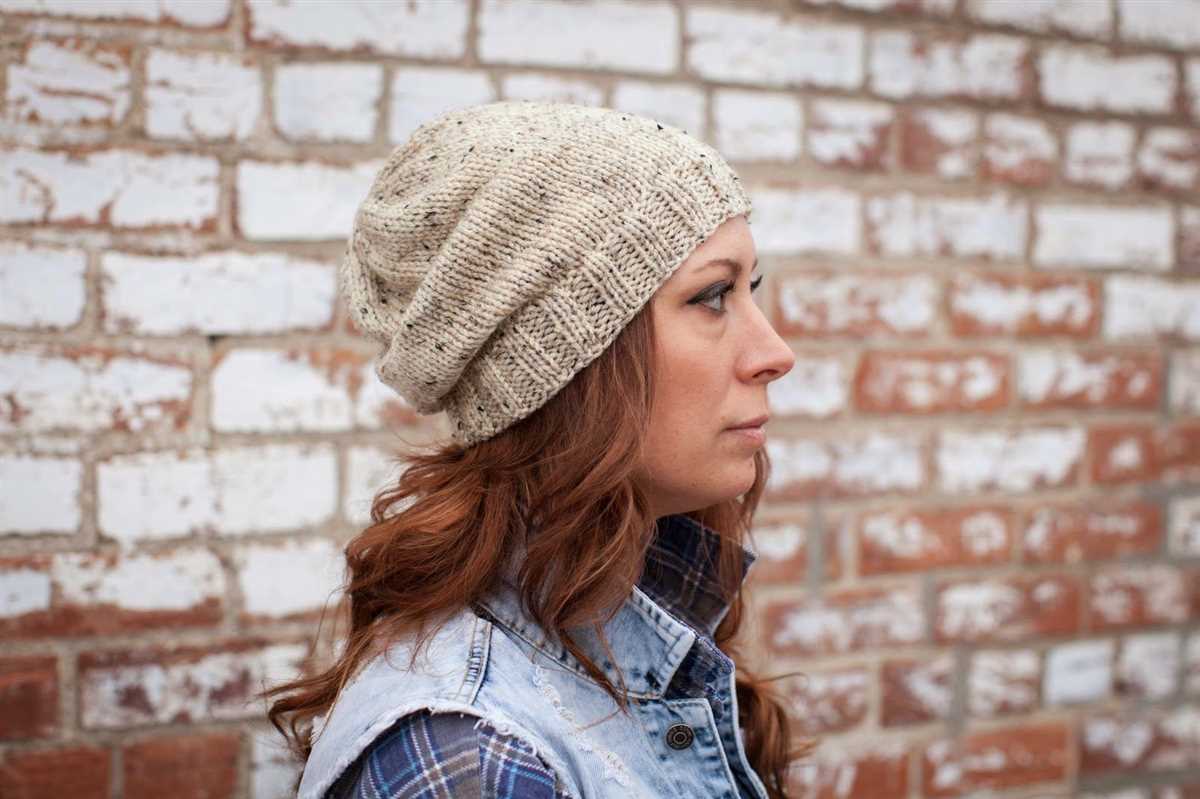
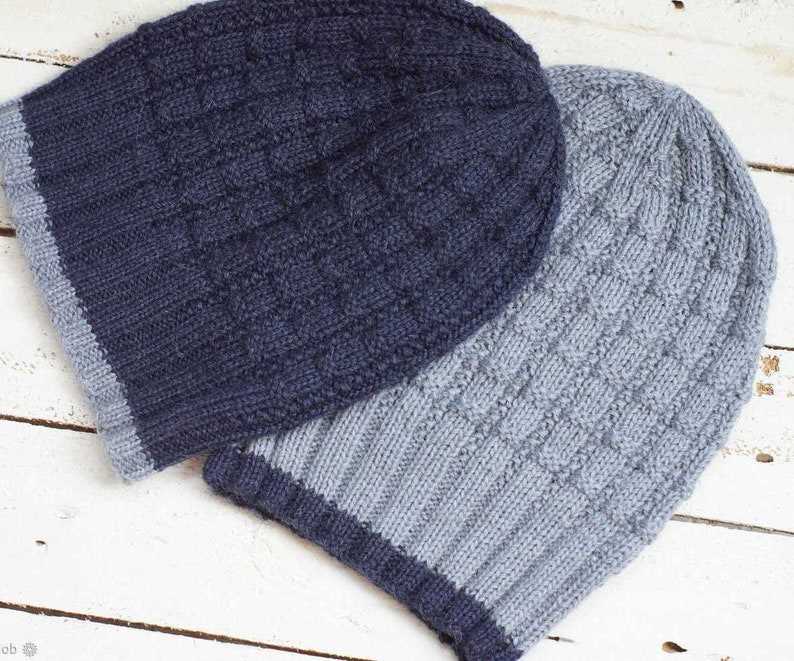
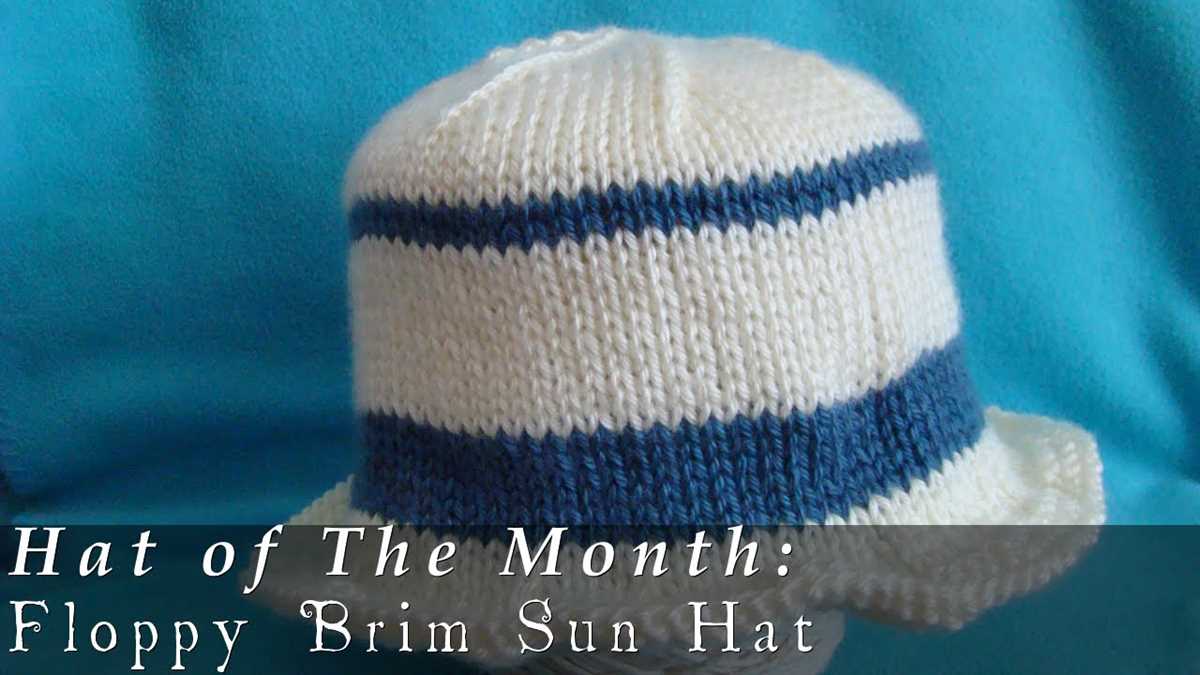
Looking for a fashionable and warm accessory for the winter season? Look no further than the folded brim knit hat pattern. This pattern is perfect for beginners and experienced knitters alike, with its simple design and cozy feel.
The folded brim is not only stylish but also functional, providing extra warmth and coverage for your ears and forehead. The hat can be customized to fit any head size, making it a versatile option for everyone in the family.
With just a few basic knitting techniques, you can create a hat that is sure to become a staple in your winter wardrobe. The pattern is easy to follow, with step-by-step instructions and a helpful video tutorial for visual learners.
Whether you’re knitting for yourself or as a gift for a loved one, the folded brim knit hat pattern is a great choice. Grab your knitting needles and a cozy ball of yarn, and get started on this fun and rewarding project today!
Folded Brim Knit Hat Pattern: A Guide to Knitting Your Own Stylish Hat
If you enjoy knitting and want to create your own stylish hat, a folded brim knit hat pattern is a perfect project for you. Knitting your own hat allows you to customize it to your personal style and preferences, and the folded brim adds a trendy and timeless touch.
To start knitting your folded brim hat, you will need a few basic knitting supplies, such as yarn, knitting needles, and a stitch marker. Choose a soft and warm yarn in your favorite color or pattern to make your hat not only fashionable but also cozy.
Begin by casting on the desired number of stitches, depending on the size and fit you prefer for your hat. Follow the pattern instructions for the ribbed brim, which typically involves knitting a certain number of rows in a rib stitch pattern, alternating between knit and purl stitches.
After you have completed the brim, it’s time to work on the main section of the hat. Knit the required number of rows or follow the pattern instructions for the desired length. You can add your own creative touches by incorporating different stitch patterns or adding a stripe of contrasting color.
Once you have reached the desired length, it’s time to start decreasing the stitches to shape the crown of the hat. Follow the pattern instructions for the decrease rounds, which usually involve knitting two stitches together at regular intervals. Continue decreasing until you have a small number of stitches left.
Finally, use a tapestry needle to thread the remaining stitches through and secure them. Weave in any loose ends, and your folded brim knit hat is complete! Try it on and enjoy the satisfaction of wearing a stylish hat that you made with your own hands.
Whether you’re a beginner or an experienced knitter, knitting your own folded brim hat is a fun and rewarding project. Not only will you have a unique accessory to keep you warm in the colder months, but you’ll also have the pride of knowing you created it yourself. So grab your knitting needles and get started on your own folded brim knit hat today!
What You’ll Need to Get Started
Before you can begin knitting a folded brim hat, you’ll need to gather a few supplies. Here’s a list of everything you’ll need:
- Yarn: Choose a soft and warm yarn in the color of your choice. Worsted weight yarn is a popular choice for hats.
- Knitting needles: You’ll need a pair of circular knitting needles in the appropriate size for your yarn. A 16-inch circular needle is recommended for knitting hats.
- Circular needle cable: Make sure your circular needle has a flexible cable that is long enough to comfortably hold all your stitches.
- Stitch markers: These are helpful for marking the beginning of rounds or any special stitch patterns.
- Tape measure: Use a tape measure to check your gauge and measure the circumference of your head to ensure the hat will fit properly.
- Darning needle: You’ll need a darning needle with a large eye for weaving in ends and completing any finishing touches.
- Scissors: Keep a pair of scissors handy for cutting the yarn and trimming any excess.
Once you have all these supplies ready, you’ll be well-prepared to start knitting your folded brim hat. Gather them all together and get ready to create a cozy accessory for yourself or someone special.
Choosing the Right Yarn and Needles
When it comes to knitting a folded brim hat, choosing the right yarn and needles is essential to achieve the desired result. The yarn you select should be soft, warm, and comfortable to wear, as a hat is a garment that will be in close contact with the skin. It’s important to consider factors such as the fiber content, weight, and texture of the yarn.
Fiber Content: There are numerous options available when it comes to yarn fiber content. Some popular choices for hats include wool, acrylic, and alpaca. Wool provides excellent warmth and insulation, while acrylic is often chosen for its affordability and easy care. Alpaca yarn is known for its softness and luxurious feel.
Weight: The weight of the yarn determines the thickness and density of the knitted fabric. For a folded brim hat, a medium or chunky weight yarn is typically used to create a warm and cozy hat. However, the weight of the yarn can also depend on personal preference and the level of warmth desired.
Texture: The texture of the yarn can add visual interest to the knitted hat. Options range from smooth and uniform to more textured and novelty yarns. Consider the overall look you want to achieve, whether it’s a classic and clean design or a more playful and unique style.
When it comes to selecting the right needles, it’s important to consider the gauge and size. The gauge is the number of stitches and rows per inch achieved with a particular needle size and yarn. The pattern for the folded brim hat will specify a recommended gauge, and it’s important to match it to ensure the correct size and fit of the hat. Generally, a circular needle is used for knitting the brim and body of the hat, while double-pointed needles may be required for shaping the crown.
Remember to always check the recommended yarn weight and gauge stated in the pattern, and adjust the needle size accordingly. Taking the time to choose the right yarn and needles will result in a beautifully knitted folded brim hat that is both functional and stylish.
Understanding the Basic Knitting Stitches
Knitting is a wonderful craft that allows you to create beautiful and functional items using just a few basic stitches. Whether you are a beginner or an experienced knitter, understanding and mastering these stitches is essential. In this guide, we will explore the basic knitting stitches you need to know, including the knit stitch, purl stitch, and slip stitch.
1. Knit Stitch: The knit stitch is the foundation of knitting and is used to create a smooth and even fabric. To knit, insert the right needle into the front of the first stitch on the left needle. Wrap the yarn around the right needle from back to front, and pull it through the stitch to create a new stitch on the right needle. Slip the old stitch off the left needle. Repeat this process for each stitch across the row.
2. Purl Stitch: The purl stitch creates a bumpy texture and is often used in combination with the knit stitch to create different patterns. To purl, insert the right needle into the front of the first stitch on the left needle, from right to left. Wrap the yarn around the right needle from front to back, and pull it through the stitch to create a new stitch on the right needle. Slip the old stitch off the left needle. Repeat this process for each stitch across the row.
3. Slip Stitch: The slip stitch is used to create decreases or to move stitches from one needle to another without knitting or purling them. To slip a stitch, insert the right needle into the front of the first stitch on the left needle as if to purl, but instead of wrapping the yarn, simply transfer the stitch from the left needle to the right needle. Repeat this process for each stitch as desired.
By mastering these basic stitches, you will be able to create a wide variety of knitted items, from scarves and hats to blankets and sweaters. Remember to practice regularly and take your time to ensure your stitches are even and consistent. Happy knitting!
Casting On: Starting Your Hat
Before you can start knitting your folded brim hat, you need to cast on your stitches. This is the process of creating loops on your knitting needle that will form the foundation of your hat. There are different methods of casting on, but for this pattern, we will use the long-tail cast on method.
To begin, you will need your knitting needle and your yarn. Hold the needle in your right hand and position it so that the point is facing your left hand. Take the tail end of the yarn in your right hand and leave a long enough tail to allow for the desired number of cast on stitches. Hold the working yarn (the part attached to the ball of yarn) in your left hand.
Step 1: Make a slipknot by creating a small loop with the working yarn. Bring the yarn end through the loop to create the slipknot. Place the slipknot onto the needle and tighten it by pulling on both ends of the yarn.
Step 2: Hold the needle with the slipknot in your left hand. Using your right hand, insert the needle into the slipknot from left to right, going under the left-hand strand of yarn on the way in. With your right hand, loop the working yarn over the needle and bring it through the slipknot.
Step 3: Slip the stitch that you just made onto the left-hand needle. You now have one stitch on the right-hand needle.
Step 4: Repeat steps 2 and 3 until you have cast on the desired number of stitches for your hat. Make sure to keep the tension of the stitches even as you go.
Once you have finished casting on, you will be ready to start knitting the body of your hat. The cast on stitches will serve as the foundation for your knitting, and the folded brim will provide a neat and finished look to the hat.
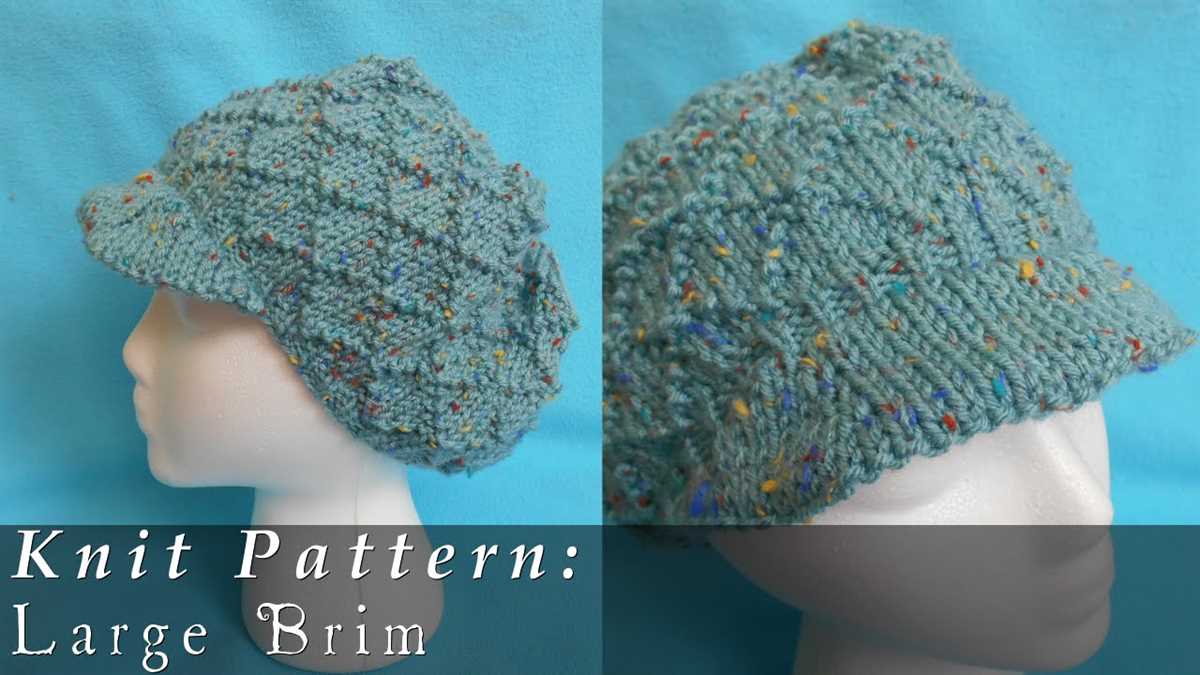
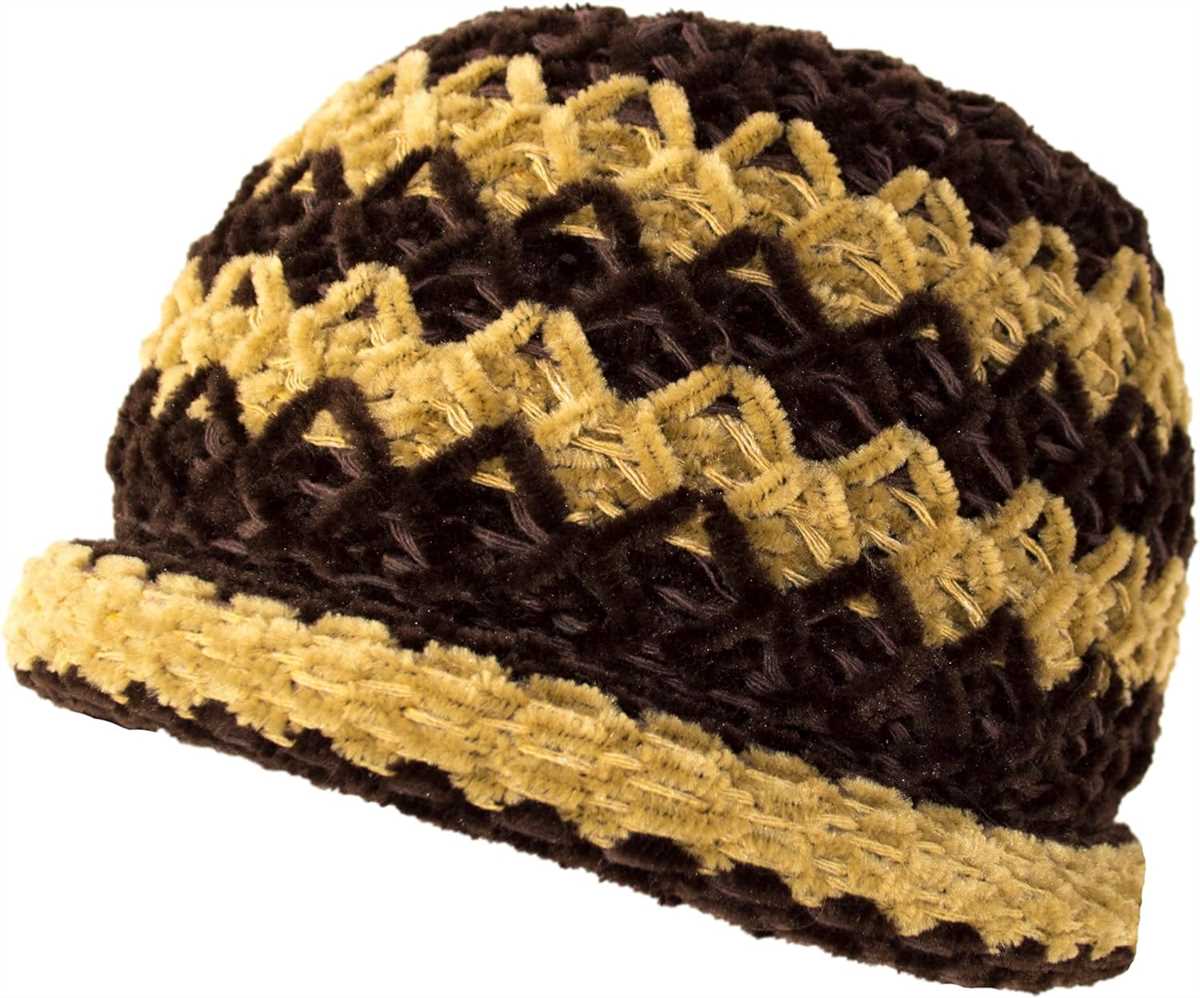
Creating the Folded Brim
The folded brim is an essential feature of a knitted hat. It not only adds extra warmth and insulation but also gives the hat a polished and finished look. Here’s how you can create a folded brim for your knit hat:
1. Cast on stitches
Begin by casting on the required number of stitches for your hat pattern. Make sure to use a stretchy cast-on method, such as the long-tail cast-on or the German twisted cast-on, to ensure the brim has enough elasticity. It’s recommended to use a smaller needle size for the cast-on to create a snugger fit for the brim.
2. Work in rib stitch
Once you have cast on your stitches, start working in a rib stitch pattern for the brim. The most common rib stitch patterns for hats are the 1×1 rib (alternating knit and purl stitches) or the 2×2 rib (alternating two knit stitches and two purl stitches). The rib stitch creates a stretchy and flexible fabric that molds to the head comfortably.
Tip: To prevent the brim from rolling up, add a few rows of garter stitch or seed stitch at the beginning before transitioning into the rib stitch pattern.
3. Determine the desired brim length
Decide on the length of the folded brim you want for your hat. Typically, a folded brim adds an additional 2-3 inches to the overall hat length. Keep in mind that the brim will be folded in half, so factor in this double thickness when measuring your desired brim length.
4. Fold the brim
Once you have reached the desired length for the brim, fold it in half towards the inside of the hat. The wrong side of the fabric should now be facing outwards, and the right side of the fabric (with the rib stitch pattern) should be facing inwards. Align the cast-on edge with the row where you started the rib stitch pattern.
Note: If you want a more structured fold, you can insert a strip of fabric, elastic, or a folded piece of cardboard inside the fold to help maintain its shape.
Tip: To secure the folded brim in place, you can use a few stitches to tack it down. This will help keep the brim in position and prevent it from unfolding during wear.
By following these steps, you can easily create a folded brim for your knit hat, adding both style and functionality to your finished project.
Knitting the Body of the Hat
After completing the folded brim of the hat, it is time to begin knitting the body. This is where you will create the main part of the hat, which will determine its size and shape.
Using your chosen yarn and needle size, continue knitting in the round. You can use either the stockinette stitch or any other stitch pattern of your preference. Make sure to check the pattern instructions for any specific stitch requirements or stitch counts.
Stockinette Stitch: For a classic look, you can continue with the stockinette stitch for the body of the hat. This stitch is created by knitting one row and then purling the next row. Repeat these two rows until the desired length is reached.
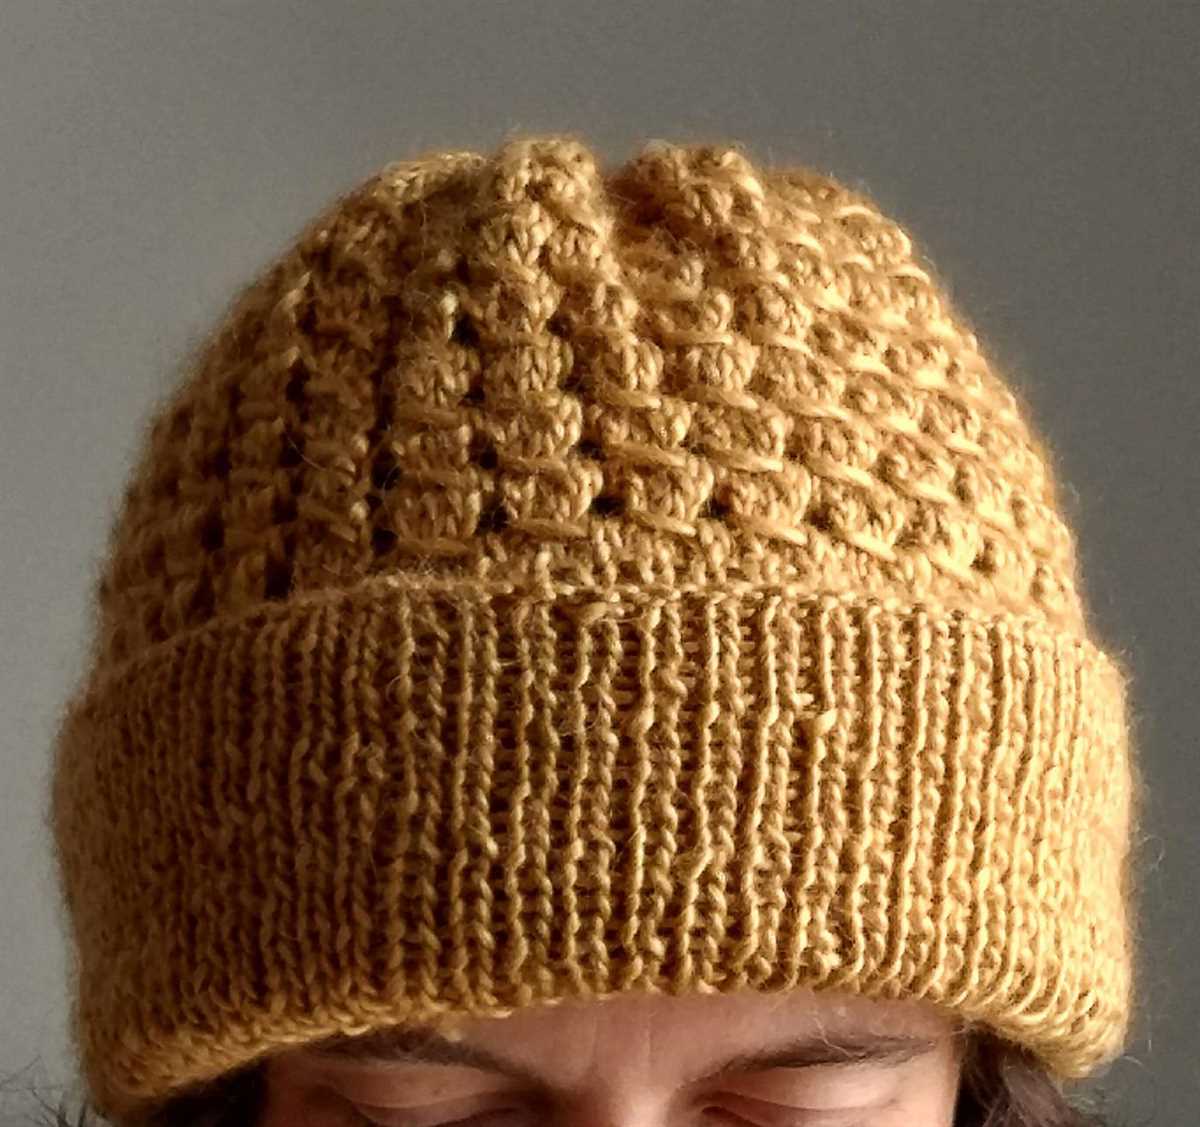
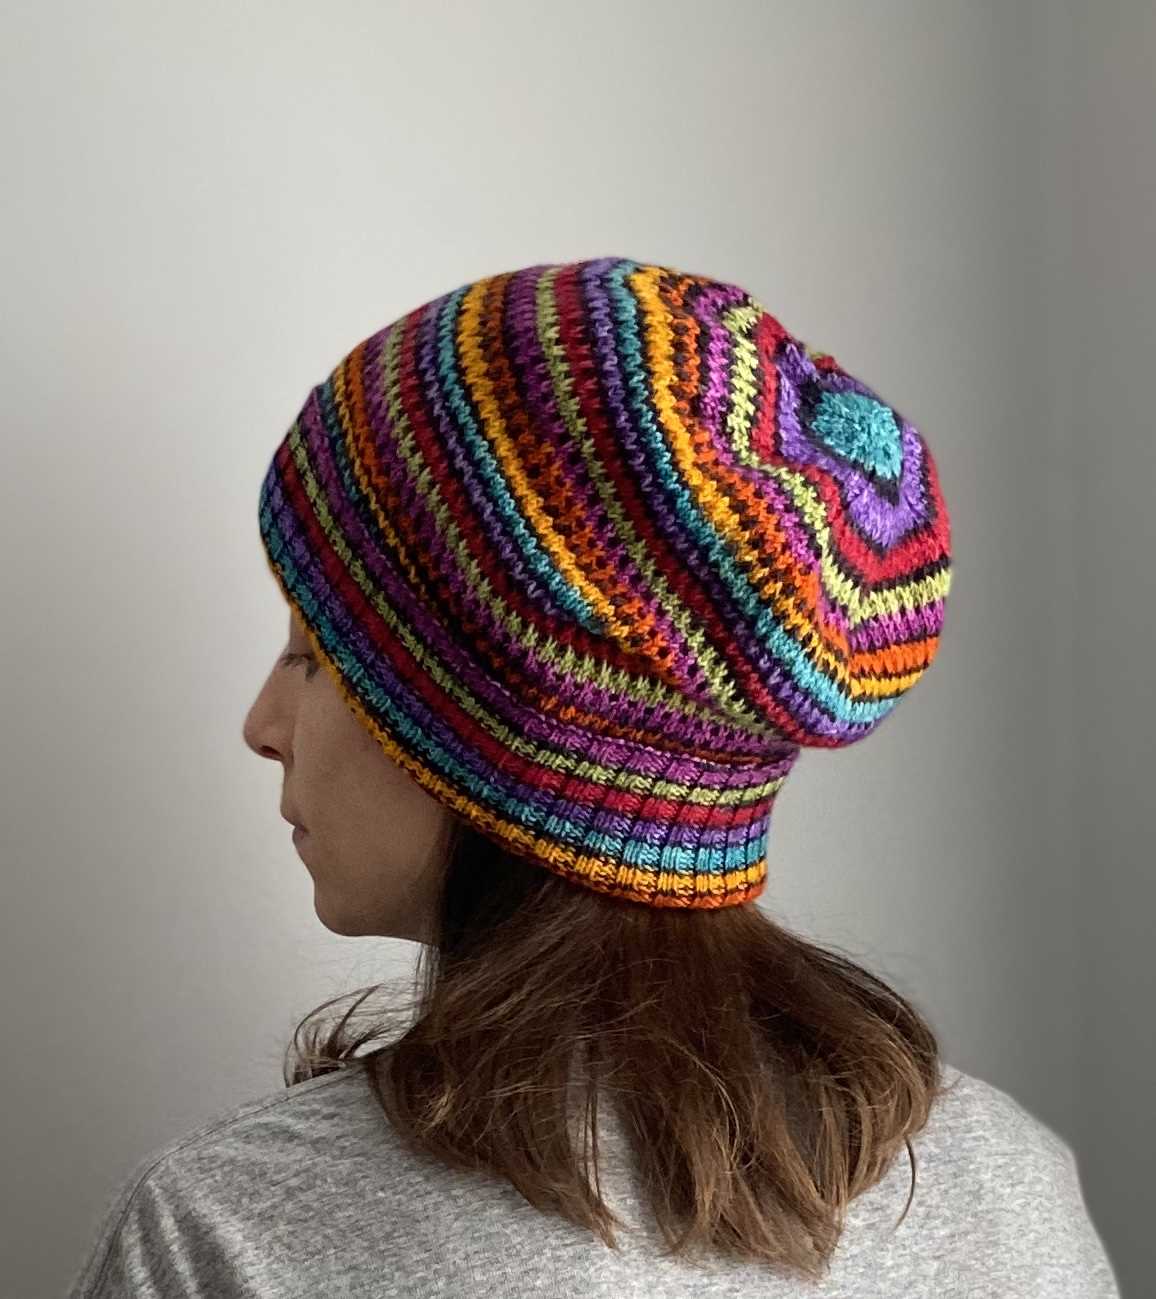
Alternate Stitch Patterns: If you prefer a different textured look or want to experiment with various stitch patterns, feel free to explore different options. Some popular alternatives include ribbing, seed stitch, or cables. Just make sure to adjust your stitch count accordingly for your chosen pattern.
Note: Keep in mind that the length of the hat will determine how slouchy or fitted it ends up being. If you want a slouchier hat, consider making the body longer. If you prefer a more fitted look, make the body shorter.
Continue knitting until you have reached the desired length for the body of the hat, remembering to leave enough yarn for binding off and finishing. Once you are satisfied with the length, you can move on to finishing the top of the hat, which will complete the knitting process.
Shaping the Crown
The crown of a folded brim knit hat is the top part of the hat that covers the head. Shaping the crown is an important step in the knitting process as it adds depth and structure to the hat. There are different techniques that can be used to shape the crown of a hat, depending on the desired style and fit.
One common technique for shaping the crown is decreasing stitches. This involves working decreases in specific areas of the hat to create a tapered effect towards the top. Decreasing can be done in various ways, such as knitting two stitches together or slipping stitches and passing them over each other. By decreasing stitches evenly around the crown, the hat will gradually become smaller and more fitted towards the top.
Another technique for shaping the crown is using short rows. Short rows are partial rows of knitting that create a curve or angle in the fabric. By working short rows in specific sections of the crown, such as the back or sides, the hat can have a more customized fit and shape. Short rows can be combined with decreases to create unique crown shaping patterns.
When shaping the crown, it is important to follow the instructions provided in the folded brim knit hat pattern. These instructions will specify the number of stitches to decrease or the placement of short rows. It is also important to maintain an even tension while knitting to ensure the crown is knit smoothly and without puckering or gaps. With careful attention to detail, the crown of the folded brim knit hat can be shaped to perfection.
Key phrases: crown of a folded brim knit hat, shaping the crown, decreasing stitches, tapered effect, short rows, customized fit, knitting pattern, even tension, puckering, gaps.
Adding Poms or Other Embellishments
If you want to add a fun and playful touch to your folded brim knit hat, consider adding poms or other embellishments. Poms are cute and fluffy accents that can be attached to the top of the hat, adding a whimsical look. There are many different types of poms available, from faux fur to yarn poms, so you can choose one that matches your style.
To attach a pom to your folded brim knit hat, you can use a yarn needle and some yarn that matches the color of your hat. Thread the needle with the yarn and secure it tightly to the top of the hat, making sure that it is securely attached. Cut any excess yarn and fluff the pom to give it a full and fluffy appearance. You can also sew on other embellishments such as buttons, beads, or patches to add some extra flair to your hat.
If you prefer a more minimalist look, you can also add a subtle embellishment by using a different color of yarn to create a striped pattern on the hat. This can be done by simply changing colors every few rows or by using a stranded knitting technique to create a more intricate design. Stripes can add visual interest to the hat without overwhelming the overall look.
Adding poms or other embellishments to your folded brim knit hat is a great way to personalize your creation and make it truly unique. Whether you choose to go for a fun and playful pom or a subtle striped pattern, these additions will add an extra touch of style to your hat. Have fun experimenting with different embellishments and let your creativity shine!
Blocking and Finishing Your Hat
After completing your folded brim knit hat, the next step is to block and finish it. Blocking is an important process that helps to shape and enhance the finished look of your hat. Follow these steps to block and finish your hat:
1. Washing or Soaking
Before blocking your hat, it’s essential to clean it. Hand wash your hat using a gentle wool wash or mild detergent, taking care not to agitate or wring it too harshly. Rinse thoroughly to remove any soap residue. Alternatively, you can soak your hat in lukewarm water for about 20 minutes.
2. Removing Excess Water
Gently squeeze out the excess water from your hat without twisting or wringing it. Place it on a clean dry towel and gently roll the towel up to absorb more water. Repeat this process with a second dry towel if necessary.
3. Shaping and Stretching
Lay your hat flat on a blocking mat or a towel, making sure to shape it into the desired size and shape. Use pins to secure the edges and ensure it stays in place. If you want to stretch the brim, gently pull it to the desired width. You can also use a circular object with the desired circumference to shape the crown of the hat.
4. Allowing to Dry
Leave your hat to dry in a well-ventilated area, away from direct sunlight or heat sources. This allows the hat to retain its shape as it dries. It may take up to 24 hours for your hat to completely dry, depending on the yarn and climate conditions.
5. Finishing Details

Once your hat is dry, remove the pins and any blocking aids you used. Trim any loose strands of yarn and weave in any ends to give your hat a polished look. Optionally, you can add a pompom or other embellishments to personalize your hat.
Now your folded brim knit hat is ready to be worn or gifted! Blocking and finishing not only improve the appearance of your hat but also help to maintain its shape over time. Enjoy the warmth and style of your handmade creation!