
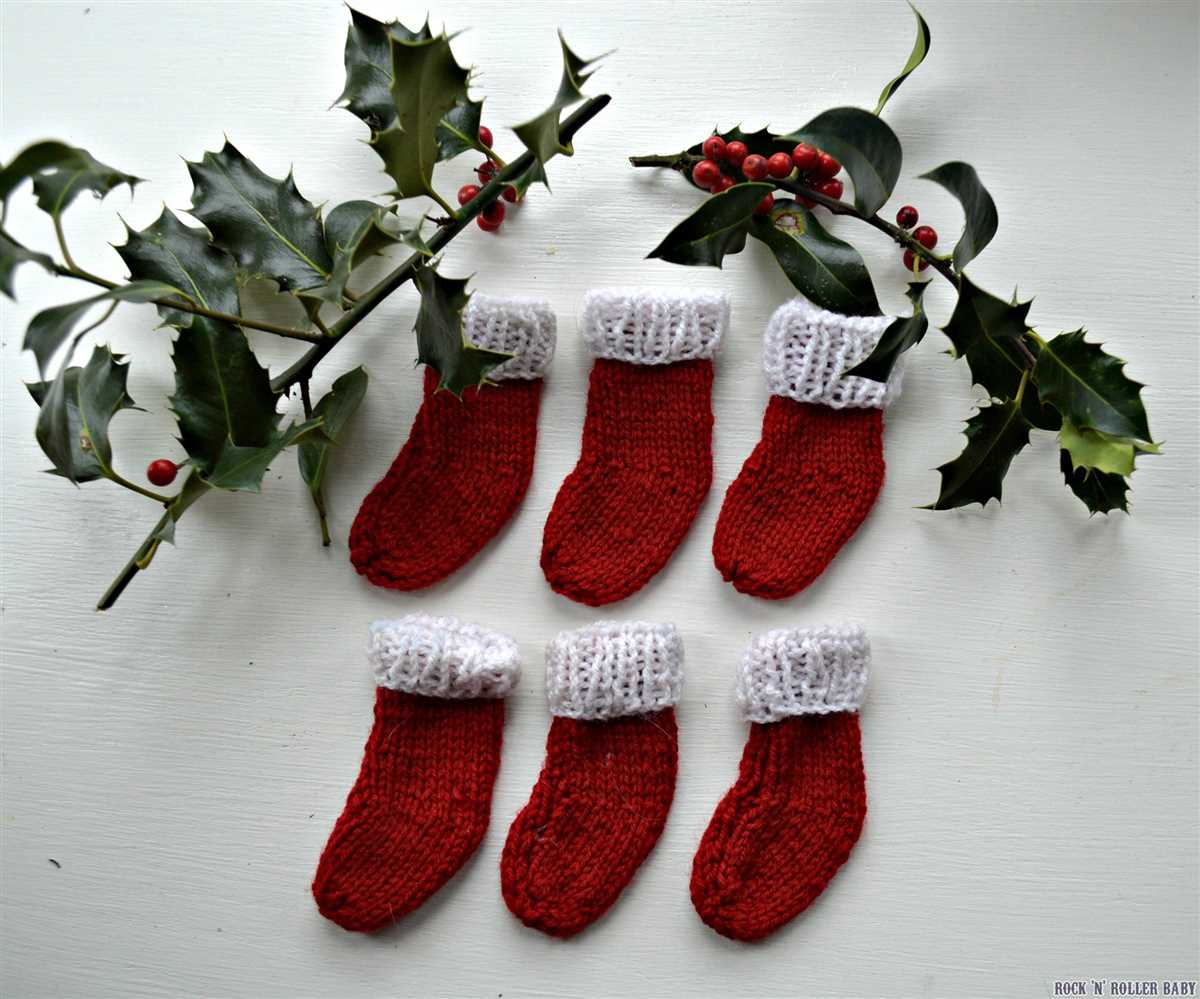
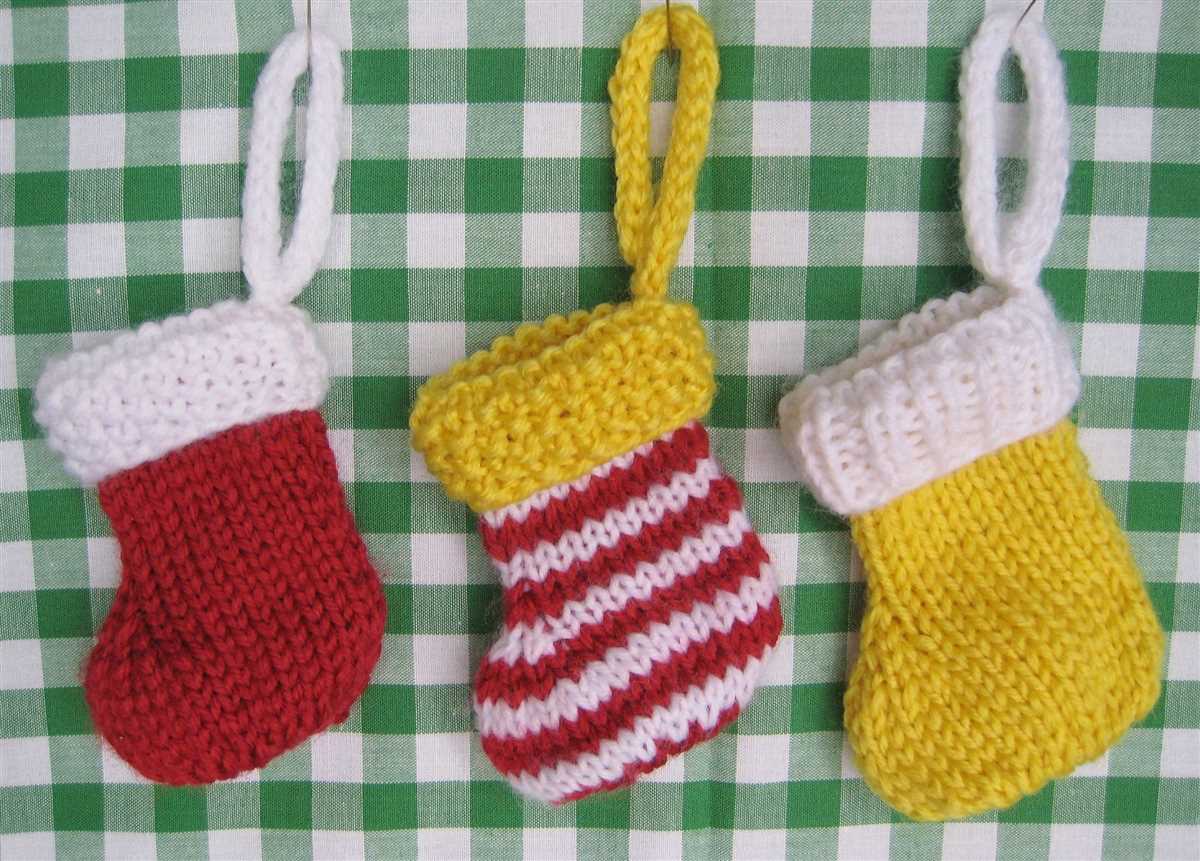
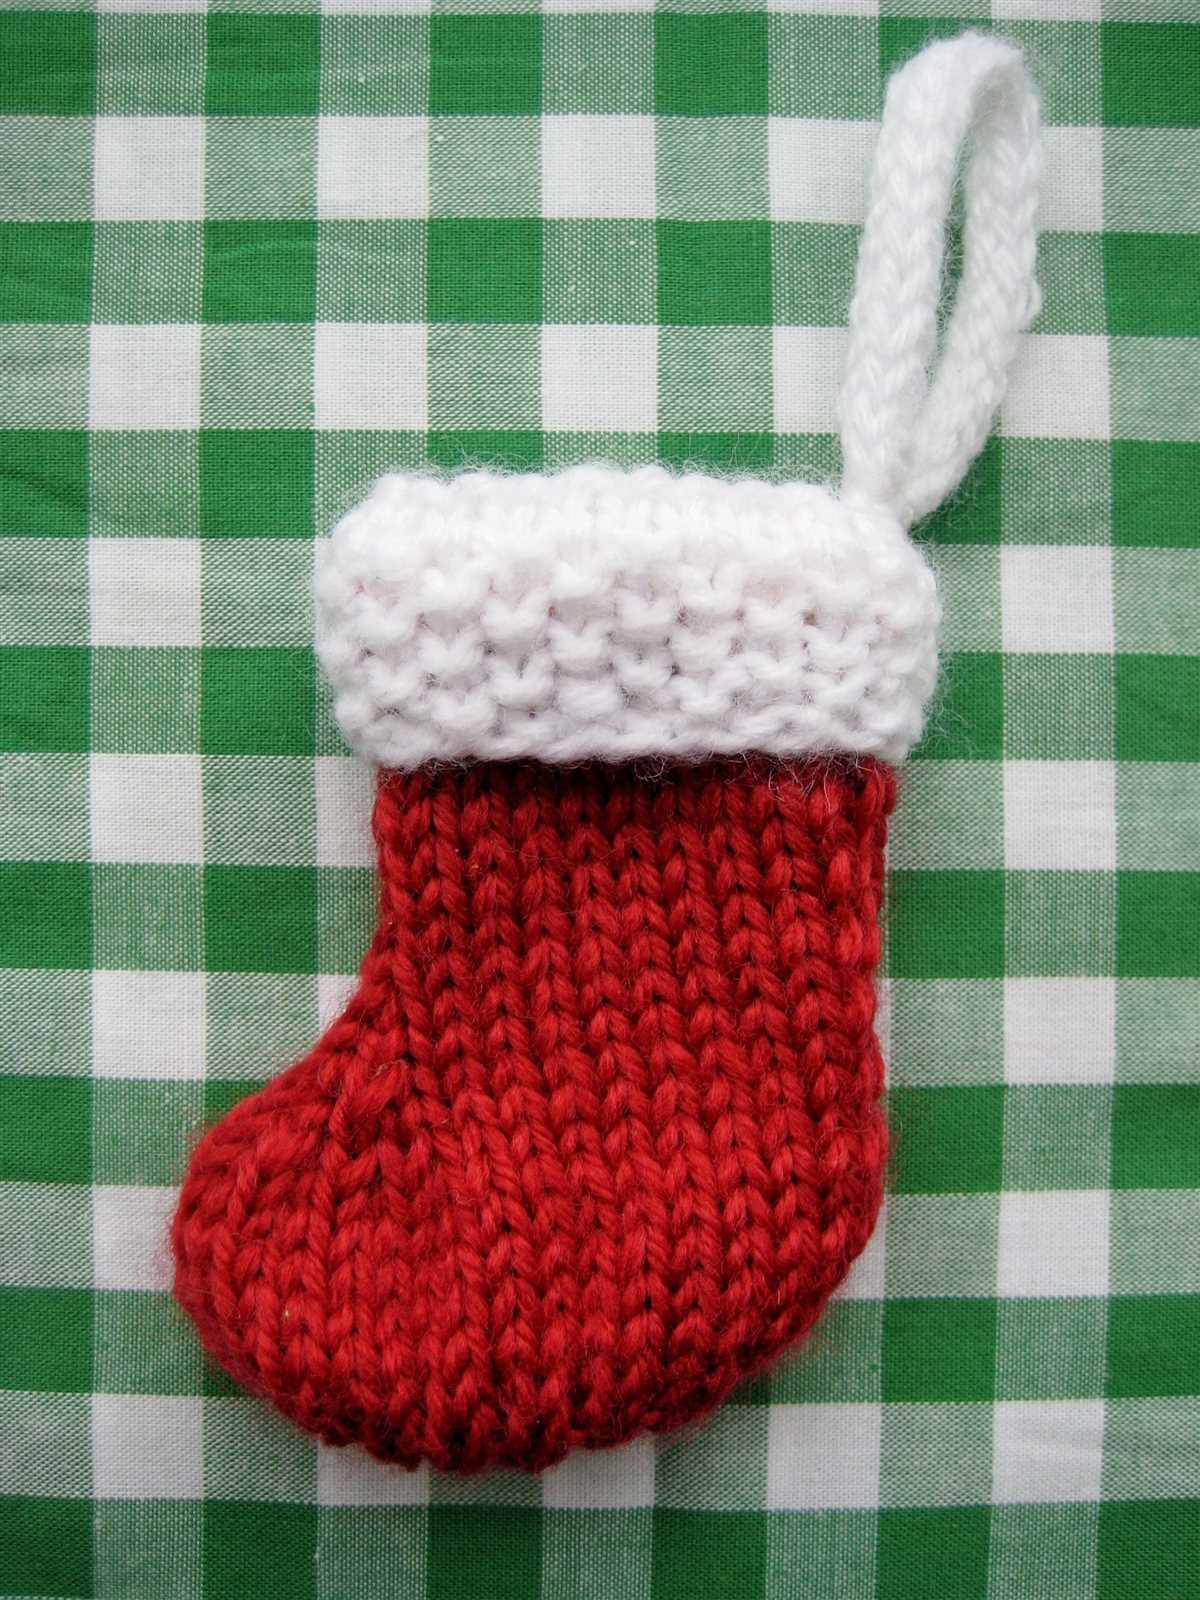
Knitting Christmas stockings is a wonderful holiday tradition that adds a personal touch to your decorations. Whether you’re an experienced knitter or just starting out, this pattern is perfect for creating your own unique stocking. Handmade gifts always have a special charm, and a knitted stocking is no exception. Not only is it a thoughtful gift, but it’s also something that can be cherished and passed down through generations.
One of the great things about this pattern is that it is fully customizable. You can choose your own colors, yarn weight, and even add your own embellishments to make each stocking one-of-a-kind. The pattern is suitable for knitters of all skill levels, with clear instructions and helpful tips along the way.
Knitting a Christmas stocking is also a great way to relax and unwind during the busy holiday season. With its repetitive pattern and simple techniques, knitting can be a meditative process that allows you to slow down and enjoy the moment. Plus, the satisfaction of seeing your work come to life as you create something beautiful is incredibly rewarding.
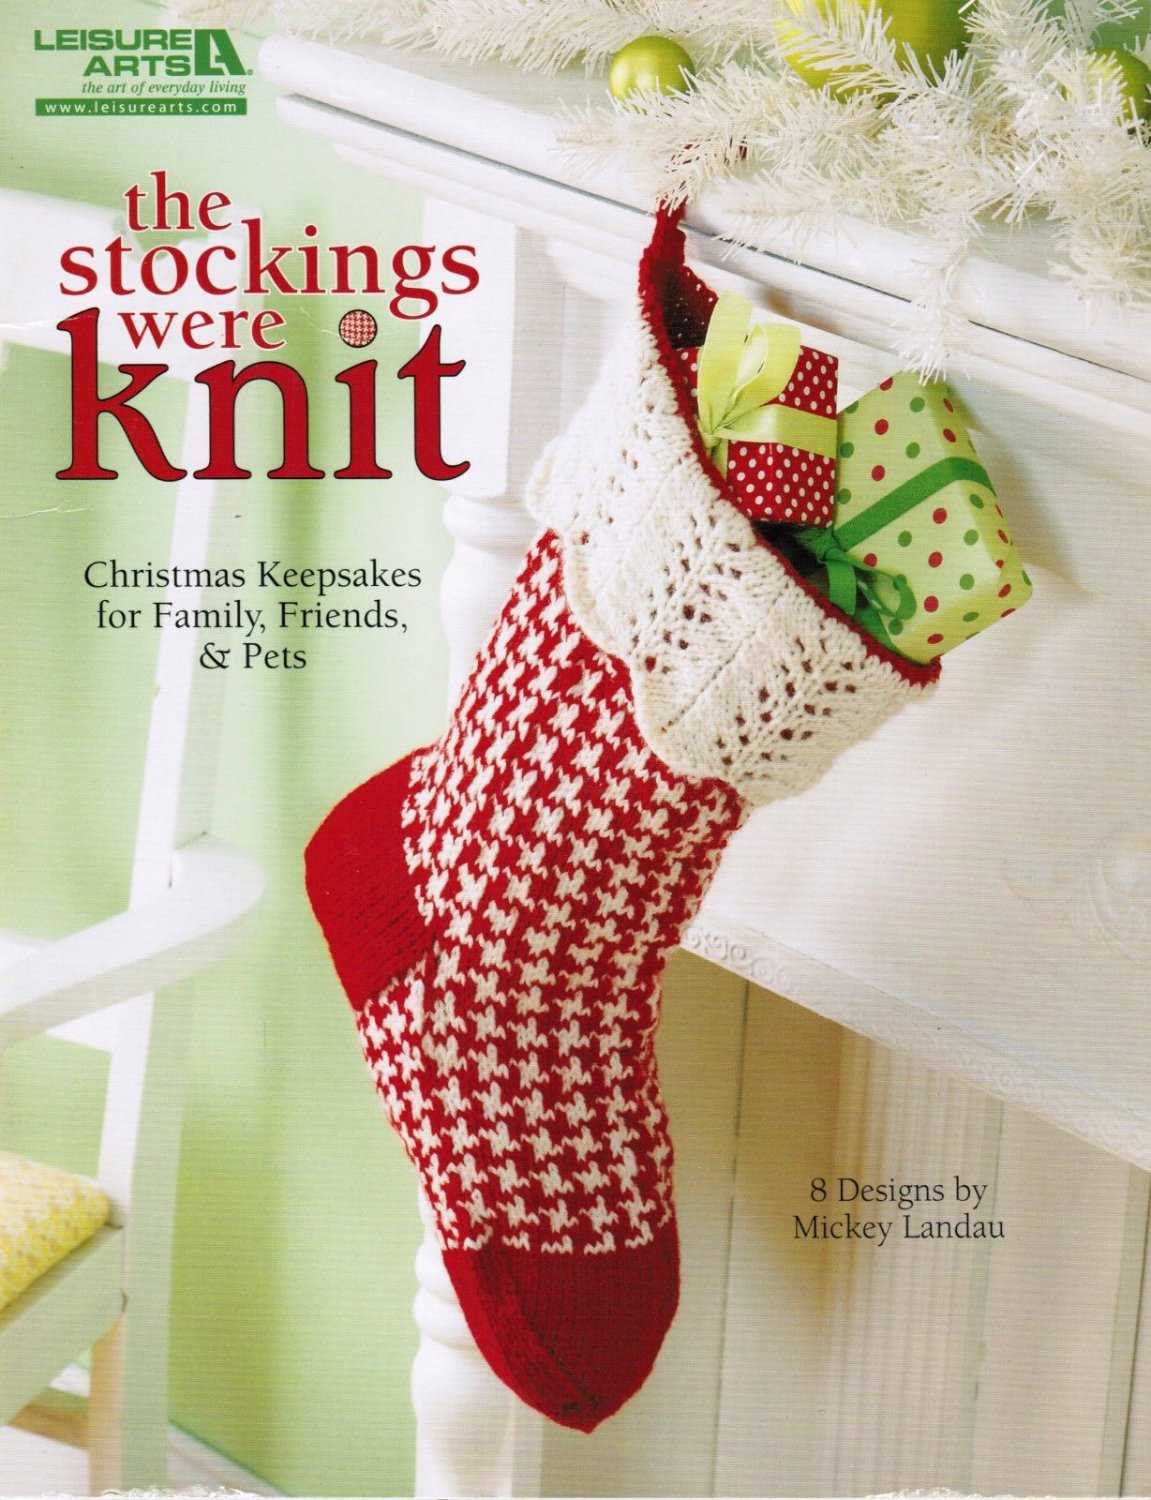
Pattern for Christmas Stocking Knit
A Christmas stocking is an essential part of holiday decor, and knitting your own stocking adds a personal and heartfelt touch to your home. With this pattern for a knitted Christmas stocking, you can create a beautiful and festive stocking that will be cherished for years to come.
To start, gather your materials: knitting needles, yarn in various colors (red, green, white, and any other festive colors you prefer), a tapestry needle, and scissors. You can choose to use either straight or circular needles, depending on your preference.
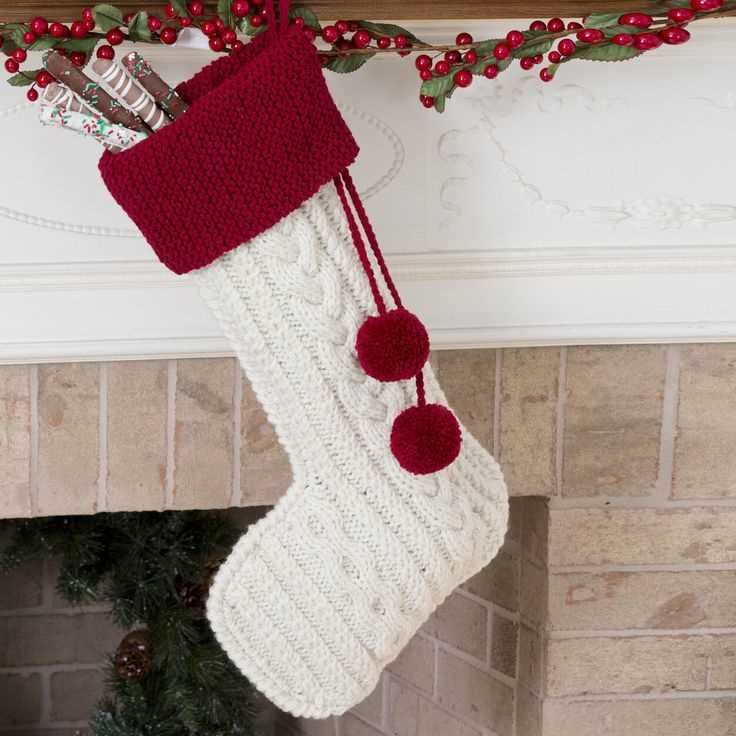
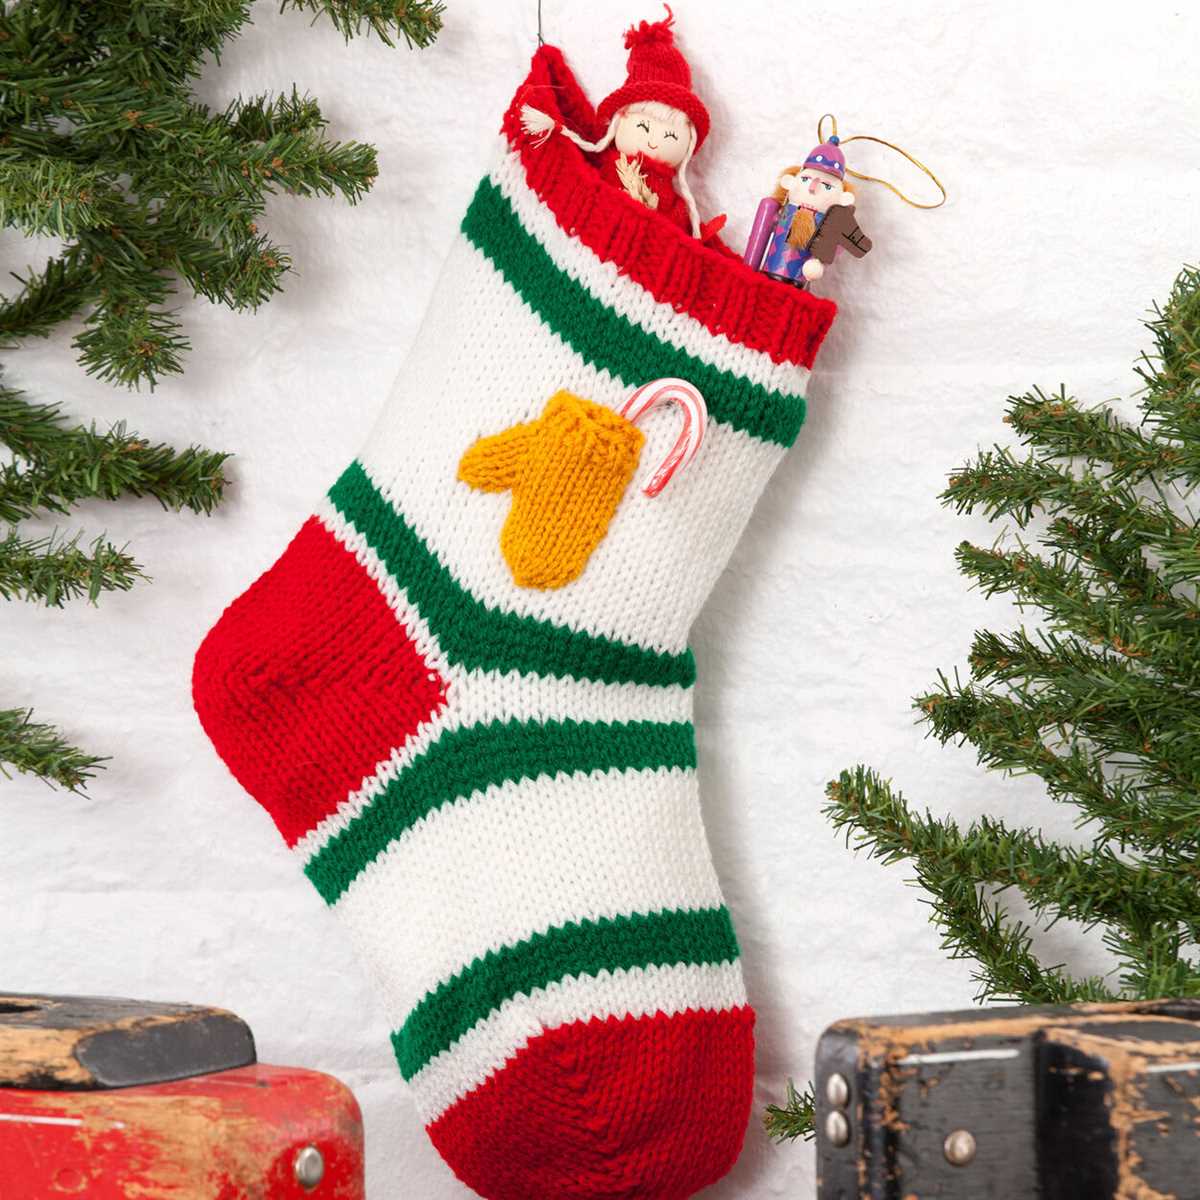
Begin by casting on the desired number of stitches to create the base of the stocking. You can use a basic rib stitch for the cuff of the stocking, knitting a few rows in one color and then switching to a contrasting color to create a striped effect. You can also add a decorative edge, such as a picot or scallop stitch, for an extra touch of elegance.
Next, you’ll knit the main body of the stocking, using a combination of stockinette stitch, garter stitch, and any other stitch patterns you desire. Consider incorporating festive patterns, such as candy canes, snowflakes, or Christmas trees, to add a whimsical touch to your stocking.
Once the main body is complete, you can add any additional embellishments, such as pompoms, tassels, or ribbons, to make your stocking truly unique. Sew in any loose ends and block your stocking to ensure it retains its shape.
- Casting on stitches for the base of the stocking
- Creating a rib stitch cuff in contrasting colors
- Knitting the main body using various stitch patterns
- Add festive patterns and designs
- Adding embellishments and finishing touches
With this pattern for a knitted Christmas stocking, you can create a beautiful and personalized stocking that will become a cherished heirloom in your family. Enjoy the process of knitting and spreading holiday cheer as you display your handmade creation during the festive season.
Choosing the Right Yarn and Needles
When it comes to knitting a Christmas stocking, choosing the right yarn and needles is crucial for achieving the desired result. The yarn and needle sizes can greatly affect the final size and texture of the stocking.
Yarn: Selecting the right yarn for your Christmas stocking is important in ensuring its durability and appearance. It is recommended to choose a yarn that is sturdy and able to withstand wear and tear. Wool and acrylic blends are commonly used for this type of project as they offer both warmth and durability. Additionally, consider the color and pattern of the yarn to complement the holiday theme.
Needles: The needle size will determine the gauge of your knitting and the final size of the stocking. For a thicker and more robust stocking, opt for larger needle sizes. However, if you prefer a more intricate and delicate design, smaller needle sizes will be more suitable. Circular or double-pointed needles are often used for knitting stockings, as they provide enough flexibility to accommodate the stitches without straining the knitter’s hands.
It is worth mentioning that pattern instructions usually suggest the recommended yarn weight and needle size. It is advisable to follow these recommendations to ensure that the finished stocking matches the desired measurements and appearance.
- Choose a sturdy yarn that can withstand wear and tear.
- Consider the color and pattern of the yarn to match the holiday theme.
- Opt for larger needle sizes for a thicker stocking or smaller needle sizes for a more delicate design.
- Circular or double-pointed needles provide flexibility for the stitches.
- Follow the pattern instructions for recommended yarn weight and needle size.
Getting Started: Casting On
When starting to knit a Christmas stocking, one of the first steps is casting on. This is the process of creating the first row of stitches on the knitting needle. There are several methods for casting on, but one of the most common is the long-tail cast on.
To begin the long-tail cast on, you will need to estimate the amount of yarn you will need. This can be done by measuring out a length of yarn that is approximately three times the width of the stocking you want to knit. Once you have measured out the yarn, create a slip knot at one end and place it on one of the knitting needles.
With the slip knot in place, hold the knitting needle in your right hand and the yarn in your left hand. Position both hands so that the working yarn is behind the knitting needle. Then, using your right hand, hold the knitting needle and slip your thumb and index finger between the working yarn and the tail end of the yarn.
With your thumb and index finger positioned between the yarns, twist your hand slightly to create a loop of yarn. Then, bring the knitting needle towards you and insert it from front to back through the loop. Bring the yarn around the back of the knitting needle and then pull it through the loop to create a new loop on the knitting needle.
Continue repeating this process of creating loops until you have cast on the desired number of stitches for your Christmas stocking. Once all the stitches are cast on, you can begin working the first row of your stocking pattern. Remember to keep the tension of your stitches even throughout the casting on process to ensure a neat and tidy edge.
Knitting the Leg
After finishing the cuff of the Christmas stocking, it’s time to move on to knitting the leg. This is the section of the stocking that will hold all the goodies, so it’s important to get the length and width just right.
To start, continue knitting in the round with the main color yarn. You can choose to knit the leg in a simple stockinette stitch for a smooth and even look, or you can add some texture by incorporating different stitch patterns like ribbing or cables.
Remember to periodically try on the stocking as you go to ensure that it’s the desired length. The leg should be long enough to hold plenty of treats, but not so long that it becomes too bulky or unwieldy.
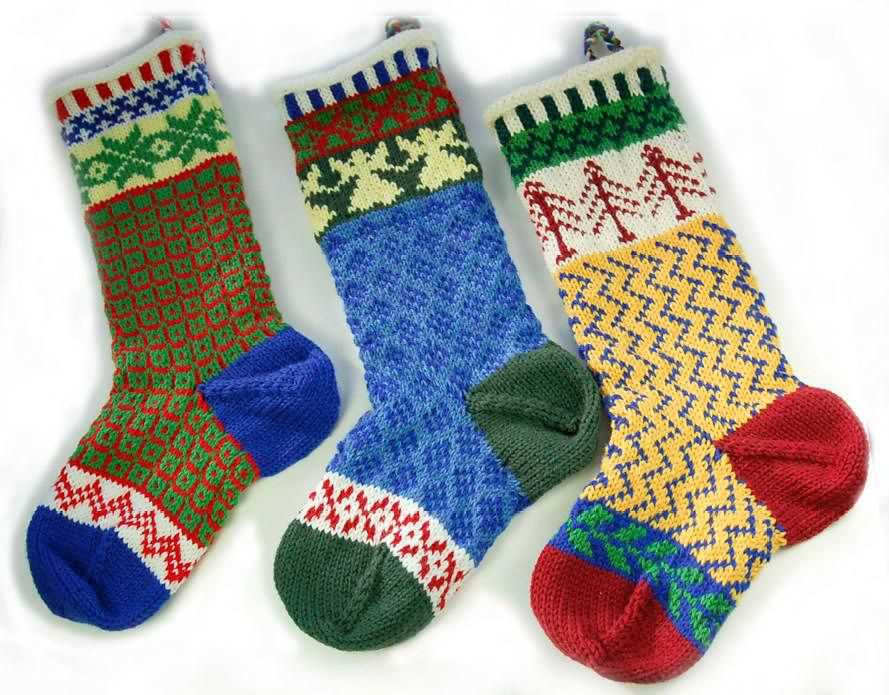
If you want to add some additional design elements to the leg, this is the perfect time to do so. You can create stripes using contrasting colors, or even add in some fair isle or intarsia patterns for a more intricate design.
Once you’ve finished knitting the leg, you can choose to add a decorative heel and toe, or simply continue knitting straight to the toe. The leg is where you have the most freedom to get creative with your knitting, so have fun experimenting with different stitch patterns and designs.
Overall, knitting the leg of the Christmas stocking is an exciting and fun part of the process. It’s a chance to showcase your creativity and make the stocking truly unique. So grab your needles and yarn, and let your imagination run wild as you knit the leg of your Christmas stocking.
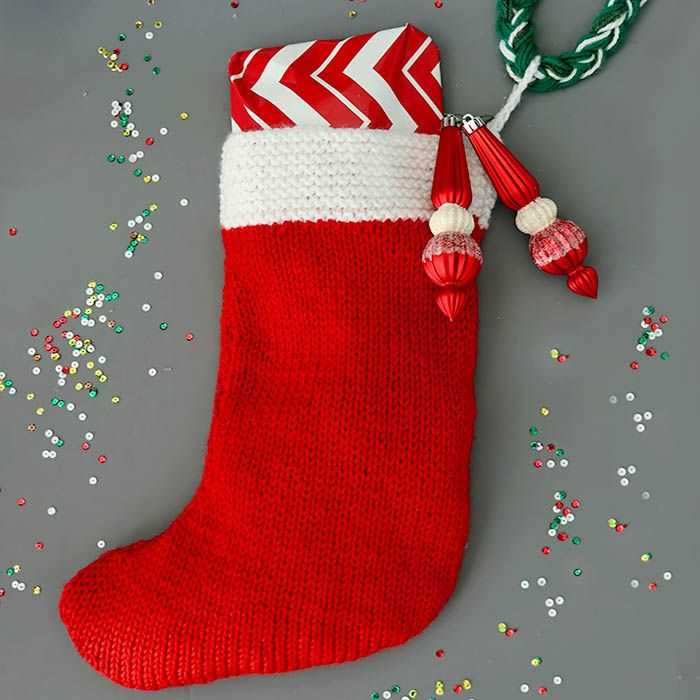
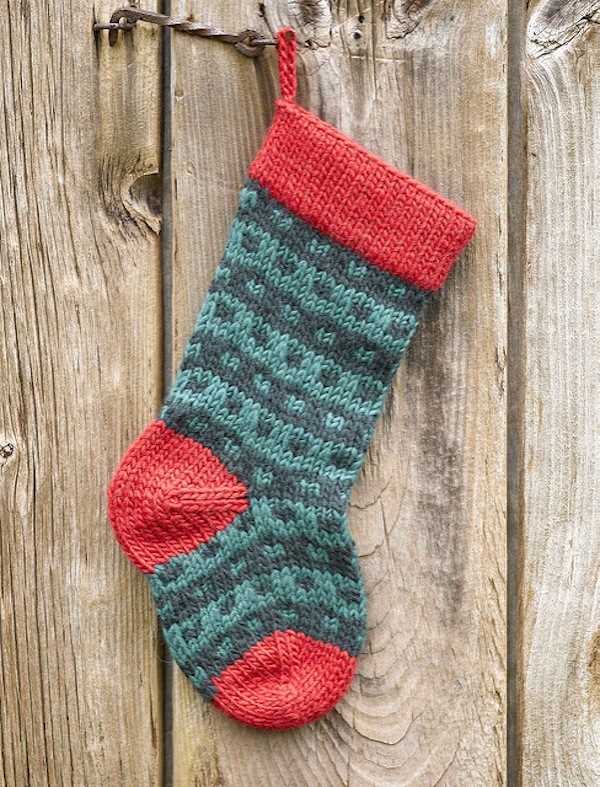
Adding a Ribbed Cuff

One way to add a decorative touch to your knitted Christmas stocking is to incorporate a ribbed cuff. A ribbed cuff can provide visual interest and also help keep the stocking in place when hanging it up. Here is a step-by-step guide on how to add a ribbed cuff to your stocking.
Materials needed:

- Knitting needles
- Yarn in desired color
- Stitch markers
Instructions:
- Start by knitting the body of the stocking using your chosen pattern or stitch.
- Once you have reached the desired length for the body of the stocking, it’s time to add the ribbed cuff.
- Using a smaller needle size, switch to a ribbing stitch pattern such as knit 1, purl 1. This will create the ribbed texture.
- Continue knitting the ribbing stitch pattern for a few rows or until you reach the desired width of the cuff.
- Next, you can add some additional decorative elements to the cuff, such as a contrasting color stripe or a patterned stitch.
- Once you are satisfied with the size and design of the ribbed cuff, bind off your stitches and weave in any loose ends.
- Your Christmas stocking with a ribbed cuff is now complete and ready to be hung!
By adding a ribbed cuff to your knitted Christmas stocking, you can create a unique and personalized decoration for your home during the holiday season. The ribbed texture adds a touch of elegance and can be customized to fit your desired style. Have fun experimenting with different stitch patterns and colors to make your stocking truly one-of-a-kind!
Creating the Heel
One of the important steps in knitting a Christmas stocking is creating the heel. The heel is a crucial part of the stocking, as it provides a comfortable and well-fitting shape. There are various techniques to create the heel, but one common method is the heel flap.
The heel flap is typically knitted back and forth in rows to create a sturdy and durable heel. To start, you knit a certain number of stitches onto one needle, usually half of the total number of stitches on the sock. Then you work in a specific stitch pattern, such as the classic slip stitch pattern, to create a reinforced fabric. This stitch pattern not only adds strength to the heel but also creates a cushion-like effect.
After knitting the heel flap, you move on to shaping the heel. This is typically done by turning the work and working short rows. Short rows involve knitting partway across the row and then turning the work before completing the entire row. This technique creates a rounded shape in the heel area, allowing it to fit snugly around the foot.
Once the heel is shaped, you can continue knitting the rest of the stocking. The heel creates a distinctive feature in the stocking and adds to its overall design. Whether you choose to knit a plain heel or incorporate different stitch patterns, the creation of the heel is an exciting part of the knitting process and contributes to the uniqueness of the finished Christmas stocking.
Knitting the Foot
After completing the cuff of the Christmas stocking, it’s time to move on to knitting the foot. This is the section of the stocking that will cover the bottom of the foot and the toes. The foot is typically worked in stockinette stitch, which creates a smooth and even texture.
To start knitting the foot, you will continue knitting in the round using your chosen needle size and yarn. If you have been following a pattern, it may provide specific instructions for the number of stitches to use for the foot. Otherwise, you can simply continue knitting with the same number of stitches as the cuff.
One important tip for knitting the foot is to try the stocking on periodically as you work to ensure a proper fit. This is especially crucial if you are making the stocking for a specific person. The foot should be snug but not too tight, allowing for comfortable wear. To check the fit, slip the sock onto your foot (or the foot of the intended recipient) after a few inches of knitting. If it feels too loose or too tight, you can adjust the number of stitches accordingly.
As you continue knitting the foot, you will work in stockinette stitch, knitting all the stitches in the round. This creates a smooth and seamless texture. You can work the foot for the desired length, typically until it reaches the base of the toes. If you want to add some visual interest, you can incorporate simple stitch patterns or colorwork into the foot section.
Once you have completed the foot section, you can move on to knitting the toe or any other finishing details specified in your pattern. The foot is an important part of creating a well-fitting and cozy Christmas stocking, so take your time to ensure the perfect fit and enjoy the process of knitting this festive project.
Shaping the Toe
The toe is an important part of the Christmas stocking as it gives the stocking its characteristic shape. There are several different ways to shape the toe, depending on the desired look and size of the stocking. One common method is to decrease the stitches gradually as you knit towards the tip of the toe. This creates a tapered shape that allows the stocking to fit snugly around the foot.
To shape the toe, you can start by knitting a set number of stitches for the foot portion of the stocking. Once you reach the desired length, you can then begin decreasing the stitches. This can be done by knitting two stitches together at regular intervals, usually every other row or every few rows. The exact number of decreases and the spacing between them will depend on the size of the stocking and the desired shape.
Another option for shaping the toe is to use short rows. With short rows, you knit a certain number of stitches and then turn your work before reaching the end of the row. This creates extra fabric in the middle of the row, which can be used to form the shape of the toe. By repeating this process several times, you can gradually shape the toe without having to decrease any stitches.
No matter which method you choose, it is important to follow the pattern instructions carefully and ensure that you are shaping the toe correctly. Pay attention to any specific measurements or stitch counts that are given in the pattern, as these will help you achieve the desired shape. Remember that the toe is one of the most visible parts of the stocking, so taking the time to shape it properly will result in a more polished finished product.
Joining the Seam
When it comes to knitting a Christmas stocking, joining the seam is an important step to ensure a clean and polished finish. There are a few techniques you can use to join the seam, depending on your preferences and skill level. One common method is the mattress stitch, which creates an invisible seam by weaving the two edges together.
To begin, lay the stocking flat with the right sides facing out and the seam edges close together. Thread a tapestry needle with matching yarn and insert it from the back through the first stitch on one side. Then, catch a stitch on the opposite side, making sure to keep the tension even.
Another technique you can use is to crochet the seam together. This creates a visible seam, but can add a decorative touch to your stocking. To do this, start by single crocheting through the corresponding stitches on both sides of the seam. Repeat this process until the entire seam is joined, and then fasten off your yarn.
If you prefer a more traditional look, you can also use a whip stitch to join the seam. This method involves sewing through both edges of the stocking with a needle and thread, creating a visible seam. Make sure to keep your stitches neat and even to maintain a professional finish.
Once you have finished joining the seam, give your stocking a final inspection to ensure that all ends are secured and that there are no loose stitches. This will help to prevent any unraveling or fraying. With a strong and secure seam, your knitted Christmas stocking will be ready to be filled with treats and hung by the chimney with care.
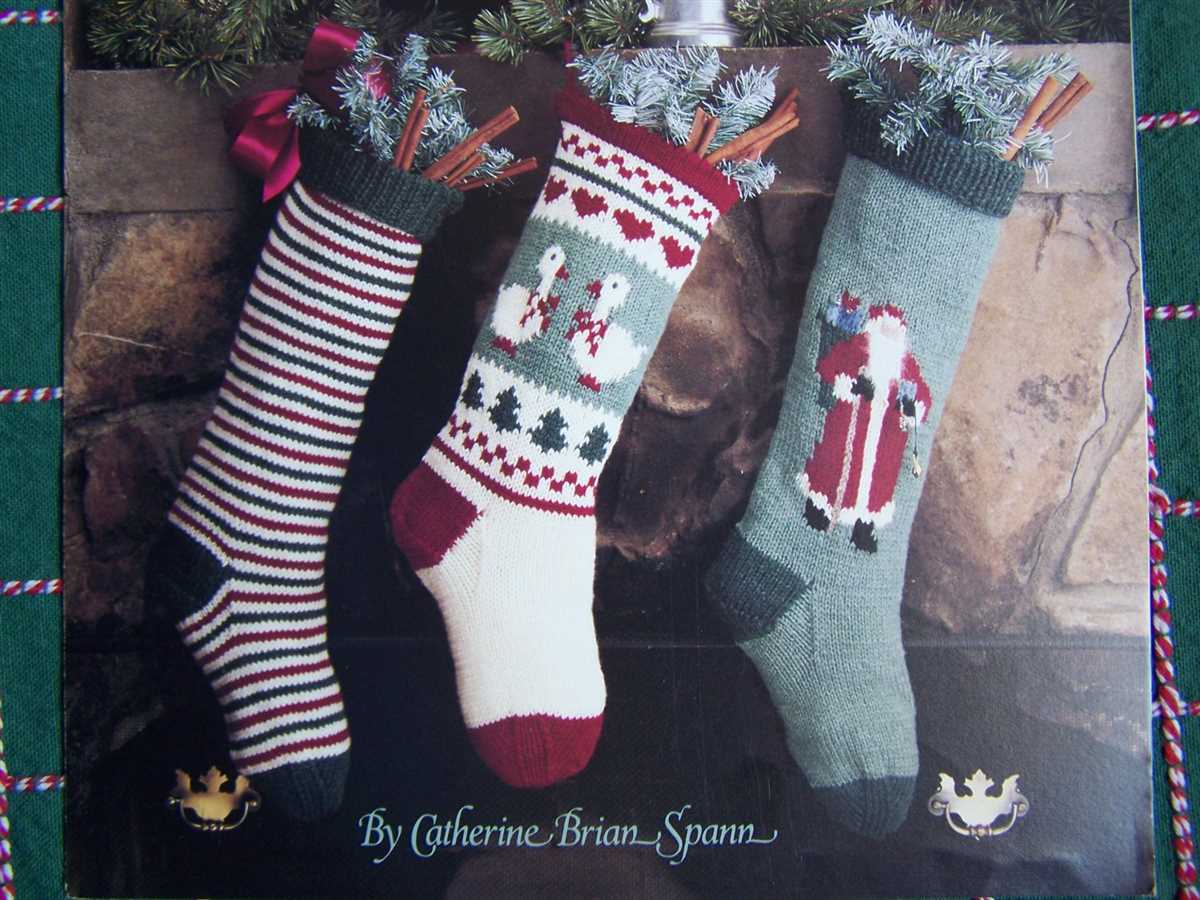
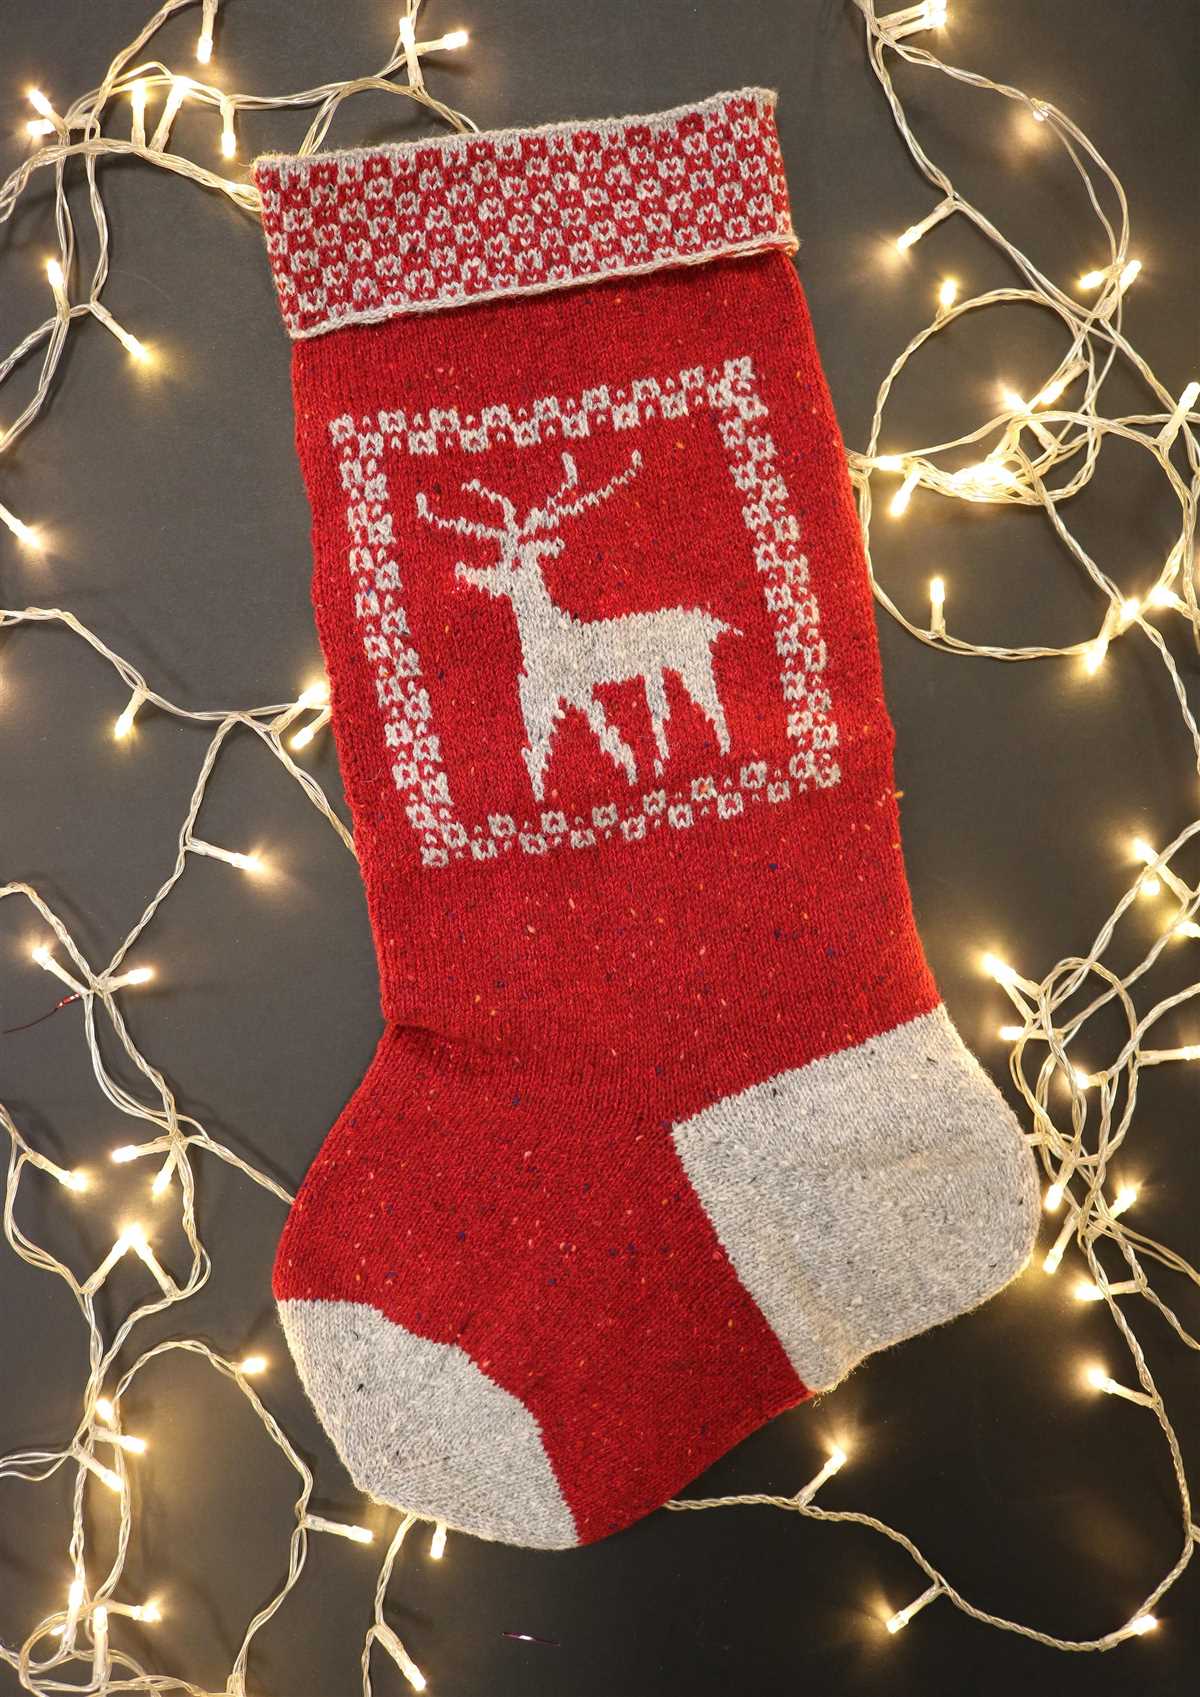
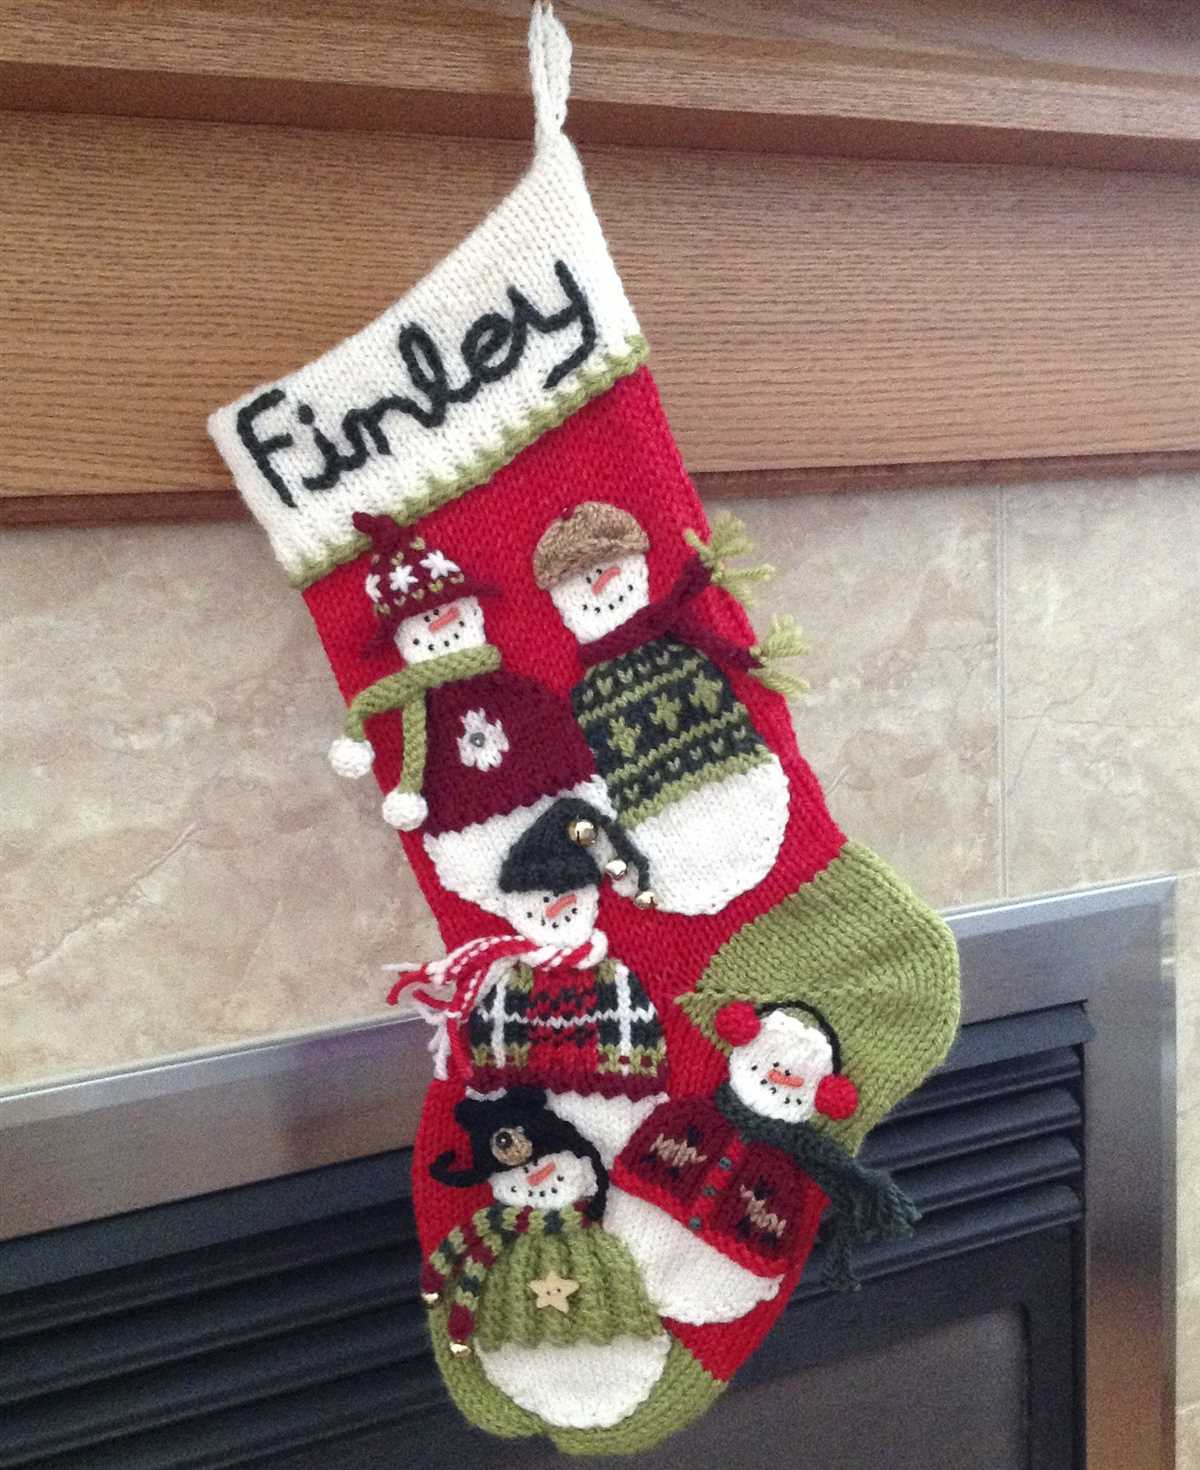
Adding Festive Designs

The holiday season is a time for joy and celebration, and what better way to express your holiday spirit than by adding festive designs to your Christmas stockings? Whether you’re a seasoned knitter or just starting out, there are plenty of patterns and ideas to choose from that will make your stockings truly stand out.
One popular way to add festive designs to your stockings is by incorporating traditional holiday motifs. Think snowflakes, reindeer, and Christmas trees. These classic symbols can be easily knit into your stockings using different stitch patterns and colorwork techniques. For a subtle touch, you can opt for a single motif on each stocking, while more adventurous knitters can create intricate designs that cover the entire stocking.
If you prefer a more personalized touch, consider adding the initials or names of your loved ones to the stockings. This can be done using duplicate stitch, which involves embroidering the desired letters onto the knit fabric. Alternatively, you can knit intarsia letters directly into the stocking for a seamless and professional look.
For those looking to add a bit of sparkle, consider incorporating metallic yarns or beads into your designs. This can be a great way to make your stockings shine and catch the light, adding an extra festive touch to your holiday decor. Just be sure to choose yarns and beads that are easily washable, as stockings often need to be cleaned after the holiday season.
Whatever design you choose, adding festive elements to your Christmas stockings is a fun and creative way to make them truly special. Whether you’re knitting stockings for your own family or as gifts for loved ones, these unique designs will surely bring joy and cheer to the holiday season.
Blocking and Finishing
Blocking and finishing are important steps in completing your knitted Christmas stocking. Blocking allows you to shape the stocking and give it a neat appearance, while finishing provides the final touches and ensures that all loose ends are securely woven in.
To block your stocking, you will need to soak it in water and gently squeeze out any excess moisture. Then, lay it flat on a clean towel and shape it into the desired size and form. You can use pins to hold the stocking in place if needed. Allow it to dry completely before proceeding with the finishing.
Finishing involves several steps, starting with weaving in any loose ends. This can be done using a tapestry needle and carefully threading the yarn through the stitches on the backside of the stocking. Be sure to weave in the ends securely to prevent them from coming undone.
Once all the ends have been woven in, you can focus on adding any decorative elements or embellishments to your stocking. This could include attaching pompoms, ribbons, or buttons, or even adding a personalized name tag or embroidery. Use your creativity to make your stocking unique and festive!
Finally, give your stocking a final inspection to ensure that all seams are secure and there are no loose threads. Trim any excess yarn if necessary. Your blocked and finished Christmas stocking is now ready to be hung and filled with holiday goodies!
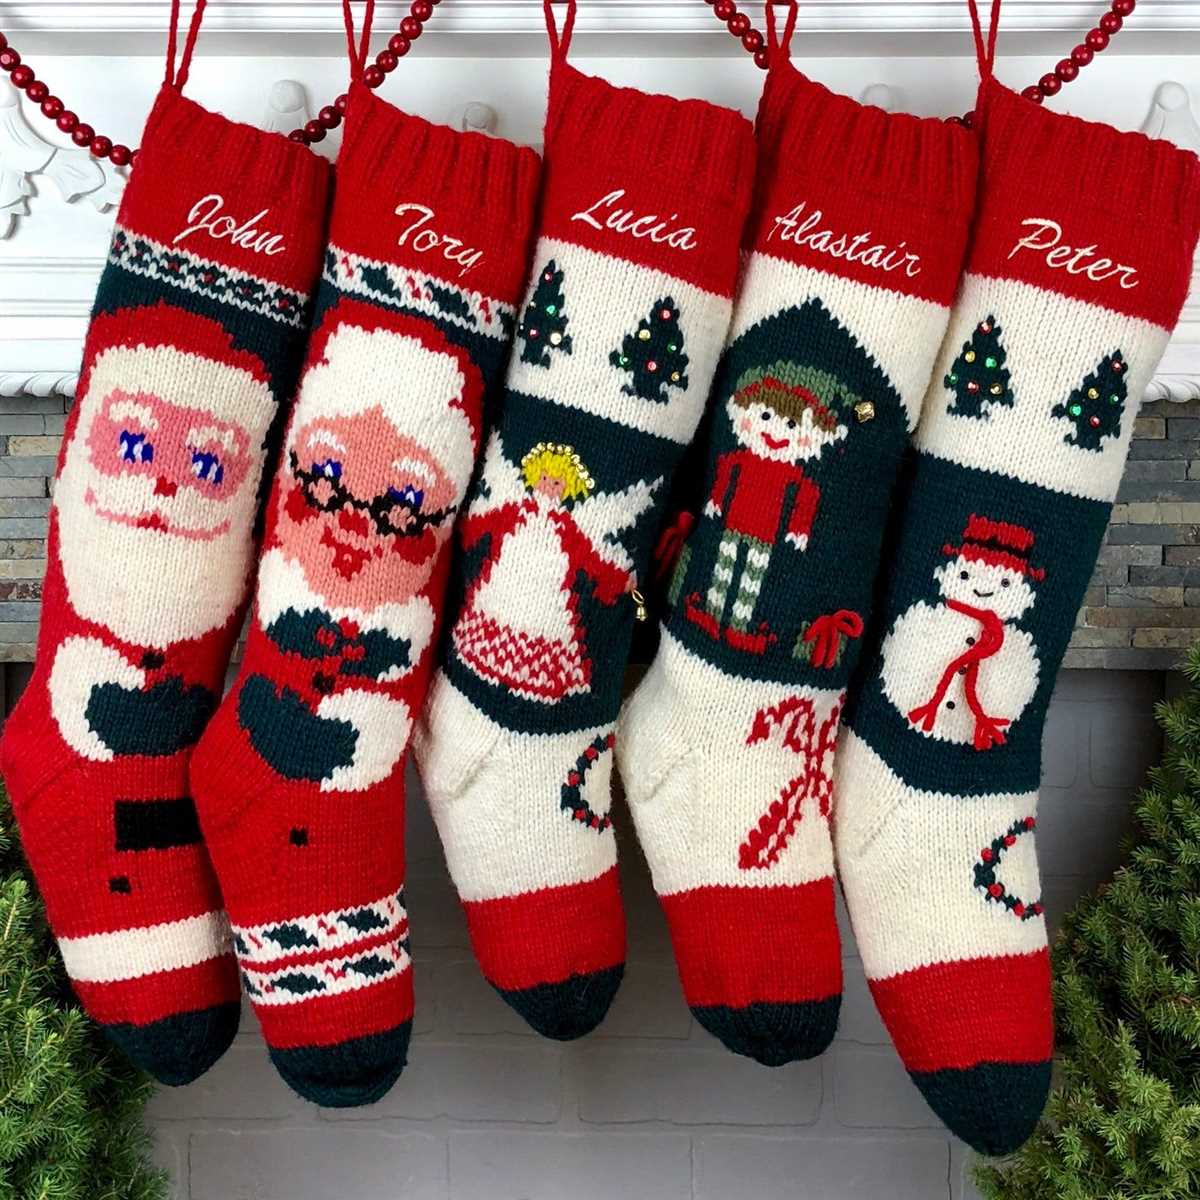
Personalizing Your Stocking
When it comes to Christmas stockings, there are countless ways to make them unique and personal. Adding a personal touch to your stocking can make it even more special and meaningful, whether you are making it for yourself or as a gift for someone else. Here are some ideas for personalizing your stocking:
Add a Monogram or Initials
One of the easiest ways to personalize a stocking is by adding a monogram or initials. This can be done by embroidering the letters onto the stocking using colored thread, or by using iron-on letters or patches. You can choose to add just one initial, or the full name of the person the stocking belongs to. It’s a simple and elegant way to add a personal touch.
Embroider Names or Special Messages
Another way to personalize your stocking is by embroidering names or special messages onto it. This can be done using different fonts and thread colors to create a unique and personalized design. You can choose to embroider the name of the person the stocking belongs to, or a special message such as “Merry Christmas” or “Love, Grandma”. It’s a great way to make the stocking truly one-of-a-kind.
Add Decorative Accessories
In addition to adding personalization through embroidery or monograms, you can also personalize your stocking by adding decorative accessories. This can include things like ribbons, bows, buttons, or sequins that reflect the personality or interests of the person the stocking is for. For example, if the person loves sports, you can add small sports-themed accessories to the stocking. It’s a fun and creative way to make the stocking unique.
Choose Unique Colors or Patterns
Finally, you can personalize your stocking by choosing unique colors or patterns. Instead of traditional red and green, you can opt for different color combinations that reflect the person’s favorite colors or match their home decor. You can also choose patterns that are meaningful or significant to the person, such as their favorite animal or holiday motif. It’s a subtle but effective way to personalize the stocking.
Remember, the most important thing when personalizing your stocking is to have fun and let your creativity shine. Whether you choose to add a monogram, embroidery, accessories, or unique colors and patterns, the result will be a stocking that is truly special and meaningful.
Displaying and Gifting Your Knit Stocking
After putting so much time and effort into knitting your Christmas stocking, it’s important to display and gift it in a way that showcases your hard work and makes the recipient feel special. Here are a few ideas on how to best display and gift your knit stocking:
Displaying
1. Fireplace Mantel: The traditional and classic way to display a knit stocking is by hanging it on the fireplace mantel. This allows everyone to easily see and admire your beautiful knitting skills. You can use decorative hooks or stockings hangers to hang the stocking.
2. Staircase Banister: If you don’t have a fireplace or want to add more holiday cheer throughout your home, consider hanging the knit stocking on your staircase banister. This creates a festive and inviting atmosphere as people enter your home.
3. Wall Display: Get creative and make a unique wall display for your knit stocking. You can hang it on a decorative branch, create a collage with other holiday decorations, or even frame it as a piece of art.
Gifting

1. Personalize It: Make the gift extra special by personalizing the knit stocking. You can embroider the recipient’s name or add other personal touches like their favorite colors or patterns. This shows that you put thought and care into the gift.
2. Fill It with Goodies: Once the knit stocking is personalized, fill it with small gifts or treats. Consider including things like cozy socks, homemade cookies, a small ornament, or even a handwritten note. This makes the gift even more exciting and thoughtful.
3. Gift Wrap: If you want to keep the stocking a surprise, consider wrapping it in festive gift wrap. You can use wrapping paper with holiday-themed designs or opt for a solid color and add a big bow for an elegant touch.
By following these display and gifting ideas, you can ensure that your knit stocking is showcased beautifully and becomes a cherished holiday gift. Whether it’s hanging on the fireplace or being unwrapped with anticipation, your knitting skills will be admired and appreciated.