
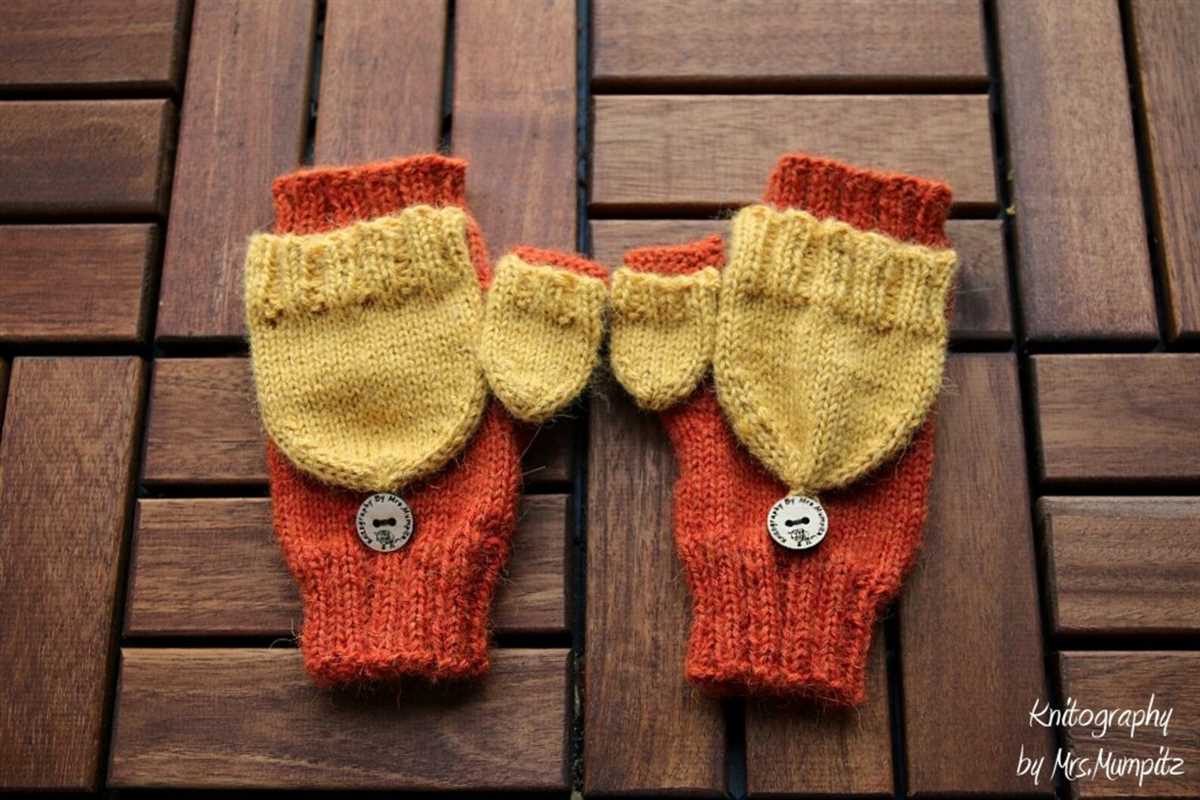
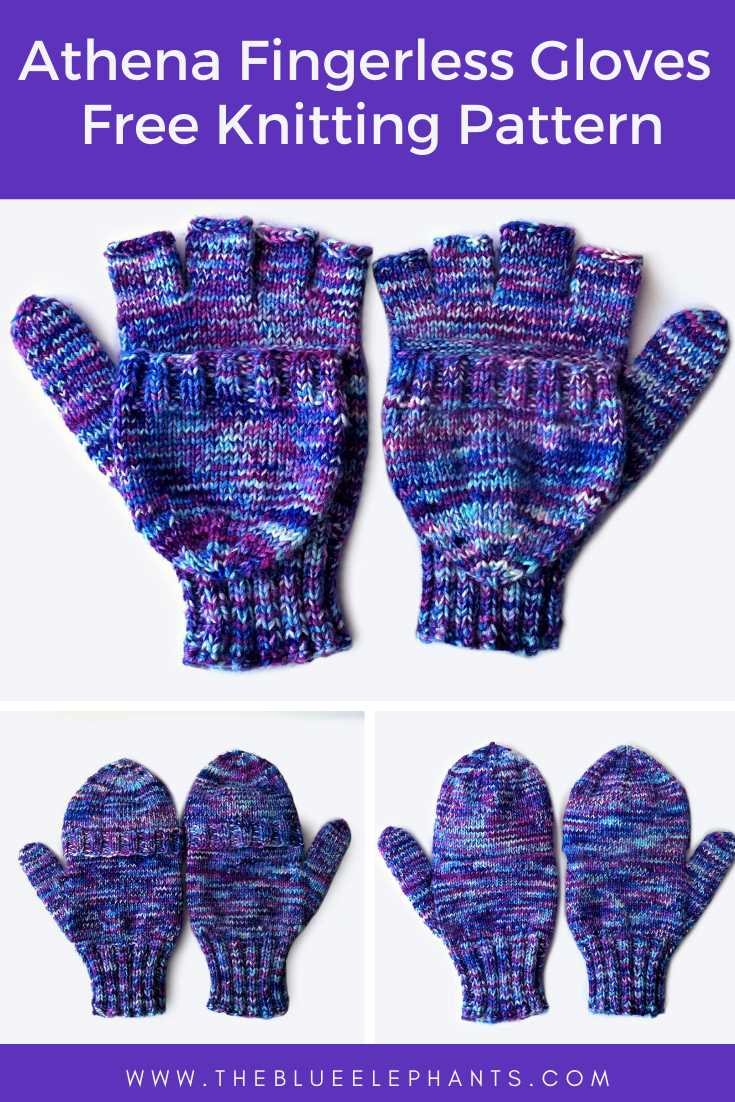
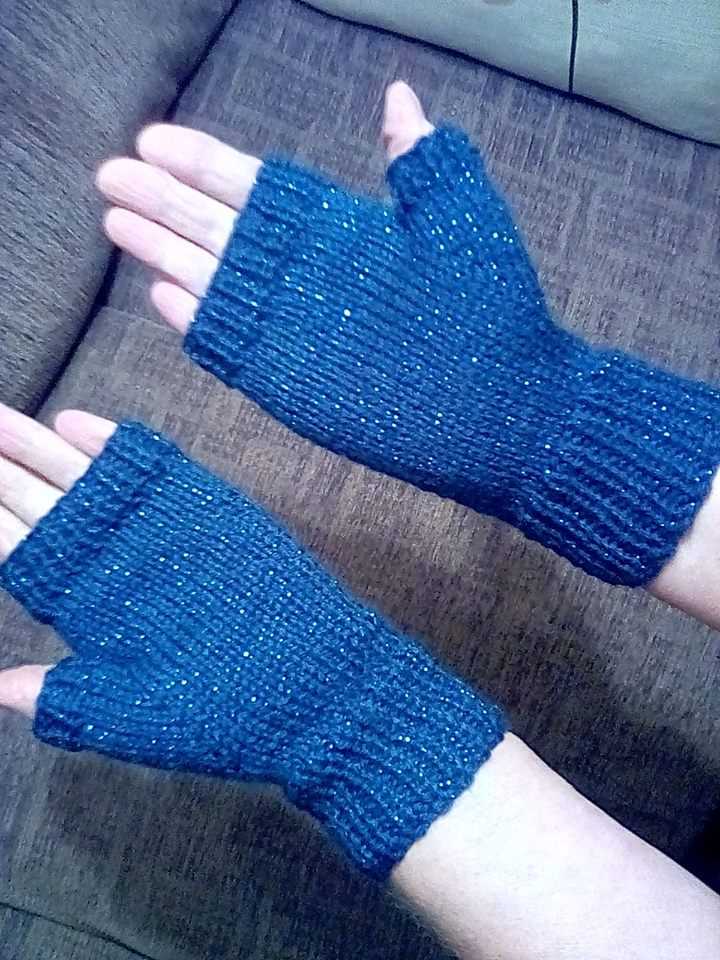
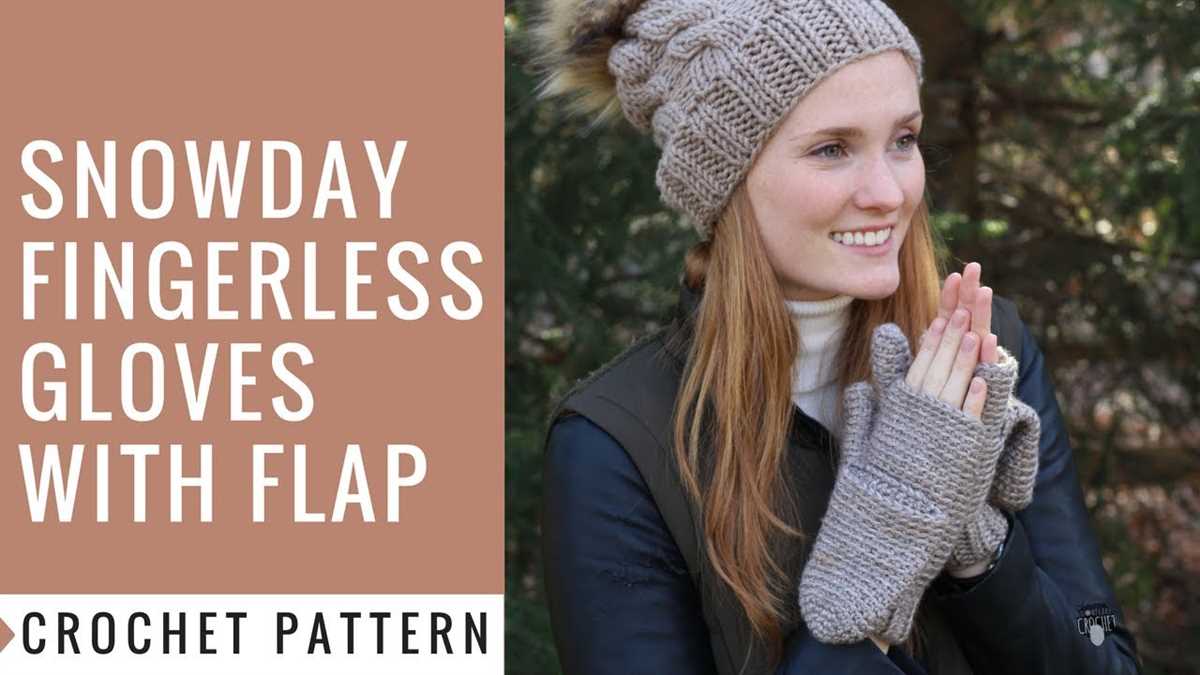
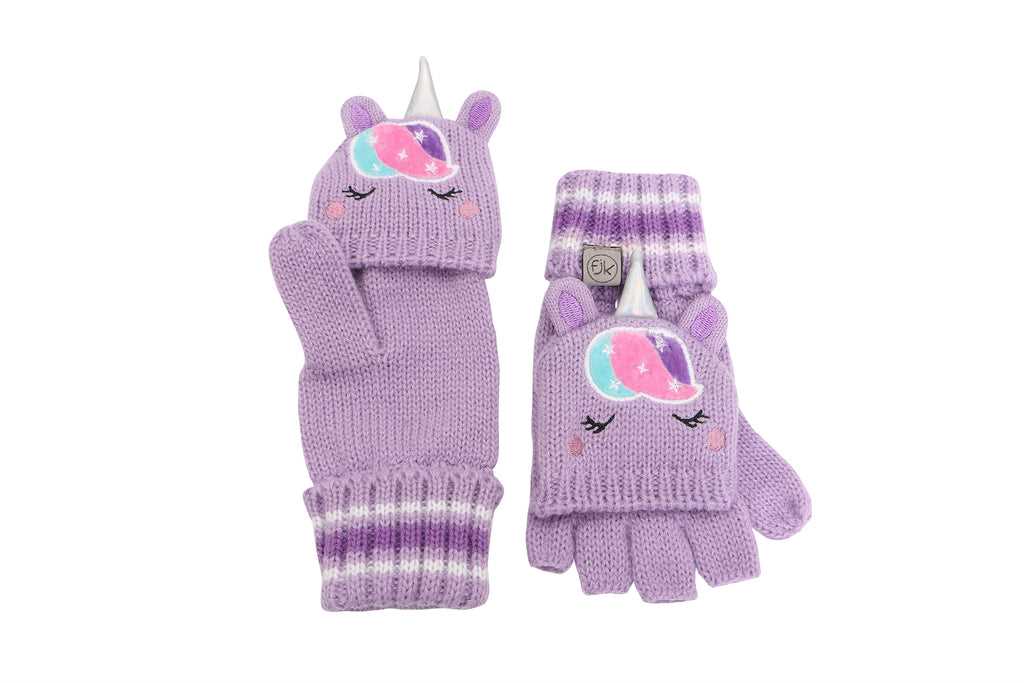
Knitting is a wonderful hobby that allows us to create our own warm and cozy accessories for winter. Fingerless mittens with a flap are a stylish and practical item that can be easily knitted by both beginners and advanced knitters. These mittens keep your hands warm while still allowing you to use your fingers freely – perfect for texting, typing, or any activities that require finger dexterity.
This knitting pattern is versatile and can be customized to your liking. You can choose different yarn colors and textures to match your personal style. The flap adds an extra layer of warmth for those extra cold days, and it can be easily folded back when you need to use your fingers.
Whether you’re knitting these fingerless mittens with a flap for yourself or as a gift for a friend, this pattern is a great choice. The clear and detailed instructions will guide you through each step, making it a fun and rewarding knitting project.
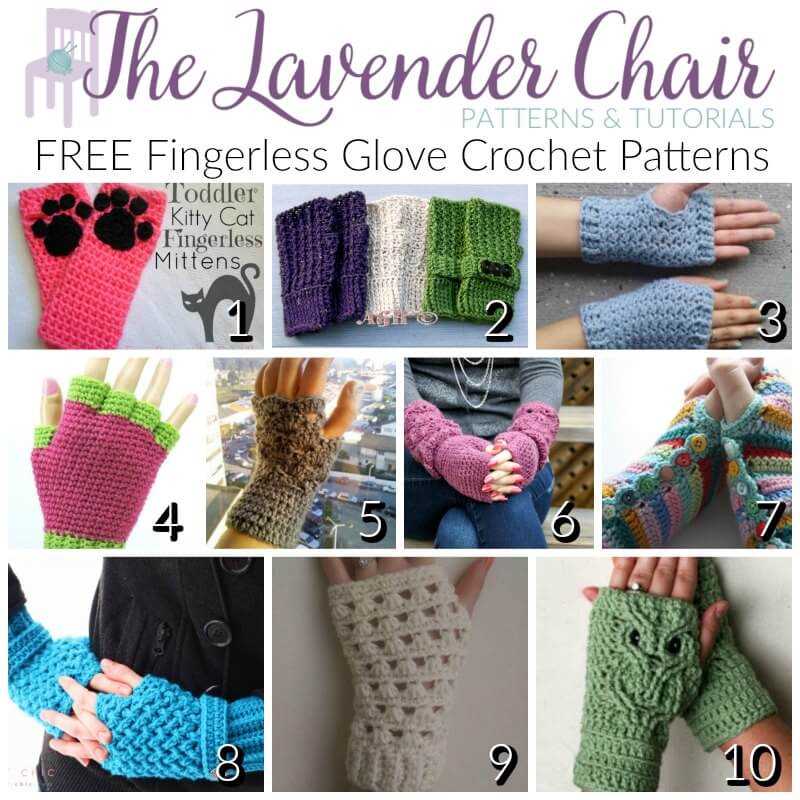
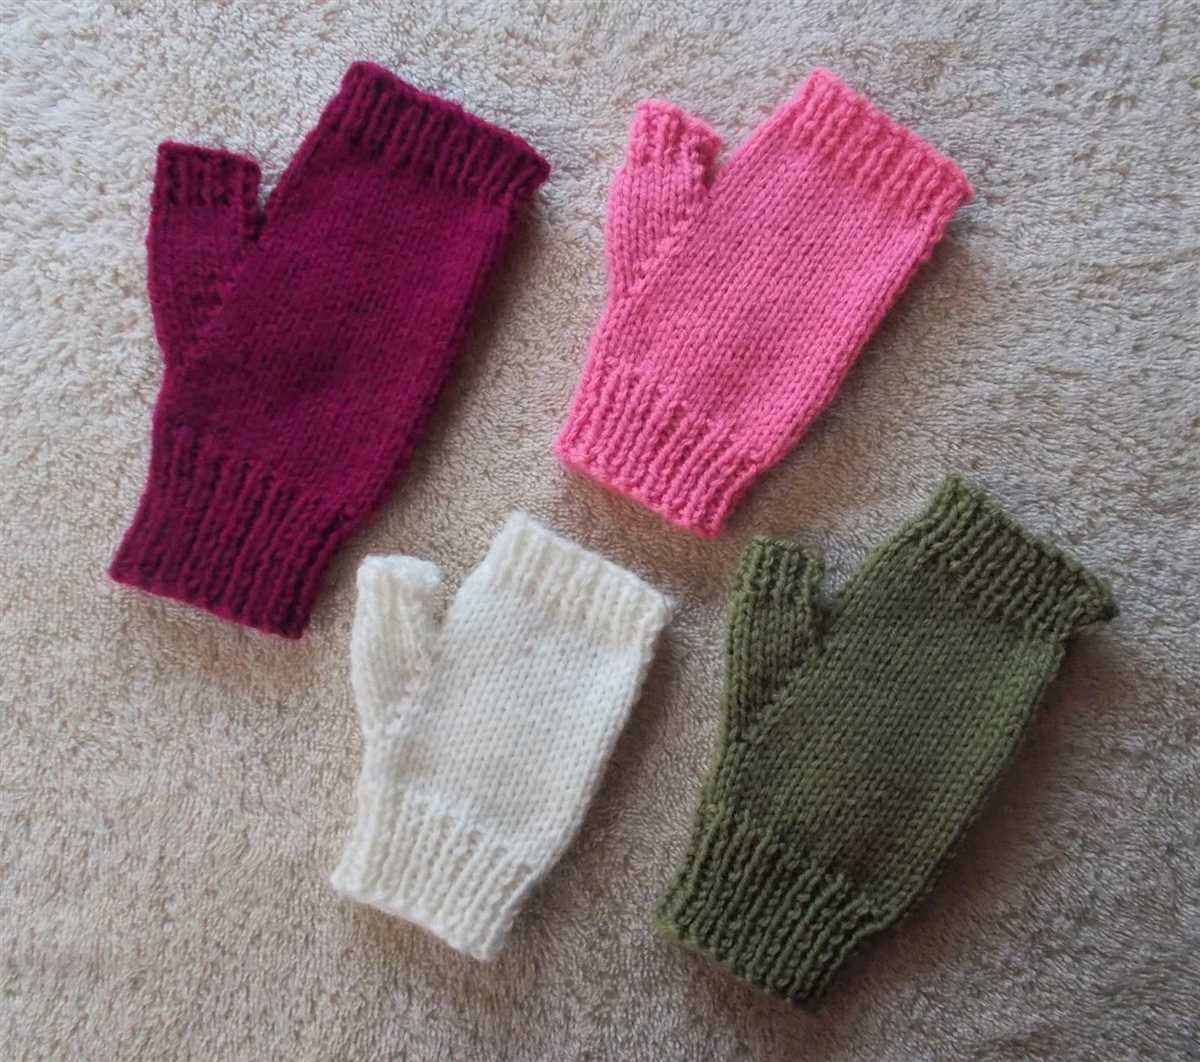
Fingerless Mittens with Flap Knitting Pattern
Fingerless mittens with flap are a practical and stylish accessory that allows you to keep your hands warm while still being able to use your fingers when needed. This knitting pattern is a great project for beginners who want to try their hand at making mittens. It involves basic knitting techniques such as casting on, knitting, purling, and decreasing, making it a manageable project even for those who are new to knitting.
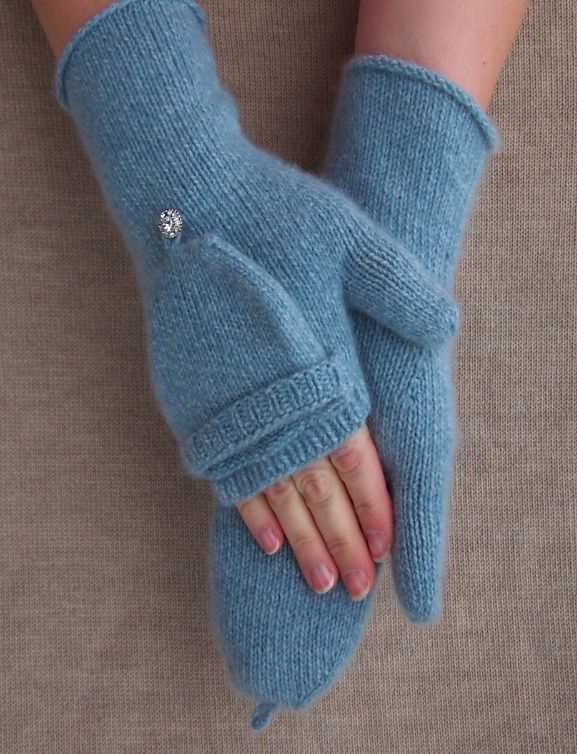
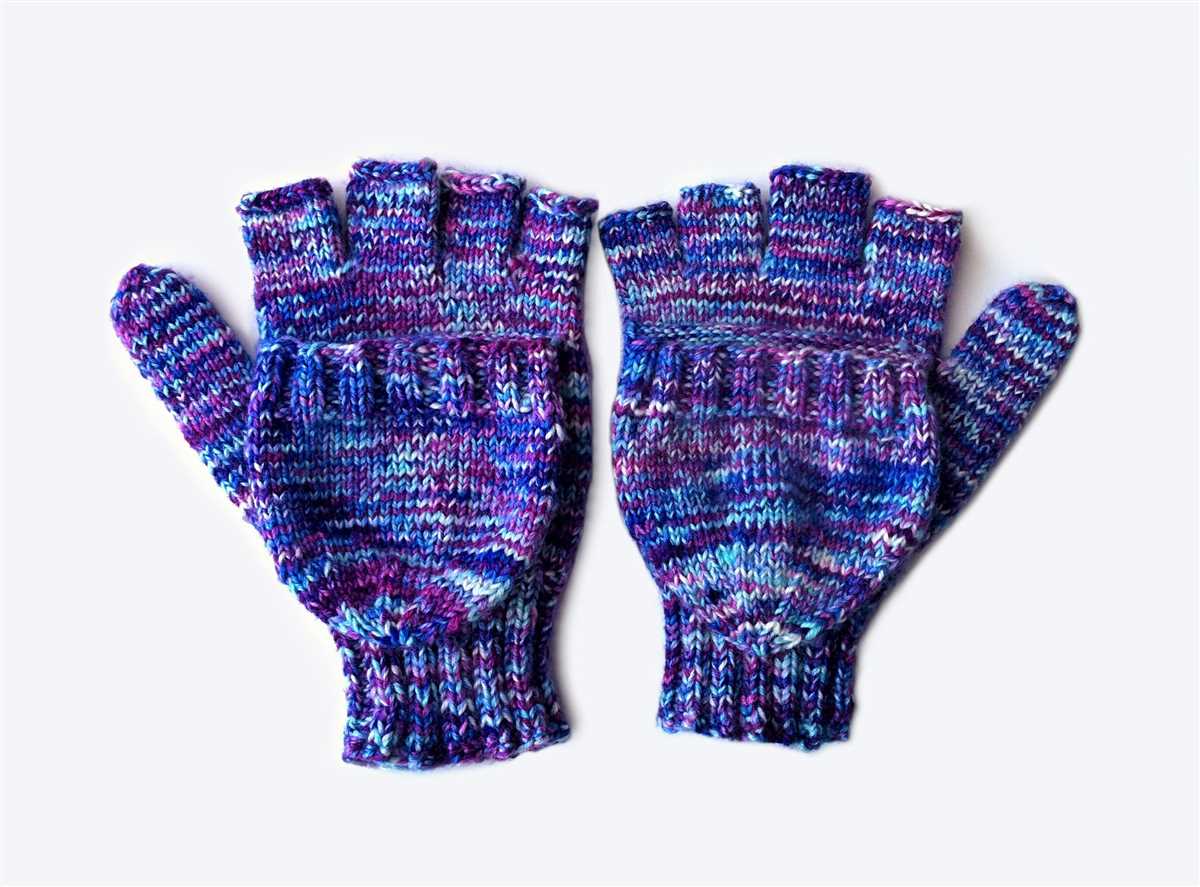
To make these fingerless mittens with flap, you will need a set of double-pointed knitting needles in the appropriate size for your yarn, as well as a skein of yarn in the color of your choice. The pattern uses a simple rib stitch for the cuff, which gives the mittens a snug and comfortable fit. The flap is created by knitting a rectangle that is then sewn onto the back of the hand, allowing for easy access to the fingers when the flap is flipped open.
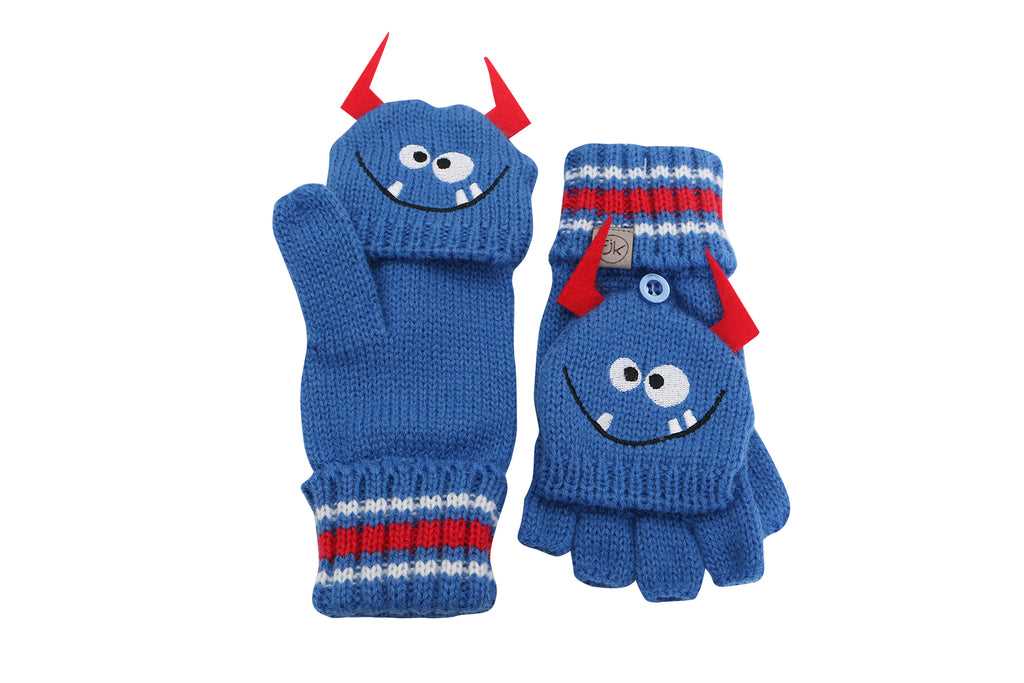
One of the great things about fingerless mittens with flap is that they can be customized to suit your personal style. You can choose to add buttons or other embellishments to the flap, or even experiment with different stitch patterns to create a unique look. Additionally, the flap can be left open or secured with a button or loop closure, giving you the flexibility to wear the mittens in different ways depending on the weather or your preferences.
If you’re looking for a practical and versatile knitting project, fingerless mittens with flap are a great option. The pattern is easy to follow and allows for customization, making it a fun and rewarding project for knitters of all skill levels. So grab your needles and yarn, and start knitting your own pair of fingerless mittens with flap today!
Benefits of Fingerless Mittens
Fingerless mittens are a versatile accessory that offer a range of benefits for the wearer. Whether you are looking for added warmth or convenience, fingerless mittens are a practical choice.
1. Warmth and Comfort
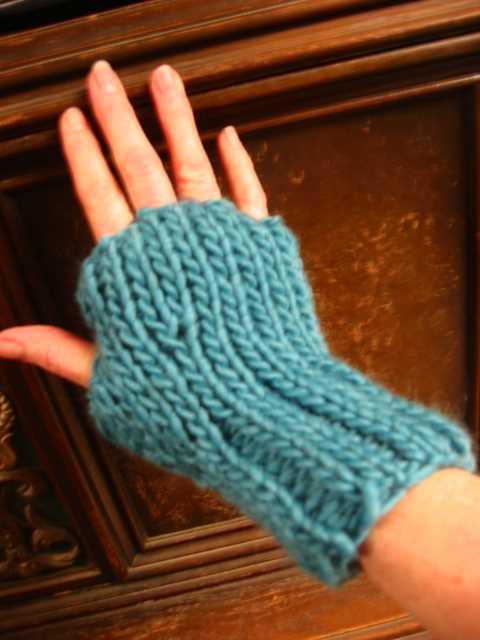
One of the main benefits of fingerless mittens is their ability to keep your hands warm while still allowing you to use your fingers. The design provides insulation for the palm and back of the hand while leaving the fingers exposed. This allows for greater dexterity and flexibility, making them ideal for activities that require the use of your fingers, such as texting, typing, or driving.
2. Versatility and Style
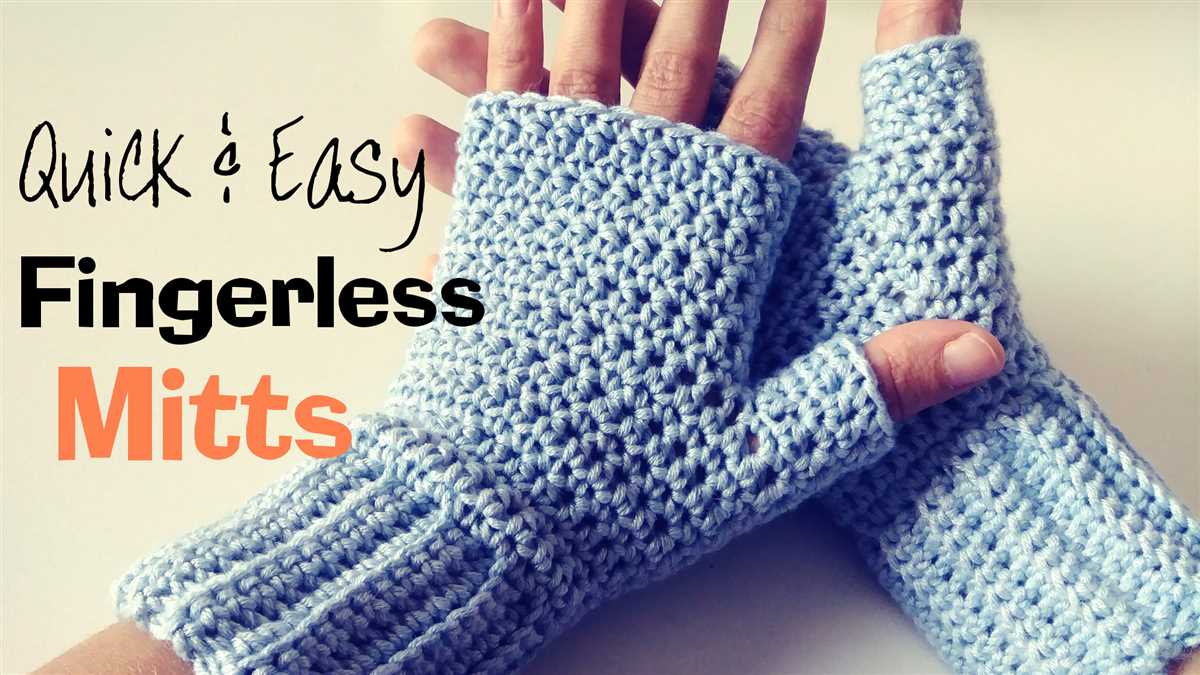
Fingerless mittens come in a wide variety of styles and designs, allowing you to express your personal style while staying warm. From classic designs to more trendy options, there is a fingerless mitten for every taste. They can be worn with casual or formal outfits, making them a versatile accessory for any occasion.
3. Convenience and Functionality
Fingerless mittens are also convenient and functional, especially in situations where you need to access your fingers frequently. Whether you’re working on a project that requires precise hand movements or need to use your phone or tablet on the go, fingerless mittens provide a practical solution. You can easily use touchscreen devices or handle small objects without the need to remove your mittens.
4. Protection and Breathability
Fingerless mittens provide protection for your hands while still allowing them to breathe. The open-finger design allows air to circulate, preventing your hands from becoming too sweaty or overheated. This is particularly beneficial during intense physical activities or in warmer climates where traditional mittens may become uncomfortably hot.
In conclusion, fingerless mittens are a functional and stylish accessory that offer a range of benefits. From added warmth and comfort to convenience and versatility, fingerless mittens are a practical choice for anyone looking to keep their hands cozy while maintaining full use of their fingers.
Choosing the Right Yarn and Needles
When it comes to knitting fingerless mittens with flap, choosing the right yarn and needles is essential for achieving the desired result. The yarn you choose will greatly impact the warmth, comfort, and overall appearance of the mittens.
Yarn: Selecting a yarn with the right fiber content and weight is crucial. You’ll want to consider the season and climate, as well as the intended use of the mittens. For winter wear, opt for a warm and insulating yarn such as wool or alpaca. If you’re knitting mittens for a specific purpose, such as driving or using electronic devices, consider using yarn with special properties, like conductive or touchscreen-friendly yarn. Additionally, choose yarn with a suitable weight that will give you the desired drape and stitch definition.
Needles: The choice of needles can affect the overall look and feel of your fingerless mittens. When selecting needles, pay attention to the material, length, and size. Circular needles are often preferred for knitting in the round, as they eliminate the need for seams and make it easier to knit small circumferences like mittens. However, if you prefer using double-pointed needles, be sure to have a set in the appropriate size. The material of the needles can also impact your knitting experience – metal needles tend to be slick and fast, while wood or bamboo needles offer more grip and control. Lastly, choose the needle size that corresponds with your yarn weight to ensure a proper gauge and fit for your mittens.
- Consider the season and climate when choosing yarn.
- Opt for suitable yarn with special properties for specific purposes.
- Pay attention to needle material, length, and size.
- Circular needles are often preferred for knitting fingerless mittens.
- Choose the needle size that corresponds to your yarn weight.
Getting Started: Casting On
Before you can start knitting your fingerless mittens with a flap, you’ll need to cast on your stitches. Casting on is the process of creating the initial row of stitches on your knitting needles. There are several methods you can use to cast on, but for this pattern, we’ll be using the long-tail cast on method.
To begin, you’ll need to measure out a length of yarn for your cast on. You’ll want to leave a tail that is approximately three times the width of your finished mittens. This extra length will allow you to easily weave in the ends later on.
To cast on using the long-tail method, start by making a slipknot at the end of your yarn. Slip the loop onto your knitting needle and tighten it. Hold the needle in your right hand and the tail of the yarn in your left.
Next, with your right hand, reach under the yarn on your thumb and grab the yarn on your index finger. Bring your needle under the thumb yarn, over the index finger yarn, and back through the thumb yarn. Gently tighten the stitch on your needle. Repeat this process until you have cast on the required number of stitches for your pattern.
Once you have finished casting on, you can begin knitting the first row of your fingerless mittens with a flap. The cast on stitches will form the bottom edge of your mittens, and the flap will be worked from these stitches later on.
Knitting the Hand Section
Once you have finished knitting the ribbed cuff, it’s time to move on to the hand section of the fingerless mittens. This is where you will create the main part of the mittens that will cover your hand and fingers.
To begin, you will continue working in the round using the same size needles and yarn as the cuff. Start by knitting the first stitch and then place a stitch marker to indicate the beginning of the round. This will help you keep track of your progress as you work.
To create the hand section, you will generally follow the same stitch pattern as the cuff, whether it’s ribbing, a cable pattern, or another textured stitch. If you are using a pattern, make sure to follow the instructions provided. If you are creating your own design, feel free to get creative and experiment with different stitch patterns.
Continue knitting in the established stitch pattern until the hand section measures the desired length. This will vary depending on the size of your hand and how long you want the mittens to be. To get an accurate measurement, try the partially completed mittens on your hand to see how they fit.
Once you have reached your desired length, you can begin shaping the thumb gusset. This is typically done by increasing stitches on either side of a designated thumb section. Again, if you are following a pattern, make sure to follow the instructions provided. If you are creating your own design, you can experiment with different thumb gusset techniques to achieve the desired fit.
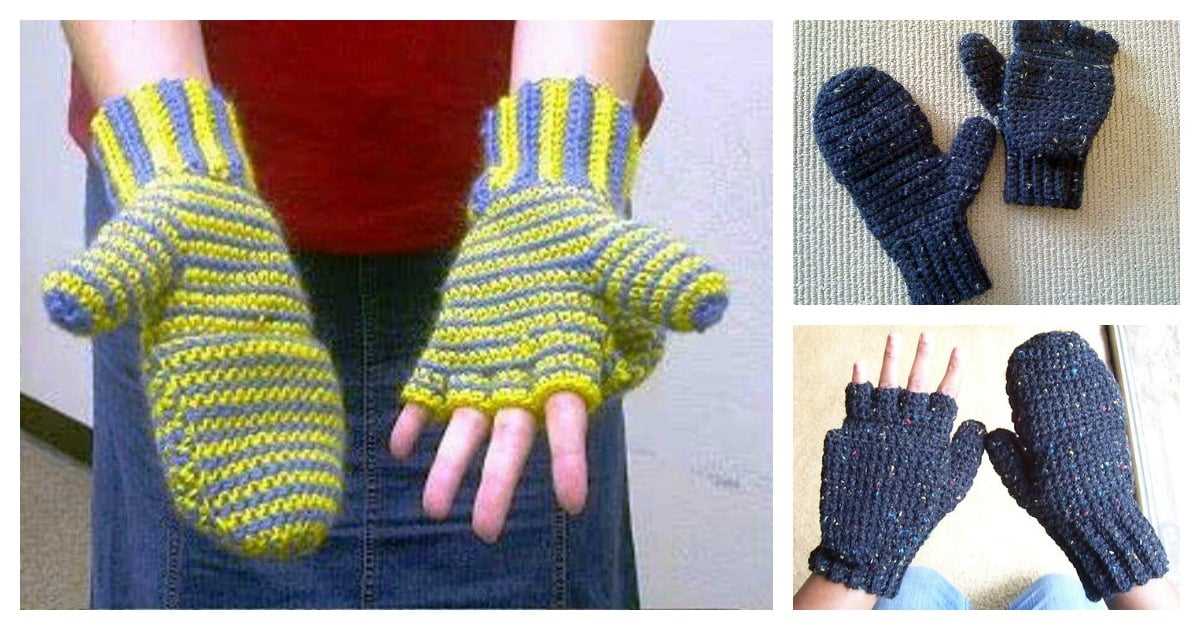
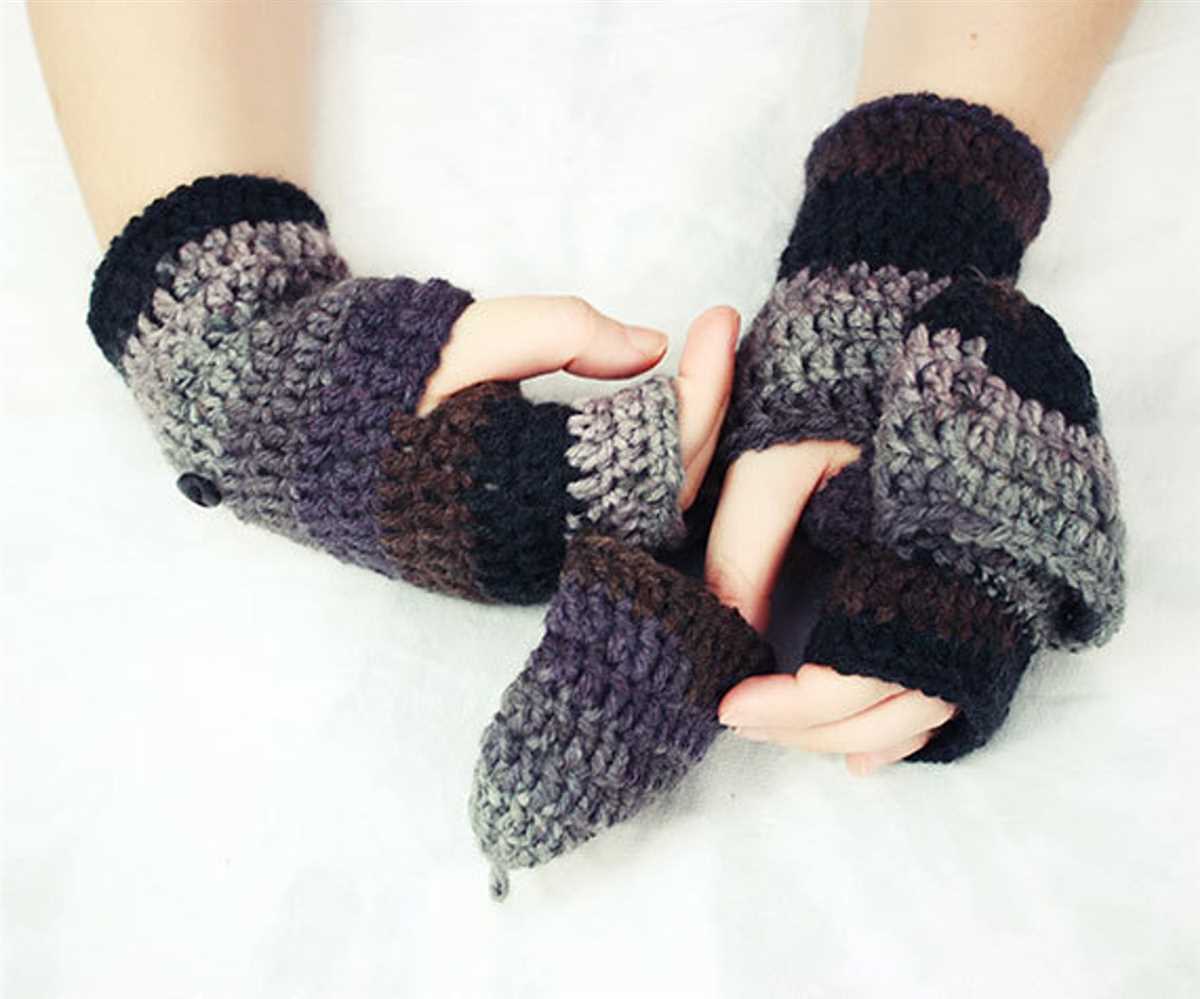
After shaping the thumb gusset, you will continue knitting the hand section until it reaches the base of your fingers. At this point, you can either continue knitting without making any changes or you can add a flap for the fingers. The flap can be left open to expose your fingers or closed by folding it over and securing it with buttons or a loop and button closure.
Once you have finished knitting the hand section, you can bind off all stitches and weave in any loose ends. Your fingerless mittens will now be ready to keep your hands warm while allowing you to have full finger mobility.
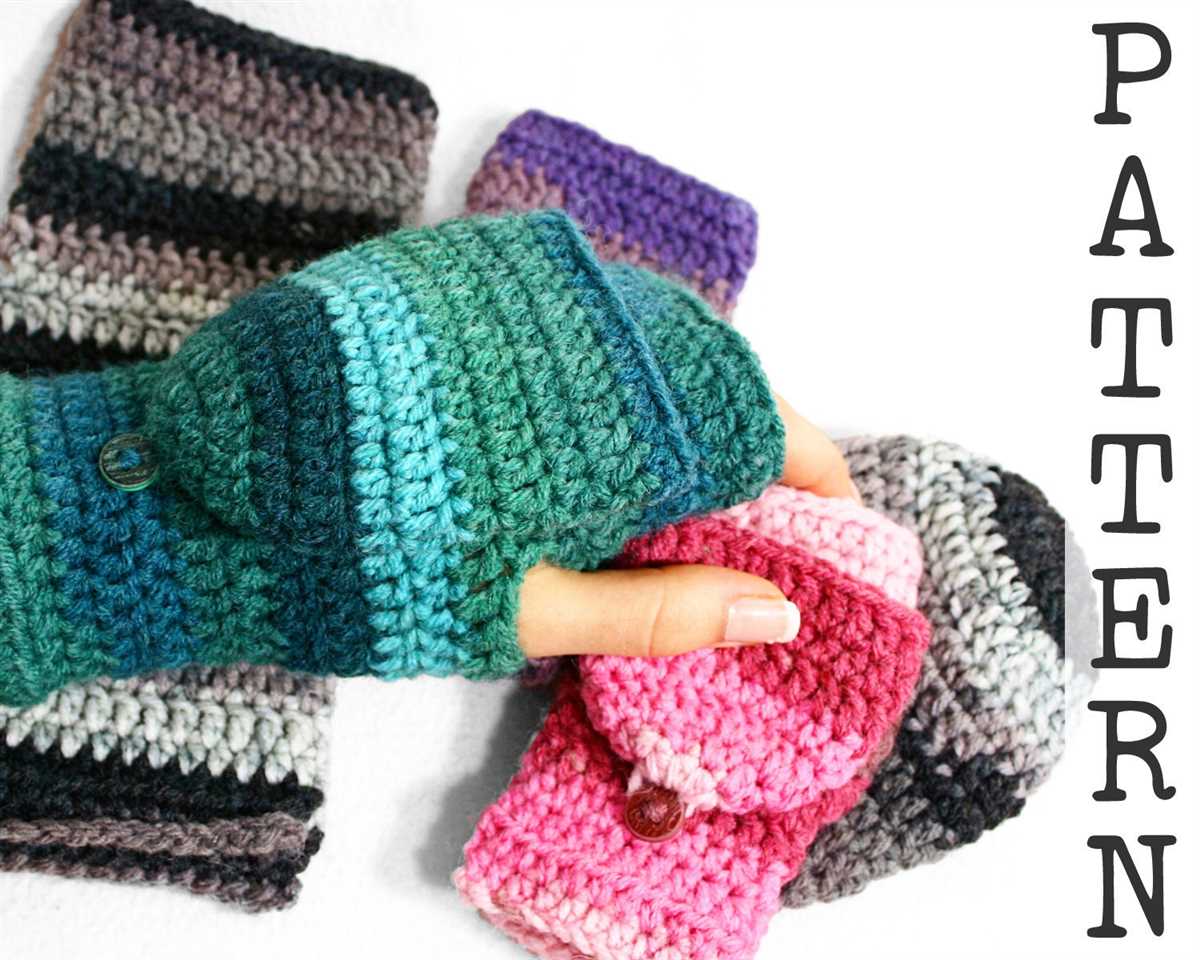
Creating the Flap
Once you have completed the main part of the fingerless mittens, it’s time to move on to creating the flap. The flap is what will cover your fingers when you need extra warmth, and can be easily pulled back when you need to use your fingers.
To begin, you will need to pick up stitches along the sides of the hand opening. This can be done by using a crochet hook or a knitting needle. Start at one side of the hand opening and work your way around, picking up stitches evenly. The number of stitches you pick up will depend on the size of your mittens and the desired width of the flap.
Once you have picked up the stitches, you can begin knitting the flap. You can use the same stitch pattern as the rest of the mittens, or choose a different stitch pattern for some variation. Work in rows, knitting back and forth, until the flap is the desired length. Keep in mind that the flap should cover your fingers comfortably when pulled over them, but should not be too long that it gets in the way.
To give the flap some shape, you can gradually decrease the stitches towards the top. This can be done by knitting two stitches together at the beginning and end of each row, or by using a different decrease method such as ssk or k2tog. Continue decreasing until you have a small enough number of stitches to gather together and close the top of the flap.
Once the flap is complete, you can finish off by weaving in any loose ends and attaching any desired embellishments such as buttons or ribbons. Now you have a pair of fingerless mittens with a flap that can be pulled over your fingers whenever you need some extra warmth!
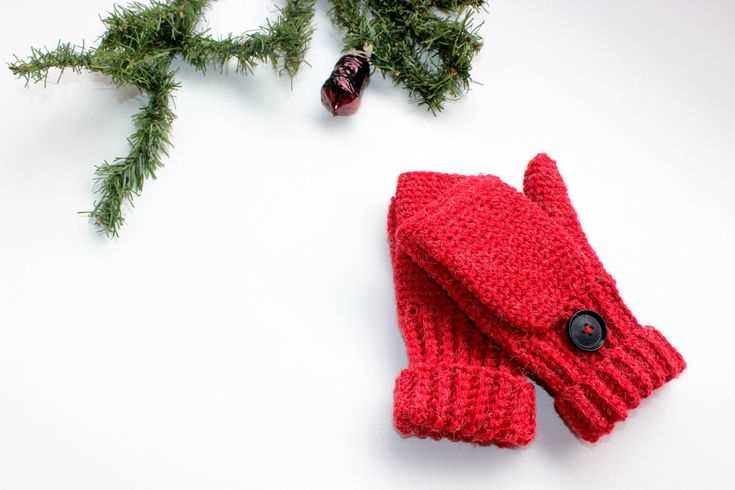
Adding Buttons or Fasteners
If you want to add a little extra flair and functionality to your fingerless mittens with flap, consider adding buttons or fasteners to secure the flap in place. This can not only make your mittens more stylish, but also ensure that the flap stays securely closed, keeping your fingers warm.
Button Closure: One option is to sew buttons onto the flap and create buttonholes on the body of the mitten to secure it closed. Choose buttons that match the yarn color and style of your mittens for a cohesive look. Sew the buttons on securely, making sure they are placed in the right position to align with the buttonholes. Alternatively, you can also use decorative buttons for added visual interest.
Hook and Loop Closure: Another option is to use hook and loop fasteners, commonly known as Velcro, to secure the flap. Cut small pieces of the hook and loop fasteners and sew them onto the flap and the body of the mitten. Make sure that the hooks are sewn onto one side and the loops onto the other, so that they can securely fasten together when the flap is closed. Hook and loop fasteners are easy to use and provide a secure closure.
If you prefer a more rustic or natural look, you can also consider using toggles or leather straps as fasteners. Toggles can be sewn onto the flap and looped through a buttonhole or attached to a loop on the body of the mitten. Leather straps can be sewn onto the flap and secured with a buckle or looped through a metal ring on the body of the mitten. These options give the mittens a unique and handmade touch.
Adding buttons or fasteners to your fingerless mittens with flap can not only enhance their style but also improve their functionality. Choose the option that best suits your personal taste and enjoy the added versatility of your mittens.
Knitting the Thumb Opening
When knitting fingerless mittens with a flap, one of the key steps is creating the thumb opening. This is where the flap will be attached later on to provide coverage for the thumb when needed.
To start knitting the thumb opening, you will need to set aside stitches for the thumb. This is typically done by using a stitch marker or a piece of contrasting yarn to mark the beginning and end of the thumb opening. Once the thumb stitches are set aside, you will continue knitting the hand portion of the mittens.
When you reach the marked stitches for the thumb opening, you will start working in a different pattern or stitch to create the opening. This can be achieved by either knitting in a different stitch pattern, such as ribbing or garter stitch, or by simply knitting the stitches in a different way, such as knitting in stockinette stitch instead of the main pattern.
After completing the thumb opening, you will then continue knitting the hand portion until it reaches the desired length. Once the hand is complete, you will then return to the thumb opening and pick up the stitches that were set aside earlier. These stitches will be used as the foundation for the thumb flap.
Knitting the thumb opening requires careful attention to detail and precise stitch placement. It is important to follow the pattern instructions closely and make any necessary adjustments to ensure that the thumb opening is the correct size and shape. With practice and patience, you will be able to create beautiful fingerless mittens with a functional and stylish thumb opening.
Shaping the Thumb
When knitting fingerless mittens with a flap, the thumb is an essential part of the design. The thumb opening allows for free movement of the hand while keeping the fingers warm. Shaping the thumb involves creating a space for the thumb to fit through, while maintaining the overall structure and fit of the mitten.
To shape the thumb, you will typically begin by placing a set number of stitches on hold or using waste yarn. This creates a gap in the knitting where the thumb will be. You will then continue knitting the rest of the mitten, working the rows or rounds as specified in the pattern.
1. Thumb Gusset: Some fingerless mittens with flaps feature a thumb gusset, which provides additional room for the thumb. The gusset is created by increasing stitches on either side of the thumb opening. This allows for a more comfortable fit and greater range of motion for the thumb.
2. Thumb Opening: The thumb opening itself can be created in various ways. Some patterns may have you knit a few rounds or rows with a smaller needle size or in a different stitch pattern to create a snug opening. Others may have you bind off a set number of stitches and then rejoin the yarn to continue knitting the mitten. The choice of method will depend on the design and style of the fingerless mittens.
3. Thumb Flap: Once the main body of the mitten is completed, you will return to the stitches held or placed on waste yarn for the thumb. These stitches will be used to create a thumb flap. The thumb flap can be knit in the same stitch pattern as the mitten or in a different pattern for added interest. It is often shaped by decreasing stitches gradually to taper the flap and create a rounded edge for the thumb.
Overall, shaping the thumb in fingerless mittens with flaps is an important step in creating a functional and comfortable garment. It allows for ease of movement while keeping the hands warm. Following the pattern instructions and understanding the techniques involved will help ensure a successful result.
Continuing the Hand Section
Now that you have completed the ribbed cuff and the thumb gusset, it’s time to continue knitting the hand section of your fingerless mittens. You will be working in a simple stockinette stitch pattern for this portion.
Continue knitting in the round on all stitches until the hand section measures the desired length. Be sure to check your gauge to ensure that the mittens will fit properly. If necessary, you can adjust the length by adding or subtracting rows.
Optional: If you would like to add a textured pattern to the hand section, you can choose from a variety of stitch patterns such as cables, lace, or colorwork. Simply follow the instructions for your chosen stitch pattern, making sure to keep track of any changes in stitch count.
Note: Remember to keep the flap stitches on waste yarn or stitch holders, as you will need them later to create the fingerless mittens’ flap.
Continue knitting until you have reached the desired length for the hand section of your fingerless mittens. Once you have finished this section, you will be ready to move on to the next step: creating the flap.
Finishing Off: Binding Off
Once you have completed knitting the fingerless mittens with flap, it is time to finish off the project by binding off. Binding off is the process of securing the stitches and creating a finished edge. It is an important step that ensures that the stitches do not unravel or come undone.
To bind off, start by knitting two stitches as usual. Then, using the left-hand needle, lift the first stitch over the second stitch and let it drop off the needle. Knit one more stitch and repeat the process of lifting the first stitch over the second stitch. Continue in this manner until you have only one stitch remaining on the right-hand needle. Cut the yarn, leaving a tail of about 6 inches, and pull the tail through the final stitch to secure it.
After binding off, you can weave in any loose ends using a yarn needle. Thread the tail of the yarn onto the needle and insert it through the stitches on the wrong side of the work. Make sure to weave in the ends securely to prevent them from coming loose.
Once you have finished binding off and weaving in the ends, your fingerless mittens with flap are complete. You can now enjoy wearing them and staying warm during the colder months. These mittens are not only functional but also stylish, making them a great accessory to add to your winter wardrobe.
Adding Decorative Touches
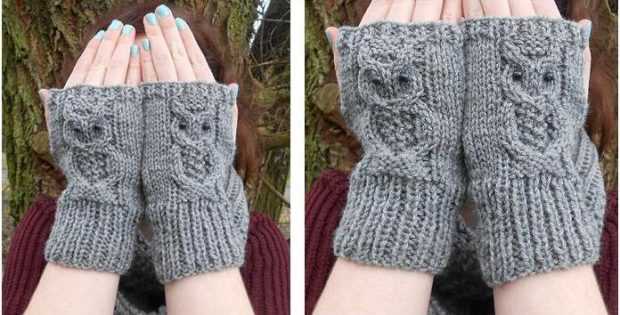
Once you have completed the basic fingerless mittens with flap knitting pattern, you can add some decorative touches to make them unique and personalized. One option is to add embroidery or applique designs to the back of the mittens. You can use colorful yarn to create intricate patterns, or you can use fabric scraps to sew on small patches or motifs. This will give your mittens a pop of color and make them stand out.
Another way to add a decorative touch to your fingerless mittens is to use different knitting stitches for the cuffs or the flap. You can incorporate lace stitches for a more delicate and feminine look, or you can use cable stitches for a more textured and cozy feel. Experiment with different stitch patterns and see which one you like best.
If you want to take your fingerless mittens to the next level, you can also add buttons, beads, or other embellishments. Sewing on buttons along the side of the cuff can add a touch of elegance, while sewing on beads can give your mittens some sparkle. You can also use ribbons, bows, or fabric flowers to enhance the overall design.
Remember, when adding decorative touches to your fingerless mittens, it’s important to choose materials and designs that are comfortable to wear and won’t get in the way of the functionality of the mittens. Also, keep in mind that some decorative elements may require additional care when washing or wearing the mittens, so be sure to follow any care instructions to ensure the longevity of your beautiful creations.
Washing and Caring for Your Fingerless Mittens
Proper washing and care can help prolong the life of your fingerless mittens and keep them looking their best. Here are some tips to keep in mind:
1. Hand washing: It is best to hand wash your fingerless mittens to avoid damaging the delicate fibers. Fill a sink or basin with lukewarm water and add a mild detergent specifically designed for wool or delicate fabrics. Gently agitate the mittens in the water, being careful not to stretch or twist them. Rinse with cool water until all the detergent is removed.
2. Drying: After washing, gently squeeze out excess water from the mittens, taking care not to wring or twist them. Lay them flat on a clean, dry towel and reshape them to their original shape. Avoid hanging them to dry, as this can cause them to stretch or lose their shape. Allow them to air dry in a well-ventilated area away from direct sunlight or heat sources.
For more specific care instructions, refer to the yarn label or the manufacturer’s guidelines. Different yarns may have specific care requirements, so it is important to follow them to ensure the longevity of your fingerless mittens.
Summary:
- Hand wash your fingerless mittens with a mild detergent designed for wool or delicate fabrics.
- Avoid wringing or twisting the mittens to remove excess water.
- Lay them flat on a towel to air dry, reshaping them to their original shape.
- Refer to the yarn label or manufacturer’s guidelines for specific care instructions.
By following these washing and caring tips, you can keep your fingerless mittens in great condition and enjoy their warmth and style for many seasons to come.