
Christmas is a time for festive decorations and what better way to spread holiday cheer than with a handmade Christmas angel. Knitting is a popular hobby that allows you to create beautiful and unique items, and with this free knitting pattern, you can easily make your very own Christmas angel.
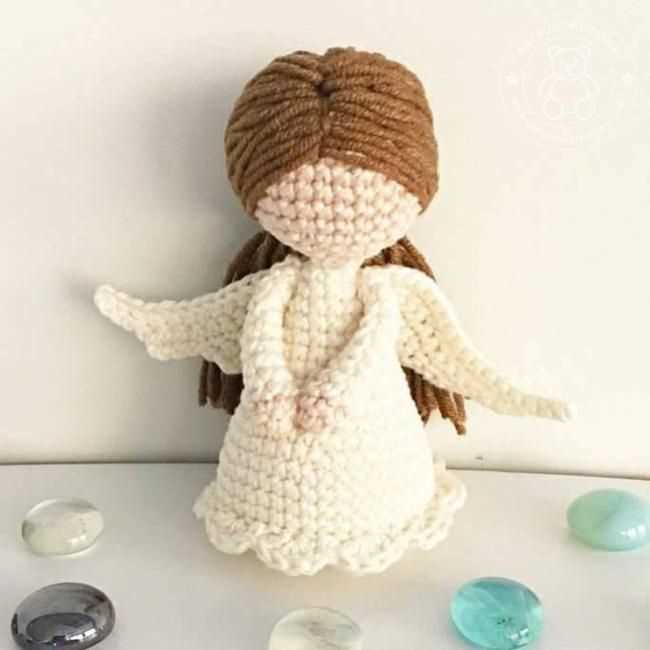
This knitting pattern is perfect for beginners and requires basic knitting skills. The finished angel is approximately 8 inches tall and can be used as a tree topper, table centerpiece, or even a gift for a loved one. The pattern includes step-by-step instructions and detailed photos to guide you through the knitting process.
Whether you’re a knitting enthusiast or just starting out, this free pattern is a great way to get into the holiday spirit and add a personal touch to your Christmas decorations. Let your creativity shine and create a one-of-a-kind Christmas angel that will be cherished for years to come.
Free Knitting Pattern for Christmas Angel
Christmas is a festive time of year, filled with joy and celebration. One way to add a touch of charm and elegance to your holiday décor is by knitting your own Christmas angel. With this free knitting pattern, you can create a beautiful angel ornament to hang on your tree or use as a decorative accent throughout your home.
Materials:
- Worsted weight yarn in white and gold
- Size 8 (5mm) knitting needles
- Tapestry needle
- Fiberfill stuffing
- 6mm plastic safety eyes
- Gold pipe cleaner
Instructions:
- Using white yarn, cast on 14 stitches.
- Knit 2 rows.
- Switch to gold yarn and knit 2 rows.
- Switch back to white yarn and knit 10 rows.
- Decrease 1 stitch at the beginning of the next 4 rows.
- Knit 3 rows.
- Decrease 1 stitch at the beginning of the next 4 rows.
- Knit 2 rows.
- Decrease 1 stitch at the beginning of the next 4 rows.
- Knit 2 rows.
- Decrease 1 stitch at the beginning of the next 4 rows.
- Knit 2 rows.
- Decrease 1 stitch at the beginning of the next 4 rows.
- Knit 2 rows.
- Decrease 1 stitch at the beginning of the next 4 rows.
- Knit 2 rows.
- Decrease 1 stitch at the beginning of the next 4 rows.
- Knit 2 rows.
- Decrease 1 stitch at the beginning of the next 4 rows.
- Knit 2 rows.
- Decrease 1 stitch at the beginning of the next 4 rows.
- Knit 1 row.
- Cut the yarn, leaving a long tail. Thread the tail through the tapestry needle and slide the needle through the remaining stitches to remove them from the knitting needle. Pull tightly to gather the stitches and secure.
- Fill the angel body with fiberfill stuffing and stitch the bottom closed.
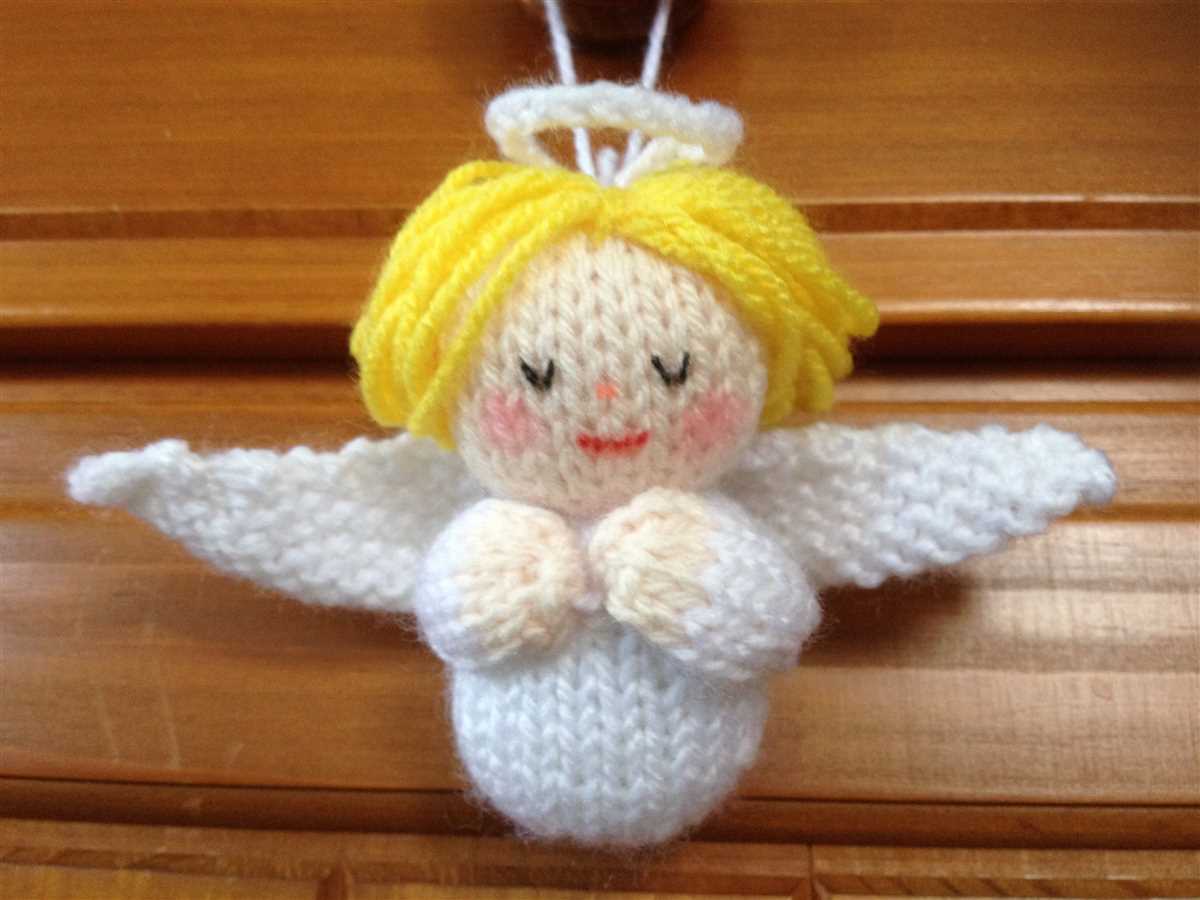
- Attach the plastic safety eyes to the angel’s face, using the photo as a guide.
- Twist the gold pipe cleaner into a halo shape and attach it to the top of the angel’s head.
- Your Christmas angel is now ready to be displayed and enjoyed!
Materials needed
To create your own Christmas angel, you will need a few essential materials. It’s important to gather all of these items before you start the knitting process to ensure a smooth and enjoyable experience. Here is a list of the materials you will need to make your angel:
- Knitting needles: You will need a pair of knitting needles in the appropriate size for your chosen yarn. The most common sizes for knitting angels are 3.75mm-4.5mm (US size 5-7).
- Yarn: Choose a soft and lightweight yarn in the color of your choice. White or cream-colored yarn is popular for creating a classic Christmas angel. Make sure you have enough yarn to complete the project, as this will depend on the size of your angel and the pattern you are using.
- Tapestry needle: A tapestry needle with a large eye is essential for weaving in loose ends and finishing your angel.
- Stuffing: You will need some stuffing material to fill your angel and give it its shape. Polyester fiberfill or cotton stuffing works well for this purpose.
- Scissors: A pair of sharp scissors will be needed to cut yarn and trim any excess threads.
- Embroidery thread: You may need embroidery thread in various colors to add small details to your angel, such as the face, hair, and wings.
- Optional embellishments: If desired, you can add embellishments to your angel, such as ribbon, beads, sequins, or bells. These can be used to add an extra touch of festive charm to your creation.
Once you have gathered all of these materials, you will be ready to start knitting your Christmas angel. Using the right tools and materials will help you create a beautiful and meaningful decoration for your holiday festivities.
Gauge
When knitting a pattern, it’s important to achieve the correct gauge in order for the finished piece to turn out the right size. Gauge refers to the number of stitches and rows per inch of knitting. It can be determined by knitting a swatch using the recommended needle size and yarn.
Following the gauge specified in a pattern ensures that the finished piece will match the measurements given in the instructions. If your gauge is too tight, meaning you have more stitches and rows per inch than the pattern calls for, your finished piece will be smaller. Alternatively, if your gauge is too loose, with fewer stitches and rows per inch, your finished piece will be larger than intended.
To obtain the correct gauge, it’s essential to use the recommended needle size and yarn specified in the pattern. If your gauge doesn’t match, you may need to adjust your needle size up or down. It’s also helpful to knit a larger swatch and block it to ensure accuracy. This involves wetting the swatch, then gently reshaping it to the correct measurements and drying it flat.
It’s important to note that every knitter’s tension is different, so even if you’re using the same needle size and yarn as the pattern suggests, your gauge may still vary. That’s why making a gauge swatch is crucial before starting any project.
Abbreviations
In knitting patterns, abbreviations are commonly used to save space and make the instructions easier to read. Understanding these abbreviations is essential for successfully completing a knitting project. Here are some frequently used knitting abbreviations:
- k: knit
- p: purl
- st(s): stitch(es)
- k2tog: knit 2 stitches together
- p2tog: purl 2 stitches together
- yarn over: wrap the yarn around the needle to create an extra stitch
- ssk: slip, slip, knit (a decrease stitch)
- pm: place marker
- sm: slip marker
- inc: increase
These abbreviations are commonly used in knitting patterns and knowing what they mean will help you follow the instructions with ease. It’s always a good idea to refer to the abbreviations section of a pattern before starting a new project to familiarize yourself with any specific abbreviations used.
Body
A knitted Christmas angel is not complete without a beautiful body. To make the body, you will need to follow the pattern carefully and use the specified yarn and knitting needles. Start by casting on the required number of stitches and knitting in the round to create a seamless body. Use a stitch marker to help keep track of your rounds.
Once you have completed the body, you can add some special touches to make your angel unique. Consider using different colored yarns or adding embellishments such as beads or sequins to give your angel some sparkle. You can also experiment with different stitch patterns or textures to create a more intricate design.
If you want to make your angel look more festive, you can also add a skirt or dress to the body. This can be done by knitting a separate piece and sewing it onto the bottom of the body. You can choose a pattern that is simple and elegant, or one that is more elaborate with lace or ruffle details.
- Start by casting on the required number of stitches for the body.
- Knit in the round using the specified yarn and needles.
- Use a stitch marker to keep track of your rounds.
- Add additional details such as different colored yarns or embellishments.
- Consider adding a skirt or dress to make your angel more festive.
Remember to follow the pattern instructions carefully and take your time to ensure that your knitted angel body turns out just right. Once you have completed this step, you will be ready to move on to the next part of the pattern, such as the wings or the head.
Head
The head is one of the most important parts of the Christmas angel knitting pattern. It is what gives the angel its character and expression. To create the head, start by casting on the required number of stitches and knitting in the round. You can use a small circular needle or double-pointed needles for this part.
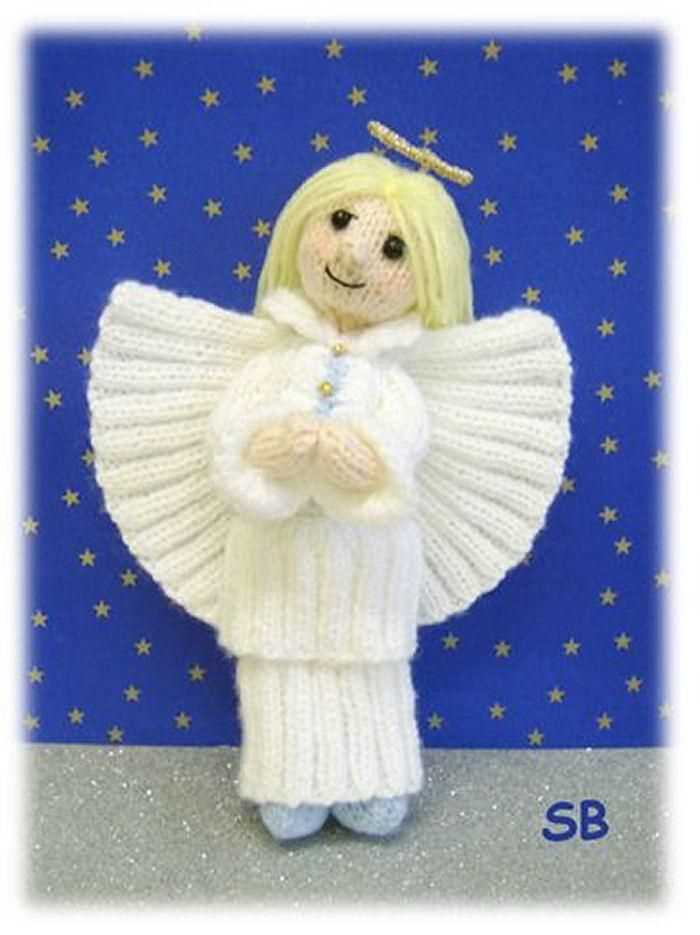
One of the key elements of the angel’s head is the face. To create the face, you can use embroidery techniques such as duplicate stitch or French knots to stitch on the eyes, nose, and mouth. You can also add some blush to the cheeks using a bit of pink yarn or embroidery thread.
The head can also be decorated with a small halo. To make the halo, you can use metallic embroidery thread or a thin wire that is bent into a circular shape. Attach the halo to the top of the head using small stitches or by sewing it into place.
Once the head is complete, you can stuff it lightly with polyester fiberfill or another type of stuffing material to give it some shape and volume. Secure the stuffing by cinching the top of the head closed with a yarn tail and weaving it in securely.
Remember that the head is just one part of the overall knitting pattern for the Christmas angel. Be sure to follow the instructions for the other parts, such as the body, wings, and dress, to complete your festive angel decoration.
Arms
When knitting the arms for your Christmas angel, you have a few different options. One option is to knit the arms separately and then sew them onto the body. To do this, you will need to cast on the desired number of stitches and work in stockinette stitch for the desired length. You can then sew the arms onto the body using a tapestry needle and matching yarn.
Another option is to knit the arms as part of the body. To do this, you will start by casting on the number of stitches needed for the body and then follow the pattern to incorporate the arms. This can be a bit trickier, as you will need to keep track of where the arm stitches are and make sure to work the shaping for the body correctly.
Whichever method you choose, it’s important to consider the proportion of the arms to the rest of the body. You want the arms to be long enough to give your angel a graceful appearance, but not so long that they overwhelm the body.
Tips:
- Use stitch markers or different colored yarn to keep track of where the arm stitches are.
- Try out different arm lengths on scrap yarn before committing to the final length. This will help you determine the right proportion for your angel.
- If you’re knitting the arms separately, make sure to match the tension and gauge of the body to ensure a seamless look.
Wings
The wings are an essential part of a Christmas angel knitting pattern. They add an elegant and celestial touch to the finished piece. To create the wings, you will need soft and lightweight yarn in a color that complements the angel’s dress. Choose a yarn with a bit of shimmer or sparkle to give the wings an ethereal glow.
There are several different techniques you can use to knit the wings. One popular option is to use a lace stitch pattern to create a delicate and lacy effect. You can also experiment with different stitch patterns to add texture and dimension to the wings. Whatever technique you choose, make sure to follow the pattern instructions carefully to achieve the desired shape and size for the wings.
It’s important to pay attention to the construction and placement of the wings on the angel. Depending on the pattern, the wings may be knit separately and then sewn onto the back of the angel, or they may be knit directly onto the body. Take your time and ensure that the wings are securely attached, as they may be delicate and prone to tearing or unraveling if not properly secured.
Tip: If you want to add a personal touch to the wings, you can embellish them with small beads or sequins. Simply thread them onto a fine needle and stitch them onto the wings, following a pattern or creating your own design. This will give the angel an extra sparkle and make it truly unique.
Finishing touches
Once you have completed knitting your Christmas angel, it’s time to add some finishing touches to really bring her to life. Here are a few ideas to make your angel truly special:
1. Dress her up
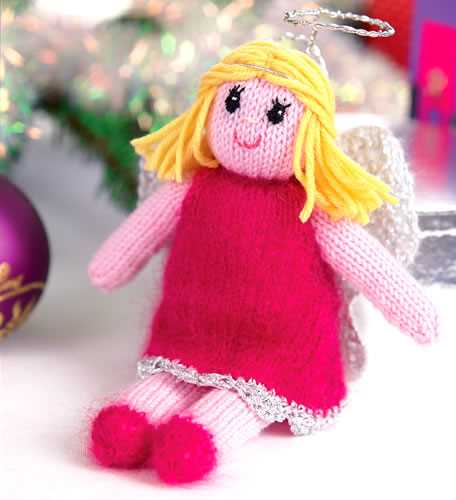
Find some tiny clothes or fabric scraps to create a beautiful outfit for your angel. You can sew a dress, add a little hat, or even knit a tiny sweater and scarf. Use your creativity to make her look festive and unique.
2. Add embellishments
Enhance your angel’s appearance by adding some sparkling embellishments. You can sew on sequins, beads, or rhinestones to make her dress shimmer. You could also attach a tiny ribbon bow or a small bell to her hair to add a touch of Christmas magic.
3. Give her wings
No angel is complete without wings. You can knit or crochet a pair of wings using a contrasting color of yarn. Attach them to the back of your angel using a small stitch or glue. This will add an extra dimension to your angel and make her look even more angelic.
- 4. Create a halo
- Using a thin wire or pipe cleaner, shape a small circle and place it on top of your angel’s head. You can wrap it with gold or silver ribbon to create a halo effect.
With these finishing touches, your Christmas angel will be ready to take her place on top of the tree or to decorate any festive display. Enjoy the process of adding your personal flair to make this holiday decoration truly unique.
Tips and Variations
Here are some helpful tips and variations to consider when knitting your own Christmas angel:
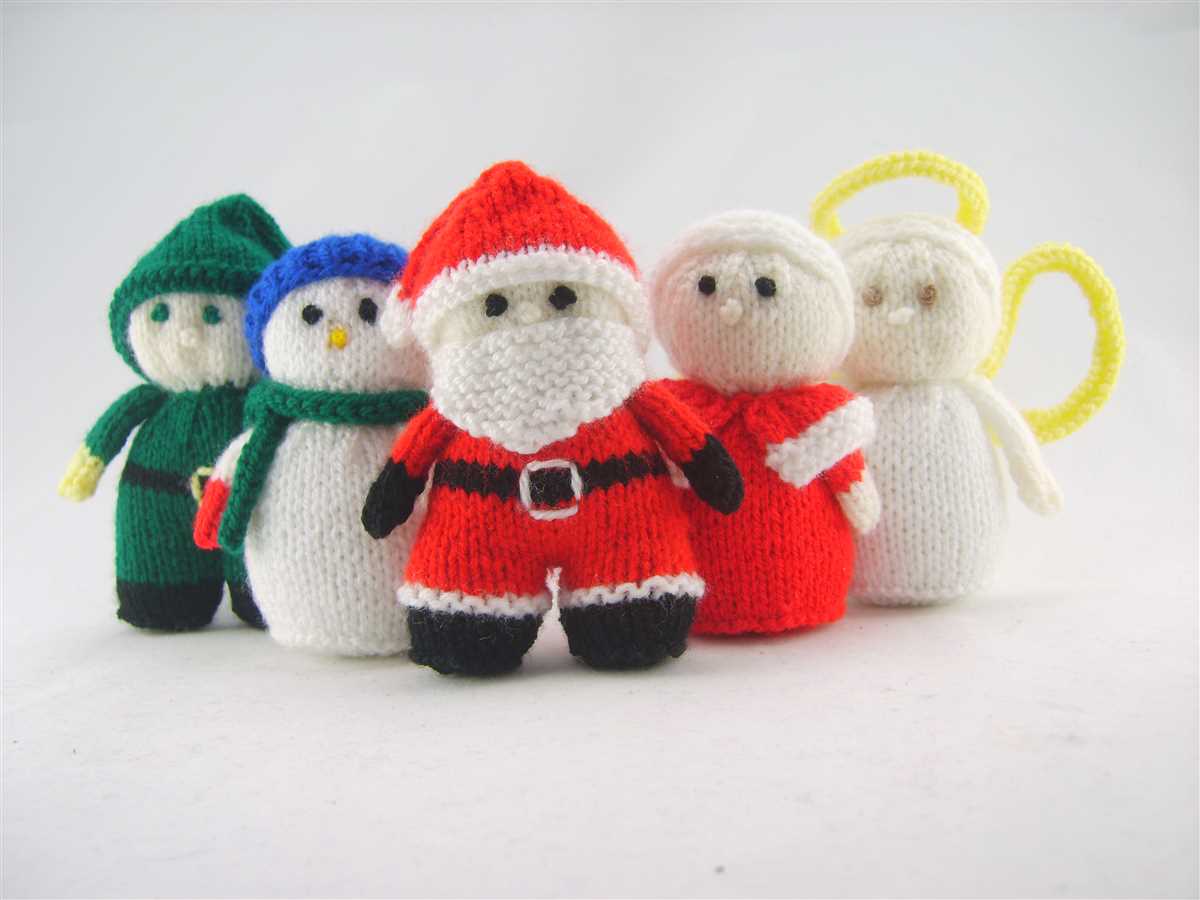
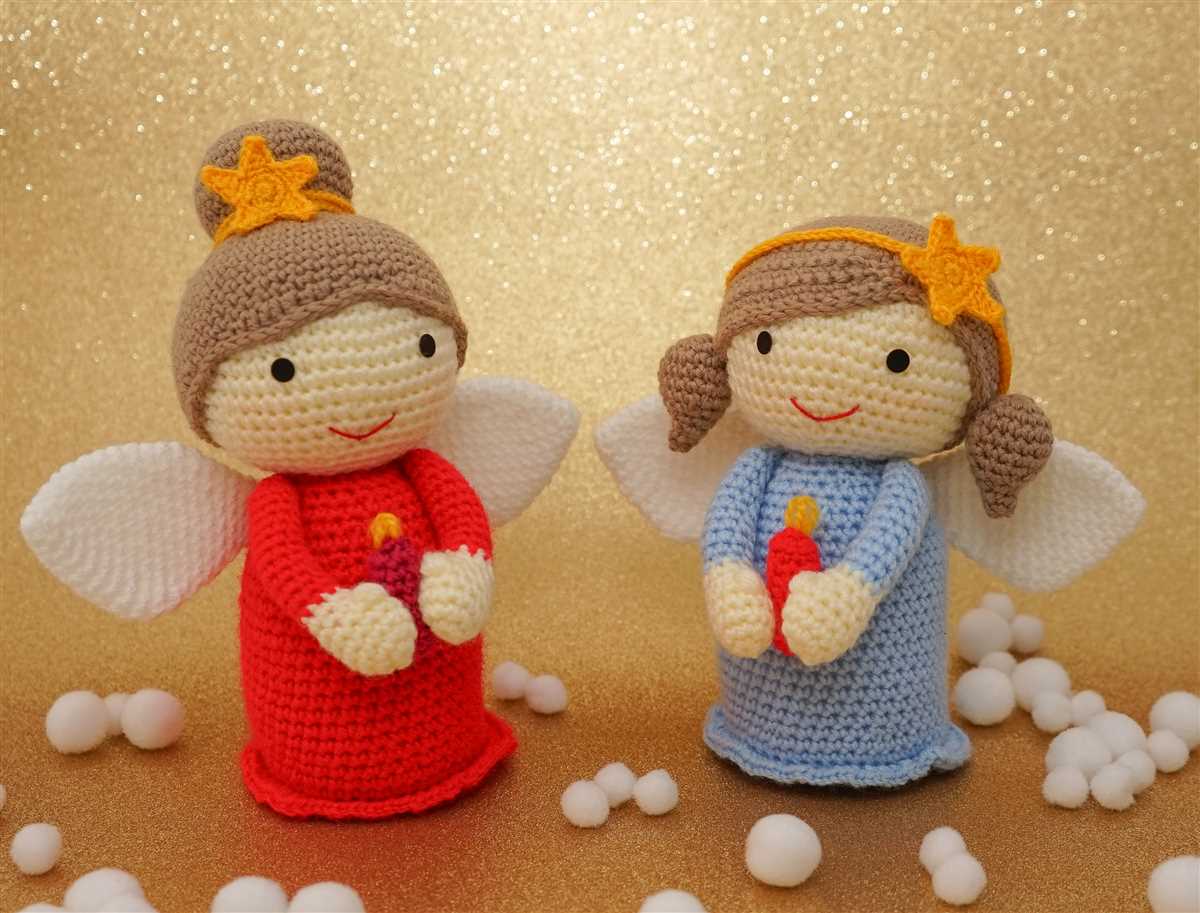
- Change the colors: Feel free to experiment with different color combinations for your angel’s dress, wings, and hair. You can create a traditional white angel or get creative with vibrant colors.
- Add embellishments: Once you’ve finished knitting the angel, you can add small decorative touches to make it even more festive. Consider attaching tiny beads or sequins to the dress, or embroidering a delicate design on the wings.
- Vary the size: If you want a smaller or larger angel, you can adjust the pattern accordingly. Use a finer yarn and smaller needles for a smaller angel, or choose thicker yarn and larger needles for a larger angel.
- Personalize the face: Use embroidery or small buttons to create a unique facial expression for your angel. You can give her a happy smile, gentle eyes, or even a mischievous wink.
- Try different stitch patterns: While the pattern provided uses basic knit and purl stitches, you can experiment with different stitch patterns to add texture and interest to your angel. Consider using lace stitches on the wings or a cable pattern on the dress.
Remember to have fun and let your creativity shine when knitting your Christmas angel. Whether you follow the pattern exactly or put your own spin on it, your handmade angel will surely be a beautiful addition to your holiday decorations.