
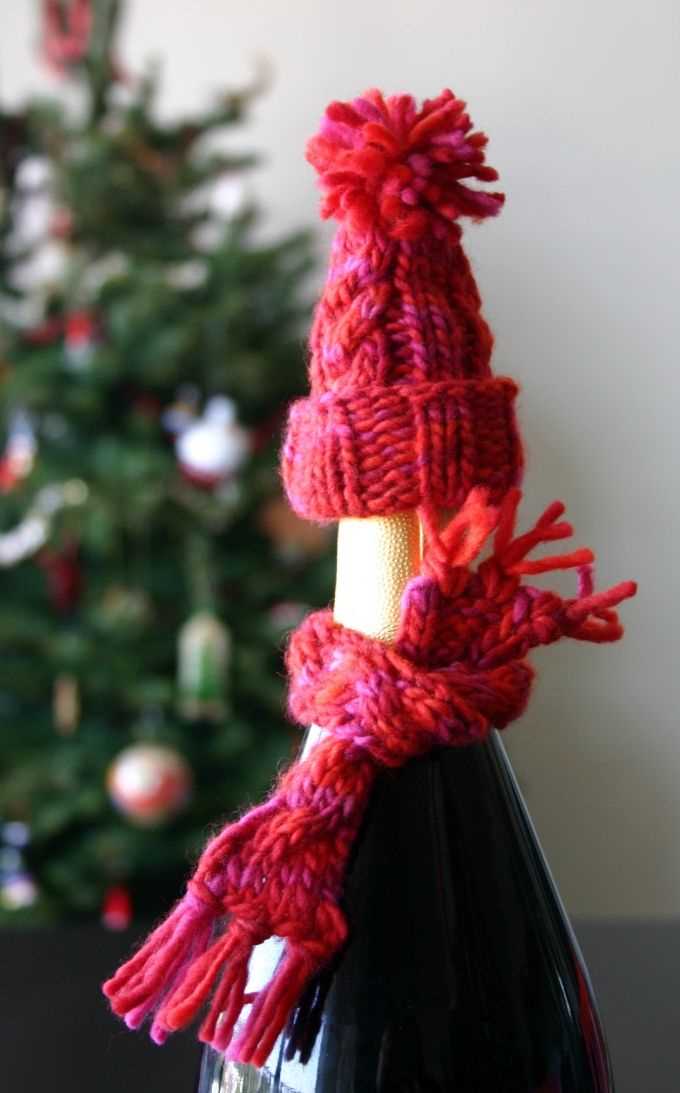
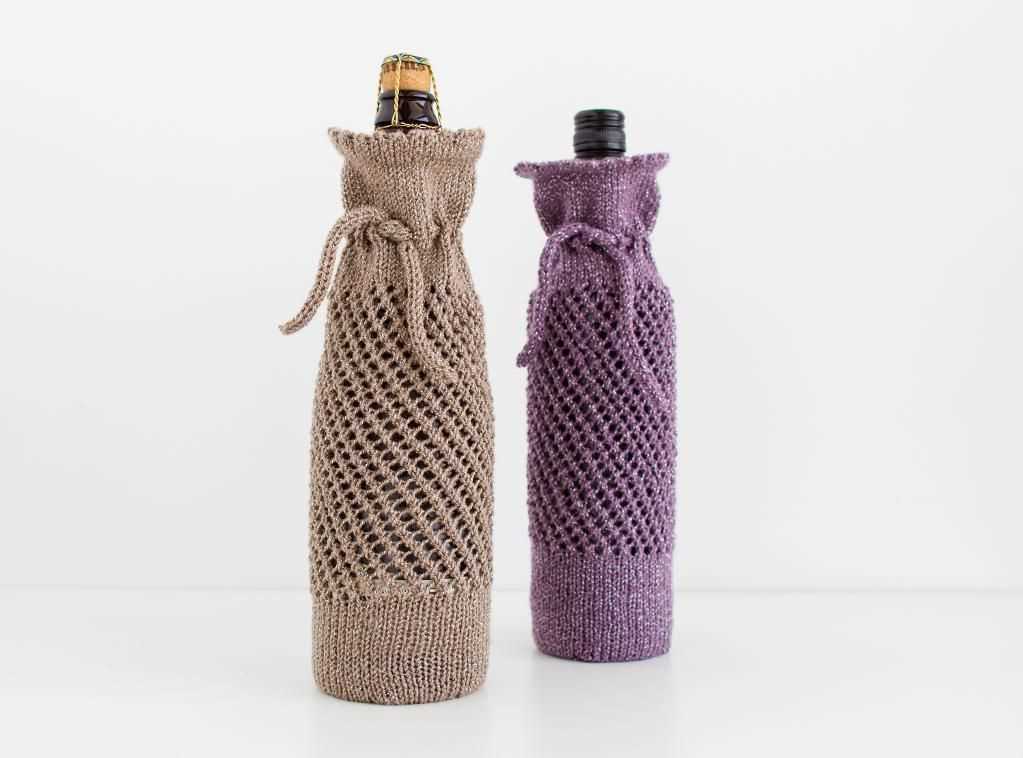
Are you looking for a fun project to showcase your knitting skills? Look no further! We have a free knitted wine bottle cozy pattern that is perfect for beginners and experienced knitters alike. This cozy is not only practical, but it also adds a touch of charm and personality to any bottle of wine.
Knitting a wine bottle cozy is a great way to add a personal touch to a gift or to make a statement at a dinner party. The pattern we’re sharing is versatile and can be adapted to fit any size bottle. Plus, it’s a quick and easy project that can be completed in just a few hours.
This pattern uses basic knitting stitches, making it a great project for beginners. If you’re new to knitting, this cozy will help you practice your knit and purl stitches, as well as introducing you to simple increases and decreases. If you’re an experienced knitter, this cozy will be a breeze, allowing you to focus on experimenting with different colors and patterns.
Choosing the Right Yarn and Needles for Your Wine Bottle Cozy
When it comes to knitting a wine bottle cozy, it’s important to choose the right yarn and needles to ensure the best results. The type of yarn and needles you use can greatly affect the look and feel of your finished cozy.
Yarn: One of the most important considerations when selecting yarn for your cozy is the level of insulation you want. If you’re looking for a cozy that will keep your wine chilled for longer, consider using a yarn with insulating properties, such as wool or alpaca. These natural fibers have excellent insulating properties and will help keep your wine at the desired temperature. Alternatively, if you’re more concerned with the aesthetic appeal of your cozy, you can experiment with different colors and textures of yarn to create a unique and visually striking design.
Needles: The size of needles you choose will depend on the thickness of your yarn and the desired gauge of your cozy. If you’re using a lightweight yarn, such as a fingering weight or sock yarn, you’ll want to choose smaller needles, such as US size 1 or 2. These smaller needles will create a tighter fabric and a more snug fit for your cozy. On the other hand, if you’re using a bulkier yarn, like a worsted weight or chunky yarn, you’ll want to choose larger needles, such as US size 8 or 10. These larger needles will create a looser fabric and a more relaxed fit for your cozy.
Overall, the yarn and needles you choose for your wine bottle cozy will depend on your personal preferences and the specific requirements of your project. Whether you prioritize insulation, aesthetics, or a combination of both, selecting the right materials will help you create a cozy that is both functional and visually appealing.
Essential knitting techniques for a successful wine bottle cozy
Knitting a wine bottle cozy can be a fun and rewarding project, and it’s also a great way to showcase your knitting skills. To ensure that your cozy turns out beautifully and fits snugly around the wine bottle, there are several essential techniques that you should keep in mind.
1. Gauge swatching
Before you start knitting your wine bottle cozy, it’s important to do a gauge swatch. This involves knitting a small sample using the same yarn and needles that you plan to use for the cozy. By measuring the number of stitches and rows per inch in your swatch, you can determine if your tension matches the pattern’s recommended gauge. This step is crucial for achieving the correct size and fit for your cozy.
2. Cabling
To add a decorative touch to your wine bottle cozy, you may choose to incorporate cables into your design. Cabling involves crossing stitches over each other to create intricate patterns. It’s essential to learn the basics of cabling, such as how to hold the cable needle and how to read cable charts, to ensure that your cables turn out neat and well-defined.
3. Decreases and increases
When knitting a wine bottle cozy, you’ll likely need to shape the top and bottom edges to fit snugly around the bottle. This will require using increase and decrease techniques. Common decreases include knit two together (k2tog) and slip, slip, knit (ssk), while common increases include yarn over (yo) and make one (M1). Understanding how to execute these techniques correctly will ensure that your cozy has the right shape and size.
4. Finishing techniques
To give your wine bottle cozy a polished look, you’ll need to master various finishing techniques. This includes weaving in ends neatly, blocking the knitted fabric to smooth out any wrinkles or unevenness, and sewing the seams together. Paying attention to these details will elevate the overall appearance of your cozy and make it look more professional.
By mastering these essential knitting techniques, you’ll be well-equipped to create a successful wine bottle cozy. Get creative with your yarn and color choices, and don’t be afraid to experiment with different stitch patterns to make your cozy truly unique.
How to cast on and create a sturdy base for your cozy
Creating a sturdy base for your knitted wine bottle cozy is essential to ensure that it fits securely and stays in place. One of the first steps in creating the cozy is casting on, which sets the foundation for the project. To cast on, you can use the long-tail cast on method, which is a popular and versatile method for starting various knitting patterns.
To begin casting on, make a slipknot by creating a loop with your yarn, leaving a long tail. Insert your needle through the loop and tighten the knot around the needle. Hold the needle with the slipknot in your right hand and the long tail in your left hand.
Step 1: Hold the needle in your right hand and loop the working yarn (the yarn connected to the ball) over your thumb from front to back.
Step 2: Bring the long tail of the yarn (the yarn connected to the ball) under your index finger, creating a crossed loop.
Step 3: Insert the needle under the loop on your thumb, going from back to front, and then over the loop on your index finger, going from front to back.
Step 4: With your right hand, bring the needle toward you and through the loop on your thumb, sliding the loop onto the needle. Drop the loop from your thumb.
Step 5: Release the loop from your index finger, allowing it to tighten around the needle.
Step 6: Repeat steps 1-5 until you have cast on the required number of stitches for your cozy.
By using the long-tail cast on method, you will create a sturdy base for your wine bottle cozy that will securely hold the bottle in place. This cast on method is highly versatile and can be used for various knitting projects, making it a valuable technique for knitters of all skill levels.
Mastering the Seed Stitch for a Textured and Cozy Look
The seed stitch is a simple knitting stitch pattern that creates a textured and cozy fabric. It is perfect for adding interest and warmth to your knitted projects, such as a wine bottle cozy. By mastering the seed stitch, you can easily create a beautiful and unique design.
To knit the seed stitch, you will need to alternate between knitting and purling stitches. The pattern is created by working a knit stitch, followed by a purl stitch, and then repeating this pattern across the row. The next row is worked by knitting the purl stitches and purling the knit stitches. This alternating pattern creates a bumpy texture that gives the fabric its cozy look.
The seed stitch is great for beginners as it is easy to learn and creates a beautiful result. It also doesn’t curl like some other stitch patterns, making it ideal for projects like a wine bottle cozy that require a flat and stable fabric. The textured surface of the seed stitch adds an extra layer of insulation, keeping your wine bottle warm and protected.
When knitting a wine bottle cozy using the seed stitch, you can experiment with different yarn colors and combinations to create a personalized and stylish design. You can also incorporate additional stitch patterns, such as ribbing or cables, to add even more texture to your cozy. Whether you’re knitting for yourself or as a gift, the seed stitch is sure to impress with its unique and cozy look.
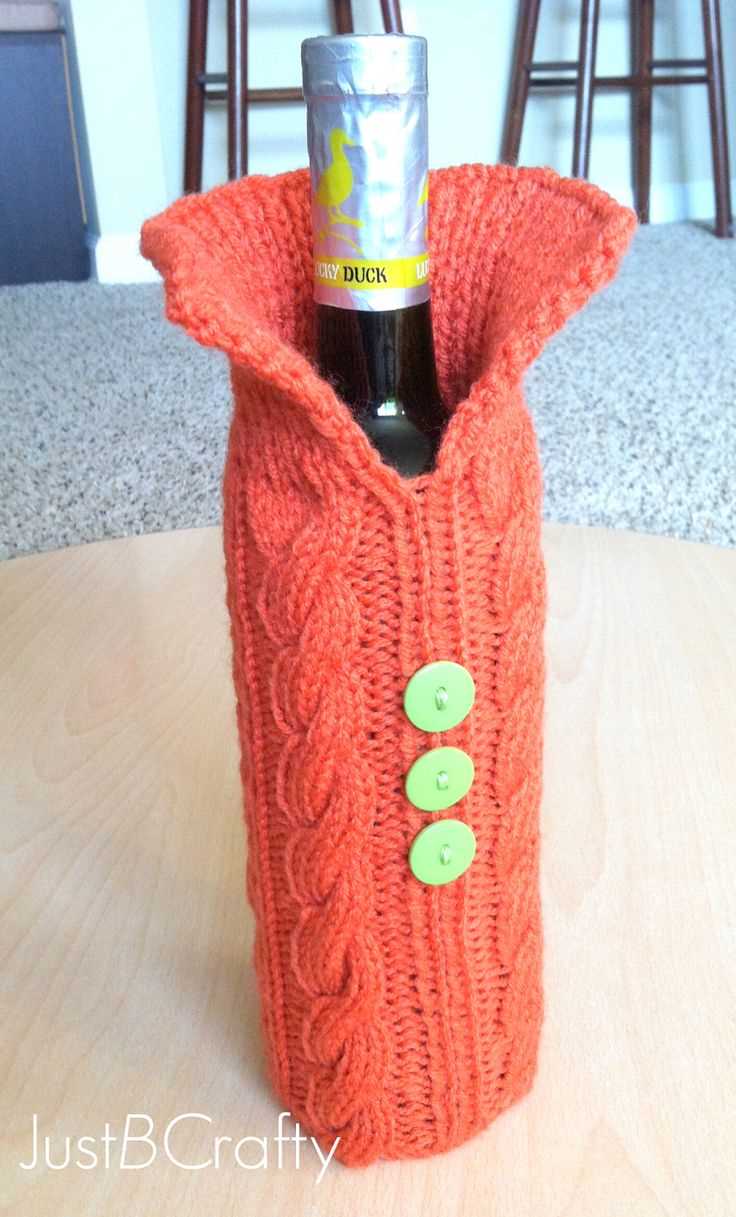
Creating a Ribbed Pattern for Added Stretch and Style
When knitting a cozy for your wine bottle, you want to ensure that it not only looks stylish but also fits snugly around the bottle. One way to achieve this is by incorporating a ribbed pattern into your design. Ribbing not only adds a touch of texture and visual interest to your cozy, but it also allows for greater stretch and flexibility.
To create a ribbed pattern, you will alternate between knitting and purling stitches in a specific pattern. The most common ribbed pattern is the 1×1 rib, where you knit one stitch and purl the next, repeating this sequence across the row. This creates vertical columns of knit and purl stitches that give the fabric its characteristic ribbed appearance.
By using a ribbed pattern, your wine bottle cozy will have more stretch and elasticity, allowing it to easily fit bottles of different sizes. The ribbing also adds some insulation, which can help keep your wine at the desired temperature for longer periods. Additionally, the ribbed texture adds a touch of style to the cozy, making it a statement accessory for any wine bottle.
When selecting yarn for your cozy, consider using a blend that includes some elastic fibers or a yarn with a high wool content, as this will enhance the stretchiness of the ribbed pattern. Experiment with different ribbed patterns, such as 2×2 rib or seed stitch, to create unique and personalized designs for your wine bottle cozy.
How to Knit in the Round for a Seamless Finish
Knitting in the round is a technique that allows you to create seamless projects without the need for seams. This is especially useful for items like hats, socks, and sleeves, where the absence of seams creates a more comfortable and polished final product. Here, we will explore the steps involved in knitting in the round, ensuring a beautiful and seamless finish to your knitting project.
Gather Your Materials
Before you start knitting in the round, make sure you have the necessary materials. You will need double-pointed needles (DPNs) or a circular needle, depending on the size of your project. DPNs are typically used for small circumference projects, while circular needles are more suitable for larger projects. Additionally, you will need a stitch marker to mark the beginning of each round.
Cast on and Join
To begin knitting in the round, cast on the desired number of stitches onto your DPNs or circular needle. Make sure the stitches are evenly distributed across the needles. Once you have cast on, join the round by bringing the first stitch of the cast on row together with the last stitch, being careful not to twist your stitches. Place a stitch marker to mark the beginning of the round.
Knitting in the Round
Once you have joined the round, you can begin knitting in the round. Simply continue knitting each round, working all stitches in the same direction. There is no need to turn your work or purl any stitches. This creates a seamless tube of knitting. When you reach the stitch marker indicating the beginning of the round, move it to the next row to mark the new beginning.
Finishing Off
When you have completed your desired number of rounds or reached the end of your pattern, it’s time to finish off your knitting in the round. To do this, simply bind off your stitches as you would in flat knitting. Cut your yarn, leaving a long tail, and thread it through the remaining stitches, pulling tight to secure. Weave in any loose ends, and your seamless knitting project is complete!
Knitting in the round allows you to create beautiful and seamless projects, free from the bulk and discomfort of seams. By following these simple steps, you can confidently knit in the round and enjoy the process of creating seamless and polished knitted items.
Sizing your wine bottle cozy for a perfect fit
When knitting a wine bottle cozy, it’s important to ensure a perfect fit that not only keeps your beverage insulated, but also adds a touch of style to your gift or table setting. To achieve this, it’s essential to consider the measurements of the bottle and adjust your knitting pattern accordingly.
1. Measure the circumference: Start by measuring the circumference of the wine bottle you plan to cover. Use a flexible measuring tape or a piece of string to wrap around the thickest part of the bottle. Take note of this measurement as it will be the basis for determining the width of your cozy.
2. Calculate the width: Take the circumference measurement and divide it by the number of stitches per inch that you achieve with your chosen yarn and needle size. This will give you an approximate number of stitches to cast on for your cozy. Remember to round up or down to the nearest whole number to ensure an even number of stitches for symmetry.
3. Determine the height: The height of your wine bottle cozy can vary depending on personal preference. Some knitters prefer a shorter, snug fit, while others like a longer, slouchy look. Measure the height of the bottle from the base to the neck and add a few extra inches for an allowance for stretch and fold-over ribbing at the top. This will be the total height of your cozy.
4. Consider stretch: Keep in mind that knitted fabric has some stretch, so it’s important to consider this when sizing your cozy. If in doubt, it’s better to go for a slightly smaller size as the stretch will accommodate a snug fit. Additionally, consider using a ribbing pattern for the top edge of the cozy to allow for further stretch and flexibility.
By following these steps and adjusting your pattern accordingly, you can create a wine bottle cozy that fits your chosen bottle perfectly. Whether you’re gifting it or using it for your own personal enjoyment, a well-fitted cozy will not only keep your wine at the ideal temperature, but also make a stylish statement.
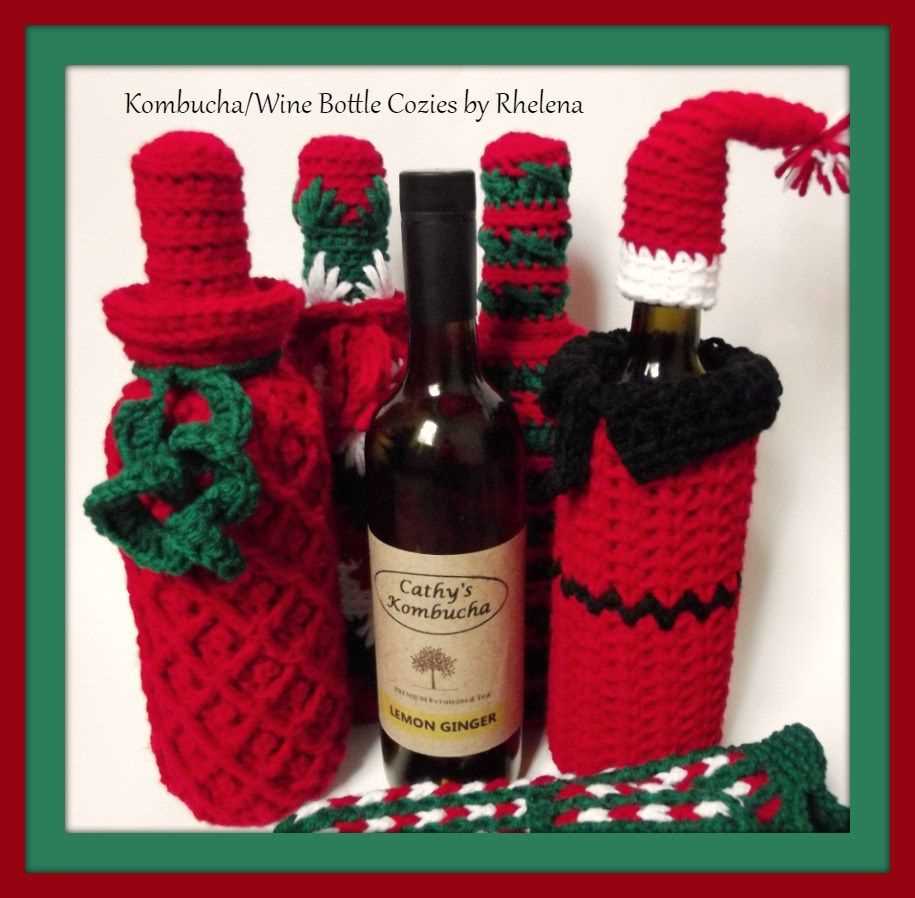
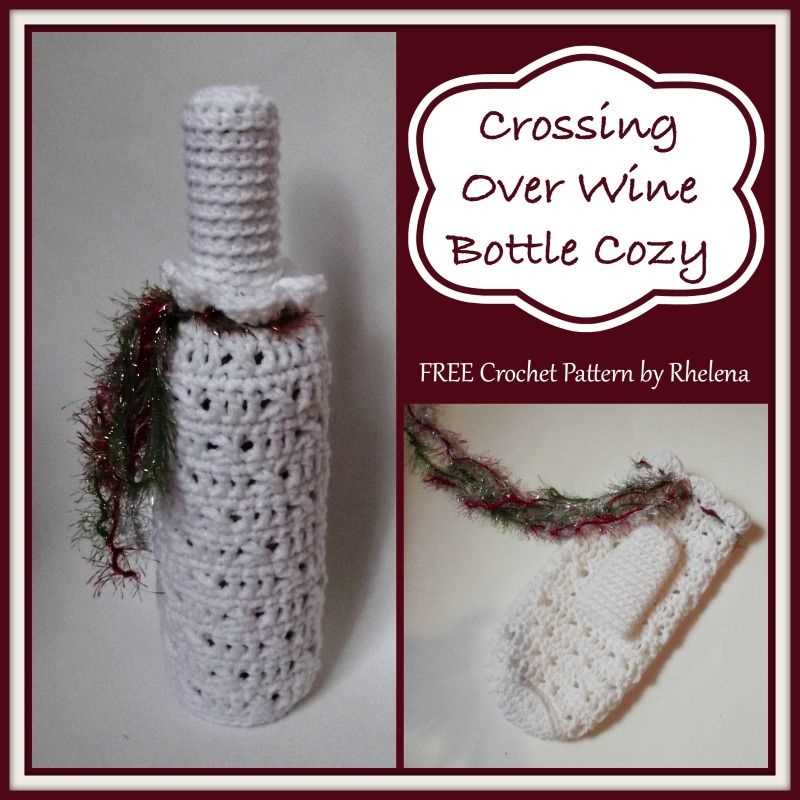
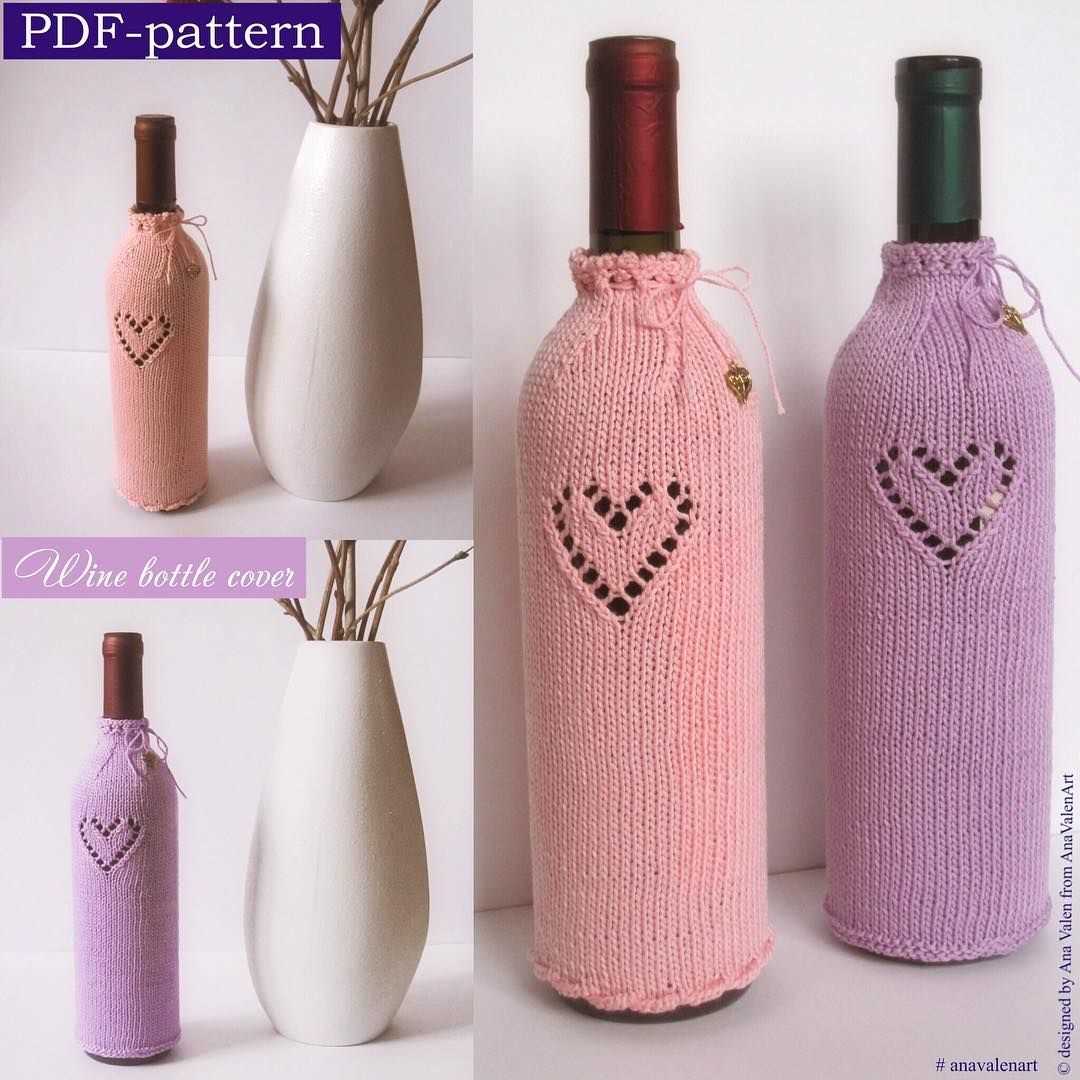
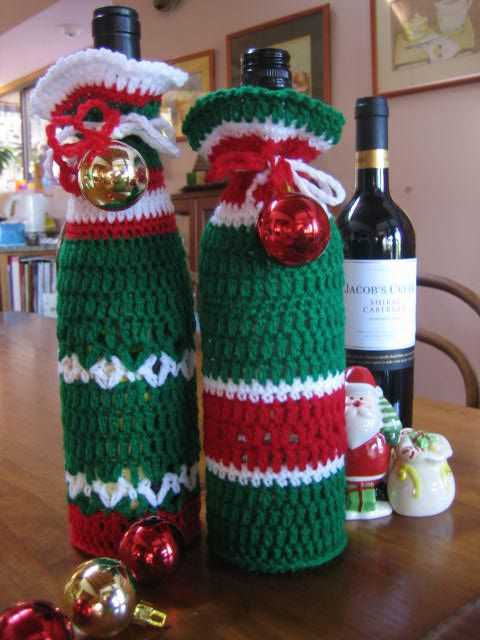
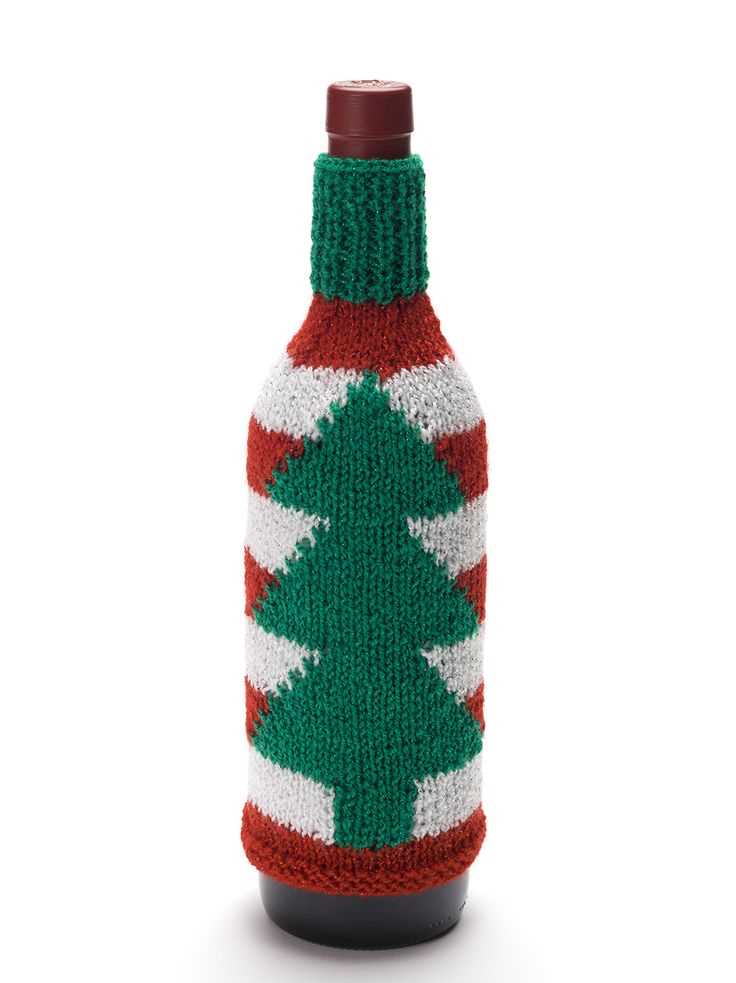
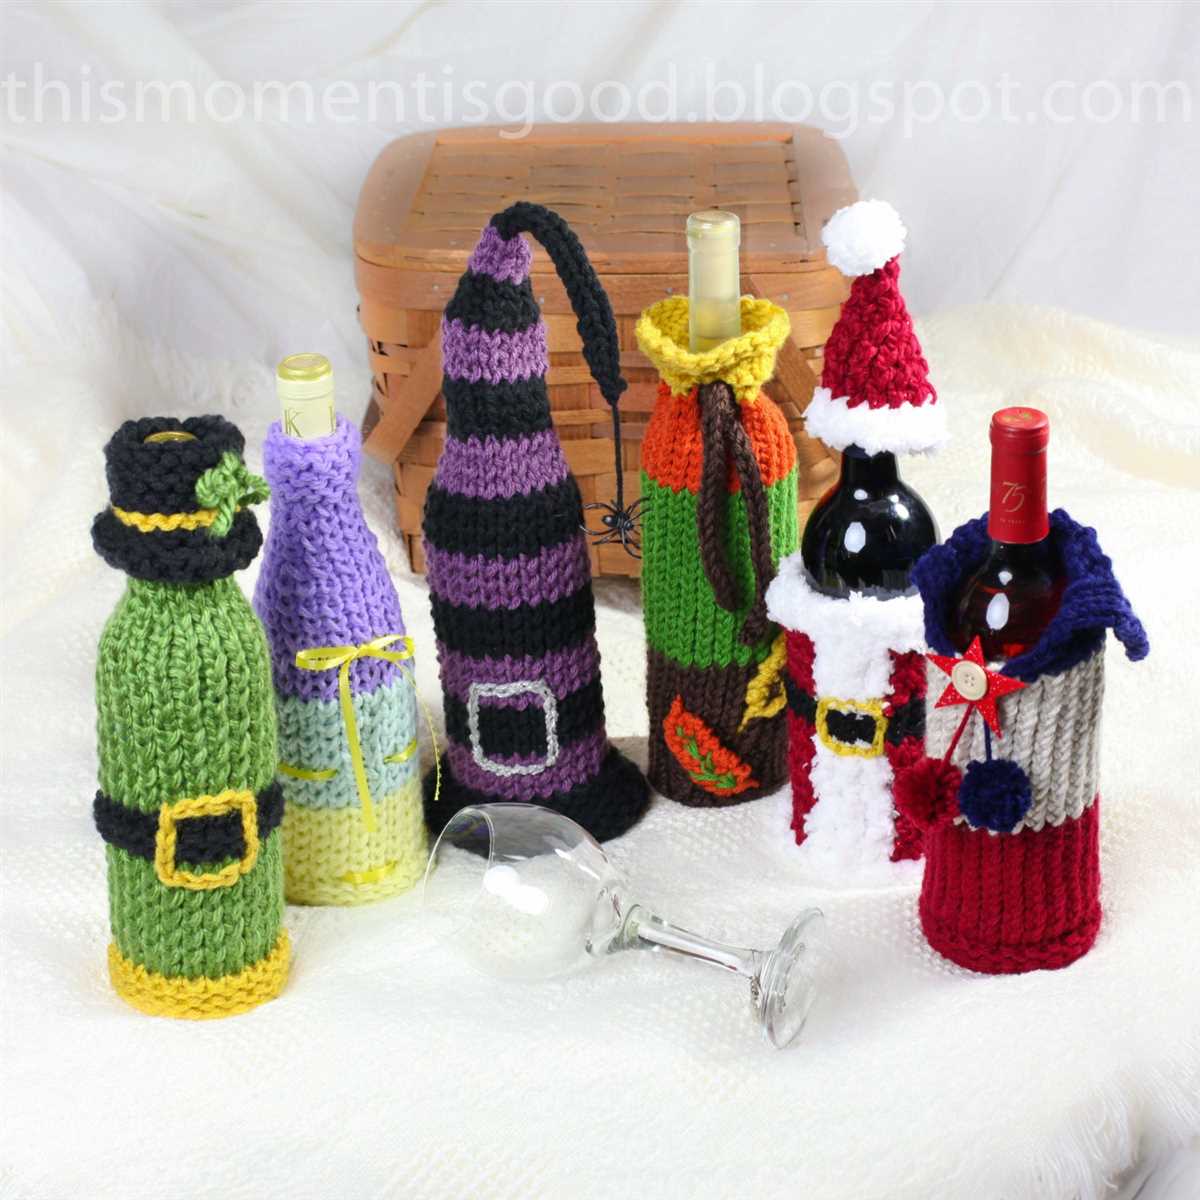
Adding decorative elements to personalize your cozy
Once you’ve mastered the basics of knitting a wine bottle cozy, you can take your project to the next level by adding decorative elements that will make it truly unique. These personal touches can be as simple or elaborate as you like, and they will add an extra special touch to your cozy.
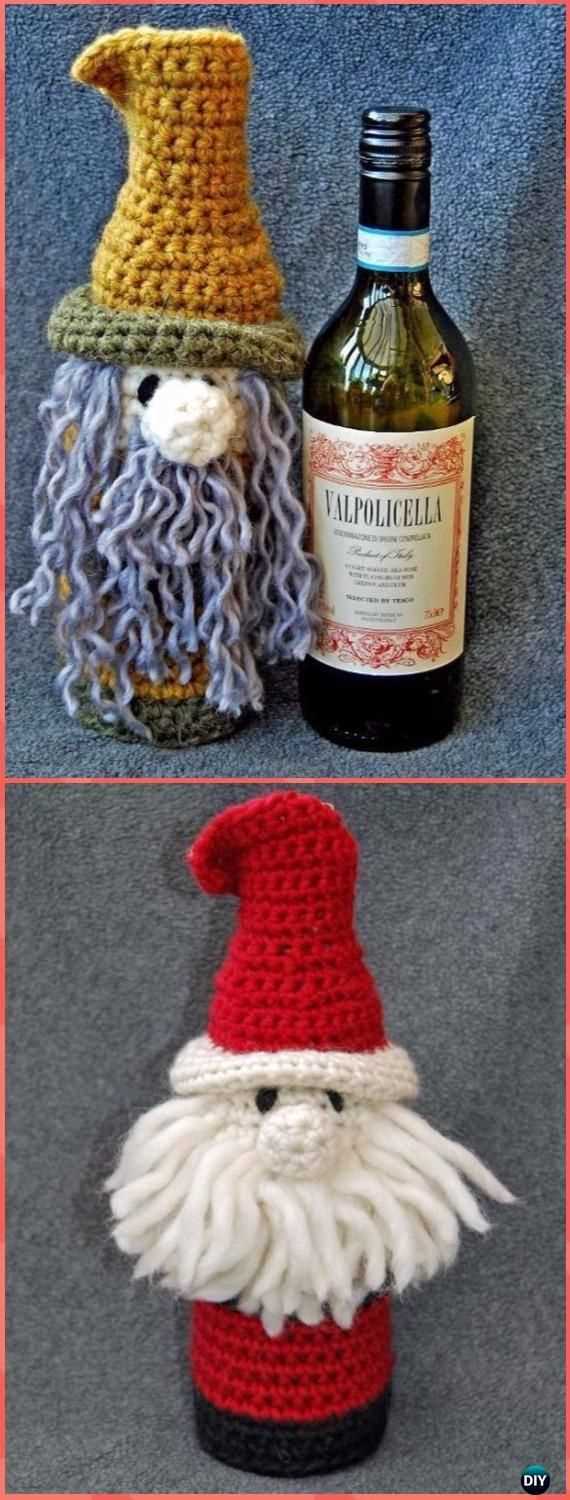
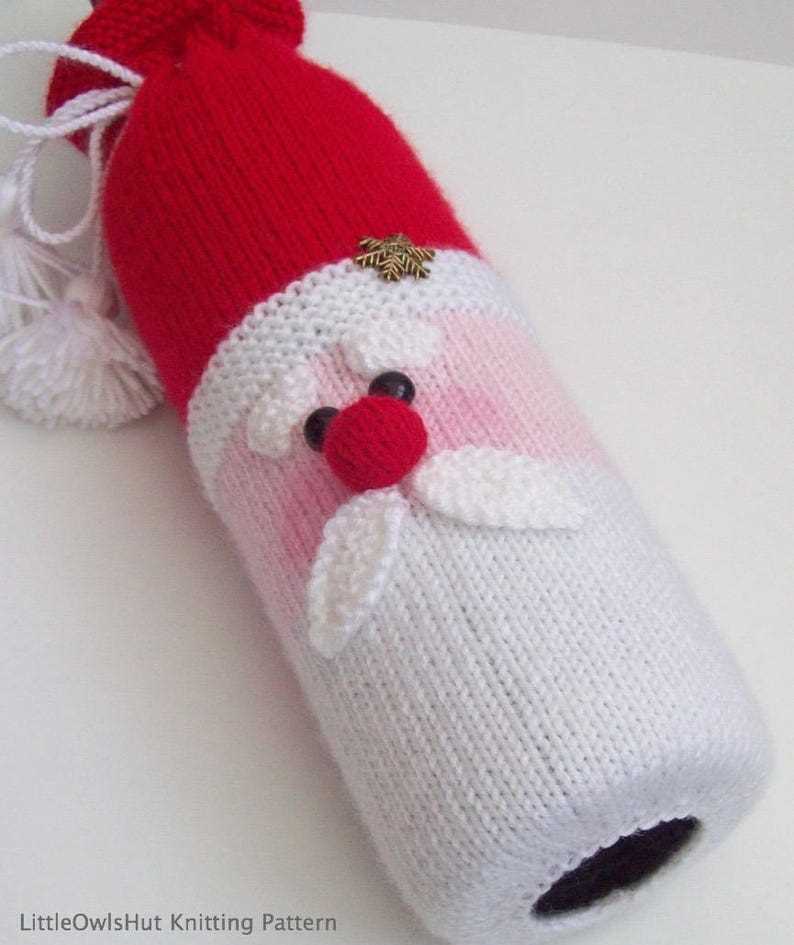
1. Embroidery: One way to personalize your cozy is to add embroidered designs. You can use colorful yarn to create intricate patterns or stitch on initials or words to make it truly your own. Embroidery can be done before or after the cozy is finished, depending on the design and your preferences.
2. Appliques: Another way to add decorative elements is by attaching appliques. These can be small fabric or knit shapes that are sewn or glued onto the cozy. You can find pre-made appliques at craft stores or make your own using fabric scraps or leftover yarn.
3. Buttons and beads: Adding buttons or beads to your cozy is a great way to add texture and visual interest. You can sew buttons onto the cozy to create a decorative pattern, or string beads onto the yarn as you knit to create a beaded design. These small embellishments can make a big difference in the overall look of your cozy.
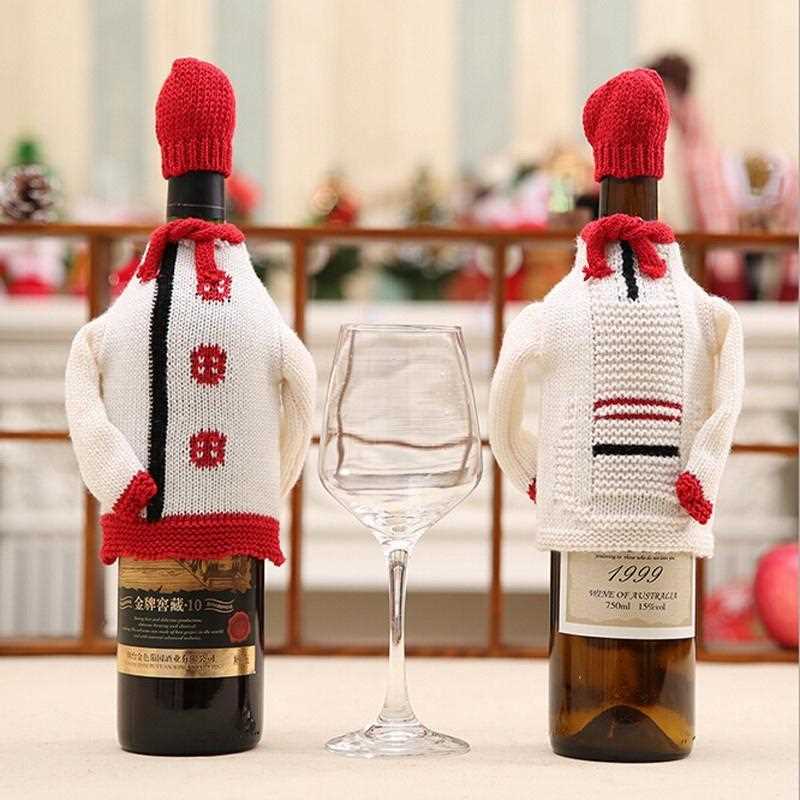
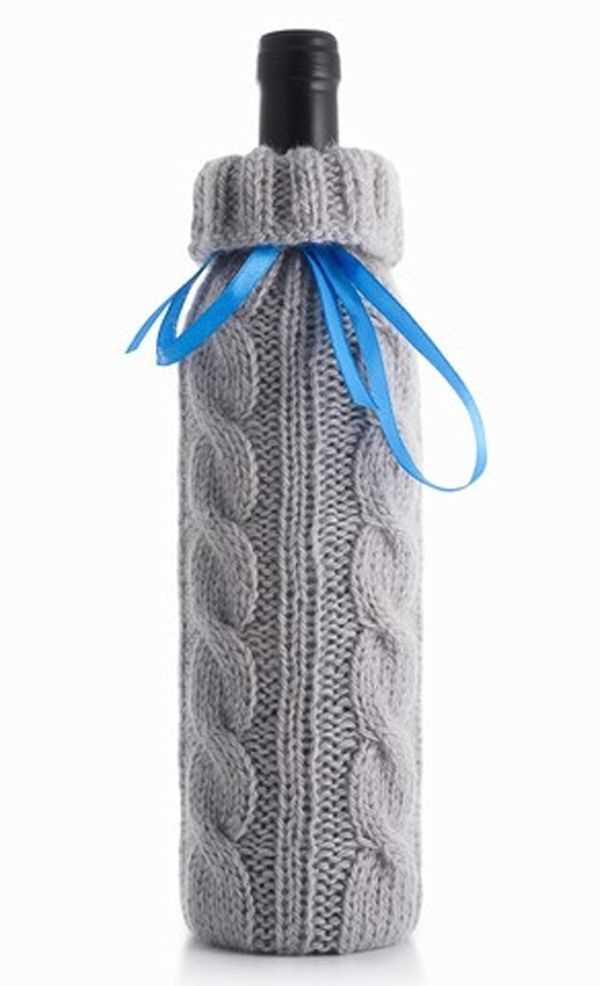
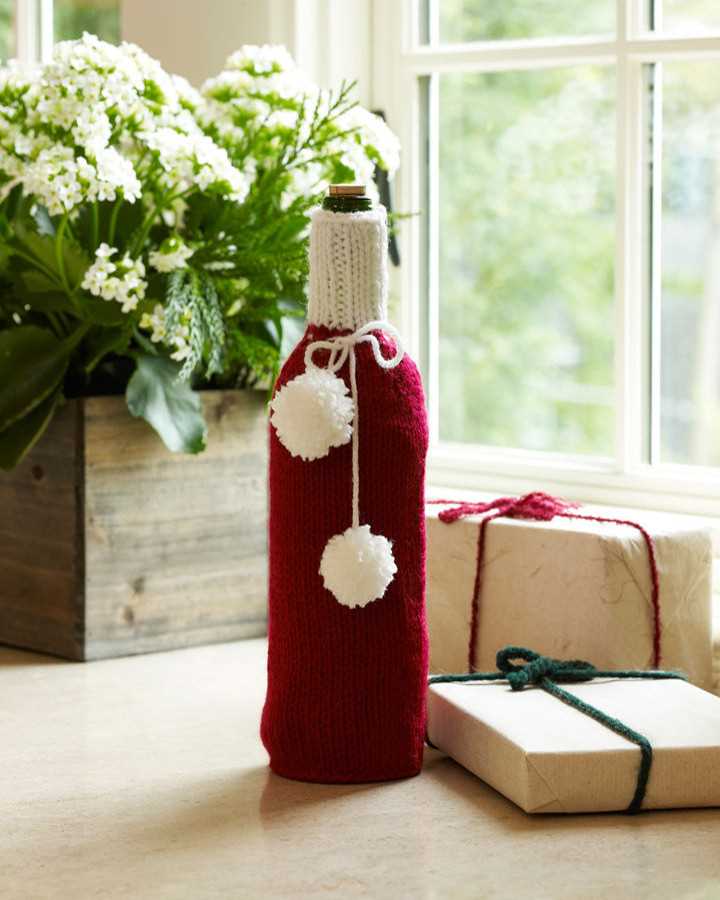
4. Ribbons and bows: If you want to give your cozy a more feminine or festive touch, consider adding ribbons or bows. You can tie a ribbon around the neck of the bottle or attach a small bow to the front of the cozy. This is a simple yet effective way to personalize your cozy and make it stand out.
By adding these decorative elements, you can turn a simple wine bottle cozy into a unique and personalized accessory. Whether you choose to embroider, applique, add buttons and beads, or use ribbons and bows, these personal touches will make your cozy one-of-a-kind and a great gift or conversation starter at your next gathering.
Tips and tricks for professional-looking finishing touches
When it comes to knitting a wine bottle cozy, adding professional-looking finishing touches can make all the difference. Whether you are making one for yourself or as a gift, here are some tips and tricks to elevate your cozy to the next level.
1. Block your finished piece
Blocking your knitted wine bottle cozy is an important step to give it a polished and professional appearance. This process involves shaping and stretching the piece to even out stitches and make the design look more uniform. It can also help to enhance the texture and fit of the cozy.
2. Pay attention to tension
Consistent tension throughout your knitting is key to achieve neat and professional results. Make sure to maintain an even tension as you knit the cozy, especially when switching between different stitches or colors. This will help to create an even fabric and prevent any puckering or unevenness in the finished piece.
3. Hide loose ends
One common finishing challenge in knitting is dealing with loose ends. To ensure a professional finish, make sure to weave in any loose ends securely and discreetly. Take your time to sew them in neatly, preferably using a tapestry needle, so they are not visible and won’t unravel over time.
4. Use a decorative closure
Adding a decorative closure to your wine bottle cozy can give it an extra special touch. Consider adding a button, ribbon, or even a fancy brooch to fasten the cozy. This not only adds visual interest but also allows for easy removal and reuse of the cozy.
5. Experiment with embellishments
If you want to take your wine bottle cozy to the next level, consider adding some embellishments. You can use contrasting yarn colors to embroider simple designs or create intricate patterns. Additionally, you can attach beads, sequins, or charms for an added touch of sparkle and personality.
By following these tips and tricks, you can make your knitted wine bottle cozy look professional and polished. Whether you are keeping it for yourself or giving it as a gift, these finishing touches will take your cozy to the next level and impress anyone who sees it.
Creative Ways to Use Your Knitted Wine Bottle Cozy Beyond the Bottle
Knitted wine bottle cozies are a versatile and enjoyable project that can add a touch of warmth and personality to your favorite bottle of wine. But why limit their use to just wine bottles? Here are some creative ways to utilize your knitted wine bottle cozy beyond its intended purpose:
1. Flower Vase Cover
Transform your knitted wine bottle cozy into a charming cover for a small flower vase. Simply slip the cozy over the vase, adjusting it to fit snugly. This will instantly give your flowers a cozy and rustic look, perfect for adding a cozy touch to your home décor.
2. Utensil Holder
When hosting a dinner party or a picnic, use your knitted wine bottle cozy as a unique utensil holder. Roll up your silverware and secure it with a piece of ribbon or twine, then place it inside the cozy. This not only adds a fun and decorative element to your table setting, but it also keeps your utensils organized and easily accessible.
3. Tumbler Cozy
Don’t limit your cozies to just bottles – they can also be used to keep your favorite tumbler or travel cup insulated. Slide your tumbler into the cozy and adjust it to fit securely. This is particularly handy for keeping your hot drinks warm or your cold drinks cold while on the go.
4. Gift Wrap Accent
Add an extra touch of thoughtfulness to your gift wrapping by incorporating a knitted wine bottle cozy. Instead of using traditional ribbon or a bow, wrap the cozy around the gift box and secure it with a decorative pin or button. This unique and reusable accent will add a cozy and personal touch to any gift.
5. Home Decor Accent
Take advantage of the cozy and textured nature of your knitted wine bottle cozy by using it as a home decor accent. Drape it over the back of a chair or a sofa for a cozy and inviting touch. You can also hang it on a wall or use it as a decorative throw for a small piece of furniture.
With these creative ideas, you can enjoy the functionality and charm of your knitted wine bottle cozy in various ways beyond just wrapping a bottle. Let your imagination run wild and explore the endless possibilities of this versatile knitted accessory!
Knitting for a cause: donating your wine bottle cozies for charity
Knitting is not only a fulfilling hobby but also an opportunity to make a positive impact on the community through charitable donations. One creative way to contribute is by knitting wine bottle cozies and donating them to charities and fundraisers. These cozy covers not only add a touch of charm to any wine bottle but also help raise funds for worthy causes.
When donating your knitted wine bottle cozies, you can choose to support a cause that resonates with you personally. Whether it’s a local animal shelter, a children’s hospital, or an organization fighting hunger, there are numerous charities that would greatly appreciate your handiwork. By donating your cozies, you’re not only supporting these causes financially but also spreading awareness about the important work they do.
One of the benefits of donating wine bottle cozies is that they are both practical and decorative. They can be used as unique gifts, auction items, or even sold at fundraising events. These cozy coverings are a hit among wine enthusiasts and collectors, making them a popular choice for charity endeavors. Additionally, knitting wine bottle cozies is a relatively quick and easy project for knitters of all skill levels, allowing you to create a significant quantity for donation.
By donating your knitted wine bottle cozies, you’re not only bringing joy to those who receive them but also supporting charitable organizations that work tirelessly to make a difference in the lives of others. Your donations can help provide vital resources, medical treatments, or support for individuals and communities in need. So why not put your knitting skills to good use and make a positive impact by donating your cozy creations to charity?
Frequently Asked Questions about Knitting Wine Bottle Cozies
Here are some frequently asked questions about knitting wine bottle cozies:
1. What materials do I need to knit a wine bottle cozy?
To knit a wine bottle cozy, you will need:
- Knitting needles
- Yarn
- Scissors
2. What are the different types of stitches I can use?
There are various stitches you can use to knit a wine bottle cozy, including:
- Garter stitch
- Stockinette stitch
- Rib stitch
3. Can I use a different sized yarn or needles?
Yes, you can use a different sized yarn and needles for your wine bottle cozy. Just keep in mind that it may affect the size and fit of the cozy.
4. How long does it typically take to knit a wine bottle cozy?

The time it takes to knit a wine bottle cozy will vary depending on your knitting speed and the complexity of the pattern. On average, it can take a few hours to a few days to complete a cozy.
5. Can I customize the design of my wine bottle cozy?
Yes, you can customize the design of your wine bottle cozy by using different yarn colors, adding embellishments, or experimenting with different stitch patterns.
6. Are wine bottle cozies washable?
Most wine bottle cozies can be hand washed or machine washed on a gentle cycle. However, it is always best to check the care instructions for the specific yarn you are using.
7. Can I knit a wine bottle cozy for other bottle sizes?
Yes, you can adjust the size of the wine bottle cozy pattern to fit other bottle sizes. Measure the circumference and height of the bottle you want to knit for and make the necessary adjustments to the pattern.
In conclusion, knitting wine bottle cozies is a fun and creative way to add a touch of style to your wine bottles. With a few basic materials and some knitting skills, you can create unique and personalized cozies to gift or use for your own wine bottles.
Q&A:
Where can I find a free knitted wine bottle cozy pattern?
You can find free knitted wine bottle cozy patterns on craft websites, knitting blogs, and online knitting communities such as Ravelry.
What materials do I need to knit a wine bottle cozy?
To knit a wine bottle cozy, you will need yarn (preferably a durable and washable type), knitting needles (suitable for the yarn weight), a tapestry needle, and any additional embellishments you may want to add, such as buttons or bows.
Are wine bottle cozies difficult to knit?
Wine bottle cozies can vary in difficulty, depending on the pattern you choose. Some patterns may be more suitable for beginners, while others may require more advanced knitting skills such as cable or lace knitting.
How long does it typically take to knit a wine bottle cozy?
The time it takes to knit a wine bottle cozy can vary depending on your knitting speed and the complexity of the pattern. Generally, it may take a few hours to a couple of days to complete a wine bottle cozy project.
Can I customize my wine bottle cozy pattern?
Yes, you can definitely customize your wine bottle cozy pattern to suit your preferences. You can choose different colors, yarn textures, and add any embellishments or patterns that you like.
Where can I find a free knitted wine bottle cozy pattern?
You can find a free knitted wine bottle cozy pattern on various websites such as Ravelry, AllFreeKnitting, and LoveCrafts. These websites offer a wide range of patterns, including cozy patterns for wine bottles.
What materials do I need to make a knitted wine bottle cozy?
To make a knitted wine bottle cozy, you will need knitting needles (size may vary depending on the pattern), yarn (preferably a soft and durable one), a tape measure, a tapestry needle, and scissors.