
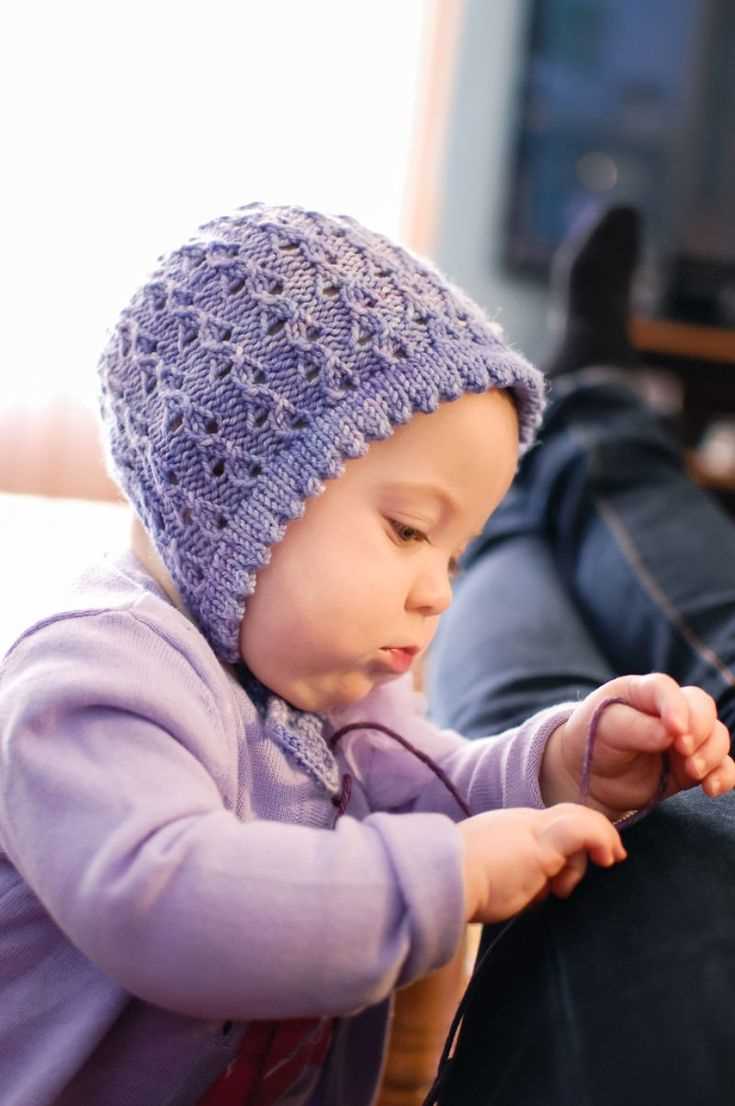
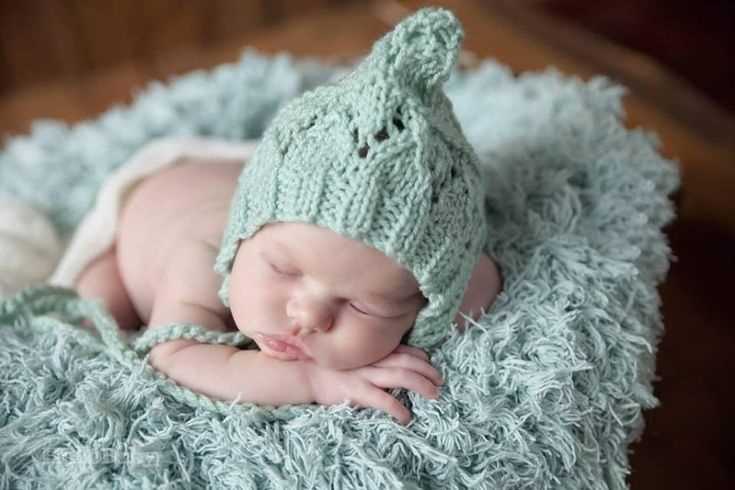
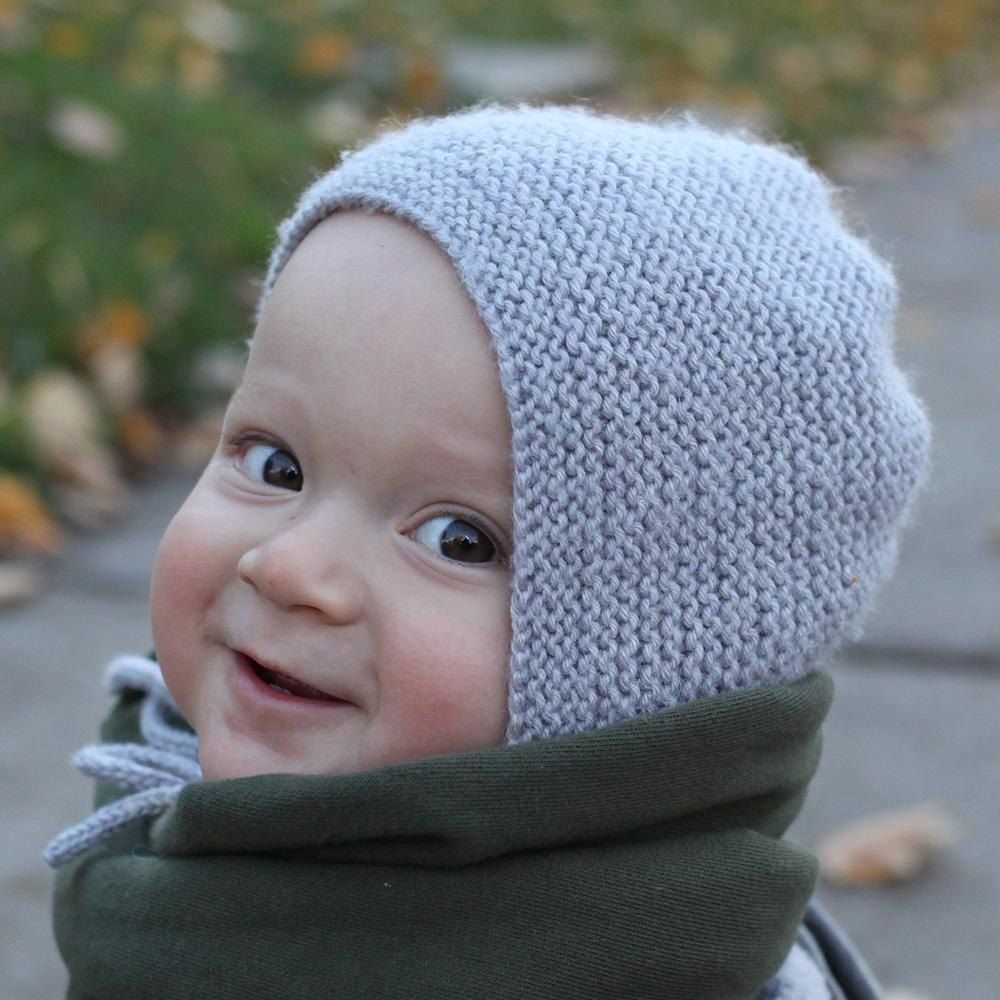
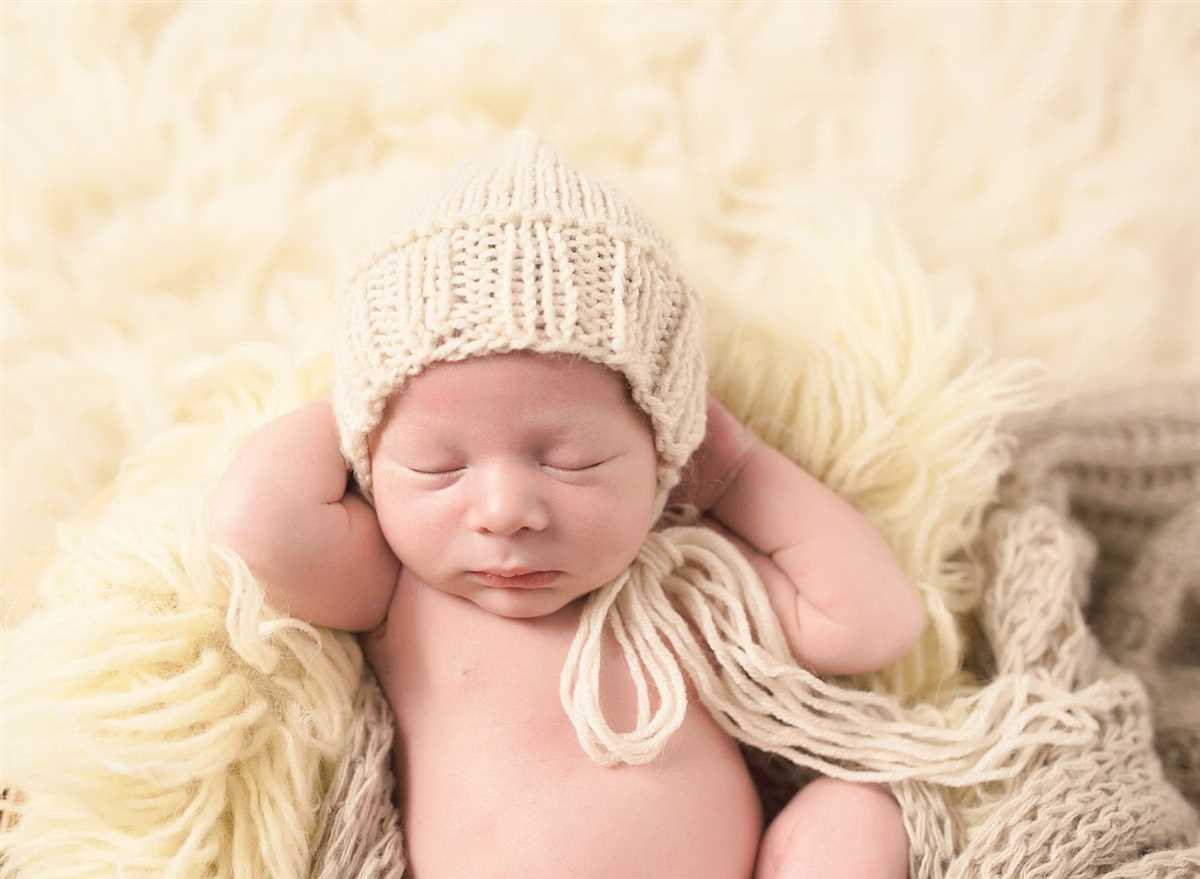
Knitting is a popular hobby for many people, and there’s nothing more rewarding than creating something beautiful and functional with your own two hands. If you’re a knitter looking for a new project, why not consider knitting a baby bonnet? Baby bonnets are not only cute and adorable, but they also make great gifts for expectant mothers or for your own little one.
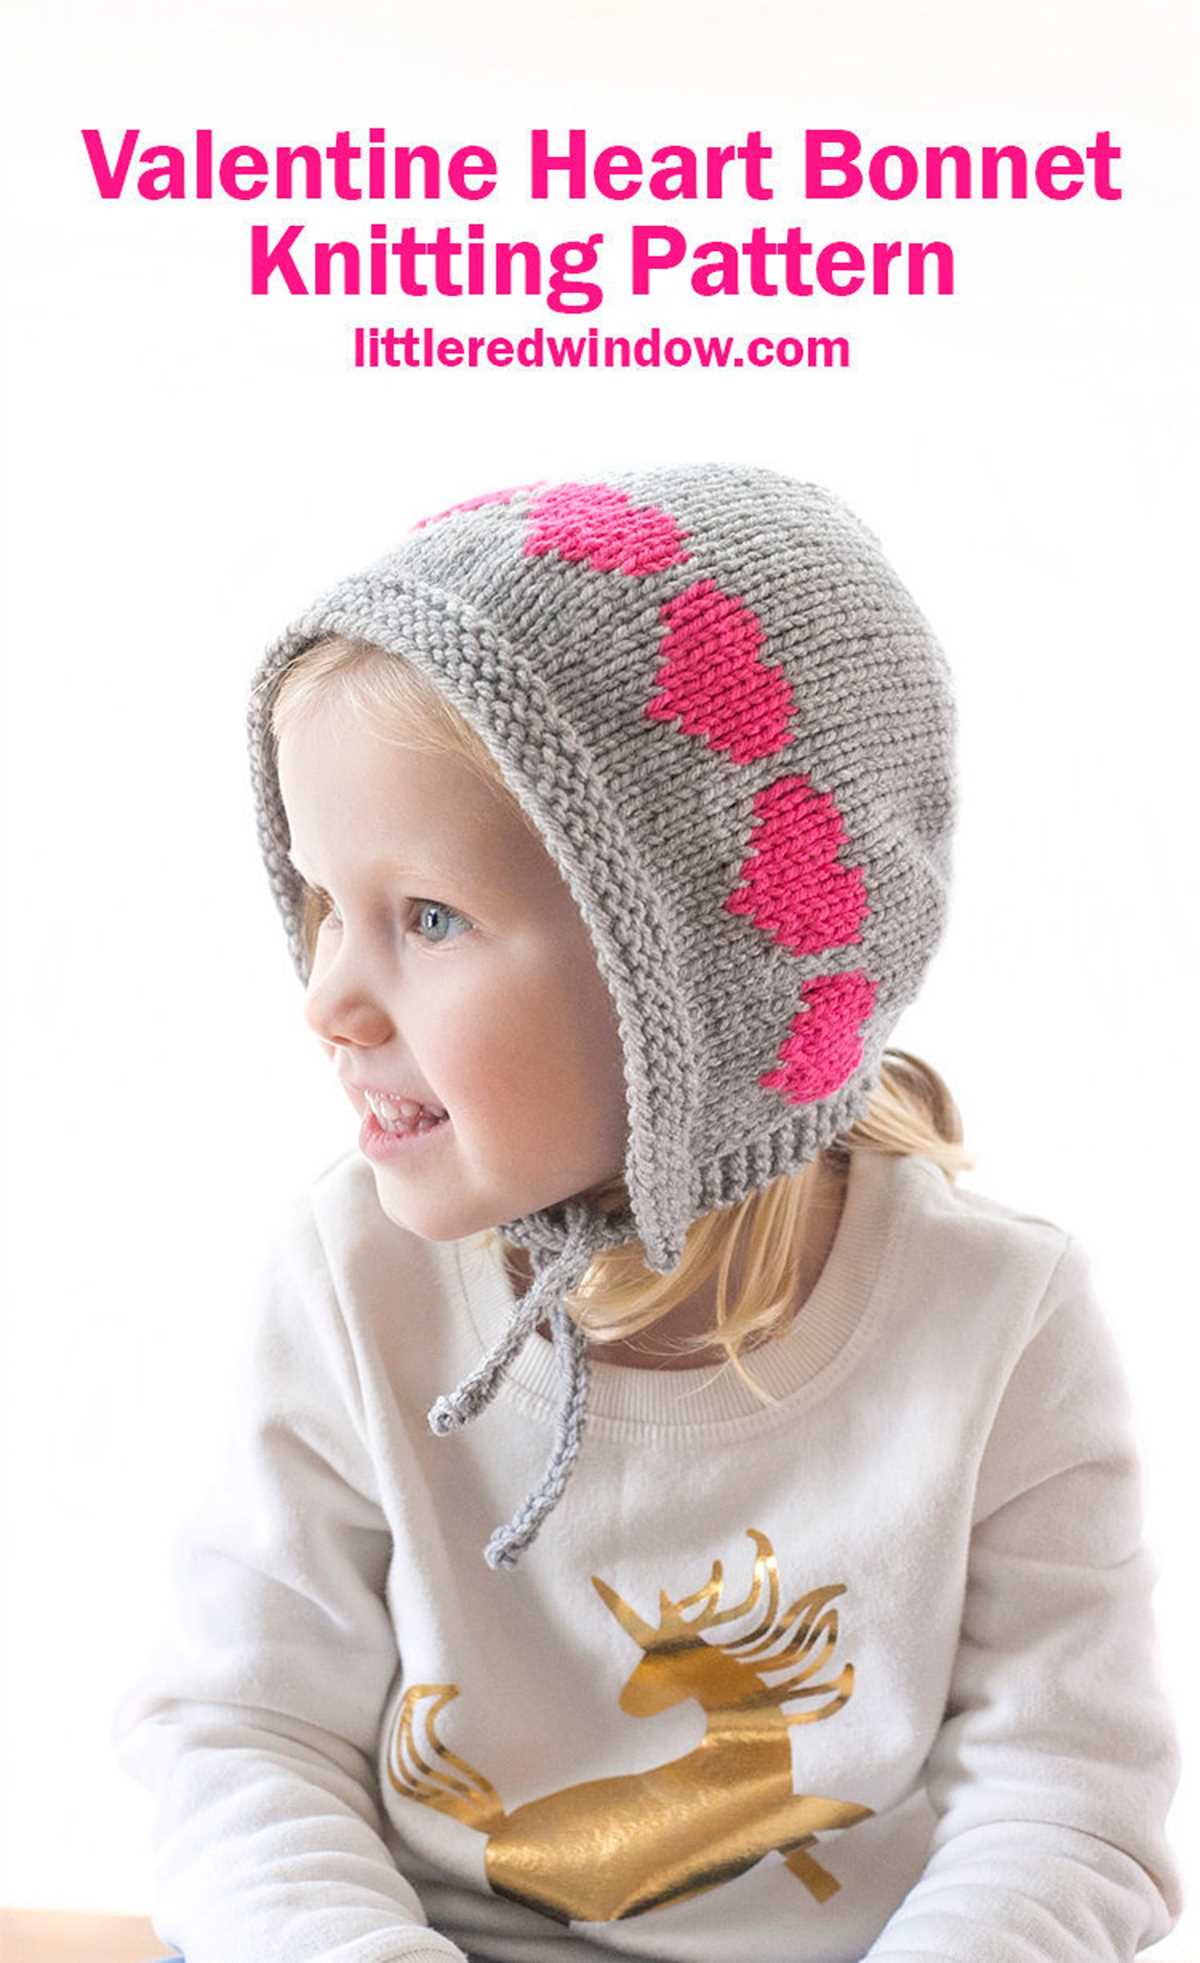
There are many different baby bonnet knitting patterns available, but one of the most popular and versatile is the classic bonnet pattern. This pattern typically features a cozy brim to keep your baby’s head warm, as well as ties to secure the bonnet in place. The classic bonnet pattern can be easily customized by adding lace trim, embroidery, or other decorative elements to make it uniquely yours.
When it comes to selecting the right yarn for your baby bonnet, it’s important to choose a soft and comfortable yarn that won’t irritate your baby’s delicate skin. Many knitters prefer using baby-friendly yarns made from cotton or bamboo, as they are hypoallergenic and gentle on the skin. Additionally, it’s always a good idea to check the washing instructions on the yarn label, as some yarns may require special care.
If you’re new to knitting, don’t worry – knitting a baby bonnet is a great project for beginners. There are plenty of beginner-friendly patterns available online, as well as helpful tutorials and videos to guide you through the process. With a little patience and practice, you’ll be able to create a beautiful and cozy baby bonnet that will be cherished for years to come.
Baby Bonnet Knitting Pattern
Knitting a baby bonnet is a delightful and rewarding project that can provide warmth and comfort for your little one. Whether you are an experienced knitter or just starting out, this baby bonnet knitting pattern is a great choice. With its simple and timeless design, this bonnet is perfect for both boys and girls.
Materials Needed:
- Worsted weight yarn – approximately 100 yards
- Knitting needles – size US 7 (4.5 mm)
- Tapestry needle
- Ribbon or tie for the bonnet
Instructions:
- Cast on 60 stitches.
- Row 1: Knit.
- Row 2: Purl.
- Repeat rows 1 and 2 until the bonnet measures approximately 5 inches.
- Next row: Knit 6, knit 2 together, repeat until the end of the row. (51 stitches)
- Next row and all odd-numbered rows: Purl.
- Next row: Knit 5, knit 2 together, repeat until the end of the row. (44 stitches)
- Next row: Purl.
- Continue decreasing in this manner on every second row until you have 12 stitches remaining.
- Bind off all stitches.
- Sew the back seam of the bonnet.
- Attach the ribbon or tie to the sides of the bonnet.
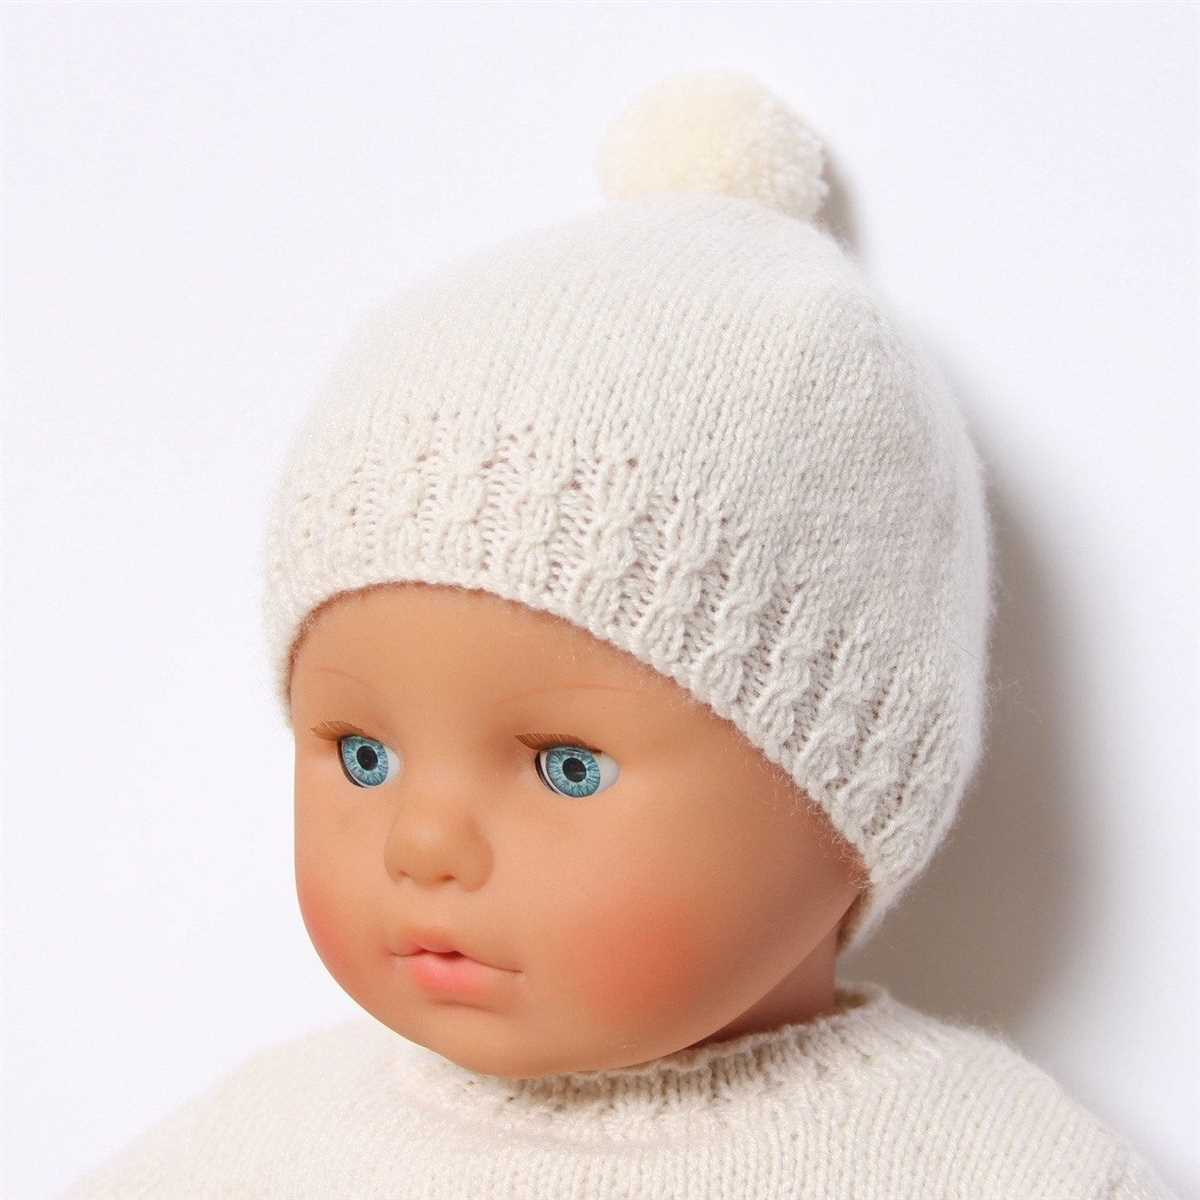
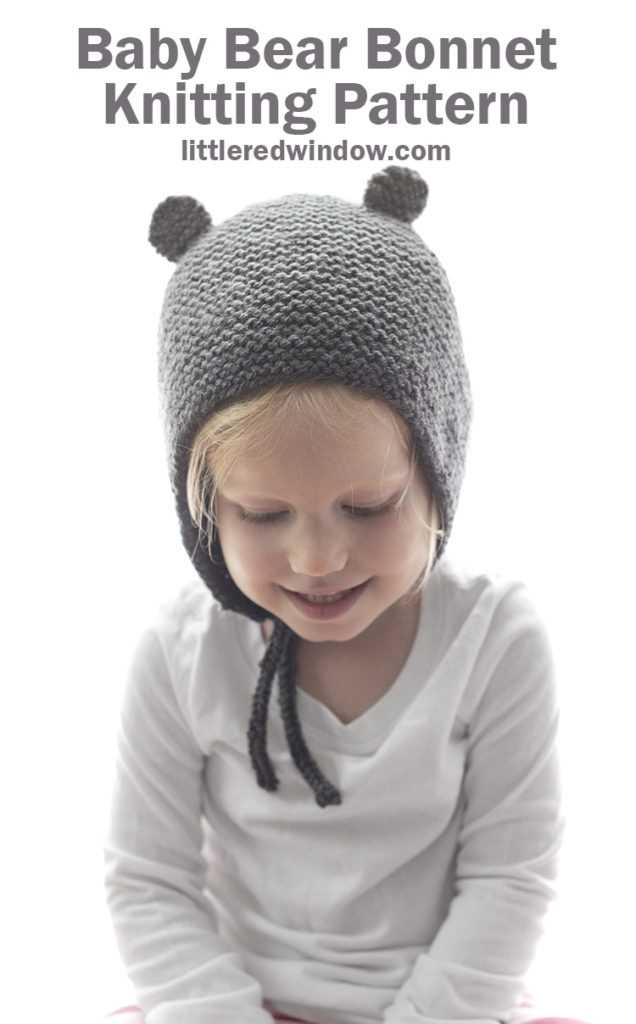
This baby bonnet knitting pattern is a versatile and customizable project. You can experiment with different yarn colors and textures to create a unique bonnet for your baby. Additionally, you can add embellishments such as bows, flowers, or buttons to make the bonnet even more special. Whether you are knitting this bonnet for your own baby or as a gift, it is sure to be cherished for years to come.
Choosing the right yarn for your baby bonnet
When it comes to knitting a baby bonnet, choosing the right yarn is essential. The yarn you use will not only determine the overall appearance of the bonnet but also its comfort and durability. Here are some factors to consider when selecting yarn for your baby bonnet project.
1. Softness: Babies have delicate skin, so it’s important to choose a yarn that is soft and gentle. Look for yarn made from natural fibers like cotton or bamboo, as they tend to be softer and less likely to cause irritation.
2. Breathability: Babies can easily overheat, so it’s crucial to choose a yarn that is breathable. Opt for yarn with an open weave or good airflow, such as lightweight cotton or bamboo. This will help to regulate the baby’s body temperature and prevent them from becoming too hot.
3. Easy care: Babies can be messy, so it’s helpful to choose yarn that is easy to care for. Look for yarn that is machine washable and can withstand frequent washing without losing its shape or softness. This will make it easier for parents to keep the bonnet clean and in good condition.
4. Durability: Babies are unpredictable and can be rough on their clothing. Choose yarn that is durable and will hold up to wear and tear. Look for yarn with a high twist or strong fibers, such as a cotton blend or a merino wool blend. This will ensure that the bonnet remains in good condition for as long as possible.
5. Color and design: Lastly, consider the color and design of the yarn. The yarn you choose should complement the overall style of the bonnet and match the baby’s wardrobe. Opt for soft and pastel colors for a sweet and classic look, or choose bold and vibrant colors for a more modern and playful style.
In conclusion, choosing the right yarn for your baby bonnet is important for both the baby’s comfort and the overall appearance of the bonnet. Consider factors such as softness, breathability, easy care, durability, and color when making your yarn selection. With the right yarn, you can create a beautiful and functional bonnet that will keep your baby looking adorable and feeling comfortable.
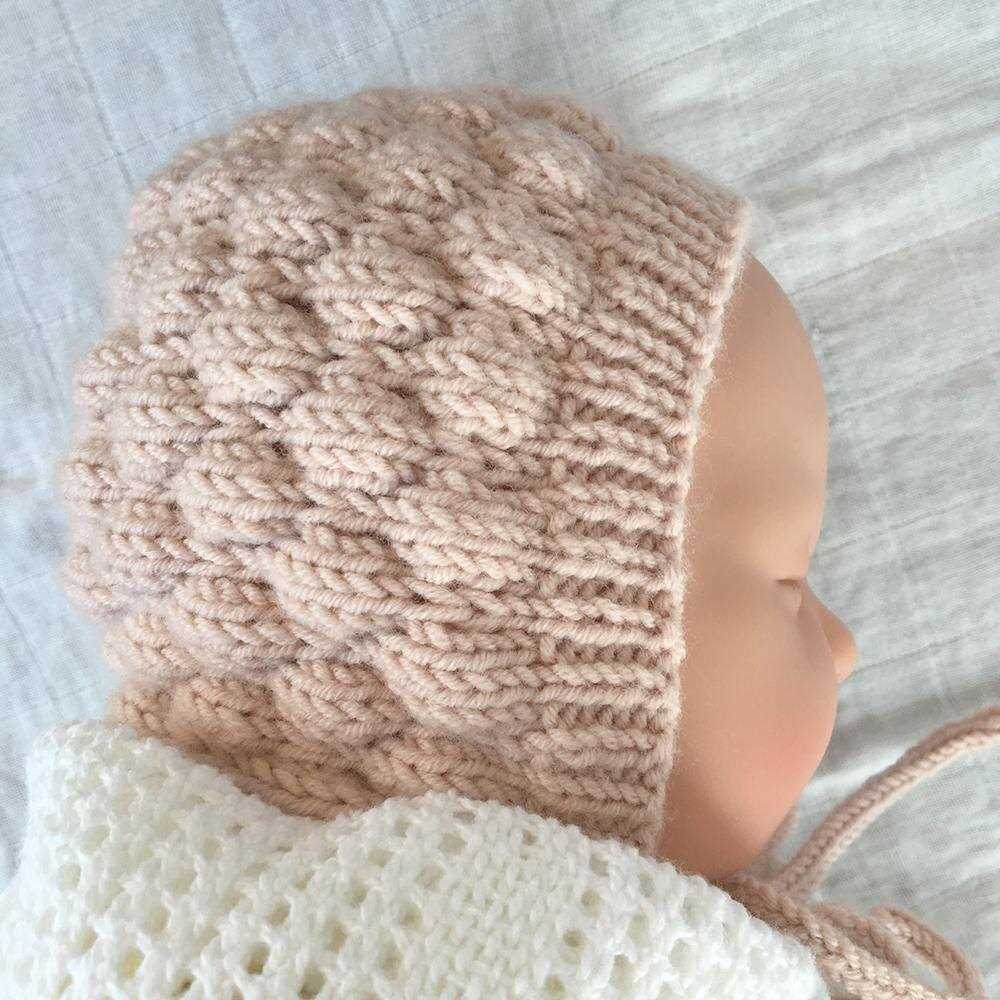
Understanding the basic stitches for knitting a baby bonnet
When knitting a baby bonnet, it is important to have a good understanding of the basic stitches used in the pattern. These stitches will form the foundation of the bonnet and determine its overall appearance and structure.
Stockinette stitch: The stockinette stitch is the most commonly used stitch in knitting and creates a smooth, flat fabric. To knit in stockinette stitch, you simply knit one row and purl the next row, repeating these two rows until you reach the desired length.
Garter stitch: Garter stitch is another basic stitch often used in knitting patterns. This stitch is created by knitting every row, resulting in a bumpy texture. It is often used for borders or edges to prevent curling and add stability to the fabric.
Other stitches that may be used in a baby bonnet pattern include:
- Rib stitch: Rib stitch is a stretchy stitch pattern that is often used for cuffs, hems, and necklines. It is created by alternating knit and purl stitches in the same row, typically in a 1×1 or 2×2 pattern.
- Seed stitch: Seed stitch creates a textured fabric with small, raised bumps. It is made by alternating knit and purl stitches within the same row, repeating this pattern for the entire fabric.
Understanding and being able to execute these basic stitches is essential for successfully knitting a baby bonnet. By mastering these stitches, you can create a beautiful and functional bonnet for your little one.
Tips for Selecting the Right Knitting Needles
Choosing the right knitting needles is an important step in starting any knitting project. The type of needles you use can greatly impact the final outcome of your project, as well as your comfort and ease while knitting. Here are some tips to help you select the right knitting needles for your next project:
1. Consider the type of yarn
When selecting knitting needles, it’s important to consider the type of yarn you’ll be using. Different yarns have different thicknesses, and choosing needles that are too large or too small for the yarn can result in uneven stitches and an ill-fitting finished product. As a general rule, use larger needles for thicker yarns and smaller needles for thinner yarns.
2. Think about the project
The type of project you’re working on can also influence your needle selection. For example, if you’re knitting a delicate lace shawl, you may want to choose lightweight needles with sharp points to help achieve intricate lace patterns. On the other hand, if you’re knitting a cozy blanket, you may prefer bulkier needles for faster progress. Consider the desired drape, stitch definition, and texture of your project to determine the best needle size and type.
3. Get a feel for different materials
Knitting needles come in a variety of materials, including metal, wood, and plastic. Each material has its own unique properties that can affect your knitting experience. Metal needles tend to be smooth and slick, making them great for beginners or fast knitters. Wood needles provide a warm feel and natural grip, which can be helpful for those with sweaty hands or who prefer a more tactile knitting experience. Plastic needles are lightweight and affordable, making them a popular choice for knitters on a budget. Try out different materials to see which one feels the most comfortable and enjoyable for you.
4. Test out different brands and styles
Lastly, don’t be afraid to experiment with different brands and styles of knitting needles. Each brand may have slight variations in size, weight, and manufacturing, which can affect the overall knitting experience. Some knitters prefer circular needles for their versatility and ease of use, while others prefer double-pointed needles for working on smaller projects like socks or gloves. Take the time to test out different brands and styles to find the needles that work best for your knitting style and preferences.
Step-by-step tutorial on casting on stitches for a baby bonnet
1. Gather your materials: To cast on stitches for a baby bonnet, you will need a pair of knitting needles, a skein of yarn in the color and weight of your choice, and a pair of scissors.
2. Choose a suitable knitting needle size: Depending on the yarn weight you’ve chosen, you’ll need to select an appropriate knitting needle size. Look at the yarn label for a recommended needle size, or use a gauge swatch to determine the best fit for your project.
3. Start with a slipknot: To begin casting on stitches, create a slipknot by leaving a long tail of yarn and looping it around the knitting needle. This slipknot will serve as your first cast-on stitch.
4. Make a knit stitch: Insert your right knitting needle into the slipknot from left to right, and wrap the yarn around the back of the needle. Slide the right needle tip down, pulling the loop of yarn through the slipknot, creating a new stitch on the right needle.
5. Repeat step 4: Continue making knit stitches by inserting your right knitting needle into the previous stitch from left to right and wrapping the yarn around the back of the needle. Slide the right needle tip down, pulling the loop of yarn through the previous stitch, creating a new stitch on the right needle.
6. Cast on the desired number of stitches: Continue repeating step 4 until you have cast on the desired number of stitches for your baby bonnet pattern. Remember to count your stitches periodically to ensure you have the correct number.
7. Secure your stitches: Once you have cast on all the necessary stitches, you can gently tug on the tail of yarn to tighten the stitches and make them more secure. Trim the excess yarn, leaving a small tail for weaving in later.
8. Congratulations! You have successfully cast on stitches for your baby bonnet. Now you can move on to the next steps in your pattern, such as knitting the first row or working the stitch pattern.
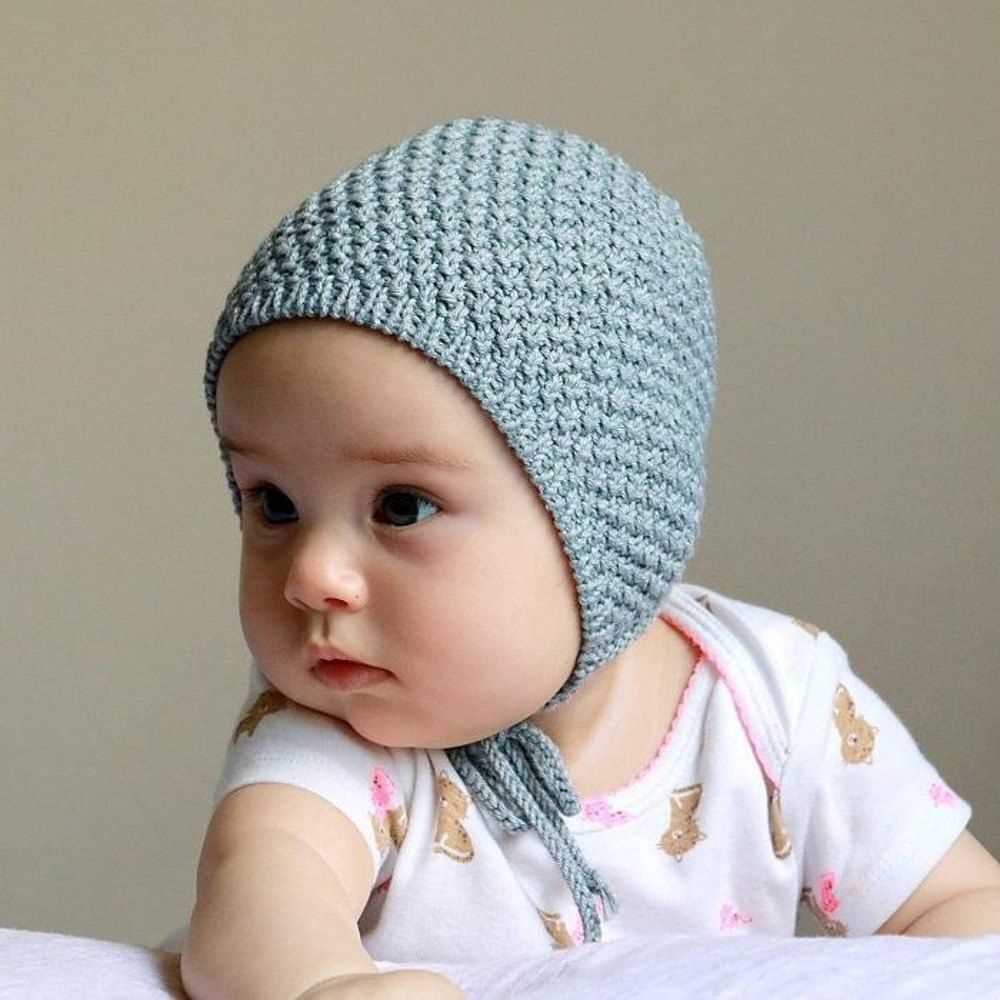
Knitting the Ribbing for Your Baby Bonnet
When knitting a baby bonnet, one of the important steps is creating the ribbing. The ribbing adds texture and elasticity to the bonnet, ensuring a snug fit around your little one’s head. To begin, cast on the required number of stitches using a smaller size needle, typically one or two sizes smaller than the main needle size. This creates a firm and stretchy edge that will hold the bonnet securely in place.
Once you have cast on the stitches, you can start working the ribbing pattern. The most common ribbing pattern used in baby bonnets is the 1×1 rib, where you alternate between knitting one stitch and purling one stitch. This creates a ribbed effect that stretches easily and provides a nice decorative detail to the bonnet.
Here is a simple pattern for knitting the ribbing:
1. Row 1: *Knit 1, purl 1; repeat from * to the end of the row.
2. Repeat Row 1: Continue knitting 1 stitch and purling 1 stitch in a repeating pattern until the ribbing reaches the desired length.
It is important to keep your tension consistent as you work the ribbing to ensure an even and professional-looking finish. You may also want to consider using a stitch marker to mark the beginning of each round, especially if you are working in the round.
Once you have completed the ribbing, you can then move on to knitting the main body of the baby bonnet. The ribbing provides a sturdy foundation for the rest of the bonnet and sets the stage for the overall design. With the ribbing complete, you are one step closer to creating a beautiful and functional baby bonnet that will keep your little one cozy and stylish.
Creating the main body of the baby bonnet
The main body of the baby bonnet is created by following a specific knitting pattern. To begin, cast on the required number of stitches onto your knitting needles, as indicated in the pattern instructions. It is important to use the correct sized needles to ensure the bonnet fits properly and has the desired tension.
Once you have cast on your stitches, you will begin working the main body of the bonnet in the specified stitch pattern. This may involve various combinations of knit and purl stitches, as well as other techniques such as increases or decreases to shape the bonnet. Pay close attention to the pattern instructions and any charts or diagrams provided.
To keep track of your progress and ensure that you are following the pattern correctly, it is helpful to use stitch markers or place a contrasting color of yarn at key points in the pattern. This will allow you to easily identify specific sections or stitches as you work through each row.
Continue knitting the main body of the bonnet according to the pattern instructions, repeating the specified stitch pattern and shaping techniques as necessary. Take your time and double-check your work periodically to ensure accuracy.
How to Shape the Crown of the Baby Bonnet
Shaping the crown of the baby bonnet is an important step in creating the perfect fit and design. Follow these steps to create a beautifully shaped crown for your baby’s bonnet:
1. Decrease Stitches: Begin shaping the crown of the bonnet by decreasing stitches. This can be done by knitting two stitches together, known as a knit two together (k2tog) decrease. This will reduce the number of stitches on the needles and create a tapered effect.
2. Repeat Decreases: Repeat the knit two together decrease at regular intervals as specified in the pattern. This will continue to reduce the number of stitches and shape the crown of the bonnet. Depending on the pattern, the decreases may be worked every other row or every few rows.
3. Adjust Decreases: As you near the top of the bonnet, you may need to adjust the decreases to ensure the desired shape is achieved. This may involve increasing or decreasing the frequency of the decreases or altering the number of stitches decreased in each decrease row.
4. Bind Off: Once the desired number of stitches has been decreased and the crown has been shaped, it is time to bind off the remaining stitches. This can be done using a standard bind off technique, such as the knit two stitches together, pass the first stitch over (k2tog, pass stitch over) bind off method.
By carefully shaping the crown of the baby bonnet, you can create a comfortable and stylish accessory for your little one. Follow the pattern instructions closely and make any necessary adjustments to achieve the perfect fit and design.
Adding decorative elements to your baby bonnet
When knitting a baby bonnet, there are many ways to add decorative elements to make it even more special. These decorative elements not only add a touch of beauty to the bonnet but also offer an opportunity to showcase your knitting skills and creativity. Here are a few ideas to inspire you:
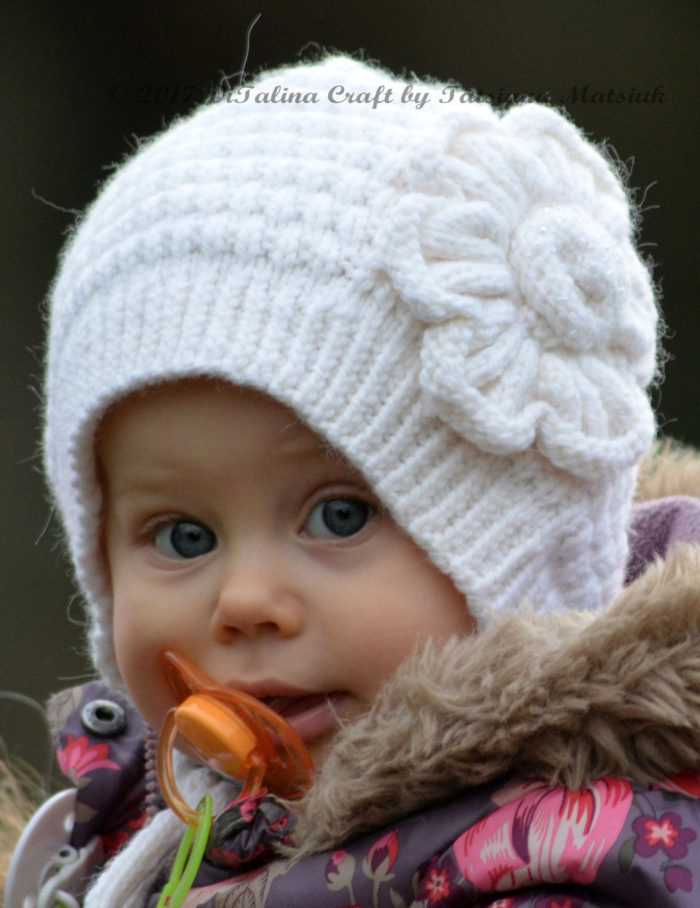
Ribbons and bows
Attaching ribbons and bows to your baby bonnet can give it a charming and feminine look. You can choose ribbons in contrasting colors to add a pop of color or opt for delicate satin ribbons for an elegant touch. Creating a small bow and attaching it to the front or side of the bonnet can be a lovely finishing touch.
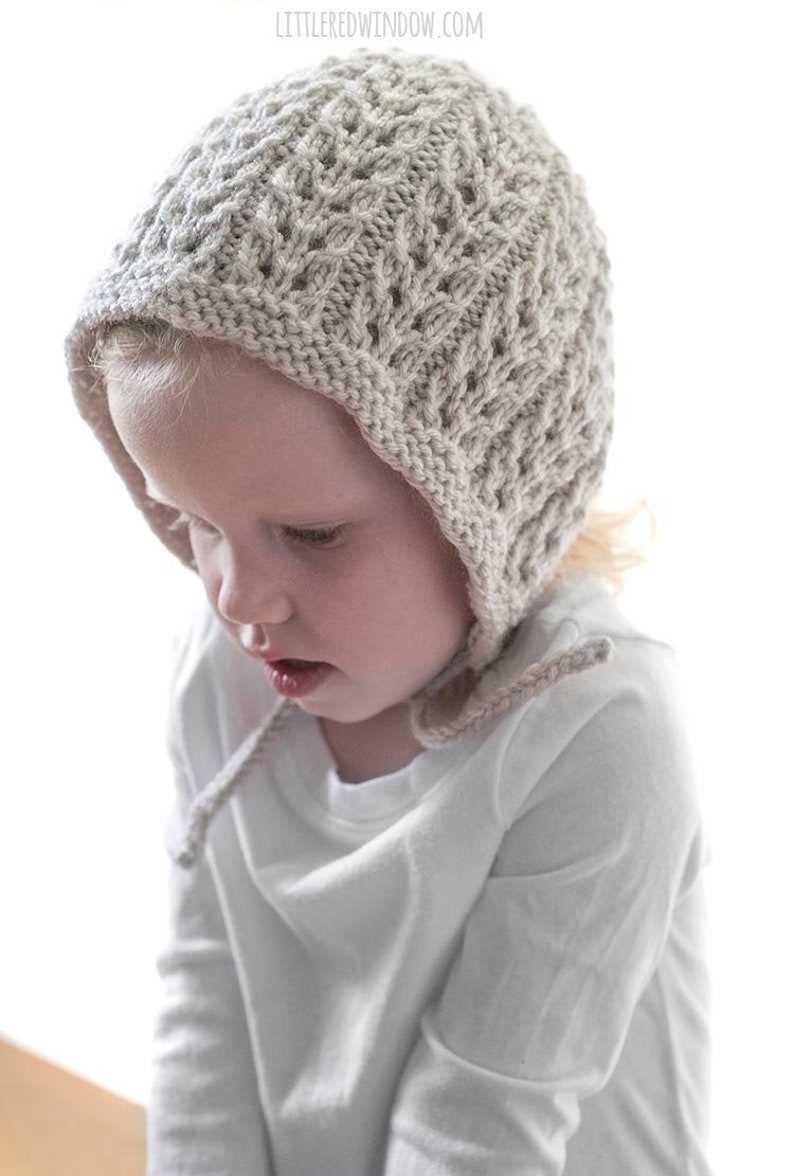
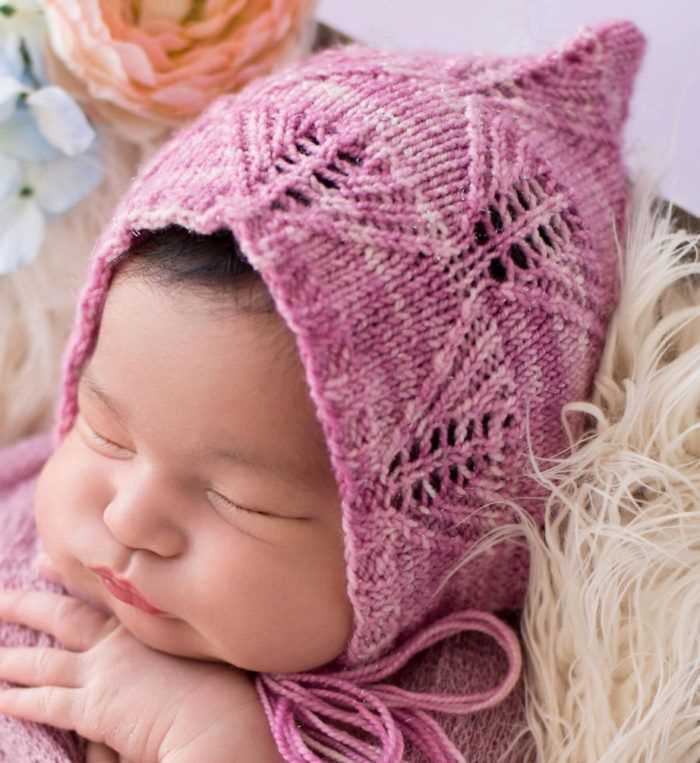
Lace trim
Adding a lace trim to the edges of the baby bonnet can instantly elevate its beauty. Opt for a delicate lace pattern that complements the style of the bonnet. Knitting a lace trim separately and then attaching it to the bonnet can create a visually striking effect. Be sure to choose a lace pattern that is not too intricate, as this can make the bonnet uncomfortable for the baby to wear.
Embroidery
Embroidery allows you to add personalized and unique details to your baby bonnet. You can embroider the baby’s initials or name onto the bonnet or create small motifs like flowers, hearts, or stars. Choose embroidery floss in colors that coordinate with the bonnet and use basic embroidery stitches like backstitch or satin stitch to create your design.
Buttons and charms
Adding decorative buttons or charms to the baby bonnet can give it a playful and whimsical touch. Choose buttons or charms in shapes that are relevant to the theme of the bonnet or reflect the baby’s personality. For example, you could use flower-shaped buttons for a spring-themed bonnet or animal-shaped charms for a bonnet with an animal motif.
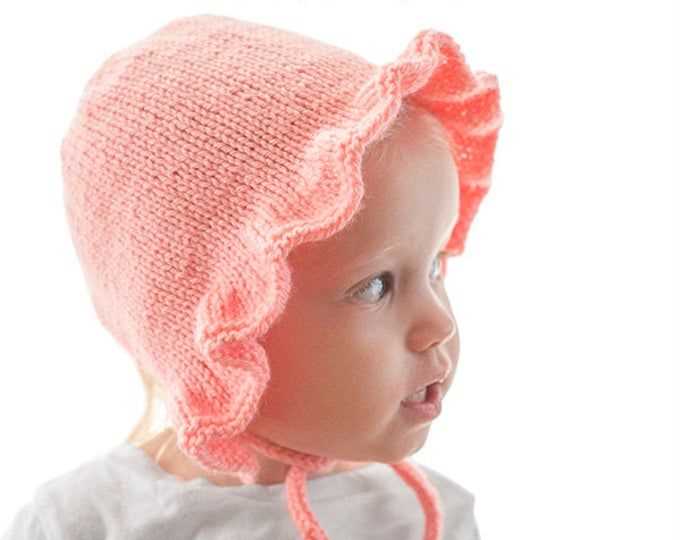
Picot edge

The picot edge is a decorative edge that can be added to the brim or edges of the baby bonnet. It is created by working a series of small loops or scallops along the edge. This simple yet effective detail adds a feminine and delicate touch to the bonnet. You can choose to work the picot edge in a contrasting color or use the same color as the bonnet for a subtle effect.
These are just a few of the decorative elements you can add to your baby bonnet. Get creative and have fun experimenting with different techniques and materials to make a bonnet that is truly one-of-a-kind.
Finishing touches: binding off and weaving in ends
After you have completed knitting your baby bonnet pattern, it is important to properly finish off your project to ensure a polished and professional look. This involves binding off your stitches and weaving in any loose ends.
To bind off, knit the first two stitches as normal. Then, using your left needle, lift the first stitch over the second stitch and off the needle. Repeat this process, knitting the next stitch and lifting the previous stitch over it, until you have just one stitch left on your right needle. Cut the yarn, leaving a tail of about 6 inches, and pull it through the last stitch to secure it.
Next, you will need to weave in any loose ends of yarn. Take the tail of yarn from your bind off and thread it onto a yarn needle. Insert the needle under the stitches on the backside of your work, following the natural path of the yarn. Weave the yarn in and out between the stitches for a few inches, making sure it is secure. Trim any excess yarn.
If you have additional loose ends from changing colors or joining new skeins of yarn, repeat the same process of weaving in the ends. It is important to take the time to do this step properly, as it will prevent your baby bonnet from unraveling and ensure a neat and tidy finish.
Blocking and shaping your baby bonnet
Blocking and shaping your baby bonnet is an important step in the knitting process. It helps to give your bonnet its final shape and ensures that it fits perfectly on your baby’s head.
Before blocking, soak your knitted bonnet in lukewarm water with a gentle wool wash. Gently squeeze out any excess water, but do not wring or twist the bonnet. Lay it flat on a clean, absorbent towel and roll it up to remove even more water. Unroll the towel and carefully transfer the bonnet onto a blocking board or a flat surface covered with a towel.
To shape the bonnet:
- Gently stretch the bonnet into the desired shape, making sure all the edges and stitches are even.
- Pin the bonnet in place using rustproof blocking pins. Start with the center of the back and work your way out, pinning along the edges and any intricate lace or cable patterns, if applicable.
- Check the measurements and adjust the shape and tension as needed.
Tip: If the bonnet has ribbing, you can use blocking wires to help maintain the shape and ensure the ribbing stays even.
Leave the bonnet to dry completely. Depending on the yarn and the weather, it may take a day or two for the bonnet to dry completely. Avoid moving or disturbing the bonnet while it’s drying to maintain the shape.
Once the bonnet is dry:
- Remove the blocking pins and gently unpin the bonnet.
- Inspect the bonnet for any loose stitches or ends that need to be woven in.
- Try the bonnet on your baby to make sure it fits comfortably.
Once you’ve completed these steps, your baby bonnet is now ready to be worn or gifted. The blocking process not only ensures the bonnet looks its best but also helps to set the stitches and give the bonnet a more professional finish.
Care Instructions for Your Knitted Baby Bonnet
Proper care and maintenance are essential to ensure the longevity and quality of your knitted baby bonnet. Follow these simple care instructions to keep your bonnet looking its best:
Hand Wash: It is recommended to hand wash your baby bonnet using a mild detergent or baby shampoo. Gently soak the bonnet in lukewarm water, avoiding twisting or scrubbing to prevent stretching or damaging the delicate fibers. Rinse thoroughly and squeeze out excess water, without wringing.
Drying: Lay the bonnet flat on a clean towel and gently reshape it to its original form. Leave it to air dry away from direct sunlight or heat sources to prevent color fading or shrinkage.
Storage: When not in use, store your baby bonnet in a dry and clean place, away from pets and potential damage. You can place it in a fabric bag or wrap it in tissue paper to protect it from dust and moths.
Avoid: Avoid using bleach, harsh chemicals, or fabric softeners as they can damage the fibers of the bonnet. Additionally, refrain from machine washing or drying, as it can lead to shrinkage and distortion.
- Hand wash gently
- Air dry flat
- Store in a dry and clean place
- Avoid bleach or harsh chemicals
- Avoid machine washing or drying
By following these care instructions, you can ensure that your knitted baby bonnet remains soft, beautiful, and safe for your little one’s delicate skin.
Q&A:
What is a baby bonnet knitting pattern?
A baby bonnet knitting pattern is a set of instructions and guidelines for creating a knitted bonnet specifically designed for babies. It includes details such as the type of yarn to use, recommended needle sizes, and step-by-step instructions for each stage of the knitting process.
Where can I find baby bonnet knitting patterns?
Baby bonnet knitting patterns can be found in various places. You can search for them online on knitting websites, join knitting communities and forums where members often share patterns, or purchase knitting pattern books that include a variety of baby bonnet designs. Additionally, many craft stores also offer knitting pattern leaflets or booklets.
Are baby bonnet knitting patterns suitable for beginners?
Yes, there are baby bonnet knitting patterns available that are specifically designed for beginners. These patterns usually have simple and straightforward instructions, using basic knitting stitches and techniques. They are a great way for beginners to practice and improve their knitting skills while creating a cute and useful item for a baby.
Can I customize a baby bonnet knitting pattern?
Yes, baby bonnet knitting patterns can be customized to suit your preferences and style. You can choose different colors of yarn, add embellishments such as ribbons or buttons, or modify the pattern by changing the stitch patterns or adding lace. Be sure to take note of any modifications you make to the pattern for future reference.
How long does it typically take to knit a baby bonnet?
The time it takes to knit a baby bonnet can vary depending on the complexity of the pattern, your knitting speed, and the amount of time you dedicate to knitting. On average, it may take several hours or a couple of days to complete a baby bonnet project. It’s important to read through the pattern and estimate the time required before starting to ensure it fits within your timeline.