
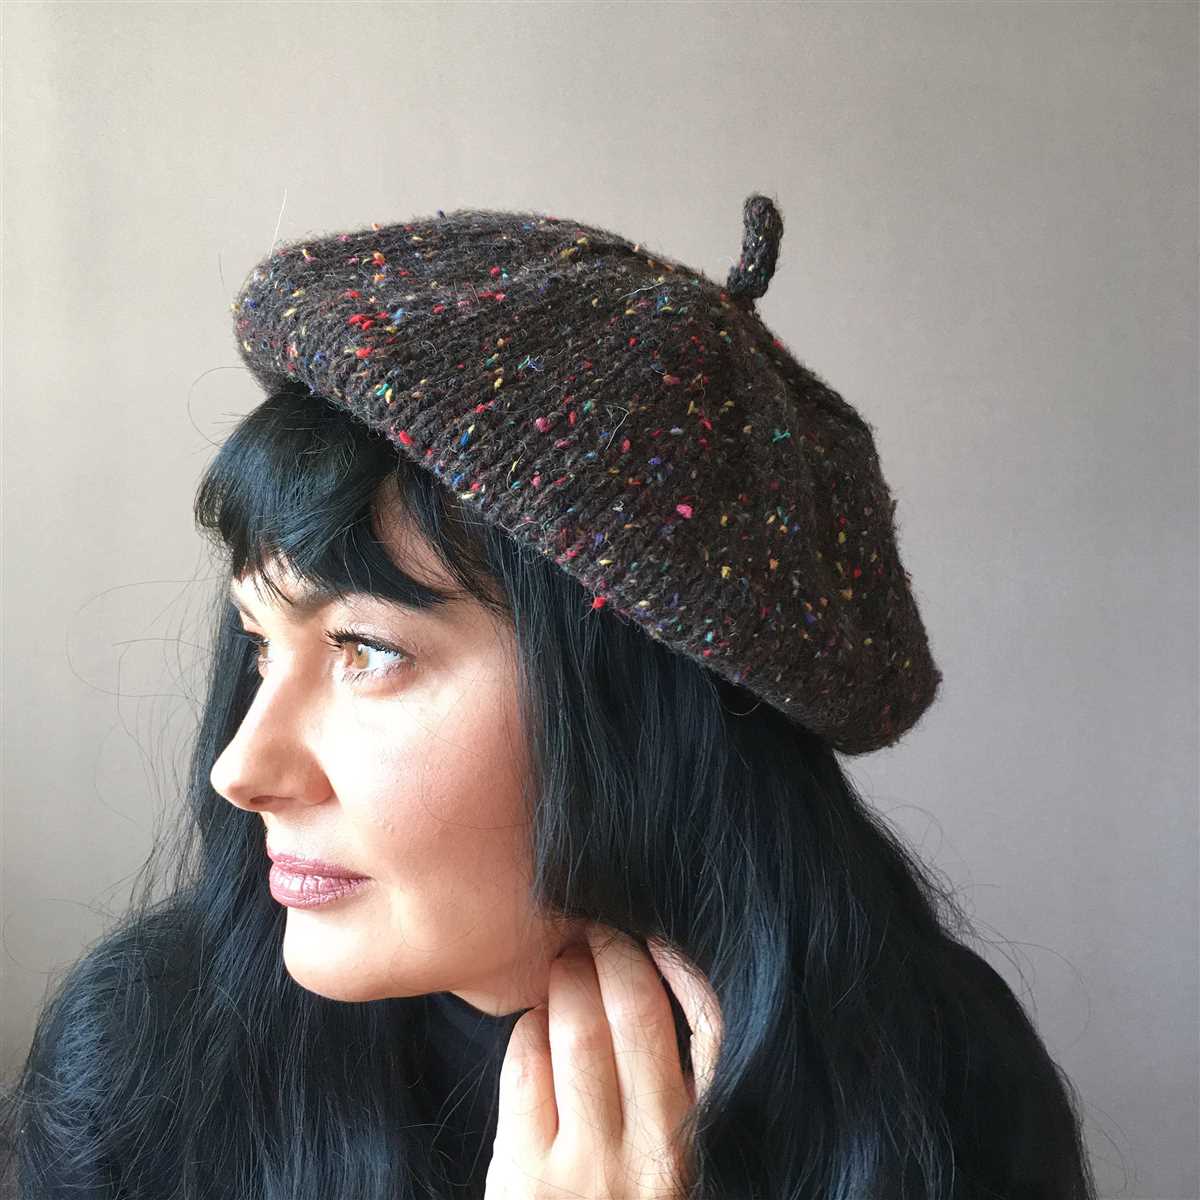
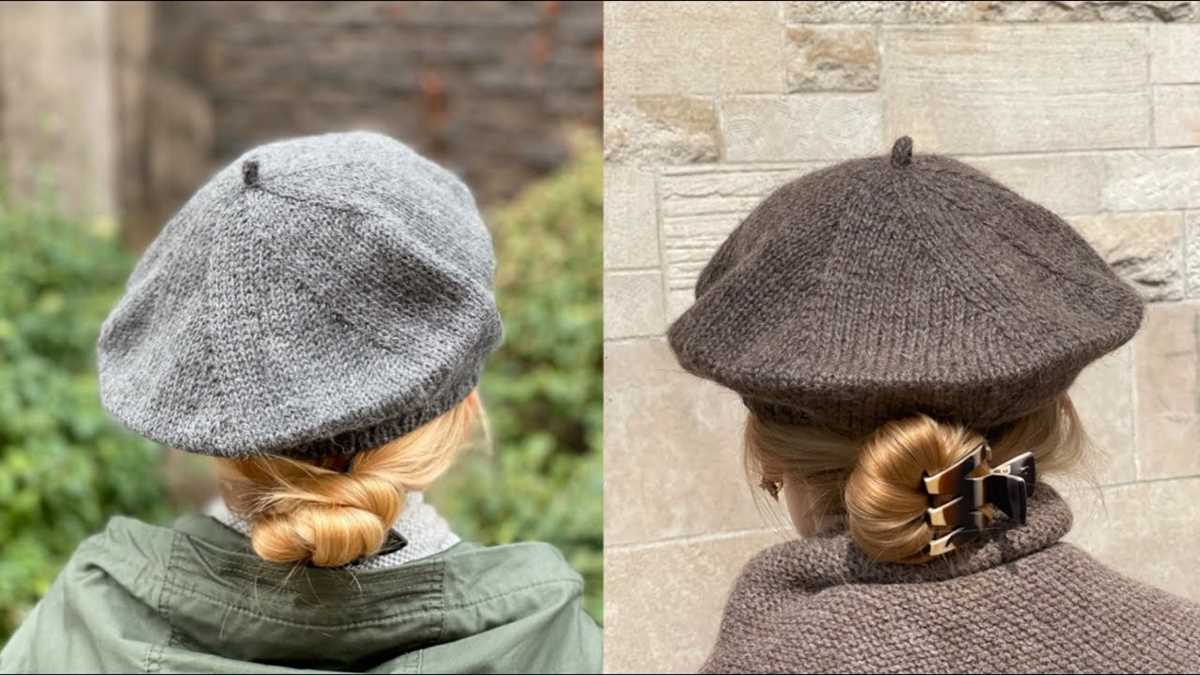
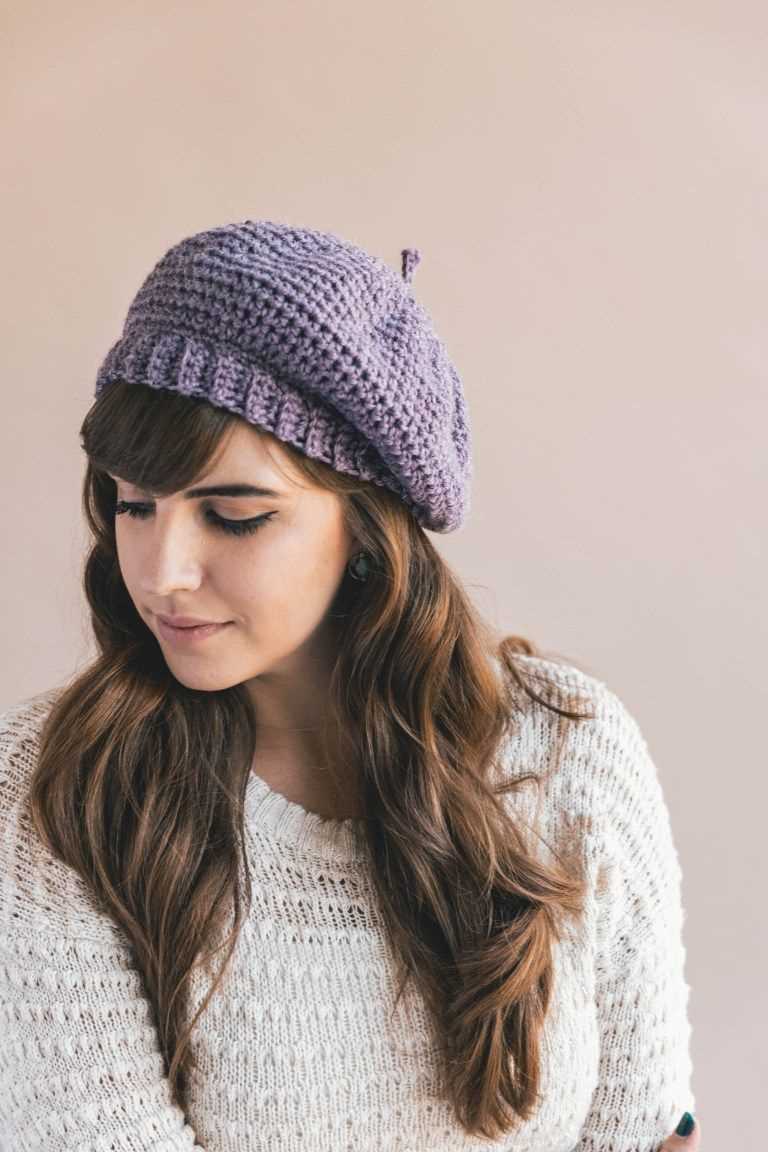
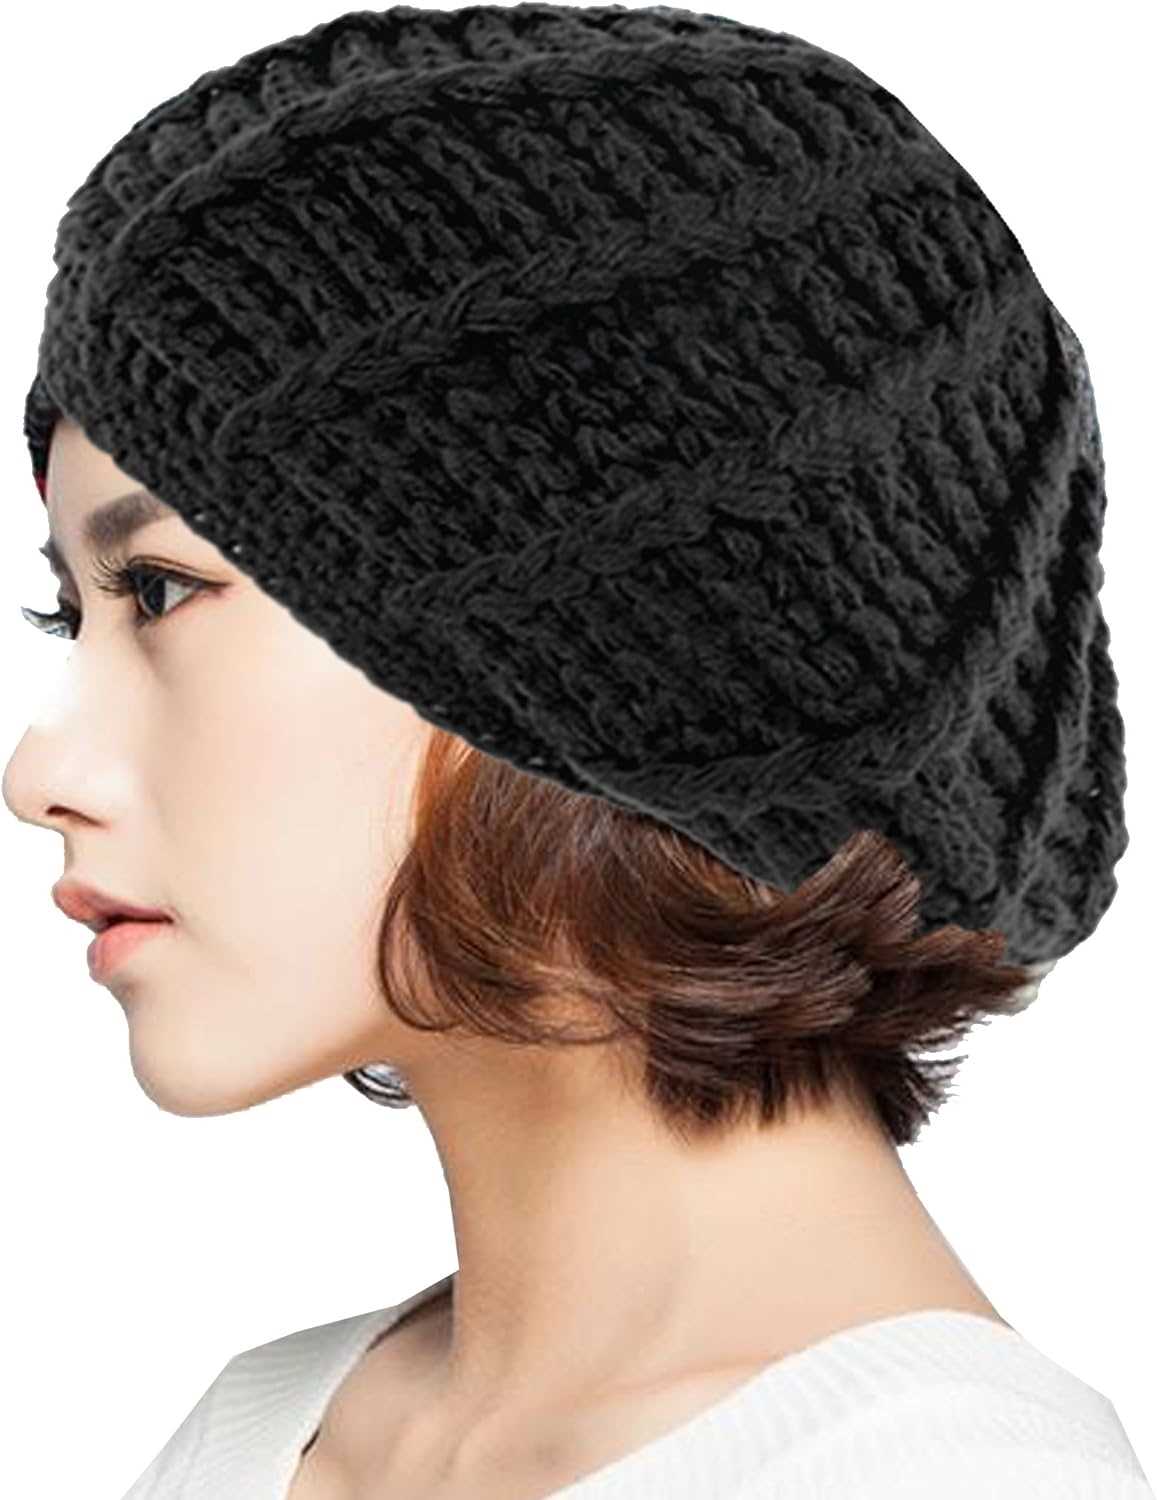
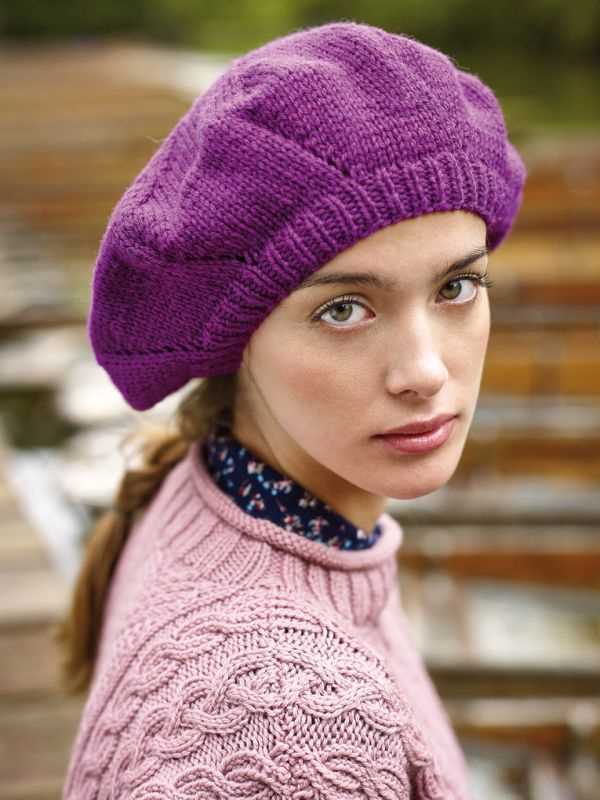
If you’re looking for a fun and stylish knitting project, then look no further than a knitted beret. Berets are not only fashionable but also practical, as they keep your head warm during the cold winter months. The best part is that knitting a beret is easier than you may think, even for beginners.
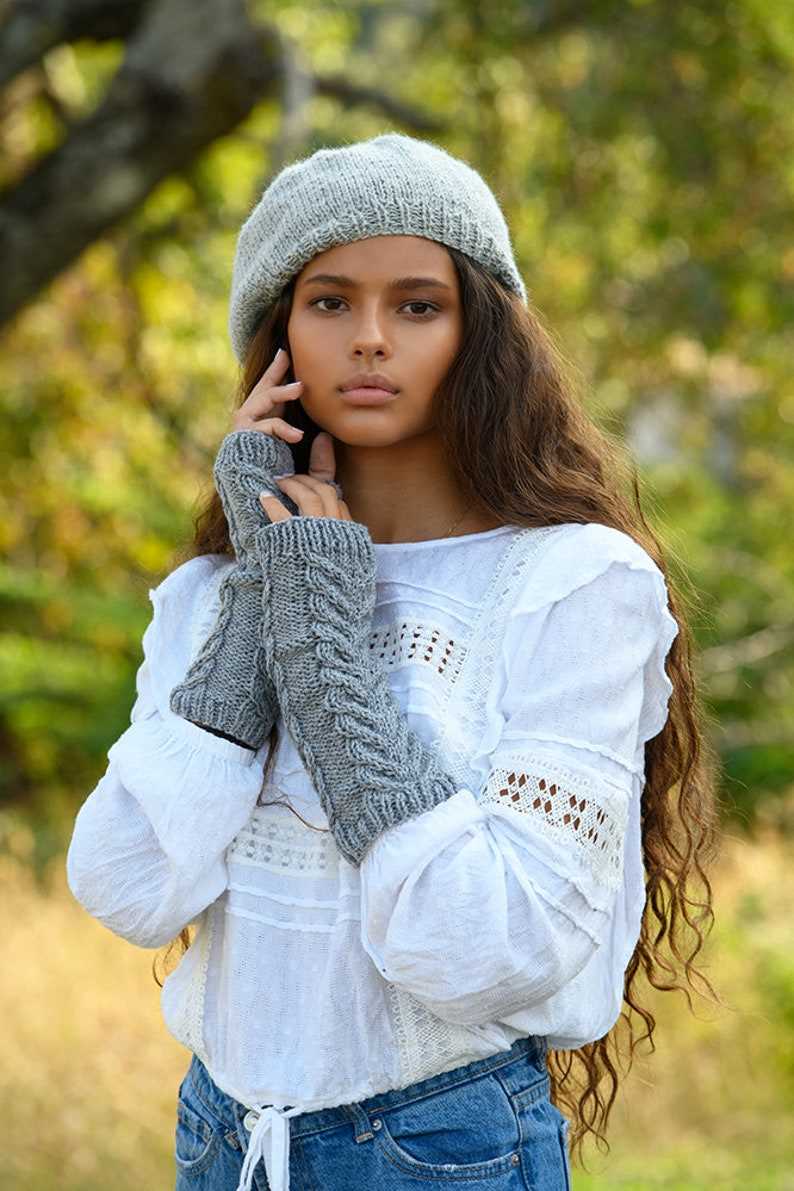
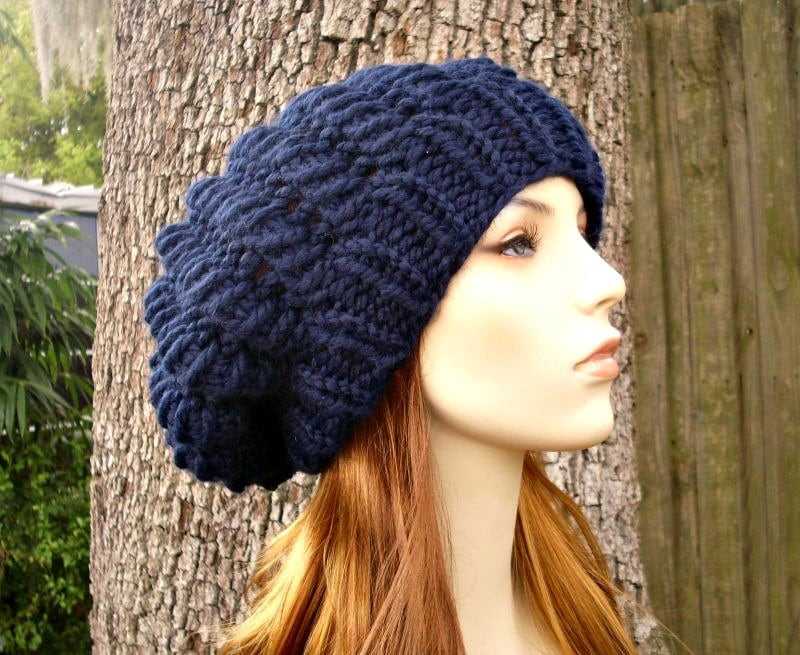
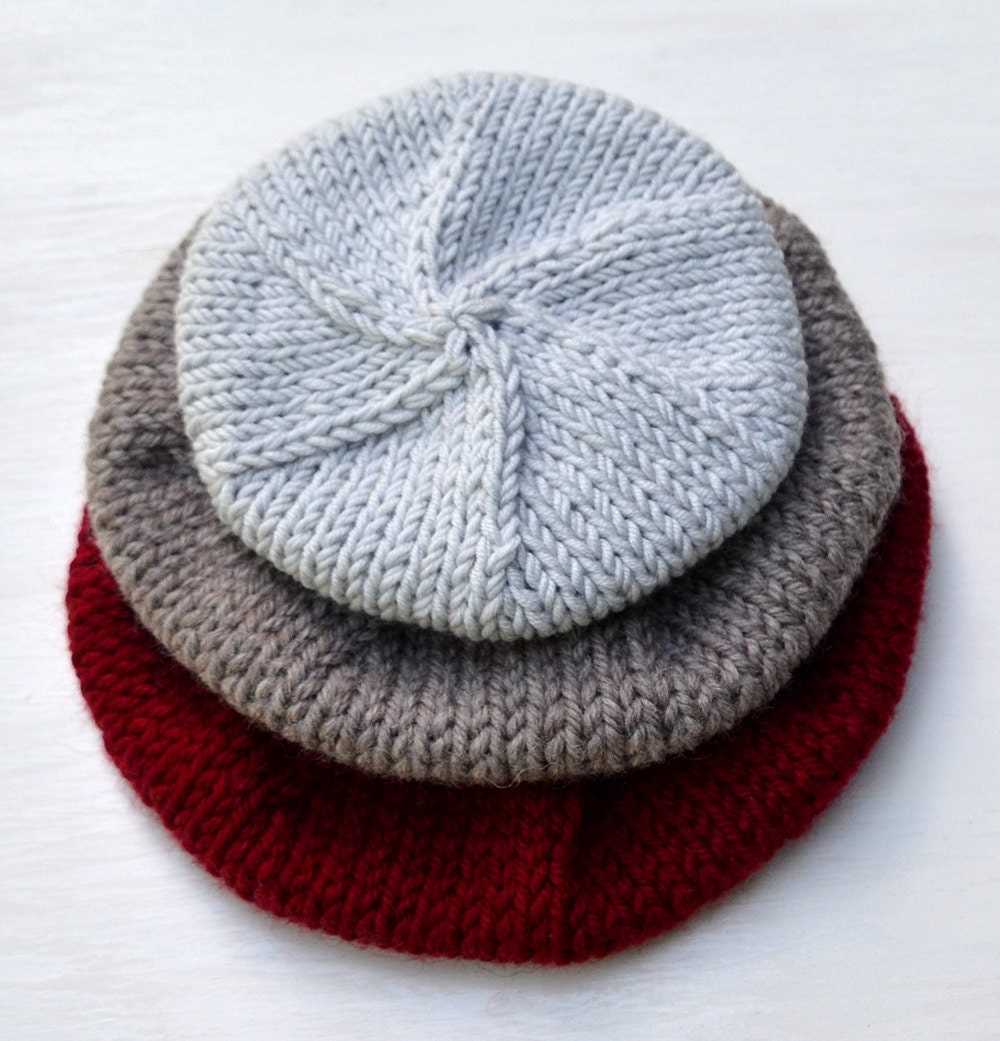
One of the great things about knitting a beret is that you can customize it to your liking. You can choose your favorite color of yarn, experiment with different stitch patterns, and add fun embellishments like pom-poms or buttons. Whether you prefer a classic, timeless look or a more modern, trendy style, there are endless design possibilities.
In this article, we will provide you with an easy knitted beret pattern that is perfect for knitters of all levels. The pattern requires basic knitting skills and uses simple techniques like knitting in the round and decreasing stitches. So grab your knitting needles and let’s get started on creating your own stylish beret!
Easy Knitted Beret Pattern
Knitting your own beret is a fun and rewarding project that allows you to create a stylish accessory for the colder months. With this easy knitted beret pattern, you’ll be able to make a cozy and fashionable beret in no time.
To get started, you’ll need a set of knitting needles and yarn of your choice. This pattern is perfect for beginners, as it uses basic knitting stitches and techniques. If you’re new to knitting, this project is a great way to practice your skills and create something beautiful at the same time.
Materials:
- Knitting needles (size 8)
- Yarn (worsted weight)
- Stitch marker
- Tapestry needle
Instructions:
- Cast on 80 stitches.
- Knit every row for 4 inches.
- Start decreasing stitches. Knit 6 stitches, then knit 2 stitches together. Repeat across the row.
- Knit the next row.
- Continue decreasing stitches in this pattern: knit 5 stitches, knit 2 stitches together. Repeat across the row.
- Knit the next row.
- Keep decreasing stitches in this pattern, knitting 4 stitches, then knitting 2 stitches together.
- Knit the next row.
- Continue decreasing stitches: knit 3 stitches, knit 2 stitches together. Repeat across the row.
- Knit the next row.
- Repeat this process, decreasing stitches by knitting 2 stitches together every row until you have only 10 stitches remaining.
- Cut the yarn, leaving a long tail. Thread the tail through a tapestry needle and pull it through the remaining stitches. Remove the knitting needle.
- With the tapestry needle, sew the side seam of the beret together.
- Weave in any loose ends and your knitted beret is complete!
Now you have a cozy and stylish accessory to wear during the colder months. This easy knitted beret pattern is perfect for beginners and allows you to create a personalized and fashionable accessory. With so many yarn options available, you can customize your beret to match your style and wardrobe. Happy knitting!
Materials Needed
Before you start knitting your beret, make sure you have all the necessary materials on hand. Here is a list of items you will need:
1. Yarn:
- Choose a yarn that is suitable for the desired thickness and warmth of your beret.
- Recommended yarn weight: Worsted or Aran.
- Amount of yarn needed may vary depending on the size of the beret.
2. Knitting Needles:
- Size of knitting needles will depend on the yarn weight and desired tension.
- Recommended needle size: US 7 (4.5 mm) circular needles.
- You may also need double-pointed needles for the crown of the beret.
3. Stitch Markers:
- Stitch markers will help you keep track of your stitches and rounds.
- You will need at least 4 stitch markers.
4. Tapestry Needle:
- A tapestry needle will be used for weaving in ends and finishing touches.
5. Measuring Tape:
- A measuring tape will help you accurately measure your gauge and size of the beret.
6. Scissors:
- Scissors will be used for cutting yarn and trimming ends.
Once you have gathered all the necessary materials, you are ready to start knitting your beret. Make sure to read through the pattern and familiarize yourself with any special techniques or stitches required. Happy knitting!
Gauge and Needle Size
When making a knitted beret, it is important to pay attention to the gauge and needle size to ensure that the finished product turns out the way you want it to. Both the gauge and the needle size can impact the size and texture of the beret.
Gauge
The gauge refers to the number of stitches and rows that are worked in a specific measurement. To achieve the desired gauge, it is important to use the recommended yarn and needle size for the pattern. The gauge is usually stated in terms of the number of stitches and rows that should be worked in a 4″ by 4″ (10 cm by 10 cm) square.
Using a different gauge than what is stated in the pattern can result in a beret that is either too big or too small. If your gauge is too tight, you may need to use larger needles to achieve the correct gauge. Conversely, if your gauge is too loose, you may need to use smaller needles. It is always a good idea to make a gauge swatch before starting your project to ensure that you are getting the correct gauge.
Needle Size
The needle size will also affect the size and texture of the beret. The pattern will usually recommend a specific needle size, but it is important to adjust the needle size if needed to achieve the correct gauge. Different yarns and stitch patterns may require different needle sizes to achieve the desired results.
For a knitted beret, circular needles are typically used to accommodate the large number of stitches in the brim. The length of the circular needle should match the circumference of the beret. Double-pointed needles may also be used for the crown of the beret.
Overall, paying attention to the gauge and needle size will help ensure that your knitted beret turns out the way you want it to. Adjusting the needle size and making a gauge swatch can make a big difference in the final outcome of your project.
Instructions: Cast On
In order to begin knitting your beret, you will first need to cast on. Casting on is the process of creating the first row of stitches on your knitting needle. Follow the instructions below to cast on for your beret:
- Gather your materials: Before you begin, gather your knitting needle, yarn, and any other supplies you may need.
- Make a slip knot: Start by making a slip knot. To do this, create a loop with the yarn and pull the end through to secure it. Place this slip knot onto your knitting needle.
- Hold the needle: Hold the knitting needle with the slip knot in your dominant hand.
- Insert the needle: Take the other end of the yarn and insert the needle into the slip knot.
- Wrap the yarn: While holding the needle with the slip knot in one hand, use your other hand to wrap the yarn around the index finger of the hand holding the needle.
- Insert the needle again: Insert the needle into the loop on your index finger and pull the loop through.
- Repeat: Continue wrapping the yarn around your index finger, inserting the needle into the loop, and pulling the loop through until you have the desired number of stitches.
Once you have cast on the necessary number of stitches for your beret, you can move on to the next step in the pattern.
Instructions: Ribbing
In the first section of this easy knitted beret pattern, you will learn how to create the ribbing. The ribbing is the stretchy band at the bottom of the beret that helps it fit snugly on the head.
To start, cast on 80 stitches using your preferred casting method. You can use a circular needle or double-pointed needles for this project – whichever you are most comfortable with. Make sure to distribute the stitches evenly across the needles if using double-pointed needles.
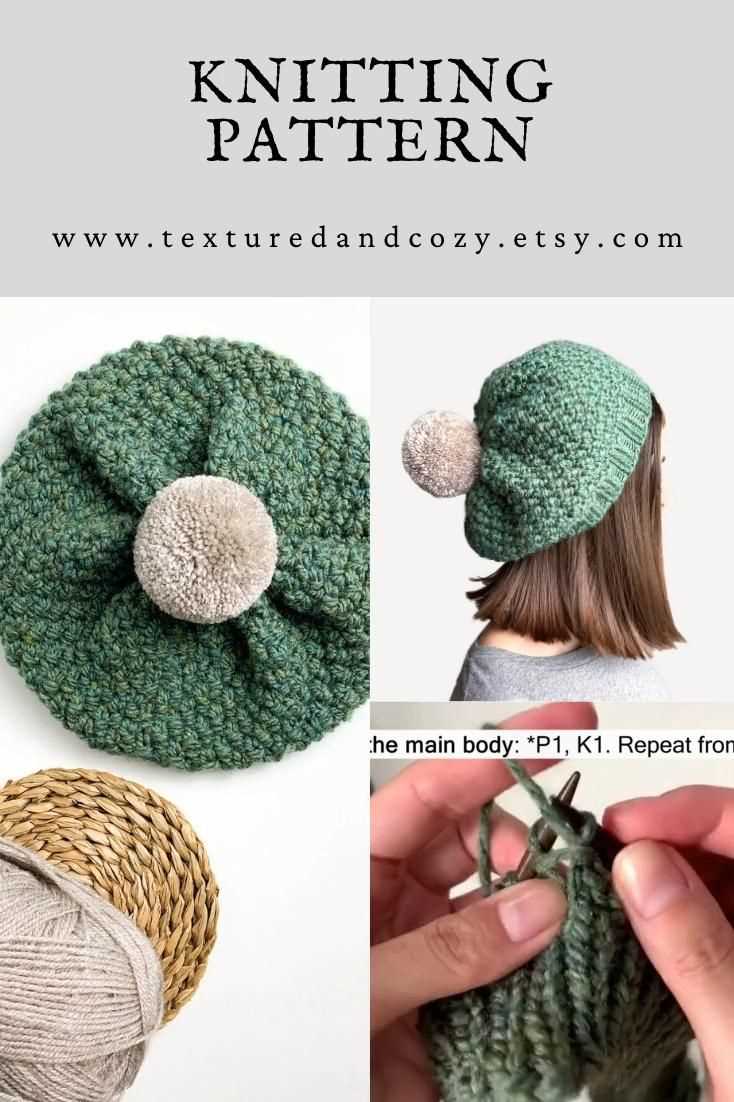
Once you have cast on your stitches, you will begin the ribbing pattern. The ribbing is created by alternating between knit and purl stitches. This creates a textured fabric that has elasticity. The sequence for the ribbing pattern is as follows:
- Row 1: *Knit 2, purl 2* – repeat from * to * until the end of the row.
- Row 2: Repeat Row 1.
- Continue repeating Row 1 and Row 2 until your ribbing measures approximately 2 inches (5 cm) in height.
Once you have completed the ribbing section, you can move on to the next part of the pattern. The ribbing creates a nice, snug fit for the beret and adds a touch of texture to the overall design. Make sure to keep track of your rows and use stitch markers if necessary to help you stay on track with the pattern.
Instructions: Body of the Beret
Once you have completed the ribbing, it’s time to start on the body of the beret. Switch to your larger size circular needle or double-pointed needles, whichever you prefer to use for knitting in the round. Make sure to distribute your stitches evenly on the needles, and join to work in the round, being careful not to twist.
Round 1-10: Knit every stitch in the round. This will create the stockinette stitch pattern for the body of the beret.
Continue to knit in the round for the next 10 rounds, or until the body of the beret measures your desired length. If you want a slouchier beret, you may choose to knit more rounds.
Decrease Rounds:
- Round 1: Knit 2 together, knit 8. Repeat this pattern around.
- Round 2: Knit every stitch.
- Round 3: Knit 2 together, knit 7. Repeat this pattern around.
- Round 4: Knit every stitch.
- Continue this pattern, decreasing the number of knit stitches by 1 in each decrease round, until you have a small number of stitches left.
Once you have finished the decrease rounds, cut your yarn, leaving a long tail for seaming. Thread the tail through a darning needle, and slip the needle through the remaining stitches, removing them from the knitting needle. Pull tight to close the top of the beret, and secure the yarn with a knot. Weave in any remaining loose ends, and your beret is complete!
Instructions: Shape the Crown
Once you have completed the ribbing section of the beret, it’s time to start shaping the crown. This is where the beret begins to take its iconic shape. Follow these instructions carefully to ensure a perfect fit.
Decrease Rounds
- Round 1: *Knit 6, k2tog* repeat to the end of the round (75 stitches remaining).
- Round 2 and all even rounds: Knit all stitches.
- Round 3: *Knit 5, k2tog* repeat to the end of the round (65 stitches remaining).
- Round 5: *Knit 4, k2tog* repeat to the end of the round (55 stitches remaining).
- Round 7: *Knit 3, k2tog* repeat to the end of the round (45 stitches remaining).
- Round 9: *Knit 2, k2tog* repeat to the end of the round (35 stitches remaining).
- Round 11: *Knit 1, k2tog* repeat to the end of the round (25 stitches remaining).
- Round 13: *K2tog* repeat to the end of the round (12 stitches remaining).
After completing these decrease rounds, you should have 12 stitches remaining on your needles. Cut the yarn, leaving a long tail, and thread it through the remaining stitches. Pull tight to close the top of the beret. Weave in any loose ends, and your beret is complete!
Instructions: Finishing
1. Once you have finished knitting the beret, it’s time to finish off the project. Start by cutting the yarn, leaving a long tail. Thread the tail through a yarn needle.
2. Weave the needle through the remaining stitches on the knitting needle, removing them as you go. This will ensure that the stitches are secure and won’t unravel.
3. Pull the yarn tight to close up the top of the beret. Make a few stitches in the center to secure the closure.
4. Next, you can add any desired embellishments to the beret such as a pom-pom or a decorative button. Sew or attach them securely to the beret.
5. To give the beret a more polished look, you can block it. Wet the beret and gently stretch it to the desired shape. Lay it flat to dry, shaping it as needed.
6. Finally, trim any excess yarn or threads and give the beret one last inspection to ensure there are no loose stitches or uneven areas.
7. Congratulations! You have successfully finished knitting your beret. Now it’s ready to be worn or gifted to someone special.
Tips and Tricks
When knitting a beret, there are a few tips and tricks that can help you achieve the best results. Here are some suggestions to keep in mind:
1. Choose the right yarn:
When selecting yarn for your beret, consider the weight and fiber content. A medium-weight yarn, such as worsted or aran, is ideal for a cozy and warm beret. You may also want to choose a yarn with a good drape to create a stylish shape. Additionally, opt for a yarn that is easy to work with and doesn’t split easily.
2. Use the right needle size:
The needle size you use will affect the gauge and overall appearance of your beret. Make sure to check the gauge recommended in the pattern and adjust your needle size accordingly. If your gauge is too loose, switch to smaller needles, and vice versa. Swatching before you start your project can help you determine the correct needle size.
3. Pay attention to stitch markers:
When knitting the beret, you will likely need to place stitch markers to keep track of different sections or stitch patterns. Use different colored markers for different purposes, such as indicating the beginning of a round or marking decreases. This will help you read the pattern more easily and avoid any mistakes.
4. Block your beret:
Blocking is an important step in finishing your beret. Once you have finished knitting, wet block your beret by soaking it in lukewarm water and gently squeezing out the excess moisture. Then, shape the beret to the desired size and let it dry flat. This will help even out the stitches and give your beret a polished look.
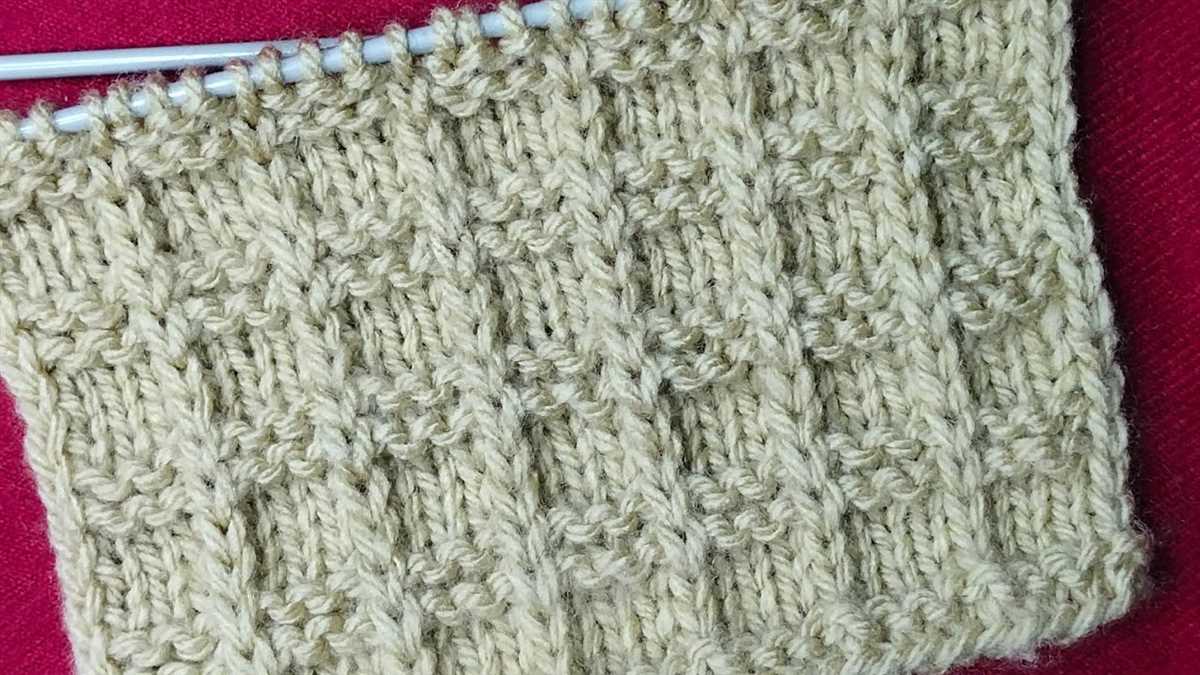
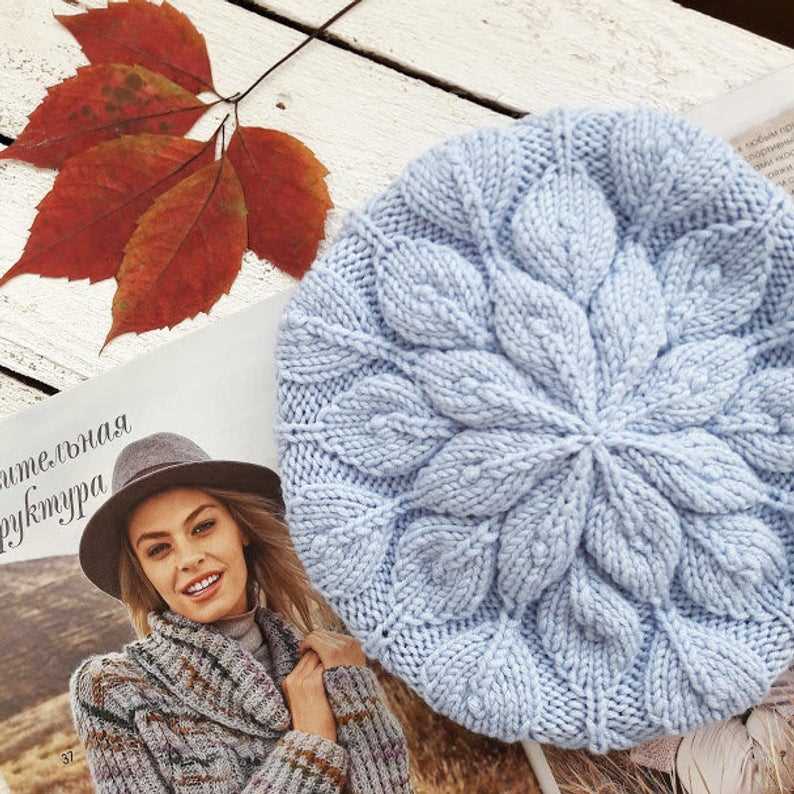
5. Experiment with different stitch patterns:
Don’t be afraid to try out different stitch patterns to create unique and personalized berets. You can add cables, lace, or textured stitches to make your beret stand out. Just make sure to choose a stitch pattern that complements the shape and style of the beret.
6. Pay attention to the finishing details:
The finishing details can make a big difference in the final look of your beret. Take the time to neatly sew in any loose ends and attach any decorative elements, such as buttons or pom-poms, securely. This will add a professional touch to your beret.
By keeping these tips and tricks in mind, you can make the process of knitting a beret easier and more enjoyable. Whether you are a beginner or an experienced knitter, these suggestions will help you create a beautiful and stylish beret that you can be proud of.
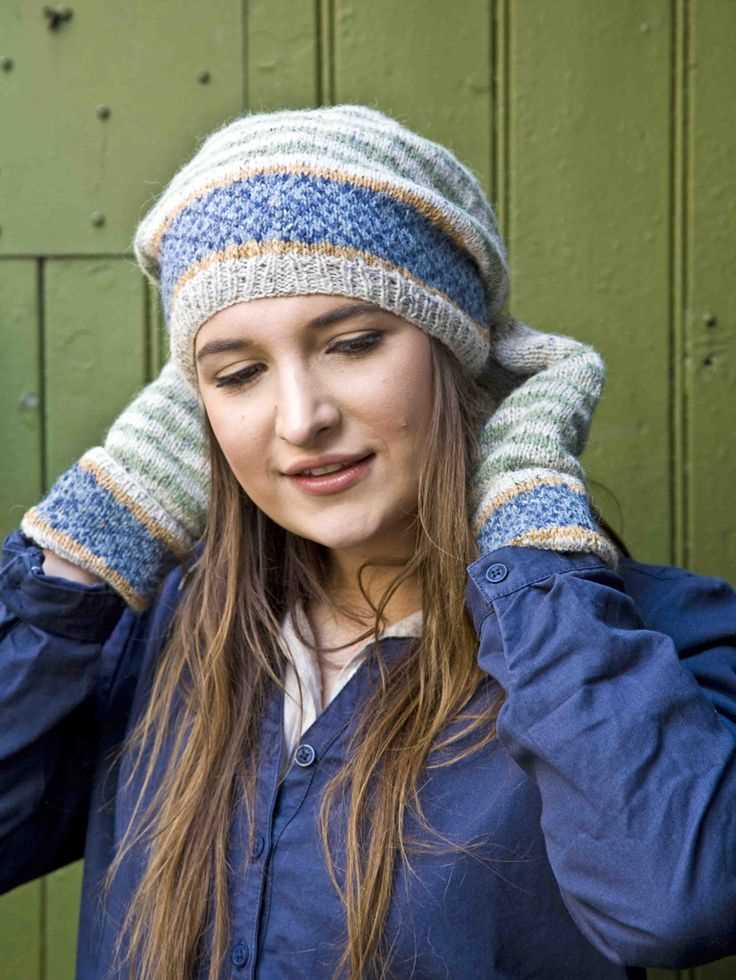
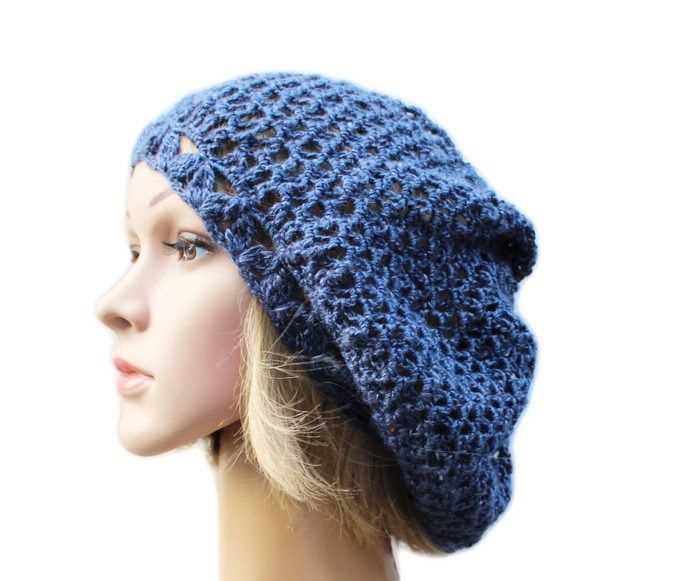
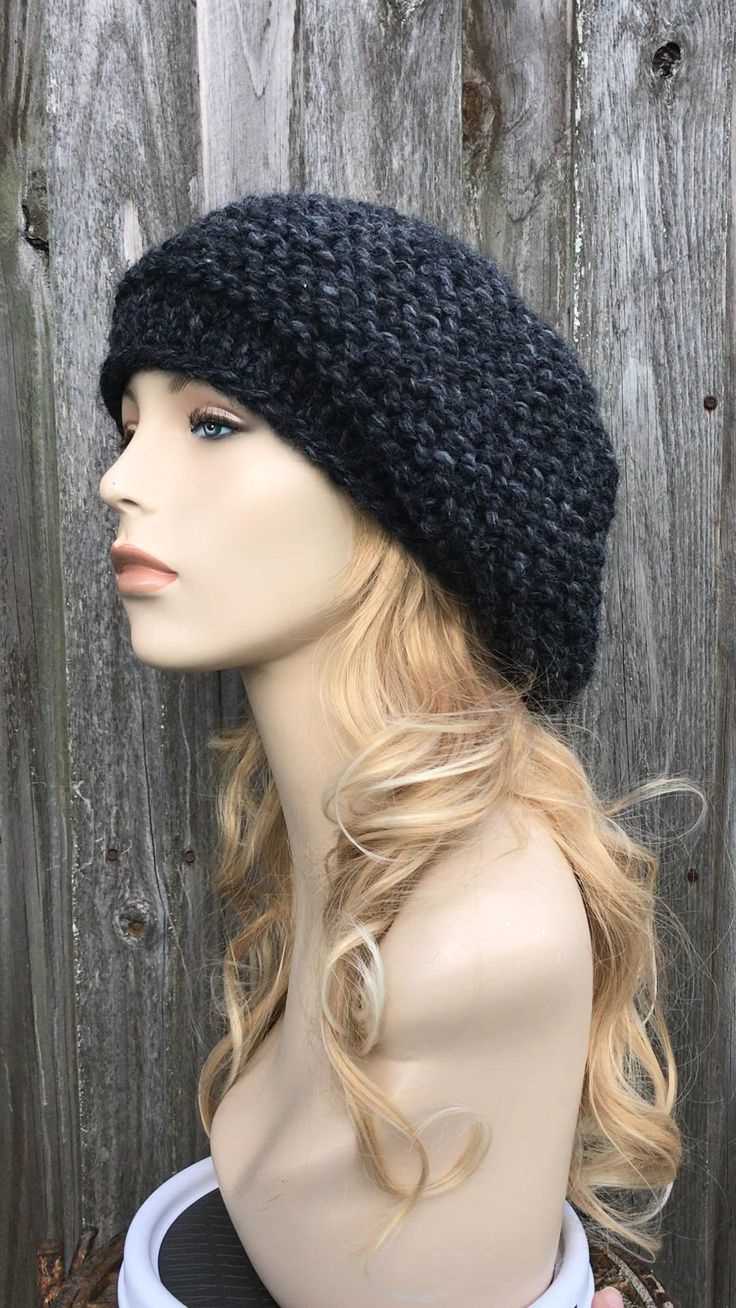
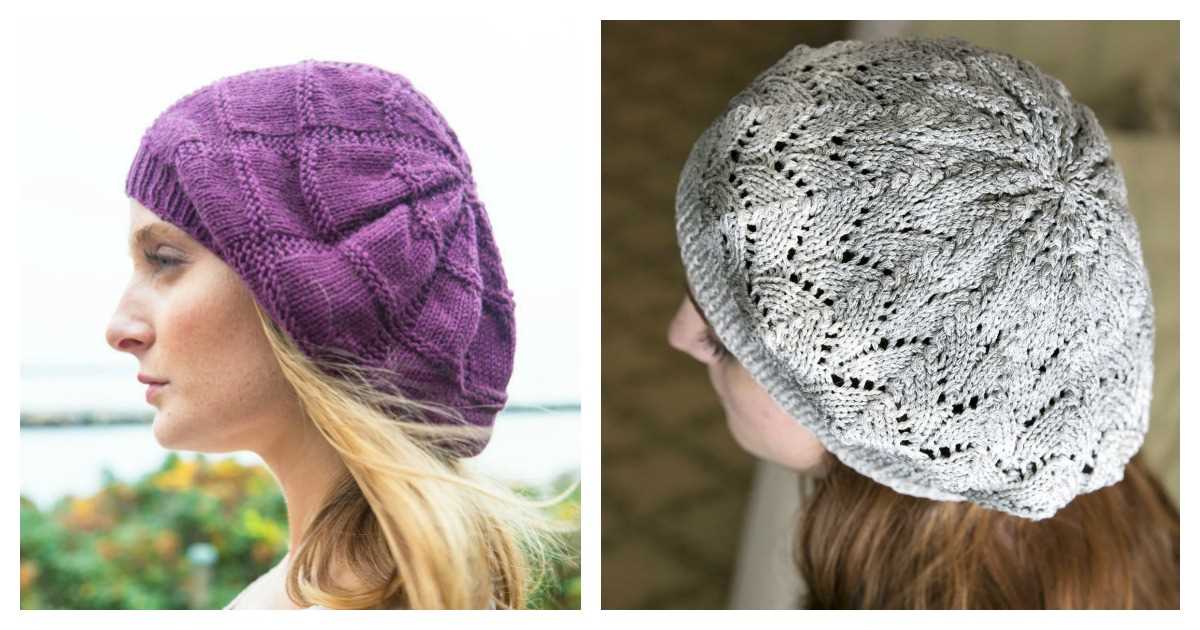
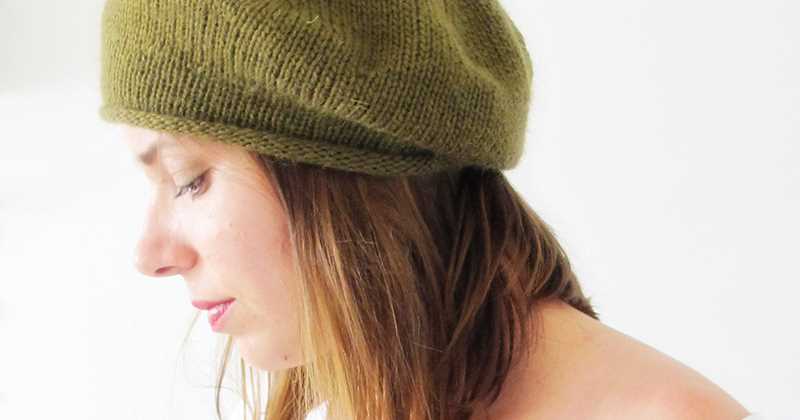
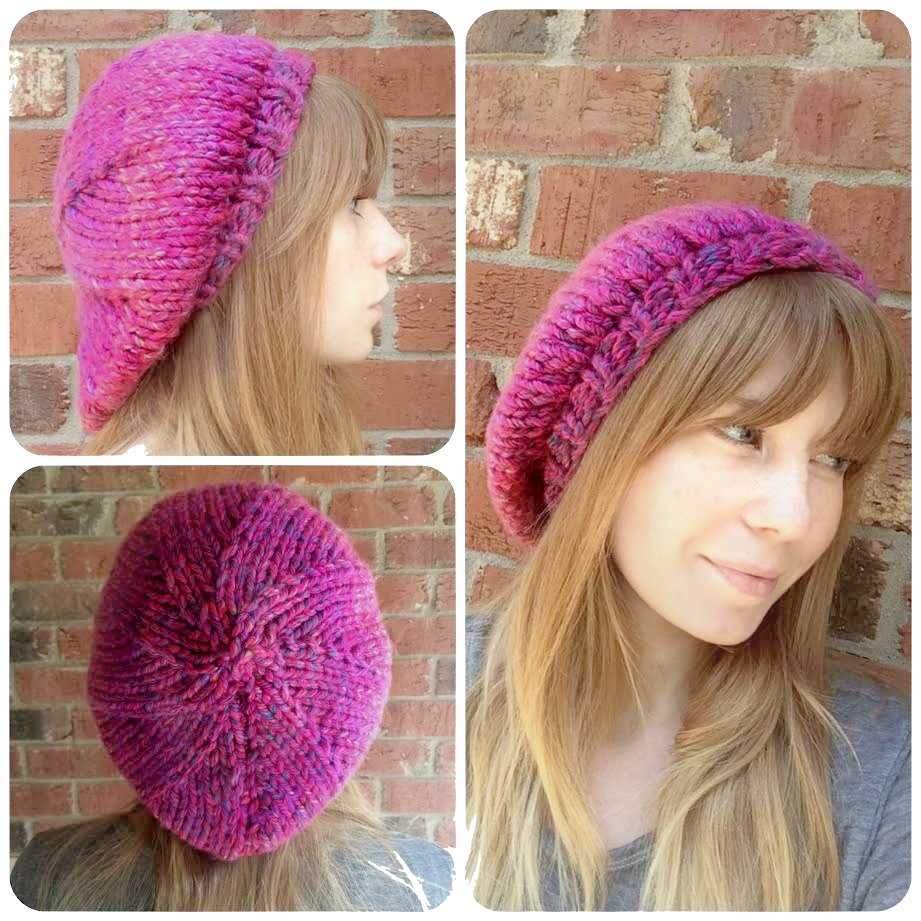
Variations
If you want to add some personal touches to your knitted beret, there are several variations you can try. One option is to experiment with different yarn colors. You can create a striped beret by alternating two or more colors in your knitting. This can give your beret a fun and vibrant look. Another option is to use a variegated yarn, which has multiple colors in one strand. This can create a unique and interesting pattern in your beret.
Another variation you can try is to add a decorative element to your beret. You can crochet a flower or a bow and sew it onto the side of your beret. This can add a feminine and playful touch to your hat. You can also try adding buttons or beads as embellishments. This can give your beret a more sophisticated and glamorous look.
If you want to change the shape of your beret, you can experiment with different stitch patterns. For example, instead of using a rib stitch for the brim, you can try a garter stitch or a seed stitch. This can give your beret a different texture and look. You can also try increasing or decreasing the number of stitches in your knitting to change the size and shape of your beret.
Overall, there are many variations you can try to make your knitted beret unique and personalized. Whether you change the yarn color, add embellishments, or experiment with different stitch patterns, you can create a beret that reflects your own style and creativity.
Inspiration and Final Thoughts
Knitting can be a relaxing and rewarding hobby, and creating your own beret is a great way to showcase your skills. This easy knitted beret pattern provides a simple and stylish design that is suitable for beginners and experienced knitters alike.
By following the step-by-step instructions and using the recommended materials, you can create a beautiful beret that is both cozy and fashionable. Whether you choose to use a solid color or experiment with different yarns, this pattern allows for customization and personalization.
Not only is knitting a beret a fun and creative project, but it also offers a practical accessory for the colder months. With its versatile style, a knitted beret can be paired with various outfits and worn in different ways. It can add a touch of warmth and elegance to any look.
So, go ahead and give this easy knitted beret pattern a try. Get inspired by the endless possibilities of colors and textures, and enjoy the process of creating your own unique accessory. Whether you keep it for yourself or give it as a gift, your knitted beret is sure to be a standout piece.
Happy knitting!
Q&A:
What materials do I need to knit a beret?
You will need yarn (preferably medium weight), a set of knitting needles (size 8 or 9), a yarn needle, and a pom pom maker (optional).
What is the difficulty level of knitting a beret?
Knitting a beret is considered to be an intermediate-level project. It requires basic knitting skills such as casting on, knit and purl stitches, decreasing, and knitting in the round.
How long does it take to knit a beret?
The time it takes to knit a beret depends on your knitting speed and the complexity of the pattern. On average, it can take anywhere from a few hours to a few days.
Are there any tips for beginners who want to knit a beret?
For beginners, it is recommended to start with a simple beret pattern that uses basic stitches. It is also helpful to watch video tutorials or join a knitting group for guidance and support.