
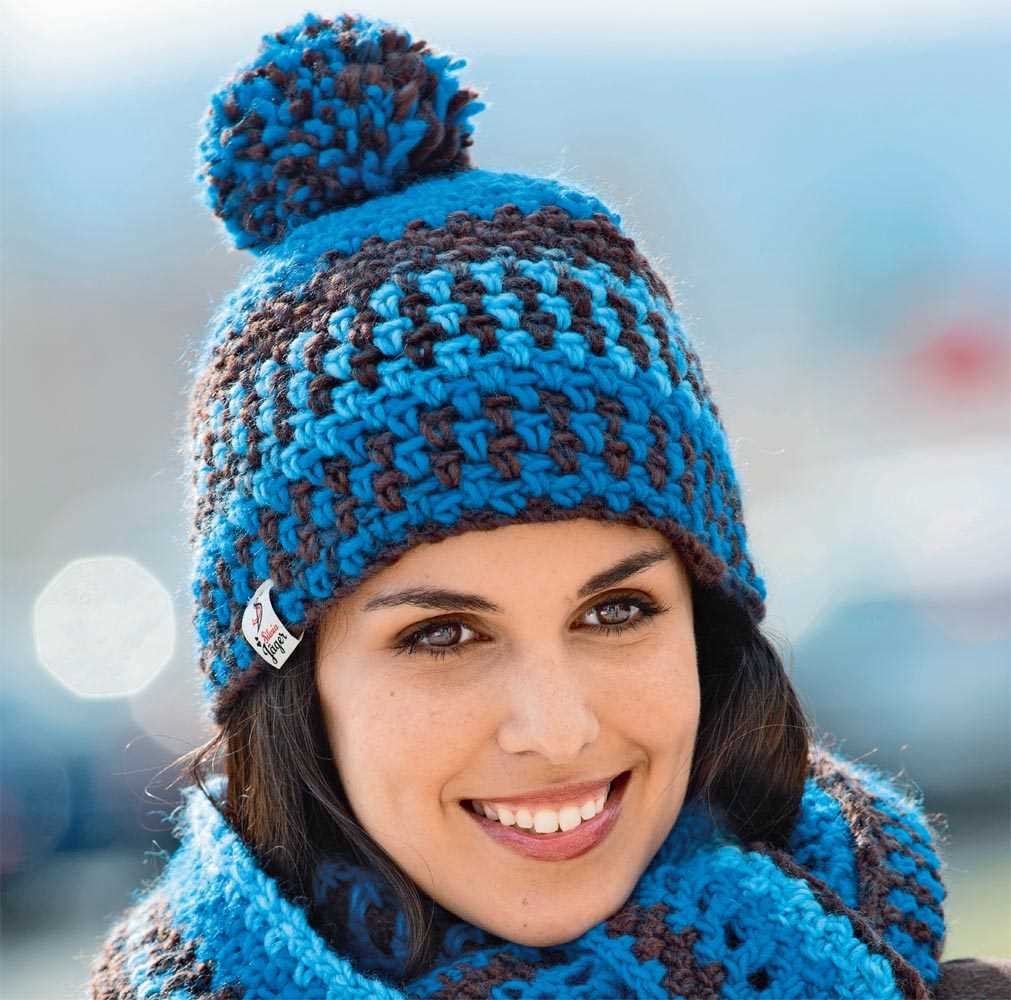
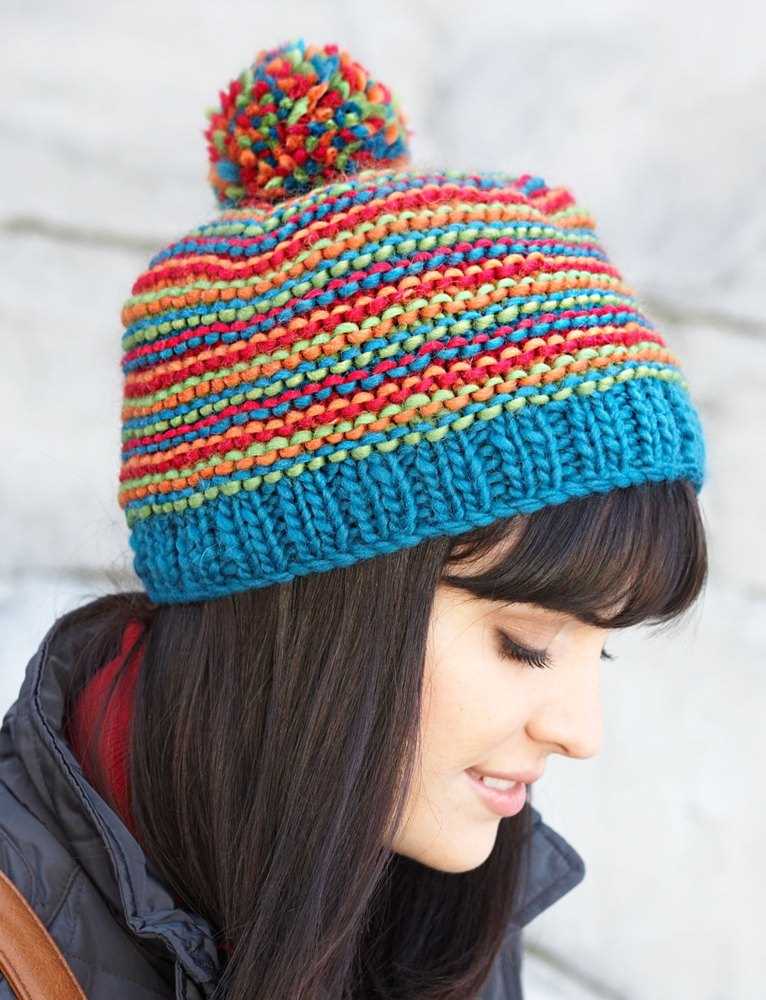
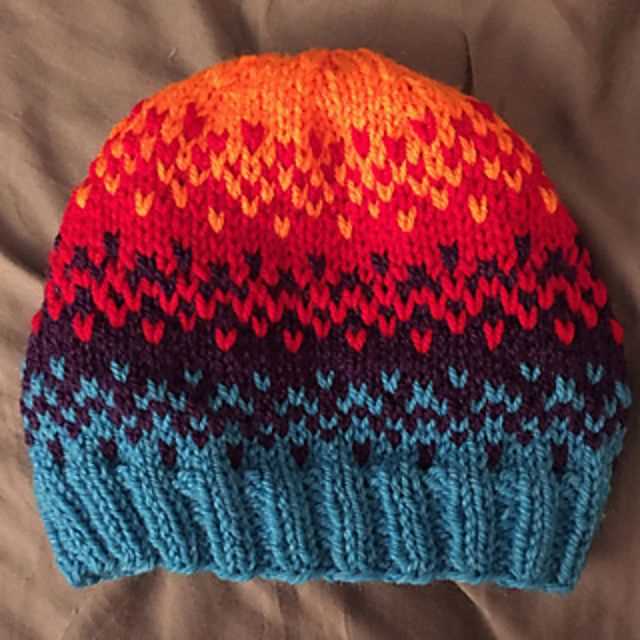
Winter is coming and it’s time to break out the knitting needles! If you’re looking for a fun and stylish project to keep you warm this season, look no further than the color block knit hat pattern. With its vibrant hues and trendy design, this hat is sure to make a statement while keeping you cozy.
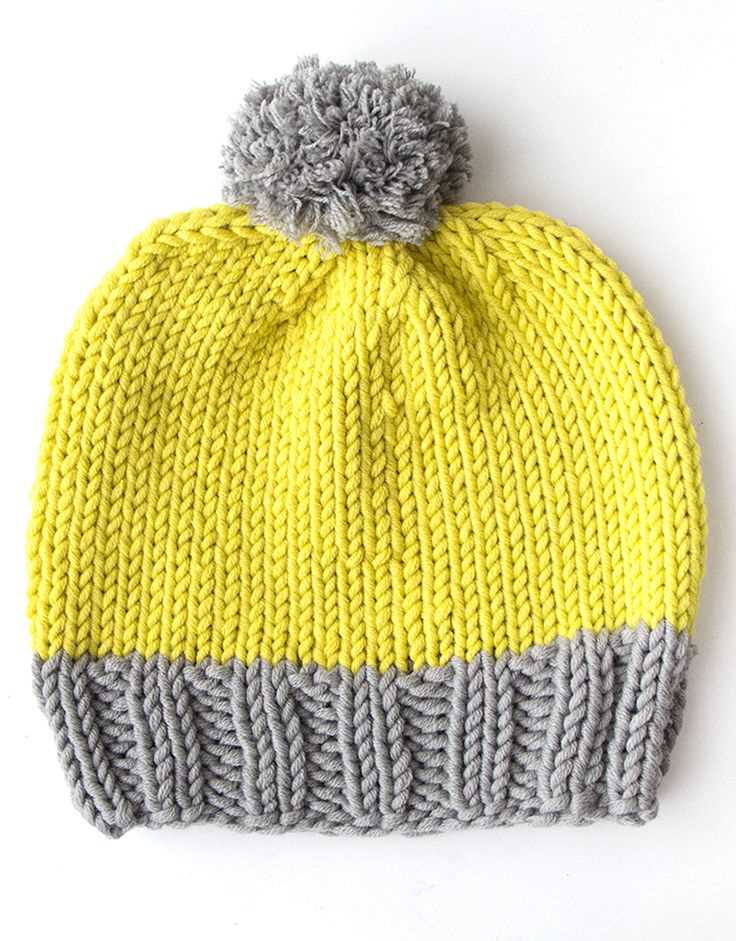
Color blocking is a popular trend in fashion, and this hat pattern allows you to incorporate it into your winter wardrobe. The pattern uses two contrasting colors, one for the brim and another for the main body of the hat. The result is a bold and eye-catching accessory that is perfect for adding a pop of color to any outfit.
Not only is this hat stylish, but it’s also practical. The pattern uses a chunky knit technique, which means it will be thick and warm, perfect for those cold winter days. And with its classic beanie shape, it’s sure to keep your head and ears protected from the elements.
Color Block Knit Hat Pattern
Stay warm and stylish this winter with a color block knit hat. This pattern is perfect for beginners and experienced knitters alike, and will add a pop of color to any winter outfit.
The color block knit hat pattern features a simple ribbed design with contrasting colors. It can be customized to fit any head size and is perfect for both adults and children.
To get started, you will need the following materials:
- Worsted weight yarn in three different colors
- Size 8 (5mm) circular needles
- Size 8 (5mm) double-pointed needles
- A yarn needle
First, cast on the desired number of stitches onto the circular needles. Join in the round and work in a ribbed pattern, alternating between knit and purl stitches, for the desired length of the hat. Then, switch to the second color and continue the ribbed pattern for a few more inches. Finally, switch to the third color and work the ribbed pattern until the hat reaches its desired length.
Once the hat is the desired length, bind off all stitches and weave in any loose ends. To finish, fold up the brim of the hat and sew in place using the yarn needle. Your color block knit hat is now complete and ready to keep you warm and stylish all winter long!
Materials and Tools
In order to create a color block knit hat, you will need a few essential materials and tools. Here is a list of what you will need:
- Yarn: Choose two or three different colors of yarn that you would like to use for your hat. Make sure that the yarn you choose is suitable for knitting and is of the appropriate weight for the desired thickness of your hat.
- Knitting Needles: Choose a pair of knitting needles that are the correct size for the yarn you are using. The size of the needles will depend on the gauge you want to achieve and the desired thickness of your hat.
- Tapestry Needle: This needle will be used to weave in any loose ends of yarn and to sew the different sections of the hat together.
- Scissors: You will need a pair of scissors to cut the yarn and any excess thread.
- Measuring Tape: A measuring tape will come in handy when measuring the circumference of your head to ensure the hat fits correctly.
- Stitch Marker: A stitch marker can be useful for marking the beginning or end of a round, or to mark specific stitches within a pattern.
- Pattern Instructions: Make sure to have a copy of the color block knit hat pattern instructions on hand, as they will guide you through the knitting process.
With these materials and tools, you will have everything you need to create a beautiful color block knit hat. Now let’s get started!
Choosing Yarn Colors
When it comes to knitting a color block hat, choosing the right yarn colors is crucial. The colors you select can greatly impact the overall look of your finished project. Here are some tips to help you make the best choices when it comes to yarn colors.
Consider the Color Wheel: One of the easiest ways to ensure that your color block hat looks visually pleasing is to select colors that are complementary or contrasting. You can use the color wheel as a guide to help you select colors that work well together. Complementary colors are opposite each other on the color wheel, such as blue and orange or red and green. Contrasting colors, on the other hand, are those that are close to each other on the color wheel, such as blue and green or red and orange.
Think About the Purpose: The purpose of your color block hat can also influence the colors you choose. If you want your hat to be bold and eye-catching, you may opt for vibrant and contrasting colors. On the other hand, if you prefer a more subtle and understated look, you might choose softer and more complementary colors. Think about whether you want your hat to make a statement or blend in with your outfit.
Other factors to consider when choosing yarn colors include the intended recipient’s personal style preferences and the season in which the hat will be worn. Don’t be afraid to experiment and have fun with different color combinations – after all, knitting is a creative and enjoyable craft!
Gauge and Sizing
Before starting the color block knit hat pattern, it’s important to check your gauge to ensure that your finished hat will fit properly. Gauge refers to the number of stitches and rows per inch in your knitting. To achieve the correct gauge, use the recommended yarn and needle size provided in the pattern.
For this color block knit hat pattern, the recommended gauge is 18 stitches and 24 rows = 4 inches in stockinette stitch. To check your gauge, cast on a swatch with the recommended yarn and needle size. Knit a few inches in stockinette stitch, then measure a 4×4 inch square in the center of the swatch. If you have more stitches and rows than the recommended gauge, try using a larger needle size. If you have fewer stitches and rows, try using a smaller needle size.
To determine the sizing for your color block knit hat, the pattern provides instructions for three different sizes: small, medium, and large. The finished circumference of the hat will measure approximately 18, 20, or 22 inches, depending on the size chosen. The length of the hat can be adjusted as desired. The pattern also suggests adding a pom pom for a fun and stylish touch.
By checking your gauge and selecting the appropriate size, you can ensure that your color block knit hat will fit comfortably and look great.
Knitting Techniques
Knitting is a versatile craft that allows for the creation of beautiful and functional items. To create complex and intricate designs, various knitting techniques are used. These techniques involve different stitches, patterns, and methods that can elevate your knitting projects to the next level.
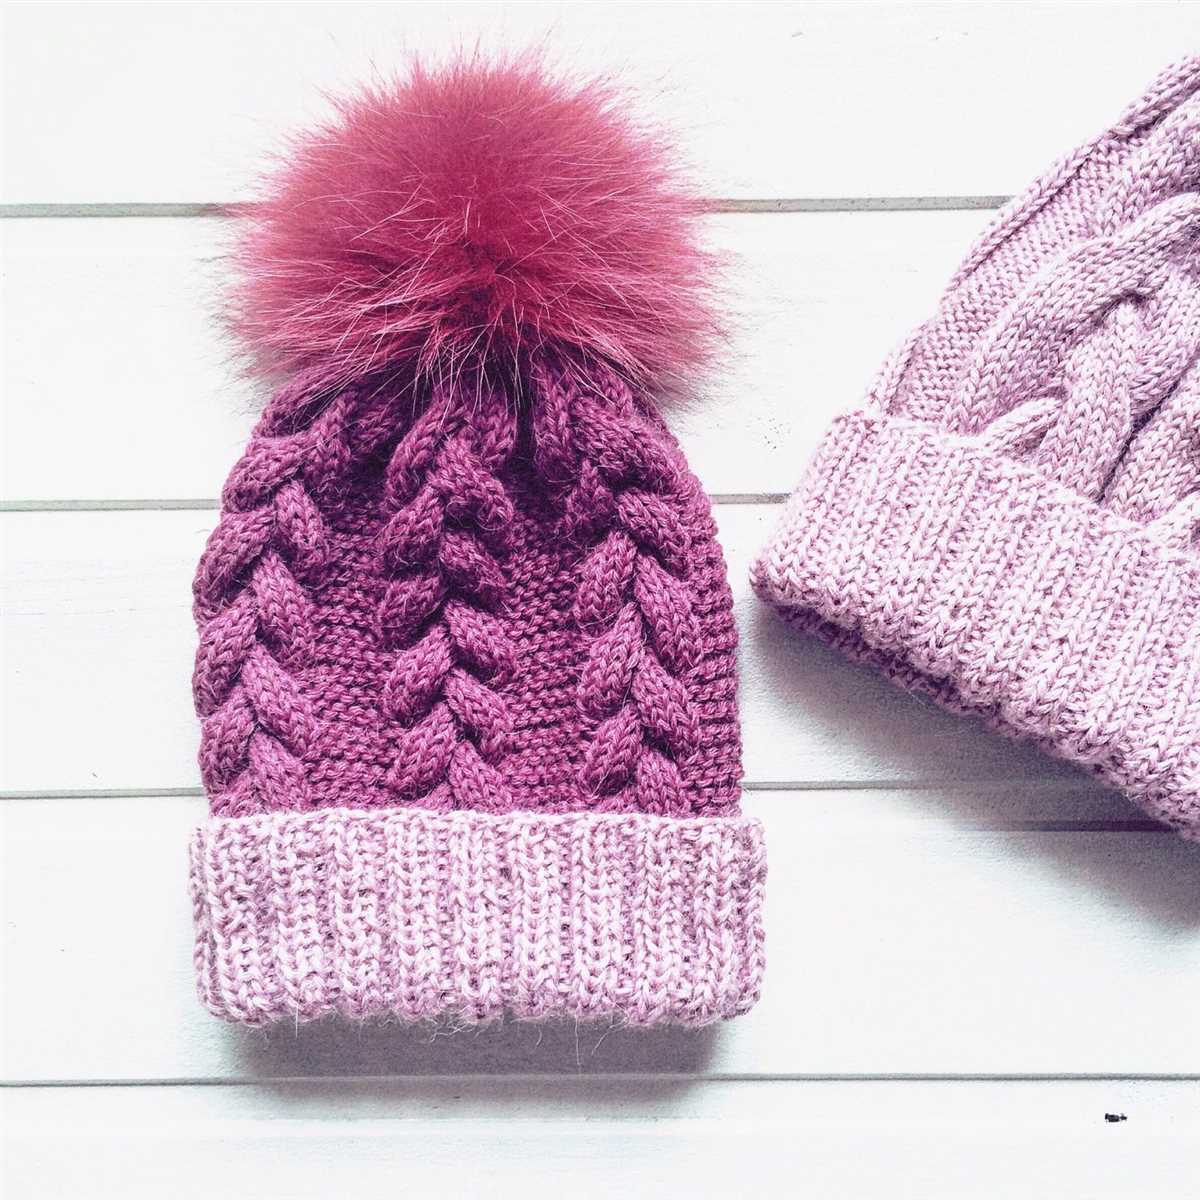
Color blocking is a technique that involves using blocks of different colors to create visually striking patterns and designs. This technique can be used in a variety of projects, including hats, scarves, sweaters, and blankets. By strategically placing blocks of contrasting colors, you can create eye-catching designs that make your knitting projects stand out.
Color blocking in a knit hat pattern
When using color blocking in a knit hat pattern, you can experiment with different color combinations to achieve different effects. For example, using bold, contrasting colors can create a high-impact look, while using more subtle, complementary colors can create a more harmonious design.
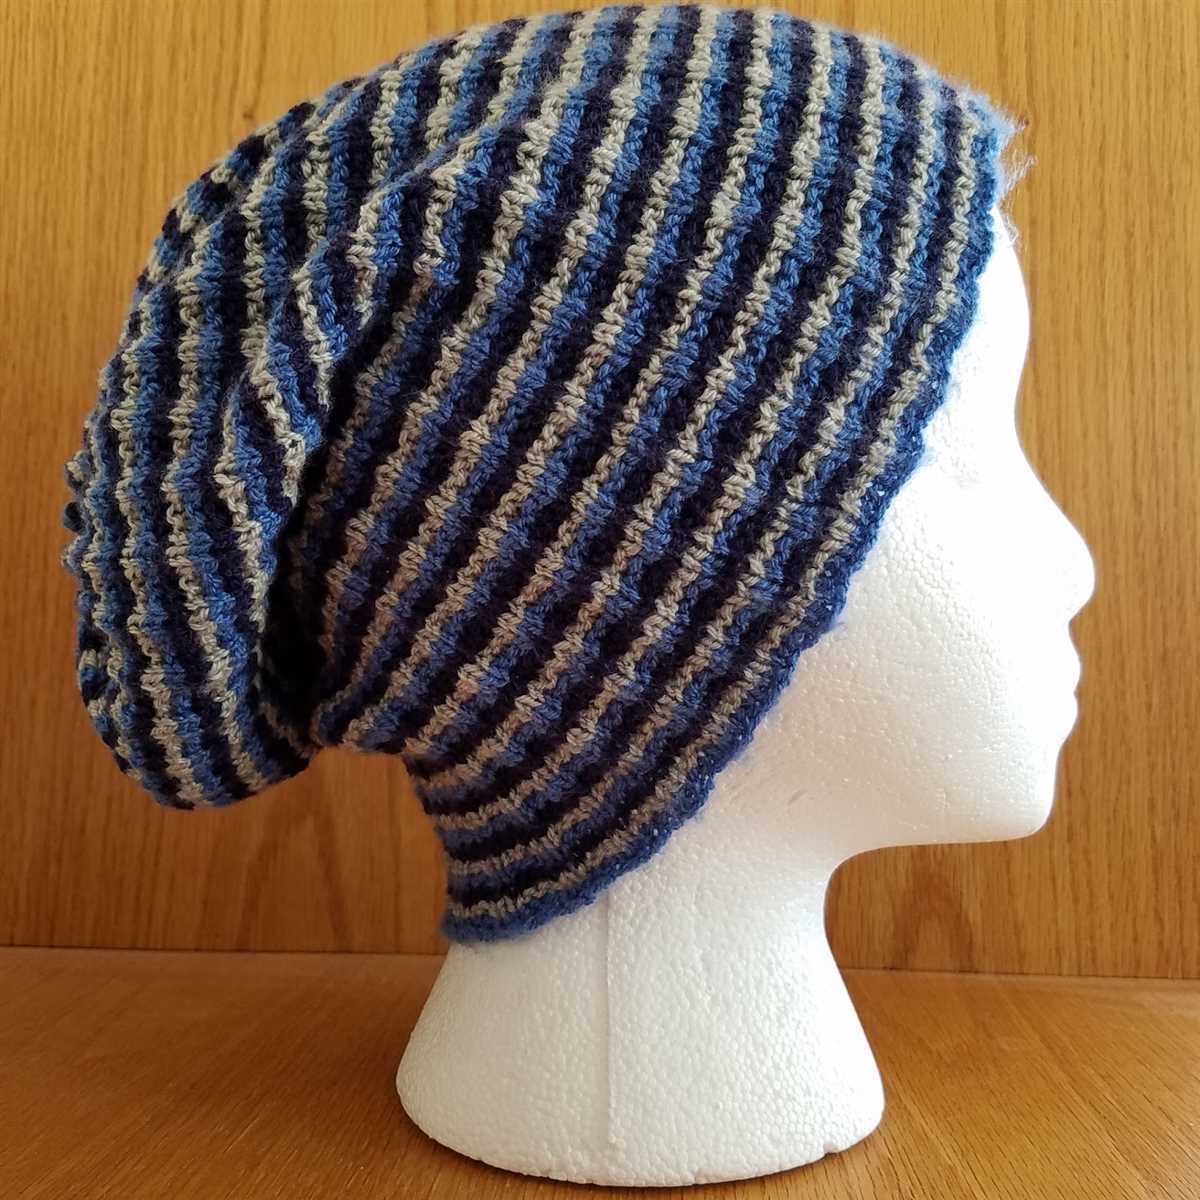
There are several ways to incorporate color blocking into a knit hat pattern. One method is to alternate colors every few rows, creating a striped effect. Another method is to create color blocks by dividing the hat into distinct sections and using different colors for each section. You can also experiment with different stitch patterns within each color block to add texture and dimension to your design.
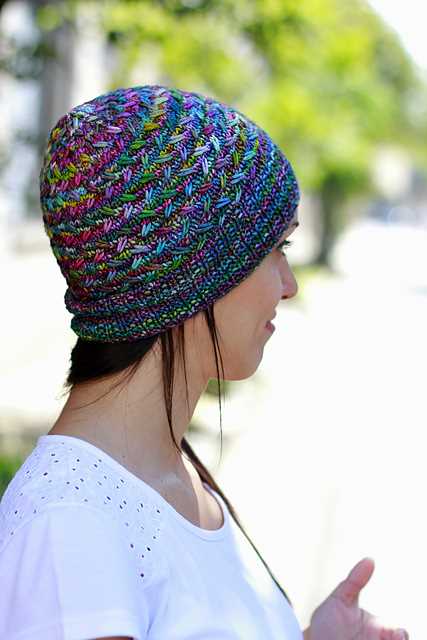
Stranded knitting, also known as fair isle knitting, is another popular technique used in color blocking. This technique involves knitting with multiple colors at the same time, carrying the unused colors along the back of the work. The result is a seamless, two-color pattern that can create stunning visual effects.
In addition to color blocking, there are many other knitting techniques that you can explore to enhance your projects. From lace knitting to cable knitting, each technique offers its own unique style and challenges. By mastering different knitting techniques, you can expand your knitting skills and create beautiful, personalized items that showcase your creativity and craftsmanship.
Cast On
The cast on is the first step in starting your color block knit hat. It is the process of creating the first row of stitches on your knitting needle. There are several different cast on methods that you can use, each resulting in a slightly different look and tension. For this pattern, we will be using the long tail cast on method.
To start the long tail cast on, you will need to estimate the length of yarn you will need. It’s always better to underestimate, as you can always add more yarn later if needed. Once you have your estimated length, make a slipknot at the end of your yarn and slide it onto your knitting needle.
Hold the needle in your right hand and the tail of the yarn in your left hand. With your left hand, create a loop by bringing the yarn over your thumb and then under and around your index finger. With your right hand, insert the needle through the loop from back to front.
Grab the yarn that is attached to the ball (the working yarn) with your right hand and bring it under the left-hand needle and over the top. As you do this, bring the tip of the right-hand needle up through the loop on your left thumb.
Drop the loop off your thumb and tighten the stitch slightly. You have now created your first cast on stitch. Repeat this process until you have cast on the required number of stitches for your pattern. Make sure to keep your stitches loose enough so that they are easy to knit into, but not so loose that they are overly stretched out.
Once you have cast on all your stitches, you are ready to start knitting the first row of your color block knit hat.
Ribbing
Ribbing is an essential technique in knitting that creates a stretchy and elastic fabric. It is commonly used to create cuffs, collars, and hems in various knitted garments, including hats.
In ribbing, a combination of knit and purl stitches is used to create alternating raised and recessed columns of stitches. This alternating pattern gives the fabric its characteristic stretch and flexibility.
Types of Ribbing:
- 1×1 Ribbing: This is the most common type of ribbing, where one knit stitch is followed by one purl stitch. It creates a tight and stretchy fabric.
- 2×2 Ribbing: In this type of ribbing, two knit stitches are followed by two purl stitches. It is also known as the k2, p2 ribbing and creates a wider ribbed texture.
- 3×1 Ribbing: This type of ribbing involves three knit stitches followed by one purl stitch. It creates a visually interesting ribbed pattern.
Uses of Ribbing in a Knit Hat:
Ribbing is often used for the brim or cuff of a knit hat. The stretchiness of the ribbing allows the hat to comfortably fit various head sizes, while still providing a snug and secure fit. It also helps to keep the hat in place while wearing.
Ribbing can be done in a contrasting color to the main body of the hat, creating a color block effect. This adds visual interest and allows for customization and personalization of the hat.
Overall, ribbing is an important technique in knitting that adds both functionality and aesthetic appeal to knit hats and other garments.
Main Body
The main body of the color block knit hat is the portion of the hat that covers the head and provides warmth. It is knitted using a combination of different colored yarns to create a unique color block pattern. The pattern typically involves alternating between two or more colors in regular intervals to create contrasting blocks of color. The main body starts from the brim of the hat and continues until the desired length is reached, usually covering the entire head and a portion of the ears.
To create the color block pattern, knitters can use various knitting techniques such as striped knitting, fair isle knitting, or intarsia knitting. Striped knitting involves simply changing the yarn color at specific rows or rounds to create alternating stripes of color. Fair isle knitting involves knitting with two or more colors in the same row or round to create intricate patterns. Intarsia knitting is a technique used for larger color blocks where separate sections of different colors are knitted separately and then joined together.
When knitting the main body of the color block hat, it is important to maintain an even tension to ensure that the hat fits properly. A too tight tension can result in a small and uncomfortable hat, while a too loose tension can result in a hat that is too large and doesn’t provide enough warmth. It is also important to follow the pattern instructions accurately to achieve the desired color block pattern. This may involve counting rows or rounds and changing colors at specific intervals.
Once the main body is complete, the hat can be finished by knitting a ribbed or folded brim to provide a more secure fit and added warmth. The color block knit hat is a versatile and stylish accessory that can be customized with different color combinations to create a unique look. It is a fun and enjoyable project for knitters of all skill levels and is perfect for keeping warm during the colder months.
Color Change
The color change technique is an important skill to master when knitting a color block hat. It allows you to create distinct sections of different colors in your hat design. To achieve a clean and seamless color change, there are several key steps to follow.
1. Prepare your yarn: Before starting a color change, make sure to have the new color yarn ready. You can either cut the previous color yarn and leave a tail to weave in later or carry the yarn along the edge of the work if the color change is within the same row.
2. Secure the yarn: To prevent loose ends and yarn tangling, secure the yarn by weaving it through the stitches of the previous row or round. This will ensure that the color change is secure and the new color starts cleanly.
3. Join the new color: To join the new color, insert the right needle into the first stitch of the row with the new color yarn. Then, wrap the new color yarn around the right needle and pull it through the stitch, creating a new loop on the right needle.
4. Continue knitting: After joining the new color, you can start knitting with the new color yarn. Make sure to maintain an even tension and pull the yarn snugly to avoid any gaps or loose stitches.
5. Weave in loose ends: Once you have completed the color change section, weave in any loose ends by using a tapestry needle. This will give your hat a neat and professional finish.
By mastering the color change technique, you can create beautiful color block hats with vibrant and eye-catching designs. Practice and patience are key to achieving clean and seamless color changes in your knitting projects.
Decrease Rounds
Once you have completed the main body of the hat, it is time to start decreasing to create the crown. This will give the hat its shape and ensure a snug fit.
To begin the decrease rounds, you will need to divide your stitches evenly onto four double-pointed needles or use the magic loop method if you prefer. This will make it easier to work the decrease stitches evenly around the hat.
Round 1: Knit 2 stitches together, then knit the next 6 stitches. Repeat this pattern all the way around the hat.
Round 2: Knit all the stitches.
Round 3: Knit 2 stitches together, then knit the next 5 stitches. Repeat this pattern all the way around the hat.
Round 4: Knit all the stitches.
Round 5: Knit 2 stitches together, then knit the next 4 stitches. Repeat this pattern all the way around the hat.
Round 6: Knit all the stitches.
Continue this pattern, decreasing by one stitch in each repeat of the decrease round, until you have a few stitches left. Use a tapestry needle to thread the remaining yarn through the stitches, pull tight to close the top of the hat, and secure the yarn.
Your color block knit hat is now complete! You can now enjoy the warmth and style of your handmade creation or gift it to a loved one.
Finishing Touches
After completing the color block knit hat, there are a few finishing touches that you can add to make it truly special and unique. These final details will give the hat a polished look and make it stand out from other knitted accessories.
1. Pom-pom: Adding a pom-pom to the top of the hat is a fun and playful way to finish it off. You can use a contrasting color yarn to make the pom-pom, or match it to one of the colors in the hat. There are many pom-pom making tools available that make the process quick and easy.
2. Tassels: Another option for adding a decorative element to the hat is to attach tassels to the earflaps or the bottom edge. Tassels can be made using yarn or ribbon, and can be as long or as short as you like. They add a stylish flair to the hat and can give it a trendy look.
3. Embroidery: If you have some basic embroidery skills, why not personalize your hat with some intricate stitching? You can add initials, a small design, or even a name to make the hat truly one-of-a-kind. Embroidery gives the hat a handmade feel and adds an extra touch of craftsmanship.
4. Buttons: Sewing buttons onto the hat is another way to add a unique touch. You can choose buttons that match the colors of the hat or go for a contrasting look. Buttons can be sewn onto the earflaps or used to decorate the brim of the hat. This adds a touch of whimsy and can make the hat look more polished.
5. Lining: If you want to make the hat even more cozy and warm, you can add a lining to the inside. This can be done by hand-sewing a fabric lining to the knitted hat, or by knitting a separate lining that is sewn in. A lining adds an extra layer of warmth and comfort, and can also help the hat retain its shape.
By adding these finishing touches to your color block knit hat, you can take it from ordinary to extraordinary. Whether you choose to add a pom-pom, tassels, embroidery, buttons, or a lining, these final details will make your hat truly unique and showcase your personal style.
Styling and Variations
Once you have mastered the color block knit hat pattern, you can start experimenting with different styles and variations to create unique and personalized hats. One way to add some extra flair is by incorporating different stitch patterns into the design. For example, you could try using a rib stitch for the brim of the hat to add some stretchiness and texture. Another option is to experiment with different color combinations to create a striking and eye-catching effect.
Additionally, you can try adding embellishments to the hat to further customize it. You could sew on buttons, patches, or even crochet flowers to give the hat a more playful and whimsical look. Another idea is to add a pom-pom to the top of the hat for a fun and festive touch. These small details can make a big difference in the overall look and feel of the hat, allowing you to showcase your personal style and creativity.
Stitch Pattern Variations
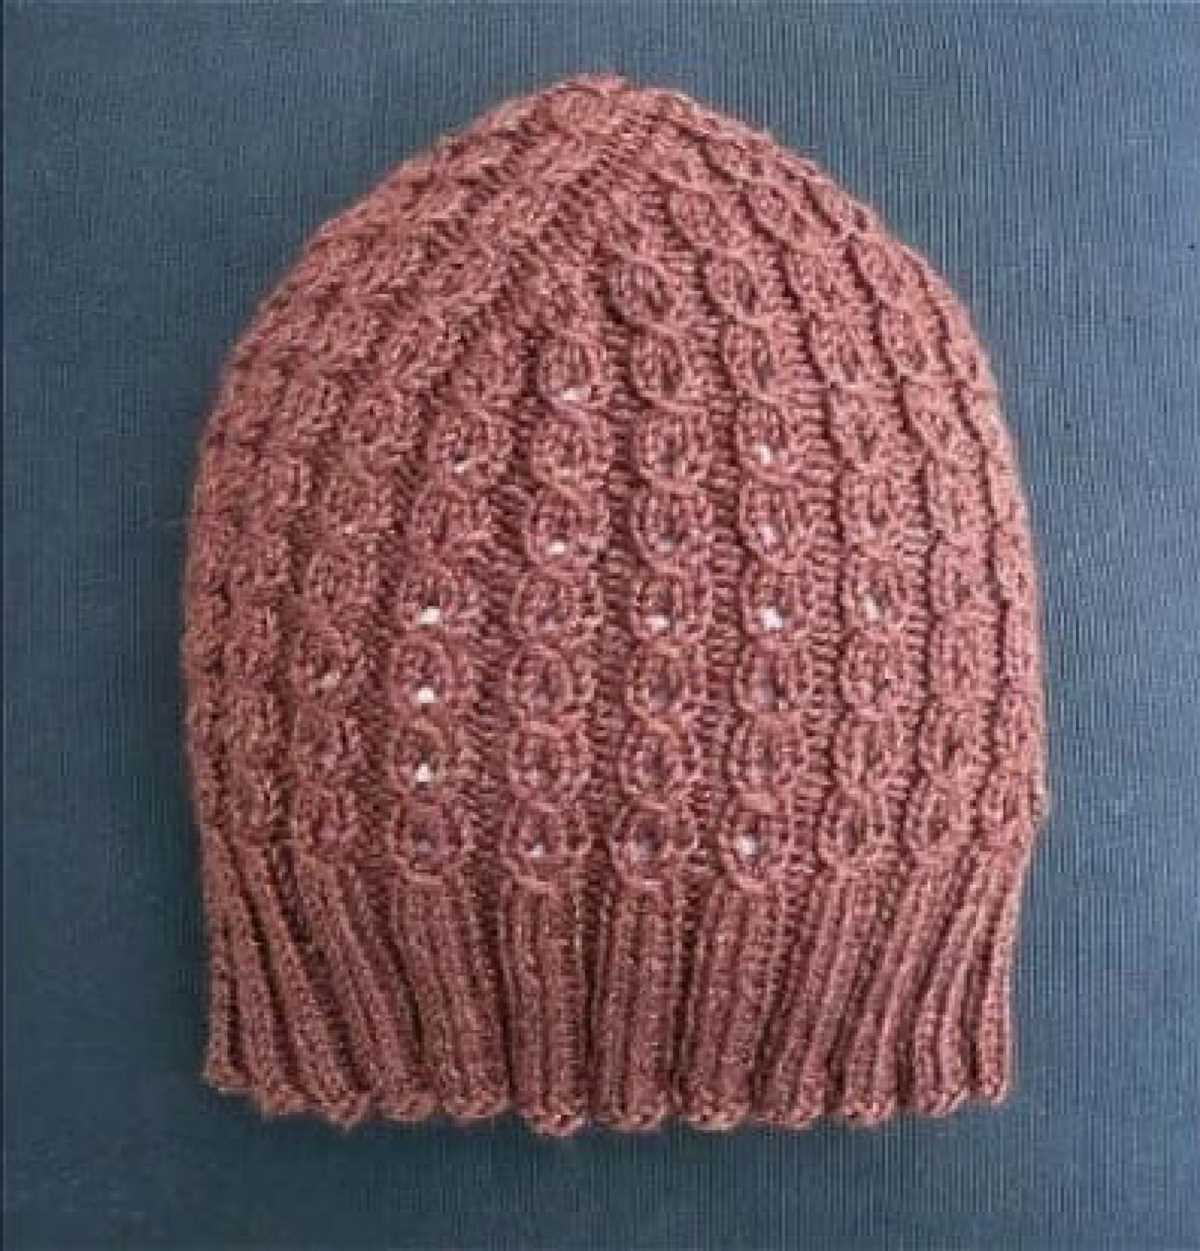
By changing the stitch pattern used in the color block knit hat pattern, you can create a variety of different looks. For example, instead of using a simple stockinette stitch, you could try a seed stitch for a more textured and interesting appearance. Alternatively, you could experiment with cables or lace stitches to add intricate details and patterns to the hat.
When choosing a stitch pattern, consider the overall look and feel you want to achieve. A chunky cable stitch, for example, will create a more cozy and winter-ready hat, while a delicate lace stitch will give the hat a more feminine and elegant touch. Don’t be afraid to get creative and try out different stitch patterns to find the one that best complements your personal style.
Final Thoughts
In conclusion, the color block knit hat pattern is a fun and versatile project for knitters of all skill levels. Whether you’re a beginner or an experienced knitter, this pattern offers a great opportunity to get creative with colors and designs.
The step-by-step instructions make it easy to follow along and create a hat that is not only stylish but also warm and comfortable. The color blocking technique adds an extra touch of uniqueness and allows you to showcase your personal style.
If you’re new to color blocking, don’t be intimidated. With a little practice, you’ll quickly become comfortable with choosing complementary colors and creating striking patterns.
Remember to experiment and have fun with this pattern. Feel free to switch up the colors, try different yarn weights, or even add your own embellishments. The possibilities are endless.
So grab your knitting needles and get ready to make a statement with your own color block knit hat. Whether you make it for yourself or as a gift, it’s sure to be a hit!