
Clapotis is a popular shawl pattern in the knitting community. It was designed by Kate Gilbert and first published in the fall 2004 issue of Knitty, an online knitting magazine. Since then, this versatile and elegant pattern has been a favorite among knitters of all skill levels.
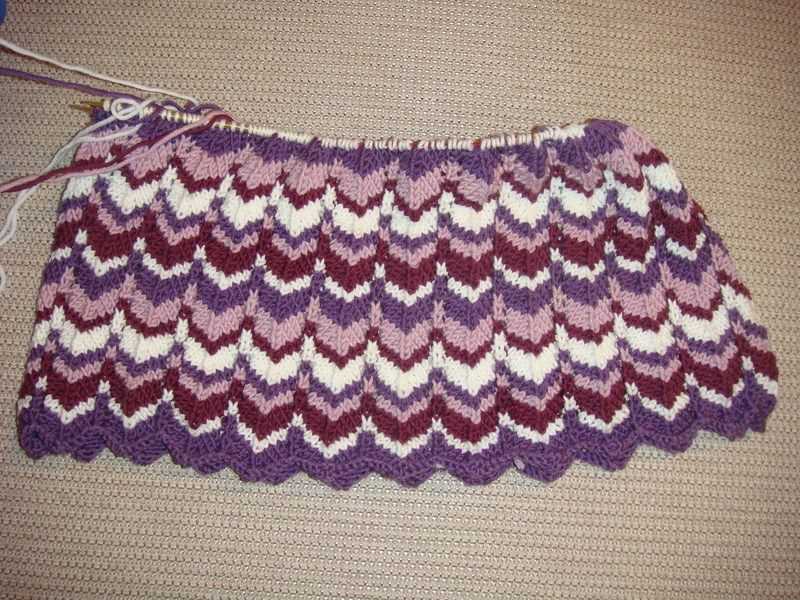
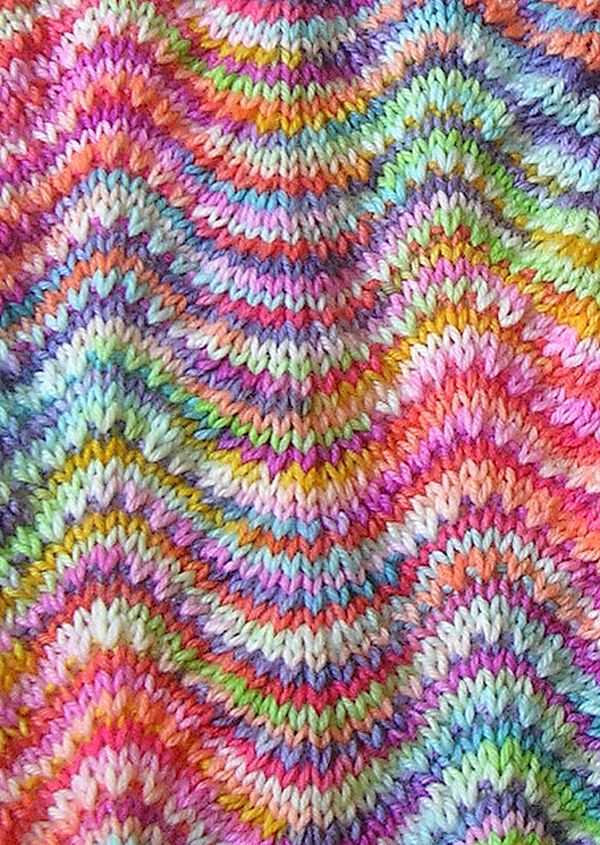
The word clapotis is French for “waves” or “lapping,” which perfectly describes the unique design of this shawl. The pattern features dropped stitches, which create a ladder-like effect that resembles waves breaking on a shore. This striking visual element makes the Clapotis pattern stand out among other shawl patterns.
One of the reasons why the Clapotis pattern is so popular is its versatility. This shawl can be knitted with a variety of yarn weights and fiber content, allowing knitters to create a shawl that suits their personal style and desired level of warmth. Additionally, the Clapotis pattern can be easily modified to create a larger or smaller shawl, making it suitable for different body types and preferences.
Materials needed for Clapotis knitting
When embarking on your Clapotis knitting project, it’s important to gather all the necessary materials beforehand. This will ensure that you have everything you need to successfully complete the pattern and create a beautiful finished product.
To knit the Clapotis, you will need the following materials:
- Yarn: Choose a yarn that is suitable for the pattern and that you enjoy working with. The Clapotis pattern typically calls for a worsted weight yarn, but you can experiment with different weights to achieve a desired effect.
- Knitting Needles: Use a pair of straight or circular knitting needles in a size that matches the recommended gauge for the pattern. This will ensure that your stitches are the correct size and that the finished garment fits as intended.
- Stitch Markers: These are helpful for keeping track of different sections of the pattern and can be used to indicate where to change stitches or repeat certain sections. They come in various shapes and sizes, so choose markers that are easy to work with and won’t snag your yarn.
- Tapestry Needle: This needle is used for weaving in loose ends and finishing the project. Choose a needle with a large enough eye to accommodate your yarn.
- Scissors: A pair of scissors is essential for cutting your yarn at various stages of the project. Make sure they are sharp and easily accessible.
Step-by-step instructions for knitting Clapotis

Clapotis is a popular knitting pattern that creates a beautiful triangular shawl with a dropped stitch design. Knitting Clapotis can be a fun and rewarding project for all skill levels. Here are step-by-step instructions to guide you through the process:
Materials:
- Yarn of your choice in desired weight and color
- Knitting needles in a size suitable for your yarn
- Tapestry needle for weaving in ends
- Stitch markers
Instructions:
- Begin by casting on the required number of stitches, as indicated in the pattern. It is important to use a stretchy cast-on method to ensure the shawl has a nice drape.
- Work the setup rows as specified in the pattern. These rows help establish the dropped stitch pattern.
- Start the main body of the shawl by following the pattern instructions for the “straight section”. This typically involves repeating a set of rows that include the dropped stitch pattern.
- Continue knitting the straight section until you have reached the desired length for your shawl. The length can be adjusted to your preference.
- Once the straight section is complete, it’s time to start the “decrease section”. Follow the pattern instructions to decrease stitches as indicated. This will create the triangular shape of the shawl.
- As you continue knitting the decrease section, you will begin to see the dropped stitches open up and create a beautiful, lacy effect.
- Once you have completed the decrease section, finish off by binding off all remaining stitches. Make sure to weave in any loose ends.
- Block your Clapotis shawl to give it a polished and professional finish. Follow the blocking instructions provided in the pattern to ensure the best results.
Now that you have finished knitting your Clapotis shawl, you can proudly wear or gift it to someone special. The dropped stitch design creates an eye-catching texture that is sure to impress!
Tips and tricks for knitting Clapotis
Knitting a Clapotis can be an exciting and rewarding project, but it can also present some challenges along the way. Here are some tips and tricks to help you navigate through the pattern and create a beautiful finished piece.
1. Use stitch markers to keep track of your progress:
With Clapotis, it is easy to lose track of where you are in the pattern, especially if you are working on a large project. To avoid confusion, place stitch markers at regular intervals to mark the different sections of the pattern. This will help you keep track of your progress and ensure that you are always on the right track.
2. Choose a yarn with good drape:
Clapotis is known for its beautiful drape, so it is important to choose a yarn that will enhance this characteristic. Look for yarns with silk or bamboo content, as these fibers will add a lovely drape to the finished piece. Avoid using yarns that are too stiff or bulky, as they may not drape as nicely and could affect the overall look of your Clapotis.
3. Block your Clapotis for a polished finish:
Blocking is essential for achieving a polished and professional-looking Clapotis. After you have finished knitting, wet block your Clapotis by soaking it in lukewarm water and gently squeezing out the excess moisture. Lay it flat on a clean towel, gently shape it into the desired dimensions, and let it dry completely. This will help even out the stitches, open up the dropped stitches, and give your Clapotis its final shape.
4. Experiment with color and yarn choice:
One of the great things about Clapotis is that it offers endless possibilities for customization. Don’t be afraid to experiment with different yarns and colors to make your Clapotis truly unique. Consider using variegated yarns to add depth and visual interest to your project, or try a luxurious hand-dyed yarn to create a one-of-a-kind piece. The pattern is versatile and can be adapted to suit your personal style and preferences.
- Overall, knitting a Clapotis can be a fun and enjoyable project that results in a beautiful finished piece.
- By following these tips and tricks, you can navigate through the pattern confidently and create a Clapotis that you will be proud to wear or give as a gift.
- Remember to take your time, enjoy the process, and embrace the opportunity to express your creativity through this versatile pattern.
How to customize your Clapotis

While the Clapotis knitting pattern provides a great starting point, many knitters like to add their own personal touches to make their Clapotis unique. Here are some ways you can customize your Clapotis:
1. Yarn choice: Experiment with different yarns to achieve different textures and effects. You can use a soft and fluffy yarn for a cozy and warm Clapotis, or a lightweight and shiny yarn for a more elegant and delicate look.
2. Size: The Clapotis pattern can be easily modified to make a larger or smaller shawl. Simply adjust the number of stitches and the number of repeats to achieve your desired size.
3. Color changes: You can create color blocks or stripes by changing yarn colors at different points in the pattern. This can add visual interest and make your Clapotis truly one-of-a-kind.
4. Add lace or cables: If you’re feeling adventurous, you can incorporate lace or cable patterns into your Clapotis. This can create a more intricate and textured design.
5. Embellishments: Don’t be afraid to add some extra flair to your Clapotis. You can add beads, ribbons, or even embroidery to make your Clapotis truly unique.
Remember, the Clapotis knitting pattern is just a starting point. Feel free to get creative and add your own personal touch to make your Clapotis a reflection of your own style and personality.