
If you’re a fan of knitting and love to create cozy accessories for yourself or your loved ones, a top down knitted hat is a perfect project to try. Knitting a hat from the top down allows you to easily tailor the size and fit of your hat, making it a versatile and personalized accessory. In this article, we’ll walk you through a simple top down knitted hat pattern that’s perfect for beginners and experienced knitters alike.
One of the advantages of knitting a hat from the top down is that you can easily try it on as you go, ensuring a perfect fit. This pattern starts with a few stitches at the crown of the hat and gradually increases in stitches, resulting in a beautiful round shape. You can choose to knit the hat with a ribbed brim or add some fun and textured stitches to make it unique.
To get started, you’ll need a set of circular knitting needles in the appropriate size for your chosen yarn, as well as a set of double-pointed needles for the top of the hat. You’ll also need a stitch marker to keep track of your rounds and a tapestry needle for finishing touches.
Once you have your materials ready, you can begin casting on and following the pattern. Knitting a top down hat is a great project to relax and unwind with, and you’ll be rewarded with a cozy and stylish accessory that you can wear throughout the colder months. So grab your yarn and needles, and let’s get started on this top down knitted hat pattern!
Top Down Knitted Hat Pattern
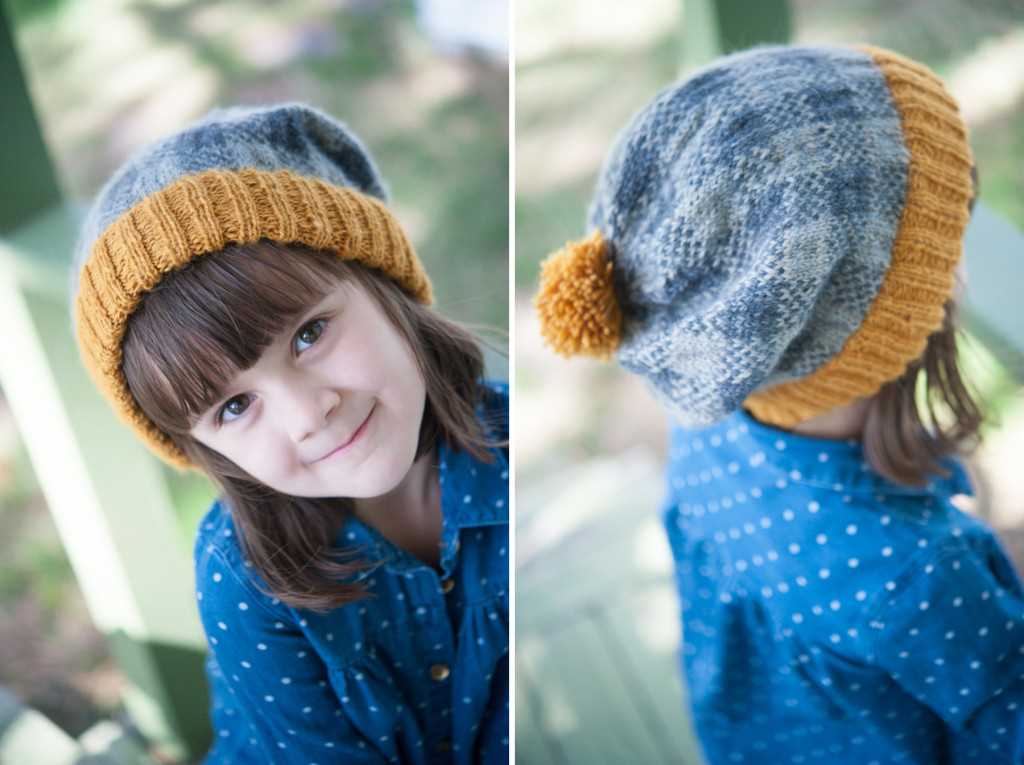
Knitting your own hat is a great way to add a personal touch to your winter wardrobe. A top down knitted hat pattern is a versatile and easy-to-follow pattern that allows you to customize the hat to your liking. Whether you prefer a slouchy beanie, a snug beanie, or something in between, this pattern can be easily adjusted to fit your preferred style.
To start knitting your top down hat, you will need a set of double-pointed or circular knitting needles, depending on your preference. You will also need a skein of yarn in your chosen color and weight, as well as a tapestry needle to weave in any loose ends.
Begin by casting on the required number of stitches, which will depend on the size of hat you want to create. You can find guidelines for stitch count based on head circumference online or in knitting books. Once you have cast on, join the round and work in a rib stitch pattern for several rounds to create the brim of the hat.
After completing the brim, switch to your desired stitch pattern for the body of the hat. This could be a simple stockinette stitch, a textured stitch pattern, or even a colorwork pattern. Continue knitting in the round until the hat reaches your desired length.
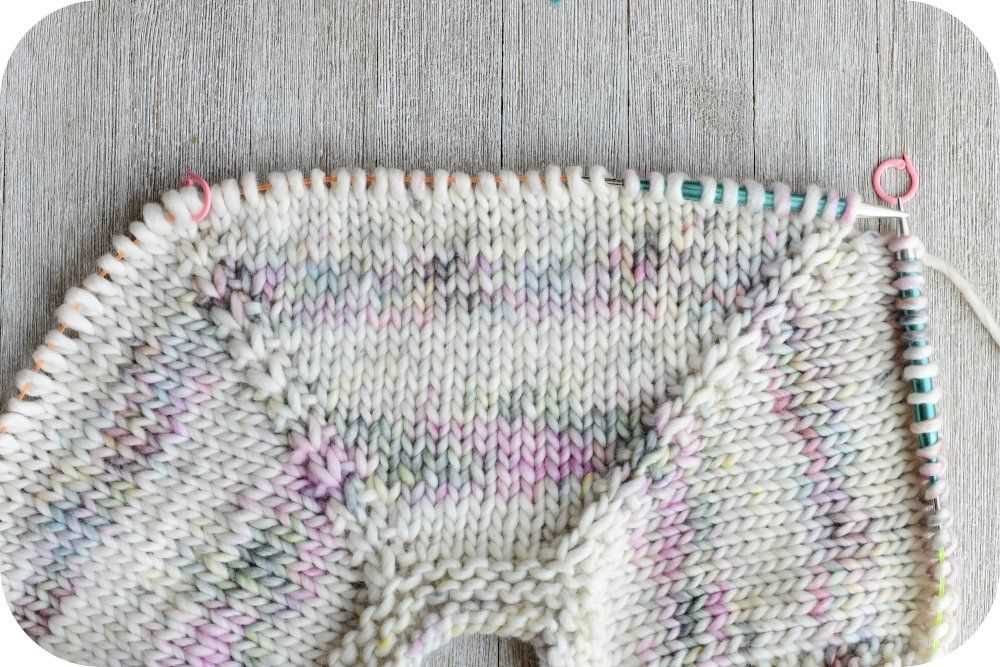
When you are ready to decrease for the crown of the hat, begin by evenly distributing the stitches onto double-pointed or circular needles. Follow the pattern instructions for decreasing, typically by knitting two stitches together, until you have a small number of stitches left. Cut the yarn, leaving a long tail, and thread it through the remaining stitches to secure.
Finish off your hat by weaving in any loose ends and blocking it to shape. You can add embellishments such as a pom-pom or a decorative hat band if desired. Wear your newly knitted top down hat with pride, or gift it to someone special.
Materials
Before you start knitting your top-down hat, make sure you have all the necessary materials. Here is a list of the things you will need:
- Yarn: Choose a soft yarn in the weight and color of your choice. Worsted weight yarn is a popular choice for hats as it provides warmth and durability. You will need approximately 200-250 yards of yarn for an average adult-sized hat.
- Knitting needles: You will need a set of double-pointed needles (DPNs) or a circular needle, depending on your preferred method of knitting in the round. Make sure the size of your needles matches the gauge specified in the pattern.
- Stitch markers: These will help you keep track of your stitches and markers. You can use simple plastic rings or opt for more decorative stitch markers.
- Tapestry needle: This needle will be used for weaving in ends and finishing touches.
- Scissors: A pair of sharp scissors will be needed for cutting yarn and trimming ends.
Make sure you have all these materials ready before you start knitting your top-down hat. Once you have everything you need, you’re ready to begin!
Gauge
When knitting a top-down hat, it is important to achieve the correct gauge in order to ensure that the finished hat will fit properly. Gauge refers to the number of stitches and rows per inch of a knitted fabric. It is important to match the gauge specified in the pattern, as this will determine the size of the hat.
To measure your gauge, start by knitting a swatch using the recommended yarn and needle size. The swatch should be at least 4 inches square. Use the same stitch pattern that you will be using for the hat. After completing the swatch, carefully measure the number of stitches and rows within the 4-inch area.
Adjusting Gauge
If your gauge does not match the pattern gauge, you will need to make adjustments. If you have too few stitches and rows per inch, you will need to switch to a smaller needle size to achieve a tighter fabric. Conversely, if you have too many stitches and rows per inch, you will need to switch to a larger needle size to achieve a looser fabric.
Keep in mind that adjusting the needle size will also affect the overall size of the hat, so it is important to measure the gauge again after making the adjustments to ensure that the finished hat will fit as desired. It may take several tries to achieve the correct gauge, but it is worth the effort to ensure a properly fitting hat.
Size
When it comes to knitting a top down knitted hat, size is an important factor to consider. The size of the hat will determine how well it fits the wearer and how comfortable it is to wear. There are several ways to determine the size of a knitted hat.
One common method is to measure the circumference of the wearer’s head and use that measurement as a guide for sizing. This can be done using a flexible measuring tape. Simply wrap the tape around the widest part of the head, typically just above the ears and eyebrows. Take note of the measurement and use it as a reference when choosing a pattern.
Another way to determine the size of a knitted hat is to refer to a standard sizing chart. These charts provide measurements for different sizes, ranging from small to extra large. The chart will typically include the head circumference measurement as well as the corresponding hat size. This can be helpful when knitting for someone who may not be available for a direct measurement.
It’s important to note that the size of a knitted hat can also be adjusted during the knitting process. This can be done by using a different weight of yarn or by adjusting the number of stitches cast on. If the hat is too small, more stitches can be added to increase the size. If the hat is too large, stitches can be decreased or a smaller size of yarn can be used.
Ultimately, the size of a knitted hat should be chosen to ensure a comfortable and well-fitting final product. Taking accurate measurements or referring to a sizing chart can help guide the knitting process and ensure a successful outcome.
Cast On
When starting a top down knitted hat, one of the first steps is to cast on the required number of stitches. The cast on edge forms the bottom of the hat and sets the foundation for the rest of the project. There are several different methods of casting on that can be used, depending on personal preference and the desired outcome of the hat.
Long tail cast on: The long tail cast on method is a popular choice for many knitters. It creates a neat and stretchy edge, which is ideal for hats. To do a long tail cast on, you will need to estimate the amount of yarn you will need for the tail, as well as the number of stitches required. Once you have determined this, you can begin by creating a slipknot, placing it on the needle, and then working each stitch using a combination of loops and yarn overs.
Knitted cast on: The knitted cast on is another commonly used method for starting a hat. It produces a sturdy and even edge, making it a great choice for hats that require structure and stability. To do a knitted cast on, you will start by creating a slipknot and placing it on the needle. From there, you will knit into the slipknot, creating a new stitch. Repeat this process until you have cast on the desired number of stitches.
- Provisional cast on: The provisional cast on method is used when you want to create an easily removable cast on edge. This can be useful for hats that have a folded brim or for projects that require the cast on edge to be joined later on. With a provisional cast on, you will start by creating a temporary foundation row using scrap yarn. Once the desired number of stitches has been cast on, the scrap yarn can be removed, leaving live stitches that can be easily worked with.
- Cable cast on: The cable cast on method is a great choice for hats that require a decorative or decorative cable detail. It creates a tight and firm edge that is ideal for holding the structure of the hat. To do a cable cast on, you will start by creating a slipknot and placing it on the needle. From there, you will insert the needle into the slipknot in a specific way, creating a new stitch. Repeat this process until you have cast on the desired number of stitches.
Choosing the right cast on method for your top down knitted hat is important to ensure a successful and enjoyable knitting experience. Each method has its own unique characteristics and advantages, so take the time to experiment and find the one that works best for you and your project.
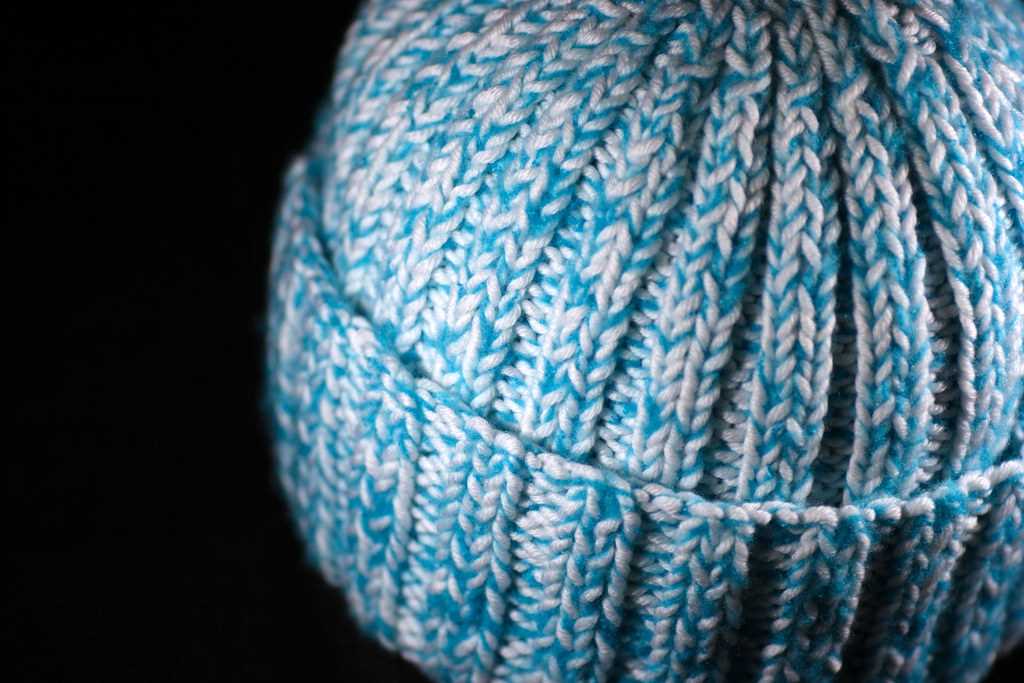
Ribbing
In knitting, ribbing is a technique that creates a stretchy fabric with a textured pattern. It is commonly used for cuffs, collars, and waistbands on garments, as well as for the brims of hats. The ribbing is created by alternating knit and purl stitches in a specific pattern.
The most common ribbing pattern is the 1×1 rib, where one knit stitch is followed by one purl stitch. This creates a fabric that has columns of raised knit stitches separated by valleys of purl stitches. This type of ribbing is often used for cuffs and collars, as it provides a good amount of stretch and helps the garment retain its shape.
Another popular ribbing pattern is the 2×2 rib, where two knit stitches are followed by two purl stitches. This creates a wider ribbing with larger columns of knit stitches. The 2×2 ribbing is commonly used for waistbands and hat brims, as it provides a decorative texture while still offering good stretch and elasticity.
When knitting a top-down hat, ribbing is typically used for the brim. This helps keep the hat snug, prevents it from stretching out over time, and adds a nice finishing touch to the design. Knitting the ribbing in a different color or using a contrasting yarn can also create interesting colorwork effects.
To knit the ribbing for a top-down hat, you would typically start with a smaller needle size to create a tighter fabric. This ensures that the brim will be secure and snug. After completing the ribbing, you can switch to a larger needle size for the main body of the hat.
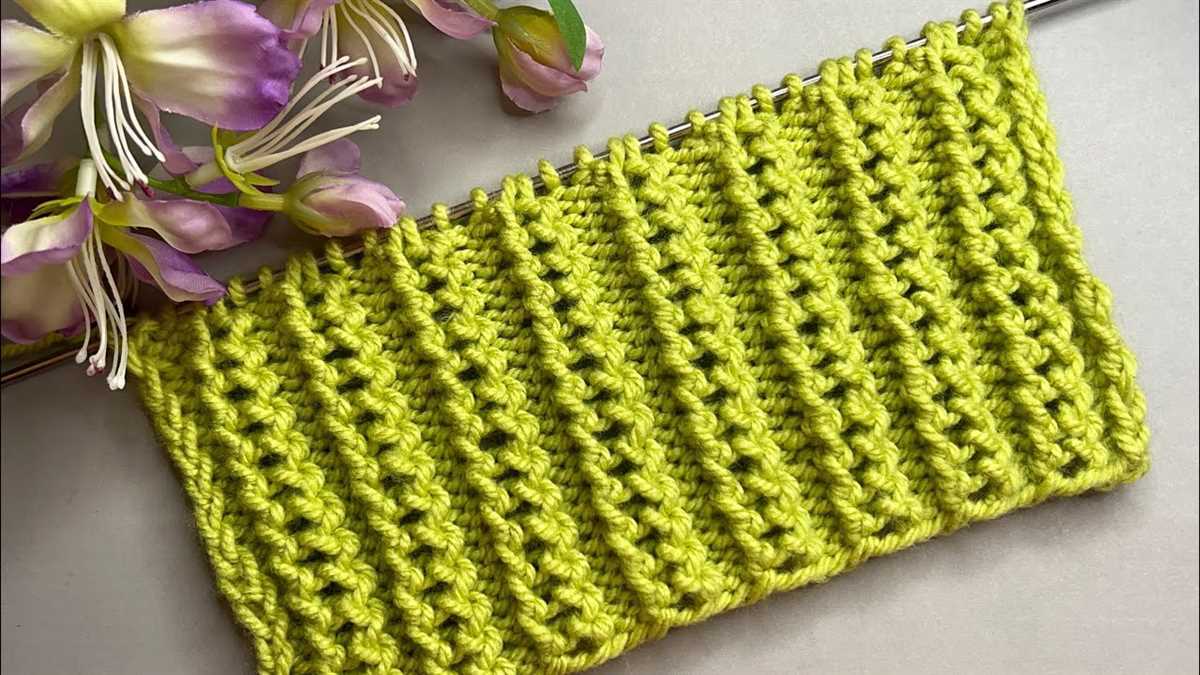
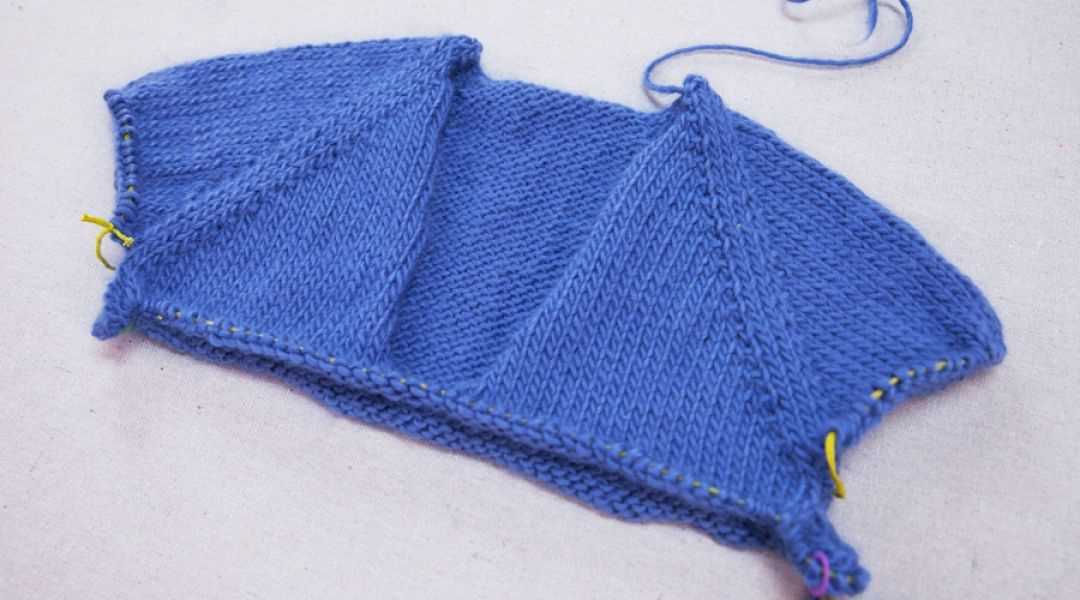
Body of the Hat
Once you have completed the brim of the hat, you will start working on the body. For this pattern, we will be using a simple knit stitch to create a textured and warm fabric.
To begin, continue working in the round, making sure to maintain the stitch pattern established in the brim. If you’re new to knitting in the round, you can use markers to help keep track of your stitches.
Round 1: Knit all stitches.
Round 2: Purl all stitches.
Repeat these two rounds until the hat measures approximately 7 inches from the brim, or until you have reached your desired length. Remember to periodically try on the hat to check the fit.
For a slouchy hat, you can continue working the body until it measures around 9 inches from the brim. If you prefer a beanie-style hat, you can stop at around 7 inches.
If you want to add any colorwork or stitch patterns to the body of the hat, now is the time to do so. Just make sure to follow the specific instructions for the stitch pattern or colorwork chart you are using.
Continue working in the desired stitch pattern until the hat measures the desired length. At this point, you can either choose to bind off directly, or add any additional shaping, such as decreases, if desired.
Once the body of the hat is complete, you can move on to the crown shaping or finishing instructions to complete your top-down knitted hat.
Decreases
Decreases, also known as shaping or decreasing rounds, are an important part of knitting a top-down hat. They help to create the desired shape and decrease the number of stitches as you work towards the crown of the hat. There are several different methods for decreasing stitches, and the one you choose will depend on the pattern and the desired effect.
One common method of decreasing stitches is the knit two together (k2tog) decrease. To work this decrease, simply insert your right needle into the next two stitches on the left needle as if to knit, and then knit them together as one stitch. This creates a single decrease stitch and decreases the stitch count by one.
Another method is the slip slip knit (ssk) decrease. To work this decrease, slip the next stitch on the left needle onto the right needle knitwise, slip the following stitch onto the right needle purlwise, insert the left needle into the front loops of these two slipped stitches, and knit them together through the back loops. This creates a left-leaning decrease and also decreases the stitch count by one.
When working decreases in a pattern, it’s important to follow the instructions carefully and make sure you are decreasing in the correct places and in the correct order. This will help ensure that the hat has the desired shape and fit. It can be helpful to use stitch markers to mark the positions where you need to make decreases, especially if the decreases are not evenly spaced.
Overall, decreases play a crucial role in shaping a top-down knitted hat. They allow you to create a fitted crown and achieve the desired shape. By using different decrease methods and following the pattern instructions, you can customize the hat to your liking and create a beautiful finished project.
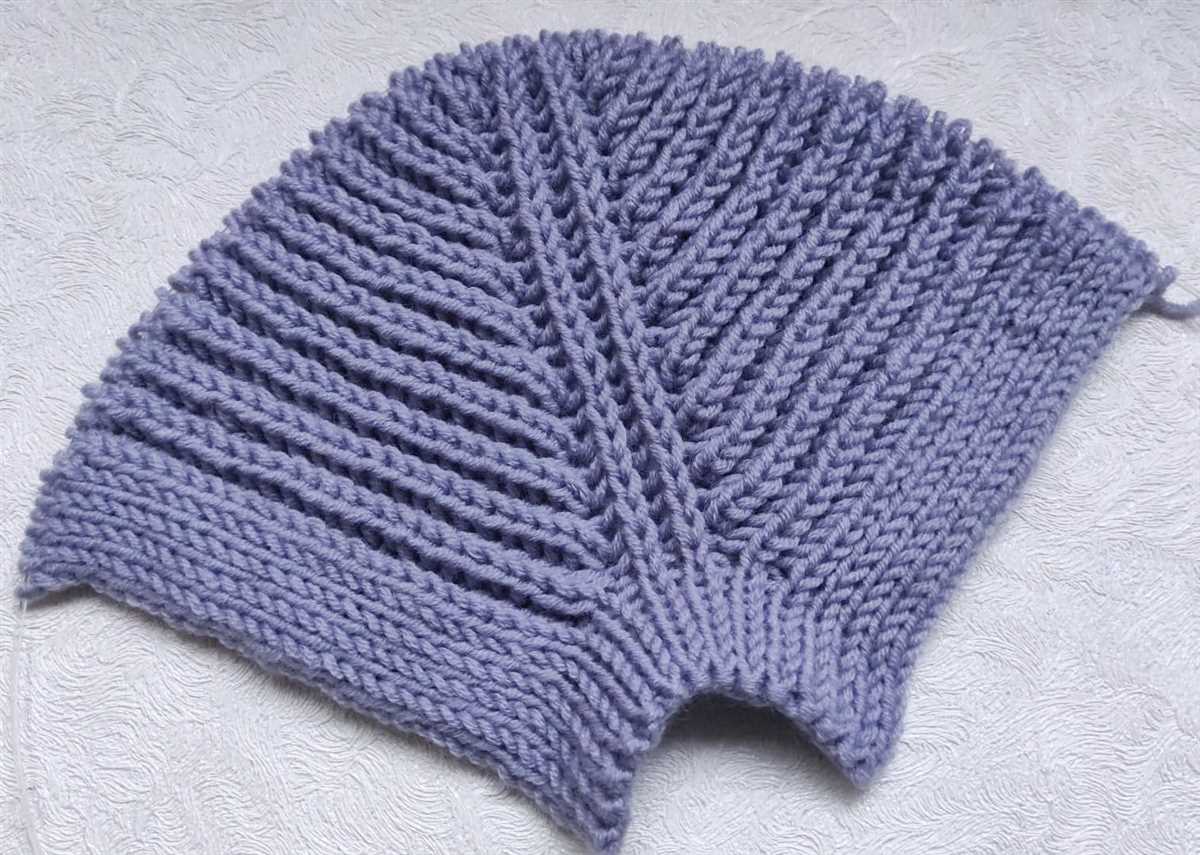
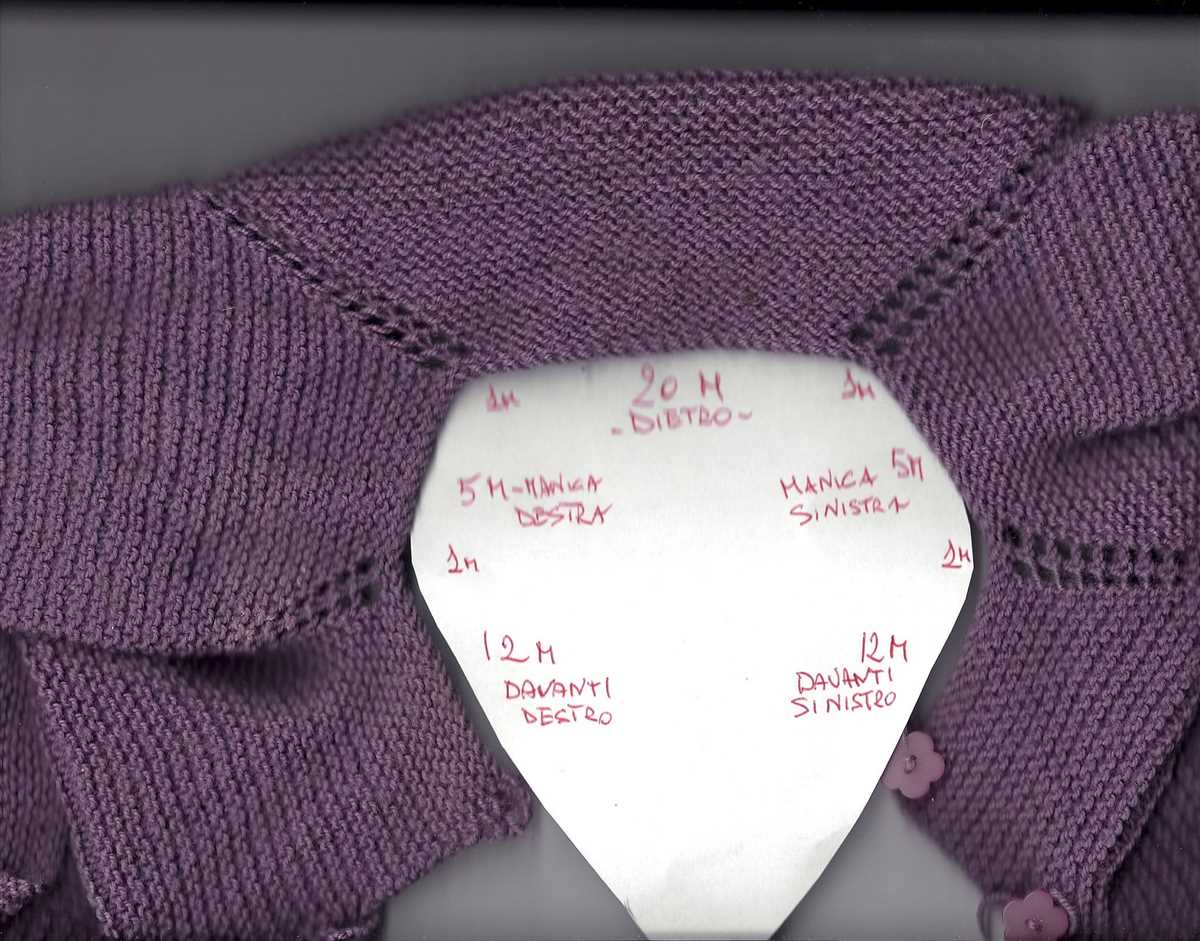
Crown Shaping
When knitting a top down knitted hat, the crown shaping is an essential part of the pattern. It determines the final shape and fit of the hat, ensuring that it sits comfortably on the head. There are several different methods of crown shaping that can be used, depending on the desired outcome.
One common method of crown shaping is decreasing stitches evenly across the row. This is typically done by knitting two stitches together, or by working a centered double decrease. The number of decreases made in each round will depend on the stitch pattern and the desired shape of the crown. It is important to ensure that the decreases are evenly spaced, to maintain a symmetrical shape.
Another method of crown shaping is the use of short rows to create a rounded crown. Short rows involve knitting or purling a partial row and then turning the work, rather than knitting continuously in the round. This creates extra fabric at the back of the hat, which helps to shape the crown and provide a more comfortable fit.
It is also possible to incorporate stitch patterns into the crown shaping, such as lace or cables. This adds interest and texture to the hat, while still maintaining the desired shape. It is important to keep track of the stitch pattern while shaping the crown, to ensure that the pattern remains consistent.
Overall, the crown shaping is an important step in the construction of a top down knitted hat. By using the right techniques and maintaining consistency, you can create a hat that not only fits well but also showcases your knitting skills.
Finishing
Once you have completed knitting your top down knitted hat, it’s time to finish it off with some final touches. Here are some steps to follow for a clean and polished final result.
1. Weaving in ends:
Begin by weaving in all the loose ends of yarn from the cast-on and bind-off edges. Thread the yarn onto a tapestry needle and work it through the stitches on the inside of the hat, being careful not to create any puckering or tension. Trim any excess yarn once the ends are secured.
2. Blocking:
For a professional finish and to help the hat hold its shape, you may want to block it. Wet blocking is the most common method for knitted items. Soak the hat in cool water with a gentle wool wash for about 20 minutes, then gently squeeze out the excess water without wringing or twisting. Lay the hat flat on a clean towel or blocking board, reshape it if necessary, and let it dry completely. Blocking will help even out any uneven stitches and give the hat a smoother appearance.
3. Adding embellishments (optional):
If you want to personalize your hat, you can add embellishments such as pom-poms, buttons, or a decorative band. Attach these using a sewing needle and thread or by stitching them securely onto the hat. Be sure to consider the weight of the embellishment and how it may affect the overall fit and feel of the hat.
4. Care instructions:
To keep your knitted hat looking its best, follow the care instructions for the type of yarn used. This may include handwashing or machine washing on a delicate cycle, using a mild detergent, and laying it flat to dry. Avoid exposing the hat to excessive heat or direct sunlight, as this can cause the color to fade or the yarn to become brittle.
By following these finishing steps, you can ensure that your top down knitted hat is not only warm and cozy but also stylish and well-crafted. Enjoy wearing your handmade creation or give it as a thoughtful gift to someone special.
Variation Ideas
Once you’ve mastered the basic top down knitted hat pattern, there are endless variations you can try to customize your hat and make it truly unique. Here are a few ideas to get you started:
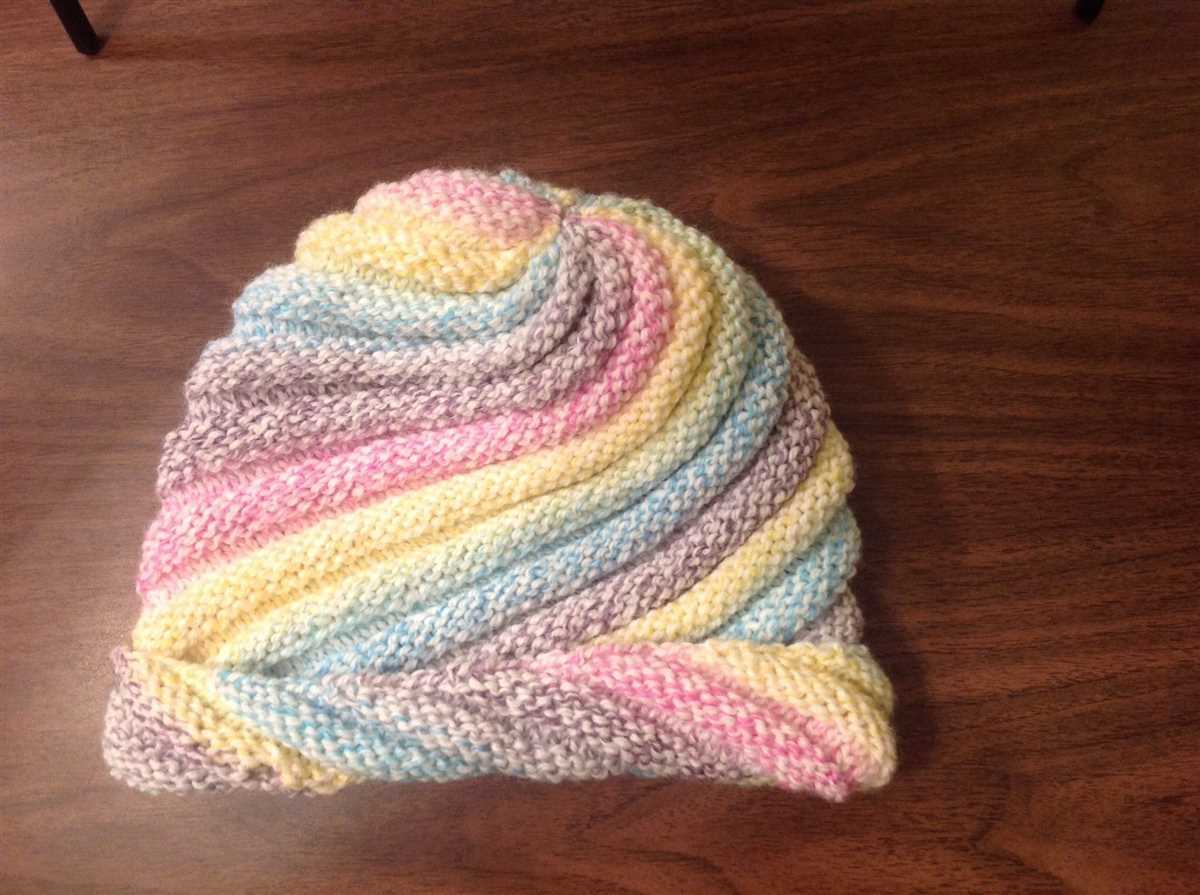
Cable Twist
Add some texture and visual interest to your hat by incorporating a cable twist pattern. This can be done by simply knitting a few stitches out of order and crossing them over each other. You can create simple cable twists or more complex ones with multiple crossing stitches.
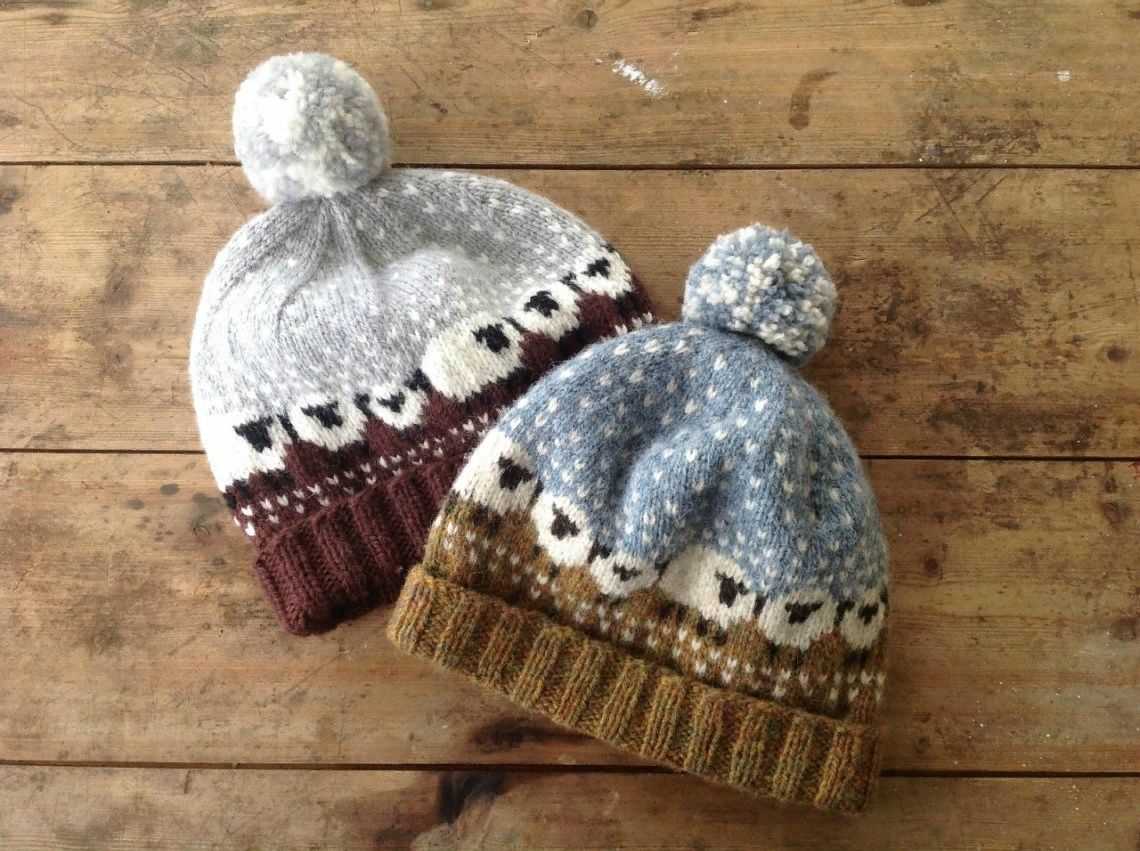
Fair Isle Design
Add a pop of color to your hat by incorporating a Fair Isle design. This traditional knitting technique involves knitting with two different colored yarns to create intricate patterns. You can choose a simple geometric design or get creative with more intricate motifs.
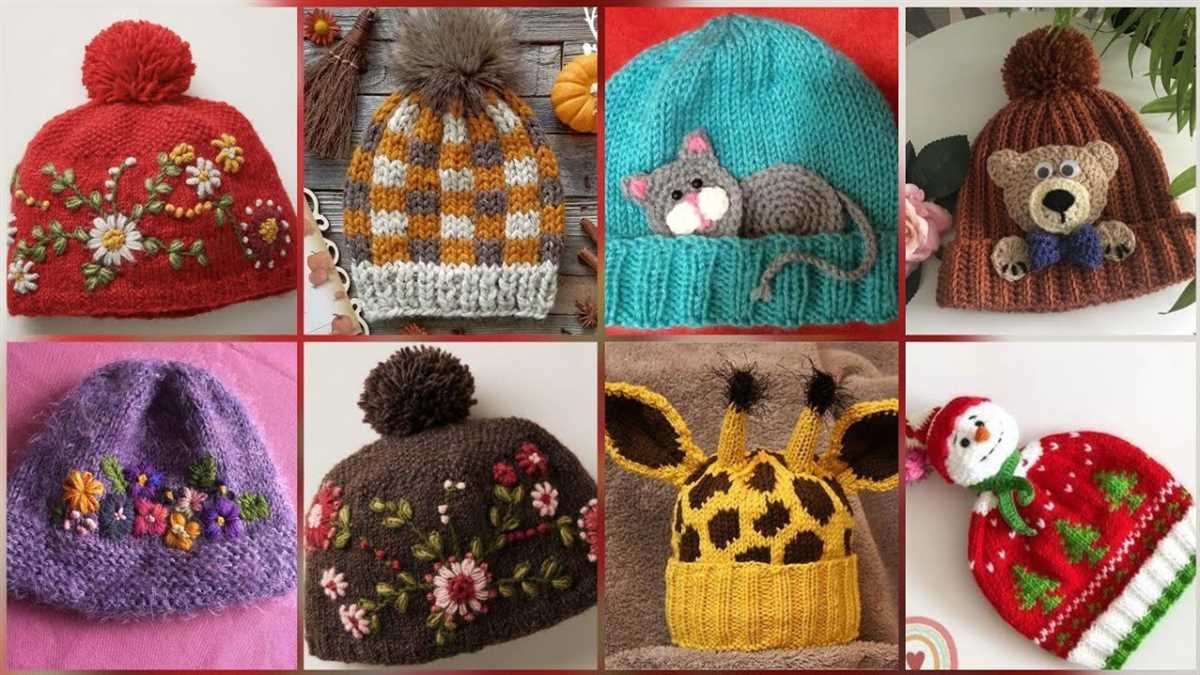
Pompom Embellishment
Add a playful touch to your hat by adding a pompom on top. Pompoms can be made using yarn in a coordinating color or even in a fun contrasting color. You can make small pompoms or large ones, depending on your personal preference.
Embroidery Detail
Add some personalized flair to your hat by incorporating embroidery detail. You can stitch initials, a favorite motif, or even a small image onto your hat using colorful embroidery floss. This is a great way to make your hat truly one-of-a-kind.
Lace Panel
If you prefer a more delicate and feminine look, consider incorporating a lace panel into your hat. Lace patterns can be achieved by knitting and purling stitches in specific combinations to create openwork designs. You can choose a simple lace pattern or a more intricate one depending on your skill level.
Remember, these are just a few ideas to inspire you. Feel free to mix and match different variations or come up with your own unique designs. The sky’s the limit when it comes to customizing your top down knitted hat!
Tips and Tricks
Knitting a top down hat can be a fun and rewarding project. Here are some tips and tricks to help you with your knitting journey:
1. Gauge matters
Make sure to check your gauge before starting the project. This will ensure that your hat will fit properly and have the right proportions. Adjust your needle size if needed to achieve the correct gauge.
2. Choose the right yarn
Select a yarn that is suitable for hats. Hat yarns should be durable, warm, and preferably machine-washable. Consider the texture and weight of the yarn to achieve the desired look and feel of your hat.
3. Use stitch markers
Place stitch markers to keep track of stitch patterns and decreases. Stitch markers will help you easily identify the beginning of rounds and any changes in the pattern. They are especially useful when working on complex stitch patterns.
4. Master the magic loop method
The magic loop method is a great technique to use when knitting hats. It allows you to knit in the round with a long circular needle, eliminating the need for double-pointed needles. This method is especially useful for small circumference knitting.
5. Add ribbing for a snug fit
Add ribbing at the bottom of the hat for a snug and comfortable fit. Ribbing adds elasticity to the hat, allowing it to stretch to fit different head sizes. Consider using a smaller needle size for the ribbing section to create a tighter fabric.
6. Personalize with embellishments
Add your own personal touch by embellishing your hat. You can add pom-poms, buttons, ribbons, or any other decorative elements to make your hat unique. Get creative and have fun with it!
With these tips and tricks in mind, you’re ready to start knitting your own top down hat. Remember to take your time, enjoy the process, and don’t be afraid to get creative with your design!