
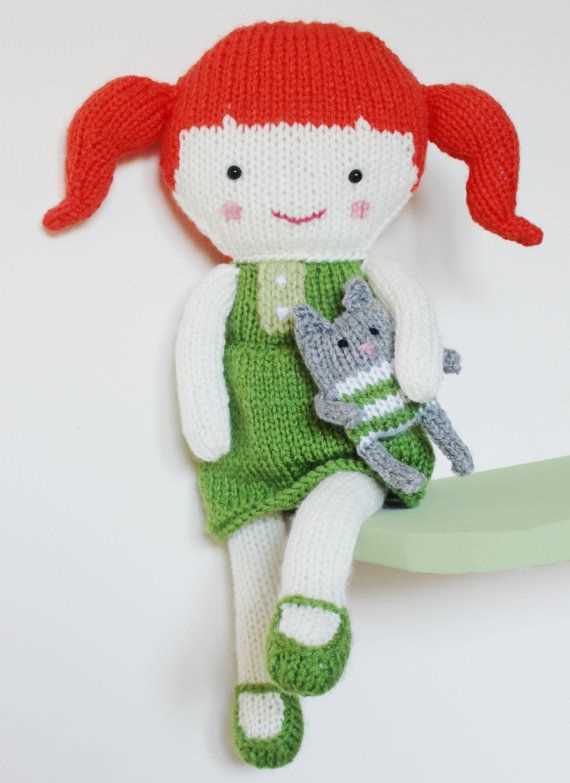
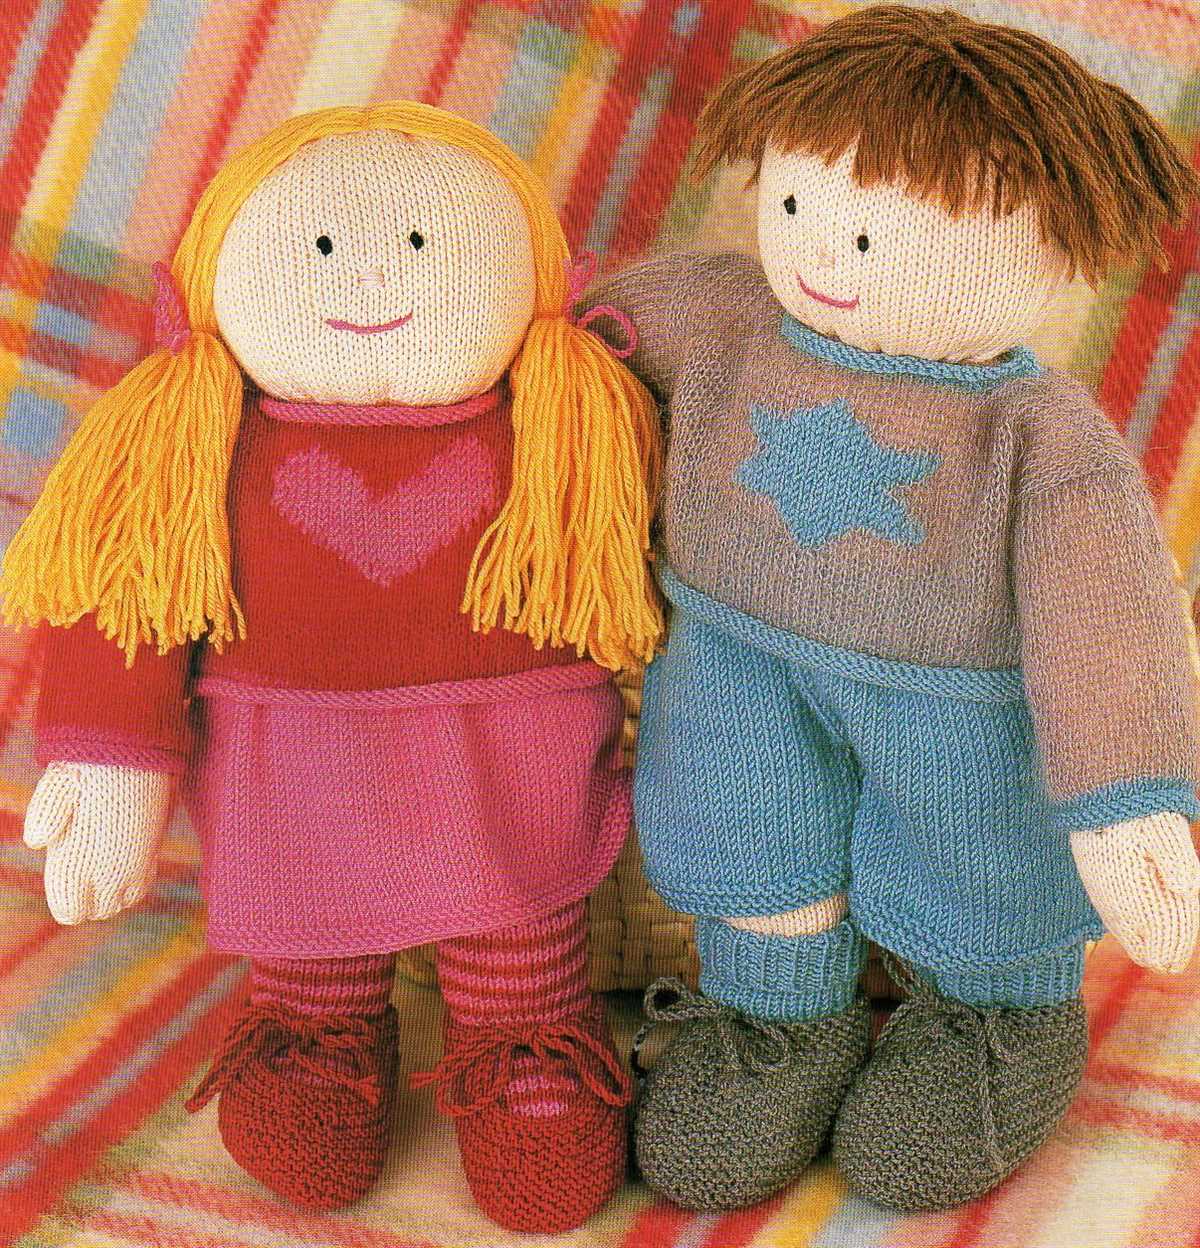
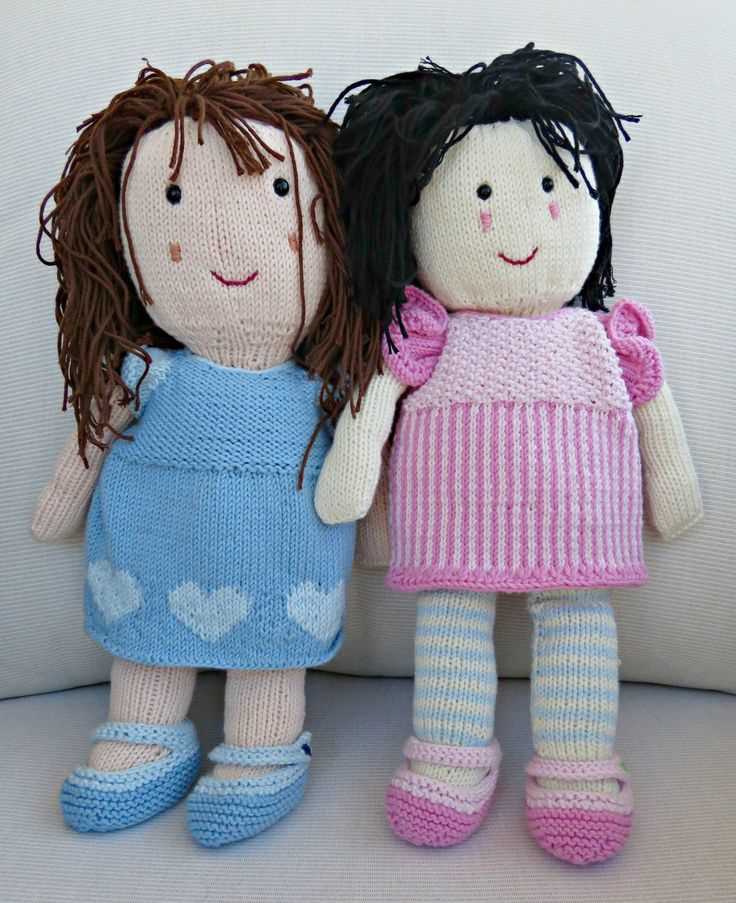
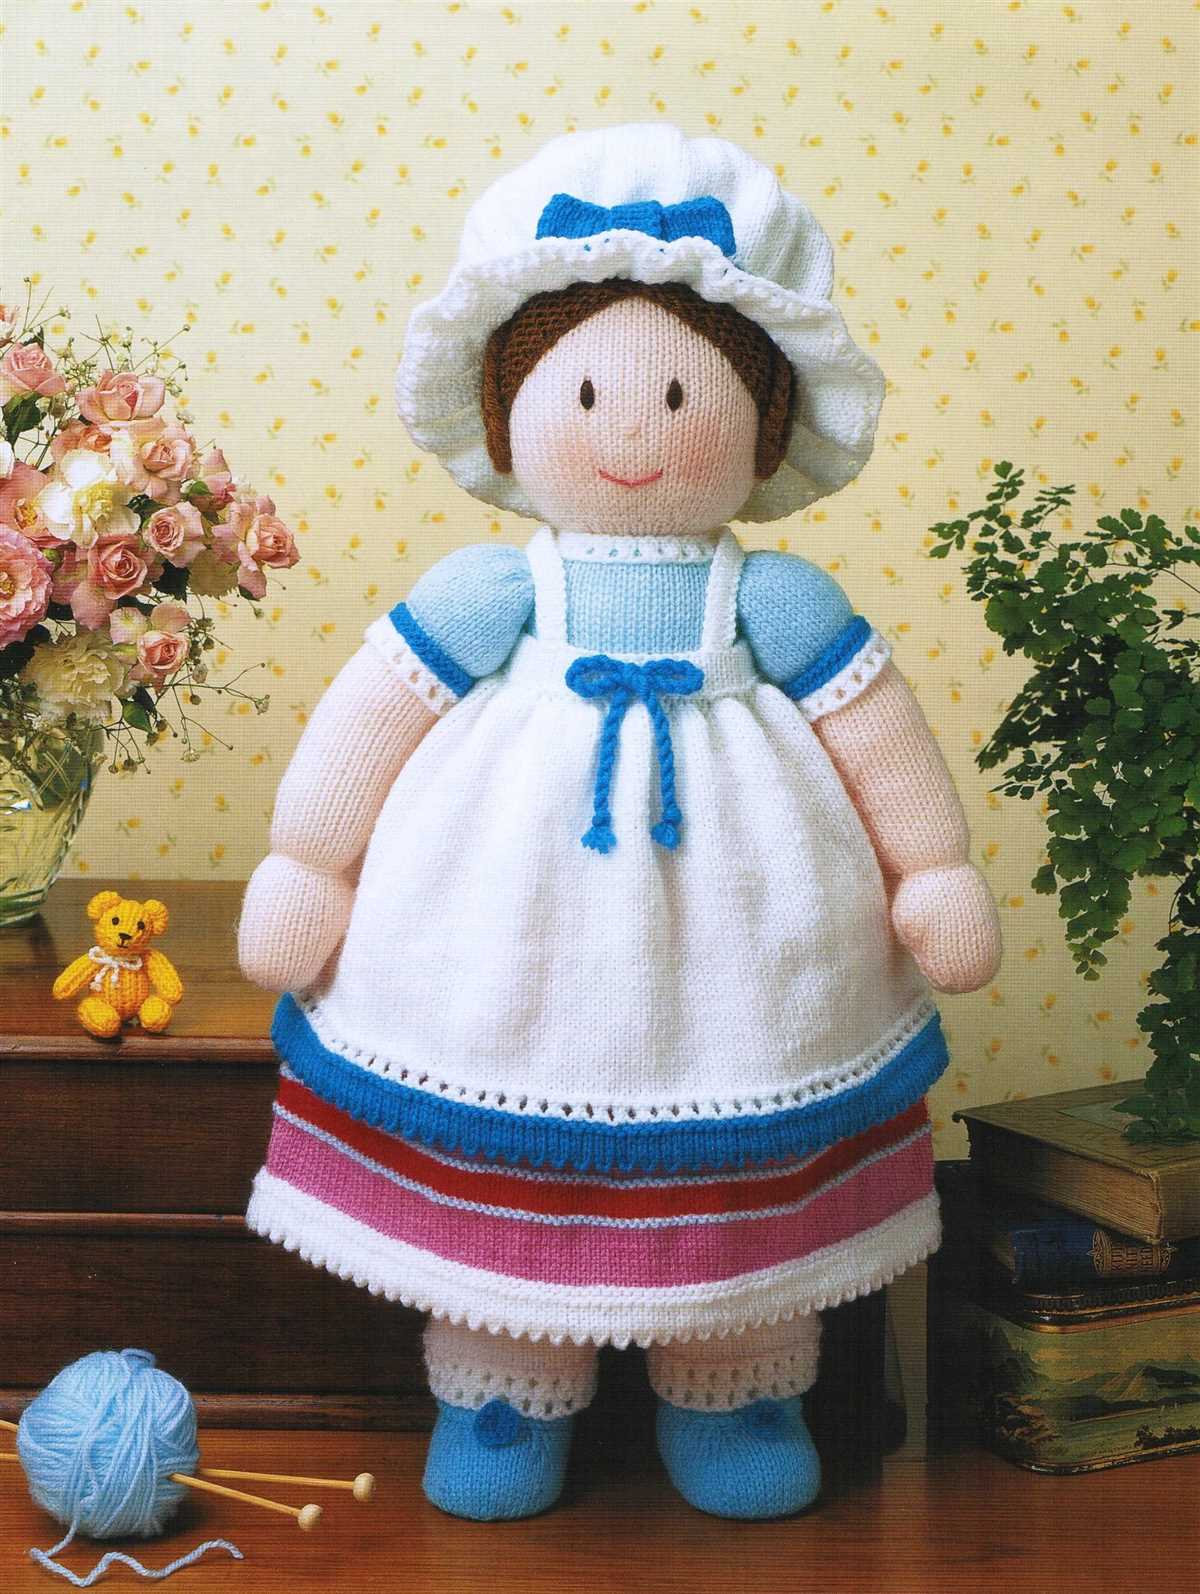
Knitting is a wonderful and creative hobby that allows you to make beautiful and unique items. One such item that can be easily knitted is a rag doll. Rag dolls are classic toys that have been loved by children for generations. They are simple and charming, with their soft bodies and floppy limbs.
If you are a beginner knitter or looking for a quick and easy project, this rag doll knitting pattern is perfect for you. With just a few basic knitting stitches and some colorful yarn, you can create an adorable rag doll that will bring joy to any child.
This easy rag doll knitting pattern is versatile and can be customized to your liking. You can choose the color of yarn, add embellishments such as buttons or bows, and even experiment with different stitches for the body and clothes. The possibilities are endless!
Materials required for the rag doll
When making a rag doll, you will need a few materials to get started. Here is a list of the essential items you will need:
- Yarn: Choose a soft, durable yarn in your desired color for the body of the doll. You will also need yarn for the hair, clothes, and any additional accessories you want to add.
- Knitting needles: Use knitting needles that are appropriate for the thickness of your yarn. It’s best to use a size that allows you to achieve the desired tension and gauge for your doll.
- Stuffing: You will need a suitable stuffing material to fill the body and limbs of the rag doll. Polyester fiberfill or cotton stuffing are common options.
- Embroidery thread: Embroidery thread is used to sew the facial features and any other decorative details on the doll.
- Needle and scissors: These basic sewing tools are essential for assembling the different parts of the rag doll.
- Buttons, ribbons, and embellishments: Optional materials that can be used to add personality and style to your rag doll. These can be used for eyes, clothing fastenings, and other decorative elements.
Before you begin, it’s important to gather all the necessary materials to ensure a smooth and enjoyable knitting experience. Once you have everything you need, you’ll be ready to start creating your very own rag doll!
How to choose the right yarn for the doll
When it comes to knitting a rag doll, choosing the right yarn is essential to achieving the desired look and feel of the finished doll. The yarn you select will determine the texture, color, and durability of the doll, so it’s important to choose carefully. Here are some factors to consider when selecting yarn for your rag doll project.
Material
The first thing to consider is the material of the yarn. There are a wide variety of materials to choose from, including cotton, acrylic, wool, and blends. Each material has its own properties and characteristics that will affect the look and feel of the doll. For example, cotton yarn is soft and breathable, making it a good choice for dolls that will be cuddled and played with. Acrylic yarn is durable and easy to care for, making it a practical option for children’s toys. Wool yarn has a natural warmth and softness, but it may require more care in laundering.
Weight
The weight of the yarn is another important consideration. The weight refers to the thickness of the yarn and can range from lace weight to bulky. Thicker yarns will result in a larger, chunkier doll, while thinner yarns will create a more delicate and detailed doll. Consider the desired size and look of your doll when choosing the weight of the yarn. Keep in mind that heavier yarns will also require larger knitting needles and may take longer to knit up.
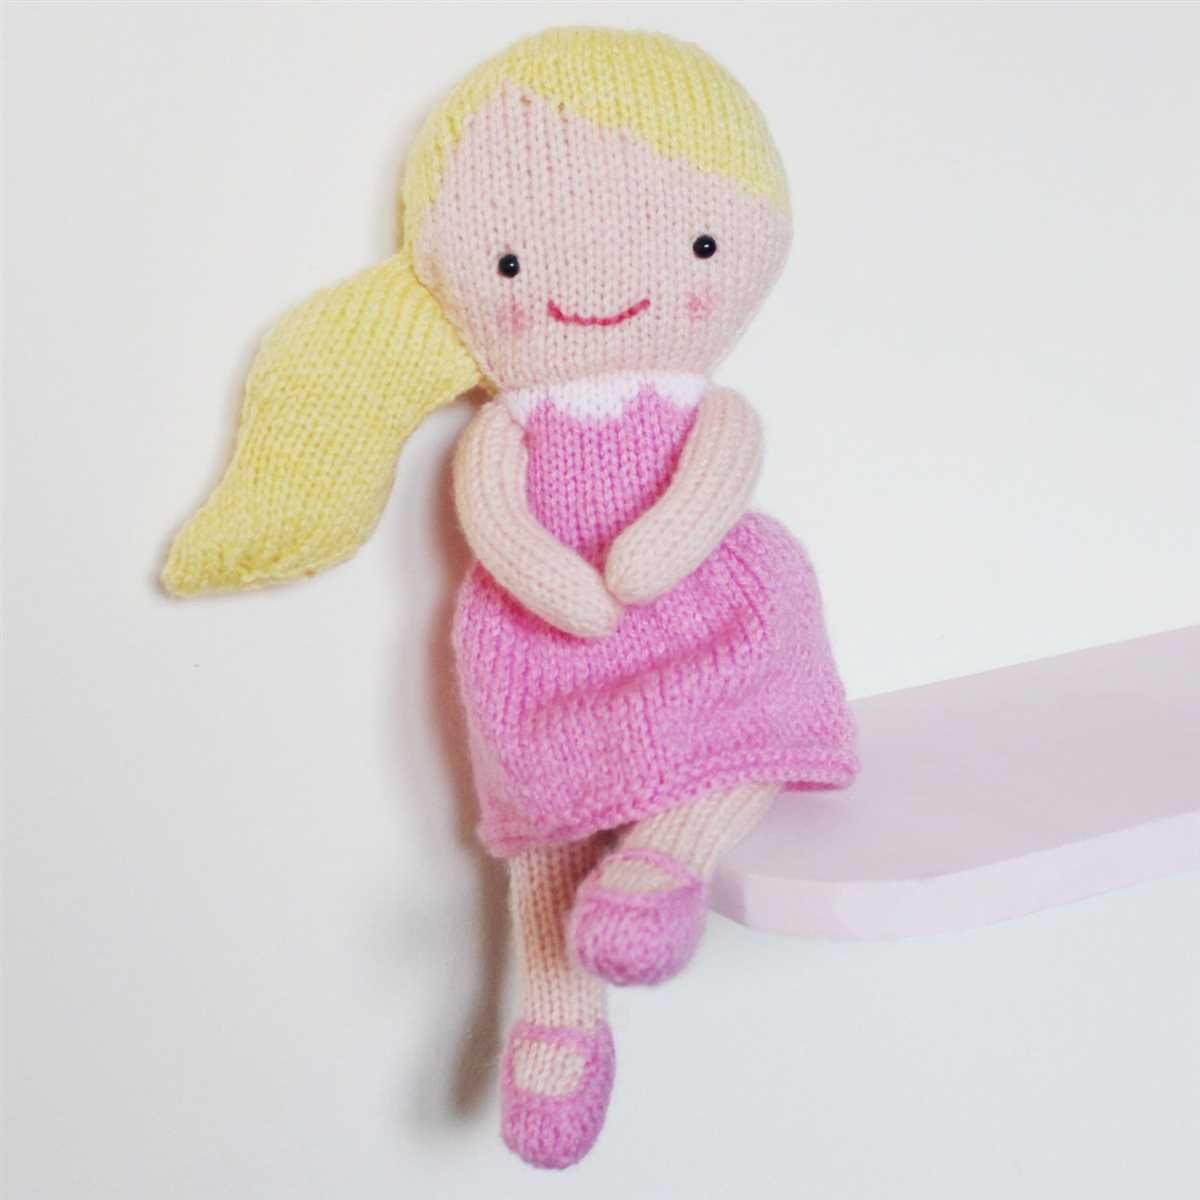
Color
Color is another factor to consider when choosing yarn for your rag doll. The color of the yarn will determine the overall look and personality of the doll. You can choose a neutral color for a classic, timeless doll, or opt for bright and vibrant colors for a more playful and whimsical look. Consider the intended recipient of the doll and their preferences when selecting the color. Additionally, keep in mind that lighter colors may show dirt and stains more easily, so you may want to choose a darker color if the doll will be played with often.
Ultimately, choosing the right yarn for your rag doll is a personal decision that depends on your preferences and the intended use of the doll. Consider the material, weight, and color of the yarn to create a doll that is both beautiful and durable. With the right yarn, your rag doll will be a cherished toy for years to come.
Step-by-Step Instructions for Casting on Stitches
When working on a knitting project, the first step is to cast on stitches onto the knitting needles. This creates the foundation row and allows you to start building the fabric of your project. Here is a step-by-step guide on how to cast on stitches:
1. Hold the knitting needle in your dominant hand. Grasp the needle firmly and make sure it feels comfortable in your hand. This will be the needle that holds the stitches as you cast them on.
2. Make a slipknot. To begin casting on, create a slipknot by making a loop with the working yarn. Slide the loop onto the needle, leaving a tail of yarn hanging down.
3. Insert the needle into the slipknot. Take the needle with the slipknot in your dominant hand and insert it into the loop from the bottom up.
4. Tighten the slipknot. Pull the working yarn to tighten the slipknot around the needle. Make sure it is snug but not too tight, as you will need to work the other stitches into the loop.
5. Wrap the yarn around the needle. Take the working yarn in your non-dominant hand and bring it under and over the needle, creating a loop around the needle.
6. Pull the loop through the slipknot. Using the needle in your dominant hand, pull the loop through the slipknot, bringing the yarn over the needle and through the loop.
7. Slide the loop onto the needle. Slip the loop onto the needle, creating the first cast-on stitch.
8. Repeat steps 5-7. Continue wrapping the yarn around the needle and pulling the loop through the slipknot to create additional stitches. Repeat these steps until you have cast on the desired number of stitches for your project.
9. Continue with your knitting project. Once you have cast on all the necessary stitches, you can begin following the instructions for your specific knitting pattern. Whether you’re making a rag doll or another project, these cast-on stitches will provide the foundation for your knitting.
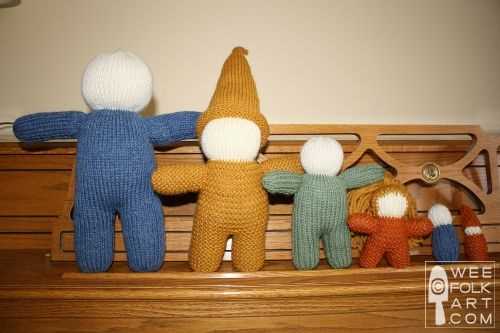
Knitting the body of the rag doll
The body of the rag doll is knitted in separate parts and then sewn together to create a soft and cuddly toy. To start, you will need to cast on stitches for the legs and knit them in stockinette stitch. Next, you will knit the body, which consists of two pieces that are joined later.
For the legs, you will need to cast on a certain number of stitches, depending on the size of the doll you want to make. Knit in stockinette stitch for the desired length, and then bind off the stitches. Repeat this process to make two leg pieces.
Next, you will move on to knitting the body. This is done in two pieces – the front and the back. To begin, you will need to cast on stitches for the desired width of the body. Knit in stockinette stitch for the desired length, and then bind off the stitches. Repeat this process to make two body pieces.
Once you have knitted the leg and body pieces, it’s time to start assembling the rag doll. Place the leg pieces next to each other, with the cast on edges facing inwards. Sew the edges together using a tapestry needle and matching yarn. Repeat the process to sew the body pieces together along the sides.
With the legs and body sewn together, you can now stuff the doll using polyester stuffing. Fill the legs and body firmly to create a plush toy. Once the doll is fully stuffed, sew the remaining open ends closed using the tapestry needle and yarn.
The body of the rag doll is now complete and ready for the next step in the knitting pattern. Follow the instructions for knitting the head, arms, and other details to bring your rag doll to life.
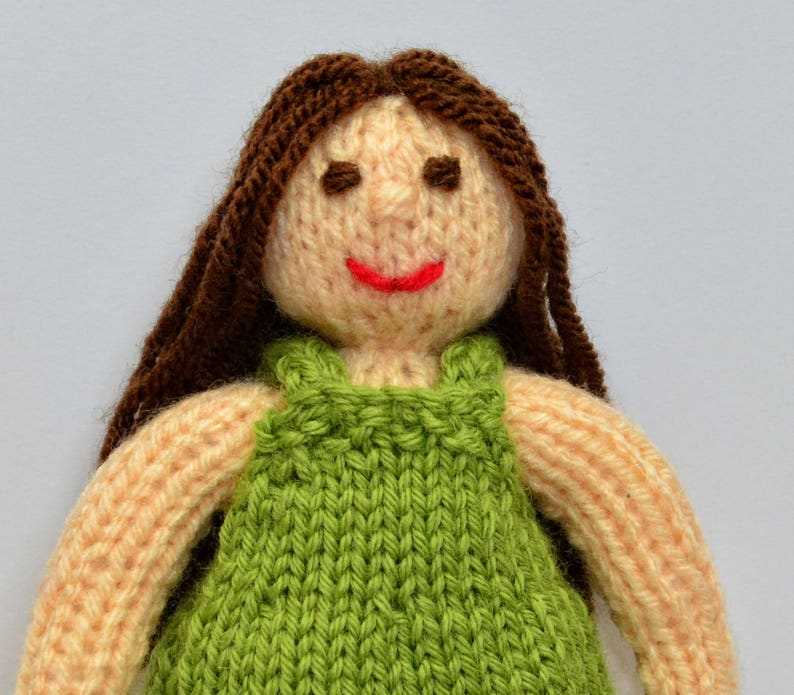
Shaping the head and adding facial features
Once you have completed the body of your rag doll, it’s time to move on to shaping the head and adding the facial features. This is where you can really bring your doll to life and give it its own unique personality.
To shape the head, you will begin by decreasing stitches gradually. This will create a rounded shape for the head. You can use a combination of knit and purl stitches to achieve the desired effect. Remember to follow the pattern instructions carefully to ensure you are decreasing in the correct places.
Once you have shaped the head, it’s time to add the facial features. This is where the doll really starts to come together. You can use embroidery or simple sewing techniques to add eyes, a nose, and a mouth. You can also choose to add additional details such as eyebrows or rosy cheeks using different colored yarn or embroidery thread.
Embroidery:
- For the eyes, you can use a small satin stitch or a French knot to create the desired effect.
- For the nose, you can use a simple straight stitch or a small triangle or oval shape.
- For the mouth, you can use a backstitch or a simple straight stitch to create a smile or any other expression you desire.
Remember to take your time and experiment with different techniques and stitches to achieve the look you want. Adding the facial features is where you can really personalize your rag doll and make it your own.
Once you have finished shaping the head and adding the facial features, your rag doll will be ready to play with or display proudly. It’s a wonderful feeling to see your creation come to life and bring joy to others.
Knitting the arms and attaching them to the body
When knitting a rag doll, the arms play an important role in bringing the doll to life. To knit the arms, you will need to follow the specific pattern instructions provided. Typically, the arms are knit separately using double-pointed needles or a small circular needle.
Step 1: Start by casting on the required number of stitches for the arm. The pattern will specify the exact number. Make sure to keep track of your stitches to ensure accuracy.
Step 2: Continue knitting in the round, following the pattern instructions for shaping the arm. This may involve increasing or decreasing stitches to achieve the desired shape. You may also need to switch to a different stitch pattern or color, depending on the design.
Step 3: Once the arm is complete, bind off the stitches following the pattern instructions. Cut the yarn, leaving a tail for sewing and securing the arm to the doll’s body.
Step 4: To attach the arms to the body, position each arm where you desire it to be and use a yarn needle to sew the arms in place. Make sure to sew securely to ensure the arms will withstand playtime and handling.
Step 5: Finish off by securely weaving in any loose ends to give the doll a polished look. This will ensure that the arms are firmly attached and won’t unravel over time.
Following these steps will help you successfully knit the arms for your rag doll and attach them securely to the body. Take your time and refer to the pattern instructions for any specific details or techniques required. With a little patience and practice, you’ll have a charming rag doll with perfectly knitted arms!
Creating the legs and attaching them to the body
When it comes to creating the legs for your rag doll, it’s important to start by choosing a yarn color that matches or complements the body. This will give your doll a cohesive look and make it appear more polished. Once you have your yarn, you can begin knitting the legs.
Follow the pattern instructions to knit two identical leg pieces. These pieces will typically be long rectangles that you will fold in half and sew together. To add a touch of detail to the legs, you can use a different stitch pattern or create stripes using a contrasting yarn color.
After you have knit the leg pieces, it’s time to attach them to the body of the doll. Start by deciding on the position of the legs, whether you want them to be close together or slightly apart. Take one leg piece and position it along the bottom edge of the body, making sure it is centered. Use a tapestry needle and yarn that matches the body color to sew the leg securely in place.
Repeat this process with the second leg piece on the other side of the body, ensuring that it is aligned with the first leg. Make sure to sew the legs on firmly, as they will need to support the weight of the doll. Once both legs are attached, you can weave in any loose ends and securely tie off the yarn.
With the legs in place, your rag doll is starting to take shape! Now you can move on to creating the arms and head, and adding any additional details such as a face or clothing. Follow the pattern instructions and let your creativity guide you as you bring your rag doll to life.
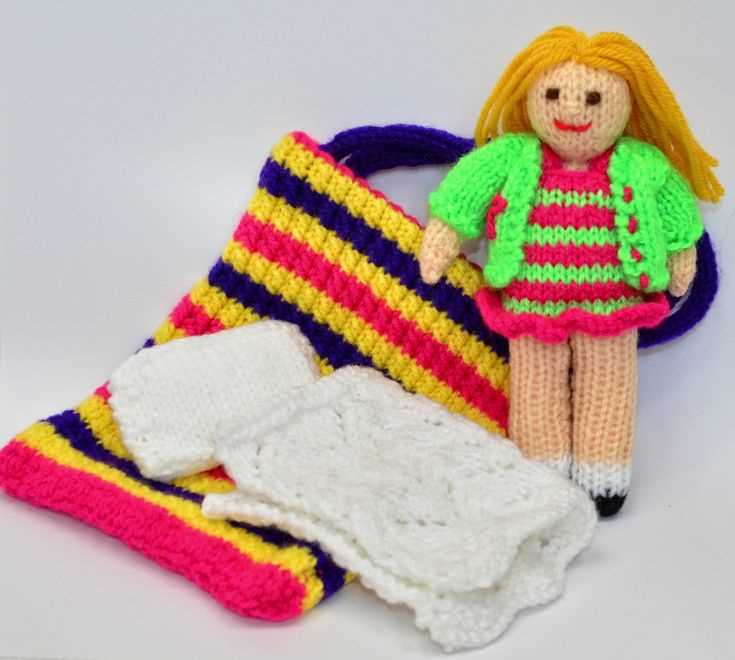
Adding details and accessories to the rag doll
Once you have completed knitting the rag doll, you can add various details and accessories to enhance its appearance and make it even more adorable. Here are some ideas to consider:
- Facial features: Use embroidery floss or yarn to embroider the doll’s eyes, nose, and mouth. You can create different expressions by changing the shape and positioning of the features.
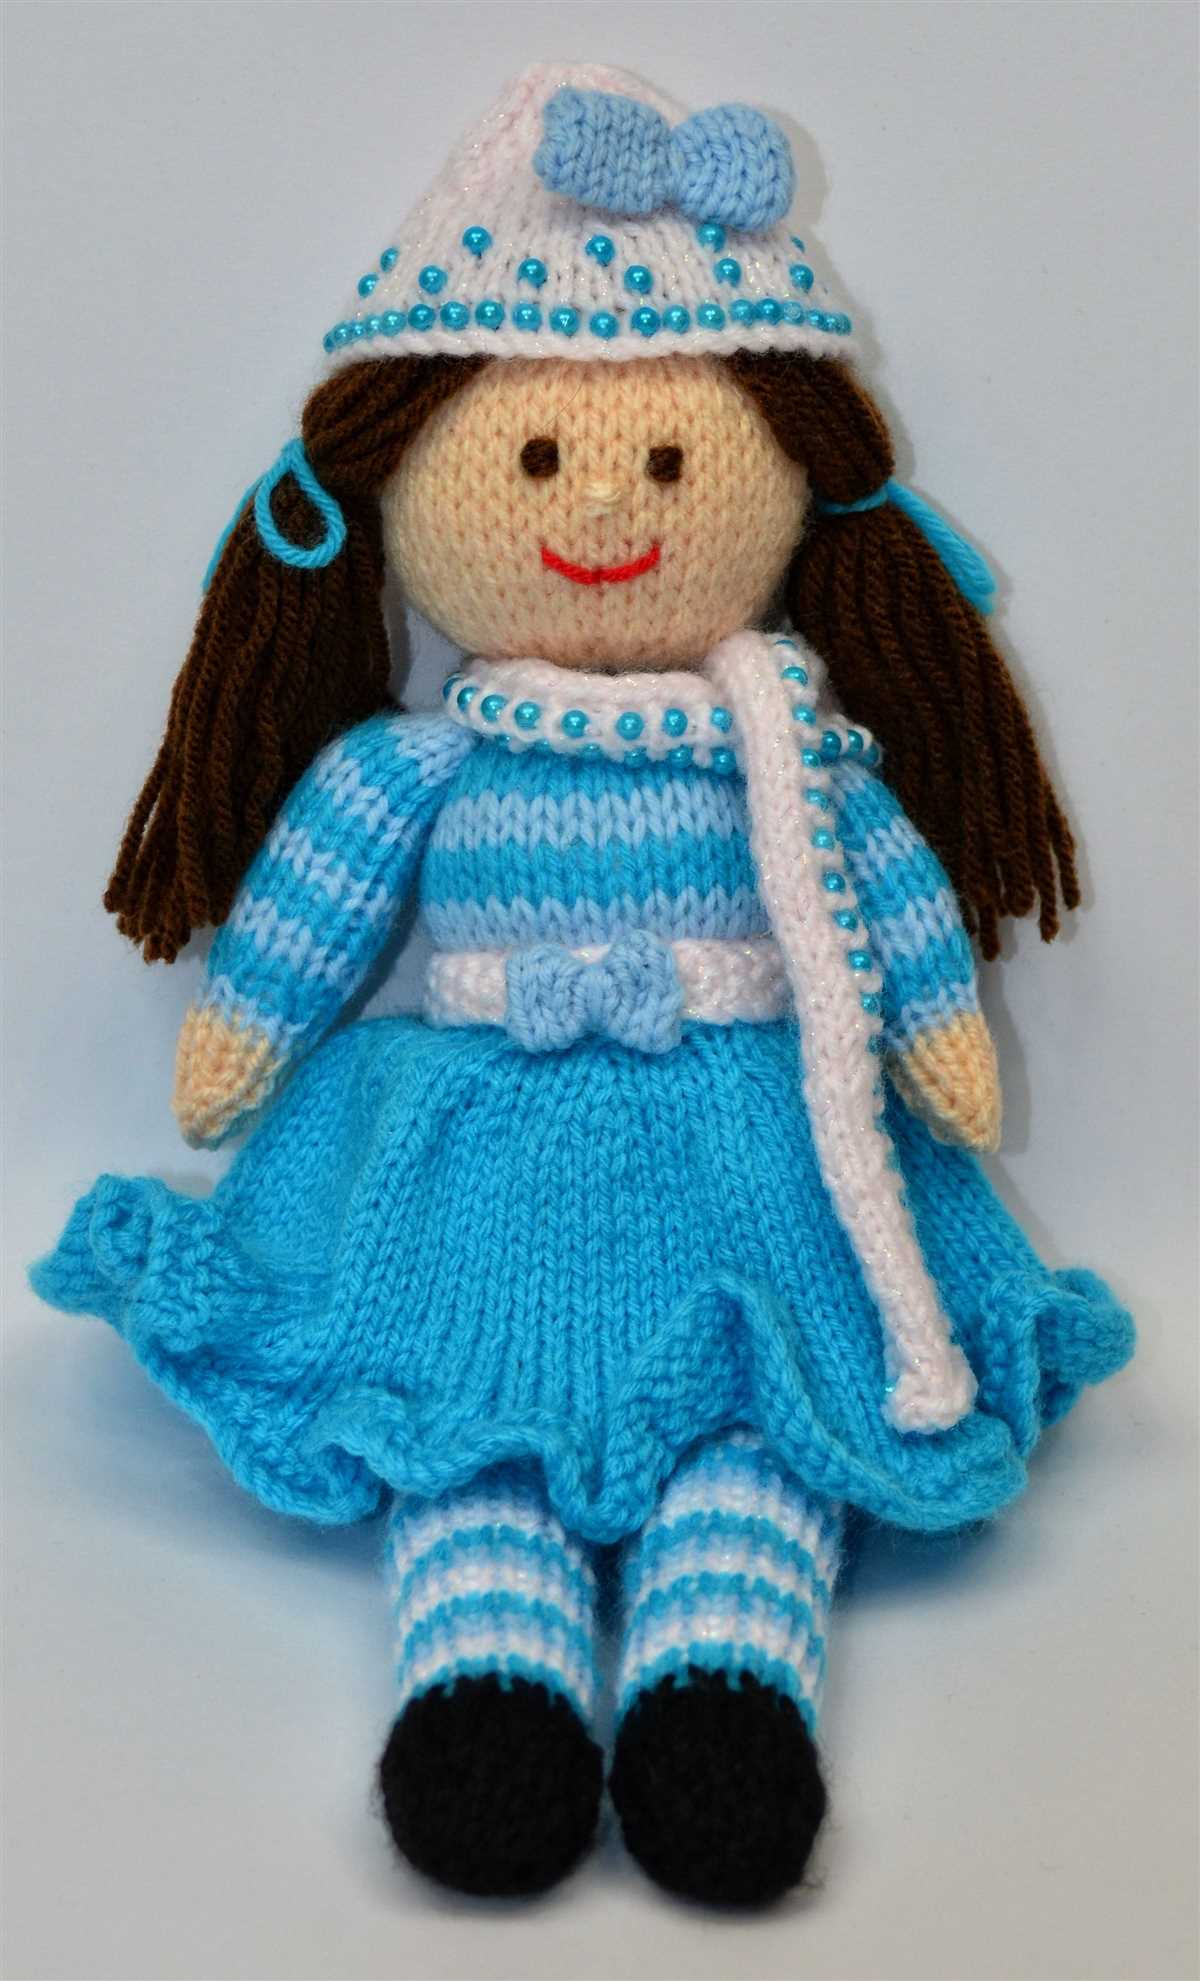
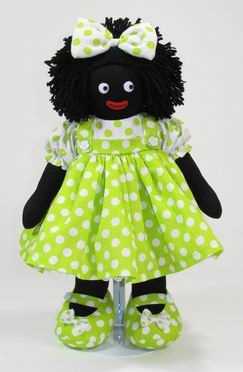
- Hairstyle: Give your rag doll some personality by adding hair. You can knit or crochet a wig using yarn, or sew on a piece of fabric to mimic hair. Bows, ribbons, or headbands can also be added for extra flair.
- Clothing: Dress up your rag doll by knitting or sewing outfits. You can create simple dresses, pants, sweaters, or even tiny accessories like hats or scarves. Choose colors and patterns that complement the doll’s style.
- Shoes: For a complete look, consider knitting or sewing tiny shoes for your rag doll. You can use felt, fabric, or yarn to create cute little footwear.
- Accessories: Add additional details to personalize your rag doll. This can include buttons, bows, patches, or appliques. You can also create props like a miniature teddy bear, a bag, or a book for the doll to hold.
- Finishing touches: Once you have added all the desired details and accessories, make sure to secure them properly. Use a needle and thread to sew them in place, ensuring they won’t be easily pulled off or become a choking hazard.
By adding these details and accessories, you can give your rag doll its own unique style and bring it to life. Get creative and have fun personalizing your knitted creation!
Finishing Touches and Securing Loose Ends
Once you have completed knitting your rag doll, it’s time to add the finishing touches and secure any loose ends. These final steps will give your doll a polished and professional look.
The first step is to carefully trim any excess yarn tails that are sticking out. Use a pair of sharp scissors to cut the tails close to the stitches, making sure not to cut into the knitting. This will help clean up the appearance of your doll and prevent any loose threads from coming undone.
Next, you can add any desired embellishments to your doll. This can include buttons for eyes, a stitched mouth, or even yarn hair. Use a needle and thread to attach these embellishments securely. If you’re using buttons, make sure to sew them on tightly so they don’t come loose during play.
After adding the embellishments, it’s important to secure any loose ends to prevent them from unraveling. Take a tapestry needle and thread the loose end through several stitches on the back of the doll. This will create a secure anchor and hide the end of the yarn within the doll’s body.
If your doll has moveable limbs, such as arms and legs, make sure to sew these securely as well. Double-check that all seams are tightly sewn and reinforced to ensure the doll can withstand playtime and cuddles.
Finally, give your doll a gentle shake to make sure everything is well secured. Trim any remaining loose threads if necessary. And voila! Your rag doll is complete and ready to be enjoyed!
Tips for Personalizing Your Rag Doll
When knitting a rag doll, one of the greatest joys is being able to personalize it and make it unique. Here are some tips to help you add your own personal touch to your doll:
1. Choose the Right Yarn
Start by selecting the perfect yarn for your rag doll. Consider the texture, color, and thickness of the yarn. You can use a chunky yarn for a more textured look or a smooth cotton yarn for a sleek finish. The color of the yarn can reflect the personality of the doll, whether it’s bright and vibrant or subtle and soft.
2. Embroider a Unique Face
Adding a face to your rag doll is a great way to give it character. Embroider the eyes, nose, and mouth using different colored yarn or embroidery floss. You can experiment with different expressions and even add rosy cheeks using blush or fabric paint.
3. Incorporate Personal Touches
Add special details to your rag doll that reflect your own personality or the personality of the person you are making it for. For example, you could sew on a tiny heart-shaped button on the chest to symbolize love, or embroider initials on the doll’s clothing to give it a personal touch.
4. Get Creative with Clothing

Have fun dressing up your rag doll in unique outfits. Knit or sew miniature clothes using different fabrics, patterns, and colors. You can make a tiny dress, a pair of pants, or even a little hat to complete the doll’s look. Don’t be afraid to experiment and try different styles!
5. Add Accessories
To make your rag doll even more personalized, consider adding accessories. You can crochet a tiny bag, knit a scarf, or sew a pair of shoes. These small details can make a big difference in the overall appearance and charm of your doll.
Remember, the beauty of knitting a rag doll is that you have the freedom to make it your own. Use these tips as a starting point, but don’t hesitate to let your creativity shine and add those special touches that make your doll truly unique.
Washing and Care Instructions for the Knitted Doll
When it comes to keeping your knitted doll in good condition, proper washing and care is essential. Follow these instructions to ensure that your doll remains clean and beautiful for years to come:
1. Handwashing
It is best to handwash your knitted doll to prevent any damage that may occur in a washing machine. Fill a basin or sink with lukewarm water and add a mild detergent suitable for delicate fabrics. Gently submerge the doll into the water, making sure to avoid any vigorous rubbing or twisting. Let it soak for a few minutes to loosen any dirt or stains, then rinse thoroughly with clean water.
2. Drying
After washing, carefully squeeze out any excess water from the doll. Avoid wringing or twisting the fabric, as this can cause stretching or deformation. Lay the doll flat on a clean towel and reshape it to its original form. Allow it to air dry in a well-ventilated area, away from direct sunlight or heat sources. Avoid using a dryer, as this can damage the doll’s fabric and structure.
3. Spot cleaning
If your knitted doll has a small stain or dirt in a specific area, you can spot clean it instead of washing the entire doll. Dampen a clean cloth with water and a mild detergent, then gently dab the stained area. Avoid rubbing vigorously to prevent any damage to the fabric. Afterward, rinse the area with clean water and blot dry with a towel.
4. Storage
When your knitted doll is not in use, it is important to store it properly to prevent any damage or dust accumulation. Place the doll in a breathable storage bag or wrap it in acid-free tissue paper to protect it from dust and dirt. Store it in a cool, dry place away from direct sunlight, humidity, and any potential sources of damage.
By following these washing and care instructions, you can ensure that your knitted doll remains clean, soft, and beautiful for years to come. Enjoy the comfort and joy of your doll knowing that it is well cared for!
Exploring different variations and designs for rag dolls
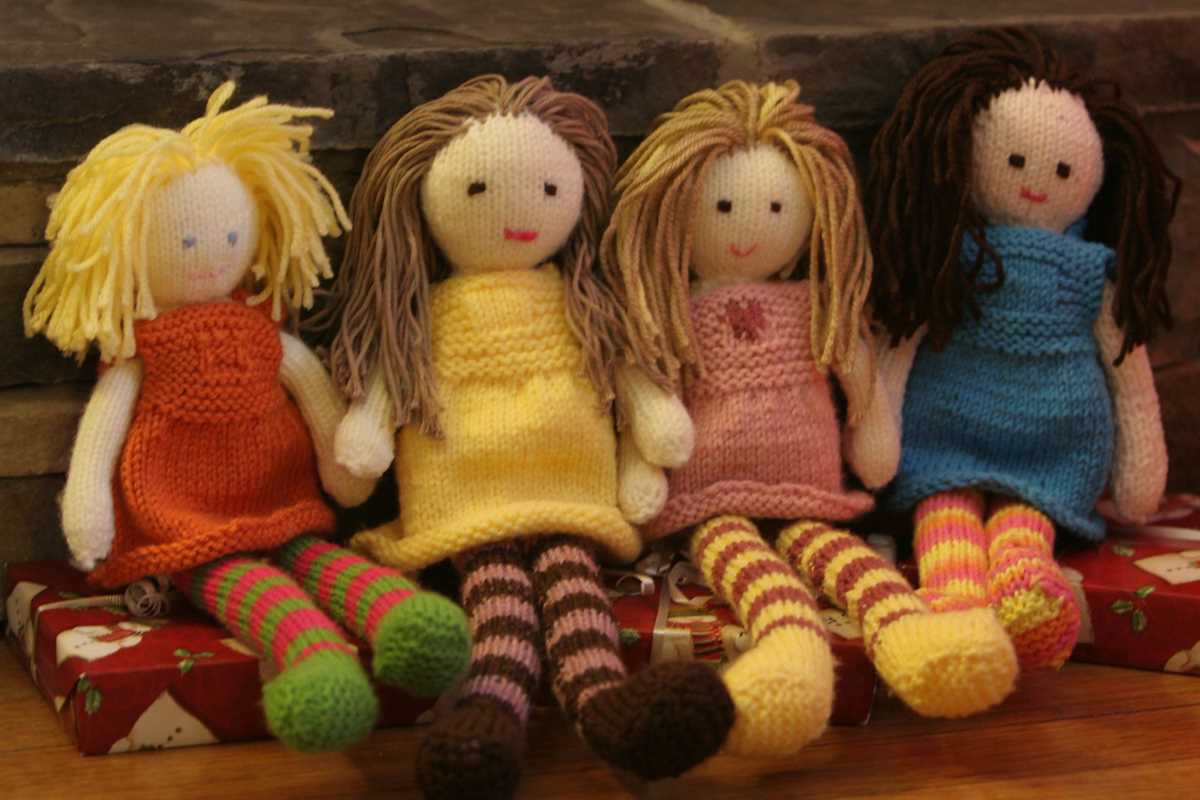
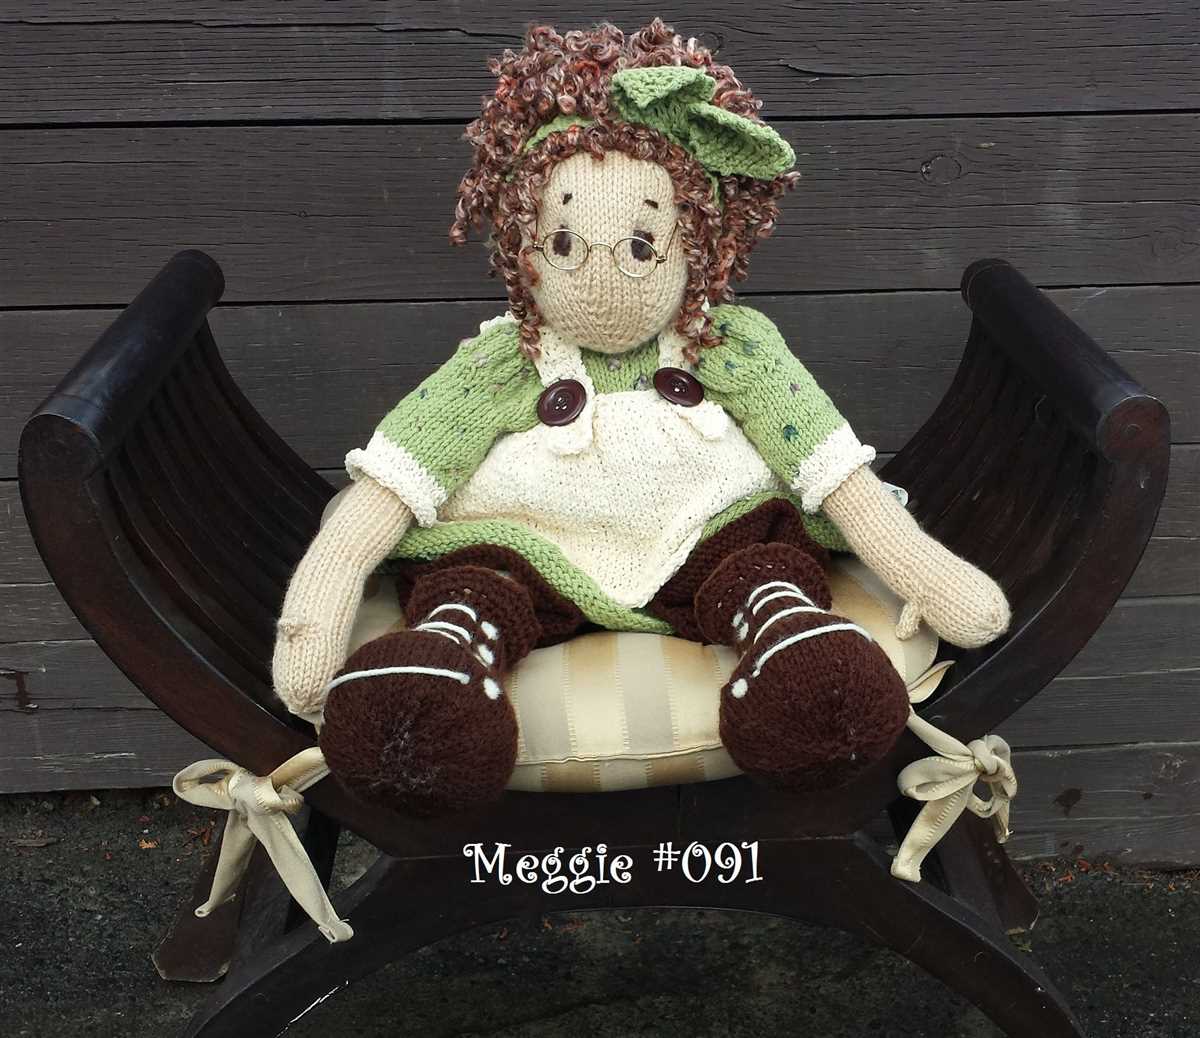
While the basic rag doll knitting pattern mentioned earlier provides a great starting point, there are numerous variations and designs that you can explore to create unique and personalized rag dolls. These variations allow you to add your own creative touch and customize the dolls as per your preference.
One variation you can try is playing with different color combinations for the doll’s body, hair, and clothes. Experimentation with various yarn shades can result in beautiful and eye-catching creations. Additionally, you can also try using different textures of yarn to give your dolls a unique look and feel.
Embroidery and embellishments
To further enhance your rag doll’s appearance, you can incorporate embroidery and embellishments. Consider adding facial features like eyes, nose, and mouth using embroidery techniques. This will add a personalized touch and bring your doll to life.
You can also experiment with different types of embellishments, such as buttons, bows, ribbons, and beads, to accessorize the doll’s clothing. These small details can make a big difference in the overall aesthetic appeal of your rag doll.
Outfit variations
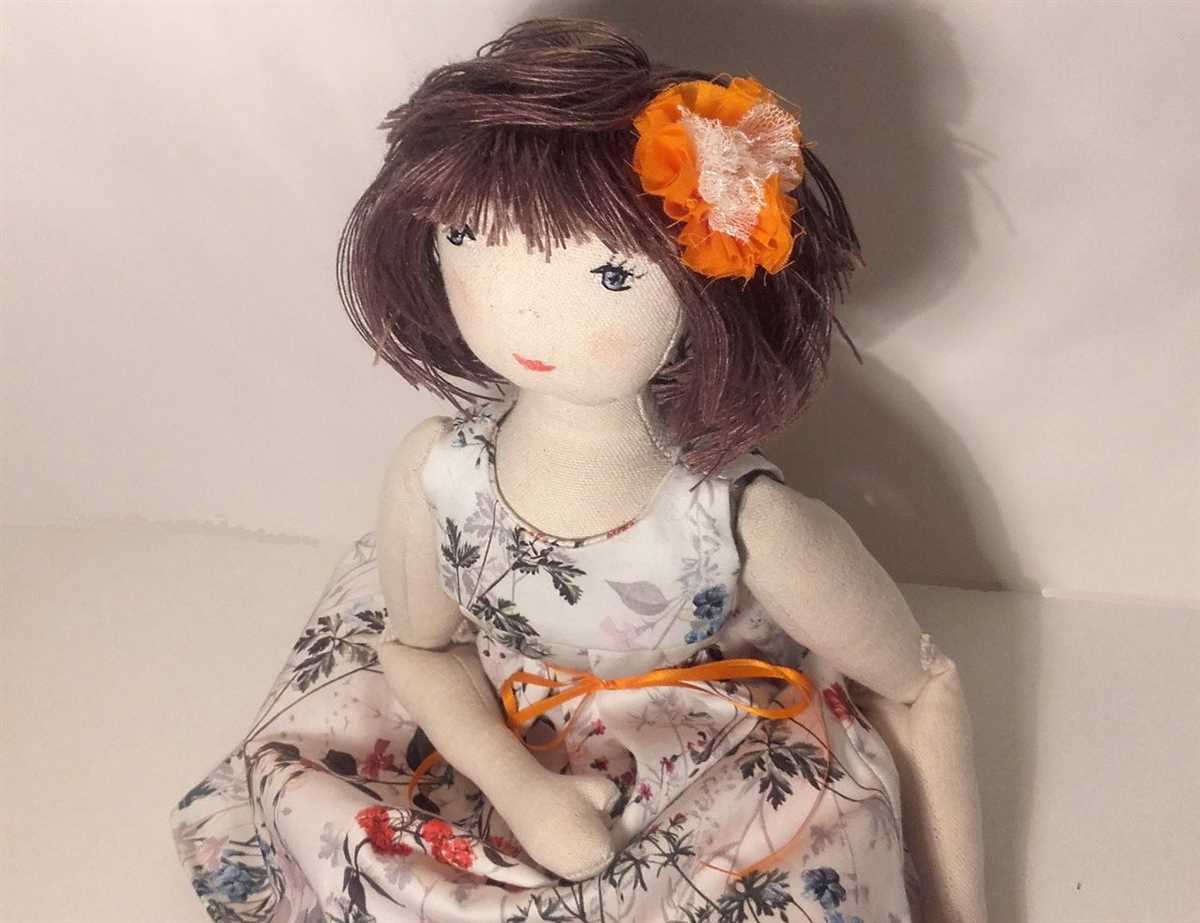
Another exciting aspect of designing rag dolls is playing around with different outfit variations. Instead of sticking to traditional dresses, you can try creating various outfits like skirts, pants, tops, or even dresses inspired by different eras or cultures. This allows you to unleash your creativity and create dolls with diverse personalities and styles.
Furthermore, you can experiment with different fabrics for the doll’s clothes, such as patterned cotton or velvet, to add texture and visual interest. This can make your rag dolls even more unique and vibrant.
Summary:
- Explore different color combinations and yarn textures for a personalized touch.
- Add embroidery and embellishments to enhance your doll’s appearance.
- Experiment with different outfit variations and fabrics for a diverse range of styles.
With these variations and design options, you can create a collection of rag dolls that reflect your creativity and imagination. Whether you’re making them for yourself or as gifts, these unique creations are sure to bring joy and charm to anyone who receives them.
Q&A:
What is a rag doll knitting pattern?
A rag doll knitting pattern is a set of instructions that guide you in making a doll using knitting techniques. It typically includes details on the materials needed, stitches to use, and step-by-step instructions to create the doll.
How easy is it to knit a rag doll?
Knitting a rag doll can vary in difficulty depending on the pattern and your knitting experience. However, there are many easy rag doll knitting patterns available for beginners that provide simple instructions and basic stitches, making it accessible for anyone to give it a try.
What materials do I need to knit a rag doll?
To knit a rag doll, you will generally need soft yarn or thread in various colors, knitting needles or a knitting loom, stuffing, a yarn needle for sewing, and any additional decorations or embellishments you desire. Some patterns may also require buttons, safety eyes, or embroidery floss for facial features.
Can I customize my rag doll with different clothing and accessories?
Yes, absolutely! One of the fun aspects of knitting a rag doll is that you can customize it however you like. You can create different outfits, add accessories like hats or scarves, or even make mini props for your doll. Let your creativity run wild!
Where can I find easy rag doll knitting patterns?
You can find easy rag doll knitting patterns online on websites such as Ravelry, Etsy, or various knitting blogs. Additionally, there are also books dedicated to knitting doll patterns that you can find in your local library or bookstore.
What is a rag doll?
A rag doll is a child’s toy made from cloth, typically stuffed with soft material and shaped like a human or animal.
What is an easy rag doll knitting pattern?
An easy rag doll knitting pattern is a set of instructions and diagrams that guide you through the process of knitting a simple rag doll. These patterns are designed for beginners or those looking for a quick and straightforward project.