
If you love to knit and are looking for a new project, why not try making a double knit potholder? Double knitting is a technique that creates a reversible fabric with two sides that are mirror images of each other. This means that your potholder will look beautiful no matter which side is facing out. Plus, double knitting creates a thick and sturdy fabric that is perfect for protecting your hands from hot pots and pans.
Creating a double knit potholder is a fun and challenging project that is suitable for intermediate or advanced knitters. The pattern requires you to work with two colors of yarn and knit both sides of the fabric at the same time. This may sound complicated, but with a little practice, you’ll be able to create stunning double knit potholders.
In this article, we’ll provide you with a step-by-step guide to knitting a double knit potholder. We’ll cover everything from choosing the right yarn and needles to mastering the double knitting technique. So grab your knitting supplies and get ready to create a beautiful and functional potholder that will impress your friends and family.
Double Knit Potholder Pattern
Looking to add a touch of handmade charm to your kitchen? Why not try your hand at double knitting your own potholders? These versatile and durable kitchen accessories are not only functional, but also make great gifts for friends and family.
Double knitting is a technique that creates a double-sided fabric, perfect for items like potholders that need to withstand heat and daily use. To get started on your double knit potholder, you’ll need some basic knitting supplies, including two contrasting colors of cotton yarn, knitting needles, and a yarn needle for weaving in ends.
Materials:
- Two contrasting colors of cotton yarn
- Size 7 knitting needles
- Yarn needle
Instructions:
- Cast on 36 stitches using the first color of yarn.
- Knit 36 stitches in the first row, making sure to keep your tension consistent.
- Switch to the second color of yarn and knit the second row, again keeping your tension consistent.
- Continue alternating between the two colors for each row, creating a double-sided fabric.
- Knit until your potholder reaches your desired size. Remember to keep your tension consistent throughout.
- Bind off all stitches, leaving a long tail of yarn for seaming.
- Using a yarn needle, seam the edges of the potholder together, matching the colors as you go.
- Weave in any loose ends with the yarn needle.
And there you have it! Your very own double knit potholder. Experiment with different color combinations and stitch patterns to create a unique and personalized kitchen accessory. With a little practice, you’ll be whipping up these potholders in no time!
Materials Needed
In order to create a double knit potholder, you will need several materials. These include:
- Yarn: You will need two contrasting colors of yarn to create the double knit effect. Choose colors that complement each other and will create an interesting design.
- Knitting Needles: You will need a pair of knitting needles, preferably in a size that is appropriate for the yarn you are using. Check the yarn label for recommended needle size.
- Tapestry Needle: A tapestry needle is essential for weaving in loose ends and finishing off your potholder.
- Scissors: A pair of scissors will be needed to cut the yarn once you have finished knitting.
- Measuring Tape or Ruler: It is always helpful to have a measuring tool handy to check your gauge and ensure that your potholder is the correct size.
Make sure you gather all of these materials before you begin your knitting project, as having everything on hand will make the process much smoother. Once you have everything ready, you can start knitting your double knit potholder following the pattern instructions.
Choosing Yarn Colors
When it comes to choosing yarn colors for your double knit potholder pattern, there are a few things to consider. The colors you choose can greatly impact the overall look and feel of your finished piece, so it’s important to choose wisely.
Contrast: One important factor to consider is contrast. For your double knit potholder, you’ll want to choose yarn colors that have a good amount of contrast between them. This will allow the stitch pattern to stand out and create a visually appealing design. For example, if you’re using a light color for one side of the potholder, consider choosing a dark color for the other side to create a striking contrast.
Theme: Another consideration is the theme or mood you want to convey with your potholder. If you want a vibrant and colorful potholder, you can choose bright and bold yarn colors. On the other hand, if you prefer a more subtle and elegant look, you can opt for soft and muted colors. Think about the overall aesthetic you want to achieve and choose yarn colors that align with that vision.
Yarn weight: The weight of the yarn you choose can also play a role in the overall look of your potholder. Thicker yarns will create a bolder and more textured appearance, while thinner yarns will result in a more delicate and intricate design. Consider the desired texture and feel of your potholder and choose yarns that will help you achieve that.
Pattern: Lastly, take a look at the double knit potholder pattern you’ll be using. Some patterns may recommend specific yarn colors or provide guidance on color choices. Take these recommendations into account and use them as a starting point for selecting your yarn colors.
Getting Started with Double Knitting
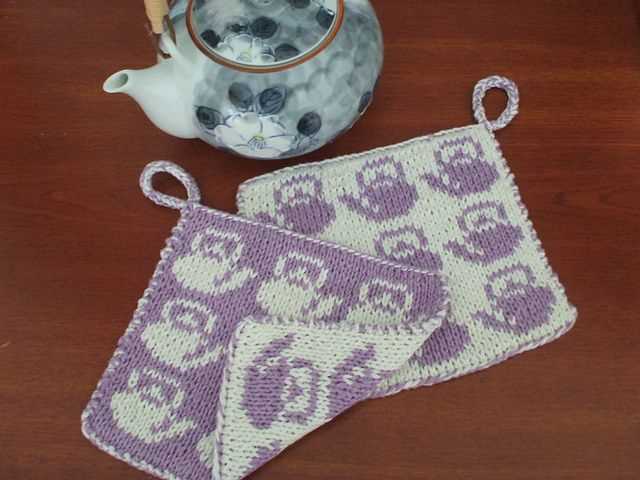
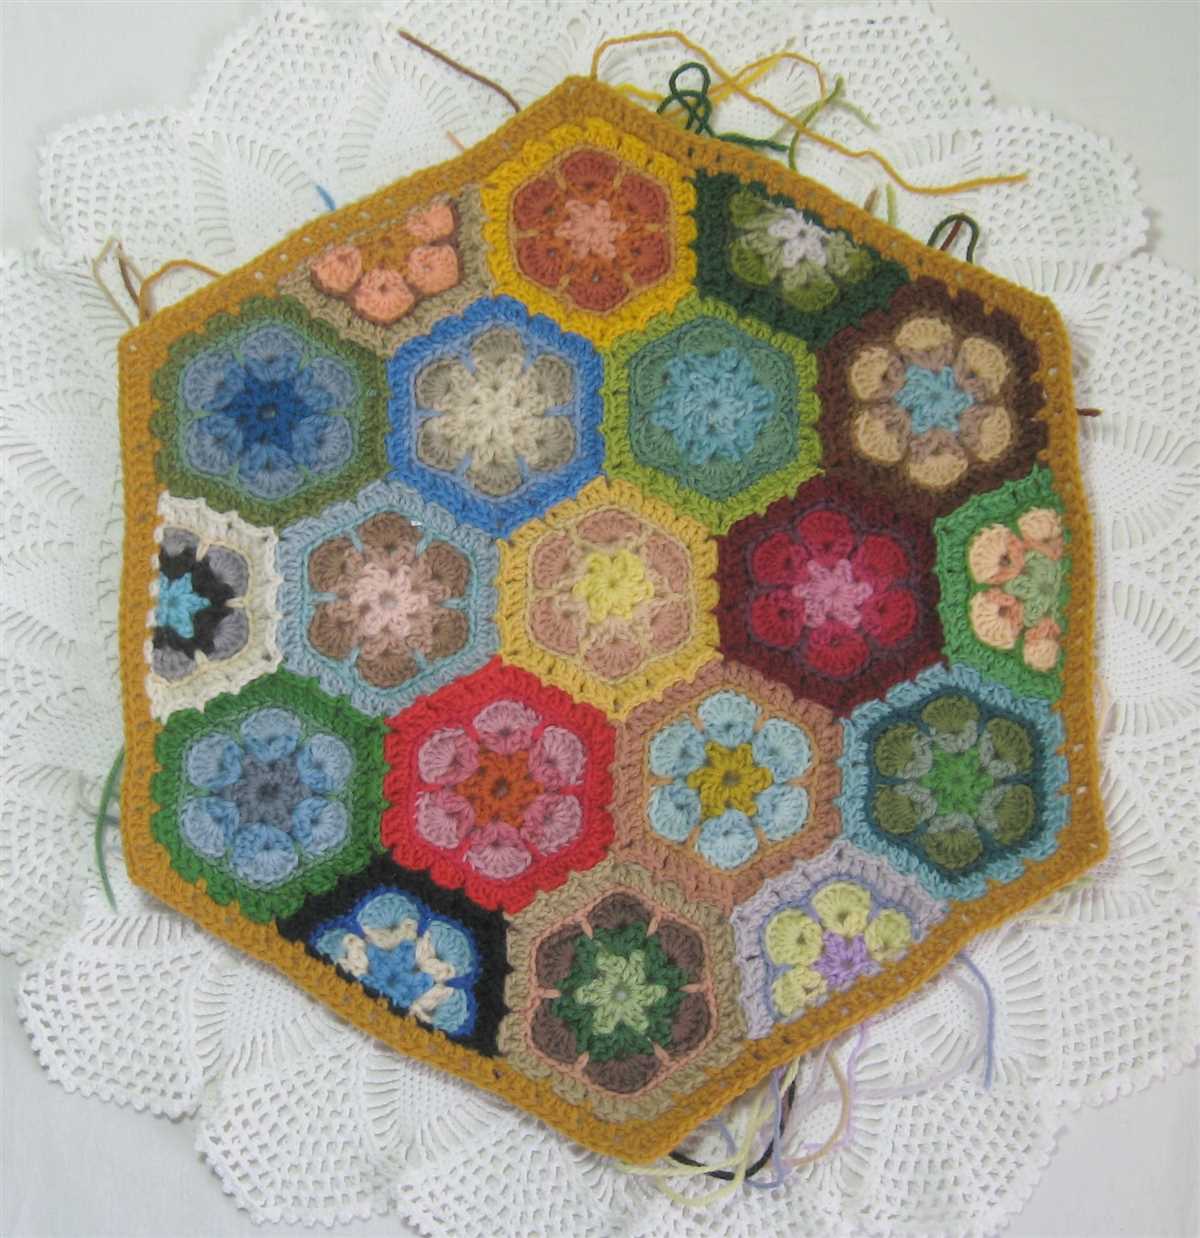
Double knitting is a great technique that allows you to create a reversible fabric with two separate colors. It is perfect for items like potholders, scarves, and blankets, where you want both sides to look the same. This technique creates a thick, insulated fabric that is perfect for protecting your hands from hot pots and pans.
To get started with double knitting, you will need two different colors of yarn and a pair of knitting needles. It is important to choose two colors that have a high contrast, so that the design pops on both sides of the fabric. You will also need a tapestry needle for weaving in the ends.
Step 1: Cast on stitches
To begin, cast on an even number of stitches using both colors of yarn held together. This will create a sturdy edge and make it easier to switch colors when necessary.
Step 2: Knit the first row
On the first row, knit each stitch using the first color of yarn. Make sure to keep both colors of yarn at the back of your work and twist them together on the edge to avoid any gaps.
Step 3: Start the double knitting pattern
On the second row, you will start the double knitting pattern. This involves knitting the first stitch with the second color of yarn and slipping the next stitch with the yarn in front. Repeat this pattern across the row, knitting with one color and slipping with the other.
Step 4: Continue the double knitting pattern
For the following rows, continue the double knitting pattern by knitting the stitches with the opposite color from the previous row and slipping the stitches with the other color. This will create a reversible fabric with the two colors.
Step 5: Bind off
Once you have completed the desired length, bind off the stitches using both colors of yarn held together. Cut the yarn, leaving a long tail for weaving in the ends.
With these steps, you are ready to start double knitting and create beautiful reversible fabrics. Practice the technique with small projects like potholders before moving on to larger items like blankets. Enjoy the process of creating two-sided knits that are as beautiful as they are functional!
Casting On
When beginning a double knit potholder pattern, the first step is to cast on. Casting on is the process of creating the foundation row of stitches that will be used to build the fabric. There are several methods for casting on, but for this pattern, we will use the long-tail cast on method.
The long-tail cast on method is a versatile and commonly used technique that creates a neat and elastic edge. To start, begin by estimating the amount of yarn you will need for your cast on. Measure a length of yarn equal to approximately three times the width of your finished potholder, plus a little extra for the tail.
To begin the cast on, make a slipknot by creating a loop with the yarn and pulling the tail through. Place the slipknot on the left needle and hold the needle with the slipknot in your right hand. With your left hand, hold the working yarn (the yarn attached to the skein) and the tail together.
Create a V-shape: Bring the working yarn (underneath the thumb) over the needle and create a V-shape with the yarn, with the tail coming from behind.
Loop the working yarn: Using your right thumb, bring the working yarn (underneath your thumb) over the tip of the right needle and bring it back towards you, inserting the tip of the right needle into the loop from front to back.
Insert the tip of the right needle: Insert the tip of the right needle into the loop on the left needle, going from front to back.
Drop the loop: Let go of the loop that was created over your thumb.
Knitting the Body of the Potholder
Once you have cast on and completed the ribbing for your double knit potholder, it’s time to begin knitting the body. This is where the magic happens and your potholder begins to take shape.
To start, you’ll continue working in double knitting, which means you’ll alternate knitting one stitch with the main color and one stitch with the contrasting color. This creates a double layer of fabric that is both colorful and sturdy.
Row 1: Begin by knitting the first stitch with the main color. Then, bring the contrasting color to the front and purl the next stitch. Repeat this pattern of knitting and purling across the row.
Row 2: Now, you’ll repeat the pattern in the opposite order. Knit the first stitch with the contrasting color and bring the main color to the front to purl the next stitch. Continue alternating between knitting and purling with the contrasting color and main color.
Continue working rows 1 and 2 in this way until the body of your potholder measures the desired length. Remember to keep the tension consistent and avoid pulling too tightly, as this can make the potholder too stiff.
Once you’ve reached the desired length, you’ll finish the body by working a few more rows in ribbing, just like you did at the beginning. This will create a neat and finished edge for your potholder.
With the body of the potholder completed, you’re now ready to move on to the next steps – shaping the corners and finishing off your double knit potholder.
Creating a Loop for Hanging
Adding a loop for hanging to your double knit potholder is a simple yet essential step. With a loop, you can conveniently hang your potholder in your kitchen, making it easily accessible whenever you need it. Here is a step-by-step guide on how to create a loop for hanging:
1. Determine the placement:

Decide where you want the loop to be on your potholder. You can choose to have it on one corner or in the middle along one of the edges. Consider the size and shape of your potholder to determine the best position for the loop.
2. Prepare the loop:
- Choose a yarn: Select a yarn color that complements your potholder or matches the main color. It should be sturdy and easy to work with.
- Cut the yarn: Cut a piece of yarn according to the desired length of your loop. Make sure it is long enough to hang your potholder comfortably.
3. Attach the loop:
- Thread the yarn: Using a crochet hook or a tapestry needle, thread one end of the yarn through the corner or edge where you want the loop to be.
- Create a loop: Fold the yarn in half and make a loop at the threaded end. Hold the loop in place while you work.
- Secure the loop: Using a tapestry needle or crochet hook, thread the free ends of the yarn through the loop and pull tight. This will secure the loop in place.
- Weave in the ends: Trim any excess yarn and weave in the loose ends securely into the potholder to avoid unraveling.
By following these simple steps, you can easily create a loop for hanging on your double knit potholder. It adds functionality and convenience to your potholder, making it a handy kitchen accessory.
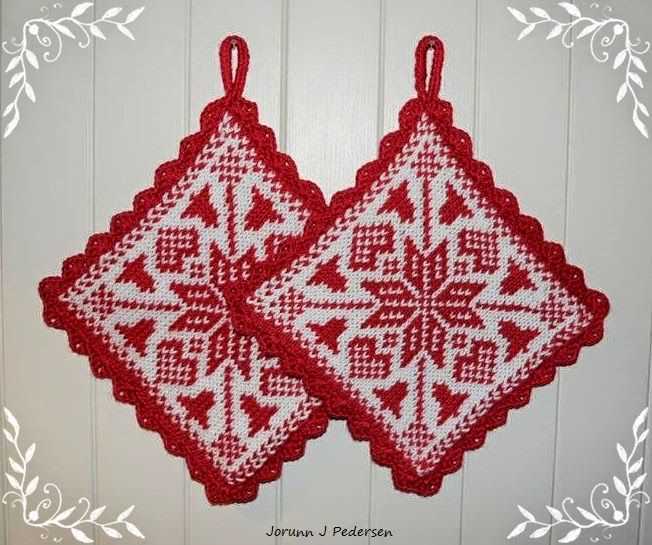
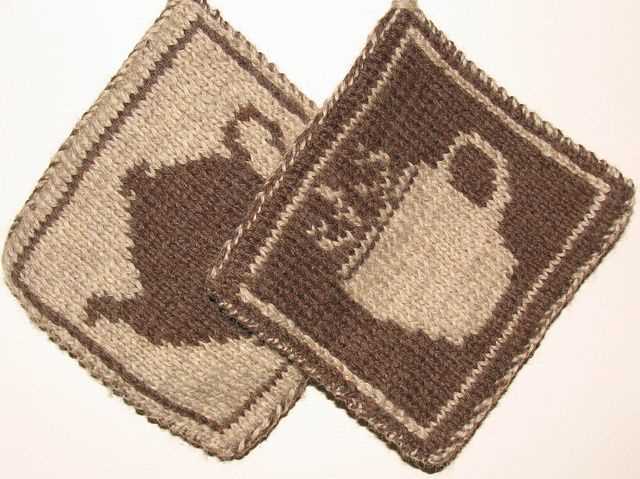
Changing Yarn Colors for Design Patterns
When it comes to creating design patterns using double knit techniques, changing yarn colors can add a whole new dimension to your project. By incorporating different colors, you can create intricate designs, patterns, and motifs that make your finished piece stand out.
When changing yarn colors in a design pattern, it’s important to plan ahead and consider the placement of your colors. Think about how each color will interact with the overall design and choose colors that complement each other. You can create a harmonious color scheme by using colors that are adjacent on the color wheel or create contrast by using complementary colors.
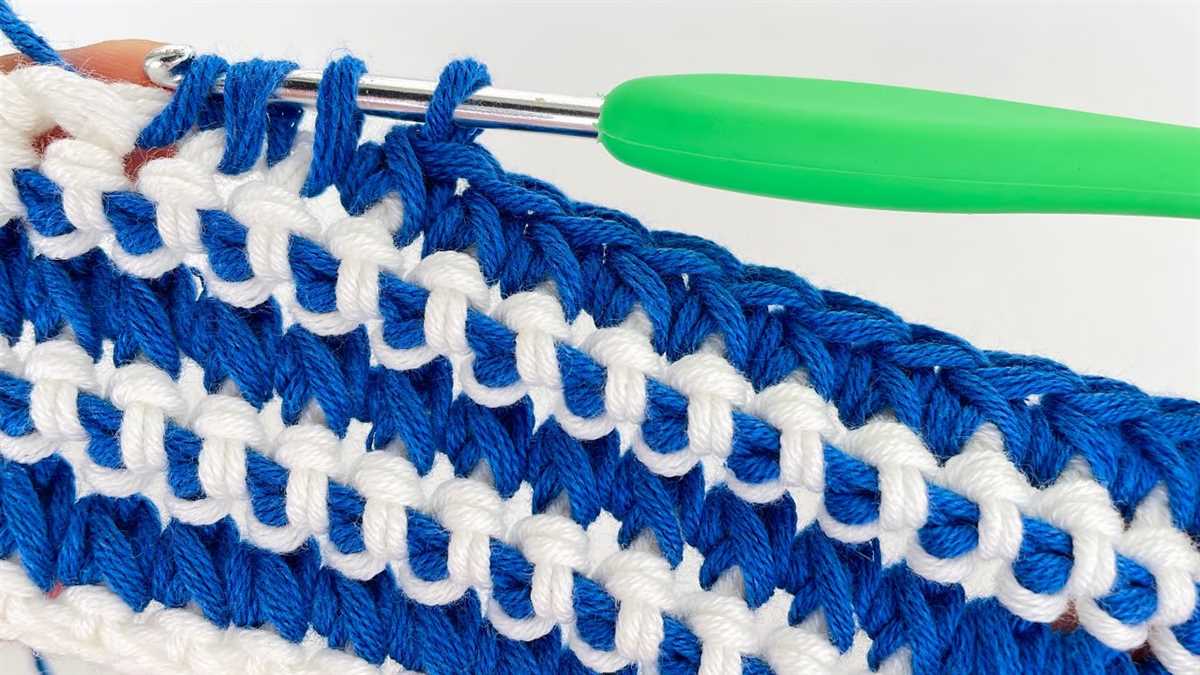
One popular technique for changing yarn colors in design patterns is the “intarsia” method. This involves using separate bobbins or balls of yarn for each color section. As you work through the pattern, you’ll switch between the different colored yarns by simply dropping one color and picking up the next. This method allows for precise color placement and clean transitions between colors.
Another method for changing yarn colors is the “stranded” or “Fair Isle” technique. With this technique, you’ll work with multiple colors at the same time, carrying the yarn not in use along the back of your work. This creates floats on the wrong side of the fabric. Stranded knitting is great for creating more intricate patterns, but it’s important to keep your tension even to avoid puckering or pulling in the fabric.
Whether you choose to use the intarsia or stranded method, it’s important to weave in your yarn ends as you go. This will prevent your finished piece from unraveling and give it a clean, professional look. Take the time to secure your yarn ends neatly and invisibly so they don’t show through on the right side of your work.
Changing yarn colors for design patterns can be a fun and creative way to add visual interest to your double knit projects. Experiment with different color combinations and techniques to see what works best for you. With practice, you’ll be able to create stunning patterns and designs that showcase your knitting skills.
Binding Off
When you have finished working your double knit potholder pattern, you will need to bind off your stitches. Binding off is the final step in completing your project and creates a neat edge.
To bind off, begin by knitting the first two stitches. Then, use the left-hand needle to lift the first stitch over the second stitch and off the right-hand needle. This is the basic bind off technique. Continue across the row, knitting one stitch and then lifting the previous stitch over it until you reach the end.
If you want a stretchier bind off, you can use the stretchy bind off method. To do this, knit the first two stitches, then insert the left-hand needle into the front of both stitches and knit them together. Knit the next stitch, and then insert the left-hand needle into the front of the two stitches and knit them together. Repeat this process across the row until you reach the end. This method creates a more flexible edge, which can be helpful for items like hats or socks.
Once you have completed binding off all your stitches, cut the yarn, leaving a long tail. Thread the tail through the stitch on the needle and pull tight to secure. Weave in any remaining ends and your double knit potholder is complete!
Blocking the Potholder
Blocking is an important step in the knitting process that helps to give your potholder a polished and professional look. It helps to even out the stitches and shape the potholder to its desired dimensions. To block your potholder, follow these steps:
Step 1: Soak the Potholder
Fill a sink or basin with lukewarm water and add a small amount of mild detergent. Gently place the potholder in the water, making sure it is fully submerged. Allow it to soak for about 15 minutes, ensuring that all the fibers are thoroughly saturated.
Step 2: Remove Excess Water
Carefully lift the potholder out of the water, taking care not to stretch or wring it. Gently squeeze out the excess water using your hands. Avoid twisting or pulling on the fabric as this can distort the shape of the potholder.
Step 3: Shape the Potholder
Lay a clean towel on a flat surface and place the potholder on top. Gently shape the potholder to its desired dimensions, smoothing out any wrinkles or uneven areas. Pay special attention to the edges and corners to make sure they lay flat.
Step 4: Pin in Place
Using rust-proof pins, carefully pin the edges of the potholder to the towel, securing it in its desired shape. Make sure to pin evenly and avoid stretching the fabric. Pinning the potholder will help it retain its shape as it dries.
Step 5: Allow to Dry
Leave the pinned potholder to air dry completely. This can take several hours or overnight, depending on the thickness of the fabric. Avoid exposing the potholder to direct sunlight, as this can cause fading and damage the fibers.
Once the potholder is dry, carefully remove the pins and admire your beautifully blocked potholder. It will not only look more professional, but it will also help to improve its durability and heat resistance. Happy knitting!
Final Thoughts and Variations

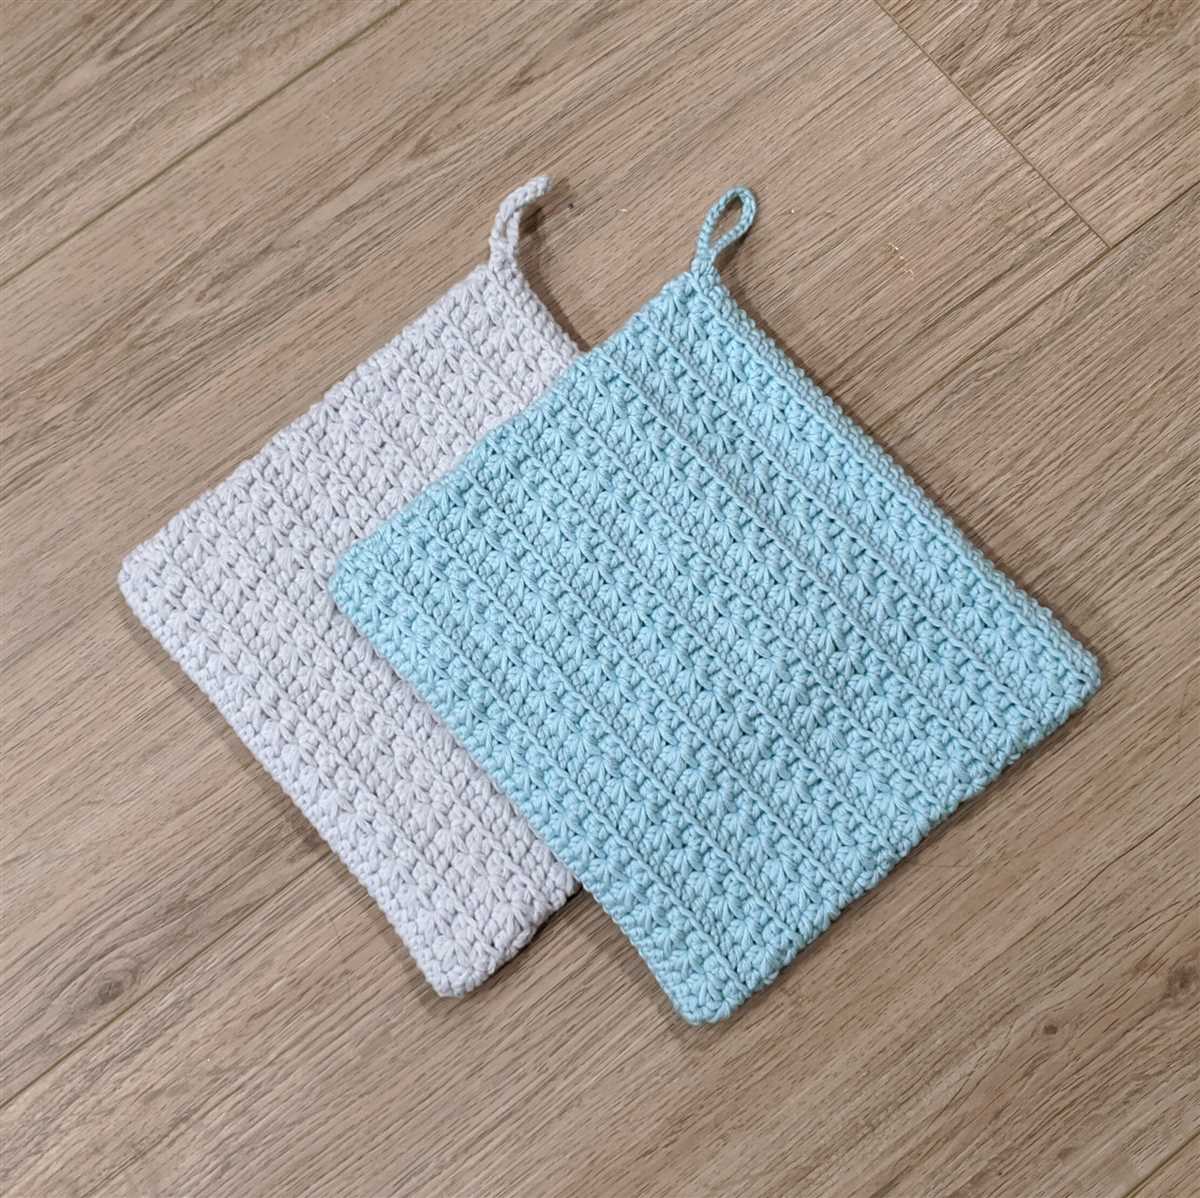
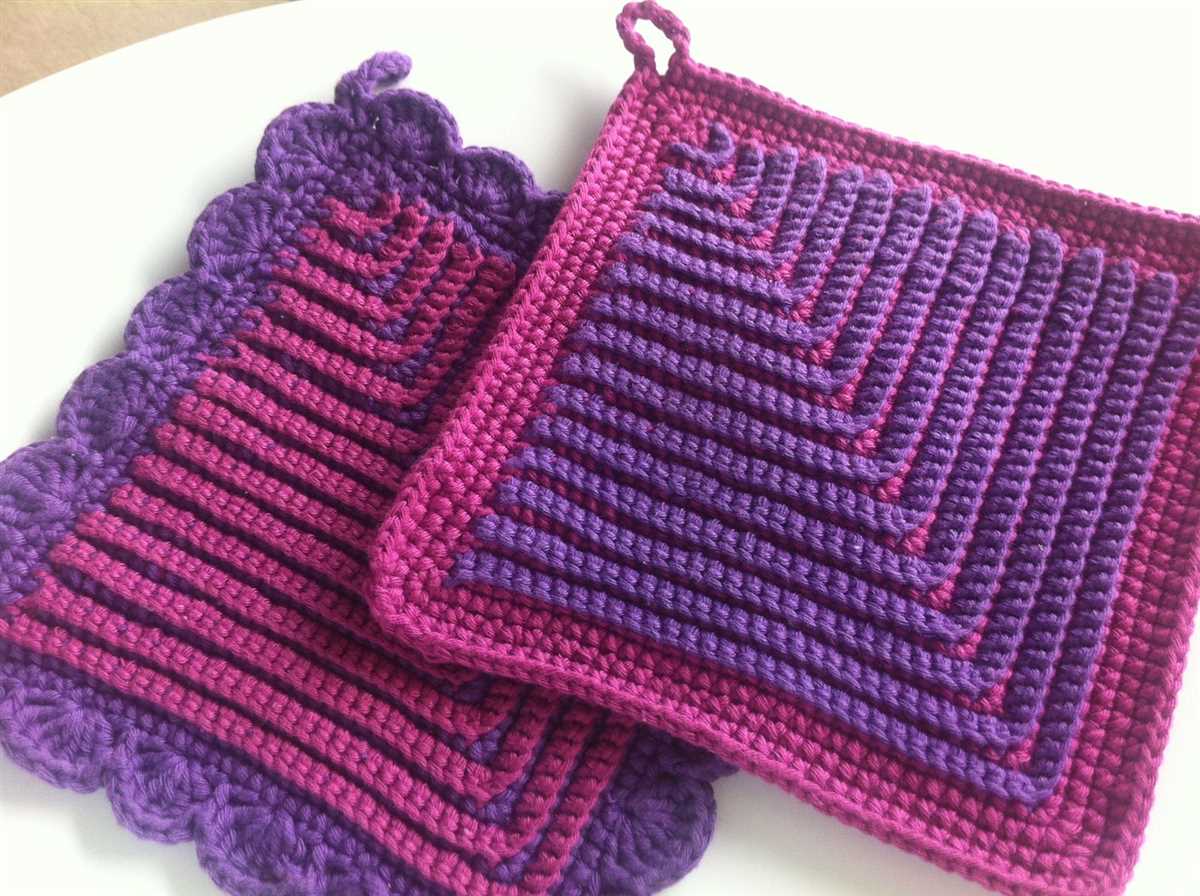
Double knit potholders are a fun and practical project for both beginners and experienced knitters. The double knit technique creates a thick and durable fabric that can withstand high temperatures, making it perfect for protecting your hands while handling hot pots and pans.
In this article, we have provided a basic pattern for a double knit potholder. However, there are many variations and ways you can customize your potholders to make them unique. Here are a few ideas:
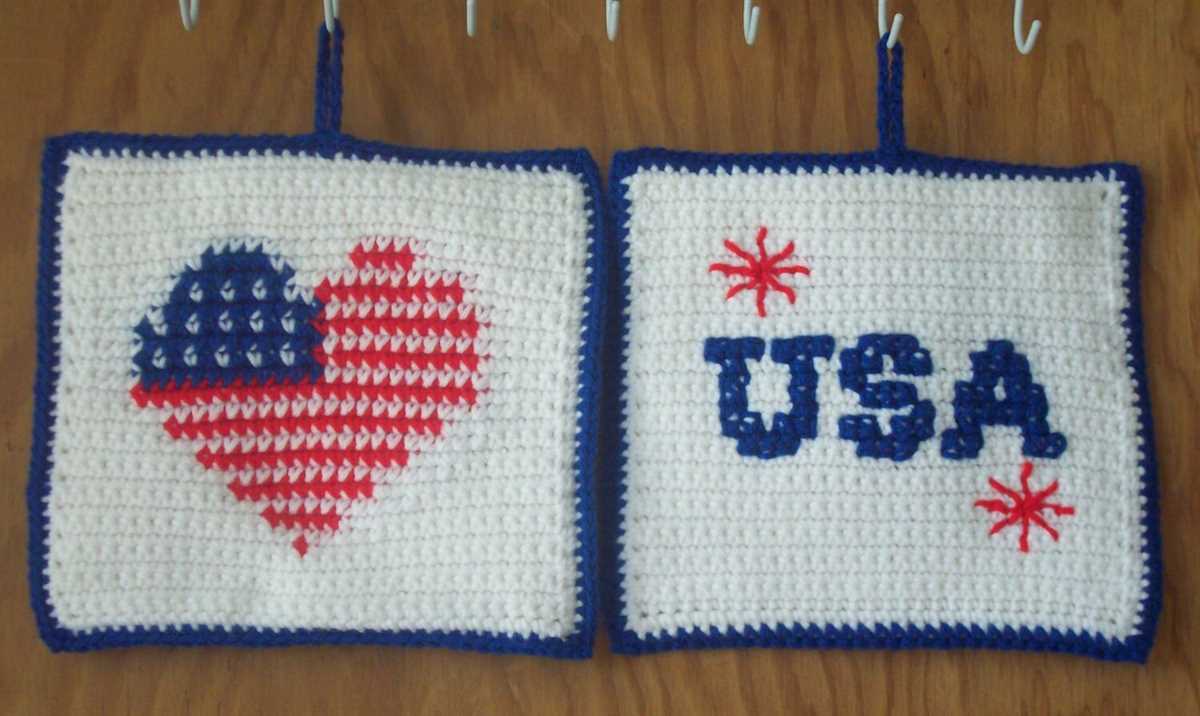
- Color combinations: Experiment with different color combinations to create a vibrant and eye-catching design. You can use contrasting colors, ombre effects, or even create patterns with multiple colors.
- Embroidery or applique: Add some extra flair to your potholders by incorporating embroidery or applique. You can embroider simple designs, such as flowers or geometric patterns, or applique small fabric shapes onto the surface.
- Texture: Play around with different stitch patterns to add texture to your potholders. You can use simple knit and purl stitches, or try more complex stitch patterns like cables or bobbles.
- Size: Adjust the size of your potholders to fit your needs. You can make smaller ones for coasters or larger ones for handling bigger pots and pans.
Remember to always use caution when handling hot objects, even with double knit potholders. Always test the temperature of the object before fully grabbing it and be aware of any potential hazards in the kitchen.
With a little creativity, you can turn a simple double knit potholder into a personalized and practical accessory for your kitchen. Have fun experimenting with different patterns, colors, and techniques to create unique and functional potholders that will impress your friends and family.
Q&A:
What materials do I need to make a double knit potholder?
To make a double knit potholder, you will need two colors of worsted weight cotton yarn, knitting needles (size 7 or 8), a tapestry needle, and scissors.
What is the skill level required to make a double knit potholder?
The skill level required to make a double knit potholder is intermediate. Basic knitting knowledge and understanding of colorwork techniques are recommended.
Can I use a different type of yarn for the double knit potholder?
Yes, you can use a different type of yarn for the double knit potholder. However, it is recommended to use worsted weight cotton yarn for its heat resistance properties.
How big is the finished double knit potholder?
The finished double knit potholder is typically around 7 inches square. However, you can adjust the size by changing the number of stitches and rows in the pattern.
Where can I find a double knit potholder pattern?
You can find double knit potholder patterns in knitting books, online knitting communities, or on websites dedicated to knitting patterns. You can also create your own pattern by following colorwork techniques and adapting them to a potholder size.
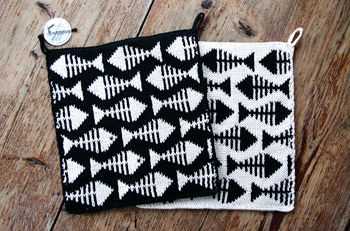
What is a double knit potholder?
A double knit potholder is a type of potholder that is made using a double knitting technique. It typically has two layers of fabric created simultaneously, resulting in a thick and heat-resistant pad.