
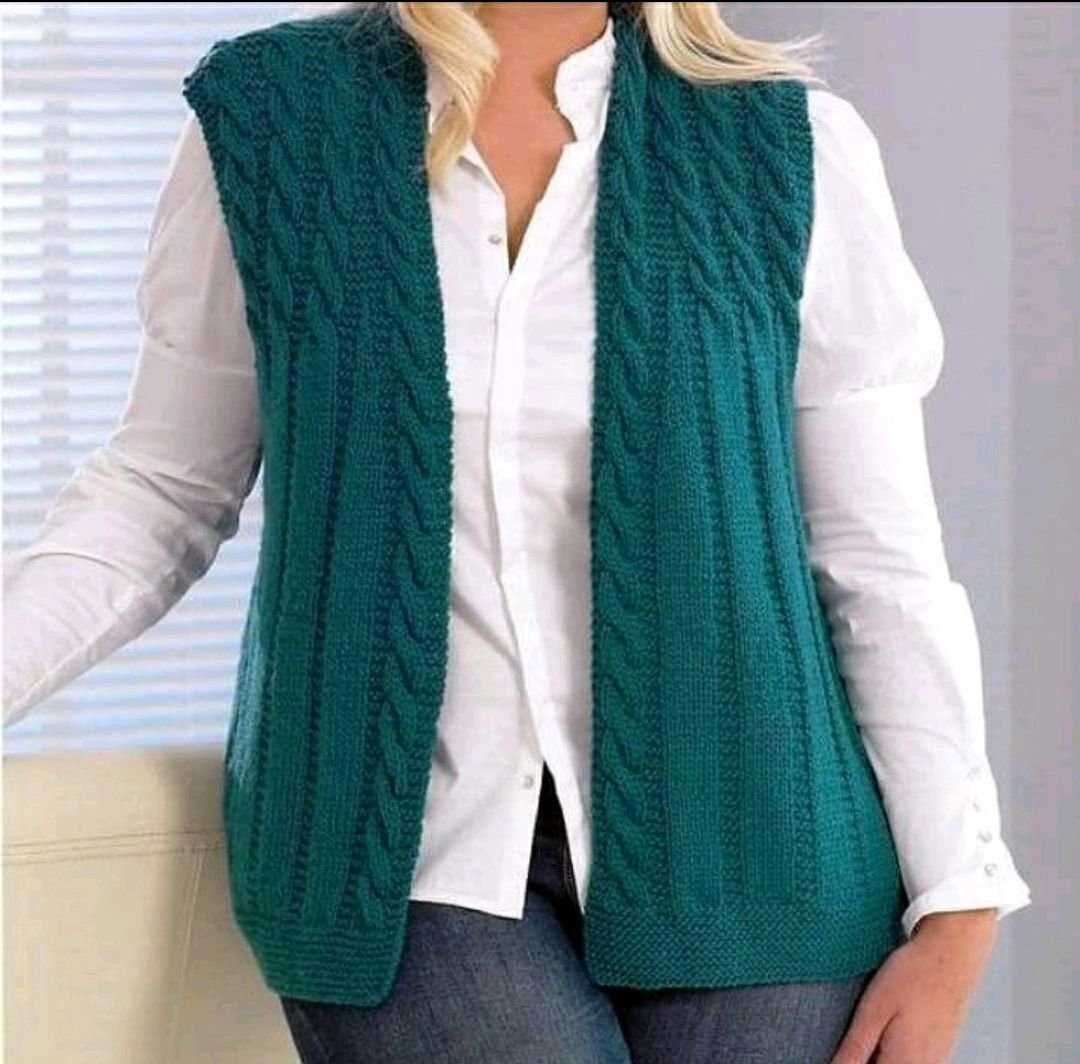
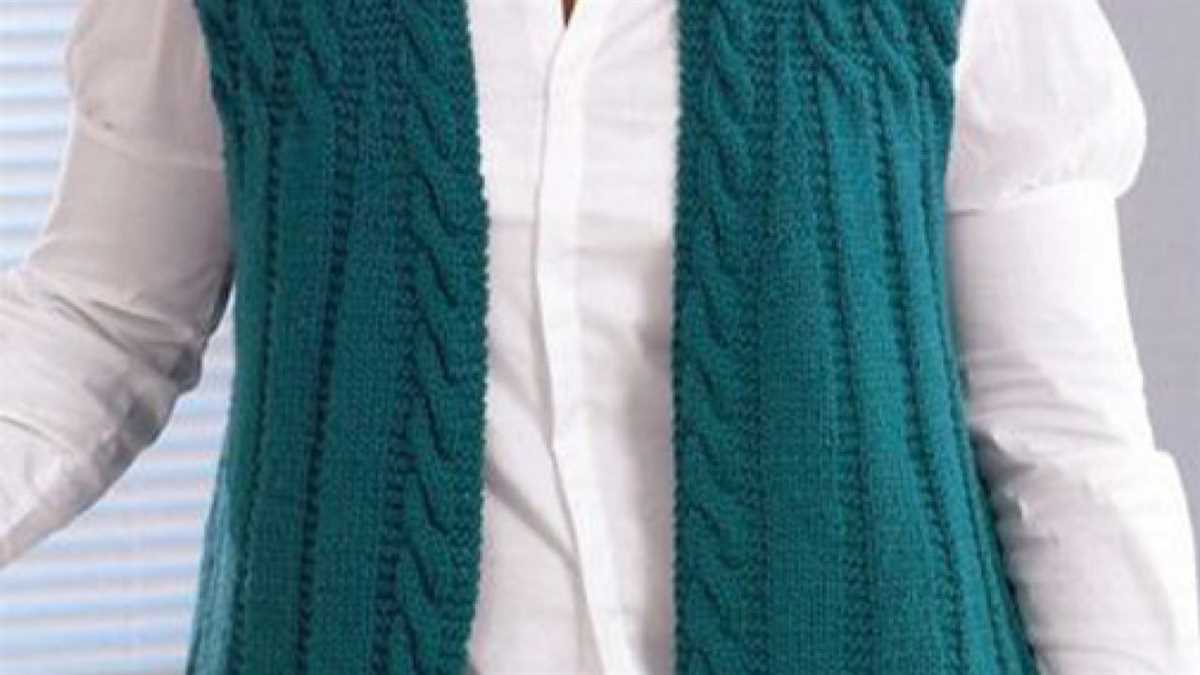
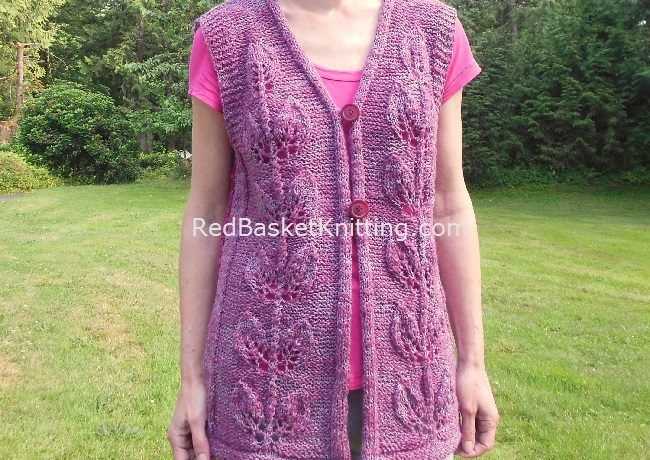
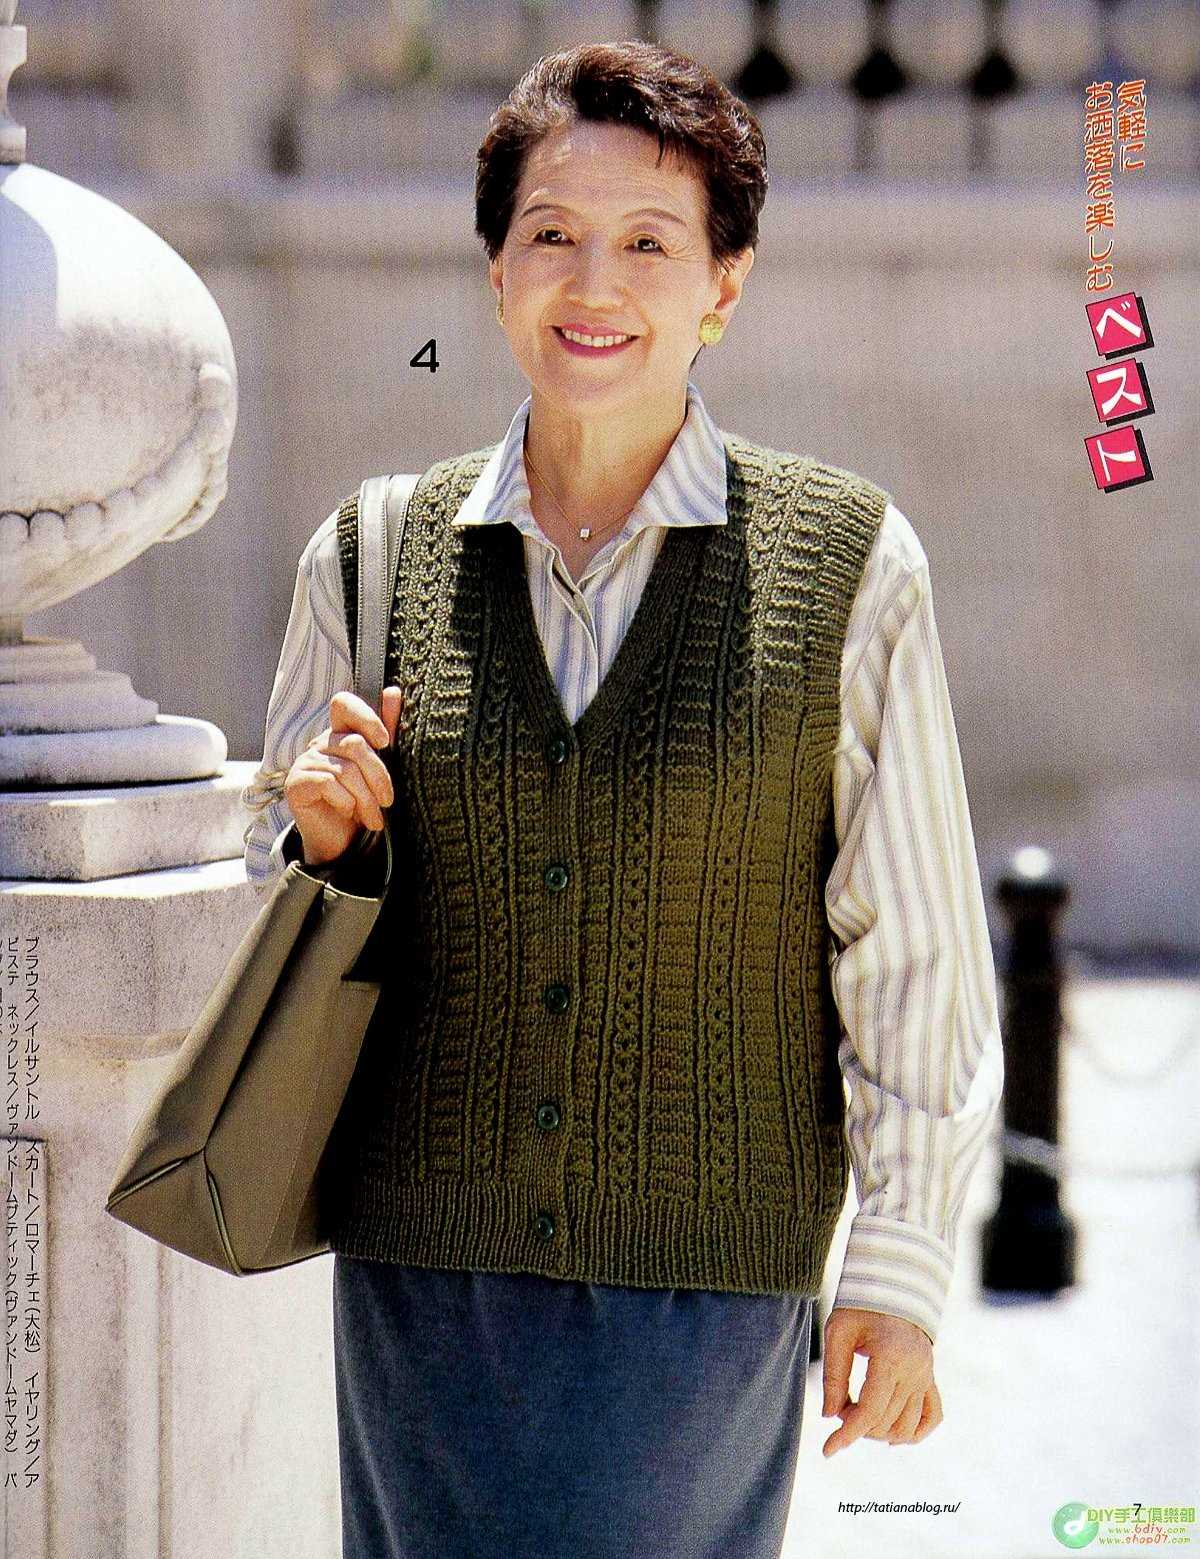
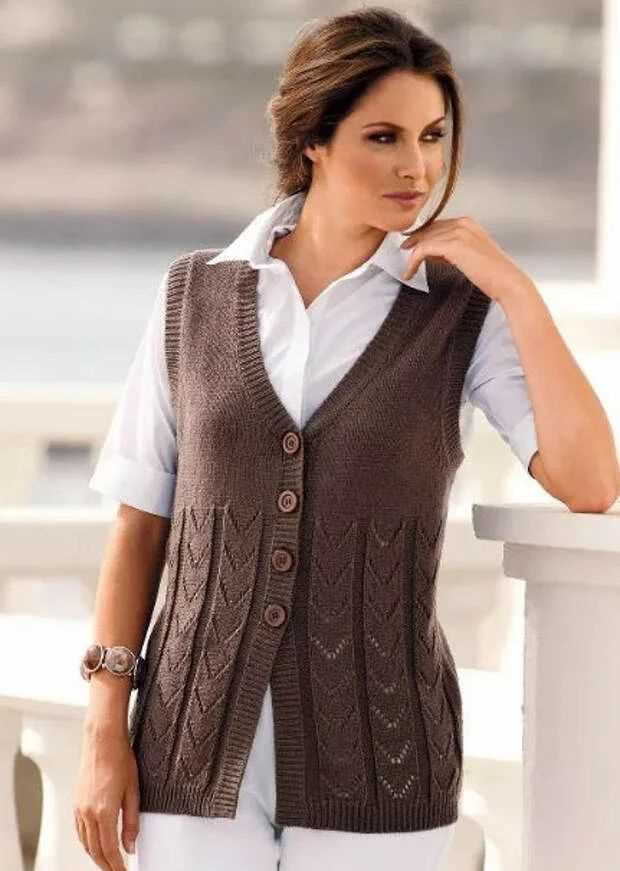
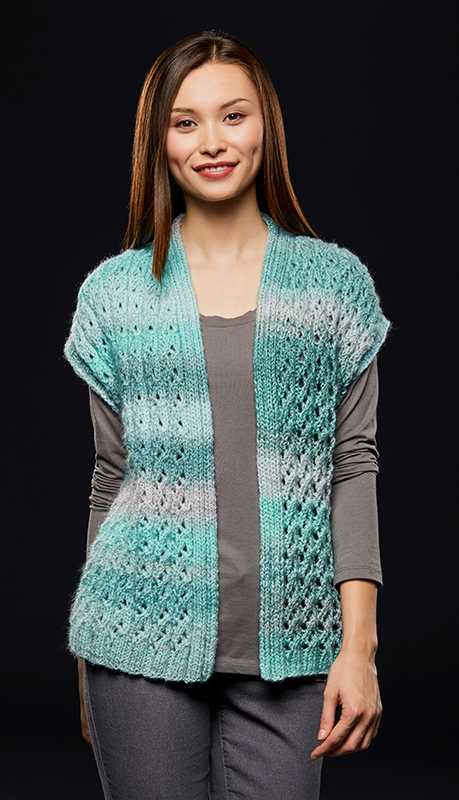
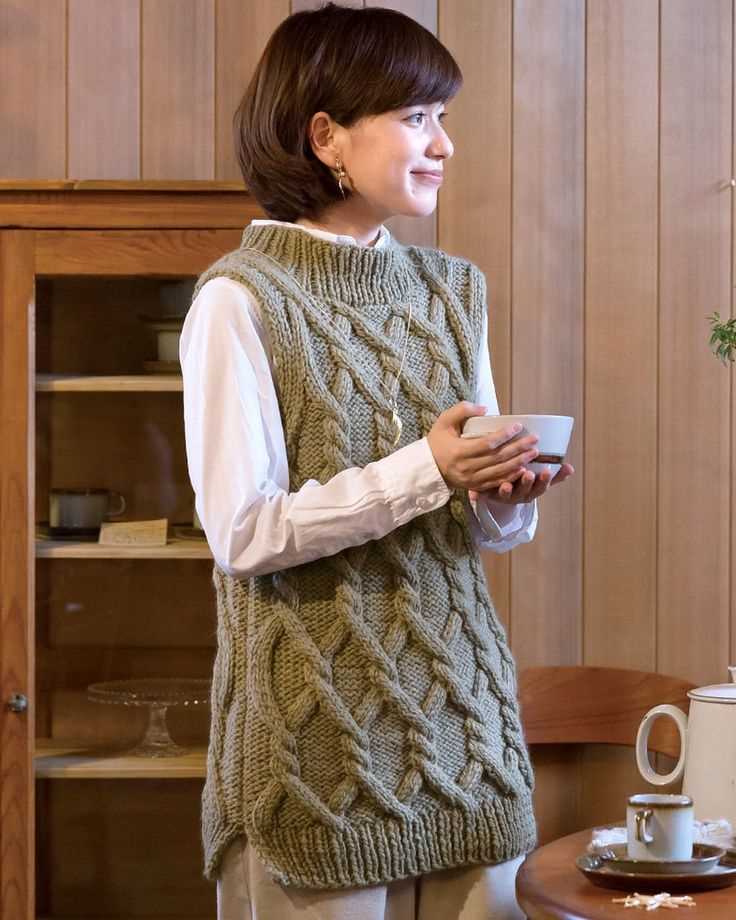
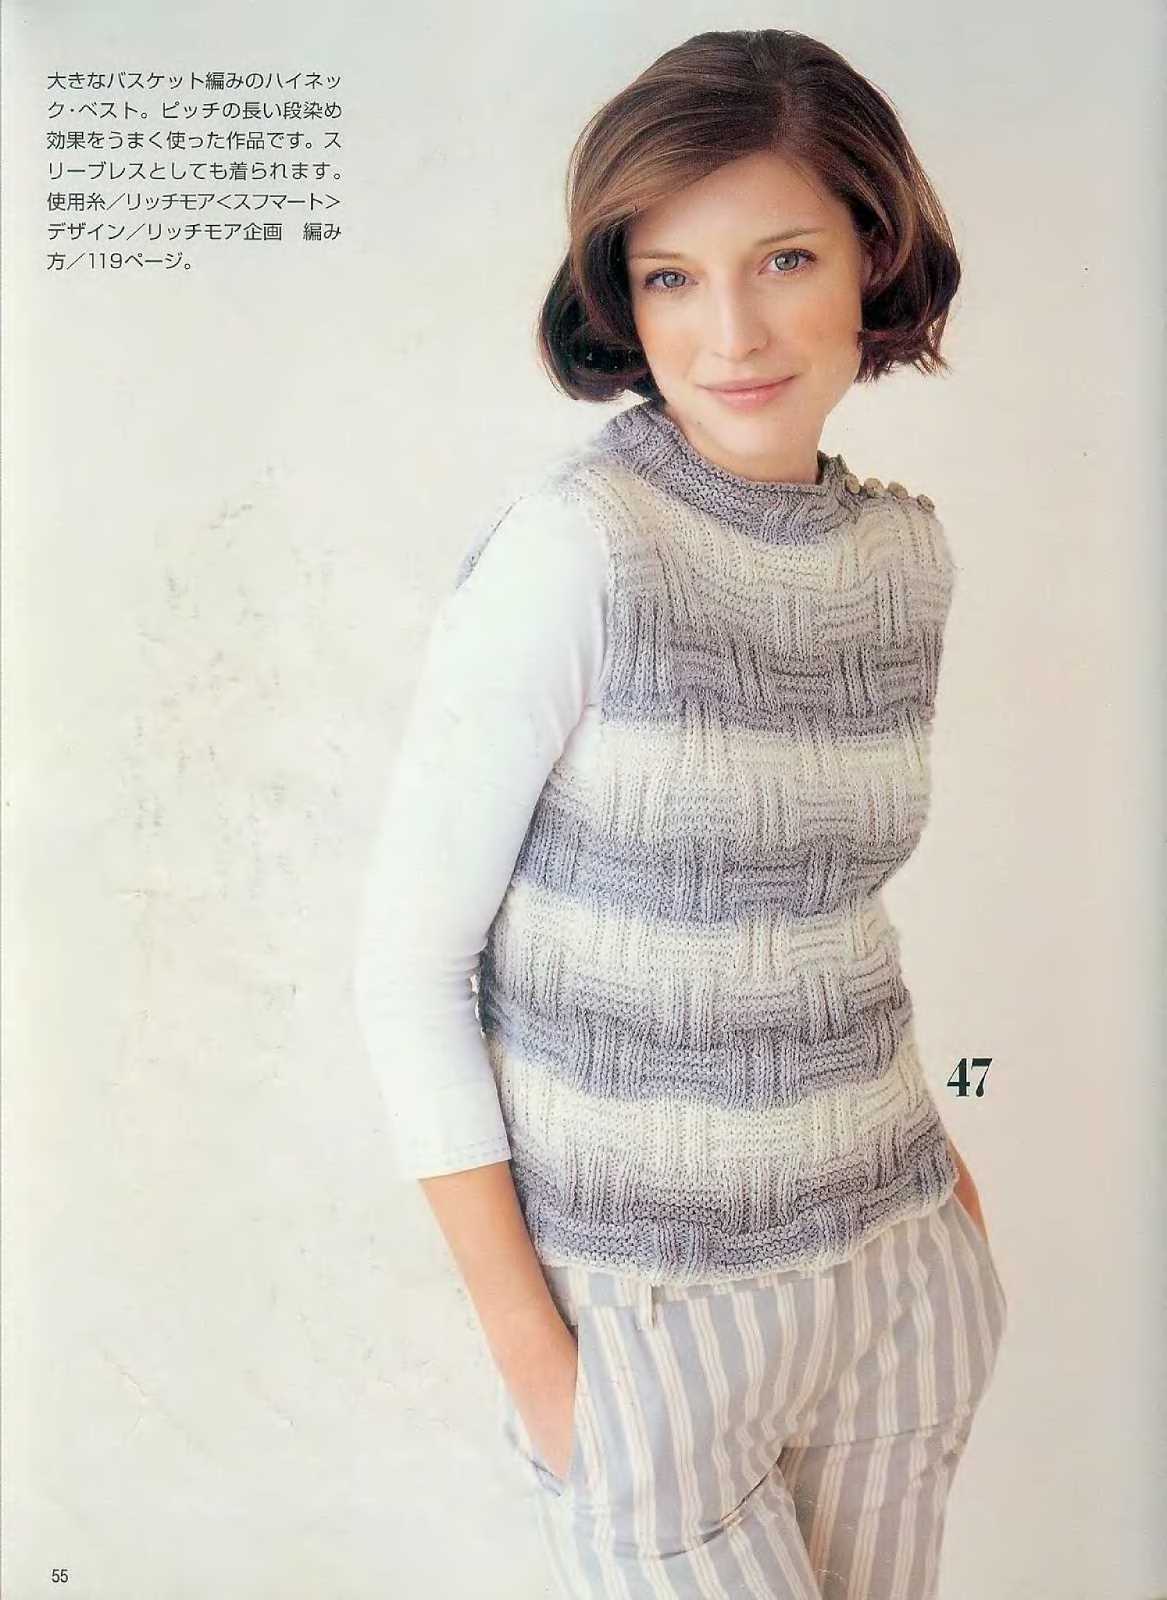
If you’re a fan of knitting and enjoy creating your own wardrobe staples, we have a treat for you! In this article, we’re sharing a free vest knitting pattern specifically designed for women. This pattern is perfect for those chilly days when you want to stay warm and cozy, all while looking stylish.
The free vest knitting pattern we’re providing here is suitable for knitters of all skill levels. Whether you’re a beginner looking to tackle your first garment or an experienced knitter seeking a quick and satisfying project, this pattern is for you. With clear instructions and helpful tips along the way, you’ll be able to easily create a beautiful vest that suits your personal style.
Knitted vests are incredibly versatile and can be worn all year round. Layer it over a shirt or sweater in the colder months for added warmth, or pair it with a tank top or blouse during the spring and summer. With the right yarn and color choices, you can create a vest that matches any outfit or occasion.
The Popularity of Knitting
Knitting has always been a beloved craft, but in recent years, it has experienced a resurgence in popularity. People of all ages and backgrounds are picking up their needles and yarn, eager to create beautiful and unique pieces. Whether it’s a cozy sweater, a stylish hat, or a pair of warm socks, knitting allows individuals to express their creativity and create personalized items for themselves or their loved ones.
One of the reasons knitting has become so popular is because of its therapeutic benefits. Knitting has been shown to reduce stress and anxiety, improve concentration and focus, and promote mindfulness. The repetitive nature of the motions and the tactile sensation of the yarn can have a calming effect on the mind and body. It’s no wonder that many people turn to knitting as a way to unwind and relax after a long day.
Another reason for the popularity of knitting is the sense of satisfaction and accomplishment that comes with completing a project. Knitting requires time, patience, and dedication, but the end result is a tangible and wearable item that can be proudly showcased. The process of selecting the perfect yarn, choosing a pattern, and mastering different knitting techniques allows individuals to challenge themselves and develop new skills. With each completed project, there is a sense of pride and achievement that fuels the desire to continue knitting.
Moreover, knitting has also become a social activity, bringing people together in knitting circles, classes, and online communities. These gatherings provide a space for knitters to share their passion, exchange tips and tricks, and inspire one another with their creativity. Knitting has become a way to connect with others and form bonds, whether it’s through a common interest or a shared love for handmade items.
In conclusion, knitting’s popularity has soared due to its therapeutic benefits, the sense of accomplishment it brings, and the social connections it fosters. As more and more individuals discover the joys of knitting, it’s clear that this timeless craft will continue to captivate and inspire people for generations to come.
The benefits of knitting your own clothes
Knitting your own clothes can be a rewarding and fulfilling hobby that comes with a range of benefits. Not only does it allow you to showcase your personal style and creativity, but it also offers practical advantages that can enhance your wardrobe and overall well-being.
1. Unique and Customizable: One of the main benefits of knitting your own clothes is the ability to create unique and personalized pieces. With a pattern of your choice, you can select the colors, yarn type, and stitch patterns that best reflect your individual style. This ensures that your garments are one-of-a-kind and tailored to fit your body shape and preferences.
2. Quality and Durability: When you knit your own clothes, you have control over the materials used and the overall quality of the finished product. By carefully selecting high-quality yarns and using precise knitting techniques, you can create garments that are built to last. This not only saves you money in the long run but also reduces waste by avoiding fast fashion trends.
3. Mindfulness and Relaxation: Knitting has been shown to have therapeutic effects, promoting relaxation and reducing stress levels. The repetitive motion of knitting can help calm the mind and focus attention, providing a meditative experience. Additionally, the sense of satisfaction that comes from completing a project can boost self-esteem and improve overall well-being.
4. Sustainable and Eco-friendly: In today’s world, where there is growing concern for the environmental impact of the fashion industry, knitting your own clothes offers a sustainable alternative. By using natural and eco-friendly materials, such as organic cotton or sustainably sourced yarns, you can contribute to a more sustainable way of dressing. Plus, by reusing and repurposing yarns, you can reduce waste and extend the lifespan of your garments.
5. Skill Development and Learning: Knitting your own clothes provides an opportunity for skill development and lifelong learning. As you progress in your knitting journey, you can challenge yourself with more complex patterns and techniques, expanding your knitting knowledge and abilities. This continuous learning process can be satisfying and intellectually stimulating.
In summary, knitting your own clothes offers a range of benefits, from expressing your unique style to promoting relaxation and contributing to a more sustainable way of dressing. It is a versatile and rewarding hobby that allows you to create custom-made garments with quality materials while continuously developing your knitting skills.
Choosing the right yarn for your vest
When it comes to knitting a vest, one of the most important decisions you will make is selecting the right yarn. The yarn you choose will determine the overall look, feel, and fit of your finished garment. Here are some factors to consider when making your choice.
Fiber content
The first thing to consider is the fiber content of the yarn. Different fibers have different properties, so you’ll want to choose one that suits the style and purpose of your vest. For a lightweight and breathable vest, natural fibers like cotton or linen are great options. If you’re looking for warmth, wool or alpaca may be more suitable. Synthetic fibers like acrylic can also be a good choice, as they are often affordable and easy to care for.
Weight
The weight of the yarn refers to its thickness, and it’s important to choose a weight that works well with your chosen vest pattern. If the pattern calls for a specific weight of yarn, it’s best to follow those guidelines to ensure the desired fit and drape. However, if you’re adapting a pattern or creating your own design, you can experiment with different weights to achieve the desired effect. Keep in mind that heavier yarn will create a thicker and warmer vest, while lighter yarn will result in a more delicate and lightweight garment.
Color and texture
The color and texture of the yarn will also play a role in the final look of your vest. Solid colors can showcase stitch patterns and allow the design to shine, while variegated or self-striping yarn can add visual interest and create a unique look. Consider the style and occasion for which you’re knitting the vest, and choose a color and texture that complements your vision.
Ultimately, the right yarn for your vest will depend on your personal preferences and the intended use of the garment. Take the time to explore different options and find a yarn that not only matches your desired aesthetic but also meets the functional requirements of your vest.
Essential knitting tools and techniques
Knitting is a popular and enjoyable hobby that allows you to create beautiful and functional items using just a few tools and techniques. Whether you’re a beginner or an experienced knitter, having the right tools and understanding important techniques is essential for successful and satisfying knitting projects.
Knitting Tools:
- Knitting Needles: The most important tool in knitting, needles come in different sizes and materials. Choose the right size for your project and consider using circular needles for larger items.
- Yarn: Selecting the right yarn for your project is crucial. Consider the weight, fiber content, and color when choosing your yarn.
- Tape Measure: A tape measure is necessary for measuring your work and checking gauge.
- Scissors: Sharp scissors are needed for cutting yarn and finishing your projects.
- Tapestry Needle: A tapestry needle is used for sewing seams and weaving in ends.
- Stitch Markers: Stitch markers help you keep track of specific stitches or sections in your knitting.
Knitting Techniques:
There are various knitting techniques that you’ll need to learn and master to create different patterns and textures:
- Casting On: This is the process of creating the first row of stitches on your needle to start your project.
- Knit Stitch: The basic knit stitch is the foundation of knitting. Learning this stitch allows you to create smooth, flat fabric.
- Purl Stitch: The purl stitch is the opposite of the knit stitch and creates a bumpy texture. It is often used to create ribbing or stockinette stitch.
- Increasing and Decreasing: These techniques are used to shape your knitting by adding or removing stitches.
- Binding Off: This is the final step in knitting, where you secure the stitches and remove them from the needles.
By having the right tools and learning essential knitting techniques, you’ll be able to create a wide range of projects and enjoy the relaxing and fulfilling process of knitting. So grab your needles, choose your yarn, and let your creativity flow!
Understanding the Free Vest Knitting Pattern
When it comes to knitting, finding a free pattern for a vest can be both exciting and daunting. It’s important to understand the pattern before you start knitting, to ensure that you have the right materials and skills necessary to complete the project successfully.
Materials: The first step in understanding the free vest knitting pattern is to gather all the necessary materials. The pattern will typically list the type of yarn and the recommended needle size. Make sure you have the correct amount of yarn and needles, as well as any additional supplies such as buttons or zippers that may be required.
Gauge: Before you start knitting, it’s crucial to check your gauge. Gauge refers to the number of stitches and rows per inch that you achieve with your chosen yarn and needles. The pattern will provide a gauge measurement, and you’ll need to knit a swatch and measure it to ensure that your gauge matches. Adjust your needle size if necessary to achieve the correct gauge.
Instructions: Once you have gathered your materials and checked your gauge, it’s time to dive into the instructions. The pattern will provide step-by-step instructions on how to knit the vest, including the type of stitches to use, any shaping or increases/decreases required, and any special techniques or stitch patterns to follow. Take the time to read through the instructions carefully and make sure you understand each step before moving on.
Sizing: Many free vest knitting patterns will provide multiple size options. It’s important to choose the size that best fits your measurements and preferences. The pattern will usually provide a sizing chart or measurements to help you determine the correct size. Keep in mind that the vest may have some ease or drape built into the design, so consider how you want the finished vest to fit when choosing your size.
Finishing: Once you have completed all the knitting steps, the pattern will usually provide instructions on how to finish the vest. This can include sewing up seams, adding any necessary closures (such as buttons or zippers), and blocking the vest to shape it properly. Follow the finishing instructions carefully to ensure that your vest looks polished and professional.
In summary, understanding a free vest knitting pattern involves gathering the right materials, checking your gauge, reading and comprehending the instructions, choosing the correct size, and properly finishing the vest. By taking the time to understand the pattern before you begin, you can set yourself up for success and create a beautiful and wearable vest. Happy knitting!
Getting started: casting on and knitting the back of the vest
When starting your knitting project, it is important to cast on the required number of stitches to create the back of the vest. The number of stitches will vary depending on the size you are making and the gauge you are using.
Casting On
To cast on, hold your knitting needle in your right hand and leave a long tail of yarn. Make a slipknot by crossing the yarn over itself and pulling the working end through the loop. Place the slipknot onto the needle and tighten it. Now, insert the right needle into the slipknot from left to right, making sure the yarn is behind the needle. With your right hand, bring the yarn between the needles, over the right needle, and to the front of your work. With your left thumb, push the right needle down and under the yarn, forming a loop. Gently pull the loop through the slipknot, creating a new stitch on the right needle. Repeat this process until you have cast on the required number of stitches.
Knitting the Back
Once you have cast on the necessary number of stitches, you can start knitting the back of the vest. Hold the needle with the cast on stitches in your left hand and the empty needle in your right hand. Insert the right needle into the first stitch on the left needle from left to right, going under the left needle. With your right hand, bring the yarn behind the right needle, over the left needle, and to the front of your work. With your right needle, hook the yarn and pull it through the stitch, sliding the stitch off the left needle and onto the right needle. Repeat this process until you have knitted all the stitches from the left needle onto the right needle. Now, the right needle holds all the stitches, and the left needle is empty. Rotate your work, so the right needle is in your left hand and the left needle is in your right hand. Continue knitting each row, repeating the process of knitting the stitches from the left needle onto the right needle until the back of the vest reaches the desired length.
By following these steps, you will be on your way to creating the back of your vest. Remember to keep an even tension while knitting and to check your gauge as you go to ensure that your vest will turn out to be the correct size.
Shaping the Front of the Vest
When knitting a vest, shaping the front is an important step to achieve the desired fit. In this pattern, there are various techniques that can be used to shape the front of the vest.
To start shaping the front, the pattern may instruct you to bind off a certain number of stitches at the beginning of a row. This creates a diagonal edge that helps contour the shape of the vest. Alternatively, you may be instructed to decrease stitches evenly across the row to create a gradual slope.
Armhole Shaping: To shape the armholes, the pattern may require you to bind off a certain number of stitches at each side. This helps create the armhole opening and provides a more comfortable fit around the shoulders.
V-Neck Shaping: If the vest has a V-neck design, the pattern may instruct you to create a neckline by binding off stitches in the center. This creates the distinctive V shape and allows for a more flattering neckline.
It is important to carefully follow the instructions provided in the pattern to achieve the correct shaping. Taking accurate measurements and checking your gauge will also ensure that the vest fits properly. Once the front shaping is complete, you can proceed with the rest of the pattern to complete the vest.
- Bind off stitches to create diagonal edge.
- Decrease stitches evenly for gradual slope.
- Bind off stitches for armhole shaping.
- Bind off stitches to create V-neck shaping.
Adding pockets to your vest
Adding pockets to a vest can be a practical and stylish addition. Pockets can provide a place to keep your hands warm, store small items like keys or a phone, or simply add visual interest to your garment. Whether you are knitting a vest from scratch or modifying an existing pattern, adding pockets is a relatively simple process that can make a big difference in the functionality and overall look of your vest.
1. Determine the placement and size of your pockets: Before you begin knitting, consider where you want to place your pockets and how big you want them to be. Typically, pockets are placed on the front of the vest, towards the bottom, but you can get creative with placement if desired. Measure the width and height of your desired pockets and make note of these measurements.
2. Prepare your knitting: If you are creating pockets in a pre-existing knitting pattern, you will need to make a few modifications. Calculate the number of stitches you will need for each pocket by subtracting the width of the pockets from the total number of stitches for the front of the vest. Once you have the correct number of stitches, mark the beginning and end of each pocket section with stitch markers.
3. Knit the pocket sections: To create the pockets, you will need to knit the pocket sections separately from the rest of the vest. Follow the pattern for the main body of the vest until you reach the stitch markers indicating the pocket sections. At this point, you will begin knitting in a different color or yarn to differentiate the pocket sections. Knit the required number of rows or rounds for the height of your pockets, following the pattern stitch or creating a simple stockinette stitch.
4. Join the pocket sections: Once the pocket sections are complete, you will need to join them to the rest of the vest. On the next row or round, knit the stitches of each pocket section together with the corresponding stitches of the main body of the vest. This will create a seamless transition between the pockets and the rest of the garment. Continue knitting according to the pattern until the vest is complete.
5. Finishing touches: After completing your vest, you may want to add some finishing touches to the pockets. This could include sewing on buttons or snaps for closure, adding decorative trim, or even lining the pockets with fabric for added durability. Get creative and customize your pockets to suit your personal style.
Knitting the neckline and armholes
When knitting a vest, one of the most important steps is knitting the neckline and armholes. These areas are crucial for ensuring a comfortable fit and professional-looking finish. Taking the time to carefully plan and execute these sections will result in a vest that fits well and is visually appealing.
The neckline can be knitted in various ways, depending on the desired style and design of the vest. One common method is to use ribbing or a simple garter stitch to create a neat and stretchy edge. This not only adds visual interest but also helps to prevent the neckline from stretching out over time. It is important to measure and shape the neckline to ensure a proper fit, taking into consideration the wearer’s preferences and body measurements.
Knitting the armholes requires attention to detail and precision to achieve a clean and polished look. The key is to carefully pick up stitches along the edges of the armholes and knit them in a way that creates a smooth transition from the body of the vest to the armhole. This can be done by using a smaller needle size or decreasing the number of stitches gradually. It is important to try on the vest as you work on the armholes to ensure a snug fit that allows for ease of movement.
Overall, knitting the neckline and armholes of a vest requires careful planning, attention to detail, and skill. By following a pattern or creating your own design, you can create a vest that is not only stylish but also fits well and is comfortable to wear. Whether you choose to use ribbing, garter stitch, or other techniques, the key is to take your time and knit with precision to achieve professional-looking results.
Sewing and finishing your vest
Once you have completed knitting your vest, it is time to sew the pieces together and add any finishing touches. Follow these steps to ensure a professional-looking result:
1. Blocking
Before sewing, it’s important to block your knitted pieces. This involves wetting them gently, reshaping them to the correct measurements, and allowing them to dry flat. Blocking helps to even out the stitches and ensures that your vest will hang and fit correctly.
2. Sewing the seams
Using a yarn needle and the same yarn used for knitting, start by sewing the shoulder seams together. Place the back and front pieces right sides together and sew along the edges. Repeat this process for the side seams. Make sure to use a mattress stitch or a similar invisible seam technique to achieve a seamless finish.
3. Adding the ribbing
If your vest has ribbed edges, such as a ribbed collar or hem, pick up stitches along the edge using a smaller circular needle. Knit the desired ribbing pattern, ensuring the number of stitches align with the pattern instructions. Once completed, sew the ribbing to the corresponding edge using a whip stitch or the same invisible seam technique used for the other seams.
4. Finishing touches
To complete your vest, weave in any loose ends of yarn, steam or lightly press the finished piece to smooth out any wrinkles or unevenness, and attach any desired buttons or closures. Take the time to inspect your work for any remaining imperfections and make any necessary adjustments or fixes before enjoying your newly finished vest!
Styling and Caring for Your Knitted Vest
Once you have finished knitting your vest, it’s time to style and care for it to ensure that it stays in good condition for years to come. Here are some tips to help you make the most of your knitted vest:
Styling:
1. Layering: One of the great things about knitted vests is that they can be easily layered with other pieces of clothing. You can wear your vest over a long-sleeved shirt, blouse, or even a dress. Experiment with different combinations to create various looks.
2. Accessorizing: Add some accessories to enhance the overall look of your vest. Consider adding a belt around your waist to cinch in the fabric and create a more tailored silhouette. You can also add a brooch or pin to the lapel for a touch of elegance.
Caring:
1. Handwashing: To protect the delicate fibers of your knitted vest, it’s best to handwash it. Fill a sink or basin with lukewarm water and a gentle detergent specifically designed for delicate fabrics. Gently agitate the vest in the water, then rinse with clean water. Squeeze out the excess water, and lay the vest flat on a clean, dry towel to air dry.
2. Storage: When not wearing your knitted vest, store it folded flat in a drawer or on a shelf, away from direct sunlight. Avoid hanging it, as this can stretch the fabric and cause it to lose its shape.
3. Removing pills: Over time, you may notice small balls of fuzz or pills forming on the surface of your vest. To remove them, gently shave the surface with a fabric shaver or use a pill remover tool. Be careful not to apply too much pressure, as this can damage the fabric.
In conclusion, with the right styling options and proper care, your knitted vest can become a versatile and timeless addition to your wardrobe. Take the time to experiment with different outfits and maintain your vest’s quality to enjoy its warmth and beauty for years to come.