
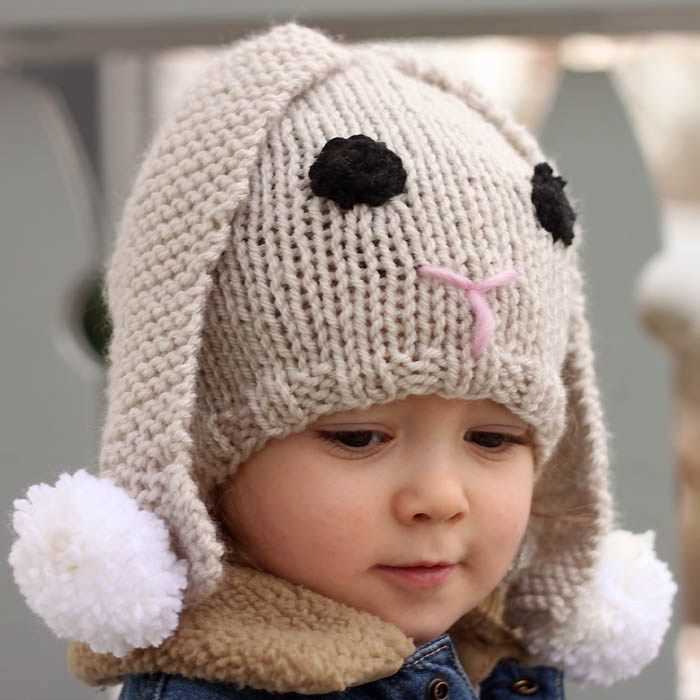
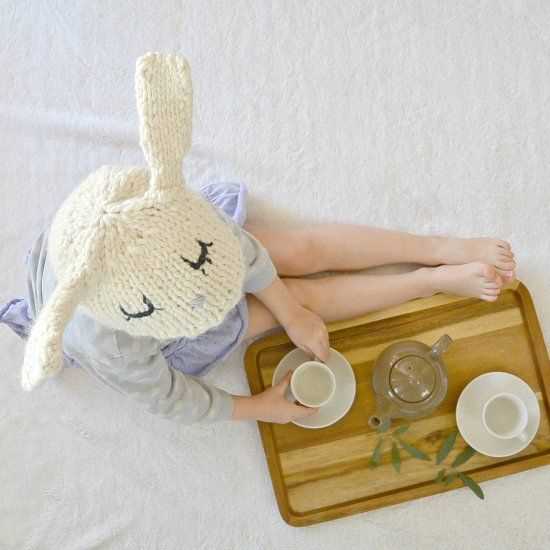
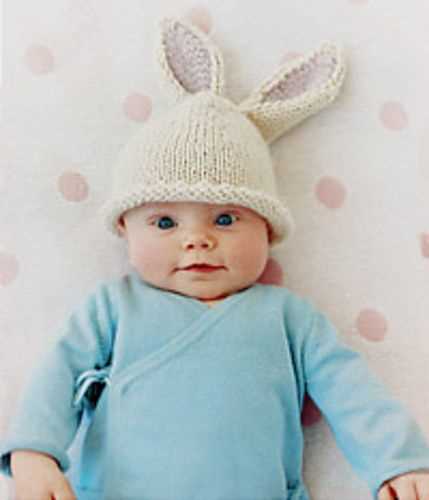
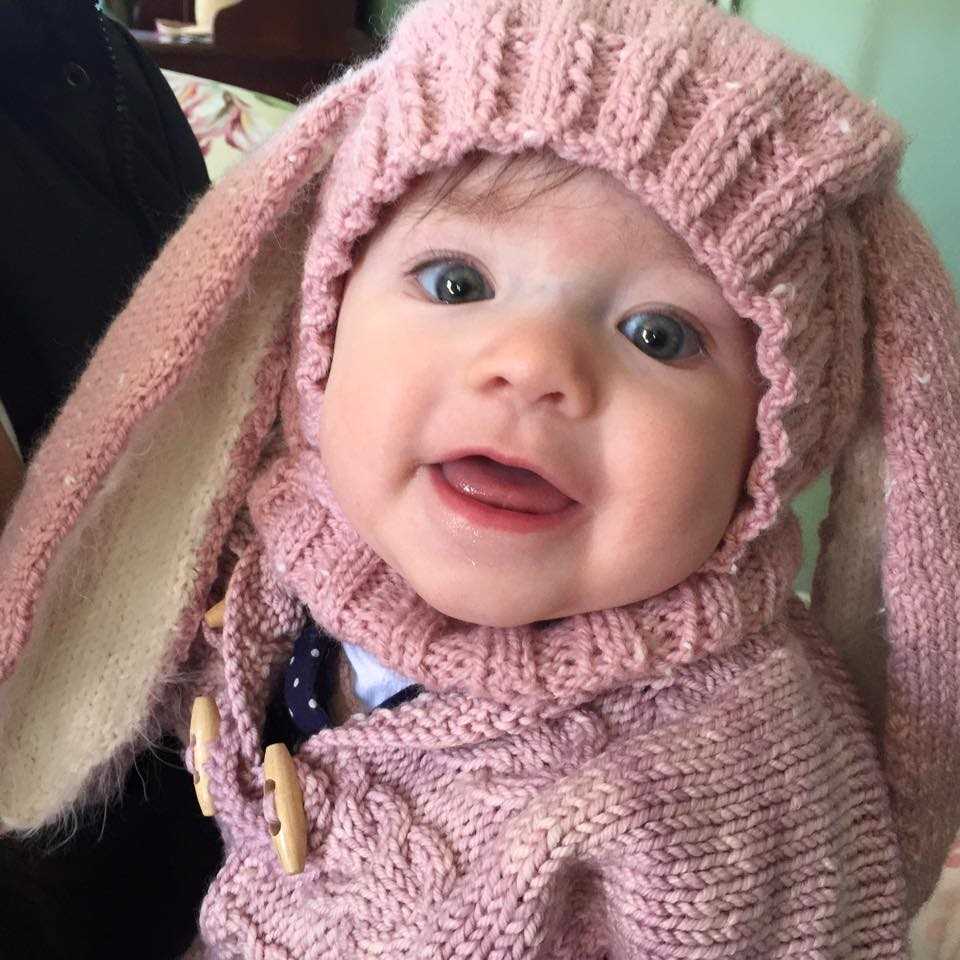
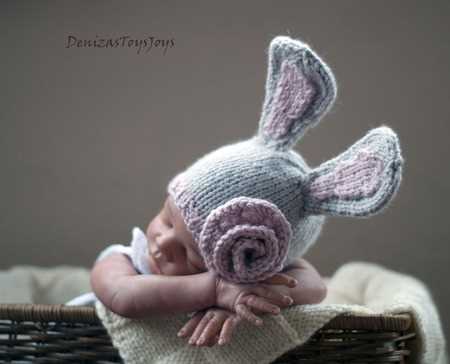
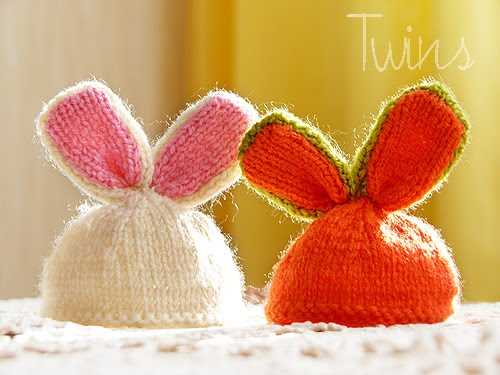
Knitted bunny hats are not only adorable, but they also add a touch of cuteness to any outfit, making them a popular choice for babies, toddlers, and even adults. Whether you’re a seasoned knitter or a beginner looking for a fun and rewarding project, this knitted bunny hat pattern is perfect for you.
With this pattern, you’ll be able to create a hat that resembles a bunny, complete with cute floppy ears and a pom-pom tail. The pattern is suitable for all skill levels and can be customized to fit different head sizes. It’s a great gift idea for baby showers, birthdays, or just to keep your little one warm and stylish.
Knitting your own bunny hat allows you to choose the colors and materials that best suit your personal style. Whether you prefer soft pastels or bold and bright hues, the possibilities are endless. Not only will you have a one-of-a-kind accessory, but you’ll also have a sense of accomplishment knowing that you created it with your own two hands.
Knitted Bunny Hat Pattern
Do you want to make a cute and cozy bunny hat for your little ones? Look no further! This knitted bunny hat pattern is perfect for beginners and experienced knitters alike. With its simple design and adorable bunny ears, it’s sure to be a hit with both kids and adults.
To start, gather your materials. You’ll need some soft and warm yarn in a color of your choice, as well as a pair of knitting needles. You can use any size needles that you’re comfortable with, but a medium size is generally recommended for this project.
Once you have your materials ready, it’s time to cast on. Start by making a slip knot and placing it on one of your knitting needles. Then, cast on the desired number of stitches. For this pattern, we’ll be using a basic rib stitch, so you’ll want to cast on an even number of stitches.
Next, it’s time to start knitting. Follow the rib stitch pattern until the hat reaches your desired length. This can vary depending on the size of the hat and the age of the child you’re making it for. It’s always a good idea to measure the circumference of the wearer’s head before starting to ensure a proper fit.
Once the hat is the right length, it’s time to shape the crown. You can do this by decreasing stitches in a systematic way. There are many different ways to decrease stitches, so feel free to experiment and find the method that works best for you. Just make sure to maintain the rib stitch pattern as you go.
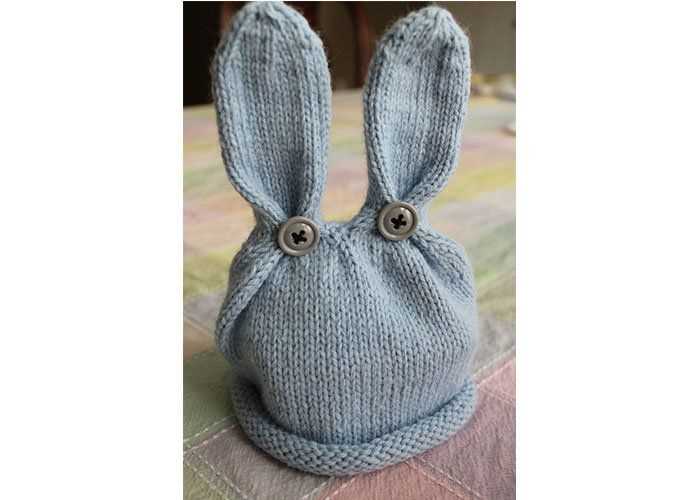
Finally, it’s time to add the bunny ears. To do this, simply pick up stitches along the top edge of the hat and knit in the round for a few inches. Then, shape the ears by decreasing stitches until you reach the desired point at the top.
Once you’ve finished knitting, weave in any loose ends and your bunny hat is ready to wear. It’s the perfect accessory for Easter celebrations or just for keeping little heads warm and cozy during the colder months. Happy knitting!
Materials Needed
To make a knitted bunny hat, you will need the following materials:
- Yarn: Choose a soft and chunky yarn in a color of your choice. Make sure it is suitable for knitting.
- Knitting Needles: You will need a pair of knitting needles in the appropriate size for your yarn.
- Tape Measure: This will help you measure your gauge and ensure the hat fits correctly.
- Yarn Needle: A yarn needle will be needed for sewing in loose ends and finishing off your hat.
- Stitch Markers: Stitch markers will help you keep track of your stitches and shape while knitting.
- Scissors: You will need a pair of sharp scissors for cutting yarn and trimming any excess.
- Pom-pom Maker: If you want to add a cute pom-pom to the top of your hat, a pom-pom maker will come in handy.
Once you have gathered all the necessary materials, you will be ready to start knitting your bunny hat. Make sure to follow the pattern instructions carefully and enjoy the process of creating a cozy and adorable hat for yourself or someone special.
Getting Started
Before you start knitting your bunny hat, there are a few things you’ll need to gather:
- Knitting Needles: You will need a set of knitting needles suitable for the yarn you will be using. Check the pattern for the recommended needle size.
- Yarn: Choose a soft and warm yarn in the desired color for your bunny hat. Make sure it is suitable for the needle size mentioned in the pattern.
- Tapestry Needle: This will be used for sewing up the hat and weaving in loose ends.
- Stitch Markers: These are useful for marking your stitches and keeping track of the pattern.
- Measuring Tape: You will need this to measure your head circumference and ensure the hat fits you or the intended recipient.
- Scissors: A pair of sharp scissors will be needed for cutting yarn and trimming any excess.
Once you have gathered all the necessary materials, you can begin by familiarizing yourself with the pattern. Read through the instructions carefully and make sure you understand the abbreviations and techniques used. Take note of any special stitch patterns or techniques that may be required.
If you are new to knitting, it may be helpful to practice some basic stitches and techniques before starting on the hat. You can find many online tutorials and videos that will guide you through the basics of knitting. This will help you gain confidence and ensure you are familiar with the techniques required for the pattern.
Casting On
When beginning a knitting project, it is important to cast on the required number of stitches onto your knitting needles. This is the first step in creating your knitted bunny hat. There are several different methods for casting on stitches, but the most commonly used method is the long-tail cast on.
The long-tail cast on is a versatile method that creates a neat and stretchy edge. To start, you will need a length of yarn that is approximately three times the width of your project. Make a slipknot at one end of the yarn, leaving a long tail. Place the slipknot onto one of your knitting needles.
Step 1: Hold the knitting needle with the slipknot in your right hand. With your left hand, pinch the yarn between your thumb and index finger, creating a “V” shape.
Step 2: Insert the knitting needle under the “V” shape formed by the yarn. Move the needle over the top of the yarn and back under, creating a loop on the needle.
Step 3: With your right hand, bring the needle down and through the loop, catching the yarn on the needle.
Step 4: Slide the loop off your left hand and onto the needle, tightening it slightly.
Repeat these steps until you have cast on the required number of stitches for your knitted bunny hat. Once all the stitches are cast on, you are ready to begin knitting the next section of the hat.
Remember to keep the yarn tension consistent while casting on to ensure an even edge. If you find your stitches are too tight or too loose, you can adjust your tension by holding the yarn tighter or looser in your left hand. With practice, casting on will become second nature and you will be on your way to creating a beautiful knitted bunny hat.
Main Body of the Hat
The main body of the hat is worked in the round, starting at the brim and working towards the top. It is a simple pattern that uses basic knit and purl stitches to create a ribbed texture.
Begin by casting on the required number of stitches using the method of your choice. It is recommended to use a circular needle for this pattern as it will make it easier to work in the round. Once you have cast on, join the round by knitting the first stitch and slipping the last stitch from the left-hand needle onto the right-hand needle.
Row 1: *K1, p1* – repeat this pattern to the end of the round. This creates a ribbed pattern that will give the hat some stretchiness and allow it to fit snugly on the head.
Row 2: *P1, k1* – repeat this pattern to the end of the round. This creates the opposite side of the ribbing and continues the pattern.
Continue repeating Rows 1 and 2 until the body of the hat measures the desired length. This will vary depending on the size of the hat you are making. It’s a good idea to measure the circumference of the wearer’s head and use that as a guide when determining the length. Keep in mind that the brim will fold up, so the length may appear shorter than it actually is.
Once you have reached the desired length, you can proceed to the next step of the pattern, which is usually shaping the crown of the hat. This involves decreasing the number of stitches in each round to create a tapered top. The specific instructions for this step will vary depending on the pattern you are following.
Example Pattern:
- Row 1: *K1, p1* – repeat this pattern to the end of the round.
- Row 2: *P1, k1* – repeat this pattern to the end of the round.
- Repeat Rows 1 and 2 until the body of the hat measures 6 inches.
- Next, begin shaping the crown of the hat by decreasing stitches in each round. Follow the pattern instructions for this step.
Shaping the Ears
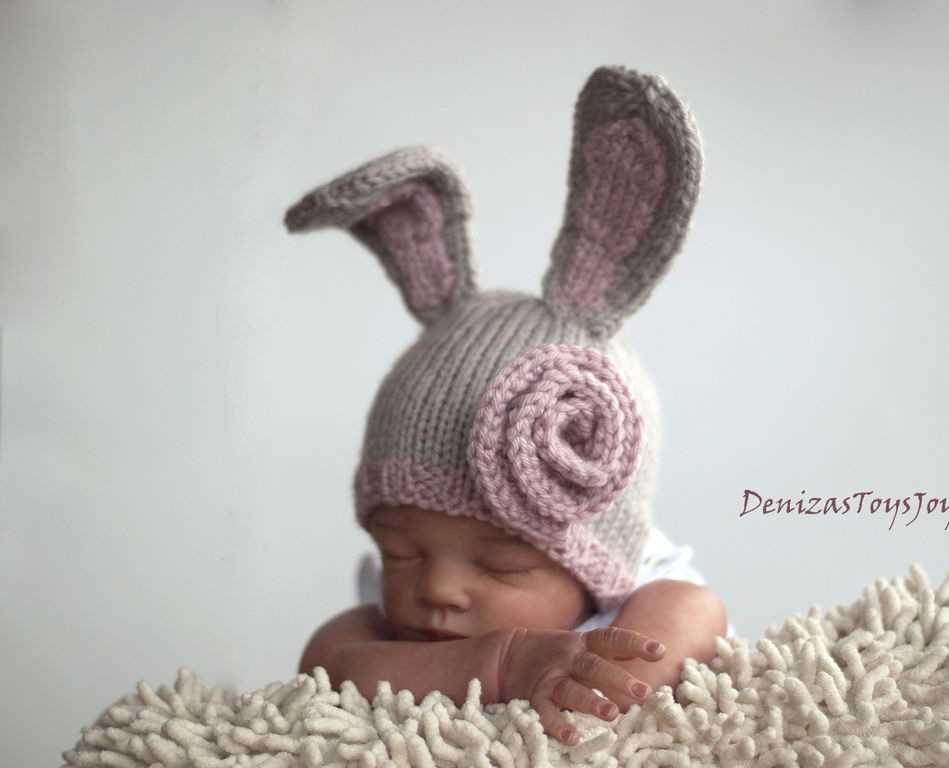
The ears are one of the most adorable features of the knitted bunny hat. To shape the ears, you will need to work some increases and decreases in the knitting.
To start shaping the ears, you will need to determine the number of stitches to be increased or decreased. This will depend on the size of the hat and the desired ear shape. The pattern will usually specify the number of stitches and rows for the ear shaping.
To increase stitches for the ear, you can use the make one (M1) method. This involves lifting the bar between two stitches, placing it on the left needle, and knitting into the back loop to create a new stitch. Repeat this process for the specified number of times, evenly distributing the increases across the row.
To decrease stitches for the ear, you can use the knit two together (K2tog) method. This involves knitting two stitches together as one, which decreases the stitch count by one. Repeat this process for the specified number of times, evenly distributing the decreases across the row.
Once you have completed the increases and decreases for the ear shaping, continue knitting the remaining rows as instructed in the pattern. The result will be adorable bunny ears that add a charming touch to the finished hat.
Adding the Face
In order to give your knitted bunny hat some personality, you will need to add a face to it. This can be done using embroidery or by sewing on felt pieces. Here are some steps to help you add the face:
Embroidery Method:
- Thread a needle with a contrasting color of yarn or embroidery floss.
- Decide on the placement of the eyes, nose, and mouth on the knitted hat.
- Start by creating the eyes. Begin by making a small stitch for each eye, either using a straight stitch or a satin stitch for a more solid appearance.
- Create the nose by making a small triangular shape with stitches, using the same color as the eyes or a slightly darker shade.
- Finally, add the mouth using small straight stitches or a backstitch, creating a curved shape.
Felt Method:
- Choose the colors of felt that you want to use for the eyes, nose, and mouth.
- Draw or trace the shapes onto the felt and cut them out.
- Position the felt pieces on the hat to determine the desired placement.
- Secure the felt pieces to the hat by sewing them on using a needle and thread that matches the color of the felt.
Whichever method you choose, take your time and make sure to position the features symmetrically and evenly. This will help give your knitted bunny hat a cute and polished look.
Finishing Touches
Completing a knitted bunny hat is all about the finishing touches. These final steps add character and charm to the hat, making it truly special. Here are some key steps to consider:
- Ears: Attach the knitted ears to the top corners of the hat using a tapestry needle. This adds an adorable element to the hat and makes it look more like a bunny.
- Face features: Embroider or sew on the bunny’s face features, such as eyes, nose, and mouth. This brings the hat to life and gives it a personalized touch.
- Bow: Add a knitted or fabric bow to the bunny’s ear for an extra cute detail. This can be done by simply attaching the bow with a few stitches or glue.
- Whiskers: Create whiskers using a thin black thread or embroidery floss. You can thread it through the hat and trim it to the desired length, giving the bunny hat a playful touch.
- Finishing touches: Check for any loose ends or imperfections and secure them properly. This ensures the hat is durable and ready to be worn or gifted.
Remember to take your time and pay attention to detail when adding these finishing touches. Each step contributes to the overall appearance of the bunny hat, making it a delightful accessory or gift for someone special.
Optional Accessories
Enhance your knitted bunny hat with these optional accessories that will make your hat even more adorable and unique. Whether you want to add a touch of whimsy or personalize your hat, these accessories will surely do the trick.
Pompoms
Add a playful touch to your bunny hat by attaching pompoms to the ears or the top of the hat. You can use different colors to match your outfit or create a fun contrast. Pompoms can be made using yarn, or you can purchase pre-made pompoms in various sizes and colors. Simply attach them securely to your hat and watch as your hat transforms into a cute and fluffy accessory.
Flower embellishments

Create a feminine and delicate look by adding flower embellishments to your bunny hat. You can crochet or knit small flowers using leftover yarn, or purchase pre-made fabric or felt flowers. Attach them to the hat with a needle and thread or fabric glue. Choose flowers in colors that complement your hat, or mix and match different shades for a vibrant and eye-catching look.
Ribbons and bows
Add a touch of elegance and charm to your bunny hat by attaching ribbons and bows. You can use satin or grosgrain ribbons in various widths and colors to create a beautiful bow at the base of the ears or on the side of the hat. For a more subtle look, you can also add a small ribbon bow to the back of the hat. Ribbons and bows can be easily attached using a needle and thread or fabric glue.
Embroidery
Personalize your bunny hat by adding embroidered details. You can embroider the bunny’s face, including the eyes, nose, and mouth, or add additional embellishments such as flowers or hearts. Choose embroidery floss in colors that contrast with the hat to make the details stand out. Embroidery can be done by hand or using a sewing machine, depending on your skill level and preference.
- Decorative buttons
- Sequins and beads
- Patches or appliques
- Miniature crochet or knit accessories
- Lace trim
Final Thoughts
In conclusion, the knitted bunny hat pattern is a fun and adorable project for both beginners and experienced knitters alike. Not only does it provide a practical and stylish accessory for colder weather, but it also allows for creative expression and personalization through different yarn colors and embellishments.
With the detailed step-by-step instructions provided, anyone can easily create their own knitted bunny hat. Whether you’re making it for yourself or as a gift for a friend or family member, this pattern is sure to bring joy and warmth to both the knitter and the wearer.
The versatility of this pattern allows for customization to suit individual preferences. You can choose different colors to match your personal style or experiment with different yarn weights to create hats of varying sizes. Additionally, you can add unique details such as buttons, bows, or pom poms to make each hat truly one-of-a-kind.
Furthermore, knitting this bunny hat can be a great way to relax and unwind. The repetitive motions of knitting can have a calming effect and help reduce stress. So, whether you’re a seasoned knitter or just starting out, this project provides an opportunity to enjoy the therapeutic benefits of knitting while creating something beautiful and functional.
In summary, the knitted bunny hat pattern is a delightful and rewarding project that offers both practicality and creativity. Whether you’re knitting for yourself or someone else, this pattern is sure to bring warmth, style, and a touch of whimsy to any winter wardrobe.