
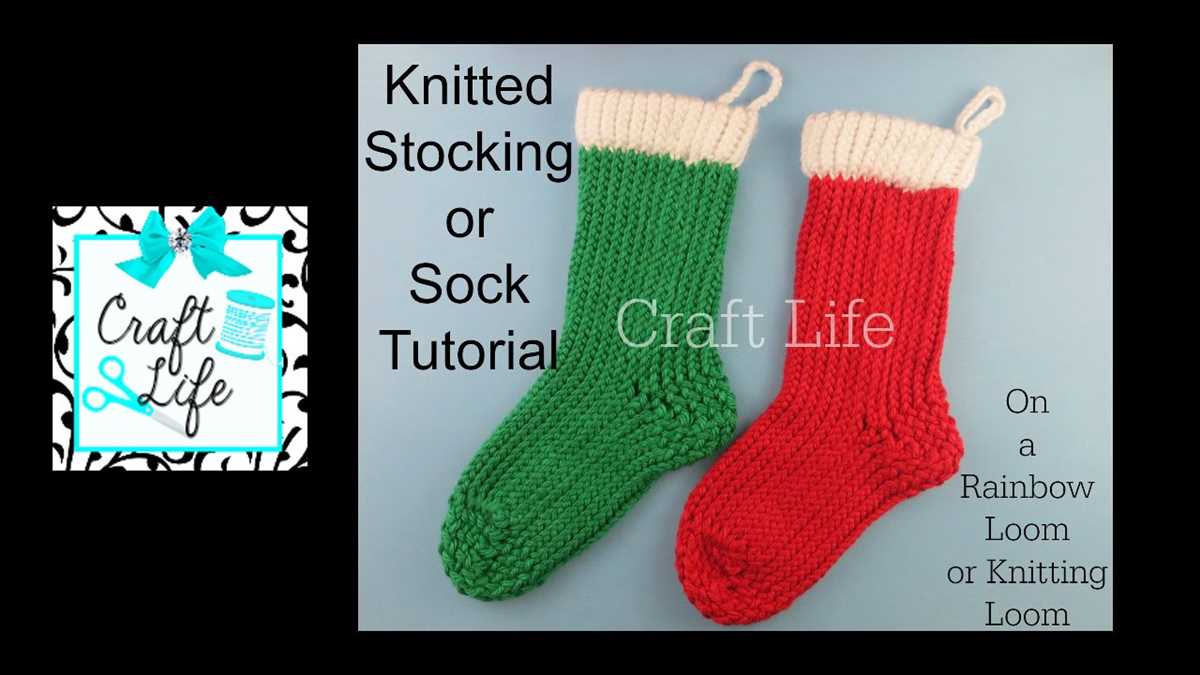
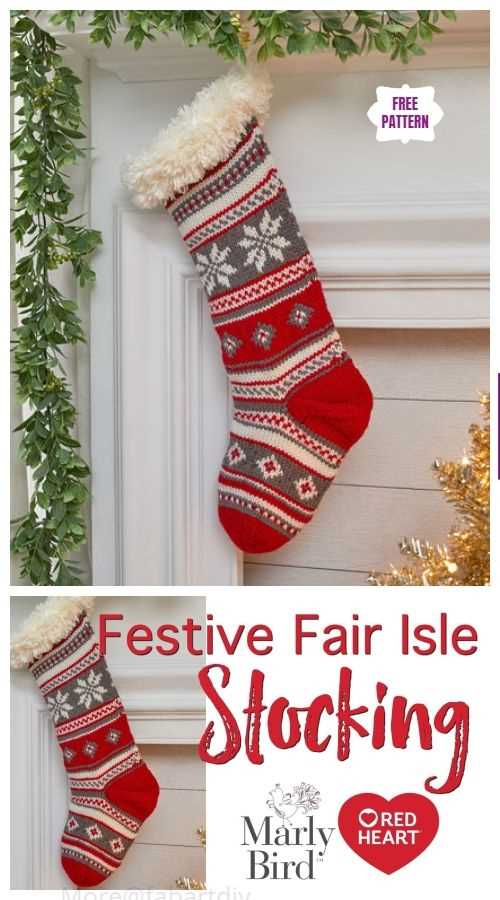
Christmas stockings are a beloved tradition in many households, and what better way to add a personal touch than by making your own? Loom knitting is a popular technique that is easy to learn and perfect for beginners. With its simple yet beautiful design, a loom knit Christmas stocking pattern is the perfect project to get you in the holiday spirit.
One of the benefits of loom knitting is that it requires minimal tools and materials. All you need is a loom, a loom hook, and some yarn. The loom is a circular or rectangular tool with pegs that hold the stitches. The loom hook is used to pull the yarn through the stitches, and the yarn comes in a wide range of colors and textures, perfect for creating a unique and personalized stocking.
The loom knit Christmas stocking pattern consists of a series of simple stitches and techniques, such as the e-wrap stitch and the purl stitch. These stitches are easy to learn, but they create a beautiful and intricate design. The pattern also includes instructions for shaping the stocking, including decreasing and increasing stitches, to create the toe and heel.
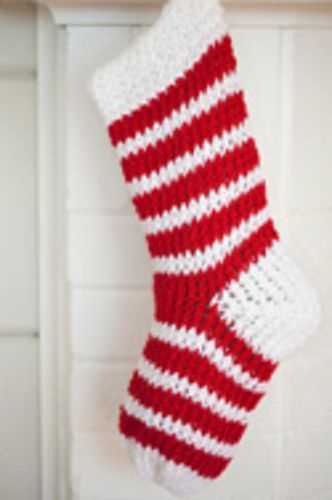
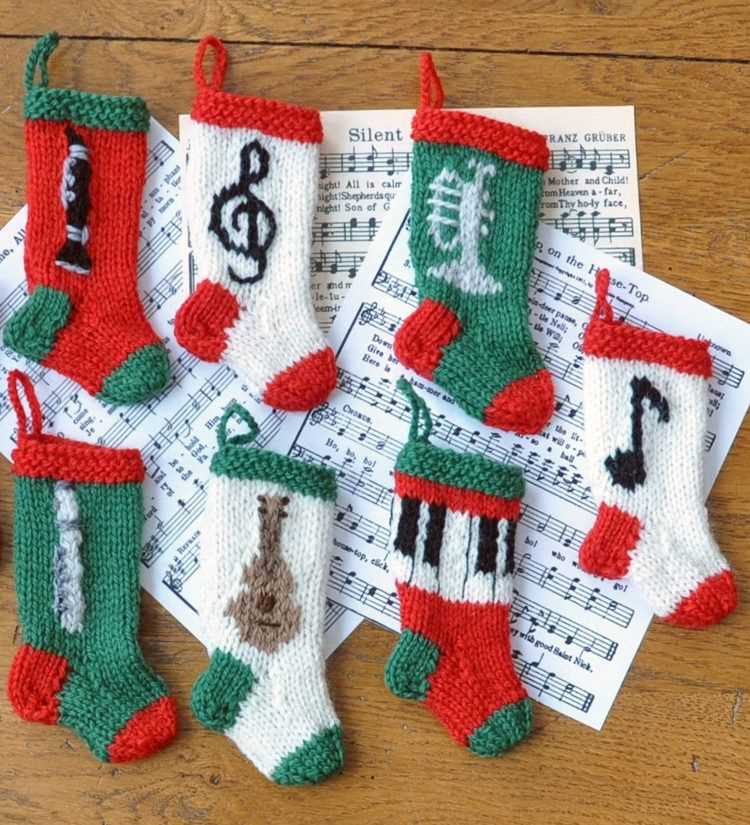
Once you have mastered the basic techniques, you can get creative with your loom knit Christmas stocking pattern. You can add stripes, change colors, or even incorporate different types of stitches, such as cables or lace. The possibilities are endless, and with each stocking you create, you can add a little bit of your own personal style and touch.
Loom Knit Christmas Stocking Pattern
The holiday season is the perfect time to get crafty and create festive decorations. One popular project is knitting Christmas stockings, and using a loom can make the process even easier. With a loom knit Christmas stocking pattern, you can create beautiful stockings for your family and friends.
When it comes to loom knitting, there are various patterns available, but a Christmas stocking design is always a favorite. This pattern typically involves using a round loom with multiple pegs to create a seamless tube shape. You can customize the size of the loom, depending on the desired size of the stocking.
To begin, gather your materials, including a round loom, yarn in festive colors, a loom hook, and a yarn needle. Start by casting on the desired number of pegs, following the specific instructions of the pattern. Then, work in the round, knitting each row until the desired length is reached. You can incorporate different stitches and patterns, such as ribbing or cables, to add texture and interest to the stocking.
Once the main part of the stocking is complete, it’s time to shape the toe and heel. This can be achieved by decreasing the number of stitches gradually. The pattern will guide you through the specific decreases to create the traditional stocking shape. After shaping the toe and heel, you will close off the top of the stocking by binding off the stitches.
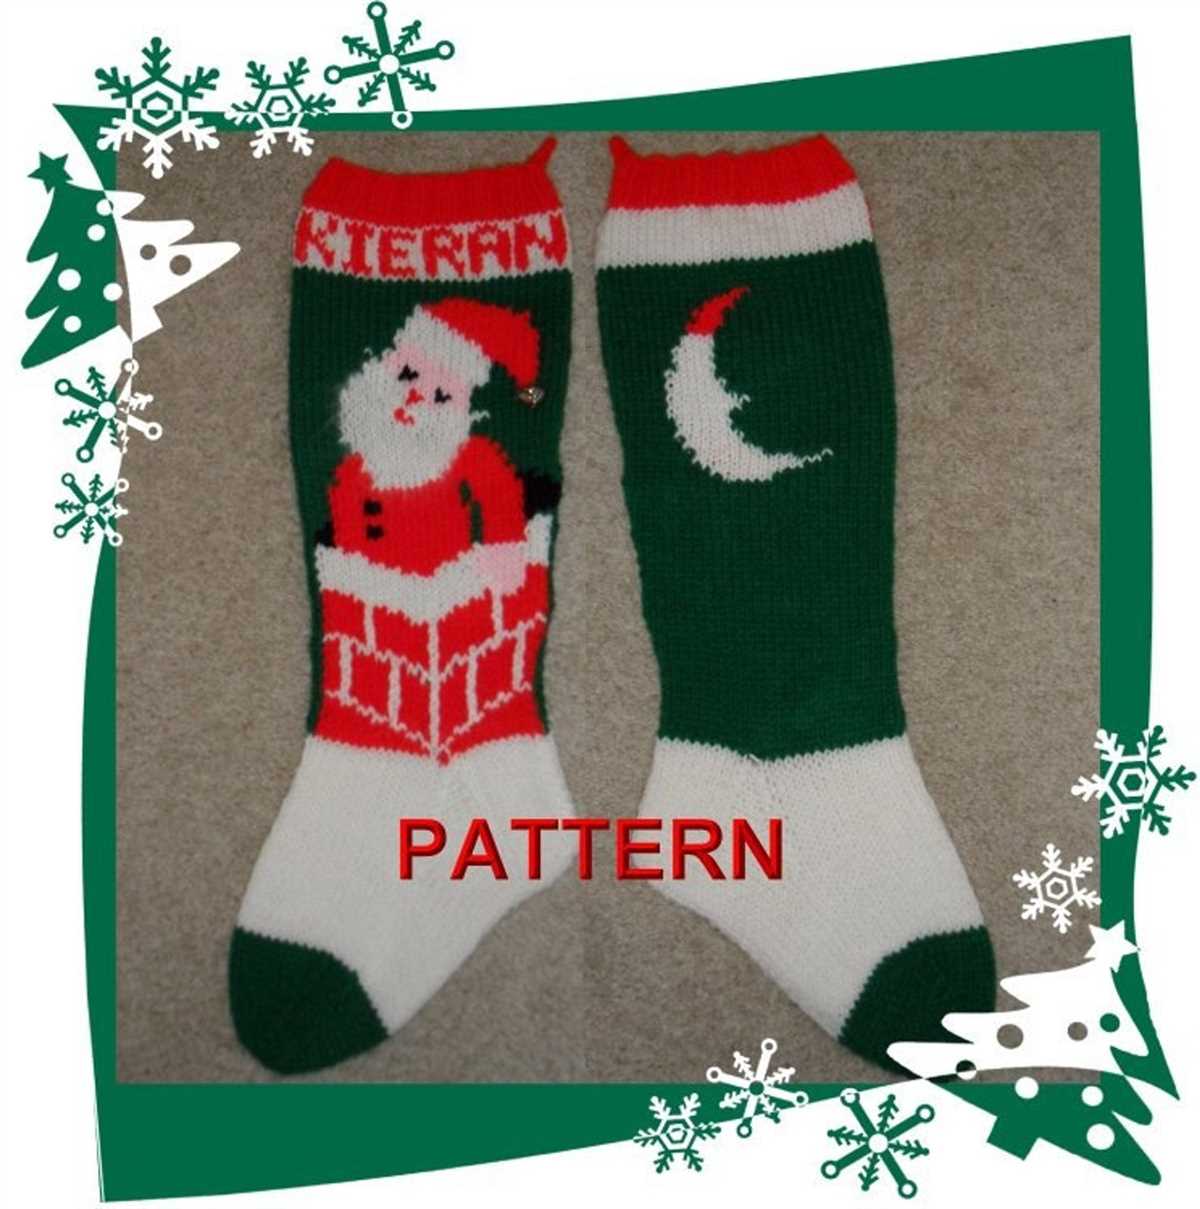
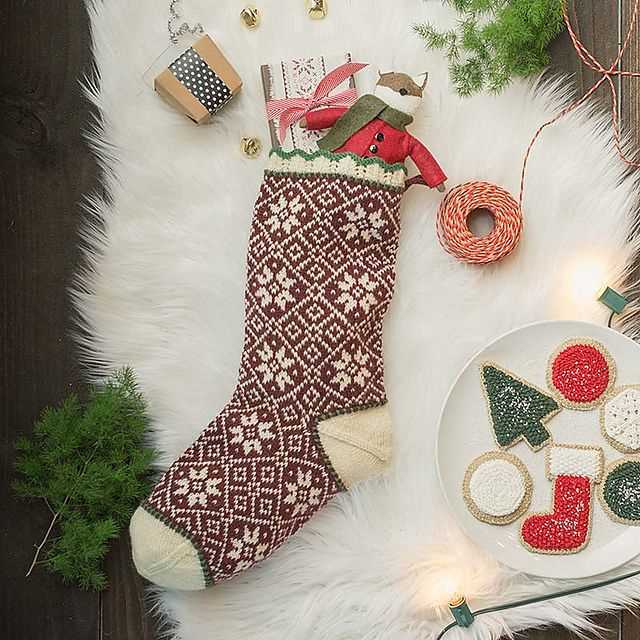
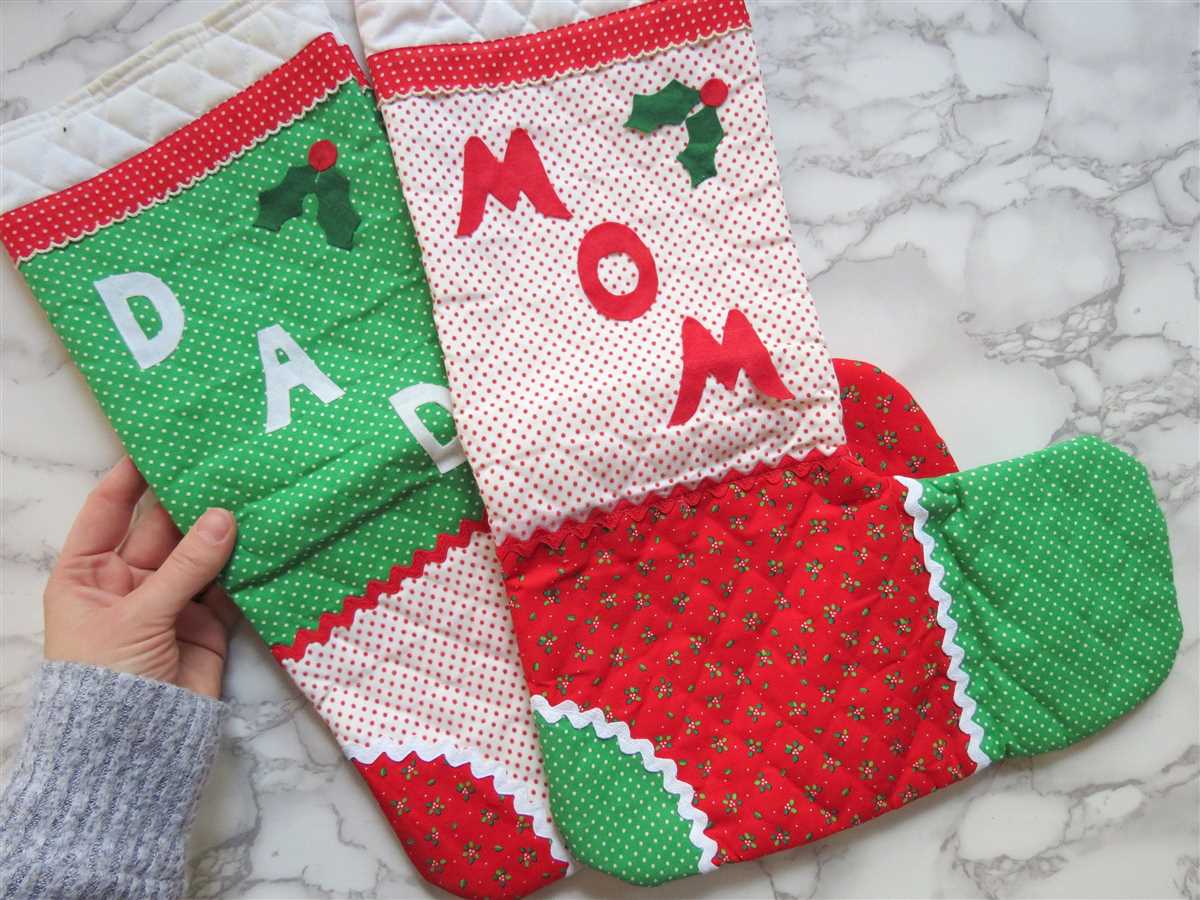
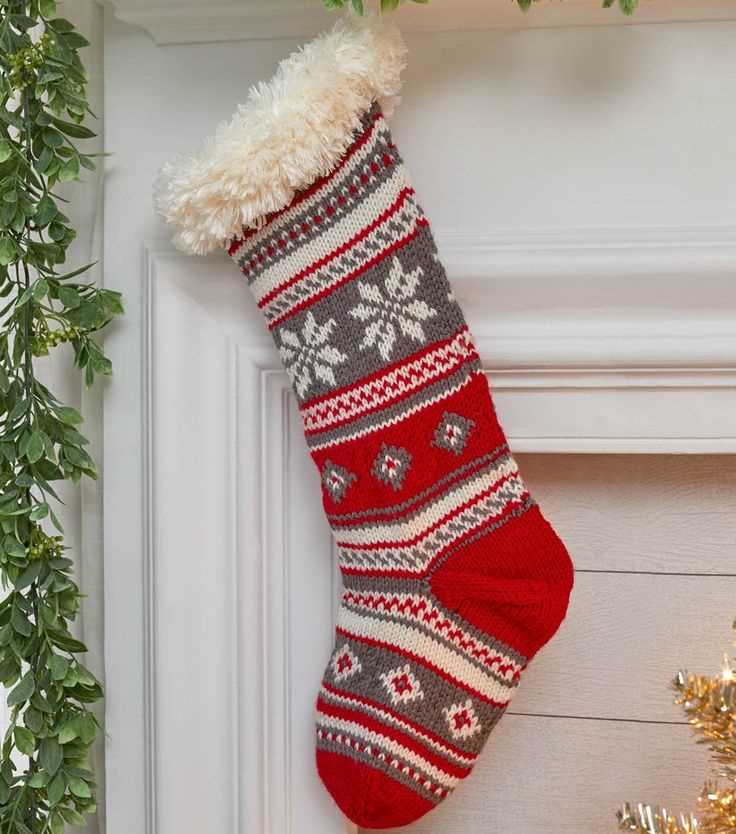
In addition to the main body of the stocking, you can also add decorative embellishments, such as pom-poms, ribbons, or even personalized initials. These details can make your Christmas stocking truly unique and special for the recipient.
Overall, loom knitting a Christmas stocking can be a fun and rewarding project. With a loom knit Christmas stocking pattern, you can create personalized stockings that will become cherished holiday keepsakes for years to come.
Materials Needed for Loom Knitting Christmas Stocking
Loom: To create a loom knit Christmas stocking, you will need a round knitting loom with pegs. The size of the loom will depend on the desired size of the stocking. The loom should have a knitting tool or hook included.
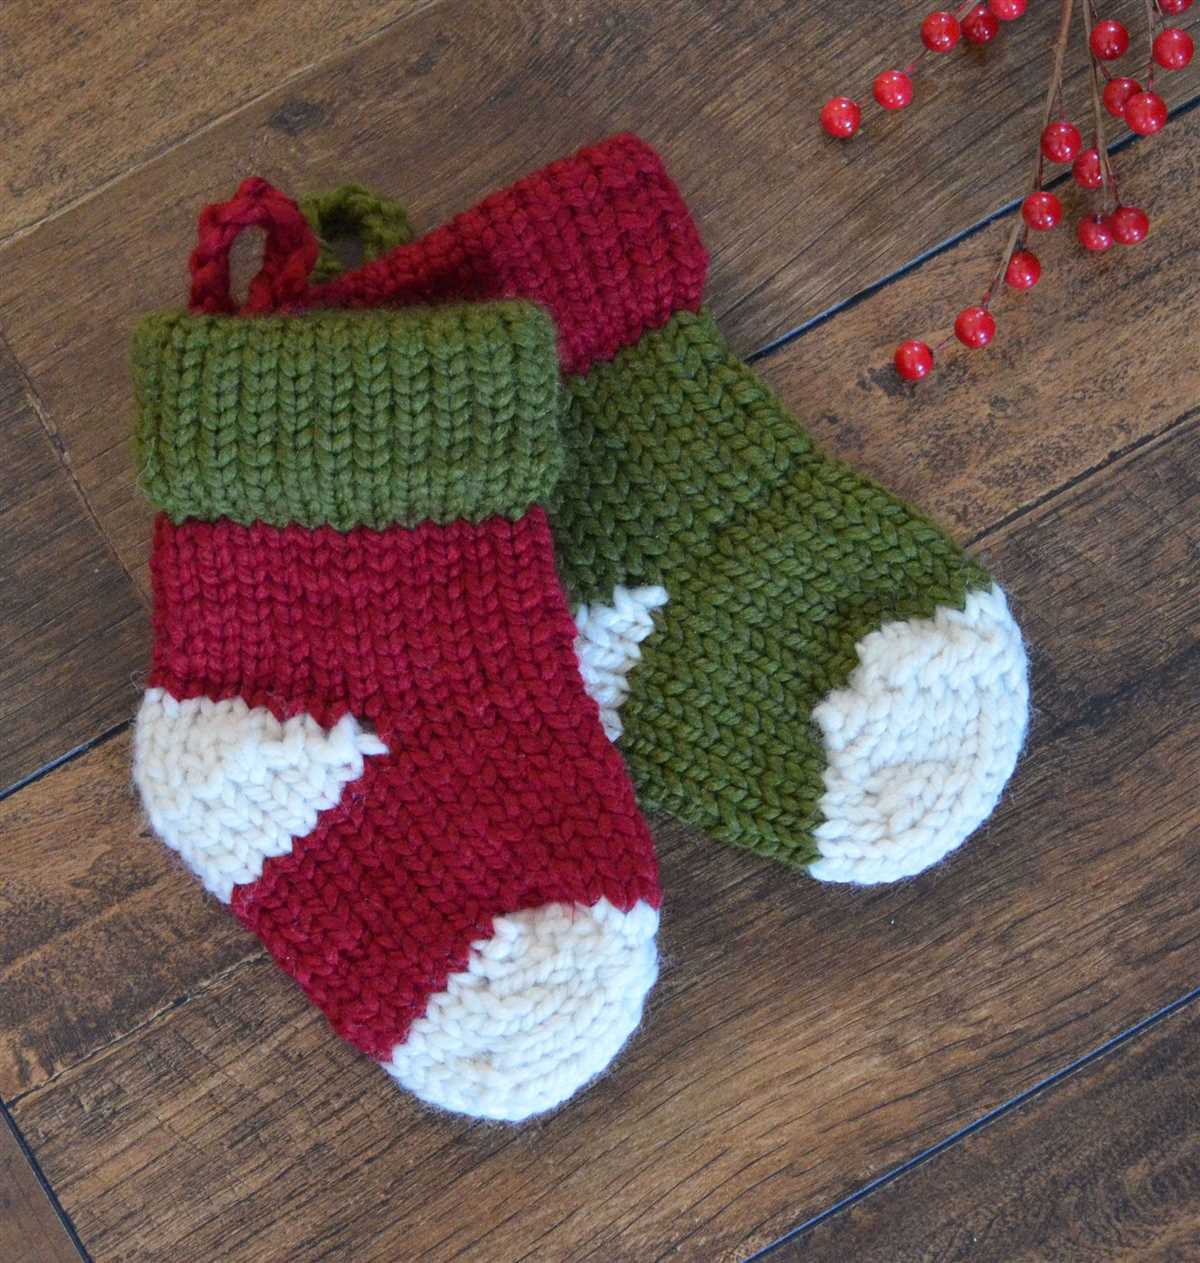
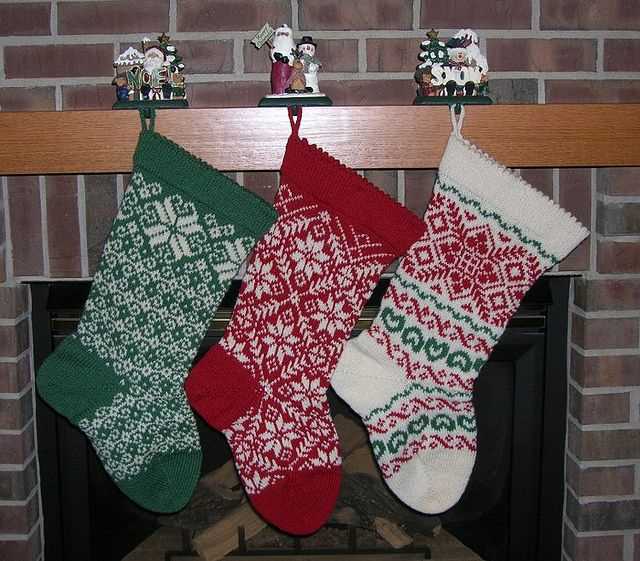
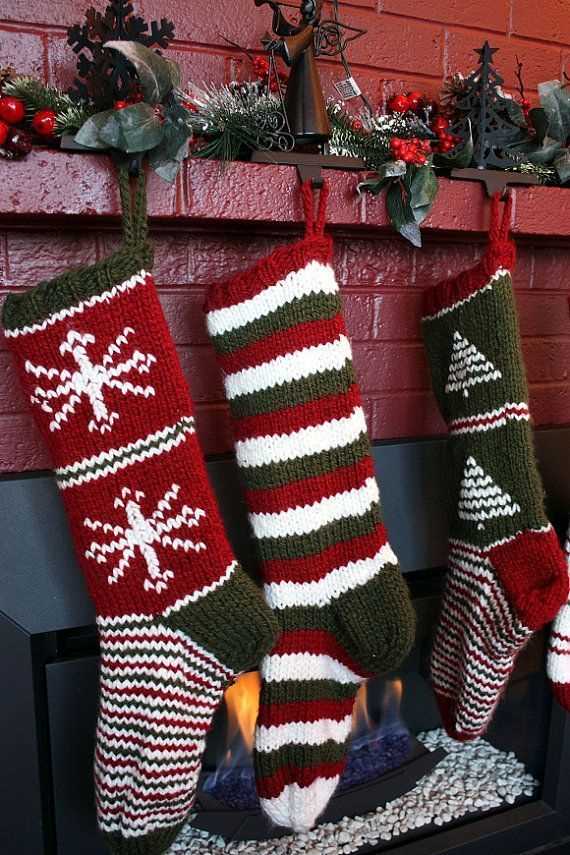
Yarn: Choose a yarn that is suitable for a Christmas stocking. Acrylic or wool yarns are commonly used for loom knitting. Select festive colors such as red, green, or white to give your stocking a holiday feel. Estimate the amount of yarn you will need based on the size of your loom and the desired length of the stocking.
Scissors: A sharp pair of scissors is necessary for trimming the yarn and cutting off any excess when completing your stocking.
Tapestry Needle: A tapestry needle is useful for weaving in loose ends and sewing up any seams that may be required to assemble the stocking.
Pom-pom Maker: If you wish to add a decorative pom-pom to the top of your stocking, a pom-pom maker will be helpful. This tool allows you to easily create fluffy pom-poms in various sizes.
Embellishments: Consider adding additional embellishments to your stocking, such as buttons, bells, or ribbons. These can be sewn onto the stocking to add extra festive flair.
Choosing the Right Loom for Knitting Christmas Stocking
When it comes to knitting Christmas stockings on a loom, choosing the right loom is crucial for achieving the desired results. Different looms have different sizes, shapes, and gauges, which can greatly impact the look and feel of the finished stocking.
Loom Size:
The first factor to consider when selecting a loom for knitting Christmas stockings is the size. The size of the loom determines the dimensions of the stocking, so it’s important to choose a loom that will create the desired size. For larger stockings, a bigger loom with more pegs and wider spacing between pegs may be ideal, while a smaller loom would be suitable for smaller stockings.
Loom Shape:
Another important aspect to consider is the shape of the loom. Looms come in various shapes, including round, oval, and rectangular. The shape can affect the overall look of the stocking, as well as the ease of knitting certain stitches or patterns. For traditional-looking stockings, a rectangular loom may be preferable, while a round or oval loom can create unique and modern designs.
Gauge:
The gauge of the loom determines the tightness or looseness of the knitted fabric. A loom with a tighter gauge will produce a denser, warmer stocking, while a loom with a looser gauge will result in a more open and airy stocking. Consider the yarn you plan to use and determine the appropriate gauge for your desired stocking. A loom with adjustable pegs can be helpful in achieving the desired gauge.
Overall, choosing the right loom for knitting Christmas stockings involves considering factors such as size, shape, and gauge. It’s important to select a loom that will yield the desired stocking dimensions and create the desired look and feel. Whether you prefer a traditional or modern design, there is a loom out there that is perfect for your Christmas stocking knitting project.
Basic Loom Knitting Stitches for Christmas Stocking
If you’re looking to create a cozy and festive Christmas stocking using a loom knitting technique, it’s important to understand the basic stitches involved. With the right stitches, you can easily create beautiful patterns and designs, making your Christmas stocking truly special.
Garter Stitch
The garter stitch is one of the simplest and most versatile stitches you can use on a loom. To create this stitch, simply knit every stitch in every row. This stitch creates a stretchy and textured fabric, making it perfect for the body of your Christmas stocking. Whether you want a solid color or a combination of colors, the garter stitch allows for endless possibilities.
Rib Stitch
The rib stitch is another popular stitch that adds a nice texture to your Christmas stocking. To create this stitch, alternate between knitting and purling stitches in each row. This creates a raised rib pattern that gives your stocking a cozy and classic look. The rib stitch is great for creating cuffs, edgings, and other decorative elements on your stocking.
Seed Stitch
The seed stitch is a great option if you want to add some variety to your Christmas stocking. This stitch creates a pattern of alternating knits and purls, giving your stocking a textured and interesting look. To create the seed stitch, you’ll knit one stitch and purl the next, repeating this pattern throughout the rows. This stitch is perfect for creating unique patterns or small details on your stocking.
Stockinette Stitch
The stockinette stitch is a classic and smooth stitch that creates a neat and polished look for your Christmas stocking. To create this stitch, alternate between knitting one row and purling the next row. This creates a fabric that has a smooth side (the knit stitches) and a bumpy side (the purl stitches). The stockinette stitch is great for creating a clean and simple design on your stocking or for showcasing intricate colorwork.
No matter which stitches you choose, remember to have fun and get creative with your loom knitting. With these basic stitches, you’ll be able to create a beautiful and unique Christmas stocking that will be cherished for years to come. Happy knitting!
Casting On for Loom Knit Christmas Stocking
When it comes to knitting a Christmas stocking on a loom, the first step is casting on. This is an essential technique that sets the foundation for your project. The casting on process creates a row of stitches that will be used to build the body of the stocking.
To cast on for a loom knit Christmas stocking, you can use a method called the e-wrap cast on. This technique involves wrapping the yarn around each peg on the loom to create the initial stitches. The e-wrap cast on is commonly used in loom knitting projects and is a great choice for beginners.
Start by securing the end of your yarn to one of the pegs on the loom. Then, bring the yarn down to the next peg, wrap it around the peg in a clockwise direction, and bring it back up to the previous peg. Continue this process for each peg on the loom, creating a loop of yarn around each one.
After completing the e-wrap cast on, you will have a row of stitches on the loom. This row will serve as the foundation for your Christmas stocking. From here, you can start working on the body of the stocking, creating different patterns and designs using various knitting techniques.
Overall, casting on is an important step in loom knitting a Christmas stocking. By using the e-wrap cast on method, you can create a row of stitches that will set the stage for your project. With this foundation in place, you can now move on to the next steps in creating a beautiful and festive stocking for the holiday season.
Knitting the Body of the Christmas Stocking
Once you have finished knitting the cuff of the stocking, it’s time to move on to knitting the body. This is where you will create the bulk of the stocking, adding length and creating space for all of those wonderful gifts to fit inside.
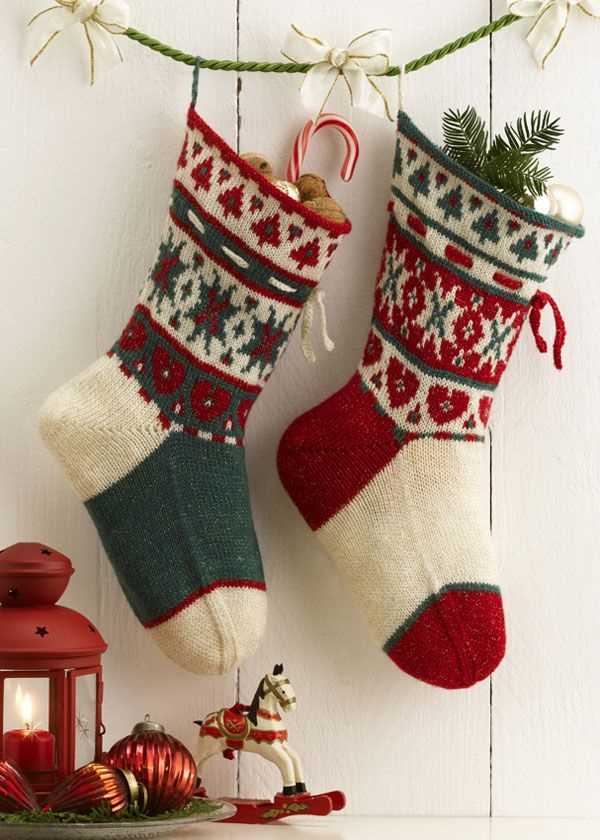
To begin, you will continue knitting in the round, just as you did for the cuff. You can use the same pattern and stitches, or you can switch it up and get creative with different stitch patterns or colorwork. Whether you prefer a simple stockinette stitch or a more intricate Fair Isle design, the choice is yours! Just make sure to follow your chosen pattern and adjust your stitch count if necessary.
If you are using a pattern, you may need to follow specific instructions for shaping the heel and toe of the stocking. These sections typically involve decreasing or increasing stitches to create a tapered shape. Pay close attention to these instructions to ensure your stocking turns out just right!
As you knit the body of the stocking, keep in mind the desired length and size. Consider who will be using the stocking and what gifts will be placed inside. You may want to measure the length of the recipient’s foot or leg to ensure a perfect fit. Additionally, consider adding a few extra rows to accommodate larger gifts or stocking stuffers.
Once you have reached the desired length, you can begin shaping the toe of the stocking. This typically involves decreasing stitches in a specific pattern to create a tapered, pointed shape. Again, follow your pattern’s instructions closely to achieve the desired shape. Once the toe is shaped, bind off your stitches and weave in any loose ends.
Now that the body of your Christmas stocking is complete, you can move on to adding any additional embellishments or decorations. This could include adding a contrasting color for the toe or heel, adding a pom-pom or tassel to the top, or even embroidering a name or design onto the stocking. Get creative and make your stocking truly unique!
Creating the Heel of the Loom Knit Christmas Stocking
The heel is an important component of the loom knit Christmas stocking as it provides the structure and shape needed for the stocking to hang properly. There are several different methods for creating the heel, but one popular technique is the short-row method.
To begin, select a loom with the appropriate number of pegs for the desired size of the stocking. The number of pegs will depend on the yarn weight and desired width of the heel. A larger heel will require more pegs, while a smaller heel will require fewer pegs.
Once you have the correct loom, you can begin working on the heel. Start by knitting across half of the pegs, then turn and knit back across the same number of pegs. This creates the first row of the heel. Continue working back and forth in this manner, decreasing one peg on each end of the row each time, until you have reached the desired number of pegs for the width of the heel.
For example, if you started with 20 pegs, you would knit across 10 pegs, turn, knit back across 10 pegs, then knit across 9, turn, and so on, until you have reached the desired number of pegs.
Once you have created the desired width of the heel, you can begin shaping the heel by increasing the number of pegs on each end of the row. This will create a triangular shape that allows the stocking to accommodate the foot and ankle. Continue increasing until you have reached the original number of pegs used for the first row of the heel.
To finish the heel, you will need to bind off the stitches. Cut the yarn, leaving a long tail, and thread it through a yarn needle. Slip the needle through each stitch on the loom and remove them from the pegs. Pull the yarn tight to secure the stitches and create a neat edge.
Once the heel is complete, you can continue working on the body of the stocking, adding decorative stitches, and finishing off with a top cuff and hanging loop. The heel provides the necessary structure and shape for the stocking to hang properly, making it an essential part of the loom knit Christmas stocking pattern.
Shaping the Toe of the Loom Knit Christmas Stocking
When knitting a Christmas stocking on a loom, one important step is shaping the toe of the stocking. This creates the pointed end where gifts can be easily inserted. The shaping process involves decreasing the number of stitches gradually, creating a triangular shape at the front of the stocking.
To shape the toe, begin by knitting a few rows in the desired color. Then, follow the pattern instructions to start decreasing stitches. This is typically done by knitting two stitches together, reducing the overall stitch count on each row. The exact number of decreases and the frequency will depend on the pattern you are following.
As you continue decreasing stitches, the shape of the toe will become more prominent. It’s important to follow the pattern carefully and keep track of your stitch count to ensure an even and symmetrical shape. Once you have completed all the necessary decreases, you can continue knitting the rest of the stocking as instructed.
Some patterns may also include additional shaping techniques, such as short rows or wrapping stitches, to create an even smoother transition from the heel to the toe. These techniques may require some additional skill and practice, but they can add an extra level of detail to your loom-knit Christmas stocking.
Remember to take your time when shaping the toe of your loom-knit Christmas stocking. It may require some trial and error to get the perfect shape, but with patience and practice, you can create a beautiful and functional stocking that will be cherished for years to come.
Adding a Ribbed Cuff to the Loom Knit Christmas Stocking
One way to give your loom knit Christmas stocking a more polished and finished look is to add a ribbed cuff. The ribbed cuff not only adds an attractive design element, but it also helps to keep the stocking snugly in place. Here’s how you can add a ribbed cuff to your loom knit Christmas stocking:
Materials Needed:
- Loom knitting tool
- Worsted weight yarn in desired color
- Loom with at least 24 pegs
- Yarn needle
- Scissors
Instructions:
- Start by creating a slipknot on your loom knitting tool, and then place it on the first peg of your loom.
- Wrap the yarn around each peg in a clockwise direction, working your way around the loom. Repeat this process for a total of two rows.
- Now, take the working yarn and bring it between the first and second pegs, and then wrap it around the second peg counterclockwise. Continue this pattern of wrapping the yarn between each pair of pegs and wrapping counterclockwise until you have completed the row.
- Repeat Step 3 for a total of five rows to create the ribbed cuff.
- Once you have completed the ribbed cuff, you can continue with the rest of the pattern for the loom knit Christmas stocking, such as the main body and the heel.
- When you have finished all the sections of the stocking, bind off your stitches and then use a yarn needle to weave in any loose ends.
- Your loom knit Christmas stocking with a ribbed cuff is now ready for hanging or gifting!
Adding a ribbed cuff to your loom knit Christmas stocking is a simple way to add a touch of sophistication to your project. The ribbing not only adds visual interest but also provides a functional element, allowing the stocking to stay in place. With just a few simple steps, you can easily incorporate a ribbed cuff into your loom knit Christmas stocking pattern.
Decorating the Loom Knit Christmas Stocking
Once you have finished knitting your loom knit Christmas stocking, it’s time to add some festive decorations to make it truly special. There are many ways you can decorate your stocking, from simple embellishments to more intricate designs. Here are some ideas to inspire you:
1. Embroidery
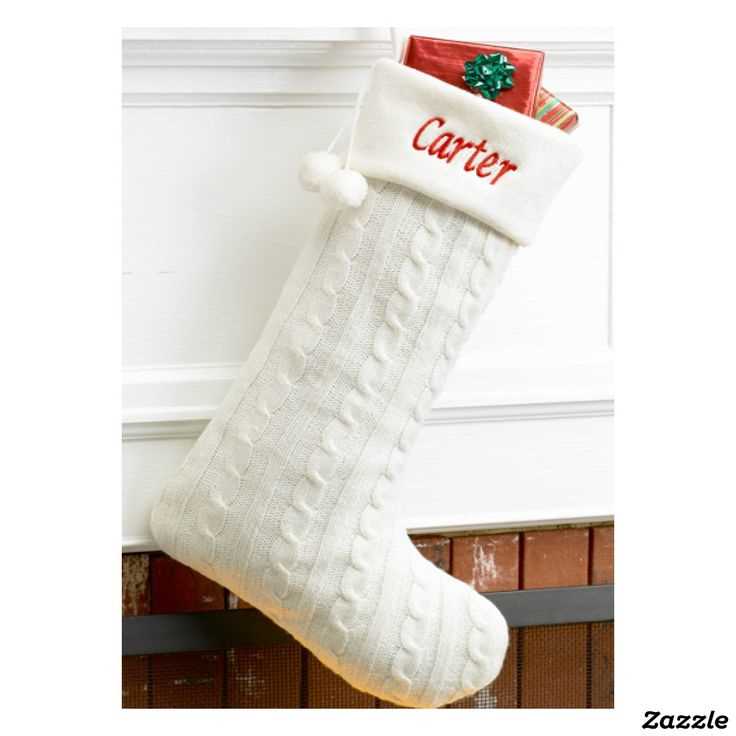
Add a personal touch to your stocking by embroidering your name or initials on it. You can use different colors of yarn to create a vibrant and eye-catching design. Choose a font and style that suits your taste and carefully stitch the letters onto the stocking using a needle and thread.
2. Appliques
Add some whimsy to your stocking by attaching appliques of your favorite holiday-themed shapes. You can find pre-made appliques at craft stores or create your own using felt or fabric. Popular choices include snowflakes, Santa Claus, reindeer, and Christmas trees. Simply sew or glue the appliques onto the stocking for an instant festive look.
3. Pompoms and Tassels

Add some texture to your stocking by attaching pompoms or tassels. You can make your own pompoms using yarn and a pompom maker, or purchase pre-made ones. Sew or glue them onto the cuff or around the edges of the stocking. Tassels can be made using embroidery floss or yarn and attached in a similar manner.
4. Buttons and Beads

For a more intricate and detailed decoration, consider adding buttons and beads to your stocking. You can sew them onto the body of the stocking to create patterns or use them to embellish the cuff. Choose buttons and beads in various sizes and colors to add visual interest.
5. Ribbons and Bows
Add a touch of elegance to your stocking by attaching ribbons and bows. You can tie a bow around the top of the stocking or create a ribbon loop for hanging. Choose ribbons in festive colors and patterns to complement the overall design of your stocking.
Remember, decorating your loom knit Christmas stocking is a chance to showcase your creativity and make it truly unique. Explore different techniques and materials to find the ones that suit your style and create a festive masterpiece that will be cherished for years to come.
Finishing and Final Touches for the Loom Knit Christmas Stocking
After you have completed knitting your Christmas stocking on the loom, it’s time to add the finishing touches to make it truly special. These final steps will give your stocking a polished and professional look.
1. Seam the Stocking: Use a tapestry needle and the tail of the yarn to neatly sew up the sides of the stocking. Begin at the top and work your way down, ensuring that the seam is tight and secure. This will give your stocking a clean and seamless appearance.
2. Add a Pom Pom: To give your stocking a festive touch, you can attach a pom pom to the top. You can use a store-bought pom pom or make your own using yarn. Simply sew or glue the pom pom securely to the top of the stocking. Choose a color that complements your stocking’s design.
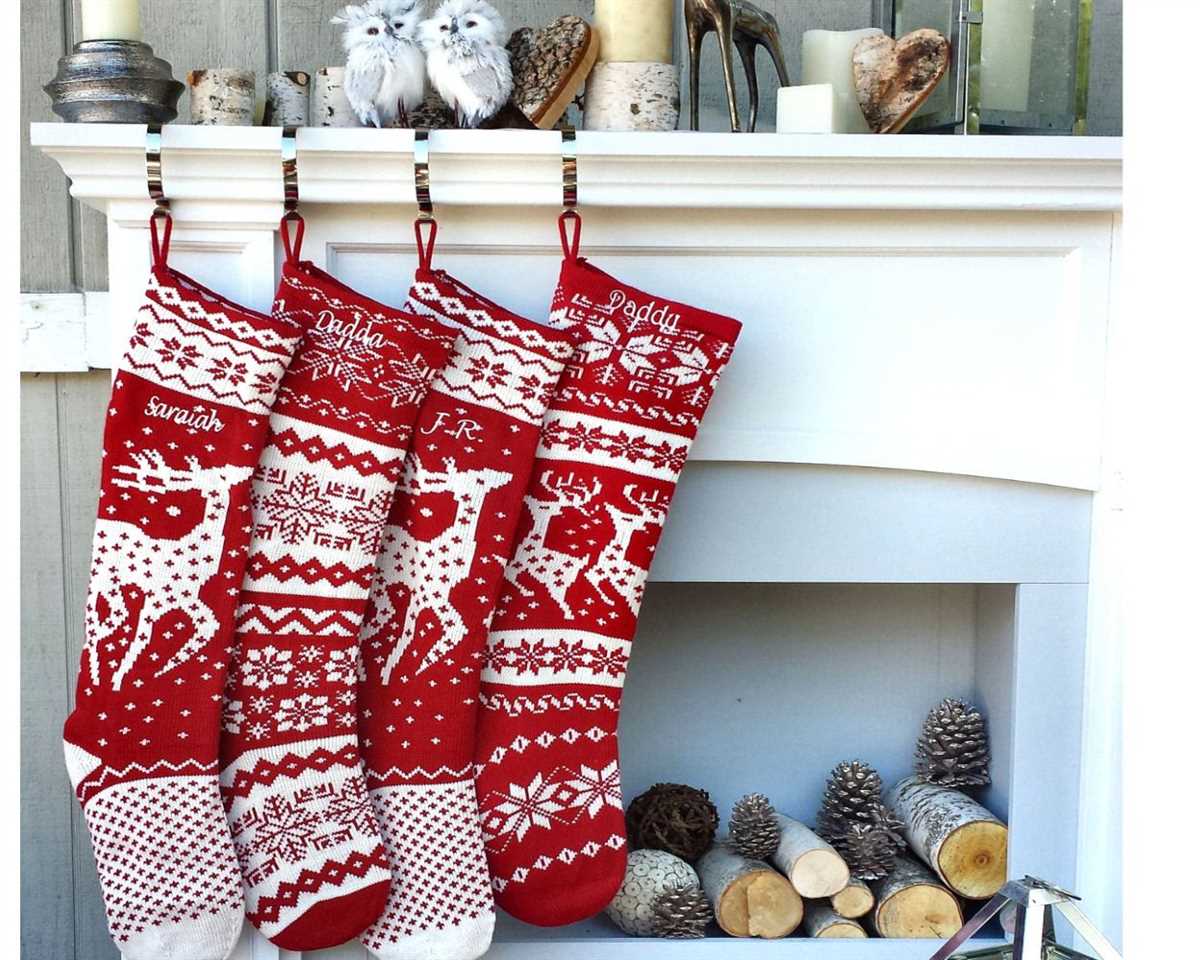
3. Embroider Names or Initials: Personalize your stocking by embroidering names or initials onto the front. You can use a contrasting color of yarn or embroidery floss to stitch the letters onto the fabric. This adds a sentimental touch and makes each stocking unique for its recipient.
4. Attach a Hanging Loop: To hang your stocking, you will need to attach a loop at the top. You can either knit a small strip on the loom and sew it to the inside of the stocking, or you can use a ribbon or twine to create the loop. Make sure it is securely attached so that the stocking can be hung without any worries.
5. Embellish with Buttons or Beads: For some extra flair, you can add buttons or beads to your stocking. Sew them onto the design in a decorative pattern or use them to highlight certain details. This is an optional step, but it can add a charming and whimsical touch to your finished stocking.
Once you have completed these finishing touches, your loom knit Christmas stocking is ready to be filled with treats and hung by the fireplace. Whether you knit one for yourself or gift it to a loved one, the personalized and handmade nature of the stocking will make it a cherished holiday tradition for years to come. Happy knitting!
Q&A:
What is a loom knit christmas stocking pattern?
A loom knit christmas stocking pattern is a set of instructions and diagrams that guide you through the process of creating a festive, knitted stocking using a loom knitting technique.
How do I find a loom knit christmas stocking pattern?
You can find a loom knit christmas stocking pattern by searching online knitting communities, craft websites, or through specific loom knitting pattern websites. You can also check out knitting books or magazines that feature holiday projects.
What materials do I need for a loom knit christmas stocking?
To create a loom knit christmas stocking, you will need a knitting loom, knitting tool, yarn, scissors, and a darning needle for finishing touches. You may also want to have embellishments like ribbons, buttons, or beads to add extra decorative elements.
Are loom knit christmas stockings suitable for beginners?
Yes, loom knit christmas stockings can be suitable for beginners. Loom knitting is a beginner-friendly technique that uses a loom tool instead of traditional knitting needles, making it easier for beginners to create their own projects. However, it may still require some practice and patience to get the hang of the loom knitting technique.